
Unlock the secret to flawlessly melted chocolate that’s consistently smooth, beautifully glossy, and utterly perfect for all your dipping, drizzling, and baking needs! This comprehensive guide will equip you with two easy-to-master methods: the classic double boiler on the stove and a precise microwave technique, along with essential tips for handling different types of chocolate, including stubborn chocolate chips.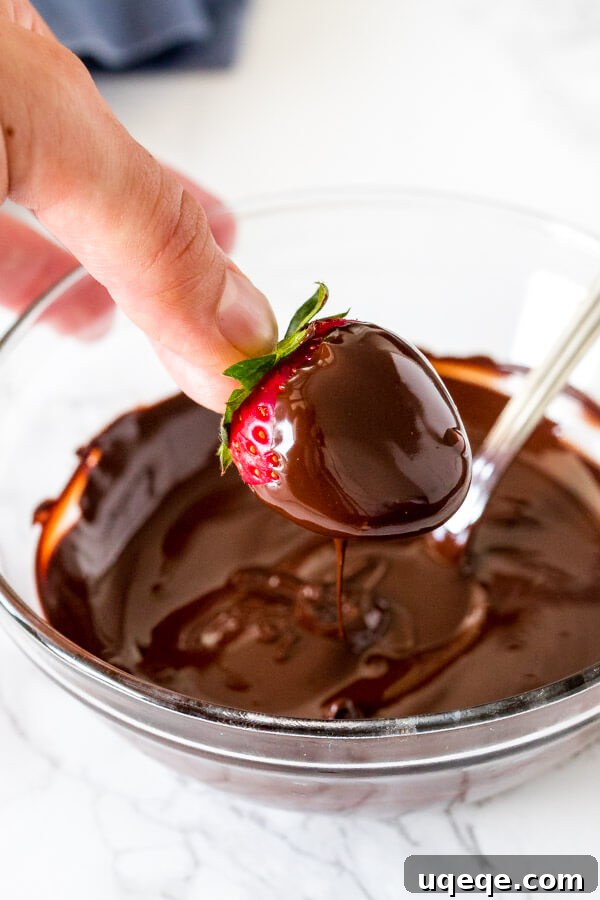
Have you ever eagerly followed a recipe calling for “melted chocolate,” only to end up with a frustratingly grainy, lumpy, or even burnt mess? It’s a common kitchen mishap, but one that’s entirely preventable with the right techniques and a few simple tricks. Achieving that silky, liquid gold state isn’t just about heat; it’s about control, patience, and understanding the unique properties of chocolate itself. Today, we’re diving deep into the art and science of melting chocolate perfectly, ensuring your culinary creations are always a success, whether you’re working with high-quality baking chocolate, versatile chocolate chips, or convenient candy melts.
Why Perfectly Melted Chocolate Matters for Your Recipes
The texture and consistency of your melted chocolate can make or break a dish. Grainy or seized chocolate won’t coat fruits smoothly, will ruin the texture of ganache, and can lead to disappointing results in baked goods. Conversely, beautifully melted chocolate offers numerous benefits:
- Flawless Appearance: A smooth, glossy finish elevates the visual appeal of any dessert, from dipped strawberries to elegant drizzles.
- Superior Texture: It provides a luxurious mouthfeel, ensuring your chocolate coatings and fillings are creamy and delightful.
- Even Distribution: Melted chocolate integrates seamlessly into batters, ganaches, and glazes, providing consistent flavor and texture throughout your recipe.
- Ease of Use: Properly melted chocolate is easy to work with, making dipping, spreading, and piping a breeze.
Choosing the Best Chocolate for Melting
The type of chocolate you select plays a significant role in how easily and beautifully it melts. While most chocolate can be melted, some varieties are inherently better suited for the task due to their composition.
Baking Chocolate: The Ideal Choice
For the smoothest, most reliable results, I consistently recommend using high-quality baking chocolate. These bars, often found in the baking aisle, are specifically formulated with a higher cocoa butter content and fewer stabilizers compared to snacking chocolate or chips. This composition allows them to melt into a wonderfully fluid and glossy consistency without much effort, providing superior flavor and texture for your recipes. Whether you opt for dark, semi-sweet, milk, or white baking chocolate, the key is quality.
- Dark Chocolate: Typically melts very well due to its high cocoa solids and butter content. Less sugar means less likelihood of seizing.
- Semi-Sweet Chocolate: A great all-rounder, offering a balance of sweetness and cocoa flavor. Melts smoothly for most applications.
- Milk Chocolate: Contains more sugar and milk solids, which can make it slightly more prone to overheating. Requires gentler heat.
- White Chocolate: Technically not chocolate (as it contains no cocoa solids, only cocoa butter), it also has a higher sugar and milk solid content, making it very delicate and susceptible to scorching. Always melt white chocolate with extra care.
Understanding Chocolate Chips
While convenient, chocolate chips are often engineered to hold their shape during baking. This is achieved by incorporating stabilizers and reducing the cocoa butter content. Consequently, chocolate chips can be more challenging to melt into a perfectly smooth, flowing consistency. They tend to become soft but retain their form, making them more prone to becoming grainy or seizing if overheated or rushed. When using chocolate chips, patience and precise temperature control are paramount.
Candy Melts: Designed for Ease
Candy melts (or candy wafers) are confectionery coatings made from sugar, milk solids, and vegetable oil instead of cocoa butter. They are specifically designed to melt effortlessly and set quickly with a smooth finish, making them excellent for dipping, molding, and decorating. While they lack the complex flavor of true chocolate, their user-friendly nature makes them a popular choice for vibrant, consistent results.
The Importance of Chopping Chocolate
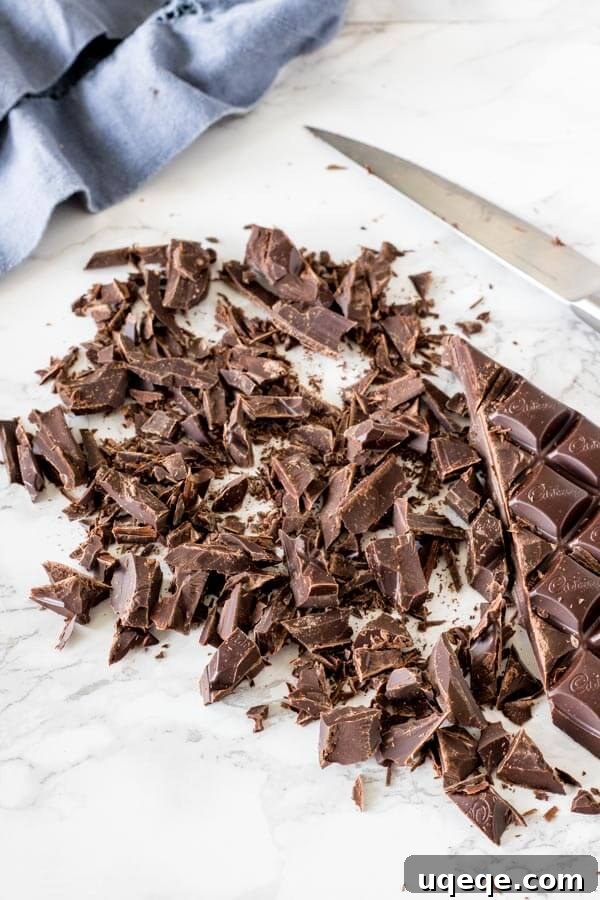
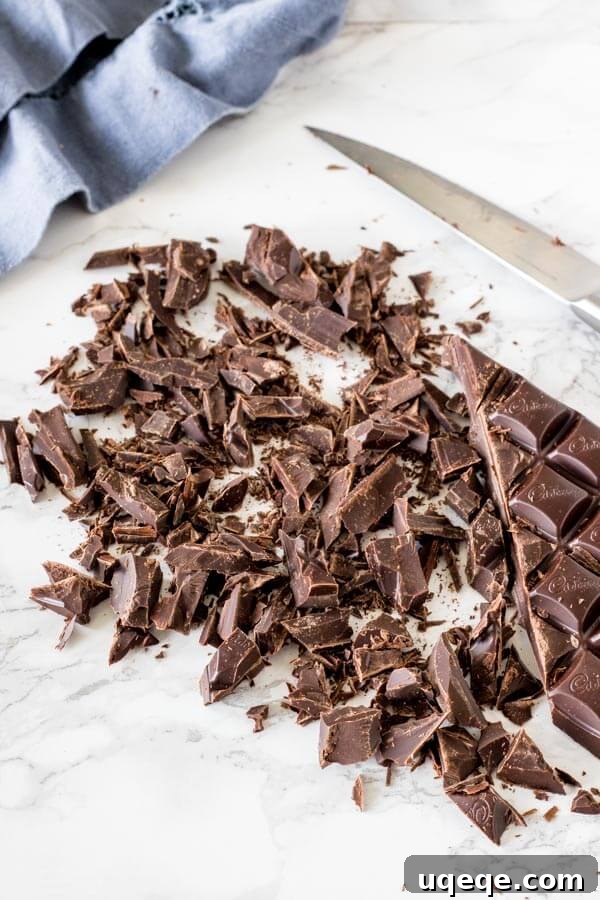
Regardless of the type you choose, if you’re using a bar of chocolate (baking chocolate or even a high-quality snacking bar like Lindt), it’s crucial to chop it into small, uniform pieces. This isn’t just about making it melt faster; it ensures that all the chocolate pieces heat evenly and melt at roughly the same rate. Using a sharp, thin knife will help you achieve consistent sizes, preventing some pieces from melting too quickly while others remain solid.
Method 1: How to Melt Chocolate in the Microwave (for Speed and Convenience)
The microwave is a quick and convenient tool for melting chocolate, but it requires careful attention to avoid burning or creating a grainy texture. The key is to use short intervals and frequent stirring.
- Prepare Your Chocolate: Place your finely chopped chocolate (or chocolate chips) into a clean, dry, microwave-safe glass bowl. Glass is preferred over plastic as it heats more evenly and retains less residual heat, reducing the risk of scorching.
- First Microwave Interval: Microwave the chocolate on medium power (50%) for 30 seconds. Using medium power is critical; high power can quickly burn the chocolate, especially the delicate cocoa solids.
- Stir Thoroughly: Immediately remove the bowl from the microwave and stir the chocolate vigorously with a rubber spatula or spoon. Even if it doesn’t appear to have melted much, stirring helps distribute the heat, prevent hot spots, and encourage even melting.
- Repeat and Observe: Continue to microwave in 15-20 second intervals on medium power, stirring thoroughly after each interval. After the first few rounds, you’ll notice the chocolate at the edges beginning to soften and melt. It’s crucial to continue stirring every time to bring the unmelted chocolate into contact with the warmer parts of the bowl and the already melted chocolate.
- Final Stir for Smoothness: Stop microwaving when the chocolate is about 80-90% melted, meaning there are still a few small lumps remaining. Remove it from the microwave and continue stirring. The residual heat in the bowl and the already melted chocolate will gently melt these last few pieces, resulting in a perfectly smooth, glossy consistency. This prevents overheating and keeps your chocolate from scorching or seizing.
Expert Tip: Resist the urge to microwave until entirely smooth. Chocolate retains heat, and it will continue to melt after being removed from the microwave. Overheating, even by a few seconds, can turn smooth chocolate clumpy and unworkable.
Method 2: How to Melt Chocolate on the Stove (The Classic Double Boiler Method)
The double boiler method, or *bain-marie*, is a traditional and highly reliable way to melt chocolate. It uses indirect, gentle heat from steam, making it ideal for achieving the most consistently smooth and glossy results without the risk of scorching. This method offers excellent control, especially for larger quantities or more delicate chocolates.
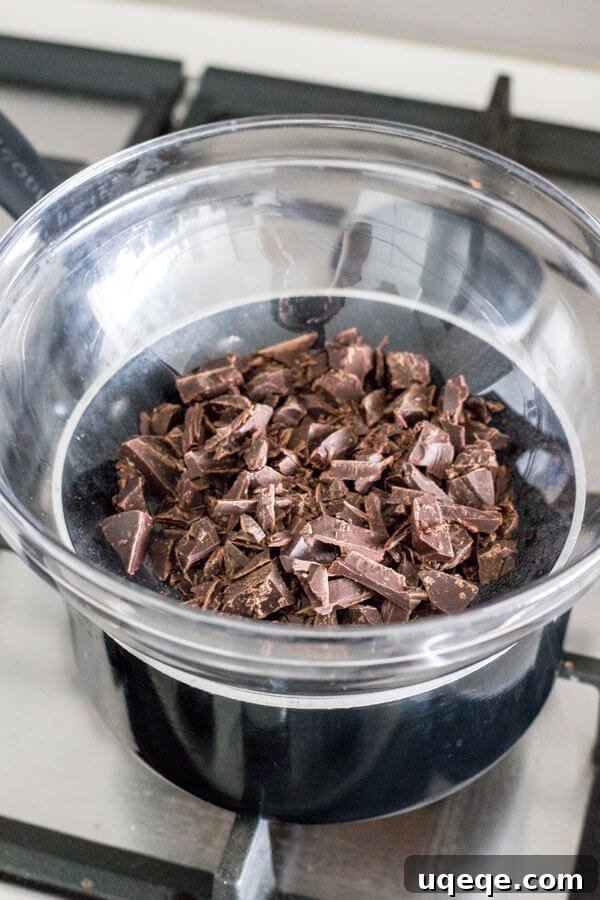
- Set Up Your Double Boiler: Add about 1/2 inch to 1 inch of water to the bottom of a saucepan. You can use a dedicated double boiler or create your own by placing a heat-proof glass or stainless steel bowl on top of the saucepan. Ensure that the bottom of the bowl does NOT touch the water. If it does, the chocolate will be subjected to direct heat, negating the benefit of this method.
- Add the Chocolate: Place your finely chopped chocolate into the dry upper bowl of the double boiler.
- Gentle Heat Application: Place the saucepan on the stove burner and turn the heat to low. Allow the water to come to a gentle simmer, producing steam. The steam, not the direct heat of the water, will gently warm the bowl and melt the chocolate.
- Stir Continuously: As the chocolate begins to melt from the edges, gently stir it with a dry, clean rubber spatula. Continue stirring until the chocolate is almost entirely melted. The consistent, indirect heat will ensure even melting.
- Remove and Finish: Once the chocolate is about 80-90% melted with just a few small pieces remaining, remove the bowl from the saucepan (or remove the saucepan from the heat). Continue stirring until the remaining pieces dissolve and the chocolate is completely smooth and glossy. This final off-heat stirring prevents overheating and maintains the chocolate’s perfect consistency.
Special Considerations: Melting Chocolate Chips and Candy Melts
Melting Chocolate Chips with Care
As discussed, chocolate chips are formulated to resist melting completely to maintain their shape in cookies. This means they require extra vigilance when being melted for dipping or coating. Both the microwave and double boiler methods will work, but you must be particularly careful to avoid overheating.
- Microwave Method for Chips: Use even shorter intervals (15-20 seconds) and stir very frequently. They may hold their shape even when fully melted, so rely on stirring to determine their true consistency. Stop heating as soon as they are smooth when stirred.
- Double Boiler for Chips: This method offers more control. Keep the heat very low and stir constantly. Be patient, as they will take slightly longer to melt smoothly.
- Avoid Overheating: Chocolate chips can go from almost melted to a burnt, seized, lumpy mess incredibly quickly due to their stabilizers. Prioritize low heat and frequent stirring above all else.
Melting Candy Melts: The Easiest Option
Candy melts are inherently designed for easy melting and a smooth finish. They are generally the most forgiving and straightforward to work with. Follow the specific instructions provided on the packaging for the best results, or apply either of the methods described above. You’ll likely find they melt much faster and more smoothly than traditional chocolate or chocolate chips.
Essential Tips and Tricks for Trouble-Free Chocolate Melting
Achieving perfect melted chocolate consistently boils down to understanding a few critical principles. These expert tips will help you avoid common pitfalls and ensure a smooth, glossy outcome every time.
- Chop Chocolate into Small, Uniform Pieces: This is fundamental for even melting. Large, irregular pieces will melt at different rates, leading to some parts burning while others remain solid. Smaller pieces also expose more surface area to the heat, accelerating the melting process without needing excessive heat.
- Control Microwave Power: Always use medium (50%) power in the microwave. High power or regular power settings deliver too much intense heat too quickly, causing the cocoa solids to burn and the chocolate to become grainy and unusable. Patience here pays off immensely.
- The Absolute Enemy: Water Contamination: Even a single drop of water introduced into melting chocolate can cause it to “seize.” Seized chocolate instantly transforms from a smooth liquid to a thick, lumpy, unworkable paste. This is because water causes the cocoa solids to clump together.
- Ensure your bowls, spatulas, and any utensils are completely dry.
- When using the double boiler method, prevent steam from condensing and dripping back into the chocolate.
- If your chocolate does seize, you can sometimes rescue it by stirring in 1 teaspoon of vegetable oil or melted butter per ounce of seized chocolate until it becomes smooth again. Be aware this will change the final texture and flavor slightly.
- Never Overheat the Chocolate: Overheating is the most common culprit behind grainy, dull, or clumpy chocolate. Chocolate is delicate and can burn easily.
- Remove the chocolate from the heat source (microwave or stove) when it is about 80-90% melted.
- Continue stirring vigorously off the heat. The residual heat will finish the job, allowing the chocolate to melt gradually into a beautiful, smooth consistency. This prevents the cocoa solids from crystallizing in an undesirable way.
- Use Clean, Dry Utensils: Any trace of moisture, food debris, or oil on your utensils can negatively impact the melting process, potentially leading to seizing or an uneven texture.
- Be Patient: Rushing the melting process by cranking up the heat or extending microwave times too long is a recipe for disaster. Gentle, consistent heat and frequent stirring are your best friends.
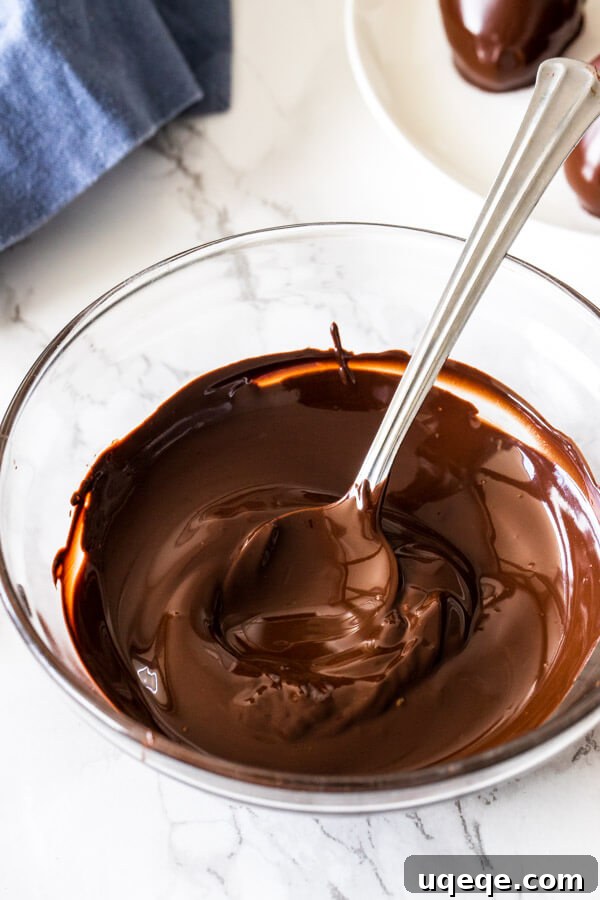
Now That You Know: What to Do with Your Perfectly Melted Chocolate?
Congratulations! You’ve mastered the art of melting chocolate to a smooth, glossy perfection. The possibilities for using your expertly melted chocolate are endless. Here are a few delectable ideas to put your new skills to good use:
- Nanaimo Bars – These classic Canadian treats often feature a luscious chocolate topping, perfect for showcasing your smooth melting technique.
- Chocolate Dipped Peanut Butter Cookies – Elevate your favorite cookies with a luxurious, glossy chocolate coating that sets beautifully.
- No-Bake Chocolate Peanut Butter Bars – A fantastic recipe where a smooth chocolate layer is absolutely essential for a delightful texture.
- Fresh Fruit Dipping: Transform simple fruits like strawberries, banana slices, or apple wedges into elegant desserts by coating them in your perfect melted chocolate.
- Homemade Truffles: Create rich, decadent truffles using perfectly melted chocolate as the base.
- Drizzles and Decorations: Add a professional touch to cakes, cupcakes, and pastries with beautiful chocolate drizzles or elegant decorations.
- Ganache: Use your melted chocolate to make a silky smooth ganache for fillings, glazes, or whipped toppings.
With these methods and tips in your culinary arsenal, you’ll never face grainy, lumpy chocolate again. Happy melting, and even happier baking!