
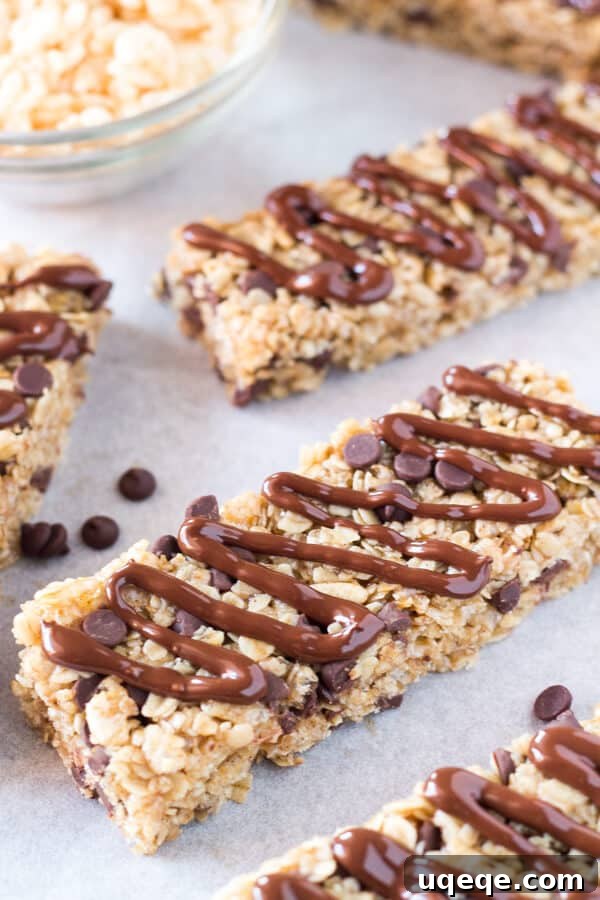
Soft & chewy, no-bake Homemade Granola Bars with chocolate chips and a decadent chocolate drizzle. This peanut-free granola bar recipe is incredibly easy to make and absolutely perfect for back-to-school season, busy mornings, or any time you need a delicious, wholesome snack!
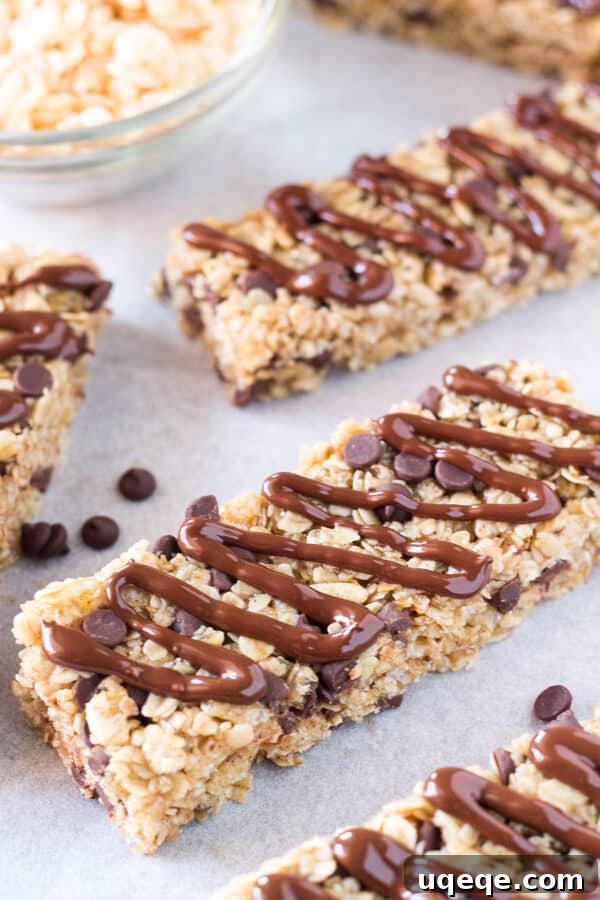
The Ultimate No-Bake Homemade Granola Bars: Chewy, Peanut-Free & Delicious!
As September arrives and the vibrant days of summer gradually give way to crisp autumn air, many families find themselves transitioning back into the rhythm of school and busy schedules. With this shift comes the universal quest for convenient, nutritious, and undeniably tasty snacks that can power through the day. Forget store-bought options that often contain questionable ingredients and come in frustratingly small packages; it’s time to embrace the simplicity and joy of homemade.
Today, we’re diving into a recipe for truly exceptional homemade granola bars. These aren’t just any granola bars; they are soft, delightfully chewy, and packed with the comforting flavors of oats and chocolate. Best of all, they’re completely nut-free, making them safe for school environments, and require no baking whatsoever. In less than 15 minutes of active prep time, you can whip up a batch that will sweeten the reality that summer holidays are over and provide a welcome burst of energy for everyone.
Why Homemade Granola Bars Are a Game Changer
There are countless reasons why making your own granola bars triumphs over reaching for a box at the grocery store. Beyond the sheer satisfaction of creating something delicious from scratch, homemade offers significant advantages:
- Unbeatable Flavor and Texture: These bars are incredibly soft and chewy, a texture often difficult to find in pre-packaged varieties. The combination of oats, crispy rice cereal, brown sugar, and honey creates a depth of flavor that’s both satisfying and addictive.
- Perfect for Dietary Needs: Our recipe is specifically designed to be peanut-free, making it an ideal, worry-free snack for children with nut allergies or for schools with strict nut-free policies. You have complete control over every ingredient, allowing you to tailor them to any dietary preference or restriction.
- Budget-Friendly: Let’s be honest, store-bought granola bars can be surprisingly expensive, especially for a family. Making your own significantly cuts down on costs, providing more value for your money.
- Customization Galore: This recipe serves as a fantastic base for endless variations. You can add your favorite dried fruits, seeds, spices, or different types of chocolate chips to suit every palate.
- Larger Batches, Less Stress: Instead of being limited to boxes of 5 or 6, you can make a generous batch of 24 bars at once. This means fewer trips to the store and a readily available supply of snacks for the entire week. No more negotiating over the last bar!
- No Mystery Ingredients: With homemade, you know exactly what goes into your food. Say goodbye to artificial flavors, preservatives, and high-fructose corn syrup often found in commercial brands.
The Magic of No-Bake: Quick, Easy, and Delicious
The “no-bake” aspect of this recipe is truly what makes it a weeknight winner. In our fast-paced lives, finding time to bake can often feel like a luxury. These granola bars eliminate the need for an oven, making the process quick and fuss-free. From start to finish, you can have these delicious treats ready to chill in under 15 minutes of active preparation. This means less cleanup, less waiting, and more time to enjoy your creations.
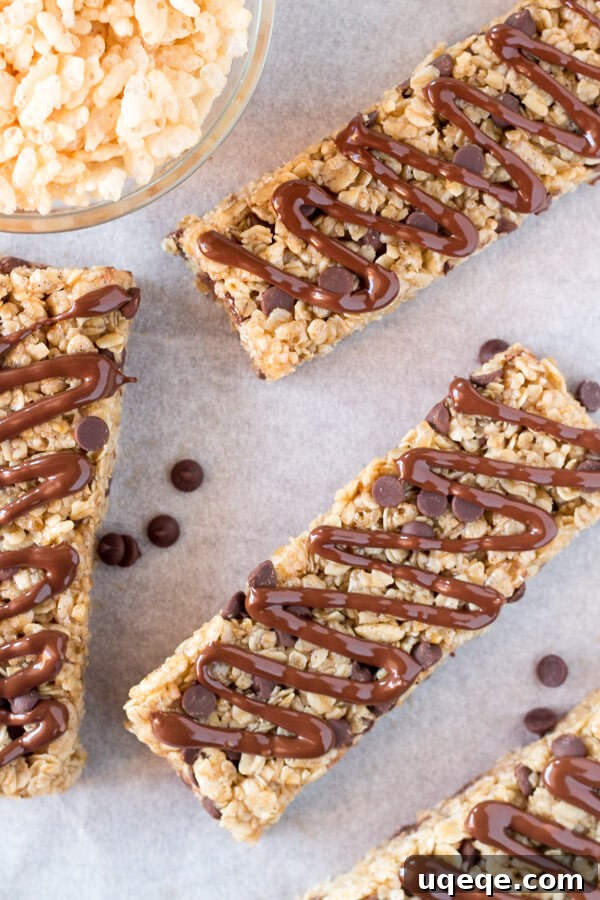
Key Ingredients for Perfect Chewy Granola Bars
The secret to these wonderfully soft and chewy granola bars lies in a harmonious blend of simple, wholesome ingredients. Each component plays a crucial role in achieving the desired texture and flavor:
Essential Granola Bar Ingredients
- Quick Oats: While old-fashioned oats work beautifully in oatmeal cookies, quick oats are the star here. Their smaller, thinner flakes absorb the liquid mixture more readily, creating a softer, more cohesive bar without the need for extensive processing or baking.
- Crispy Rice Cereal: This adds a delightful crunch and lightness, balancing the chewiness of the oats. It also helps bind the bars together and adds volume without making them overly dense.
- Butter: Provides richness and flavor, contributing to the overall deliciousness and helping to create a smooth, emulsified binding mixture.
- Brown Sugar: This is key for both flavor and chewiness. Packed brown sugar contains molasses, which imparts a wonderful caramel note and helps keep the bars incredibly moist and soft, preventing them from becoming brittle once set.
- Honey: A natural sweetener and a powerful binder. Honey’s sticky consistency is essential for holding the bars together and adding its unique floral sweetness.
- Corn Syrup: Don’t skip this ingredient! Corn syrup might seem unusual, but it’s crucial for achieving that signature chewy texture. It helps prevent sugar crystallization, ensuring the bars remain soft and flexible rather than hard and crumbly. It also contributes to the glossy finish of the binding mixture.
- Vanilla Extract: A touch of vanilla elevates all the other flavors, adding a warm and inviting aroma.
- Cinnamon: A hint of cinnamon complements the brown sugar and oats beautifully, adding a subtle spice that makes these bars even more comforting.
- Mini Chocolate Chips: Because what’s a delicious snack without a little chocolate? Mini chips distribute evenly throughout the bars, ensuring a chocolatey bite in every mouthful.
For the Irresistible Chocolate Drizzle
- Chocolate Chips: You can use semi-sweet, milk, or dark chocolate chips depending on your preference.
- Vegetable Oil: A tiny amount of vegetable oil helps thin out the melted chocolate, making it smooth and easy to drizzle. It also gives the chocolate a lovely sheen and helps it set without cracking.
Step-by-Step Guide: Crafting Your Own Granola Bars
Creating these no-bake wonders is incredibly straightforward. Just follow these simple steps:
- Prepare Your Pan: First, line a 9×13 inch baking pan with parchment paper. If you don’t have parchment paper, you can use aluminum foil and lightly spray it with cooking spray. This step is crucial for easy removal of the bars once they’ve set.
- Combine Dry Ingredients: In a large mixing bowl, gently toss together your quick oats and crispy rice cereal. Set this bowl aside for now.
- Create the Binding Mixture: In a medium-sized saucepan, combine the butter, packed brown sugar, honey, and corn syrup. Place the saucepan over medium heat and stir constantly until all the ingredients have melted together and formed a smooth, cohesive syrup. Once melted, allow the mixture to come to a slow, gentle boil for exactly two minutes, continuing to stir. This boiling process is vital for ensuring the bars set properly.
- Flavor Infusion: Remove the saucepan from the heat and let the mixture cool for about five minutes. This prevents the vanilla and cinnamon from evaporating and losing their potency. After cooling slightly, stir in the vanilla extract and cinnamon. You’ll immediately notice a wonderfully aromatic scent!
- Combine and Chill: Pour the warm (but not hot!) syrup mixture into the large bowl with your oats and cereal. Using a large wooden spoon or a sturdy rubber spatula, stir everything together thoroughly until the dry ingredients are completely coated. At this point, add the 1/3 cup of mini chocolate chips. It’s important that the mixture isn’t too hot when you add the chocolate chips, or they’ll melt prematurely. Once combined, spoon the mixture into your prepared pan. This is where patience and pressure are key: press the mixture down very tightly with your hands (lightly greased if it’s too sticky) or the back of your spatula. The firmer you pack it, the better your bars will hold together.
- Set and Slice: Place the pan in the freezer for 30 to 60 minutes. The freezing time is essential for the bars to firm up properly, making them easy to slice without crumbling. Once hardened, remove the pan and carefully lift the entire slab of granola out using the parchment paper. Cut the slab into bars of your desired size. We typically get around 24 bars from this recipe.
- Drizzle with Chocolate (Optional but Recommended!): For the final touch, make the chocolate glaze. In a small microwave-safe bowl, combine the 1/2 cup of chocolate chips and 1/4 teaspoon of vegetable oil. Microwave in short 30-second bursts, stirring well after each interval, until the chocolate is completely melted and smooth. Drizzle the melted chocolate generously over the top of each bar. Allow the chocolate to set at room temperature or in the refrigerator for a few minutes before serving.
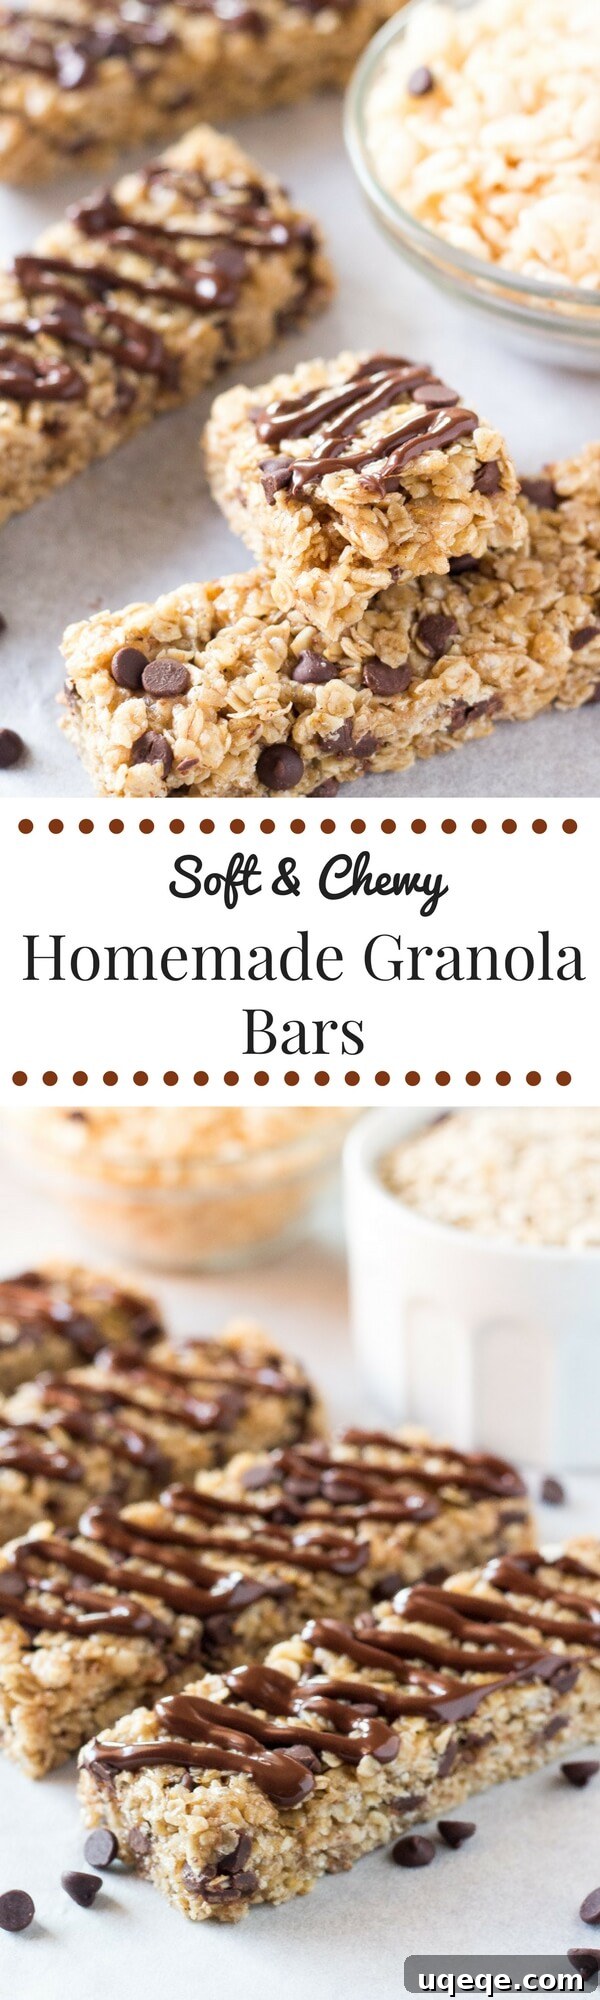
Customizing Your Granola Bars: Endless Variations!
While this base recipe is fantastic on its own, one of the greatest joys of homemade granola bars is the ability to customize them. Feel free to experiment with these additions:
- Dried Fruits: Stir in 1/2 cup of your favorite dried fruits like cranberries, raisins, chopped apricots, dried cherries, or blueberries for an extra burst of flavor and chewiness.
- Seeds: For an added nutritional boost, mix in chia seeds, flax seeds, hemp hearts, or sunflower seeds (ensure they are allergen-safe if making for schools).
- Different Chocolates: Instead of just mini chocolate chips, try white chocolate chips, dark chocolate chunks, or even butterscotch chips.
- Shredded Coconut: Toasted or untoasted shredded coconut can add a lovely tropical flavor and texture.
- Spices: Enhance the warm notes with a pinch of nutmeg, a dash of pumpkin pie spice, or a touch of cardamom.
- Extracts: Beyond vanilla, a few drops of almond extract or even a hint of peppermint extract can completely change the flavor profile.
- Nut Butters (if not peanut-free): If allergies aren’t a concern, you can add 1/4 cup of peanut butter or almond butter to the melted syrup mixture for extra flavor and protein.
Storage and Shelf Life
These homemade granola bars are perfect for meal prepping and will last for a good while if stored correctly:
- Room Temperature: Store the bars in an airtight container at room temperature for up to 5-7 days.
- Refrigerator: For an extended shelf life and a firmer texture, store them in an airtight container in the refrigerator for up to 2 weeks.
- Freezer: These bars freeze beautifully! Wrap individual bars tightly in plastic wrap, then place them in a freezer-safe bag or container. They can be stored in the freezer for up to 3 months. Thaw at room temperature or in the refrigerator before enjoying.
Granola Bars vs. Store-Bought: A Healthier Choice?
When you make granola bars at home, you take control of the ingredients, often resulting in a healthier alternative to many commercial options. Store-bought bars can be loaded with added sugars, unhealthy fats, and artificial flavors or preservatives. Our homemade version uses natural sweeteners like honey and brown sugar, and you can easily incorporate whole grains and nutrient-rich additions. While they still contain sugar, knowing exactly what’s in them allows for a more mindful snack choice, especially for active kids or a morning treat with coffee.
Frequently Asked Questions (FAQ)
- Q: Can I use old-fashioned oats instead of quick oats?
A: While quick oats are recommended for the softest, chewiest texture and best binding, you can use old-fashioned oats. The bars might be a bit chewier and less cohesive, but they will still be delicious. - Q: Can I make these vegan?
A: Yes! Substitute the butter with a plant-based butter alternative and the honey with maple syrup or agave nectar. Ensure your chocolate chips are also dairy-free. - Q: Is corn syrup necessary? Can I skip it?
A: Corn syrup is highly recommended for achieving the perfect chewy texture and preventing crystallization of the sugars. While you can omit it, the texture of your bars might be a bit firmer and more prone to crumbling. Some people successfully substitute with additional honey or maple syrup, but results may vary. - Q: My bars are crumbling. What went wrong?
A: The most common reasons for crumbling bars are not packing the mixture tightly enough into the pan or not boiling the syrup mixture for the full two minutes. The boiling step is crucial for activating the binding properties of the sugar and honey. Ensure you press down firmly! - Q: How long do these last?
A: When stored in an airtight container, they last up to a week at room temperature, two weeks in the refrigerator, or up to three months in the freezer.
Conclusion: Your New Go-To Snack!
These no-bake homemade granola bars are more than just a recipe; they’re a solution for busy lives, a comforting treat, and a customizable canvas for your favorite flavors. They embody convenience without compromising on taste or quality. Whether you’re preparing for the back-to-school rush, stocking up on healthy snacks, or simply craving something sweet and satisfying, these chewy, peanut-free delights with their chocolatey goodness are sure to become a beloved staple in your home. Give them a try – your taste buds (and your family!) will thank you!
Homemade Granola Bars
By: Fiona Dowling
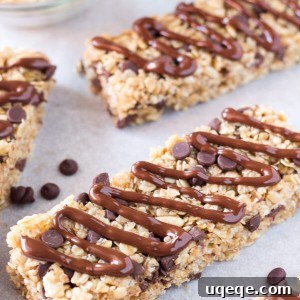
Soft & chewy, no-bake Homemade Granola Bars with chocolate chips and chocolate drizzle. This peanut-free granola bar recipe is so easy and so perfect as an after-school snack.
Prep Time: 15 mins
Chill Time: 30-60 mins
Total Time: 45-75 mins
Servings: 24 bars
Ingredients
For the Granola Bars
- 2 1/2 cups quick oats
- 2 cups crispy rice cereal
- 1/3 cup butter
- 1/2 cup packed brown sugar
- 1/3 cup honey
- 1 tablespoon corn syrup
- 2 teaspoons vanilla extract
- 1/2 teaspoon cinnamon
- 1/3 cup mini chocolate chips
For the Chocolate Glaze
- 1/2 cup chocolate chips
- 1/4 teaspoon vegetable oil
Instructions
- Line a 9×13 inch baking pan with parchment paper, or line with aluminum foil and spray lightly with cooking spray.
- In a large bowl, toss together the quick oats and crispy rice cereal. Set aside.
- In a medium-sized saucepan over medium heat, melt together the butter, brown sugar, honey, and corn syrup. After everything has melted together, allow the mixture to come to a slow boil for 2 minutes while gently stirring. Remove the pot from the heat and allow to cool for about 5 minutes. Then stir in the vanilla extract and cinnamon.
- Pour the sauce into your bowl with the quick oats and cereal, stirring it together with a large wooden spoon or rubber spatula until well combined. Then stir in the 1/3 cup mini chocolate chips. Make sure the batter isn’t hot before stirring in the chocolate chips – otherwise, they’ll melt.
- Spoon the batter into your prepared pan and press it down tightly with your hands or a rubber spatula/wooden spoon. This step is crucial for the bars to hold together. Place the tray in the freezer for 30 to 60 minutes to harden. Then cut into bars – you should get about 24 total.
- To make the glaze, add the 1/2 cup chocolate chips and vegetable oil into a small bowl and microwave for short 30-second bursts, stirring between each burst, until completely melted and smooth. Drizzle the melted chocolate over the top of each bar and allow the chocolate to set (at room temperature or in the refrigerator).
Nutrition
Calories: 146 kcal per bar