
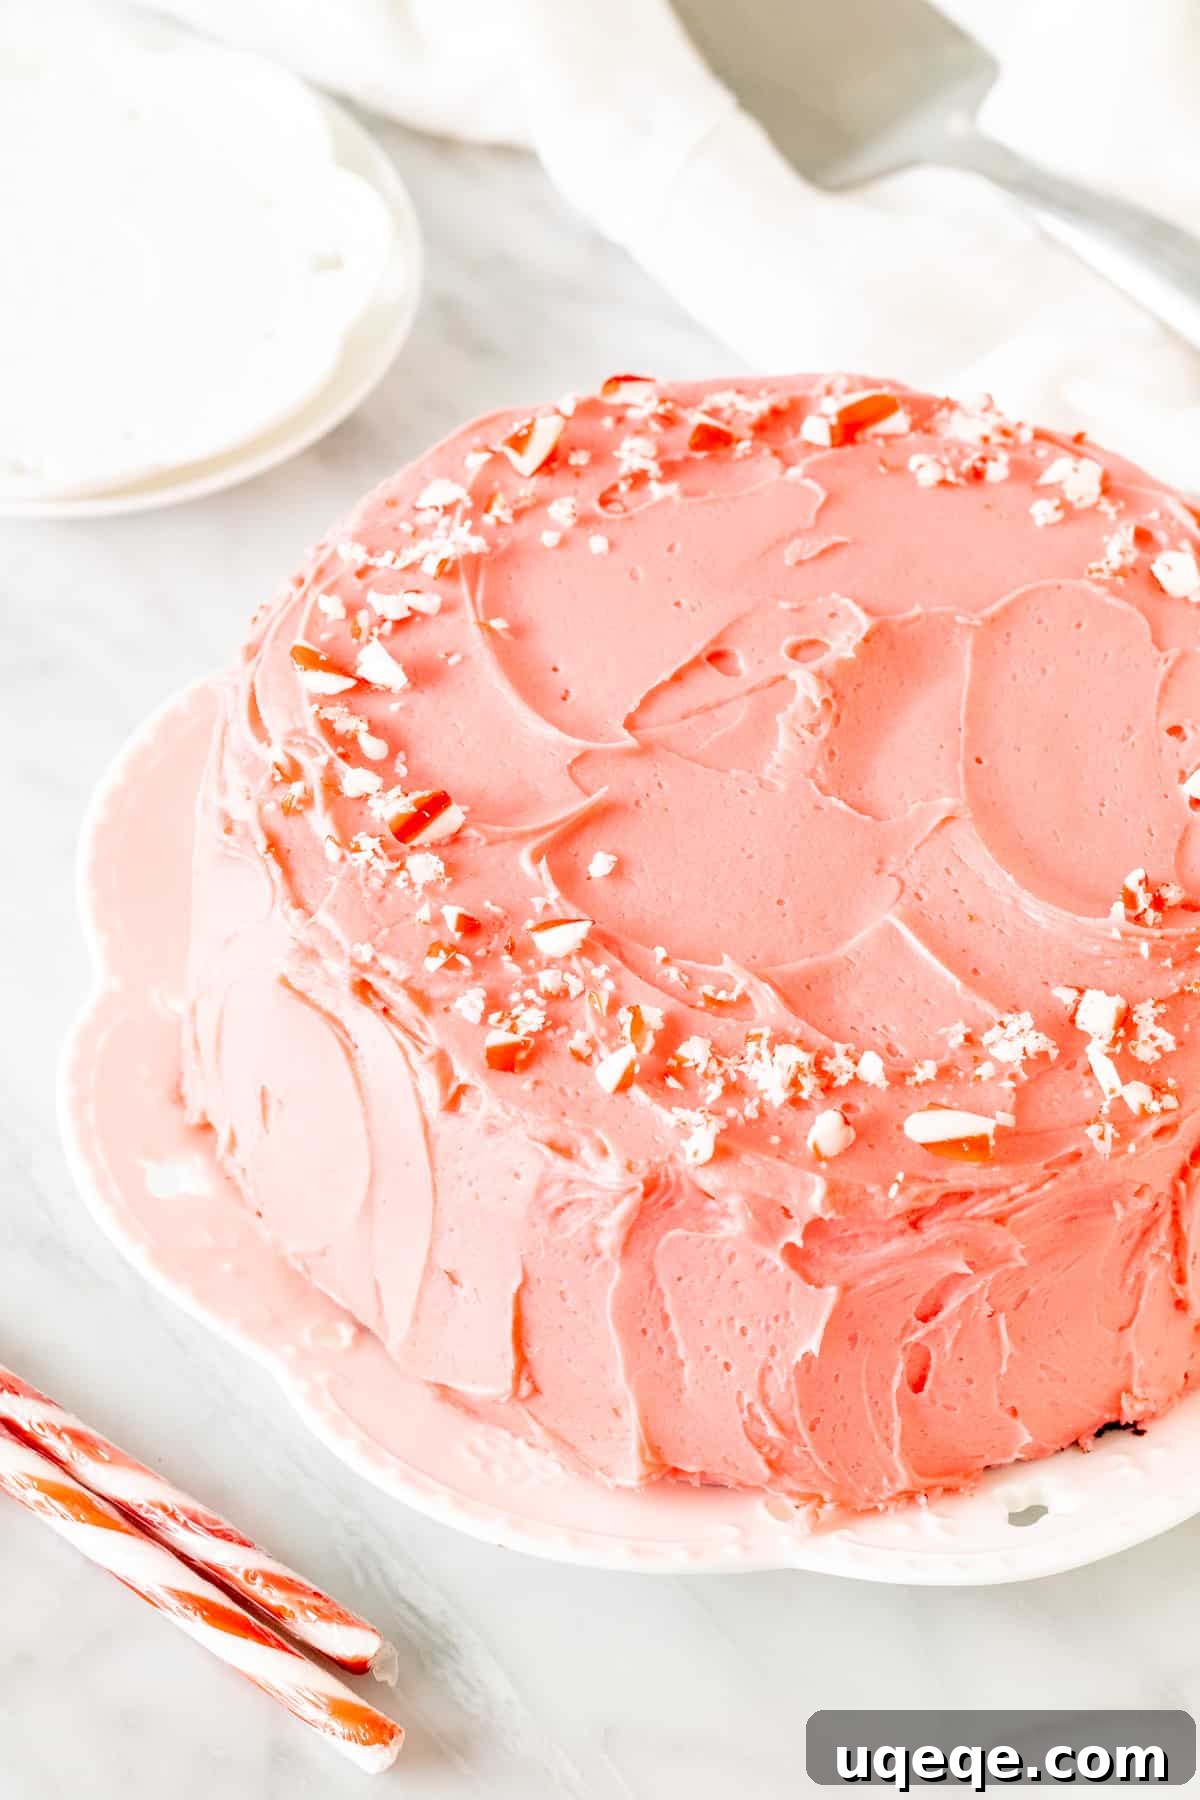
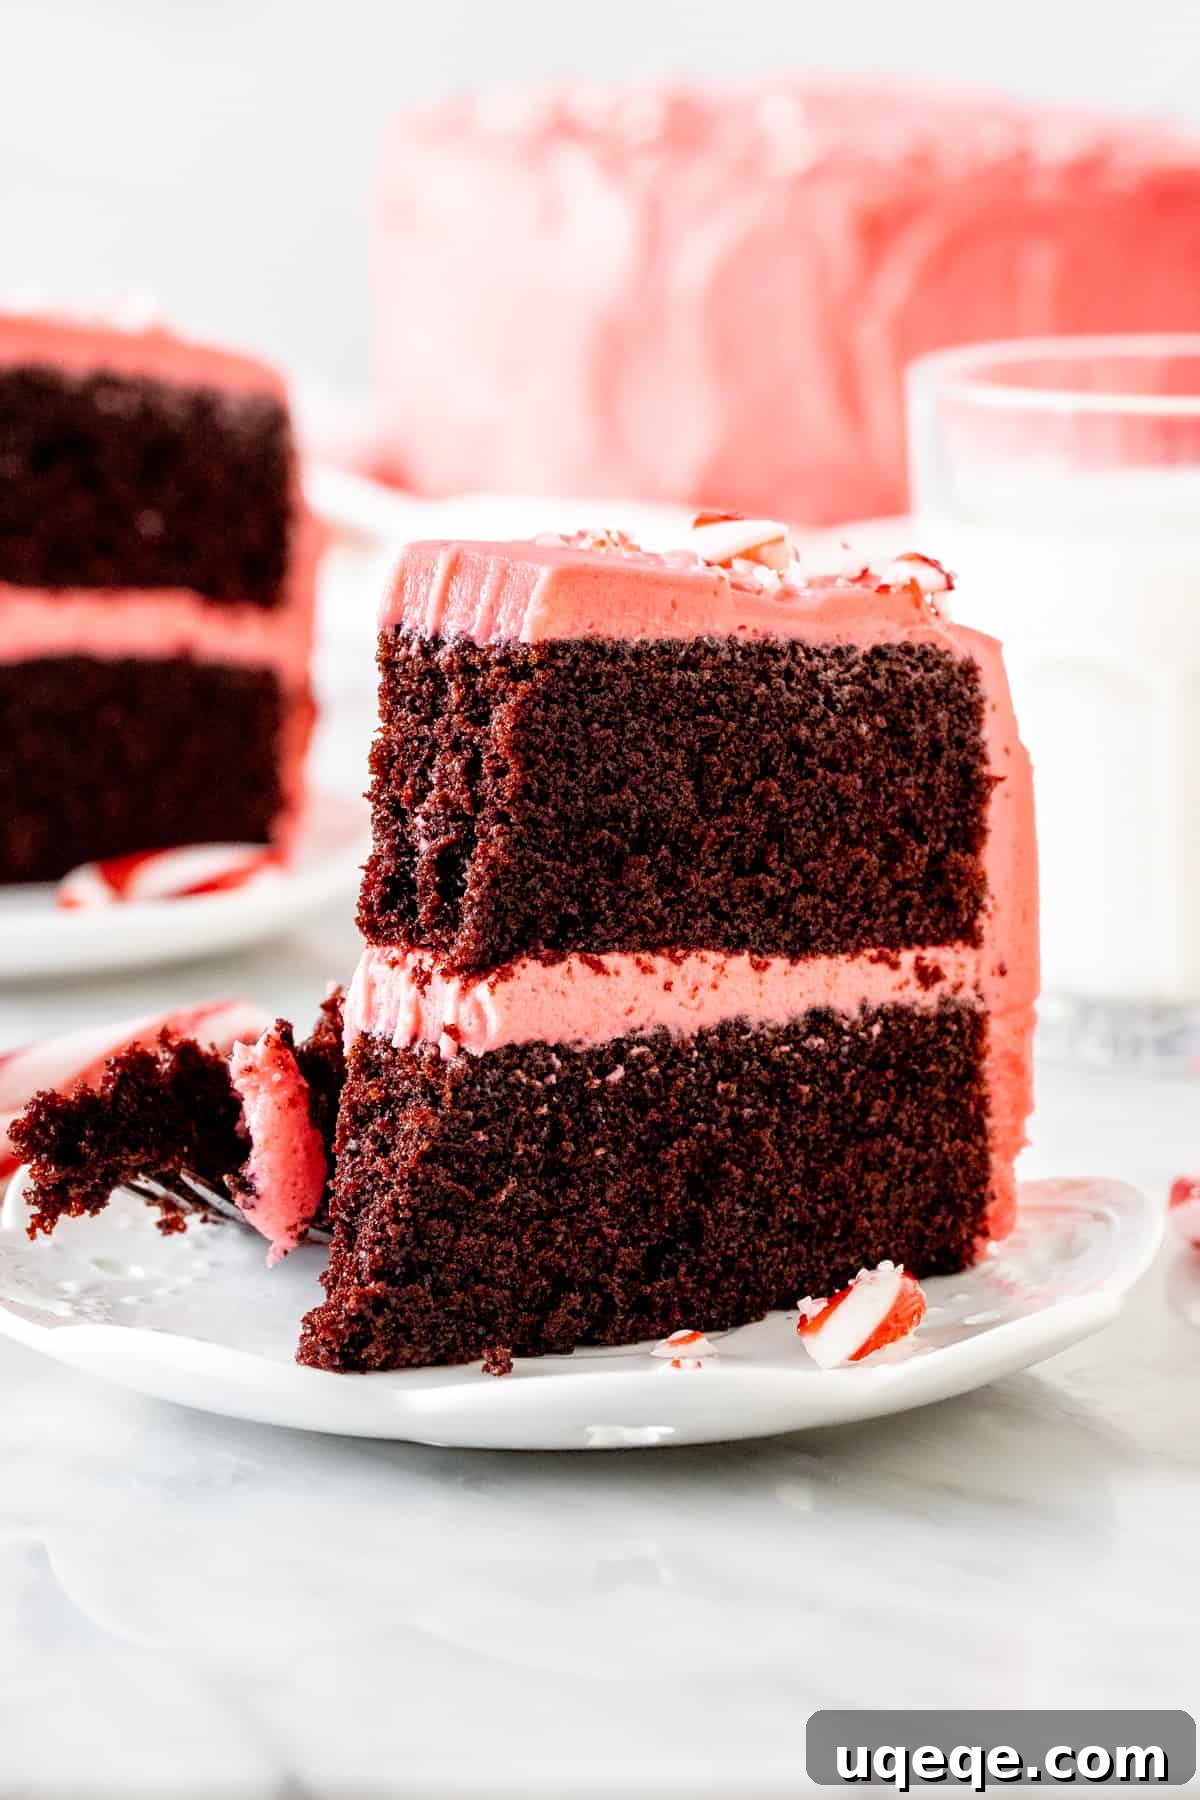
Layers of rich, fudgy chocolate cake perfectly paired with sweet, vibrant peppermint frosting make this Chocolate Candy Cane Cake an absolute masterpiece for your Christmas celebrations. This show-stopping dessert not only graces any holiday table with its beautiful festive appearance but also promises to satisfy even the most serious sweet tooth. Prepare to delight your family and friends with a truly unforgettable holiday treat that embodies the spirit of the season.
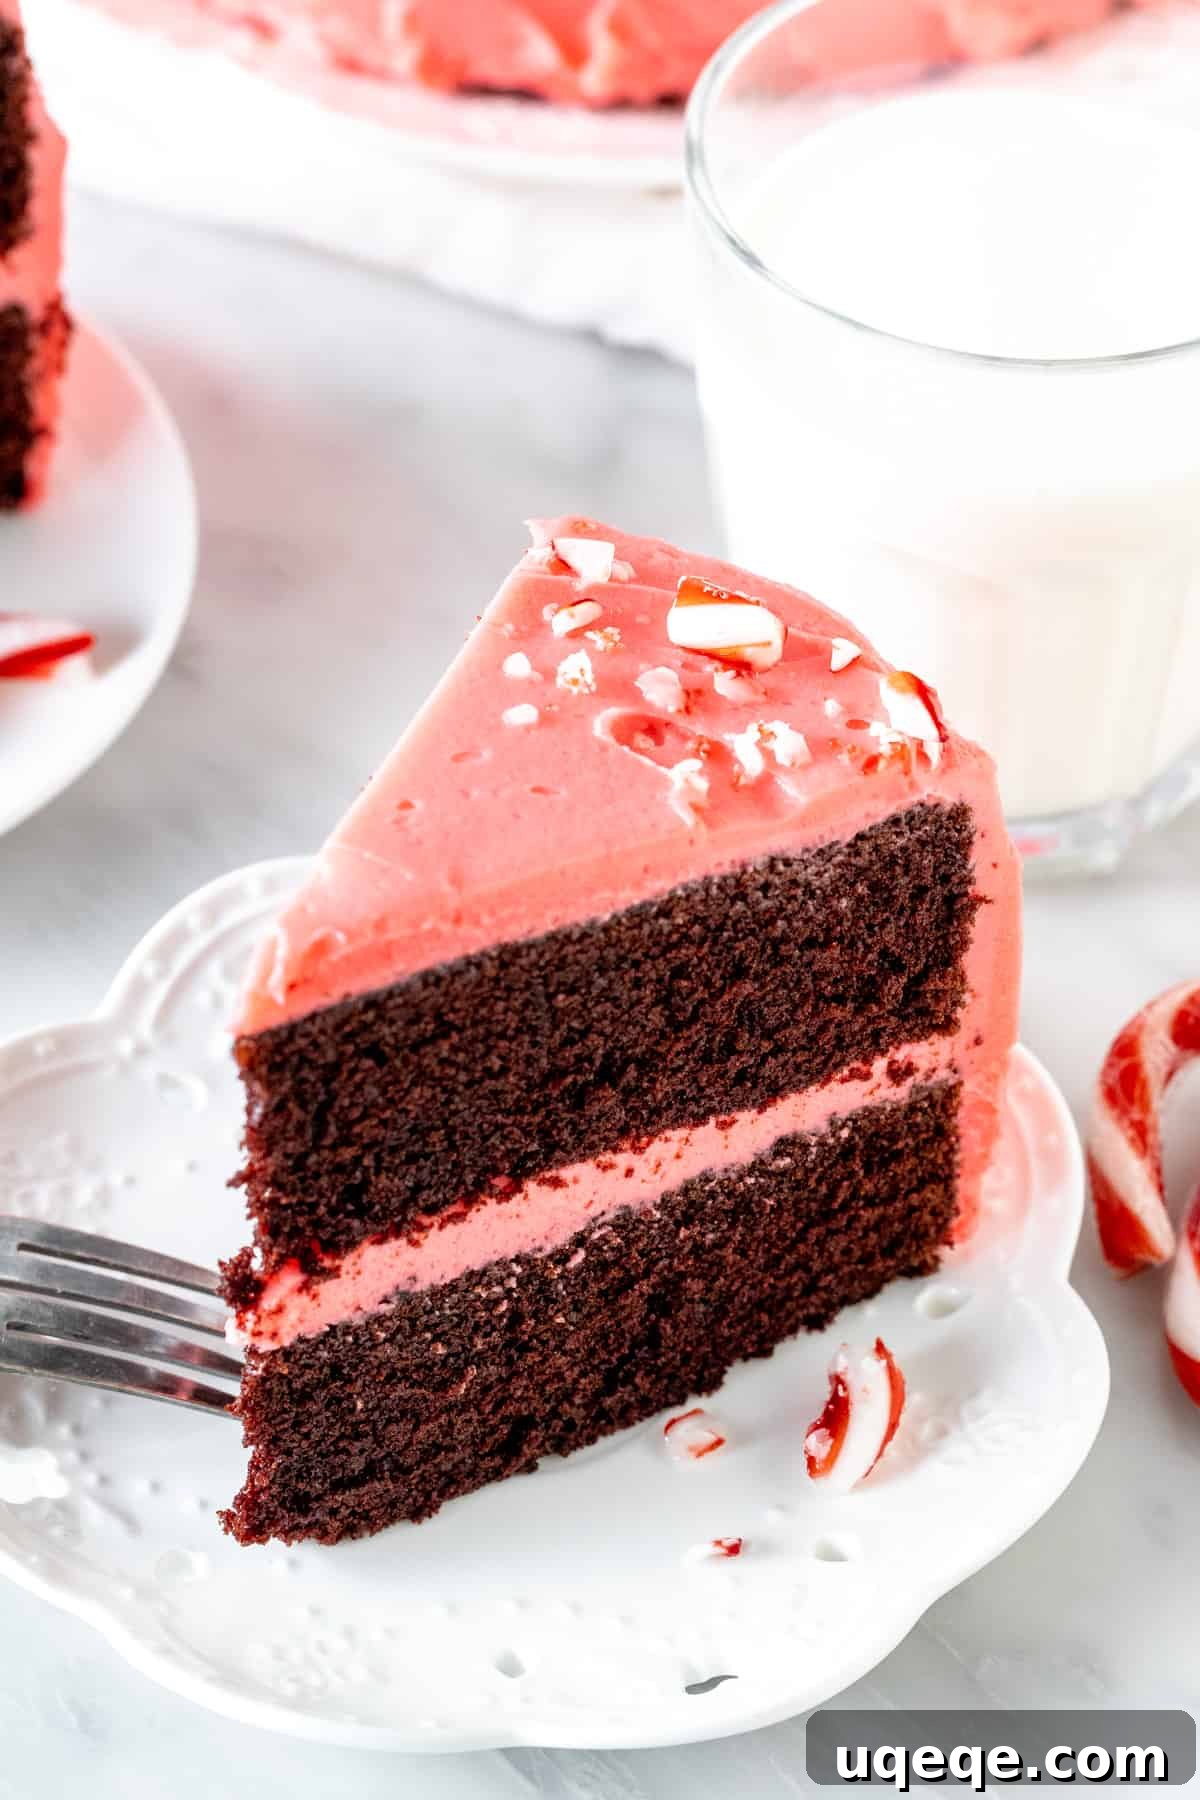
The BEST Chocolate Candy Cane Cake Recipe for Christmas
If the enchanting combination of deep, rich chocolate and cool, refreshing peppermint truly speaks to your holiday cravings, then you’ve discovered your new favorite dessert. This isn’t just any cake; it’s a celebration of classic Christmas flavors in every single bite. The foundations of this magnificent dessert are its chocolate cake layers, renowned for being incredibly moist, intensely fudgy, and bursting with a luxurious chocolate taste that will leave you wanting more. Complementing this dark indulgence is a peppermint frosting that is pure bliss—sweet, velvety smooth, and delightfully fluffy, offering a bright, tangy peppermint kick that perfectly balances the chocolate.
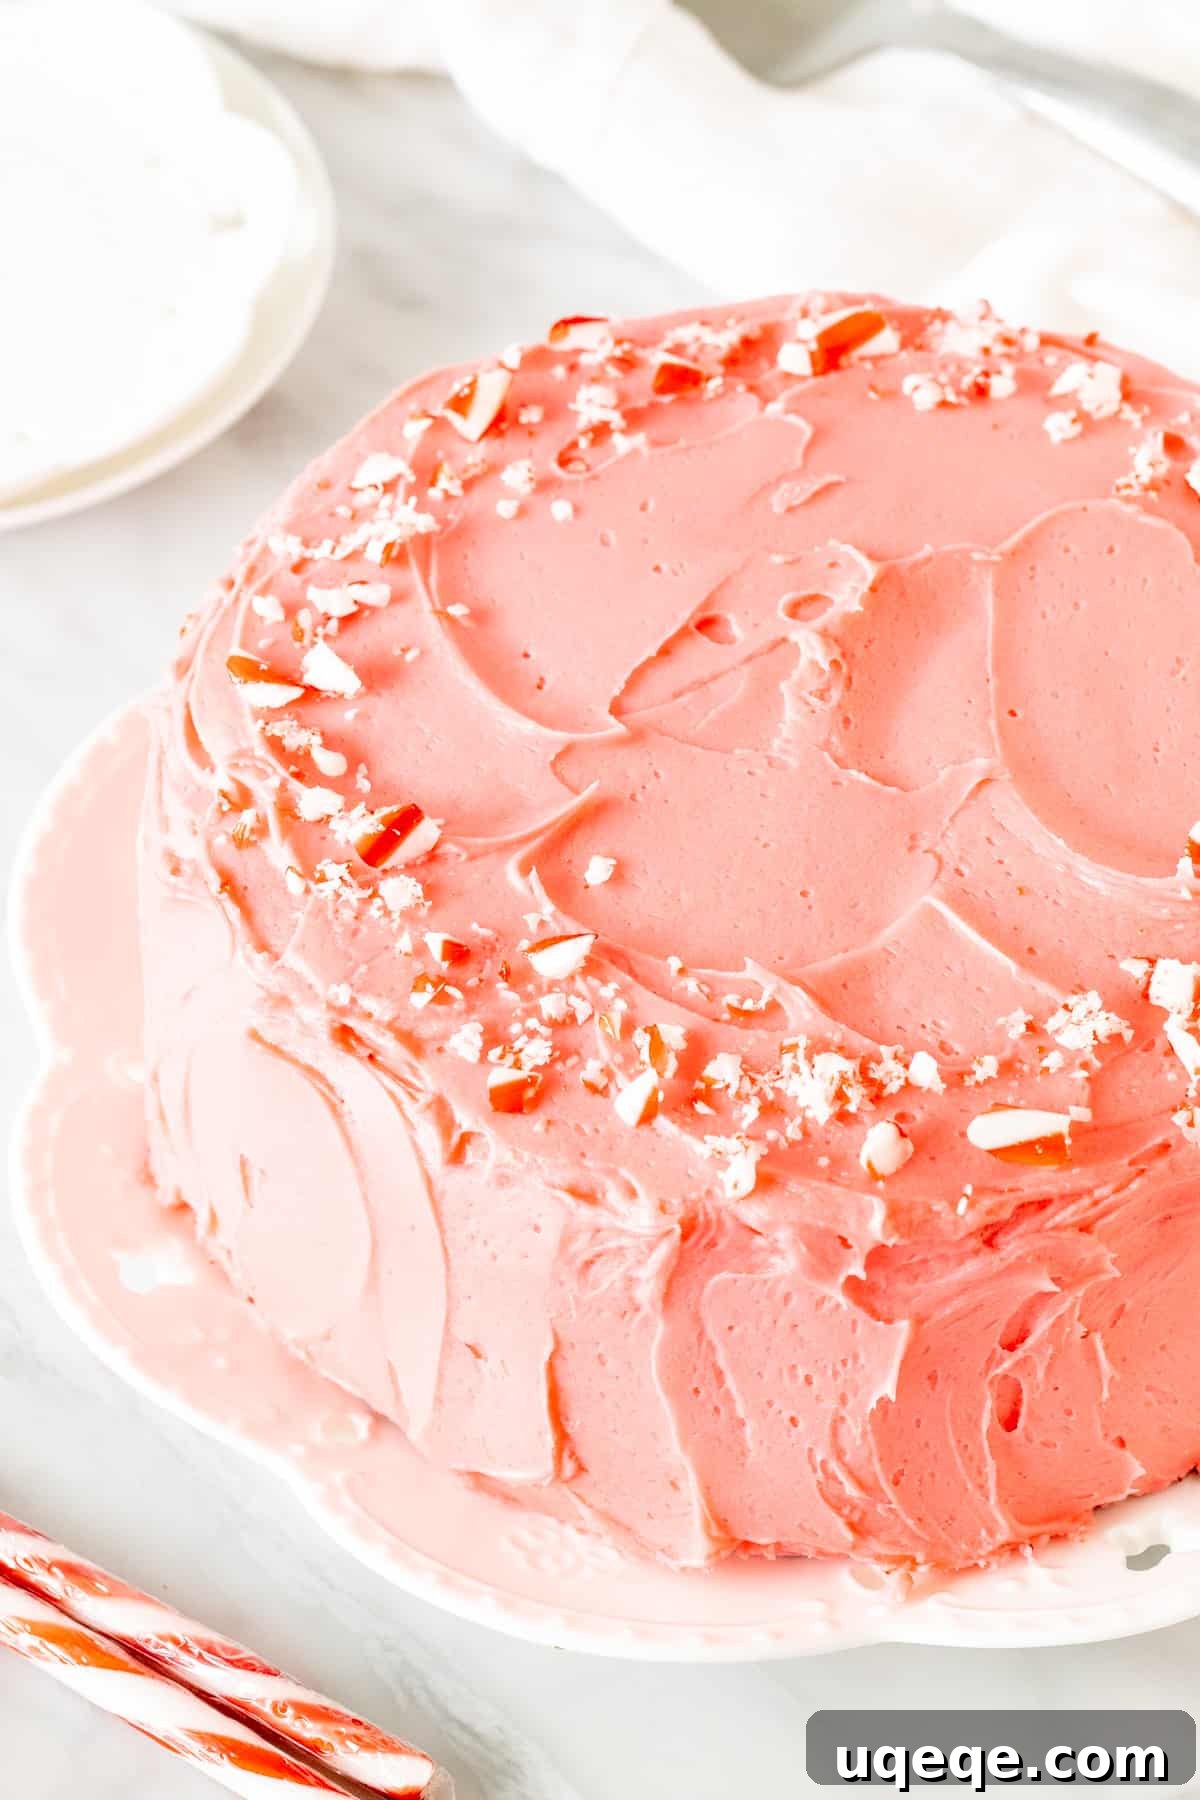
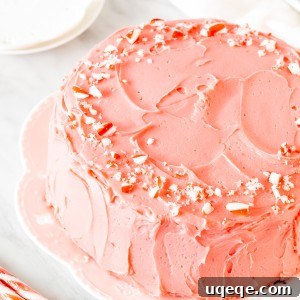
The visual appeal is just as important as the taste, especially during the festive season. We’ve meticulously decorated this cake with generously crushed candy canes, scattered across the top and sides, providing not only a delightful crunch but also that iconic red and white holiday sparkle. These festive decorations go a long way in transforming a delicious cake into a captivating centerpiece, making it an ideal choice for any Christmas party or family gathering. Get ready to impress with a cake that looks as incredible as it tastes!
Essential Baking Tips & Tricks for a Perfect Holiday Cake
Achieving a bakery-quality layer cake at home is entirely possible with a few insider tips and tricks. Follow these guidelines to ensure your Chocolate Candy Cane Cake is not only delicious but also beautifully presented and stress-free to prepare, especially during the busy holiday season.
- Cake Layers Freeze Exceptionally Well: Don’t let holiday prep stress you out! You can easily prepare the chocolate cake layers in advance. Once baked, allow them to cool completely. Carefully remove each layer from its pan, then wrap each layer tightly in plastic wrap, ensuring no air can get in. For extra protection against freezer burn, wrap them again in aluminum foil. These layers can be frozen for up to two months, making them perfect for advance holiday baking. When you’re ready to assemble, simply thaw the frozen layers in the refrigerator overnight. Then, all that’s left is to prepare your irresistible peppermint frosting and assemble your magnificent cake on the day you plan to serve it. This strategy is a game-changer for holiday entertaining!
- Hand Mixing for a Rich Batter: While a stand mixer can certainly be used, this decadent chocolate cake batter can be made entirely by hand using a sturdy wire whisk. The process is surprisingly straightforward and allows you to truly connect with your baking. Just be sure to use a very large mixing bowl, as there’s a significant amount of batter, and you’ll appreciate the extra space for whisking thoroughly without spills.
- Achieving the Perfect Frosting Canvas: It is absolutely crucial that your cake layers are completely cooled before you even think about applying frosting. Attempting to frost warm cakes will lead to melted, messy frosting and a frustrating experience. For even easier handling and to achieve a firmer texture, consider chilling your cooled cake layers in the fridge for about 15-30 minutes before you begin frosting. This slight chill makes them more stable and less prone to crumbling.
- Leveling for a Professional Finish: Often, cake layers will bake with a slightly rounded or domed top. To ensure your stacked cake is perfectly level, stable, and aesthetically pleasing, use a long serrated knife to gently saw off the rounded top of each cake layer. This creates a flat surface, allowing the layers to sit perfectly on top of each other without leaning or wobbling, resulting in a much more polished and professional-looking cake.
- Customizing Peppermint Flavor Intensity: The amount of peppermint extract used in the frosting is truly a matter of personal preference. Peppermint extracts can vary in strength, and everyone has their ideal level of mintiness. We recommend starting with the lower end of the suggested amount (1 teaspoon) and gradually adding more, a few drops at a time, as you beat the frosting. Taste frequently until you achieve your perfect balance of sweet and minty flavor.
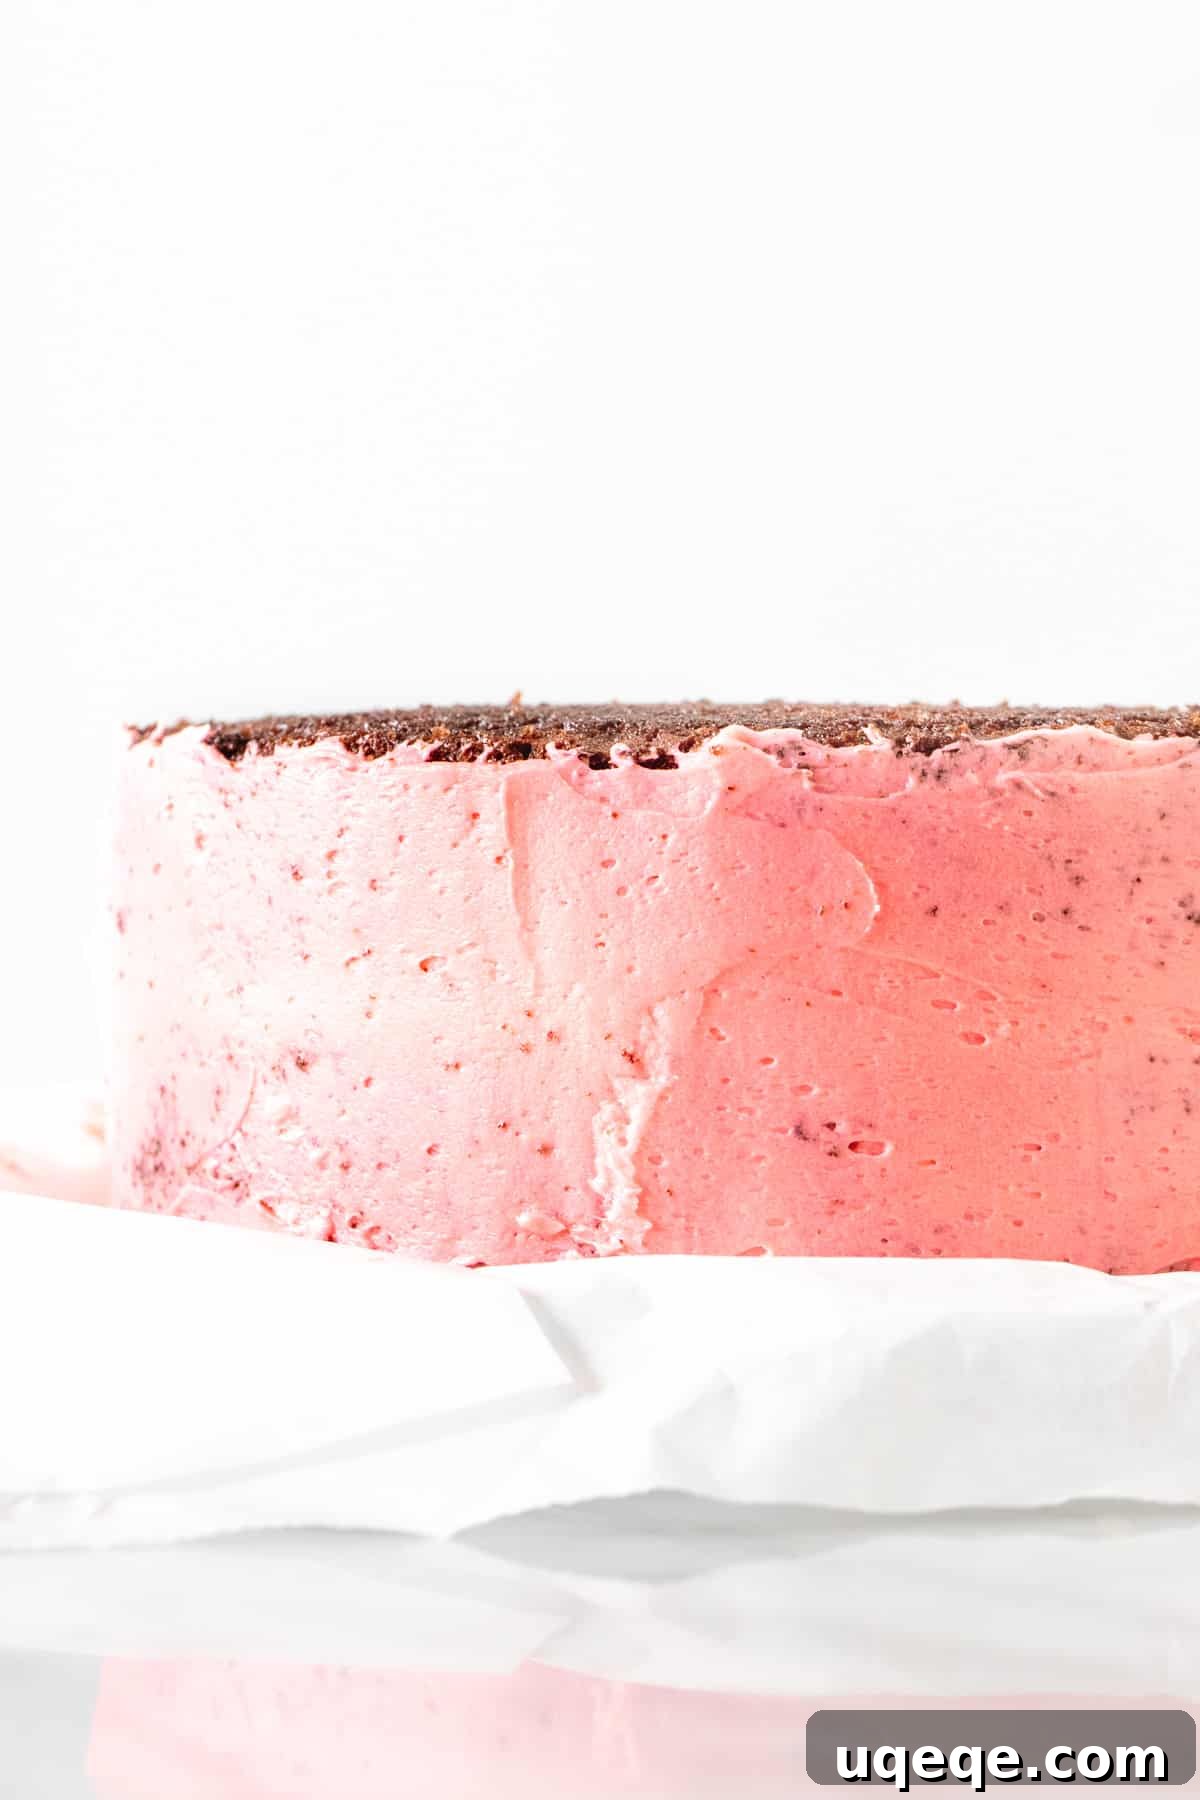
- The Importance of a Crumb Coat: This is a fundamental step for any beautifully frosted layer cake. A crumb coat is essentially a very thin, initial layer of frosting applied over the entire cake (top and sides) before the final, decorative frosting layer. Its primary purpose is to “seal in” any loose cake crumbs, preventing them from mixing into your pristine, colorful final layer of frosting. Don’t worry if you see crumbs in this first coat or if the dark brown cake shows through the pink frosting—this is completely normal! Once the crumb coat is applied, place the cake in the fridge for at least 30 minutes to allow the frosting to firm up and lock in those crumbs. After chilling, you can then proceed with your beautiful, thicker final layer of creamy peppermint frosting, assured that it will be perfectly smooth and crumb-free. The image below illustrates what a crumb coat looks like.
This chocolate peppermint cake truly stands out as the perfect holiday dessert, offering a delightful treat for anyone who appreciates a serious sweet tooth. Its rich, deeply chocolatey, and wonderfully fudgy layers are perfectly complemented by the most delicious and refreshing candy cane frosting. To enhance this decadent Christmas cake experience, we highly recommend serving it alongside a tall, cold glass of milk – the classic pairing for a truly luxurious dessert.
If you’re utterly charmed by the festive appeal of candy canes and eager to explore more delightful holiday treats, be sure to try these other fantastic recipes from Just So Tasty:
- Candy Cane Brownies
- White Chocolate Candy Cane Cookies
- Peppermint Cheesecake
Chocolate Candy Cane Cake
Rate Recipe
Print Recipe
Equipment
- Two 8-inch round cake pans (with high sides)*
Ingredients
Chocolate Cake
- 2 cups all-purpose flour (AKA plain flour)
- ¾ cup cocoa powder
- 2 cups granulated sugar
- 1 ½ teaspoon baking soda
- 1 teaspoon baking powder
- ½ teaspoon salt
- ½ cup vegetable oil (or canola oil)
- 2 large eggs (room temperature)
- 2 teaspoons vanilla extract
- 1 cup buttermilk* (room temperature)
- ¾ cup hot coffee (freshly brewed, or boiling water)
Peppermint Frosting
- 1 ½ cups unsalted butter (softened to room temperature, but still slightly firm to the touch)
- 5-6 cups powdered sugar
- 1-2 teaspoons peppermint extract (to taste)
- a few drops red food coloring
- ¼ teaspoon salt
- 3-5 tablespoons whipping cream
- 1-2 crushed candy canes (for decoration)
Instructions
Chocolate Cake Preparation
-
Preheat your oven to 350°F (180°C).
-
Prepare two 8-inch round cake pans by lining the bottom of each with parchment paper. Lightly grease the sides of the pans and dust them with a thin layer of cocoa powder to prevent sticking. Ensure your 8-inch pans have sides at least 2 inches (about 5 cm) high for optimal baking. Refer to the recipe notes for alternative pan sizes.
-
In a very large mixing bowl, thoroughly whisk together the dry ingredients: flour, cocoa powder, granulated sugar, baking soda, baking powder, and salt. Ensure there are no lumps and the mixture is well combined.
-
In a separate large bowl, whisk together the wet ingredients: buttermilk, large eggs, and vanilla extract until smooth.
-
Gradually pour the wet ingredient mixture into the dry ingredients. Carefully whisk until the batter is smooth and no dry streaks of flour remain. Be careful not to overmix.
-
Gently whisk in the hot coffee (or boiling water) until the mixture is uniform and smooth. The batter will be quite thin at this stage, which contributes to the cake’s moistness.
-
Divide the prepared batter evenly between the two lined and greased cake pans.
-
Bake in the preheated oven for approximately 30-35 minutes. For best results, place both pans on the same rack if possible. The cakes are done when an inserted toothpick into the center comes out clean, and the edges of the cake begin to pull slightly away from the sides of the pan. Please note that baking times can vary, so always rely on the toothpick test rather than just the clock.
-
Once baked, remove the cakes from the oven and place them on a wire rack to cool completely. It is important to keep the cakes in their pans until they are fully cooled to prevent them from breaking apart.
Peppermint Frosting Preparation
-
In a large bowl, using an electric mixer, beat the softened unsalted butter until it is fluffy and perfectly smooth. This usually takes 2-3 minutes.
-
Sift in 3 cups of powdered sugar into the butter. Begin mixing on a low speed to incorporate the sugar without creating a cloud of dust, then gradually increase the speed until the sugar is fully blended and the frosting is creamy.
-
Add the peppermint extract (start with 1 teaspoon), salt, and a few drops of red food coloring to achieve your desired pink hue. Mix until well combined.
-
Continue to beat in the remaining powdered sugar, about 1 cup at a time, alternating with 1 tablespoon of whipping cream. Adjust the amount of powdered sugar and cream until your desired sweetness and consistency are reached. If you prefer a stronger mint flavor, add a little more peppermint extract. Adjust red food coloring as needed to achieve your ideal festive shade of pink.
Assembling the Cake
-
Before you begin assembly, ensure that both cake layers are completely cooled. If either cake layer has a domed or rounded top, use a long serrated knife to gently level it by sawing off the domed portion, creating a flat surface for stable stacking.
-
Place one cake layer, bottom side up, onto your chosen serving plate or cake stand. For easier cleanup, you may optionally place a few pieces of parchment paper around the edges of the plate, slightly tucked under the cake. These can be removed once the frosting is complete.
-
Evenly spread a generous amount (slightly less than ⅓ of the total frosting) over the top of the first cake layer.
-
Carefully place the second cake layer on top, also with its bottom side facing up. Now, apply a very thin, smooth layer of frosting over the entire cake – both the top and sides. This is your essential crumb coat. Don’t worry if crumbs get mixed into this layer or if the dark chocolate cake peeks through the pink frosting; its purpose is to trap all loose crumbs. Immediately place the cake in the fridge for at least 30 minutes to allow the crumb coat to firm up and seal.
-
Once the crumb coat is firm, retrieve the cake from the fridge. Apply the remaining frosting to the top and sides of the cake. You can create beautiful swirls or smooth the frosting for a clean finish. This thicker second layer will completely cover any crumbs from the first coat.
-
Finally, decorate your festive creation! Generously sprinkle crushed candy canes over the top and around the sides of the cake for that quintessential holiday sparkle and an extra burst of peppermint flavor and crunch. Slice and serve!
Notes
- Pan Sizes: The recipe is designed for two 8-inch (20 cm) round cake pans with at least 2-inch high sides.
- If using two 9-inch (23-cm) round pans, bake for approximately 25-30 minutes.
- For three 8-inch (20 cm) round pans, reduce baking time to about 25 minutes.
- If you opt for one 9×13 inch (23×33 cm) rectangular pan, the baking time will be around 40 minutes. For this size, you may want to divide the frosting recipe in half, as a single layer cake requires less frosting.
- Buttermilk Substitute: If you don’t have buttermilk on hand, don’t worry! You can easily make a homemade substitute. Simply add 2 teaspoons of white vinegar or freshly squeezed lemon juice to 1 cup of 1% or 2% milk. Whisk the mixture gently, then let it stand for 5 minutes. The milk will curdle slightly, and it will be ready to use as buttermilk.
- Storage: To keep your cake fresh, store it covered at room temperature for up to 3 days. For extended freshness, it can be stored in the refrigerator for up to 5 days. For long-term storage, fully cooled cake layers can be individually wrapped tightly in plastic wrap, then wrapped again in aluminum foil or placed in a freezer-safe bag. They can be frozen for up to 2 months. Thaw frozen layers overnight in the fridge before frosting and decorating.
- Nutrition: The provided nutrition details are an estimate only. They are based on one slice, assuming the cake is cut into 12 equal pieces with frosting. Individual nutritional values may vary based on specific ingredient brands and preparation.
Nutrition
Calories: 724kcal,
Carbohydrates: 101g,
Protein: 5g,
Fat: 36g,
Saturated Fat: 18g,
Polyunsaturated Fat: 6g,
Monounsaturated Fat: 9g,
Trans Fat: 1g,
Cholesterol: 99mg,
Sodium: 323mg,
Potassium: 189mg,
Fiber: 2g,
Sugar: 80g,
Vitamin A: 842IU,
Vitamin C: 1mg,
Calcium: 62mg,
Iron: 2mg
Like this recipe? Rate and comment below!