
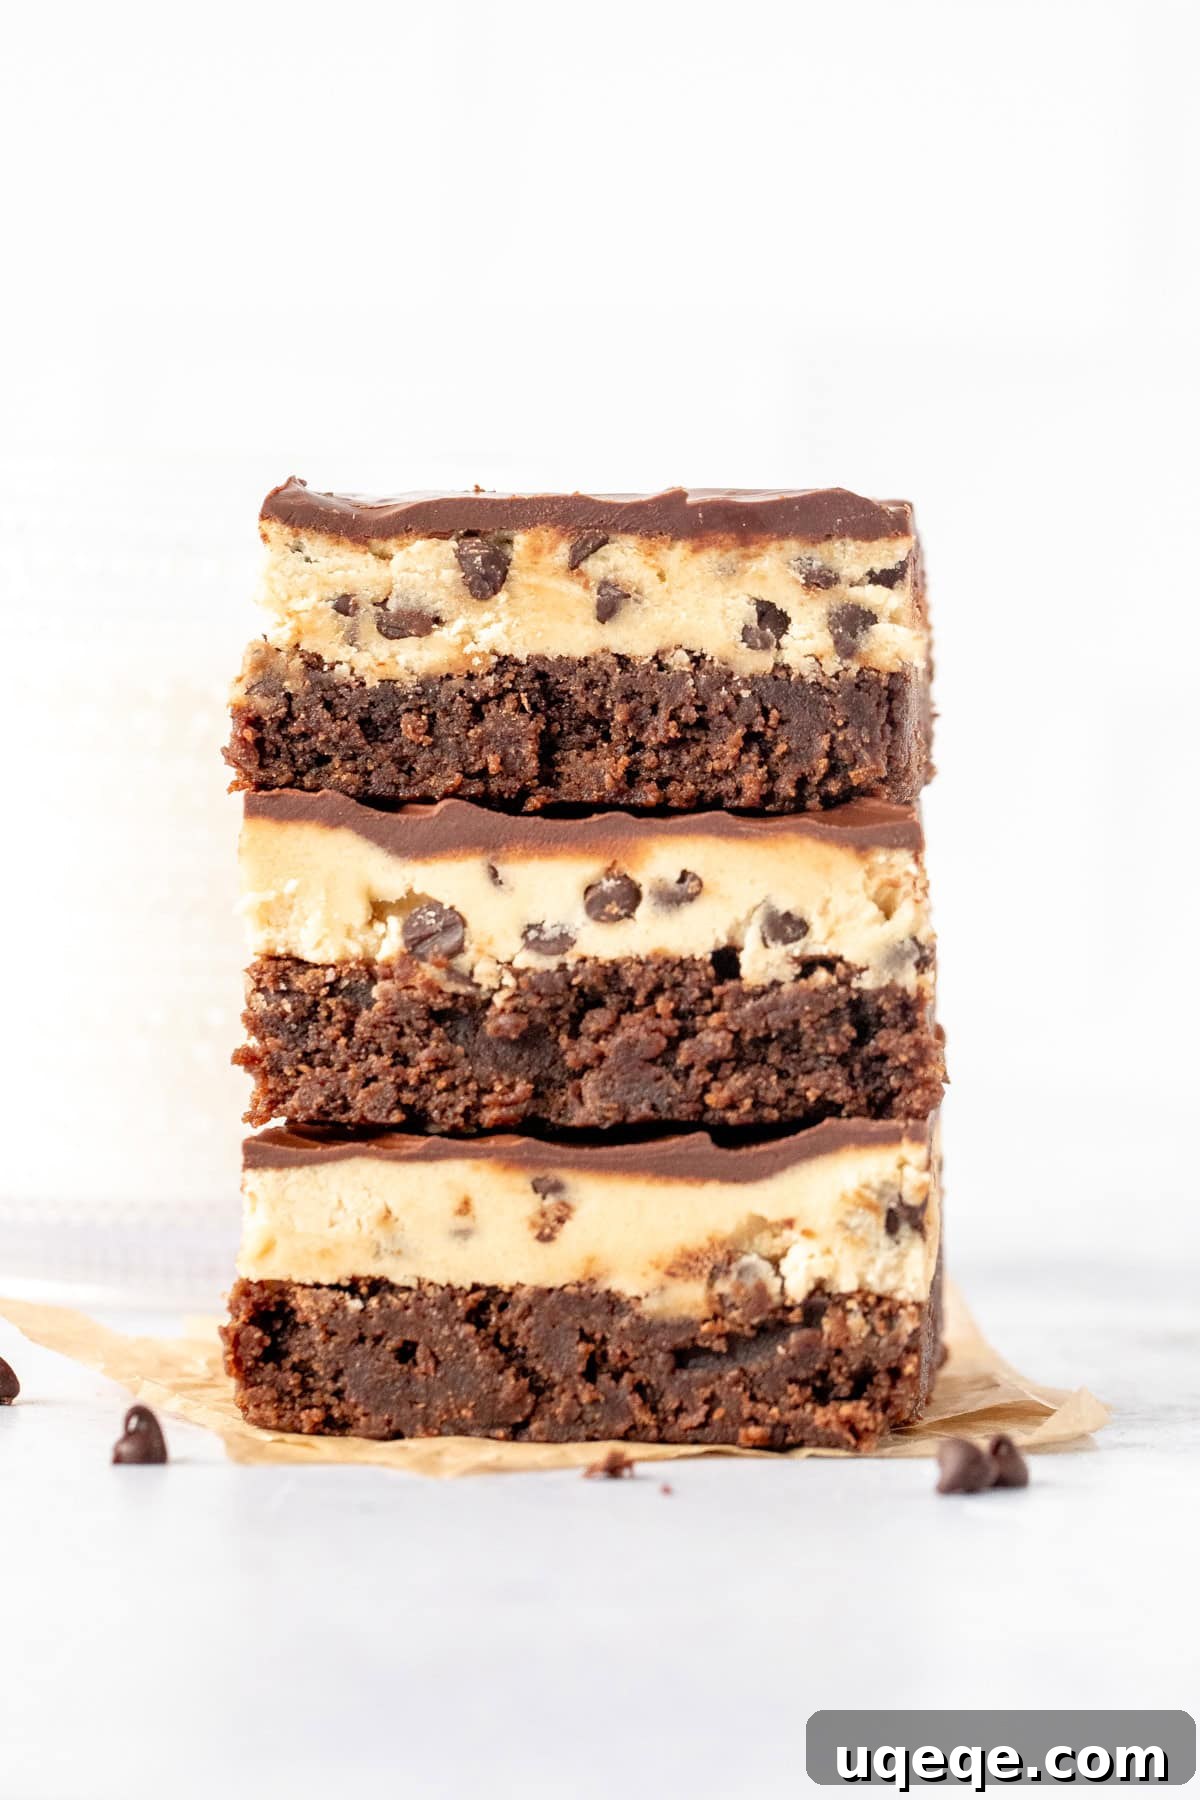
Decadent Cookie Dough Brownies: The Ultimate Recipe for a Safe & Delicious Treat
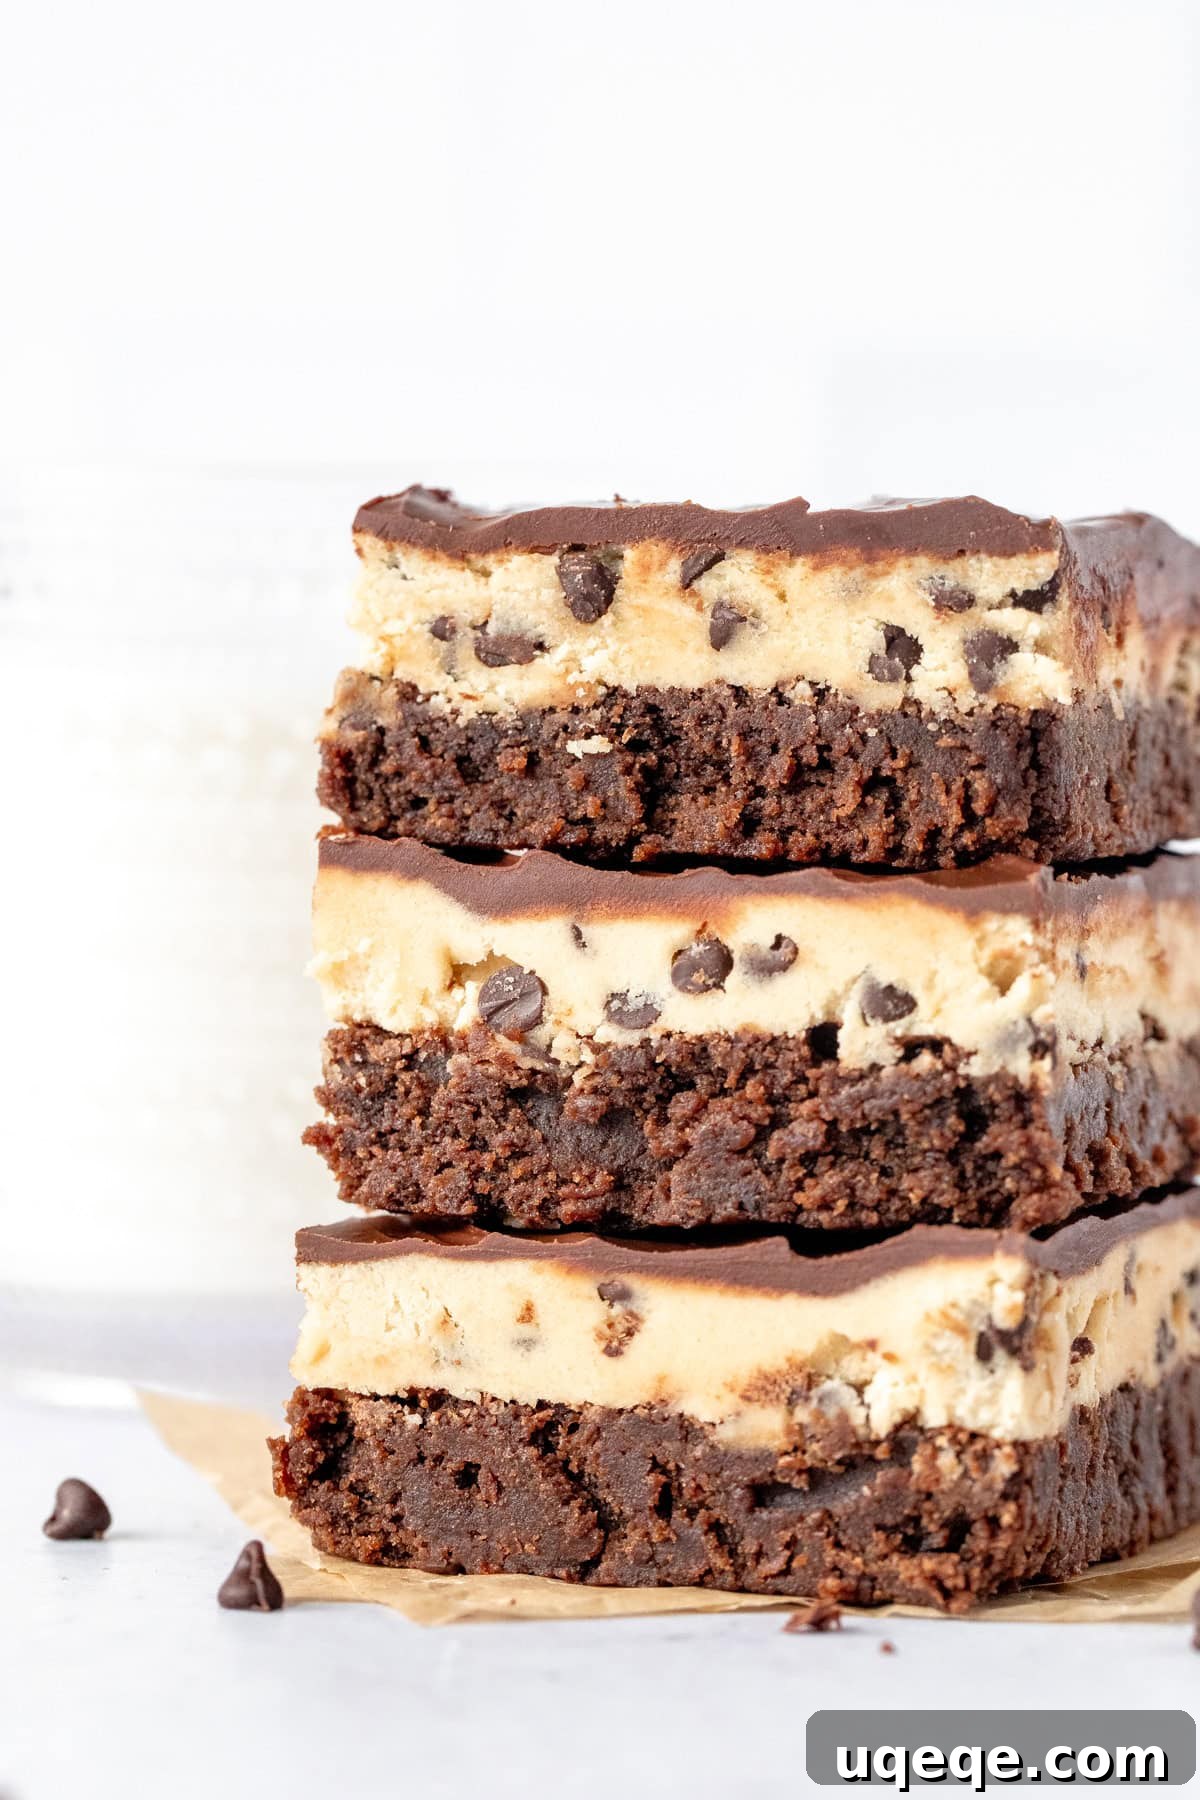
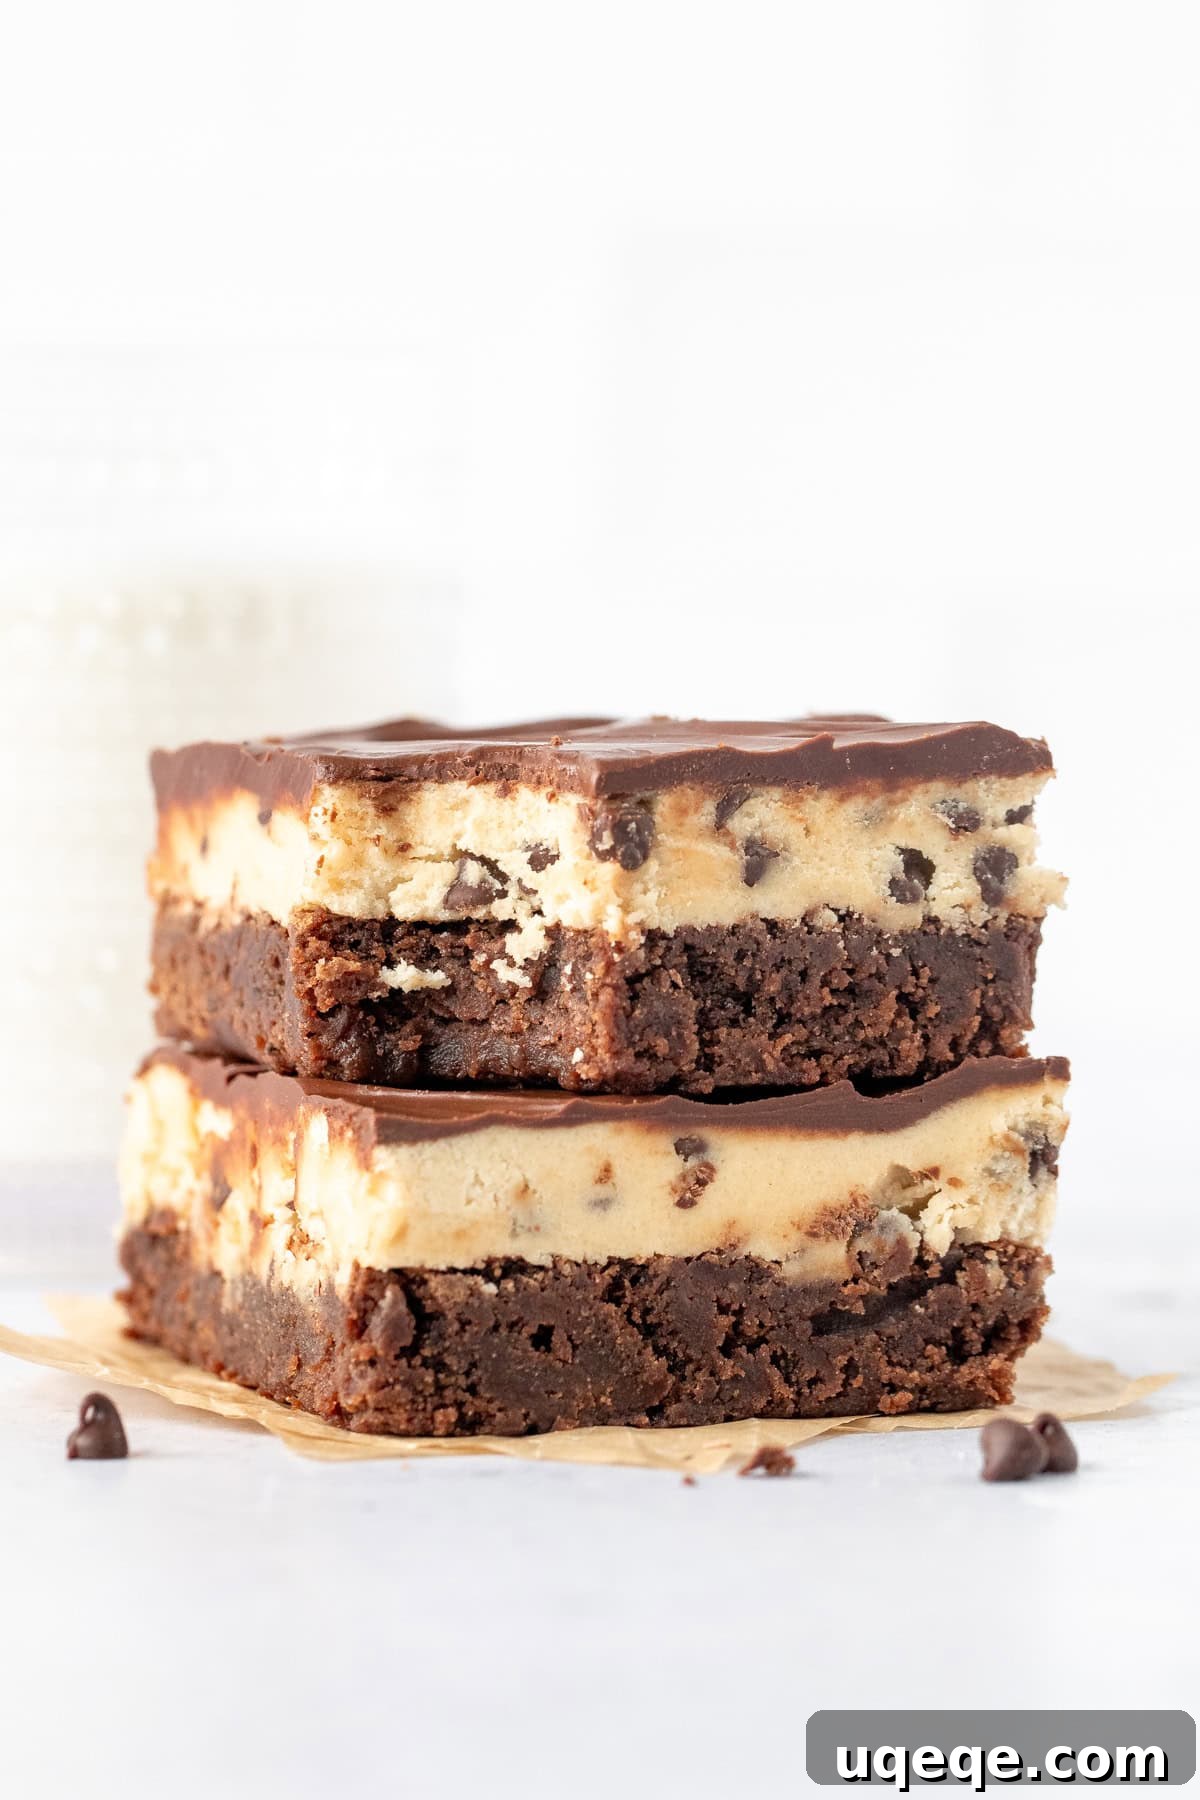
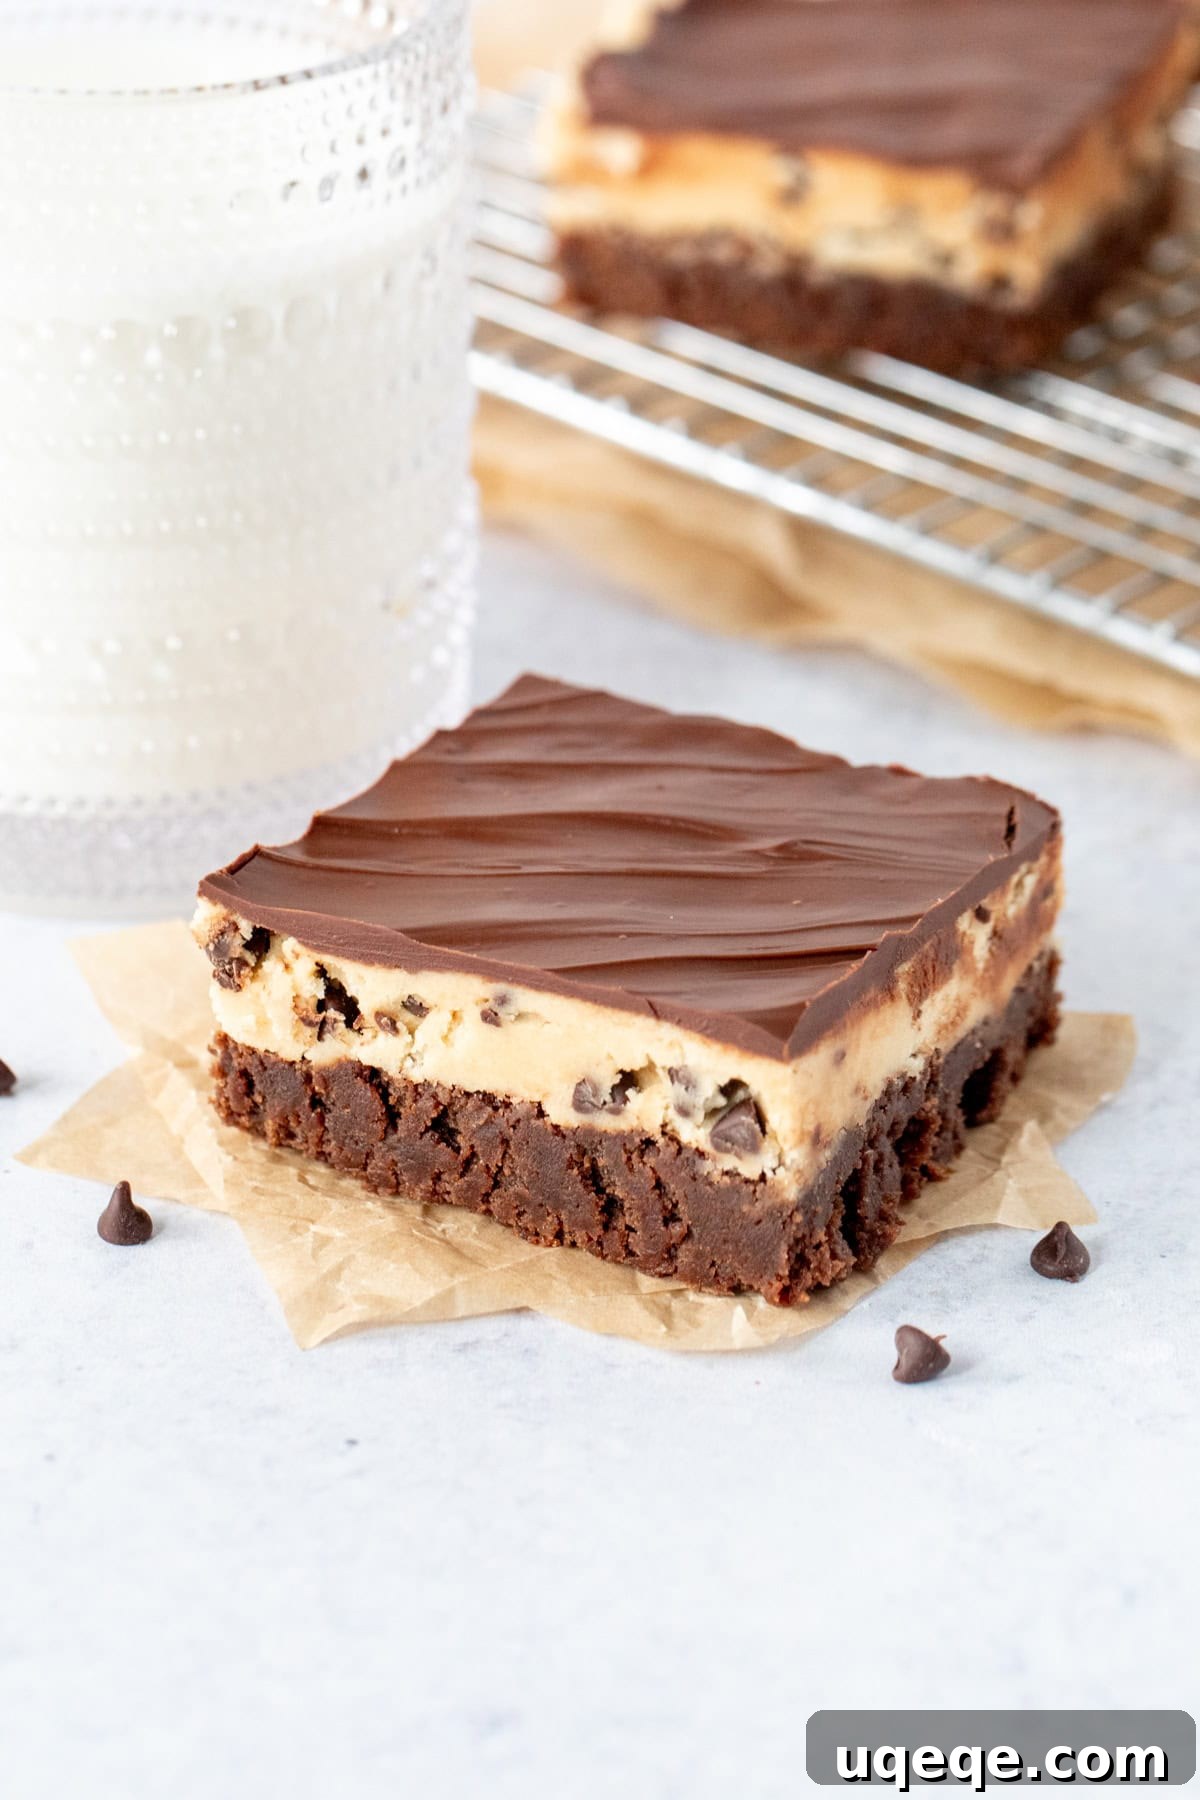
Are you perpetually torn between a warm, fudgy brownie and a spoonful of irresistible chocolate chip cookie dough? If so, prepare to have your dessert dreams come true with these incredible Cookie Dough Brownies! This show-stopping treat brings together the best of both worlds: a deeply rich and chewy brownie base, a generous middle layer of creamy, dreamy edible chocolate chip cookie dough, and a luscious, glossy chocolate topping. It’s a symphony of textures and flavors that will satisfy even the most intense sweet cravings.
The beauty of this recipe lies not only in its sensational taste but also in its complete safety. Our unique cookie dough layer is crafted without raw eggs, and the flour is heat-treated to eliminate any concerns, meaning you can indulge in that classic cookie dough pleasure with total peace of mind. Get ready to bake a truly unforgettable dessert that’s both fun to make and absolutely divine to eat!
(This recipe was last updated on September 7, 2025, to include an even more fudgy brownie base, an exquisite chocolate topping, new mouth-watering photos, and enhanced recipe tips for a flawless baking experience.)
Why These Cookie Dough Brownies Will Become Your New Favorite

There’s an undeniable allure to cookie dough – that secret spoonful from the bowl, the sheer joy of its sweet, unbaked goodness. This recipe captures that magic perfectly and elevates it into a truly sophisticated dessert. Here’s why these layered brownies are an absolute must-try:
- Unparalleled Fudginess: The bottom layer is a pure chocolate delight. We’ve fine-tuned the brownie recipe to be intensely fudgy, wonderfully chewy, and packed with deep cocoa flavor, providing the perfect counterbalance to the sweet cookie dough.
- Authentic Edible Cookie Dough: The star middle layer tastes *exactly* like classic chocolate chip cookie dough. Using my beloved edible cookie dough recipe, we ensure this layer is not only incredibly delicious but also completely safe to consume. No raw eggs and heat-treated flour mean you can enjoy every bite without a single worry.
- Luxurious Chocolate Topping: A smooth, glistening chocolate topping adds a third dimension of chocolatey bliss and a beautiful finish. It sets perfectly, providing a delightful snap as you bite through it, contrasting with the soft layers below.
- Perfect Balance: While indulgent, the updated recipe is carefully balanced so it’s rich without being overly heavy. Each layer complements the others, creating a harmonious dessert experience.
- Visually Stunning: The distinct three layers make these brownies a showstopper. They are ideal for potlucks, parties, or simply impressing your family with a homemade treat that looks as professional as it tastes.
Creating this multi-layered masterpiece does require a little more attention than a single-layer bake, but the process is straightforward and incredibly rewarding. The result is a dessert that satisfies every chocolate and cookie dough craving imaginable.
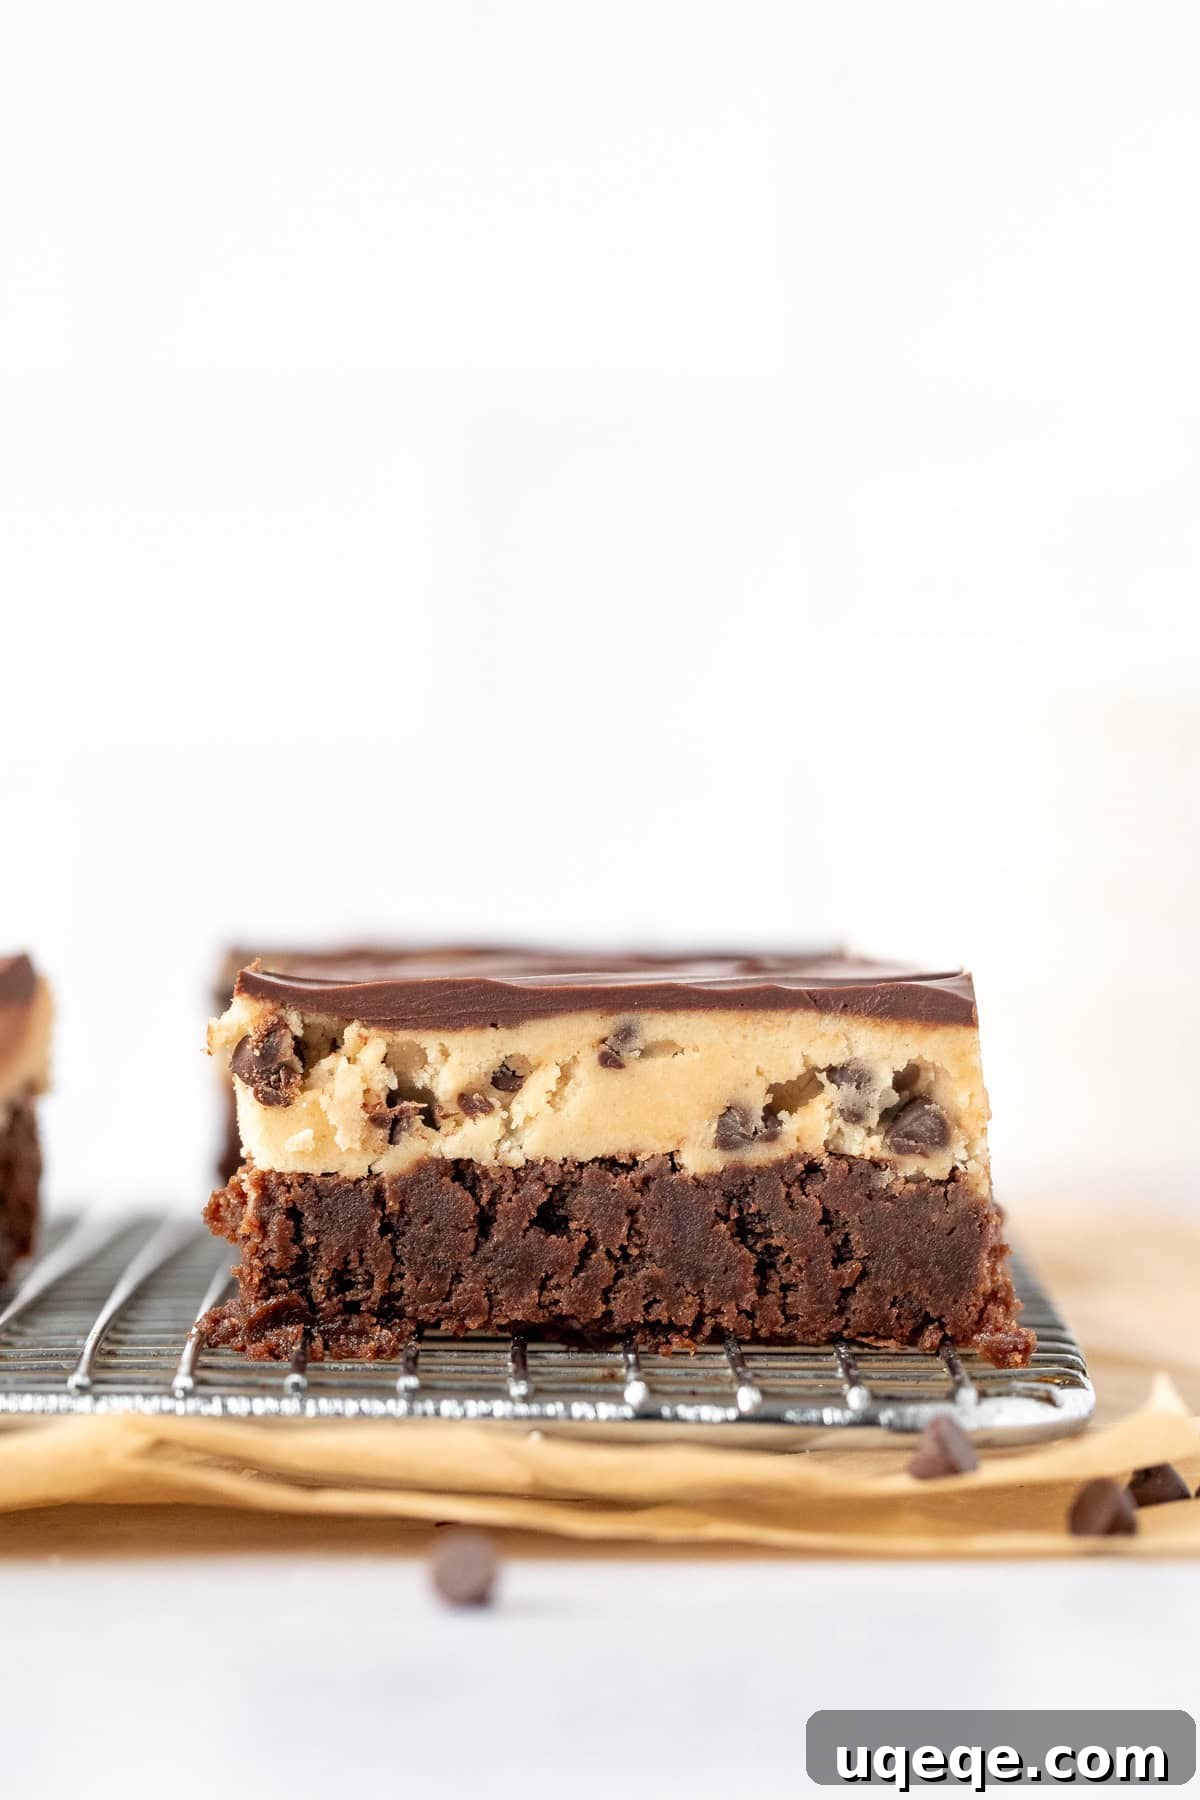
Essential Ingredients for Your Layered Perfection
Gathering the right ingredients is the first step towards baking these extraordinary cookie dough brownies. Quality ingredients make a noticeable difference in the final taste and texture.
For the Rich & Fudgy Brownie Layer:
- 1/2 cup (112 grams) Unsalted Butter: Softened or melted, depending on the step. Unsalted allows you to control the salt level. If using salted butter, reduce the added salt.
- 2 ounces (56 grams, about 1/3 cup) Semi-Sweet Chocolate: High-quality chocolate chips or finely chopped baking chocolate will provide the best flavor. For a deeper, more intense chocolate experience, opt for dark chocolate (50-70% cocoa).
- 1 cup (200 grams) Granulated Sugar: Essential for sweetness and achieving that signature chewy, fudgy brownie texture.
- 2 Large Eggs: Crucially, these should be at room temperature. Room temperature eggs emulsify better with the melted butter and sugar, resulting in a smoother batter and a more uniform, tender brownie.
- 1 teaspoon Vanilla Extract: A splash of pure vanilla extract enhances the overall chocolate flavor and adds a delightful aromatic depth to the brownies.
- 1/2 cup (62.5 grams) All-Purpose Flour: Proper measurement is key! Spoon the flour into your measuring cup and level it with a straight edge to avoid over-measuring, which can lead to a dry, dense brownie.
- 2 tablespoons Cocoa Powder: Unsweetened cocoa powder boosts the chocolate intensity and gives the brownies their characteristic deep, dark color.
- 1/4 teaspoon Salt: A small but mighty ingredient that balances the sweetness, enhances the chocolate flavors, and prevents the brownies from tasting flat.
For the Irresistible Edible Chocolate Chip Cookie Dough Layer:
- 1 1/4 cup (156.25 grams) All-Purpose Flour: This flour will undergo a crucial heat-treating step to ensure it is safe for raw consumption.
- 1/2 cup (112 grams) Unsalted Butter: For this layer, the butter needs to be exceptionally soft, almost melting. This pliability is essential for achieving the perfect, creamy cookie dough texture.
- 1/2 cup (100 grams) Packed Brown Sugar: You can use either light or dark brown sugar here. Brown sugar contributes to the classic chewy texture and adds wonderful caramel notes to the cookie dough.
- 1/4 cup (50 grams) Granulated Sugar: Works in conjunction with brown sugar to provide the ideal balance of sweetness and texture.
- 1 teaspoon Vanilla Extract: Absolutely vital for that unmistakable, beloved chocolate chip cookie dough flavor. Don’t skimp on quality here!
- 1/4 teaspoon Salt: Balances the sweetness and brings out the full flavor profile of the cookie dough.
- 2-3 tablespoons (30-45 ml) Milk: Start with 2 tablespoons and add the third only if necessary, ensuring your cookie dough is soft, pliable, and easy to spread without being sticky.
- 1/2 cup (about 90 grams) Mini Chocolate Chips: While regular chocolate chips work, mini chocolate chips are highly recommended for the cookie dough layer. They distribute more evenly and make the brownies significantly easier to slice cleanly without large chunks of chocolate breaking apart.
For the Luxurious Chocolate Topping:
- 3/4 cup (about 140 grams, approximately 5 ounces) Chocolate Chips: Regular-sized semi-sweet or dark chocolate chips are perfect for this layer.
- 1 tablespoon Shortening or Unsalted Butter: This small addition is the secret to a smooth, shiny, and easy-to-cut chocolate topping that won’t crack or shatter when you slice your brownies.
Pro Tip: Chocolate Chip Sizing Matters!
For the most seamless slicing and best texture, I highly recommend using mini chocolate chips specifically for the edible cookie dough layer. Their smaller size ensures even distribution and prevents resistance when cutting through the brownies. For the brownie base and the glorious chocolate topping, regular chocolate chips work beautifully. If you prefer using chocolate baking squares instead of chips, remember to finely chop them before melting to ensure a smooth, uniform consistency in your batters and topping.
Step-by-Step Guide: Crafting Your Layered Cookie Dough Brownies
Baking these delightful cookie dough brownies is a journey of layers, each contributing to the final, spectacular result. Follow these detailed instructions for success!
Part 1: The Fudgy Brownie Base
- Prepare Your Baking Pan: Preheat your oven to 350°F (180°C). Line an 8×8 inch (20×20 cm) baking pan with parchment paper, allowing a generous overhang on all sides. This “parchment sling” is invaluable for easily lifting the cooled brownies out of the pan, making them much simpler to slice. If parchment is unavailable, aluminum foil can be used, lightly greased.
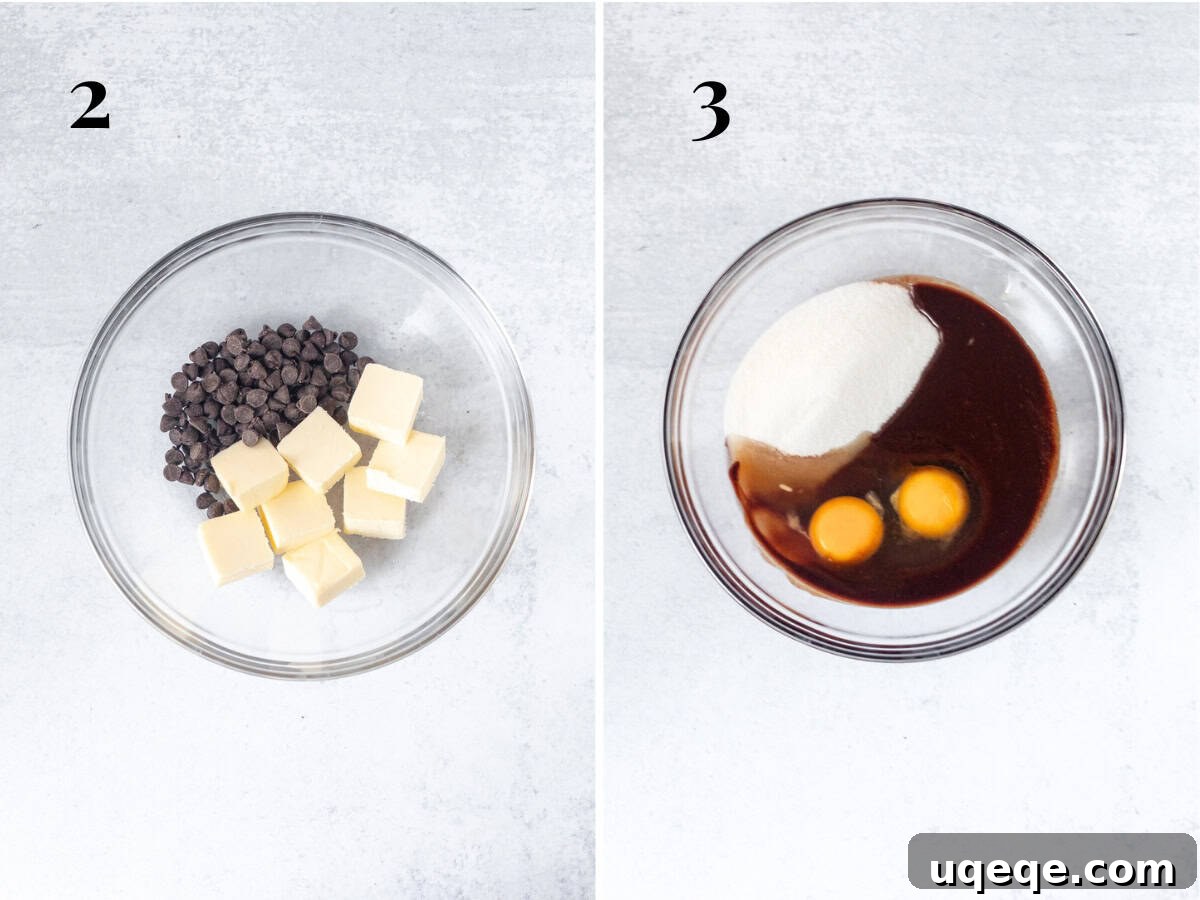
- Melt Chocolate and Butter: In a large, heatproof bowl, combine the 1/2 cup of cut unsalted butter and the 2 ounces of semi-sweet chocolate. Melt them gently until smooth. You can do this in the microwave (using 45-second intervals on medium power, stirring well after each) or over a double boiler (placing the bowl over a pot of gently simmering water, ensuring the bowl’s bottom doesn’t touch the water, and stirring continuously).
- Cool and Incorporate Wet Ingredients: Allow the melted chocolate-butter mixture to cool slightly. It should still be warm but not hot enough to scramble the eggs. Once slightly cooled, whisk in the granulated sugar until thoroughly combined. Next, beat in the two room-temperature eggs, one at a time, followed by the vanilla extract, mixing until the batter is smooth and glossy.
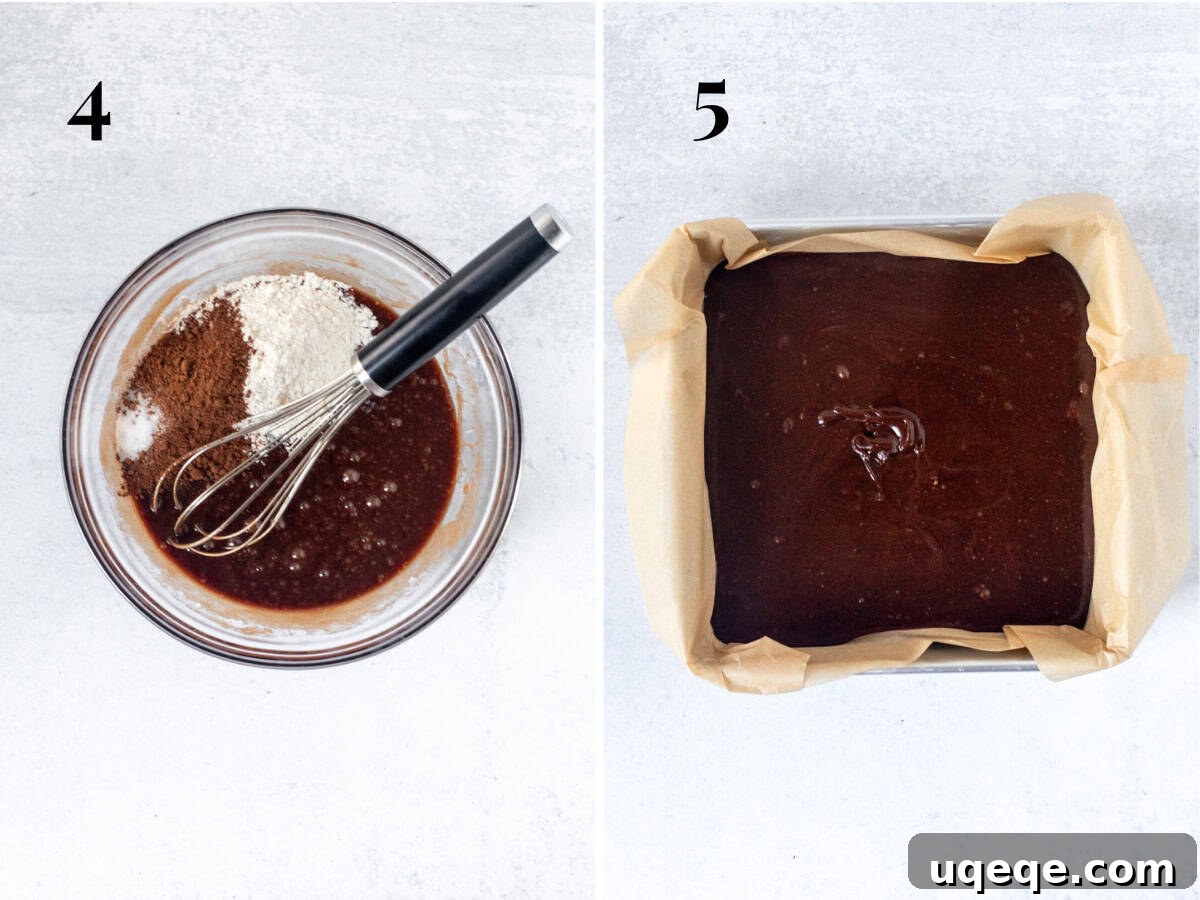
- Fold in Dry Ingredients: Add the 1/2 cup all-purpose flour, 2 tablespoons cocoa powder, and 1/4 teaspoon salt to the wet mixture. Gently fold them in using a spatula until just combined. Be careful not to overmix, as this can lead to tough brownies; stop as soon as no dry streaks of flour are visible.
- Bake the Brownie Layer: Pour the rich brownie batter into your prepared pan and spread it evenly. Bake in the preheated oven for approximately 22-26 minutes. The brownies are done when the edges look set, and a toothpick inserted into the center comes out with moist crumbs attached, but no wet batter.
- Cool Completely: Remove the baked brownies from the oven and place the pan on a wire rack to cool completely. This step is non-negotiable! The brownie must be entirely cool before the cookie dough layer is added, otherwise, the cookie dough will melt and make a mess.
Part 2: The Edible Cookie Dough Layer
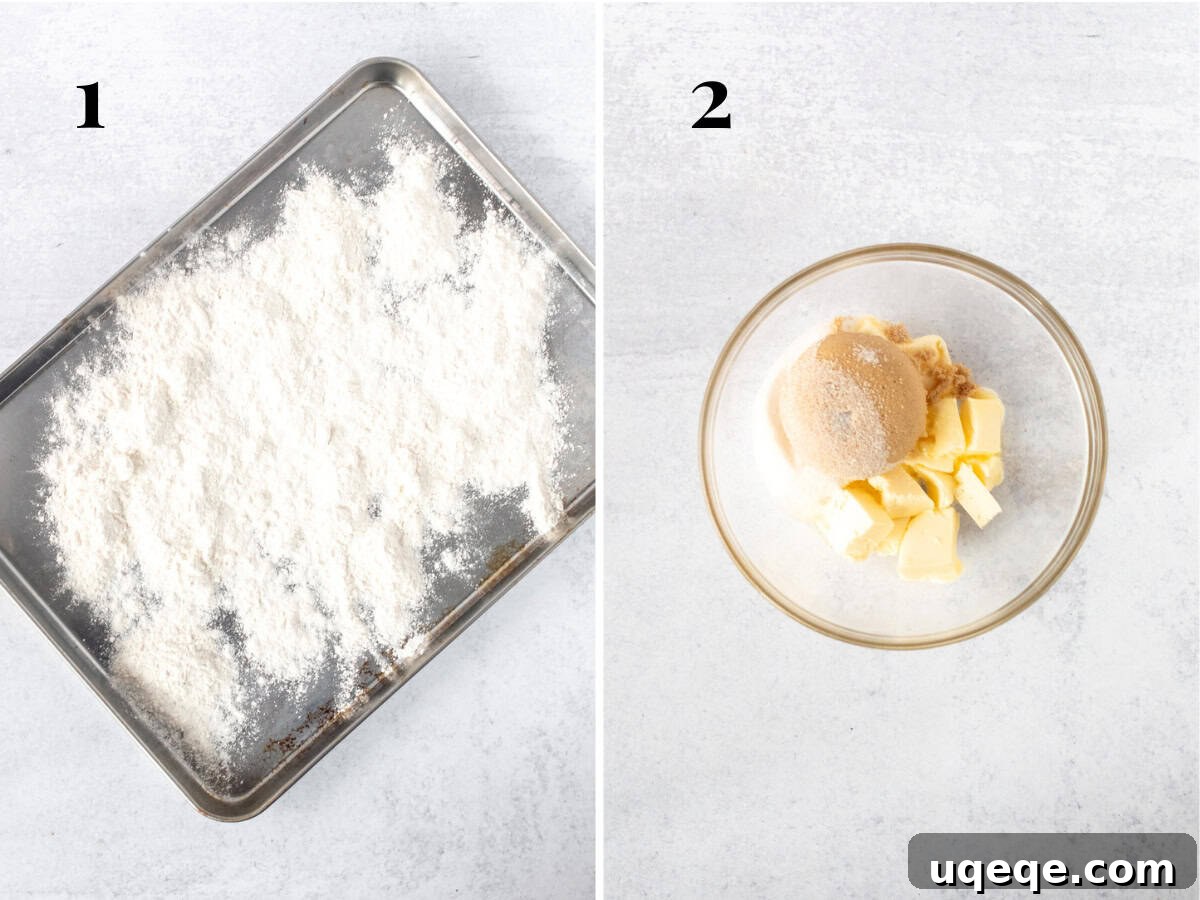
- Heat Treat the Flour for Safety: Preheat your oven to 350°F (180°C) – if it’s not already on from baking the brownies. Spread approximately 1 1/2 cups of all-purpose flour evenly onto a clean baking sheet. Bake for 8 minutes to kill any potential bacteria, making it safe for raw consumption. Remove from the oven and allow it to cool completely before using. (You will use 1 1/4 cups of this treated flour).
- Cream Butter and Sugars: In a medium mixing bowl, combine the 1/2 cup of very soft (almost melted) unsalted butter, 1/2 cup packed brown sugar, and 1/4 cup granulated sugar. Beat them together with an electric mixer (or by hand with a sturdy whisk) until the mixture is light, fluffy, and creamy. The very soft butter is crucial for achieving that authentic cookie dough texture.
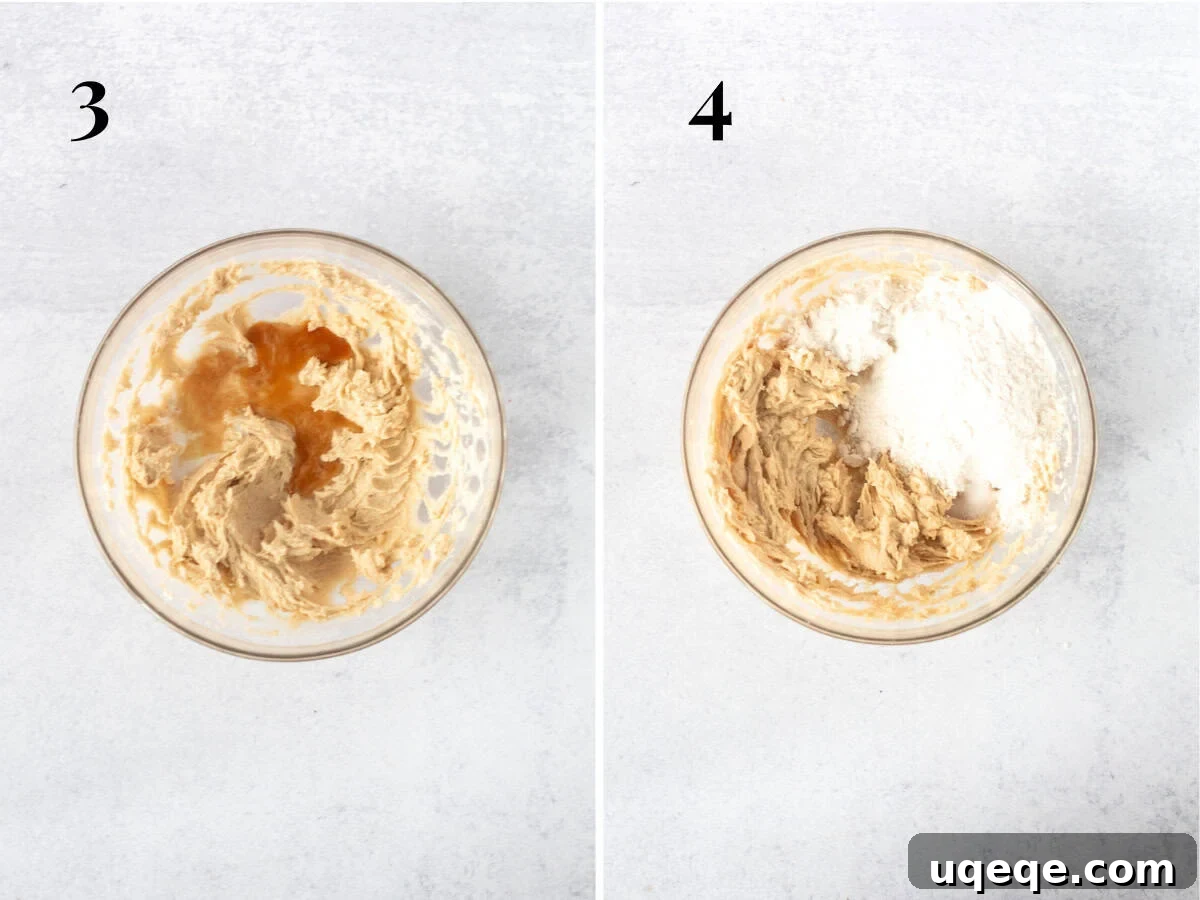
- Add Liquid Flavorings: Beat in the 1 teaspoon vanilla extract and 2 tablespoons of milk until fully incorporated and the mixture is smooth.
- Incorporate Heat-Treated Flour and Salt: Measure out 1 1/4 cups of your cooled, heat-treated flour. If it’s lumpy, sift it first. Add the measured flour and 1/4 teaspoon salt to the wet ingredients. Beat until just combined to form a thick, pliable dough. If the dough seems too thick or dry, add the remaining 1 tablespoon of milk, one teaspoon at a time, until it reaches the desired soft, spreadable consistency.
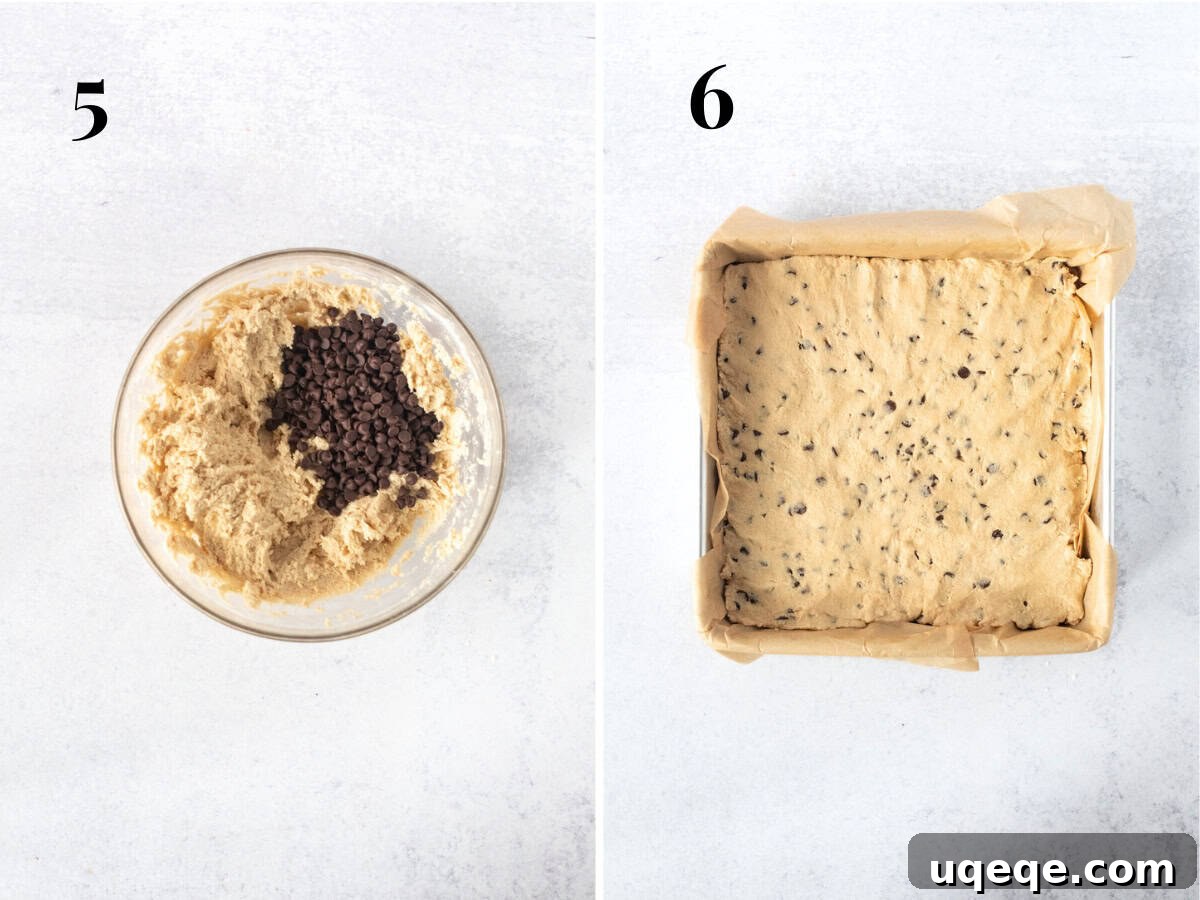
- Stir in Mini Chocolate Chips: Gently fold in the 1/2 cup mini chocolate chips until they are evenly distributed throughout the edible cookie dough.
- Assemble Cookie Dough Layer: Once the brownie base is completely cool, carefully and evenly press the edible cookie dough layer over the top. Use an offset spatula or the back of a spoon to spread it into a smooth, uniform layer.
- Chill the Layers: Place the pan with the brownie and cookie dough layers into the refrigerator. Chilling is essential at this stage to firm up the cookie dough, preventing it from melting and creating a messy topping when the warm chocolate is poured over it.
Part 3: The Glossy Chocolate Topping
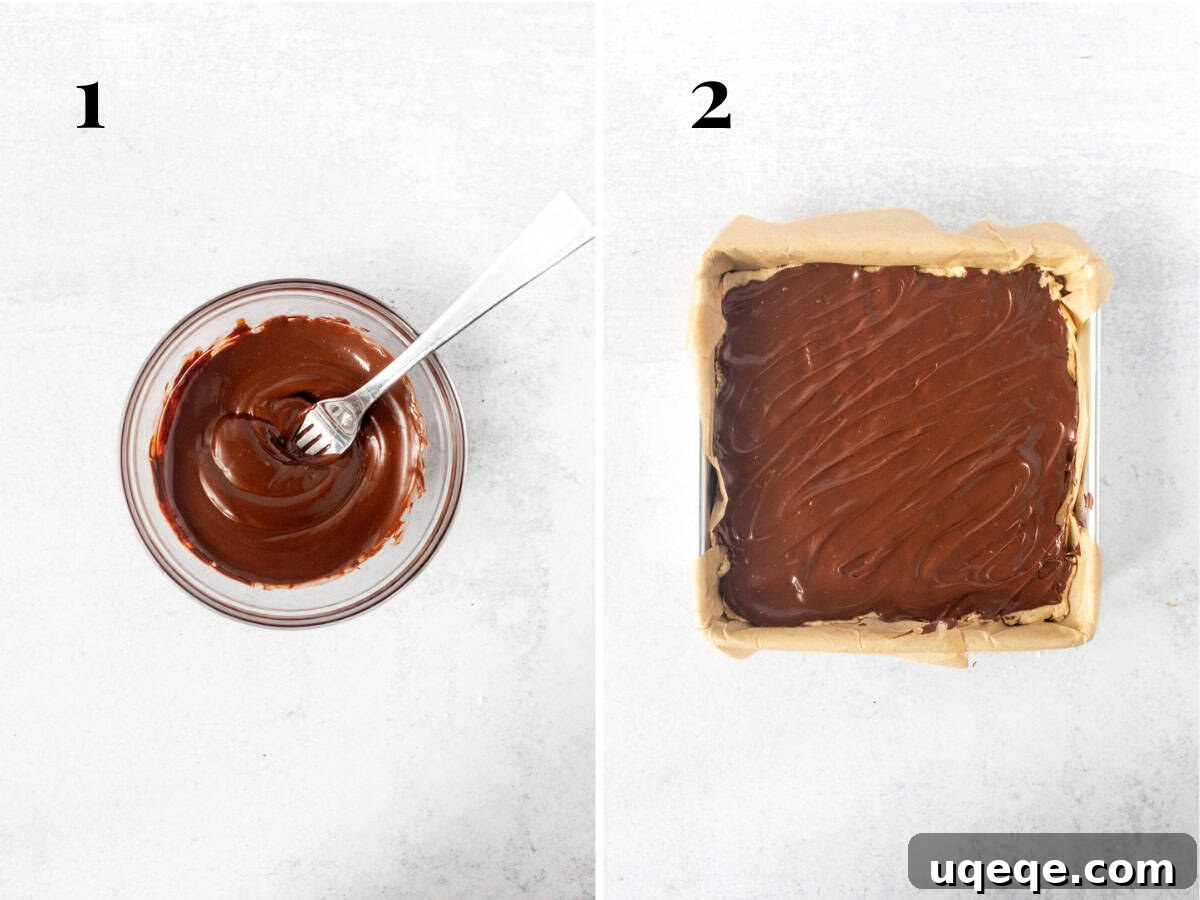
- Melt Chocolate and Shortening/Butter: In a clean, heatproof bowl, combine the 3/4 cup chocolate chips (or finely chopped chocolate) and 1 tablespoon shortening or unsalted butter. Melt slowly and carefully to avoid scorching the chocolate.
- Microwave Method: Heat on medium power (never high power, which can burn chocolate) in 35-second intervals. Stir thoroughly between each interval until the mixture is smooth and glossy. Patience is key for a perfect melt.
- Double Boiler Method: Place the bowl over a pot of gently simmering water, ensuring the water does not touch the bottom of the bowl. Stir continuously until the chocolate and shortening/butter are completely melted and smoothly combined.
- Pour and Spread Topping: Working quickly, pour the warm, melted chocolate topping directly over the chilled cookie dough layer. Use an offset spatula or the back of a spoon to rapidly spread it into an even, glossy layer that covers the entire surface.
- Harden the Topping: Allow the chocolate topping to set and harden completely. You can place the brownies back in the refrigerator to accelerate this process, which usually takes about 30-60 minutes.
- Score and Slice for Perfection: For clean, professional-looking cuts, this step is vital! When the chocolate topping is about 80% hardened (it should be mostly firm but still have a slight give), use a very sharp knife to gently score or trace the lines where you plan to slice your brownies. This pre-marking helps prevent the chocolate from cracking or shattering when you make the final cuts. Once the chocolate layer is fully hardened, lift the entire slab of brownies out of the pan using the parchment paper overhang. Place them on a cutting board, peel back the parchment, and then carefully slice along your scored lines with a sharp knife. For even cleaner cuts, warm your knife under hot water and wipe it dry between slices.
Expert Slicing Tip for Flawless Layers:
Achieving those pristine, clean cuts that showcase the beautiful layers is easier with a few tricks. First, the scoring technique mentioned above is a game-changer for preventing chocolate topping cracks. Second, always use a very sharp knife. For an extra clean edge, run your knife under hot water for a few seconds, wipe it completely dry, and then make a cut. Repeat this warming and wiping process for each slice. The parchment paper sling is your best friend here, as it allows you to lift the entire brownie slab out of the pan and slice it on a stable cutting board, providing better leverage and precision.
Recipe Variations, Storage, and Expert Insights
Once you’ve mastered the basic recipe, you might want to explore ways to adapt it or ensure your delicious treats stay fresh for as long as possible.
Doubling the Recipe for a Crowd:
This recipe is perfectly scaled for an 8×8 inch (20×20 cm) pan, yielding 16 generous servings. If you’re hosting a larger gathering or simply want more of these delightful brownies on hand, the recipe can be easily doubled. For a double batch, use a 9×13 inch (23×33 cm) baking pan. Remember to double all ingredients for each layer accordingly. The main adjustment will be the baking time for the brownie base, which will increase to approximately 28-33 minutes. Always use the toothpick test to confirm doneness.
Storage Instructions for Optimal Freshness:
To maintain their exquisite taste and texture, store your sliced cookie dough brownies in an airtight container in the refrigerator for up to 5 days. The chilled brownies offer a wonderfully firm texture, and the layers remain distinct and stable. While they can be left at cool room temperature for a short period (a few hours), refrigeration is highly recommended, especially given the creamy cookie dough layer, to ensure maximum freshness and food safety.
Can You Freeze Cookie Dough Brownies?
Yes, absolutely! These brownies freeze beautifully, making them excellent for meal prepping desserts or saving for a future treat. To freeze, first slice the cooled brownies into individual portions. Arrange them in a single layer on a baking sheet and freeze until they are solid. Once frozen, transfer the brownies to a freezer-safe airtight container or bag. For best results and to prevent sticking, place small pieces of parchment paper between each brownie layer. They can be stored in the freezer for up to 2-3 months. To enjoy, simply thaw them at room temperature for an hour or two, or overnight in the refrigerator.
Exploring Chocolate Choices:
While semi-sweet chocolate is typically recommended for this recipe, don’t hesitate to experiment with your favorite chocolate varieties. For a sweeter profile, you can substitute milk chocolate in the brownie base or topping. If you prefer a richer, more sophisticated flavor with less sweetness, opt for a higher percentage dark chocolate (60-70% cocoa) for both the brownie and the topping. Just be mindful that different types of chocolate can melt at slightly different rates, so adjust your melting process accordingly to prevent scorching.
Frequently Asked Questions (FAQs) About Cookie Dough Brownies
- Why is heat-treating the flour necessary for the cookie dough layer?
- Heat-treating the flour is a critical safety step for any recipe involving edible raw cookie dough. Raw flour can potentially contain harmful bacteria, such as E. coli. By baking the flour at 350°F (180°C) for 8 minutes, we effectively kill these bacteria, making the flour safe for raw consumption without altering its baking properties.
- Can I make these brownies gluten-free?
- While this specific recipe has not been rigorously tested with gluten-free flour blends, it may be possible to substitute an all-purpose gluten-free flour blend (preferably one that contains xanthan gum) for both the brownie and cookie dough layers. Please note that the texture might vary slightly, and it’s essential to ensure all other ingredients are certified gluten-free.
- How important is it for the eggs to be at room temperature for the brownie layer?
- Using room temperature eggs for the brownie layer is quite important. Eggs at room temperature emulsify more effectively with the melted butter and sugar, creating a smoother, more uniform batter. This leads to a more tender, fudgy, and well-structured brownie. If you forget to take them out in advance, you can quickly bring them to room temperature by placing them in a bowl of warm water for 5-10 minutes.
- My edible cookie dough layer turned out too crumbly/too sticky. What should I do?
- The consistency of your edible cookie dough primarily depends on the softness of your butter and the amount of milk added. If your dough is too crumbly, your butter might not have been soft enough, or you may need to add an additional teaspoon or two of milk until it becomes pliable. Conversely, if the dough is too sticky, you might have added too much milk. Always ensure your butter is very soft, and add milk gradually, mixing thoroughly after each addition, until the desired texture is achieved.
- How can I prevent the chocolate topping from cracking when I slice the brownies?
- The best way to prevent the chocolate topping from cracking is to score it when it’s about 80% hardened – firm but still slightly yielding. This creates guides for your knife, allowing the chocolate to break cleanly along those lines rather than cracking randomly. Additionally, using a very sharp knife, and warming it under hot water (then wiping it completely dry) before each cut, will significantly help in achieving clean, smooth slices.
More Decadent Recipes to Explore:
If you’ve fallen in love with these Cookie Dough Brownies, you’re in for a treat! Discover more of our indulgent recipes that combine classic flavors with delightful twists:
- Slutty Brownies – The ultimate layered dessert featuring a chocolate chip cookie base, a layer of Oreo cookies, and a rich, fudgy brownie topping. Pure bliss!
- Classic Edible Cookie Dough – If you can’t get enough of the safe-to-eat cookie dough, try the standalone recipe that inspired the middle layer of these brownies.
- Edible Double Chocolate Cookie Dough – For the ultimate chocolate lover, this safe-to-eat cookie dough is packed with extra chocolate flavor.
- Triple Chocolate Fudge Brownies – Dive into pure chocolate decadence with these extra fudgy brownies, loaded with three different types of chocolate for an intense flavor experience.