
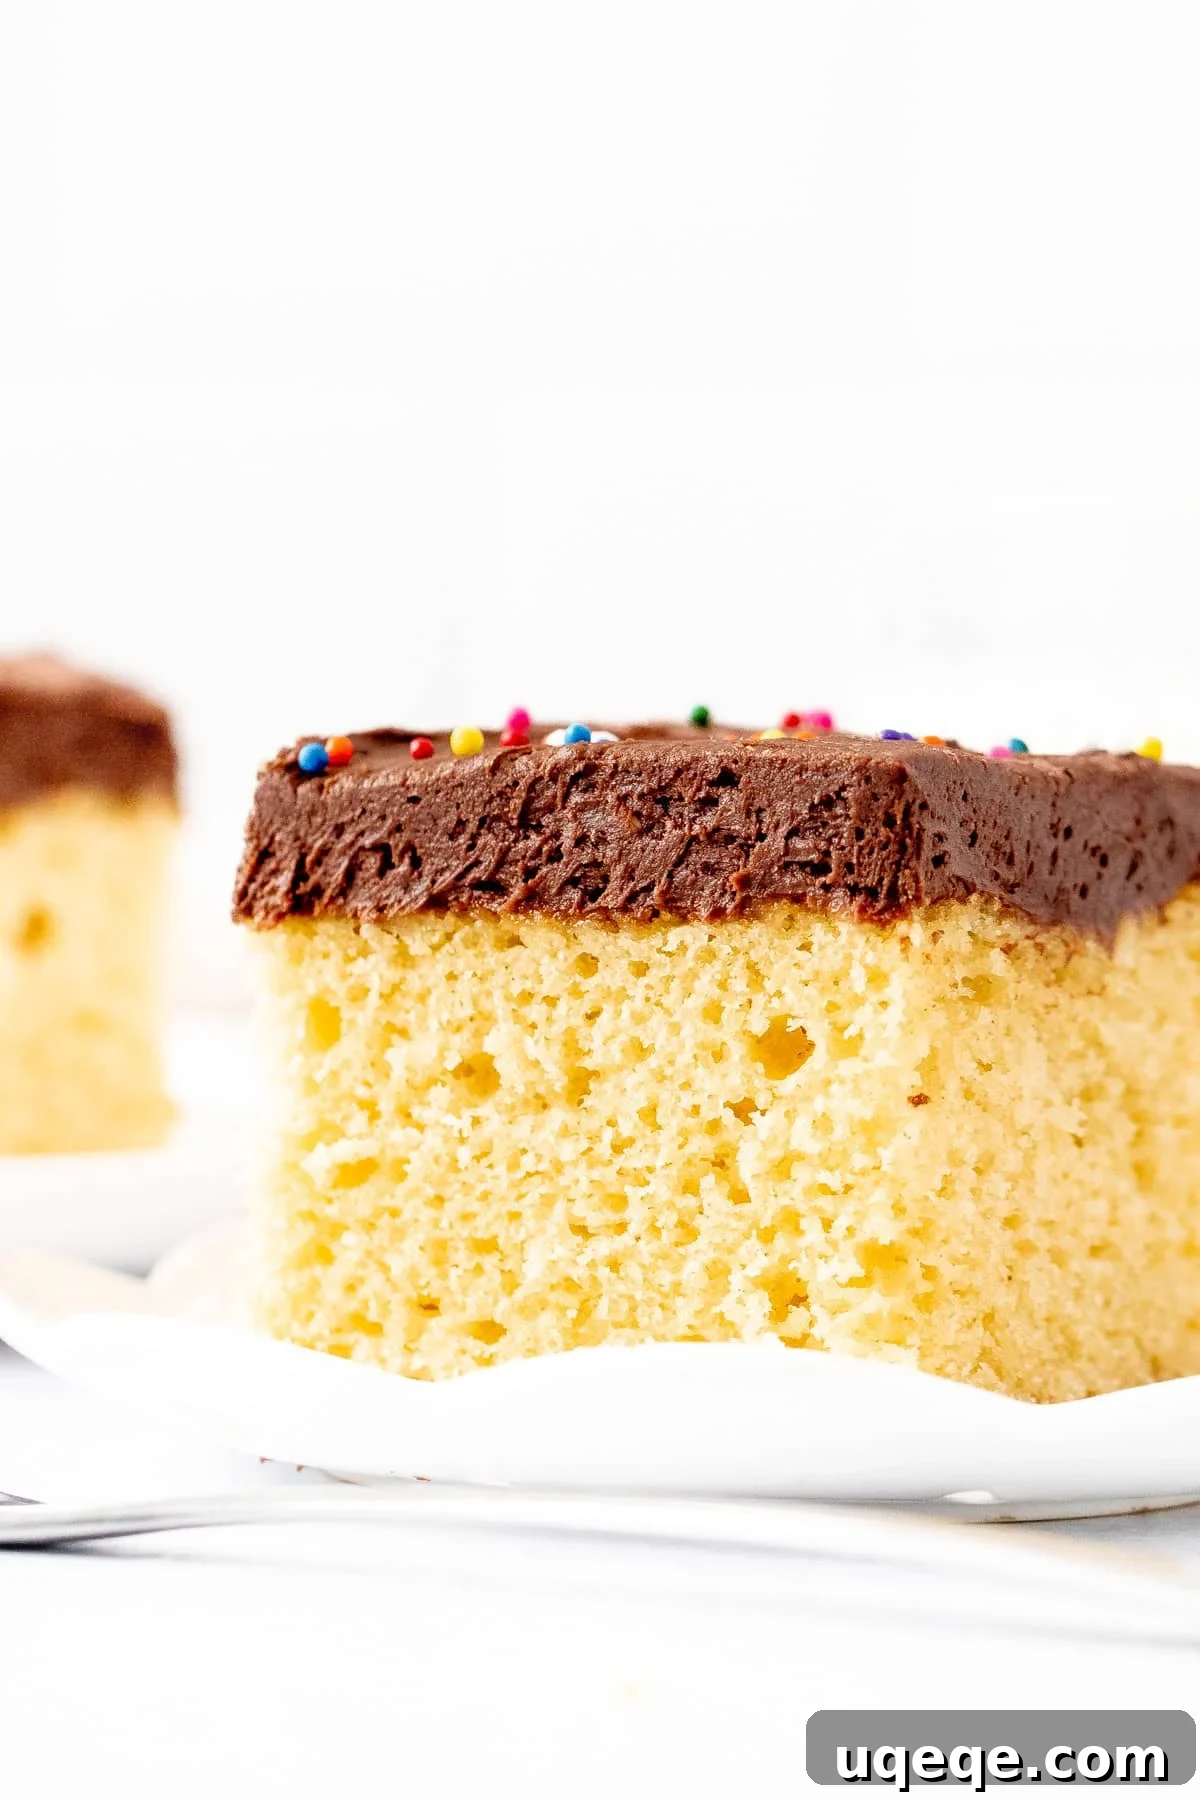
The Ultimate Yellow Sheet Cake with Chocolate Frosting: Your Go-To Celebration Recipe
There’s nothing quite like a classic yellow sheet cake, especially when generously topped with rich, creamy chocolate frosting. This recipe delivers a perfectly moist and tender golden yellow cake, bursting with buttery vanilla flavor, making it ideal for birthdays, holidays, or any festive gathering. Forget dry, flavorless box mixes; this homemade version promises a truly irresistible dessert that will become a cherished staple in your baking repertoire. Its simple elegance and delightful taste are sure to impress everyone at the table.
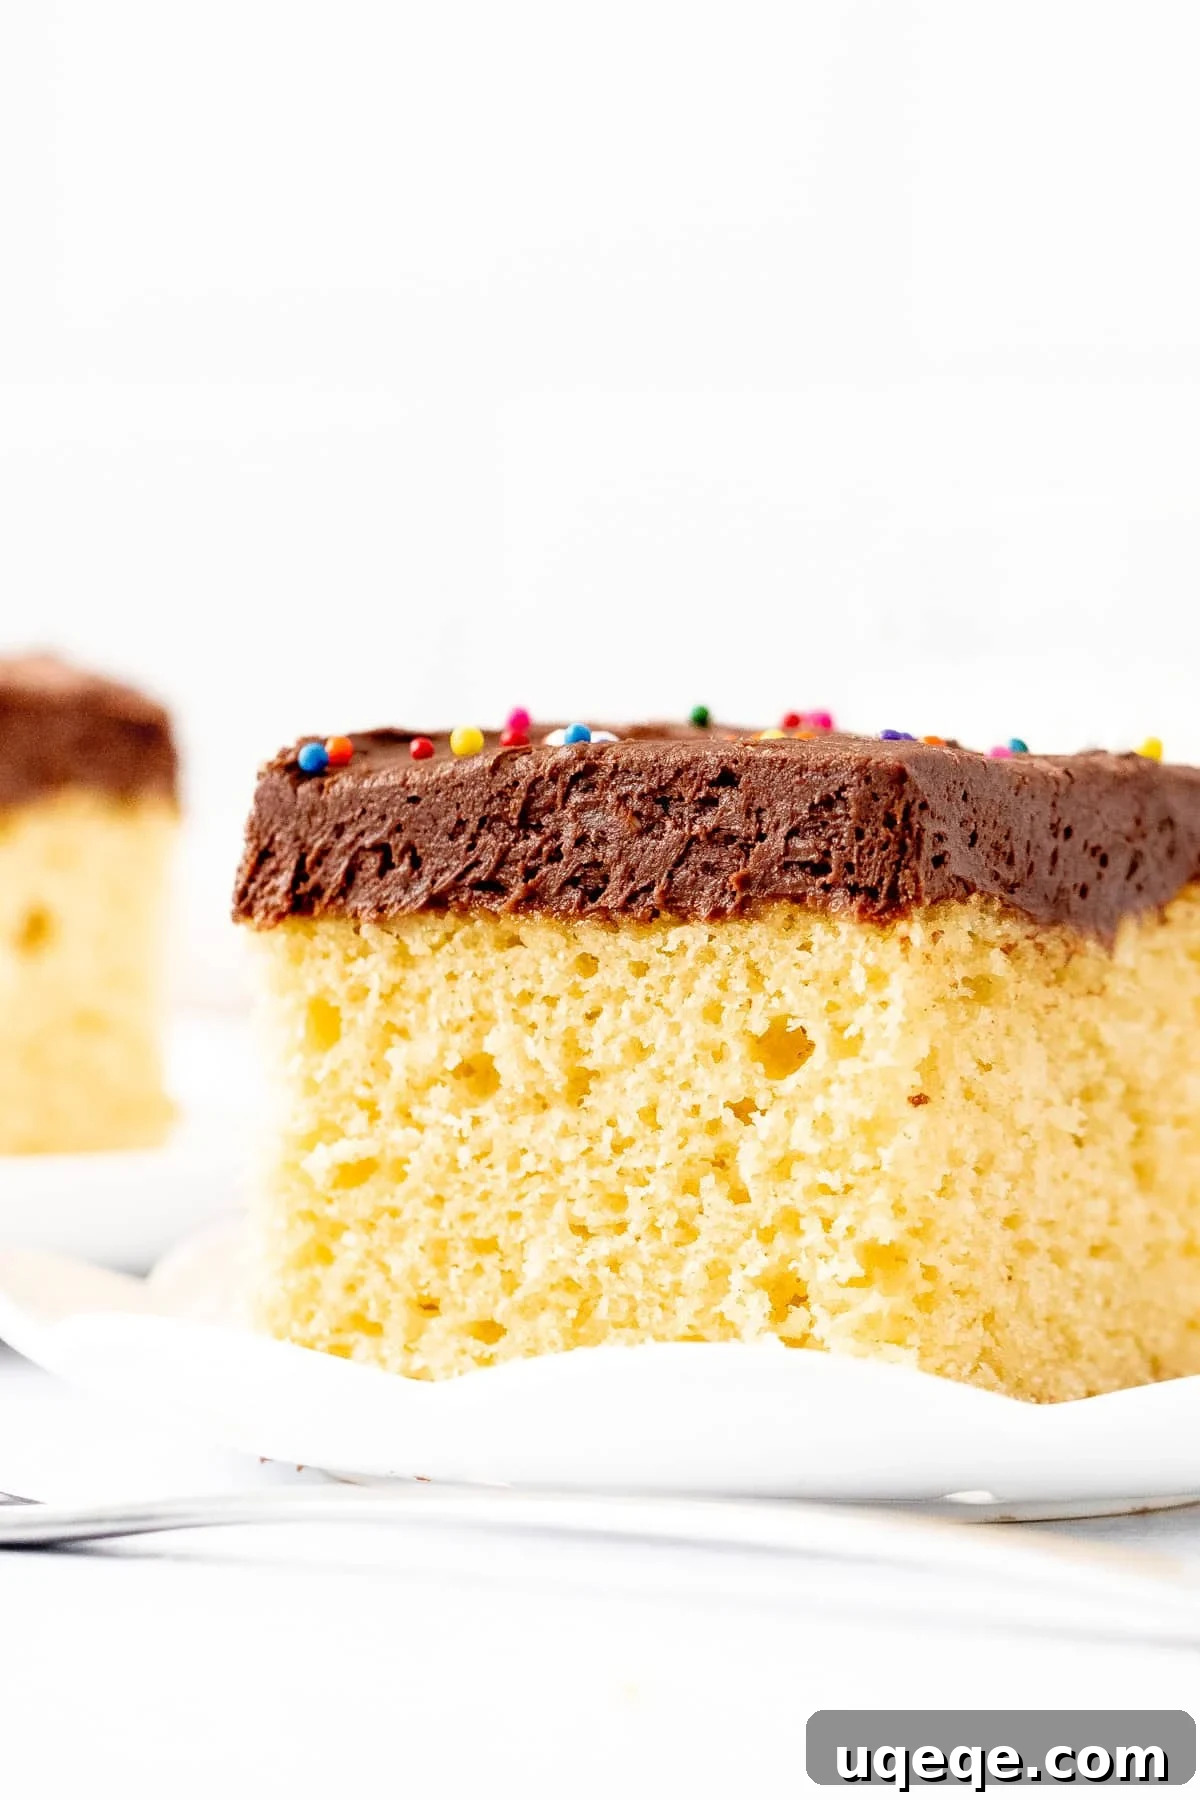
A Note from Fiona
Why You’ll Love This Yellow Sheet Cake!

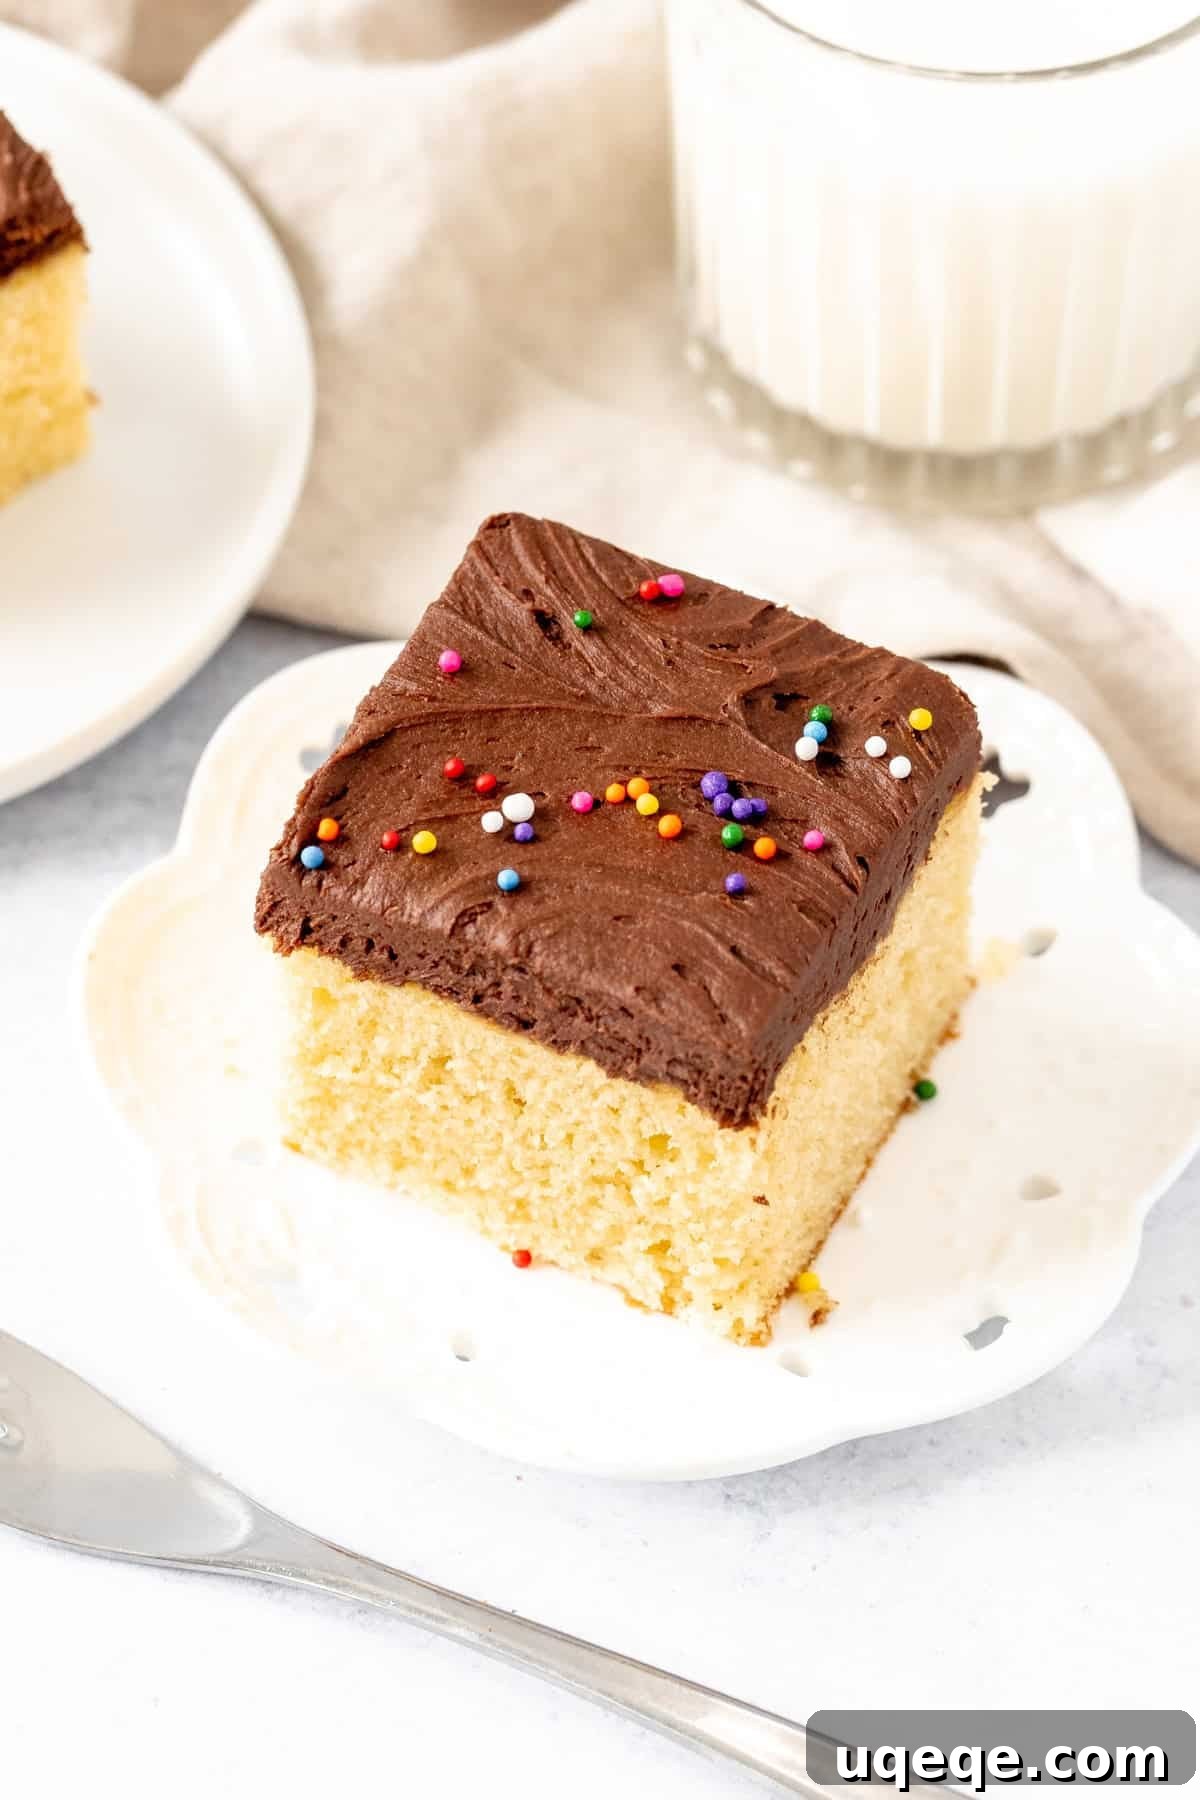
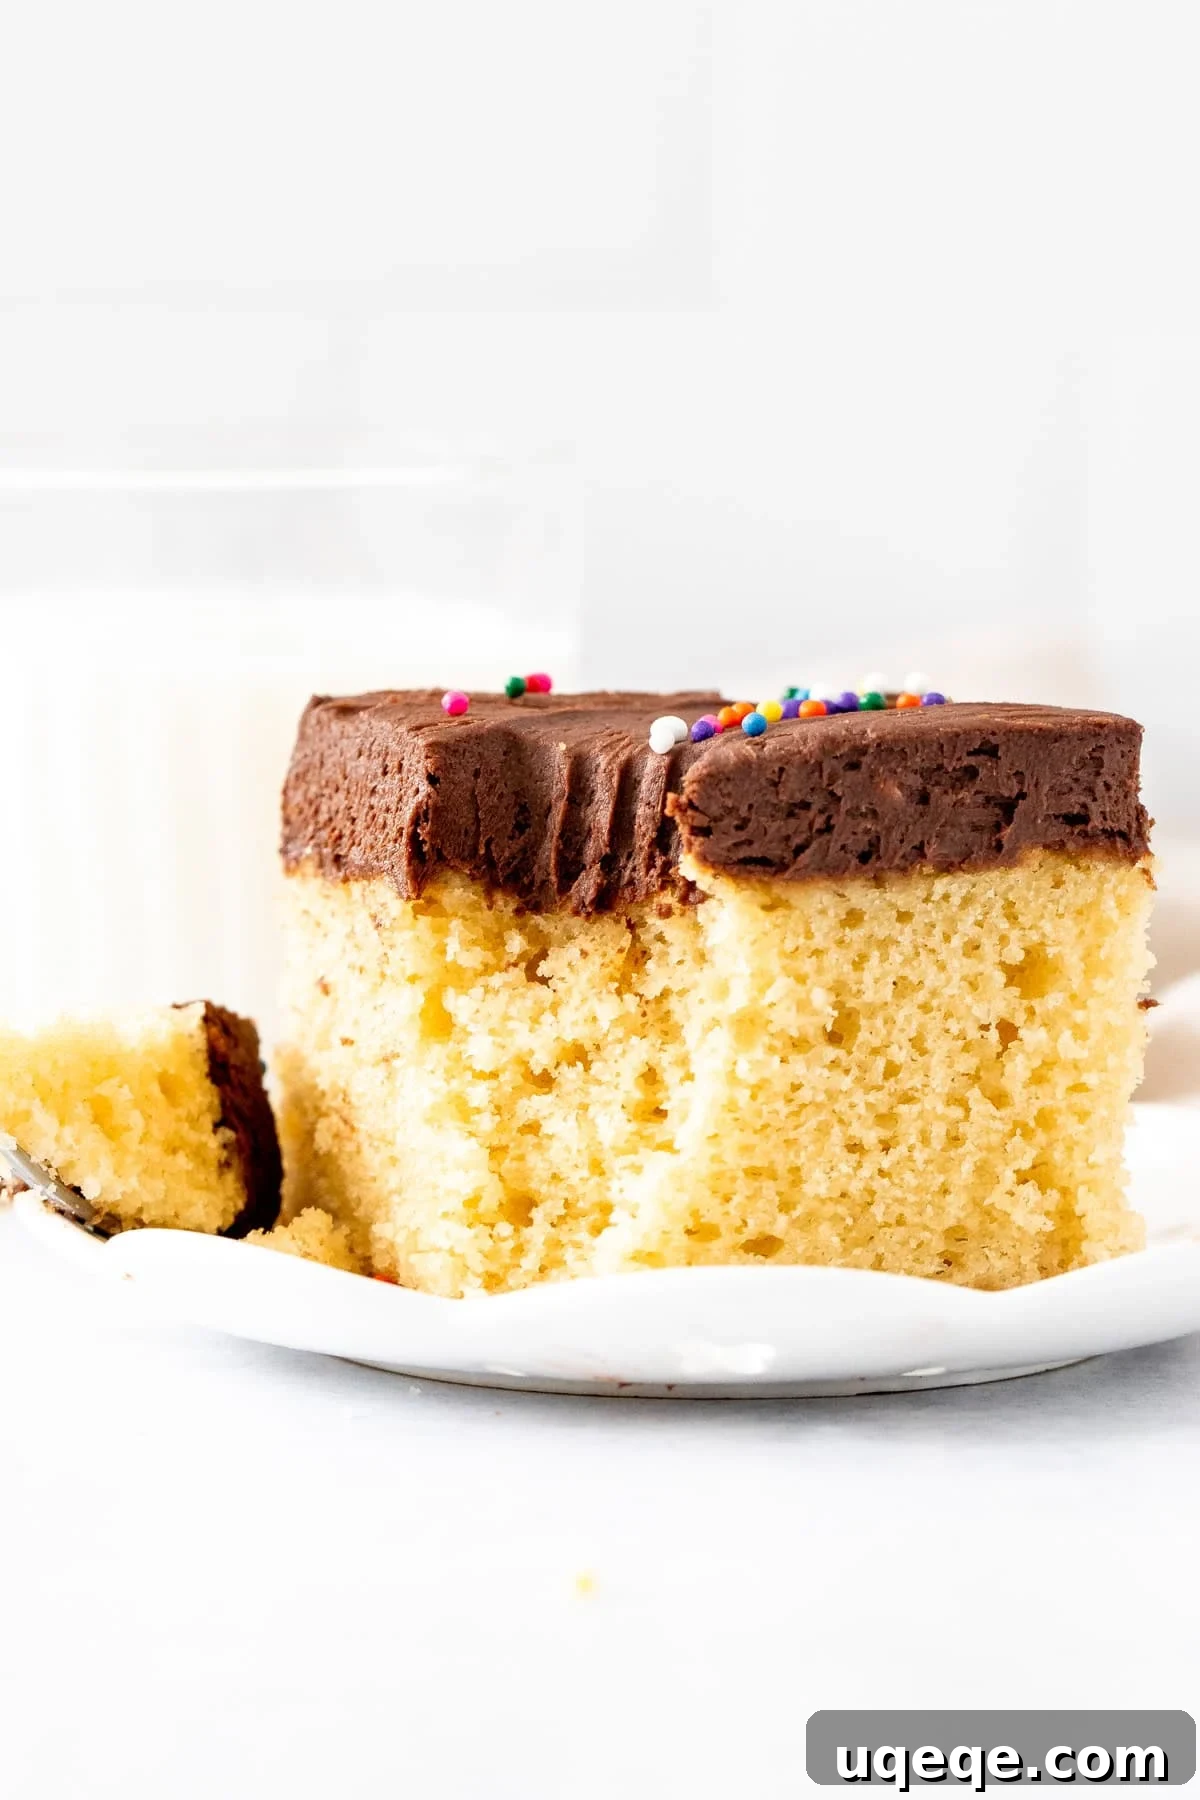
This yellow sheet cake with chocolate frosting is more than just a dessert; it’s a celebration in itself, designed for ease and enjoyment. It stands out with its incredibly moist, soft, and tender crumb, infused with that perfect balance of rich butter and sweet vanilla. Unlike white cakes, yellow cakes, made with whole eggs, offer a deeper, more profound flavor and a beautiful golden hue that perfectly complements a thick, creamy layer of homemade chocolate buttercream. This particular recipe is crafted specifically for a sheet pan, making it wonderfully easy to prepare, transport, and serve a large crowd without requiring any elaborate decorating skills. It’s the ideal choice when you want a show-stopping cake with minimal fuss.
Compared to a traditional layered yellow cake, this sheet cake version is designed to be slightly softer and fluffier. Because it doesn’t need the structural stability required for stacking multiple layers, it can afford to be more delicate and melt-in-your-mouth. This not only makes it a dream to eat but also simplifies the baking process and makes transportation a breeze, allowing you to focus on enjoying the moment rather than worrying about your cake.
Table of Contents
- Yellow Cake vs White Cake
- Crafting Your Perfect Yellow Sheet Cake
- Choosing the Right Pan Sizes
- Decadent Chocolate Frosting
- Essential Baking Tips for Success
- Make-Ahead Strategies for Effortless Entertaining
- Explore More Delicious Sheet Cake Recipes
- Yellow Sheet Cake with Chocolate Frosting Recipe
Yellow Cake vs White Cake: A Golden Distinction
Understanding the difference between yellow cake and white cake is key to appreciating this golden classic. A yellow cake, often referred to as a golden yellow cake, is characterized by its rich, buttery vanilla flavor and its beautiful pale yellow color. This distinct hue and deeper flavor profile come from the use of whole eggs in the batter. The egg yolks, packed with fat and natural emulsifiers, contribute significantly to the cake’s richness, moisture, and tender crumb. They also impart a subtle, creamy undertone that enhances the vanilla and butter flavors.
In contrast, a white cake typically uses only egg whites, resulting in a lighter color and a more delicate, airy texture. While both are delicious vanilla-flavored cakes, the presence of egg yolks in yellow cake creates a slightly denser, more luxurious crumb that can stand up beautifully to rich frostings, like our chocolate buttercream. This makes yellow cake a popular choice for celebratory occasions where a robust and satisfying flavor is desired, offering a nostalgic taste that many associate with classic homemade desserts.
Crafting Your Perfect Yellow Sheet Cake: A Step-by-Step Guide
This recipe employs the creaming method, a fundamental technique in baking that ensures a light, fluffy, and tender cake. It involves thoroughly beating butter and sugar together to incorporate air, which creates pockets that expand during baking, resulting in a wonderfully airy texture. Follow these detailed steps for a flawless yellow sheet cake:
- **Preparation is Key:** Begin by preheating your oven to the specified temperature and preparing your baking pan. Lightly grease the pan with butter or cooking spray, then dust it with a thin layer of flour. For extra insurance against sticking, you can line the bottom with parchment paper. This crucial first step ensures your cake bakes evenly and releases easily.
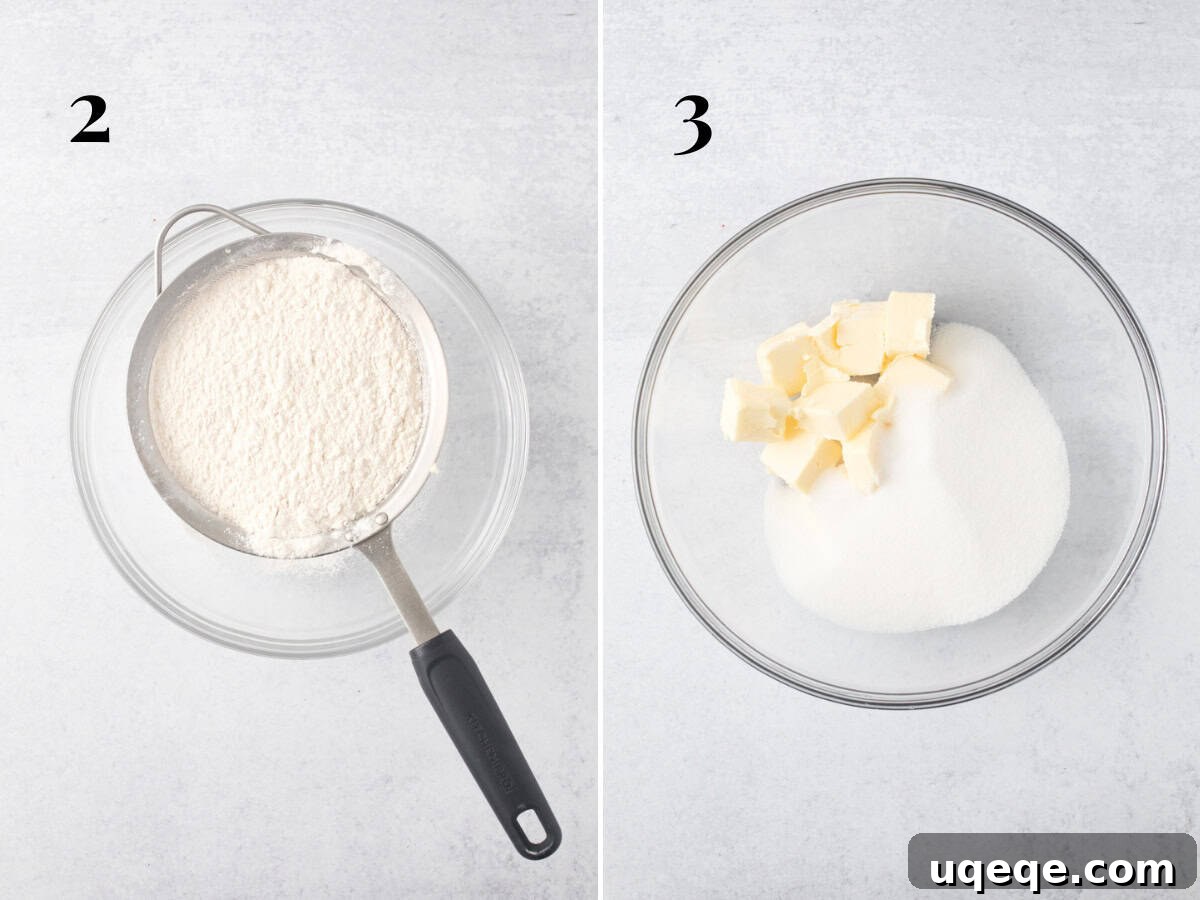
- **Sift Dry Ingredients:** In a large bowl, combine and sift together the all-purpose flour, baking powder, baking soda, and salt. Sifting is important as it removes any lumps, aerates the flour, and ensures that the leavening agents are evenly distributed throughout the mixture. Whisk them together gently for about 30 seconds to fully combine. Set this mixture aside.
- **Cream Butter and Sugar:** In a separate, larger bowl (preferably using an electric mixer), cream together the softened unsalted butter and granulated sugar. Beat them on medium-high speed for 2-4 minutes, or until the mixture becomes visibly light, pale, and fluffy. This process is vital for incorporating air, which contributes to the cake’s tender crumb and airy texture. Scrape down the sides of the bowl periodically to ensure even mixing.
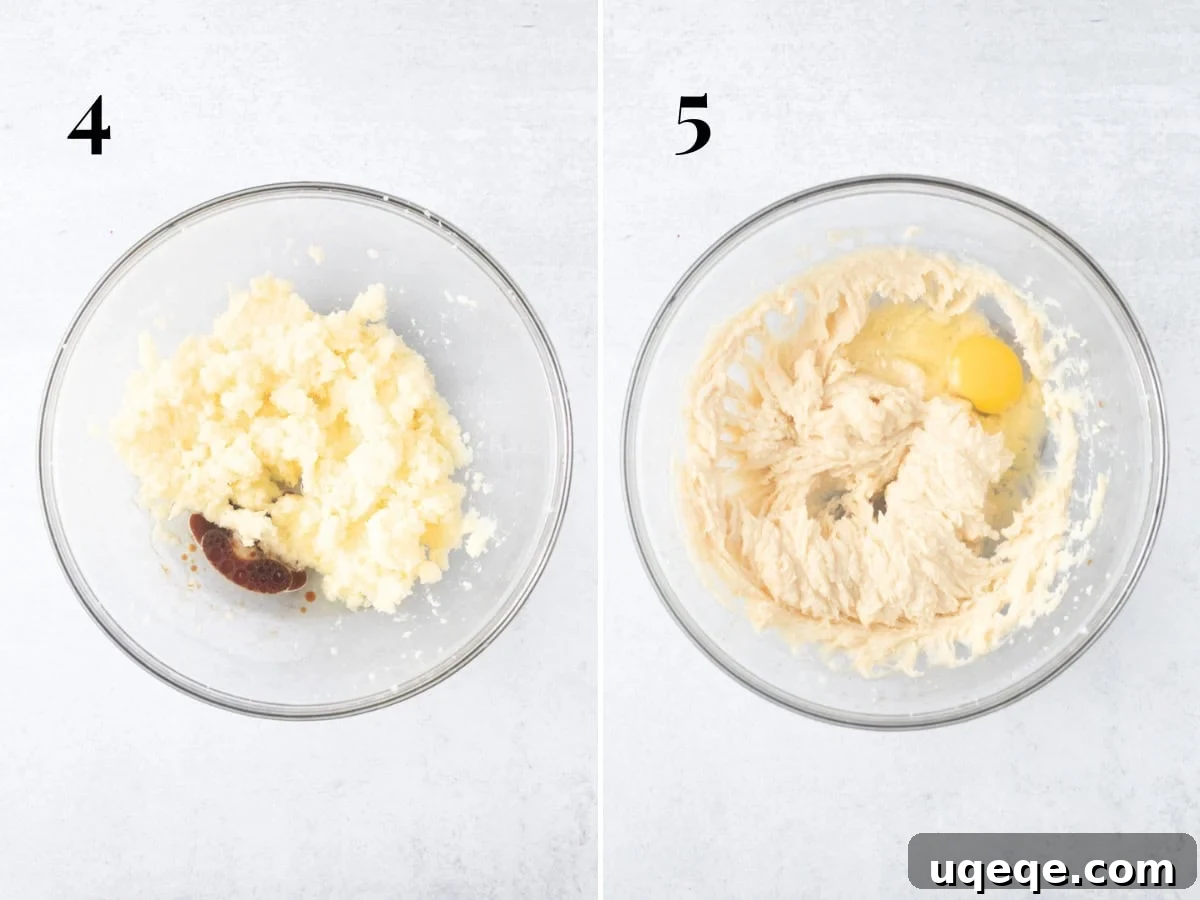
- **Add Flavor and Moisture:** Beat the vanilla extract and vegetable oil into the creamed butter and sugar mixture. Continue mixing until they are fully incorporated and the mixture is light and fluffy again. The oil adds a crucial element of moisture that keeps the cake tender and prevents it from drying out quickly.
- **Incorporate Eggs Gradually:** Add the large eggs one at a time to the butter mixture, beating well after each addition until just combined. It’s essential to scrape down the sides and bottom of the bowl after each egg to ensure everything is thoroughly incorporated and to prevent the mixture from curdling. This gradual addition helps to maintain the emulsification and structure of the batter.
- **Introduce Sour Cream:** Next, mix in the room-temperature sour cream. Sour cream is a fantastic addition to cake batters, contributing significant moisture, tenderness, and a subtle tang that balances the sweetness. Mix until just combined.
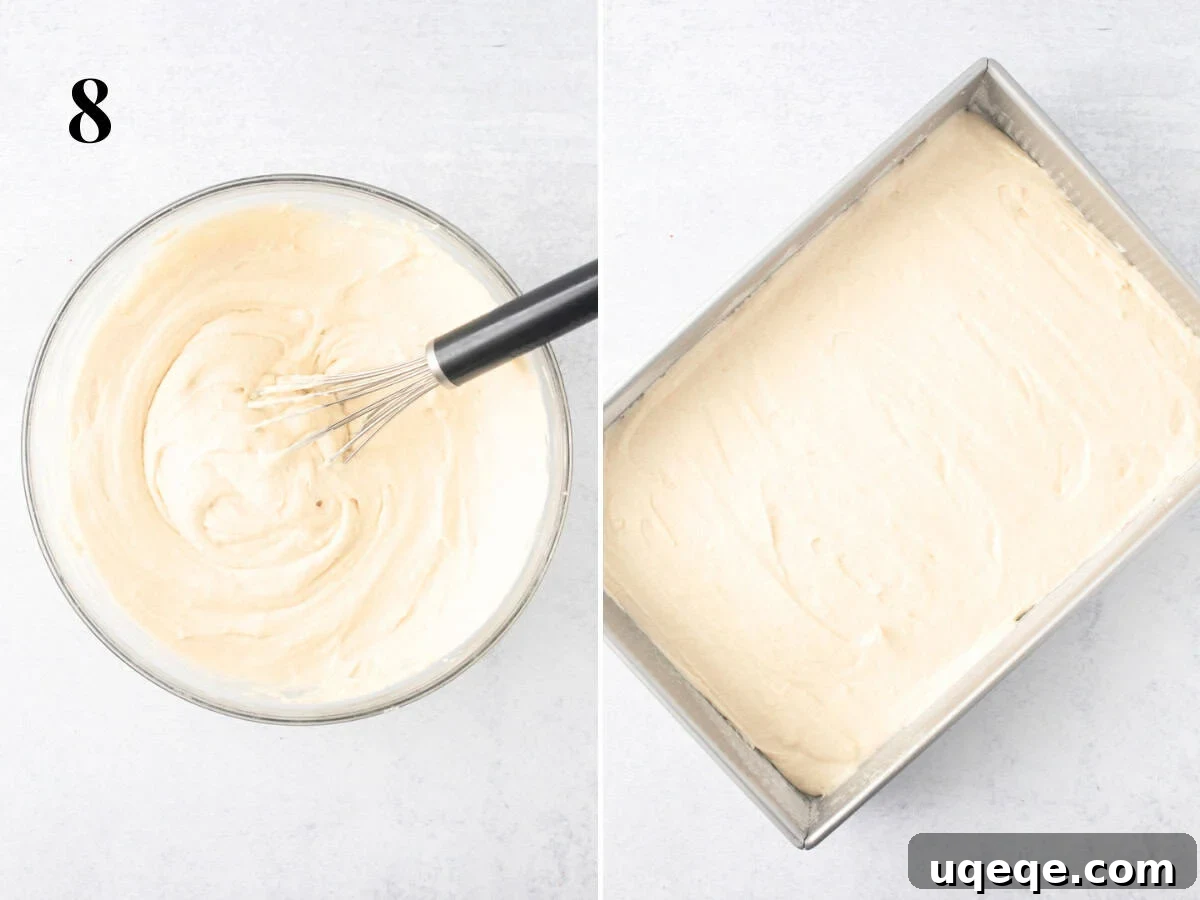
- **Alternate Dry and Wet Ingredients:** This step requires careful attention. Gradually add the sifted dry ingredients and the whole milk to the butter mixture, alternating between additions. Begin and end with the dry ingredients. For example, add about one-third of the dry ingredients, mix briefly, then add half of the milk, mix, then another third of dry, the remaining milk, and finally the last third of dry ingredients. This alternating method helps to prevent overmixing the flour (which can lead to a tough cake) and ensures a uniform cake crumb. Always scrape down the sides and bottom of the bowl after each addition. For the last few additions, consider switching to a wire whisk or spatula to gently fold in the ingredients, further minimizing the risk of overmixing.
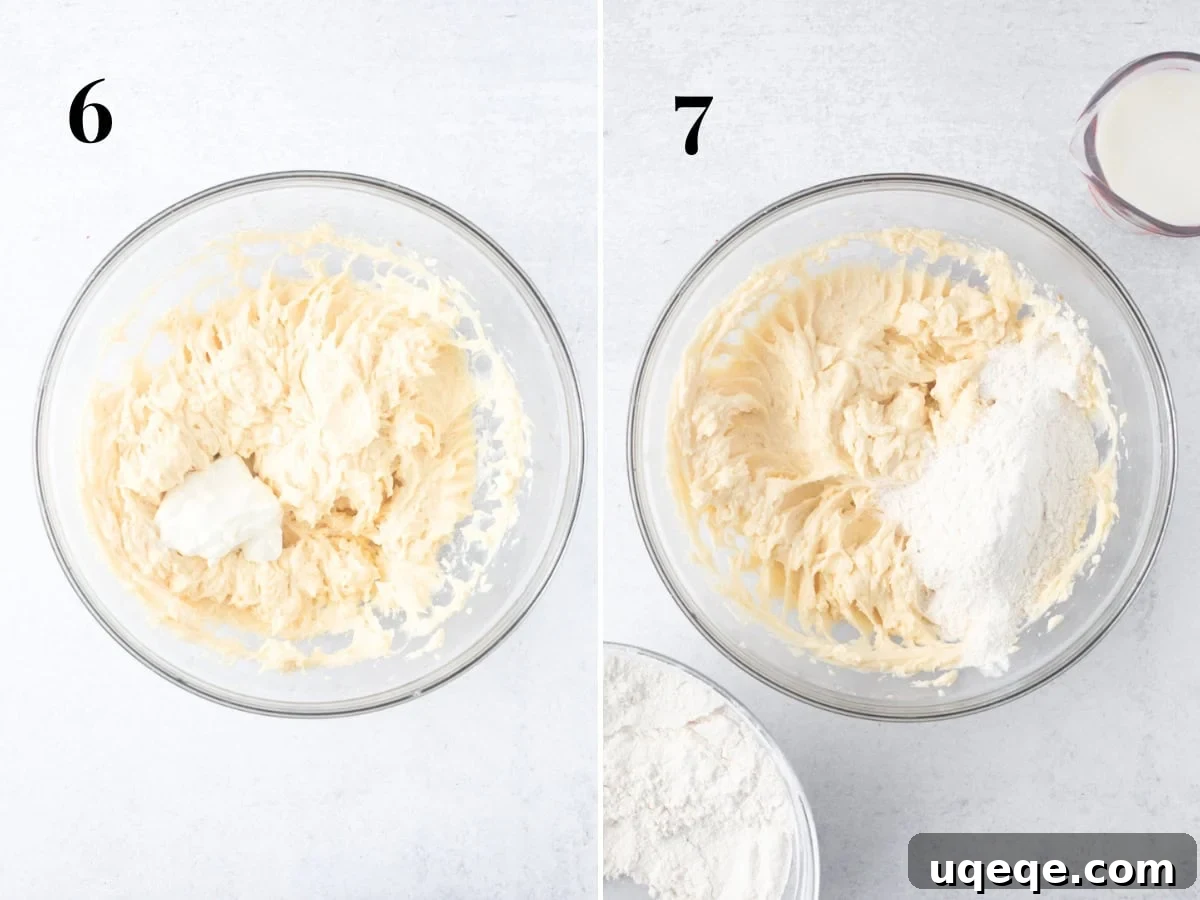
- **Prepare for Baking:** Once the batter is smooth and well-combined (but not overmixed), pour it evenly into your prepared pan. Use an offset spatula or the back of a spoon to gently smooth out the top, ensuring an even layer for baking.
- **Bake to Perfection:** Place the pan in the middle rack of your preheated oven. The baking time will vary slightly depending on your oven and pan size, typically ranging from 38-45 minutes for a 9×13 inch pan. The cake is ready when the top is lightly golden, slightly springy to the touch, and a wooden skewer or toothpick inserted into the center comes out clean or with a few moist crumbs attached. Avoid overbaking, as this can lead to a dry cake.
Choosing the Right Pan for Your Sheet Cake
This versatile yellow cake recipe can be successfully baked in a couple of different pan sizes, allowing for flexibility based on your needs. As pictured, it’s perfectly suited for a standard 9×13 inch (23×33 cm) baking pan, which typically requires about 38-45 minutes of baking time to achieve a beautifully golden and cooked-through result. This size yields a thicker, more substantial slice, ideal for classic birthday portions.
Alternatively, if you’re aiming to feed a larger crowd with thinner slices, or prefer a less dense cake, you can opt for a 12×17 inch half sheet pan (30.5×43 cm). When using this larger pan, the cake will bake more quickly, usually within 22-27 minutes. The key is always to rely on visual cues and the toothpick test for doneness, rather than strictly adhering to time, as oven temperatures can vary.
Decadent Chocolate Buttercream Frosting
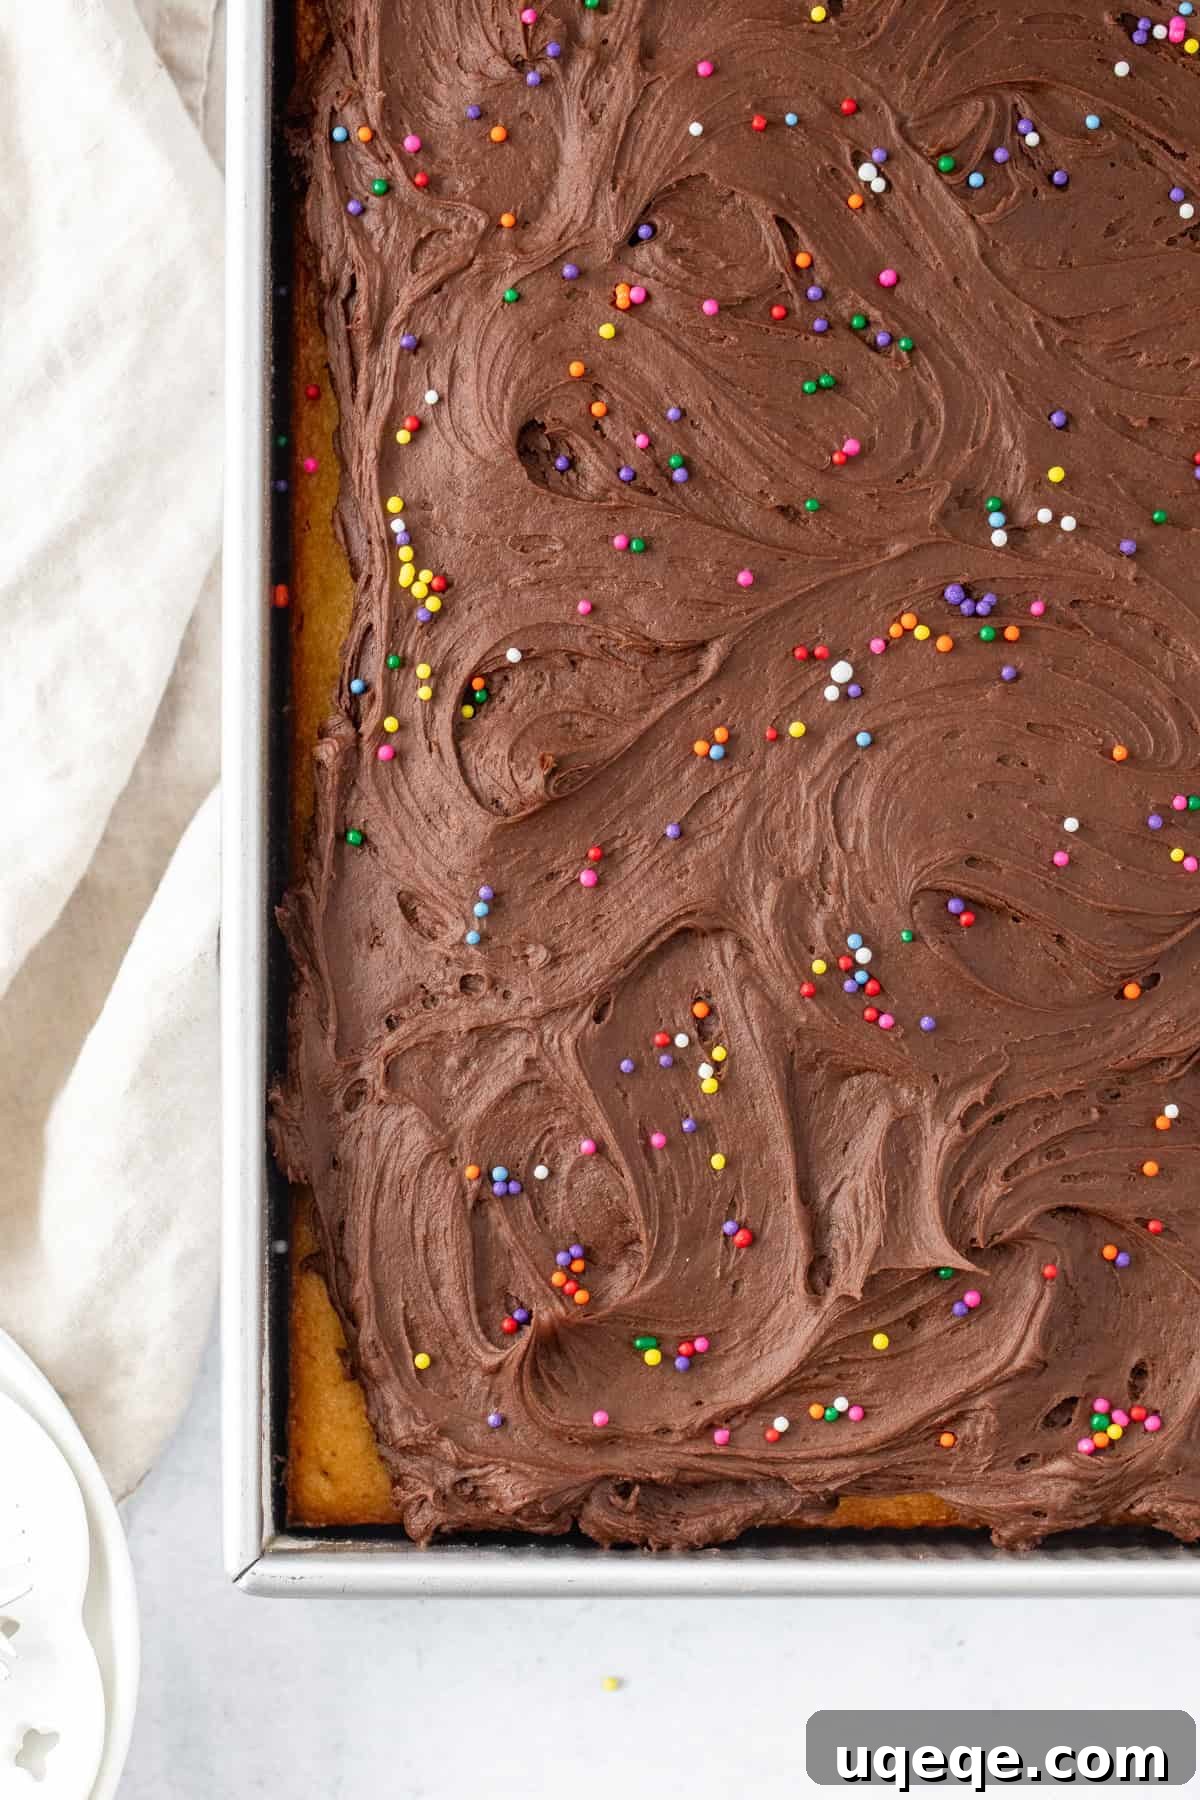
No yellow cake is complete without a generous slather of decadent chocolate frosting, and this recipe delivers a true crowd-pleaser. Our chocolate frosting is a super creamy, simple American-style buttercream that’s incredibly flavorful and easy to make. It features real unsalted butter for the richest taste, powdered sugar for smooth sweetness, premium cocoa powder for deep chocolate notes, a touch of vanilla for aromatic depth, a pinch of salt to perfectly balance the sweetness, and whipping cream or milk to achieve that luscious, spreadable consistency.
This recipe yields enough frosting to create a wonderfully thick layer on a 9×13 inch pan, providing a delightful contrast to the moist cake. If you opt for the larger 12×17 inch sheet pan, the frosting will naturally spread into a slightly thinner, yet still perfectly proportioned, layer. This ratio ensures that every bite offers the ideal balance of tender cake and rich, velvety chocolate goodness, elevating your yellow sheet cake to an unforgettable dessert experience.
Essential Baking Tips for Success
- **Ensure Ingredients are at Room Temperature:** This is perhaps the most crucial tip for a tender, evenly mixed cake. Cold ingredients (butter, eggs, sour cream, milk) do not emulsify properly, leading to a lumpy batter that requires overmixing. Overmixing develops too much gluten, resulting in a tough, dense cake crumb. Plan ahead and take ingredients out of the fridge at least an hour before you begin baking.
- **A Little Oil Goes a Long Way:** While butter provides unparalleled flavor, incorporating a small amount of vegetable oil helps to keep the cake incredibly moist for a longer period. Oil remains liquid at room temperature, contributing to a consistently soft texture, whereas butter can firm up. This combination gives you the best of both worlds: rich flavor and enduring moisture.
- **Sift Your Dry Ingredients:** Don’t skip this step! Sifting not only removes any small lumps from the flour, baking powder, and baking soda, but it also aerates the mixture. This aeration helps to ensure that the leavening agents are evenly distributed, promoting a uniform rise and preventing dense spots in your cake. It also contributes to a lighter, more delicate crumb.
- **Measure Flour Accurately:** Flour is a common culprit for dry cakes if measured incorrectly. Avoid scooping flour directly from the bag with your measuring cup, as this compacts it, leading to too much flour. Instead, gently spoon the flour into your measuring cup and then level off the top with a straight edge. For the most accurate results, use a kitchen scale to measure flour by weight (375 grams in this recipe).
- **Do Not Overmix the Batter:** After adding the dry ingredients, mix the batter only until the streaks of flour disappear. Overmixing develops gluten, which can make your cake tough and chewy instead of soft and tender. The alternating dry and wet additions method, and using a whisk for the final folds, helps minimize overmixing.
- **The Golden Rule: Do Not Overbake:** Baking the cake for too long is a surefire way to end up with a dry, crumbly cake. Conversely, underbaking can leave you with a gummy, sunken center. Always rely on visual cues and the toothpick test rather than solely on the suggested baking time, as oven temperatures can vary. When finished:
- The edges of the cake should be visibly pulling away from the sides of the pan.
- The top of the cake should appear set, golden brown, and slightly springy when gently touched.
- If you gently nudge the pan, the cake should not wobble in the center.
- A wooden skewer or toothpick inserted into the very center should come out clean, or with just a few moist crumbs attached – never wet batter.
- **Cool Completely Before Frosting:** It’s tempting to frost a warm cake, but resist! Frosting a warm cake will cause the buttercream to melt and slide right off. Allow the cake to cool completely in the pan on a wire rack before applying the frosting for a smooth, beautiful finish.
Make-Ahead Strategies for Effortless Entertaining
Preparing a delicious cake doesn’t have to be a last-minute scramble. This yellow sheet cake is wonderfully accommodating and can be made ahead of time, allowing you to enjoy your event without stress.
If you plan to serve the cake within a day, you can bake it, let it cool completely in the pan, and then cover the pan tightly with plastic wrap or foil. Store it at room temperature. On the day of serving, simply prepare the chocolate frosting and decorate. The unfrosted cake will stay fresh and moist at room temperature for up to 24 hours.
For longer storage, sheet cakes are excellent candidates for freezing. An unfrosted cake can be baked, cooled completely, then wrapped tightly in several layers of plastic wrap and a layer of aluminum foil. This helps prevent freezer burn and preserves freshness. Frozen cake can be stored for up to 2 months. When you’re ready to serve, thaw the wrapped cake overnight in the refrigerator. It’s crucial to thaw in the fridge to maintain moisture and texture; thawing at room temperature can sometimes make the cake gummy. Once thawed, let it sit on the counter for about 30 minutes to come to room temperature before frosting and decorating. Prepare the frosting fresh on the day you plan to serve for the best texture and flavor.
Explore More Delicious Sheet Cake Recipes
- Moist Carrot Cake
- Classic Chocolate Sheet Cake
- The Best Banana Cake
- Easy Red Velvet Cake
Yellow Sheet Cake with Chocolate Frosting
Fiona Dowling
This yellow sheet cake is a moist and tender vanilla cake with the perfect buttery, vanilla flavor. It’s made with whole eggs, as opposed to just egg whites, to give the cake a beautiful golden yellow color and slightly richer flavor. Topped with creamy chocolate frosting, this cake is incredibly simple to make, transports perfectly for any gathering, and easily feeds a crowd. It’s a delightful homemade treat that’s far superior to any box mix.
15 slices
Rate Recipe
Print Recipe
Equipment
- 9×13 inch (23×33 cm) baking pan*
Ingredients
Yellow Cake
- 3 cups all-purpose flour (375 grams)
- 1 teaspoon baking powder
- ½ teaspoon baking soda
- ½ teaspoon salt
- ¾ cup unsalted butter (168 grams), softened
- 1¾ cups granulated sugar (350 grams)
- 1 tablespoon vanilla extract
- ¼ cup vegetable oil (60 ml)
- 4 large eggs, room temperature
- ¼ cup sour cream (60 ml), room temperature
- 1 cup whole milk (260 ml), 2% is ok, but whole milk is ideal – do not use skim
Chocolate Buttercream Frosting
- 1 cup unsalted butter (226 grams), softened, but not starting to melt
- ⅔ cup cocoa powder (57 grams), sifted
- 3-4 cups powdered sugar (330-440 grams), sifted
- 1 teaspoon vanilla extract
- ¼ teaspoon salt
- 3-5 tablespoons whipping cream (45-75 ml), milk is also acceptable
Instructions
Yellow Sheet Cake
- Preheat the oven to 350°F (180°C). Lightly grease and flour a 9×13 inch cake pan, or line with parchment paper for easy removal.
- In a large bowl, sift together the flour, baking powder, baking soda, and salt. Whisk these dry ingredients together for about 30 seconds to ensure they are well combined and aerated. Set aside.
- In another large bowl, using an electric mixer, cream together the softened butter and granulated sugar until the mixture is light, pale, and fluffy, typically taking 2-4 minutes. Scrape down the sides of the bowl as needed.
- Beat the vegetable oil and vanilla extract into the creamed butter and sugar mixture until fully incorporated and light.
- Mix the room-temperature sour cream into the butter mixture until just combined.
- Gradually add the sifted dry ingredients and milk to the butter mixture, alternating between additions. Begin by adding one-third of the dry ingredients, mixing until just combined. Follow with half of the milk, mixing again. Repeat this process: another third of dry, the remaining milk, and finally the last third of dry ingredients. Mix until just combined, being careful not to overmix. For the final additions, you can gently fold them in with a wire whisk or spatula to prevent over-developing the gluten.
- Pour the prepared batter evenly into the greased and floured pan, then use an offset spatula to smooth the top.
- Bake in the middle of the preheated oven for approximately 40-45 minutes. The cake is done when the top appears set and golden, is slightly springy to the touch, and a wooden skewer or toothpick inserted into the center comes out clean or with a few moist crumbs. Always prioritize the visual and tactile tests over strict baking time.
- Allow the cake to cool completely in the pan on a wire rack before frosting.
Chocolate Frosting
- In a large mixing bowl, beat the softened butter on medium speed until it is smooth and creamy.
- Add the sifted cocoa powder, 3 cups of sifted powdered sugar, salt, and vanilla extract to the bowl. Start beating on a very low speed to avoid a cloud of powdered sugar, then gradually increase the speed to medium until all ingredients are combined.
- Pour in 3 tablespoons of whipping cream and continue beating the frosting on medium-high speed until it becomes light and fluffy. If you desire a sweeter frosting or a thicker consistency, gradually beat in the remaining powdered sugar (up to 1 cup more), alternating with an additional tablespoon or two of cream/milk if the frosting seems too stiff. Adjust the amount of liquid until you reach your desired spreadable consistency.
- Once the yellow sheet cake is completely cooled, use an offset spatula or the back of a spoon to generously spread the creamy chocolate frosting evenly over the top. Serve and enjoy!
Notes
- **Pan Sizes:** This recipe is designed for a 9×13 inch (23×33 cm) baking pan. If you prefer a thinner cake that bakes more quickly, you can use a 12×17 inch (30.5×43 cm) half sheet pan, adjusting the bake time to approximately 22-27 minutes. Always check for doneness using the methods described above.
- **Accurate Flour Measurement:** For the moistest cake, proper flour measurement is critical. Never scoop flour directly from the bag. Instead, gently spoon the flour into your dry measuring cup and then level off the top with a straight edge. For the most accurate results, using a digital kitchen scale to measure flour by weight (375 grams) is highly recommended.
- **Room Temperature Ingredients:** It is absolutely essential that your butter, eggs, sour cream, and milk are all at room temperature before you begin baking. This ensures that all ingredients emulsify smoothly and evenly, creating a consistent batter without overmixing. Cold ingredients can lead to a lumpy batter and a tough cake crumb due to excess mixing. Plan to take them out of the refrigerator at least 1-2 hours before starting.
- **Storage:** Leftover yellow sheet cake with chocolate frosting can be stored in an airtight container at room temperature for up to 3 days. For extended freshness, it can be kept in the refrigerator for up to 5 days. While fresh cake is always best, refrigerated cake will benefit from sitting on the counter for about 30 minutes before serving to allow the frosting and cake to soften slightly.
- **Nutrition Information:** The nutritional details provided are an estimate only. They are based on one slice of cake with frosting, assuming the cake is sliced into 15 uniform pieces and all of the frosting is used. Actual nutritional values may vary depending on exact ingredient brands and measurements.
Nutrition
Carbohydrates: 70g,
Protein: 6g,
Fat: 30g,
Saturated Fat: 17g,
Polyunsaturated Fat: 3g,
Monounsaturated Fat: 8g,
Trans Fat: 1g,
Cholesterol: 115mg,
Sodium: 185mg,
Potassium: 172mg,
Fiber: 2g,
Sugar: 48g,
Vitamin A: 842IU,
Vitamin C: 0.1mg,
Calcium: 61mg,
Iron: 2mg
Enjoyed this delightful yellow sheet cake recipe?
We’d love to hear your thoughts! Please consider rating this recipe and leaving a comment below to share your baking experience. Your feedback helps other bakers in our community!