
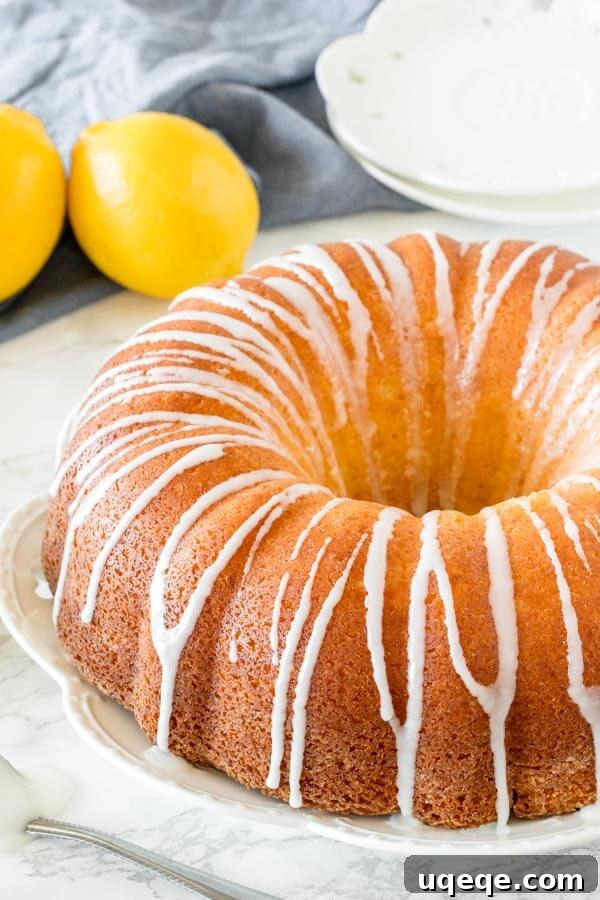
Mastering the Perfect Bundt Cake: Your Ultimate Guide to Flawless Baking
Welcome, baking enthusiasts! Today, we’re diving deep into the wonderful world of Bundt cakes. Often admired for their elegant shapes and delicious flavors, Bundt cakes can sometimes present a challenge, especially when it comes to getting them out of the pan. Fear not! This comprehensive guide will equip you with all the essential tips, clever tricks, and foolproof methods to bake stunning Bundt cakes that release perfectly every single time. Get ready to impress with your next Bundt creation!
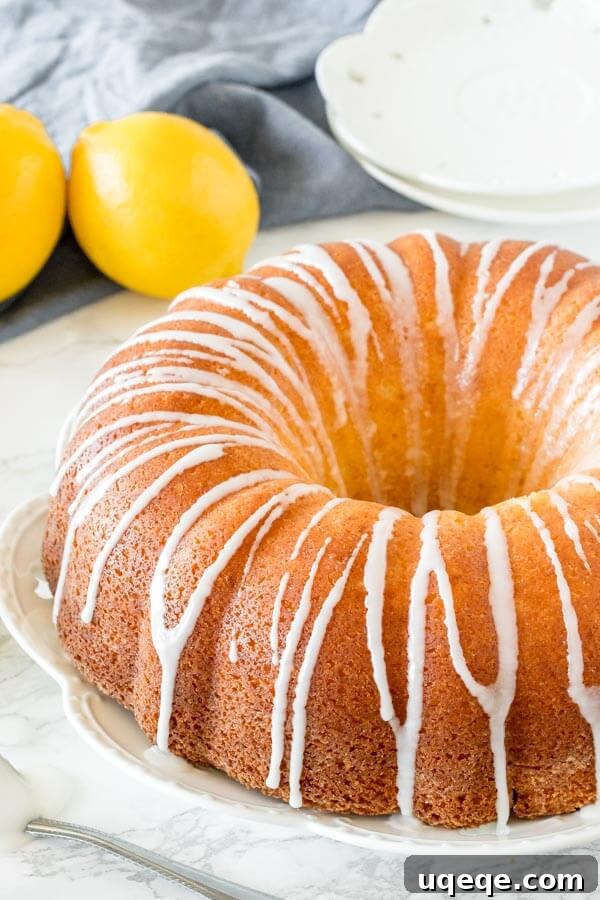
What Exactly is a Bundt Cake?
At its core, a Bundt cake is defined by the unique pan it’s baked in, not by a specific recipe. The Bundt pan, inspired by a traditional European cake called Gugelhupf, creates a distinctive ring shape with a hole in the center. This design isn’t just for aesthetics; the central tube allows for more even heat distribution, ensuring the cake bakes thoroughly from the inside out, even when dense. Bundt pans come in an astonishing array of designs, from classic fluted patterns to highly intricate decorative molds, each imparting its unique character to the finished cake.
While the shape is consistent, the flavors and textures of Bundt cakes are incredibly diverse. They range from rich, moist pound cakes and tender coffee cakes to light and airy sponge variations. Typically, Bundt cakes lean towards a slightly denser texture to maintain their intricate form upon release. They can be elegantly simple, dusted with powdered sugar, or beautifully adorned with drizzles, glazes, or even more elaborate frostings, making them a versatile dessert for any occasion.
Choosing the Perfect Bundt Pan for Flawless Results
Selecting the right Bundt pan is the first critical step toward baking success. The market offers a variety of sizes, materials, and designs, each with its own advantages and considerations.
Understanding Bundt Pan Capacities
Bundt pans typically come in two main capacities: 10-cup and 12-cup. This measurement refers to the volume of liquid (water) the pan can hold when filled to the very brim, not the ideal volume of cake batter. It’s crucial to match your recipe’s batter volume to your pan’s capacity to prevent overflow or an underfilled, stunted cake. A standard 9×13 inch cake recipe often yields enough batter for a 10-cup Bundt pan, but always check your specific recipe for guidance.
Material and Color: The Unsung Heroes of Even Baking
- Light-Colored Pans: We highly recommend using a light-colored Bundt pan. Lighter metals reflect heat more efficiently, promoting a gentler and more even bake. This minimizes the risk of over-browning or scorching the edges and exterior of your cake while the interior finishes baking.
- Darker Pans: While visually appealing, darker pans absorb more heat, which can lead to a darker, crispier crust and potentially a drier texture if not monitored carefully. If using a dark pan, consider reducing your oven temperature slightly or shortening baking time.
- Non-Stick Coating: Always opt for a non-stick Bundt pan that is in excellent condition. Any scratches, chips, or peeling in the non-stick coating can become sticky points where your cake might cling, making release significantly more challenging. Invest in a good quality pan and handle it with care to preserve its coating.
Navigating Intricate Bundt Pan Designs
Bundt pans are renowned for their beautiful, often complex designs. However, the more intricate the pattern – with deep crevices, sharp angles, or delicate details – the more challenging it can be to achieve a clean release. For beginners, or when trying a new recipe, we strongly advise starting with a simpler, classic fluted Bundt pan. As you gain confidence and master greasing techniques, you can gradually move on to more elaborate designs, confident in your ability to get that perfect, show-stopping cake.
The Art of Releasing Your Bundt Cake Flawlessly
The moment of truth for any Bundt baker is the release from the pan. A successful release preserves the cake’s beautiful shape and saves you from frustration. Even if your pan is labeled “non-stick,” proper preparation is absolutely non-negotiable.
Preparing Your Bundt Pan: The Key to Success
There are two highly effective methods for preparing your Bundt pan, and each has its ardent followers:
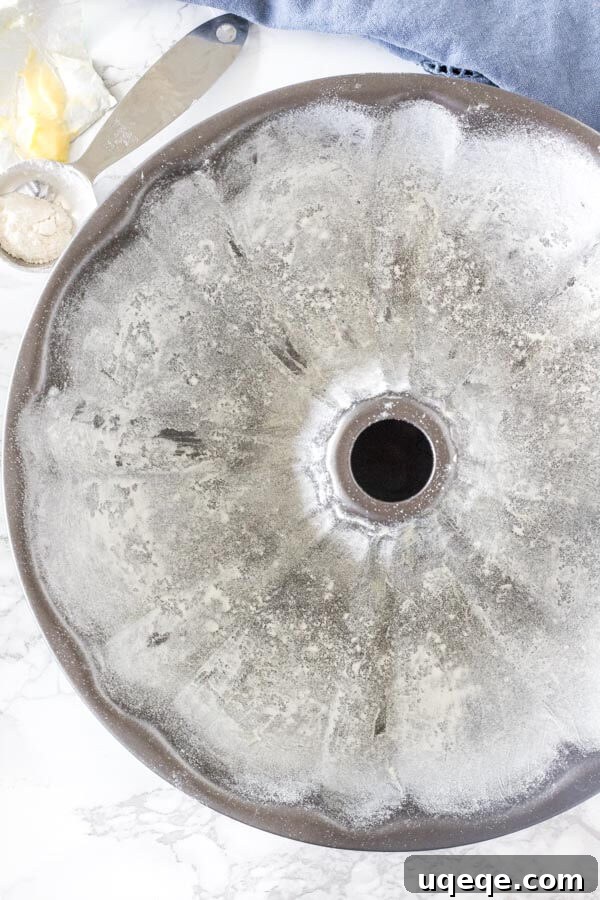
Method #1: The Classic Grease & Flour Technique
This traditional method creates a protective barrier between the cake batter and the pan, allowing for a smooth release. It’s reliable, but can sometimes leave a faint floury residue on darker cakes.
- Generous Greasing: Begin by coating the entire interior of the Bundt pan generously with a solid fat like softened butter or shortening. Use your fingers, a pastry brush, or a paper towel to ensure every nook, cranny, and high point of the design is thoroughly covered. Do not use liquid oil spray here, as it tends to pool and not coat evenly.
- The Flour Dusting: Sprinkle 1-2 teaspoons of all-purpose flour into the greased pan. For chocolate Bundt cakes or other dark-hued cakes, consider using cocoa powder instead of flour to avoid a white residue. Gluten-free bakers can use a gluten-free flour blend or almond flour.
- Thorough Coating: Gently shake, tilt, and rotate the pan in all directions to distribute the flour or cocoa powder evenly across the entire greased surface. Pay special attention to the central tube and any intricate patterns.
- Tap Out Excess: Once fully coated, invert the pan and gently tap it over a sink or trash can to remove any excess flour. Too much flour can create a gummy texture on the cake’s exterior.
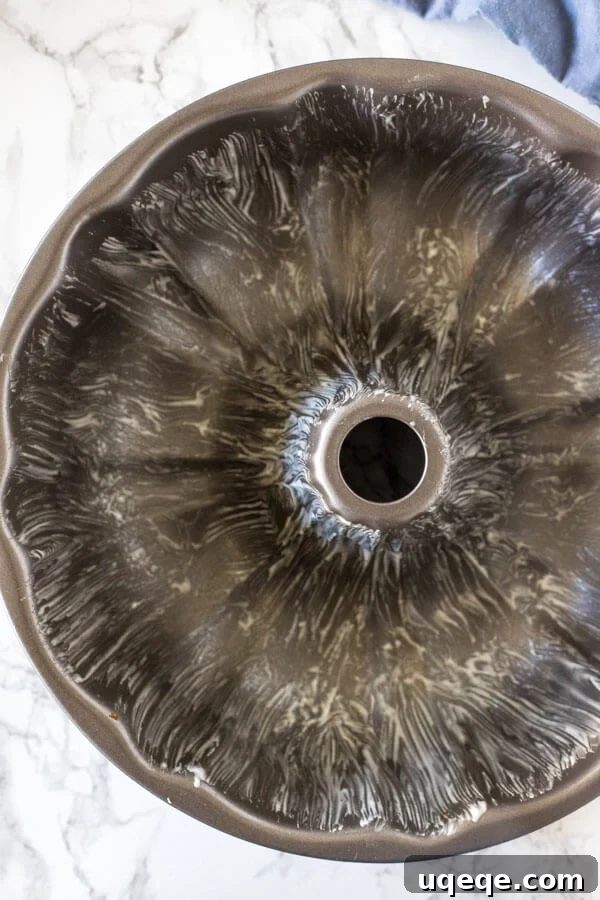
Method #2: The Efficacy of Pan Release (Baker’s Spray)
For many bakers, pan release is the ultimate secret weapon for foolproof Bundt cakes. It provides an invisible, highly effective non-stick layer without the potential for flour residue.
- Store-Bought Baker’s Spray: You can purchase commercial pan release sprays, often labeled “Baker’s Joy” or similar products, at most grocery stores or cake supply shops. These typically contain a blend of oil, flour, and sometimes lecithin, designed specifically for intricate pans. Simply spray a generous, even layer over the entire interior of the pan.
- Homemade Pan Release: A fantastic, cost-effective alternative is to make your own! This incredibly effective mixture comes from a cherished recipe (often credited to “I Am Baker”) and works like a charm.
- Recipe: Beat together equal parts (e.g., 1/4 cup each) shortening, all-purpose flour, and vegetable oil until thoroughly combined and smooth. This forms a creamy, paste-like consistency.
- Application: Using a pastry brush, brush a thin, even layer of this homemade pan release over every inch of the Bundt pan’s interior, ensuring all the creases, corners, and the central tube are well-coated.
- Storage: Any leftover homemade pan release can be stored in an airtight container or jar in your pantry for future use. It keeps well for several weeks, making it a convenient staple for frequent Bundt bakers.
The Critical Cooling and Inversion Process
Once your Bundt cake is baked to perfection, the way you handle it immediately after coming out of the oven is just as important as how you greased the pan.
- Initial Cooling in the Pan: After removing the cake from the oven, place the Bundt pan on a wire rack to cool for 10-30 minutes. The exact time depends on the cake’s density and the pan’s material. During this crucial period, the cake continues to set and firm up, while residual steam slightly lifts it from the pan walls.
- The “Too Soon” Warning: Do NOT attempt to invert the cake immediately after removing it from the oven. A hot cake is fragile and prone to breaking or collapsing when removed too soon.
- The “Too Late” Warning: Conversely, letting the cake cool completely in the pan can also lead to sticking, as the sugar in the cake can “glue” it to the pan as it hardens.
- Gentle Inversion: Once the optimal cooling time has passed (the pan should be warm to the touch, not scorching hot), place your wire rack directly over the top of the Bundt pan. Carefully, yet decisively, invert the pan and rack together. The cake should slide out cleanly. If it hesitates, a gentle tap on the bottom of the pan can help.
- When It Sticks: If the cake still doesn’t release, don’t panic. You can gently run a thin, flexible knife or an offset spatula around the edges where it seems to be sticking. Be very careful not to damage the pan’s non-stick coating or the cake’s design.
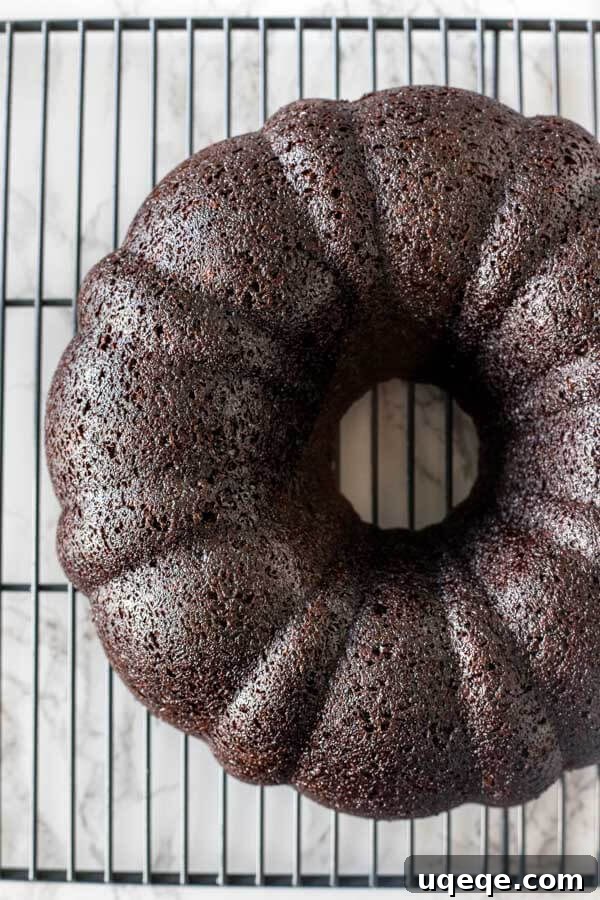
Can I Bake Any Cake Recipe in a Bundt Pan?
While the allure of Bundt pans might tempt you to bake any cake recipe in them, not all batters are created equal for this specific pan. The unique design of a Bundt pan thrives with certain cake characteristics.
Ideal Cake Batter Characteristics for Bundt Pans
Bundt cakes typically perform best with batters that are:
- Dense and Sturdy: Recipes for pound cakes, coffee cakes, and many loaf cakes are excellent candidates. Their sturdier crumb structure helps them hold the intricate shape of the pan without crumbling or collapsing upon release.
- Moist but Not Overly Gooey: A good Bundt cake is moist and tender, but not excessively gooey or delicate. A batter that’s too light or airy (like some chiffon cakes or delicate sponges) might struggle to maintain its form and could easily break apart during inversion.
- Adequate Volume: As mentioned, ensure your recipe yields enough batter for your pan’s capacity. Too little batter will result in a short, sad cake that doesn’t fill the mold; too much will overflow and create a mess. A recipe designed for a 9×13 inch baking pan often translates well to a 10-cup Bundt pan.
For the best results, always prioritize recipes specifically designated for Bundt pans. If you’re adapting a regular cake recipe, look for those with a denser crumb and adjust baking times accordingly, as Bundt cakes often require a slightly longer bake due to their depth.
Freezing Your Bundt Cake for Future Enjoyment
Bundt cakes are excellent candidates for freezing, making them perfect for meal prep, spontaneous entertaining, or simply enjoying a slice whenever a craving strikes. As a general rule, unfrosted cakes freeze best.
- Complete Cooling: Ensure your Bundt cake is 100% cooled to room temperature after it has been released from the pan. Freezing a warm cake can trap moisture, leading to ice crystals and a soggy texture upon thawing.
- Initial Wrapping: Once completely cool, wrap the cake tightly in plastic wrap. Go around the entire ring shape at least twice, ensuring there are no gaps or exposed areas. This first layer prevents freezer burn and protects the cake from absorbing freezer odors.
- Secondary Protection: For an extra layer of protection, place the plastic-wrapped cake in a large, freezer-safe airtight container. Alternatively, wrap the entire cake again tightly with aluminum foil. This dual-layer method is crucial for maintaining freshness and preventing moisture loss over time.
- Freeze: Label the package with the date and freeze for up to 3 months for optimal quality. While still safe to eat beyond this, the texture and flavor may begin to degrade.
- Thawing: When you’re ready to enjoy, thaw the Bundt cake slowly in the refrigerator overnight. For quicker thawing, you can let it sit at room temperature for several hours, still wrapped, to prevent condensation from making the surface wet. Once thawed, you can decorate it as desired.
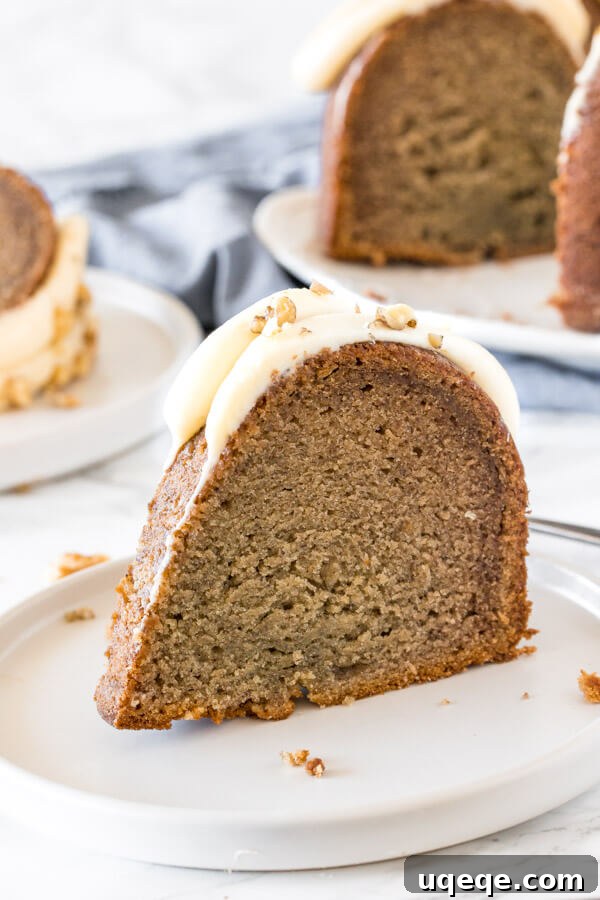
Embracing Creativity: Decorating Your Bundt Cake
One of the joys of baking Bundt cakes is their inherent beauty, often requiring minimal decoration to shine. The pan does most of the artistic work for you! However, a thoughtful glaze or simple garnish can elevate your Bundt cake from delicious to absolutely stunning.
- Simple Powdered Sugar Dusting: For an effortlessly elegant look, a simple dusting of powdered sugar (confectioners’ sugar) through a fine-mesh sieve is often all you need. It highlights the cake’s contours beautifully.
- Classic Glazes: A thin glaze drizzled over a cooled Bundt cake is a classic choice.
- Lemon Glaze: Combine powdered sugar with lemon juice for a bright, zesty finish.
- Vanilla Glaze: Use milk or cream and vanilla extract with powdered sugar for a rich, sweet topping.
- Chocolate Glaze: Melted chocolate or cocoa powder mixed with milk/cream and powdered sugar makes for a decadent drizzle.
Drizzle the glaze while the cake is cool but before it’s completely cold, allowing it to set nicely.
- Cream Cheese or Buttercream Frosting: While more substantial, a light layer of cream cheese frosting or a simple buttercream can be applied. The key is to apply it thinly, allowing the Bundt pan’s design to still be visible and appreciated.
- Garnishes: Fresh berries, citrus zest, toasted nuts, or chocolate shavings can add both visual appeal and complementary flavors. Place them strategically around the top or in the center hole of the cake.
Remember, the goal is to enhance, not obscure, the beautiful design that your Bundt pan has created!
Discover Your Next Favorite Bundt Cake Recipe
Now that you’re armed with the knowledge to bake the perfect Bundt cake, it’s time to put your skills to the test! These tried-and-true recipes are specifically designed to shine in a Bundt pan, promising a delicious and beautifully presented dessert every time:
- Lemon Bundt Cake: Bright, zesty, and incredibly moist, this lemon Bundt cake is a perfect choice for showcasing intricate pan designs and delighting citrus lovers.
- Banana Bundt Cake: A comforting classic, this banana Bundt cake is wonderfully tender and full of rich banana flavor, making it a fantastic breakfast or dessert option.
- Cream Cheese Pound Cake: The ultimate in richness and density, this cream cheese pound cake is incredibly moist and holds its shape beautifully, ideal for a simple glaze or fresh fruit.
- Chocolate Bundt Cake: Indulge in this decadent chocolate Bundt cake, which offers a deep, satisfying chocolate flavor and a velvety texture that’s always a crowd-pleaser.
Happy baking, and may your Bundt cakes always release flawlessly!