
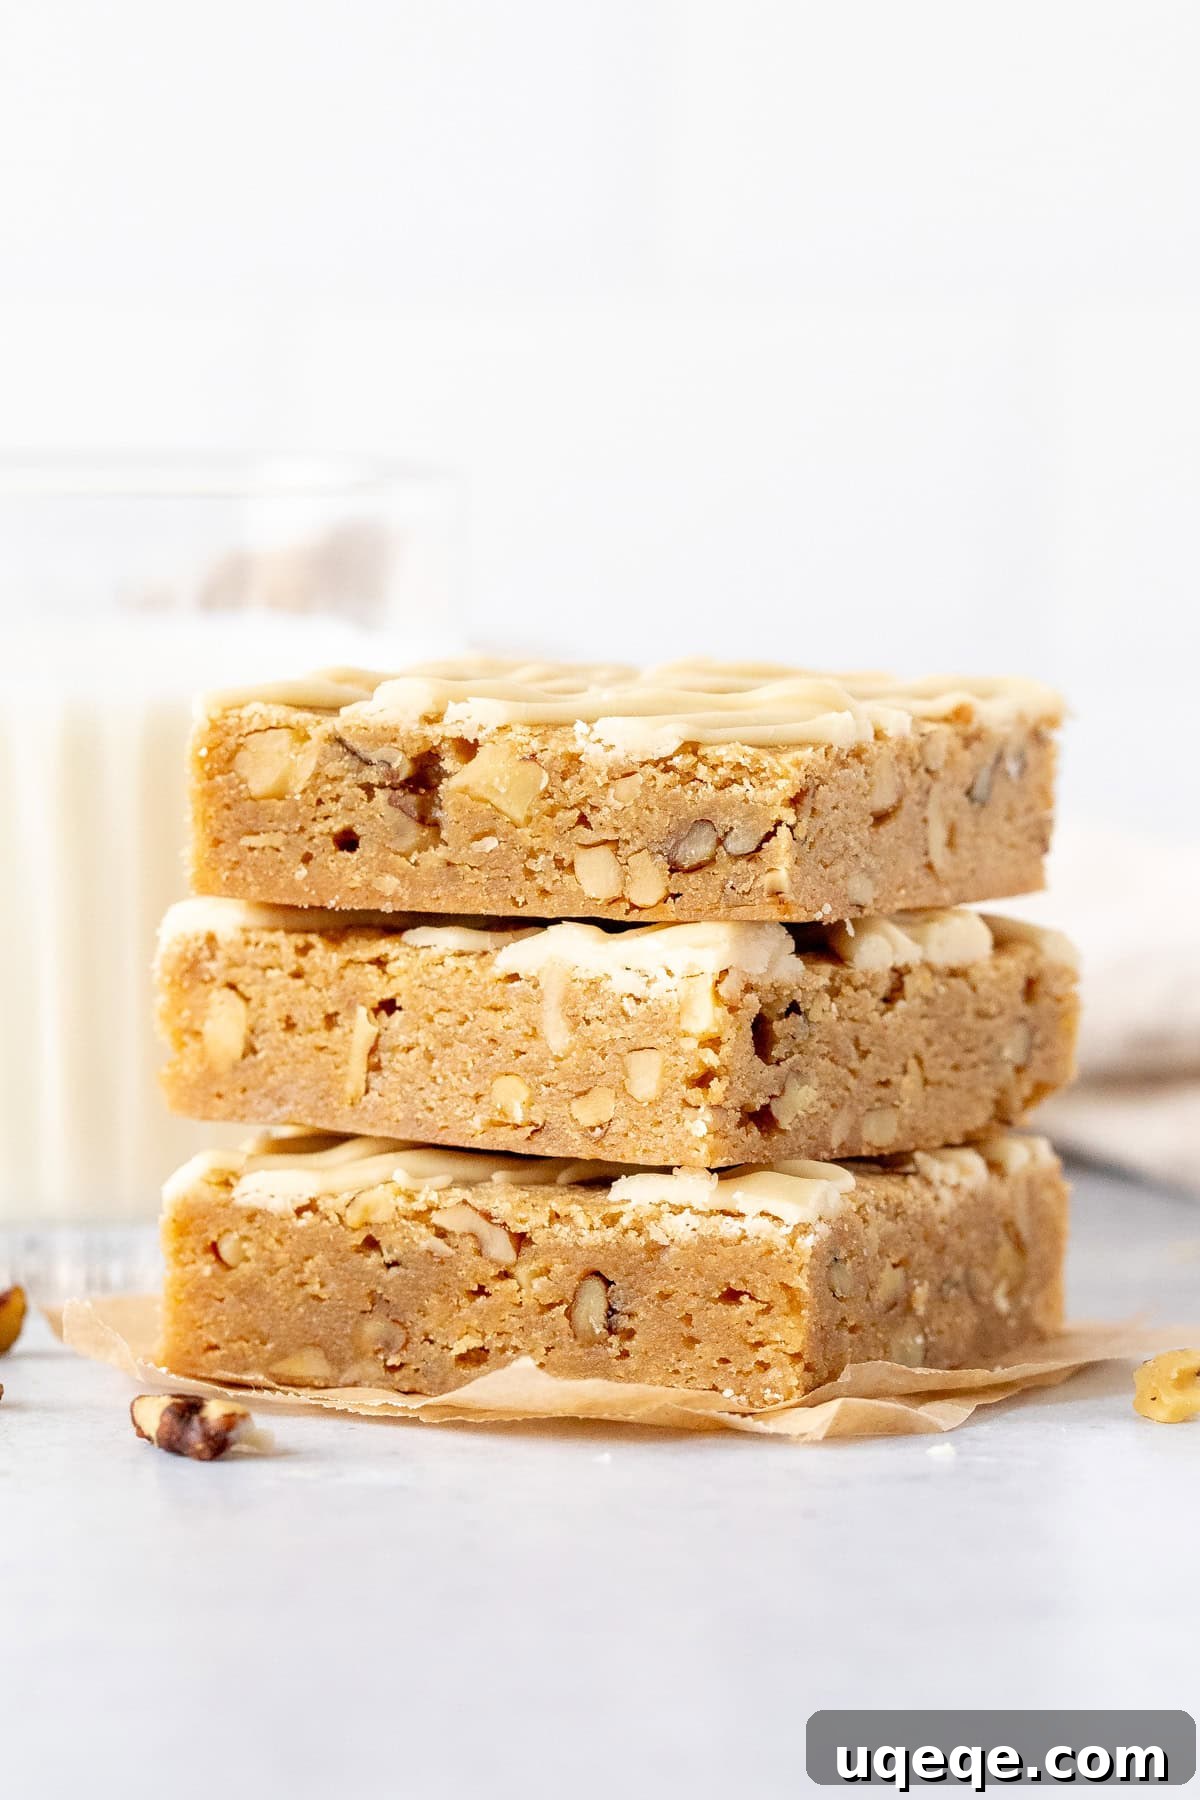
Indulge in the perfect harmony of flavors with these exquisite Brown Butter Maple Blondies. Boasting a rich, nutty depth from browned butter beautifully complemented by the sweet, aromatic essence of pure maple syrup, these blondies are a true autumnal delight. Each bite offers a satisfyingly dense and chewy texture, generously studded with your choice of chopped pecans or walnuts for an added crunch. A final drizzle of our luscious maple glaze elevates these treats, making them absolutely irresistible and ideal for cozy fall gatherings or festive holiday celebrations.
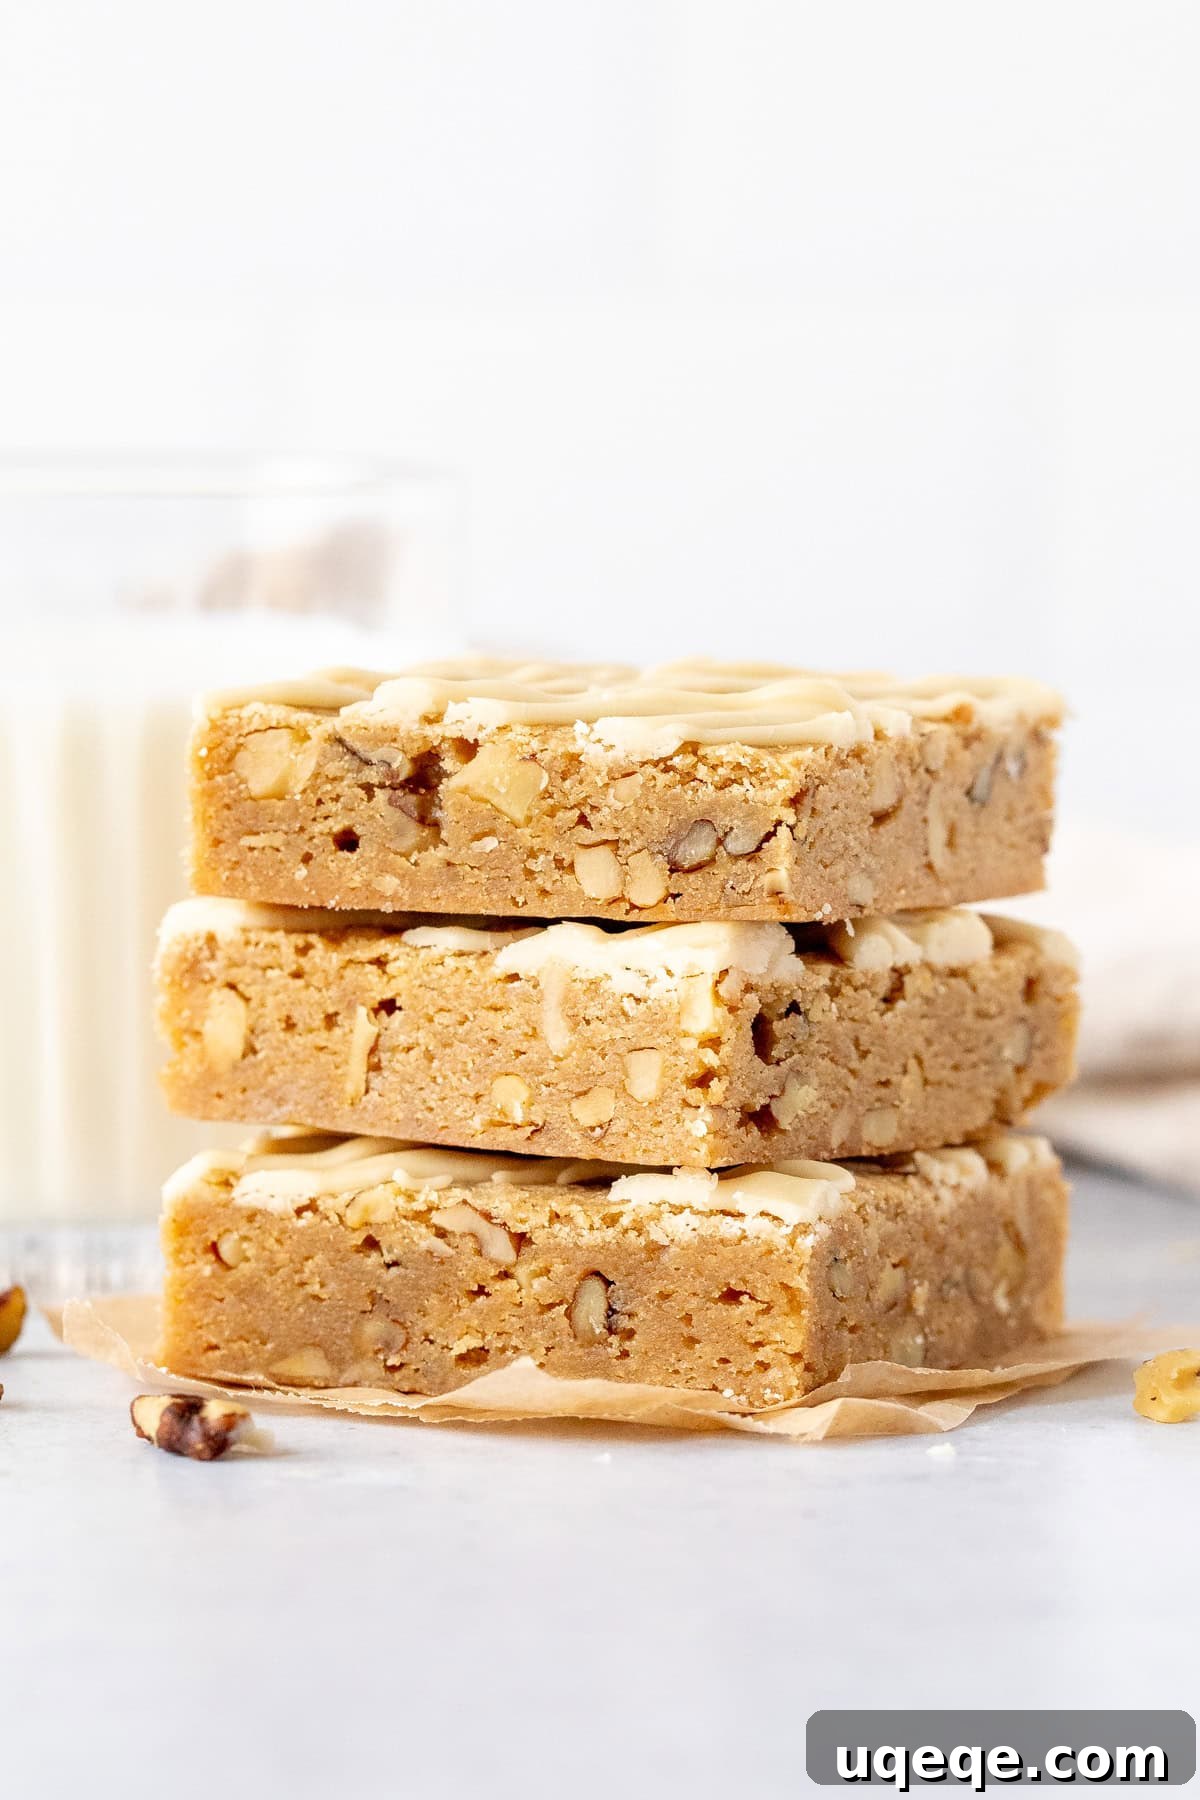
The Ultimate Brown Butter Maple Pecan Blondies Recipe
Welcome to your new favorite fall dessert! While these Maple Nut Blondies truly shine during the autumn months and holidays, their comforting flavors make them a delightful treat any time of year. The secret to their incredible depth lies in the use of brown butter, which imparts a wonderful nutty undertone, perfectly balancing the sweetness of the maple syrup. When combined with crunchy chopped nuts within the batter, these bars achieve a complex flavor profile that is both rich and comforting. Their texture is famously chewy, much like a classic blondie, making them a wonderfully satisfying bite. As they bake, your kitchen will fill with an inviting aroma that promises warmth and coziness.
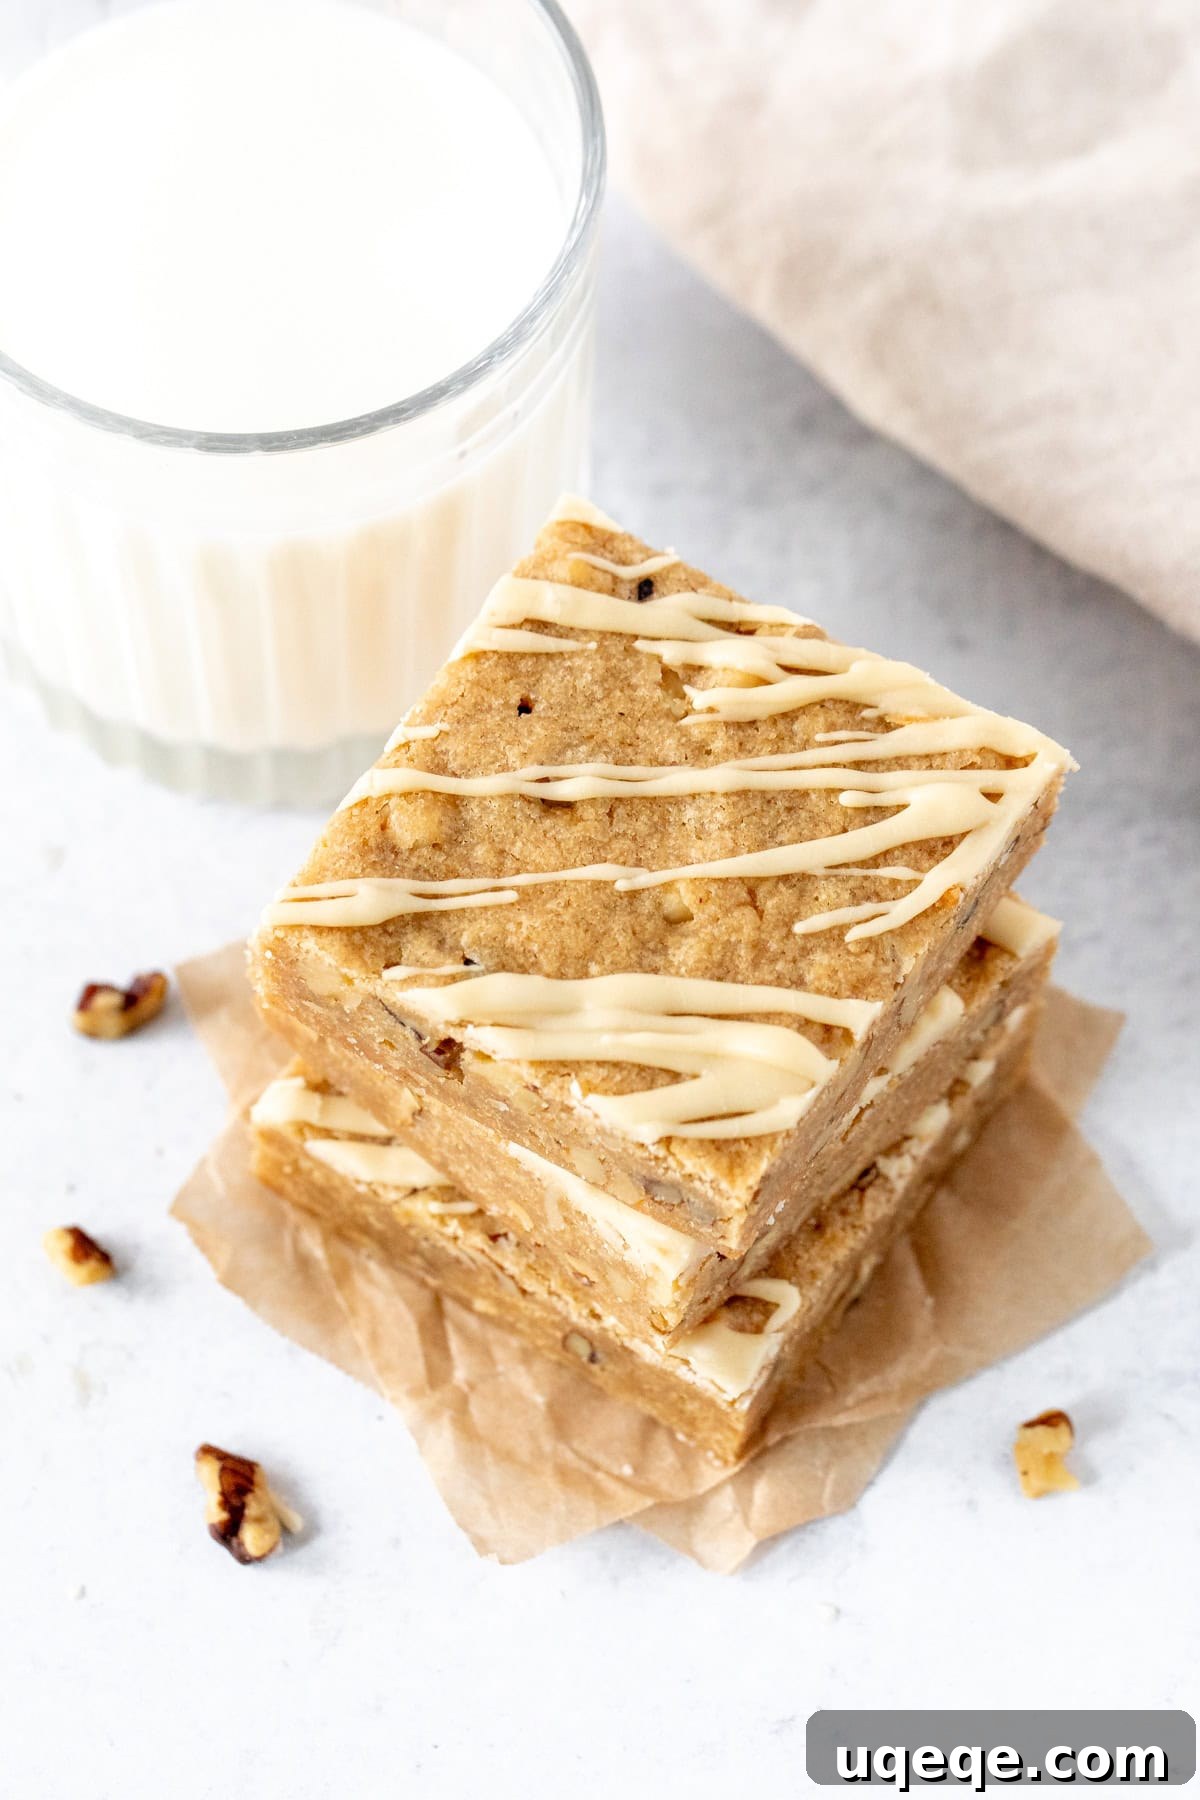
To truly take these blondies to the next level, we add a simple yet decadent maple glaze. This optional step amplifies the maple flavor and adds an extra layer of sweetness and shine. If you prefer a slightly less sweet treat, feel free to skip the glaze, but be aware that the maple essence will be milder without it. Either way, these blondies are destined to become a staple in your baking repertoire.
Why You’ll Fall in Love with These Maple Blondies
- Rich, Complex Flavor: The browned butter introduces an unparalleled nutty caramel note that elevates the classic blondie experience.
- Perfect Chewy Texture: No dry, cakey bars here! These blondies are perfectly dense and wonderfully chewy.
- Sweet & Savory Balance: The sweetness of maple is beautifully balanced by the earthiness of the brown butter and the crunch of pecans or walnuts.
- Seasonal Favorite: With warm maple and nutty flavors, they are the quintessential treat for fall, Thanksgiving, Christmas, or any cozy occasion.
- Easy to Make: Despite their gourmet taste, the process is straightforward, even for novice bakers.
- Customizable: Easily adapt with your favorite nuts or adjust the glaze for your preferred level of sweetness.
Baking Method: Step-by-Step with Expert Tips & Photos
While mastering these blondies isn’t overly complicated, the key to their unique flavor lies in the initial step: browning the butter. Don’t be intimidated; it’s an easy technique that yields incredible results.
- Prepare Your Pan: Begin by preheating your oven to 350°F (180°C). Prepare a 9×13 inch (23×33 cm) baking pan by either lining it with parchment paper, leaving a generous overhang on the sides for easy lifting, or by simply greasing it lightly. This preparation ensures your blondies don’t stick and are easy to remove and cut.
- Brown the Butter to Perfection: This step is where the magic happens! Cut your unsalted butter into uniform cubes to ensure it melts evenly. Place the butter in a heavy-bottomed, light-colored saucepan. A light-colored pan is crucial as it allows you to clearly see the butter’s color change, preventing it from burning. Melt the butter over low to medium heat, stirring gently and continuously. As the butter melts, it will foam, then subside, and eventually, small amber flecks of milk solids will begin to appear at the bottom of the pan. The butter will also start to emit a distinctly nutty aroma. Once it reaches a beautiful amber color and smells fragrant and nutty, immediately remove it from the heat and pour it into a heatproof bowl. Let it cool for at least 10-15 minutes. This cooling period is vital; it prevents the butter from cooking the eggs when they’re added later.
- Pro Tip: Watch carefully! The butter can go from perfectly browned to burnt very quickly. If you see any black flecks, strain the butter through a fine-mesh sieve to remove them, although ideally, you want to avoid this by monitoring it closely.
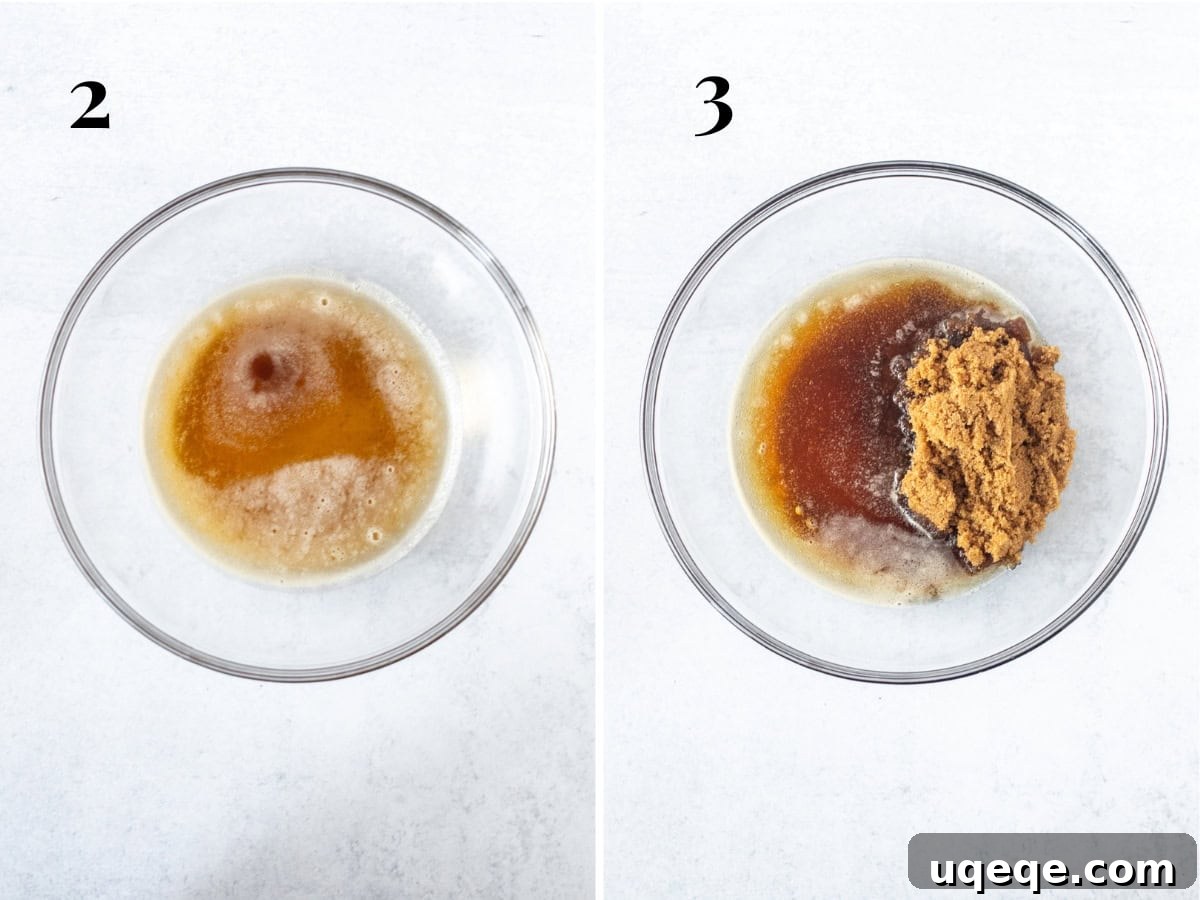
- Combine Brown Butter, Sugars, and Maple Syrup: Once the browned butter has cooled slightly (it should still be warm but not scorching hot), add the brown sugar and pure maple syrup. Whisk these ingredients together thoroughly until the mixture is smooth and the butter is fully incorporated, no longer separating and sitting on top of the sugar. This step ensures a uniform, rich base for your blondies.
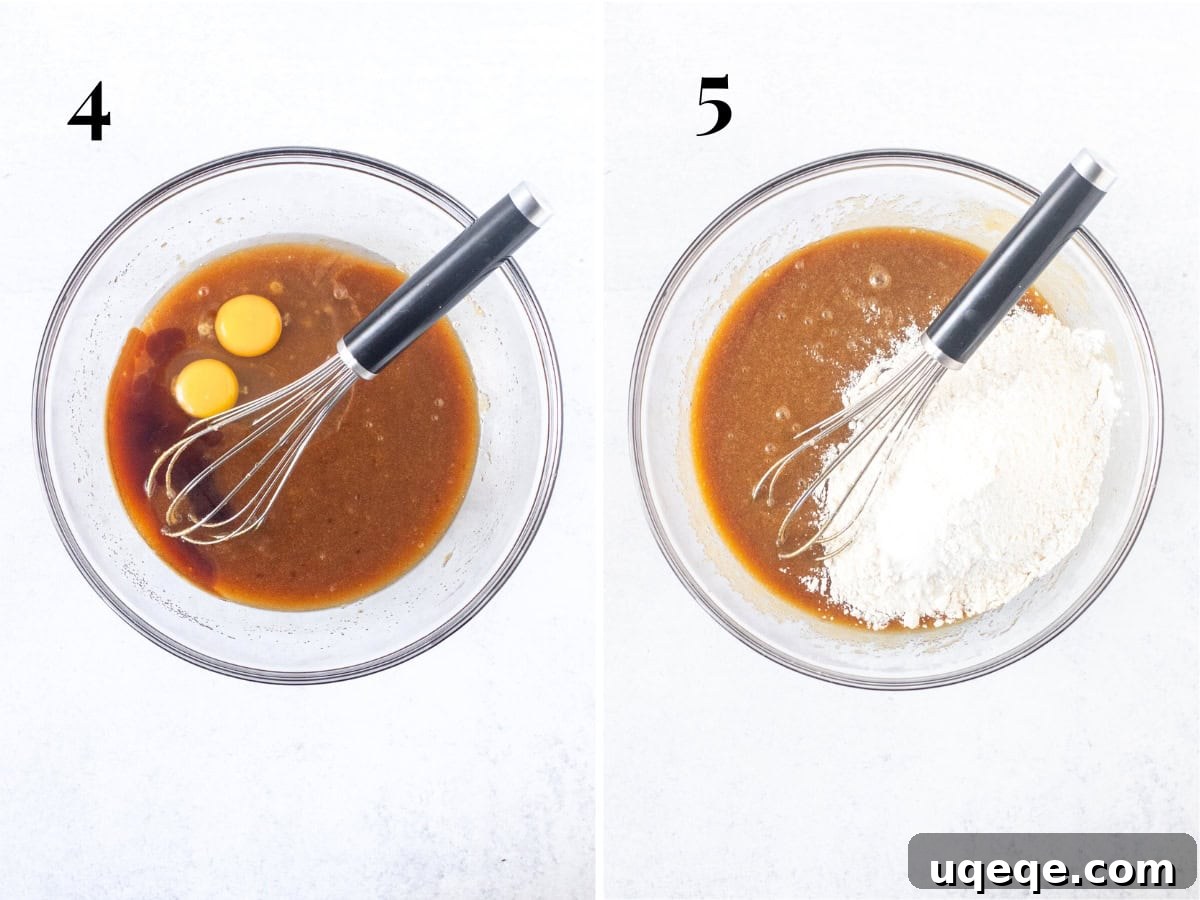
- Incorporate Eggs and Extracts: Ensure your eggs are at room temperature beforehand, as this helps them mix more smoothly into the batter, preventing curdling and promoting a better texture. Whisk in the eggs one at a time, followed by the vanilla extract and the optional maple extract. Continue whisking until the mixture is lightened and there are no visible lumps of egg.
- Gently Mix in Dry Ingredients: Add the all-purpose flour and salt to the wet ingredients. Stir these in with a rubber spatula or a wooden spoon until just combined. Be careful not to overmix, as this can develop the gluten in the flour, leading to tough blondies. A few gentle whisks with a wire whisk can help remove any stubborn flour lumps without overmixing.
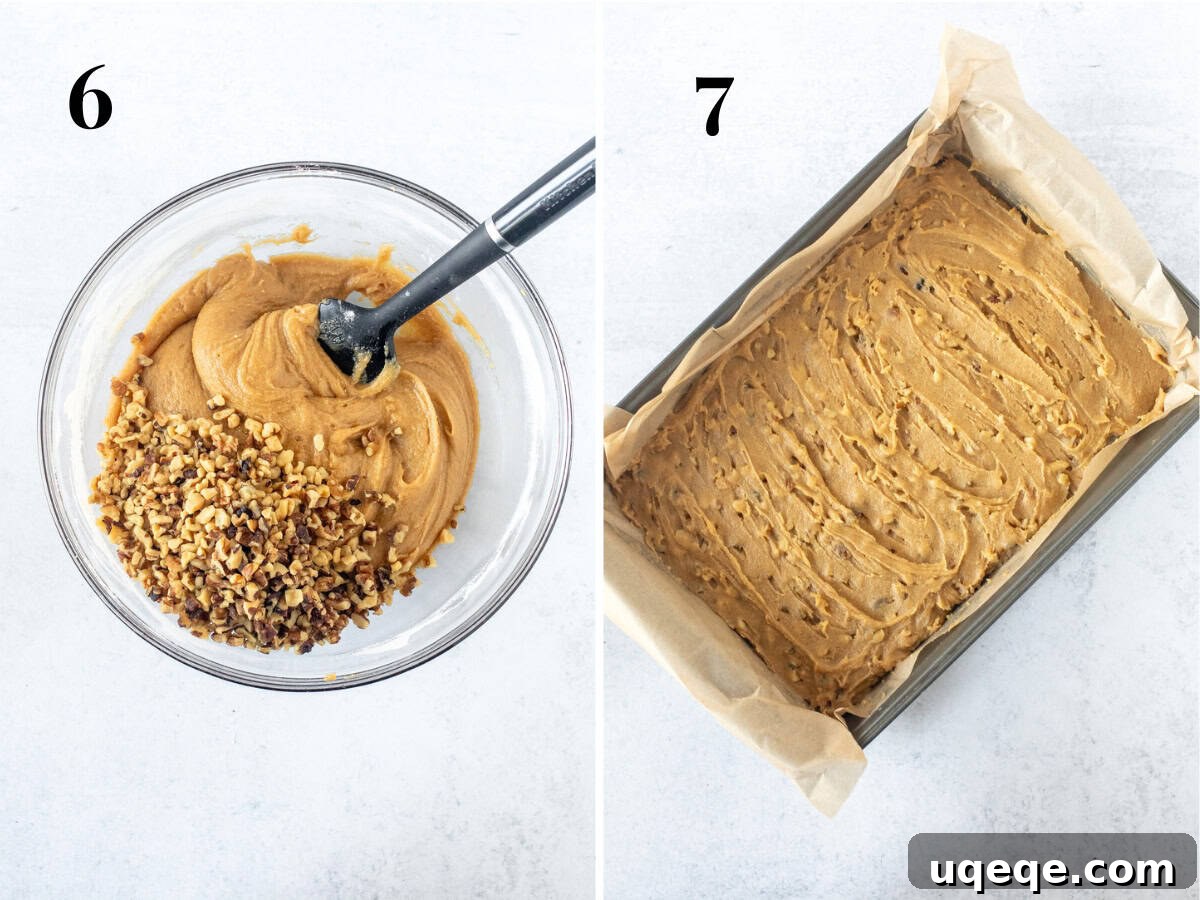
- Fold in Chopped Nuts: Gently fold in your chosen chopped nuts – pecans or walnuts. While optional, they add a delightful textural contrast and complement the nutty brown butter flavor beautifully.
- Bake to Perfection: Spoon the blondie batter evenly into your prepared pan and smooth the top with a spatula. Bake in the preheated oven for approximately 30 minutes. The blondies are done when the top looks set, and a toothpick inserted into the center comes out clean or with a few moist crumbs attached. Overbaking can result in a drier, more cake-like blondie, so keep an eye on them! Allow the bars to cool completely in the pan before attempting to glaze or cut.
Recipe Tip: Achieving Your Desired Blondie Texture
The bake time is crucial for dictating the final texture of your blondies. For gooey, extra chewy blondies, aim for the shorter end of the baking time, ensuring a toothpick still comes out with moist crumbs. If you prefer a slightly firmer, more cake-like bar, extend the baking time by a few minutes until the toothpick comes out completely clean. Always err on the side of underbaking for chewiness!
Crafting the Decadent Maple Glaze
This simple maple glaze adds a wonderful finish to your blondies, enhancing their flavor and visual appeal. It’s incredibly quick to prepare.
- Melt Butter and Maple Syrup: In a small saucepan, combine the unsalted butter and pure maple syrup. Melt them together over low heat, stirring occasionally until smooth and fully combined. Remove from heat immediately.
- Whisk in Remaining Glaze Ingredients: Into the warm maple butter mixture, whisk in the powdered sugar, vanilla extract, and a pinch of salt until the glaze is completely smooth and free of lumps.
- Allow the glaze to cool for at least 10 minutes before applying it to the blondies. This cooling period helps the glaze thicken slightly and prevents it from simply melting into the warm bars.
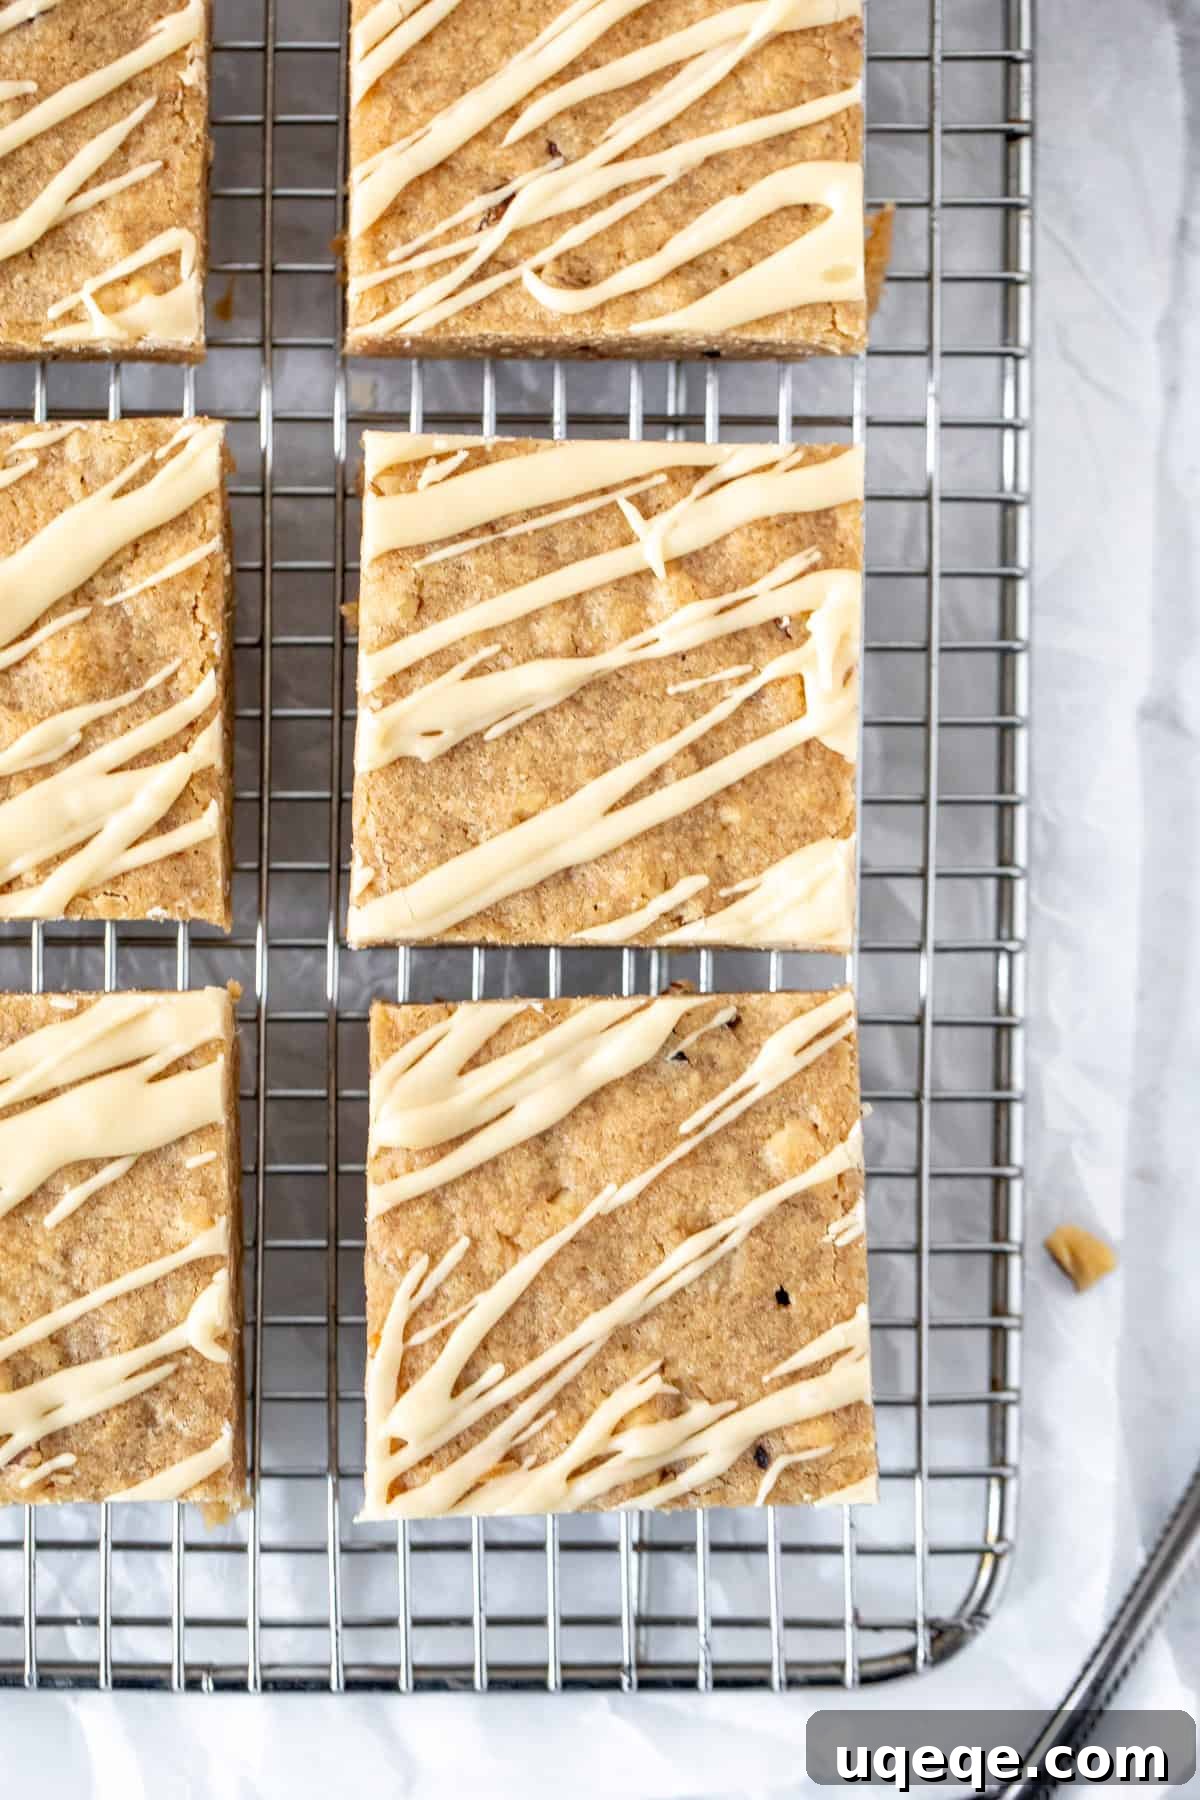
- Glaze the Cooled Bars: Once the blondies are completely cool, lift them out of the pan using the parchment paper overhang (if you lined the pan) and place them on a cutting board or cooling rack. Drizzle the maple glaze generously over the cooled bars, or pour it over and spread it into an even layer using an offset spatula. Let the glaze set before slicing and serving.
Baking with Maple: An Important Distinction
For these blondies, and indeed for any recipe where maple is a star, using real Canadian maple syrup is absolutely paramount. Maple-flavored syrups or generic pancake syrups, which often contain corn syrup and artificial flavorings, will not yield the same delicious results. Real maple syrup has a distinct, rich flavor and a specific consistency that contributes to both the taste and texture of baked goods. Artificial syrups are typically thicker, stickier, and lack the nuanced complexity of true maple. Investing in good quality maple syrup will make all the difference in the final product.
To further enhance the maple flavor, I’ve included an option for a touch of maple extract in the batter. This extract is highly concentrated and can be found in the baking aisle alongside vanilla extract, or at specialty baking supply shops. If you can’t find maple extract, don’t worry – you can simply omit it. Your blondies will still boast a wonderful maple flavor from the syrup, just slightly less intense. The extract simply provides an extra boost without adding additional sugar.
Scaling the Recipe: Making a Smaller Batch
If you’re baking for a smaller crowd or simply want fewer blondies, this recipe can be easily halved. A half batch works perfectly in an 8×8 inch (20×20 cm) baking pan. Keep in mind that when baking a smaller batch, the bars will be slightly thinner, and consequently, the baking time will be shorter – typically around 20-25 minutes. It’s not recommended to try and bake a half batch in a 9×9 inch (23×23 cm) pan, as there won’t be enough batter to achieve a good thickness.
Tips for Baking the Perfect Blondies Every Time
- Room Temperature Ingredients: Always use room temperature eggs. They emulsify better with the butter and sugar, creating a smoother batter and a more consistent texture in the final blondies.
- Don’t Overmix: Once you add the flour, mix only until just combined. Overmixing develops gluten, which can lead to tough, dry blondies instead of soft and chewy ones.
- Monitor Oven Temperature: An oven thermometer can be a great tool to ensure your oven is truly at the temperature you set. This consistency is key for proper baking.
- Cool Completely: Resist the urge to cut into warm blondies. They need time to set and firm up as they cool. Cutting them too soon can result in crumbly pieces and a less defined shape.
- Parchment Paper is Your Friend: Lining the pan with parchment paper that overhangs the sides makes removing the entire slab of blondies incredibly easy, allowing for clean cuts.
Storage and Freezing Instructions
These blondies are best enjoyed fresh, but they also store beautifully, making them perfect for meal prepping or enjoying over several days.
- Room Temperature: Store cooled brown butter maple blondies in an airtight container at room temperature for up to 4 days.
- Freezing: For longer storage, tightly wrap individual blondies or the entire slab (once fully cooled and sliced) in plastic wrap, then aluminum foil. Place them in a freezer-safe bag or container and freeze for up to 3 months. Thaw frozen blondies overnight in the refrigerator or at room temperature for a few hours before serving.
Serving Suggestions
While these brown butter maple blondies are utterly delicious on their own, a few additions can make them even more special. Serve them warm with a scoop of vanilla bean ice cream, a dollop of whipped cream, or an extra drizzle of maple syrup. They pair wonderfully with a hot cup of coffee, tea, or a festive cider. They are also fantastic additions to any dessert platter, especially during the fall and winter seasons.
These chewy maple blondies strike the perfect balance between sweet maple and nutty richness, making them an extra special treat for fall or the holidays. If you adore the flavor of maple, be sure to explore more delightful maple-infused recipes. Consider trying our spiced cake donuts with maple glaze or our delectable maple pecan pie bars for more sweet indulgence!
Maple Nut Blondies
These brown butter maple blondies achieve a perfect flavor balance thanks to the nutty richness of brown butter and the sweet taste of maple. Their texture is dense and chewy, dotted with chopped pecans or walnuts. Adding a maple glaze on top truly elevates them. These cozy blondies are perfect for fall or the holidays.
Rate Recipe
Print Recipe
Equipment
- 9×13 inch (23×33 cm) baking pan*
Ingredients
Maple Nut Blondies
- 1 cup unsalted butter (226 grams), cut into cubes
- 1½ cup brown sugar (300 grams), light or dark
- 6 tablespoons maple syrup (90 ml), do not use maple flavored syrup
- 2 large eggs
- 2 teaspoons vanilla extract
- ½ teaspoon maple extract, optional
- 2½ cups all-purpose flour (312 grams)
- ¼ teaspoon salt
- 1½ cups chopped walnuts, or pecans
Maple Glaze
- 2 tablespoon unsalted butter (28 grams)
- ¼ cup maple syrup (60 ml)
- 1 – 1½ cups powdered sugar (110-165 grams)
- 1 teaspoon vanilla extract
- ¼ teaspoon salt
Instructions
Maple Nut Blondies
- Preheat the oven to 350℉ (180℃). Line a 9×13 inch pan with parchment paper so that there’s an overhang around the sides. Alternatively, lightly grease the pan.
- Add the chopped butter to a light colored saucepan over low heat. Melt the butter while gently stirring. Once the butter has melted, continue stirring until you see amber flecks form and the butter gives off a nutty aroma. Remove from the heat and immediately pour into a heatproof bowl. If the flecks look black, pour the butter through a metal sifter to remove any large, burnt milk solids. Cool for about 10 minutes.
- Whisk the brown sugar and maple syrup into the cooled brown butter. Be sure to keep whisking until the butter is no longer sitting on top of the sugar.
- Whisk in the eggs, vanilla extract and optional maple extract until you no longer see pieces or lumps of egg.
- Stir in the flour and salt until smooth. I do this with a rubber spatula, or do a few additional whisks with a wire whisk if needed to remove any lumps.
- Fold in the chopped walnuts.
- Spoon the batter into the prepared pan and smooth the top. Bake in the middle of the preheated oven for about 30 minutes, or until the top looks set and an inserted toothpick comes out clean or with a few damp crumbs. Cool the bars in the pan.
Maple Glaze
- Add the butter and maple syrup to a small saucepan over low heat. Melt together.
- Remove from the heat and whisk in the powdered sugar, vanilla and salt until smooth.
- If you lined the pan with parchment, lift the bars out of the pan using the overhang and place on a cutting board. Drizzle the cooled bars with maple glaze, or optionally pour the glaze over the bars and spread into an even layer.
Notes
- Maple Syrup: Be sure to use real maple syrup and not maple flavored pancake syrup for authentic flavor.
- Maple Extract: This is optional, but will provide the blondies with a stronger maple flavor without increasing the sugar content. It can typically be found in the baking aisle or in specialty baking shops.
- Maple Glaze: If you only plan on adding a drizzle of glaze (like the photos), instead of covering the entire pan with an even layer of maple glaze, you will have some leftover. Alternatively, you could divide the glaze recipe in half.
- Nutrition: Details are an estimate only and based on 1 bar with glaze, assuming all the glaze is used.
- Storage: Store cooled bars in an airtight container at room temperature for up to 4 days. Bars can be wrapped tightly and frozen for up to 3 months. Thaw in the fridge overnight.
Nutrition
Calories: 377kcal, Carbohydrates: 50g, Protein: 4g, Fat: 19g, Saturated Fat: 8g, Polyunsaturated Fat: 5g, Monounsaturated Fat: 4g, Trans Fat: 0.5g, Cholesterol: 51mg, Sodium: 81mg, Potassium: 123mg, Fiber: 1g, Sugar: 35g, Vitamin A: 386IU, Vitamin C: 0.1mg, Calcium: 46mg, Iron: 1mg