
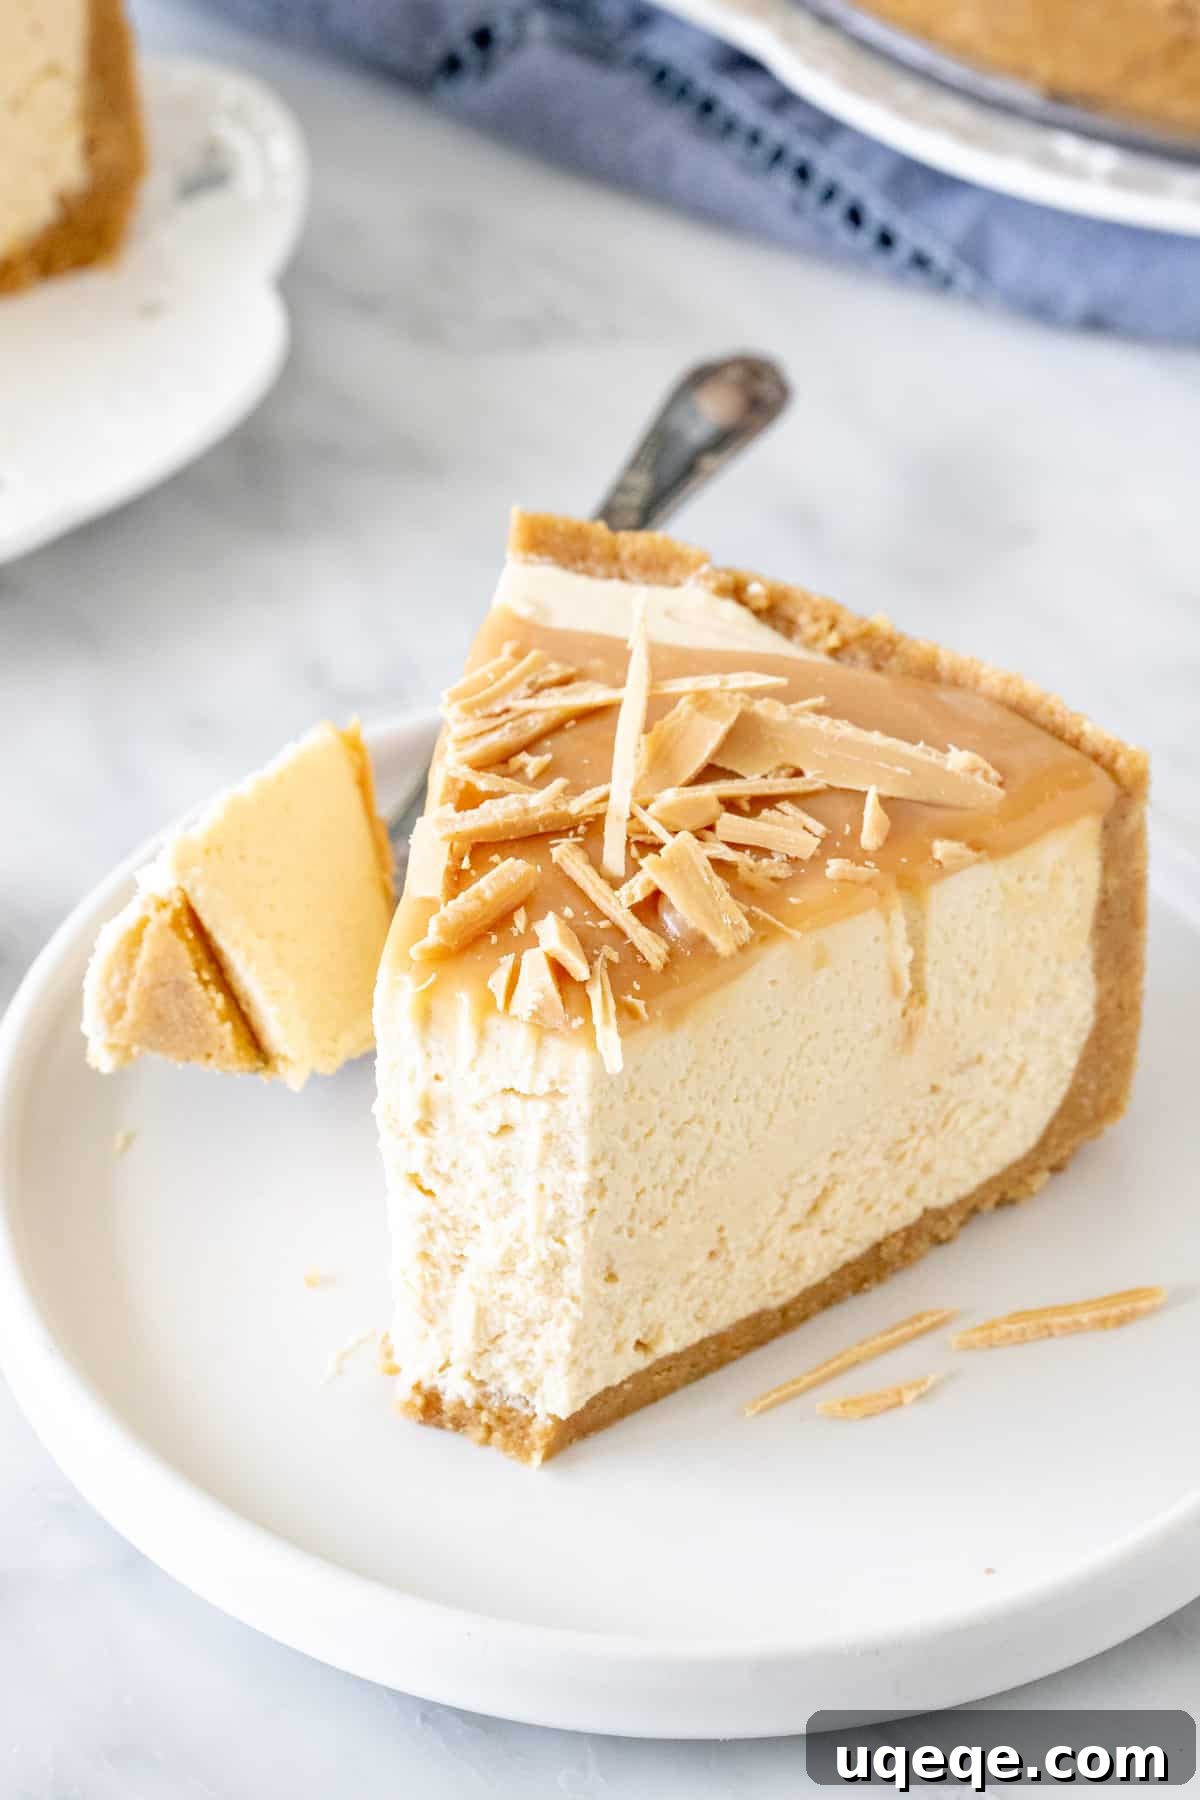
Decadent No-Bake Caramilk Cheesecake: The Ultimate Caramelized White Chocolate Dessert
There’s a perfectly good reason why Caramilk has captivated the hearts (and taste buds) of almost everyone in Australia and New Zealand, becoming an undeniable sensation. Its unique blend of creamy white chocolate with a distinct caramelised flavour is truly irresistible. So, what better way to celebrate this beloved chocolate block than by transforming it into an utterly decadent, show-stopping cheesecake? Our Caramilk cheesecake recipe delivers an extra creamy texture and a rich, unmistakable Caramilk flavour that will delight every bite. Best of all, this recipe is completely no-bake, making it astonishingly simple to prepare, even for those new to baking. Get ready to experience your favourite chocolate in an entirely new and extraordinary way!
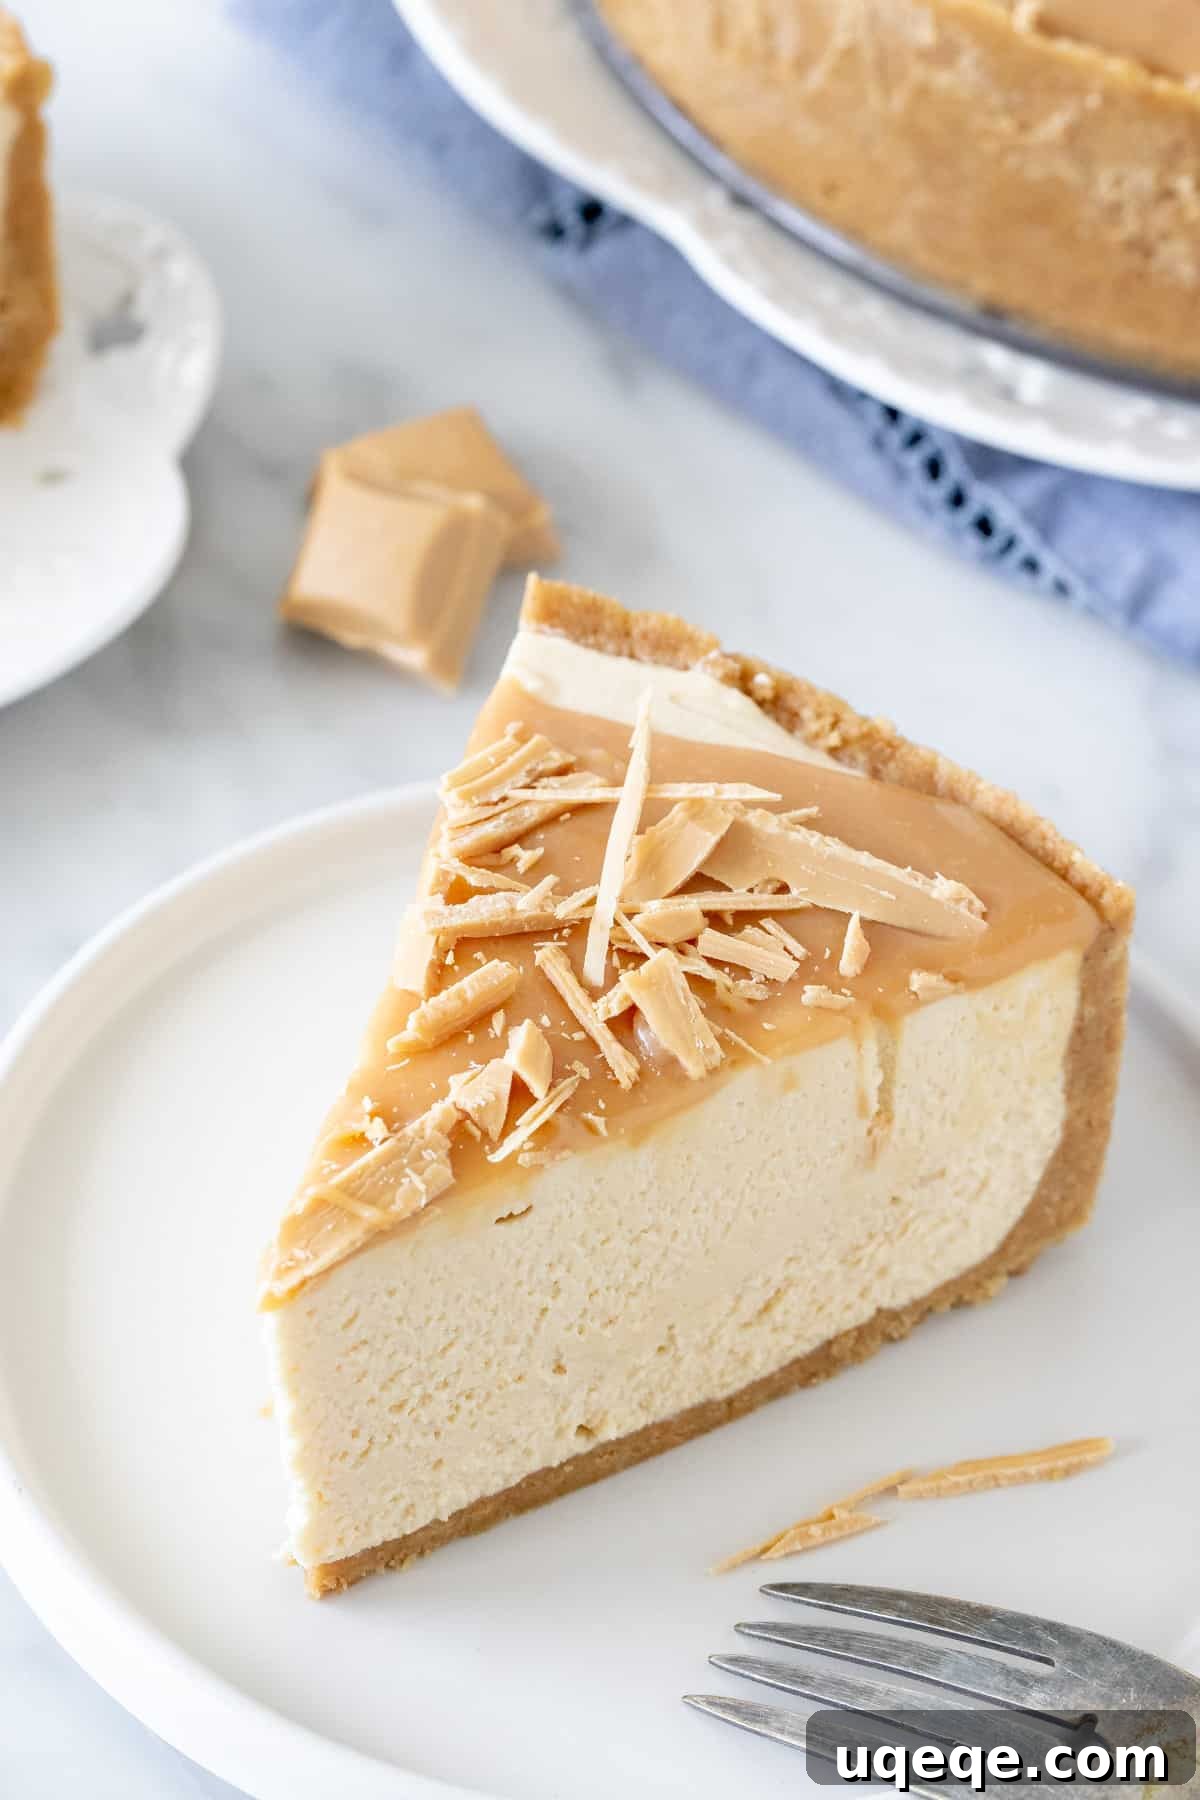
If you’re deeply enamoured with the sweet, buttery, and slightly malty notes of a Caramilk chocolate block, then prepare to fall head over heels for this incredible no-bake Caramilk cheesecake. This recipe strikes the perfect balance between impressive presentation and effortless preparation, making it an ideal choice for both seasoned dessert enthusiasts and novice bakers alike. Despite its sophisticated appearance, it’s surprisingly simple to put together, promising a delicious outcome every single time. Here’s what makes this Caramilk cheesecake an absolute must-try:
- A Robust and Crunchy Biscuit Crust: Crafted from finely crushed digestive biscuits and melted butter, this thick, buttery base provides a delightful textural contrast to the smooth filling. It not only adds a satisfying crunch but also forms a sturdy foundation, holding the luscious filling perfectly in place.
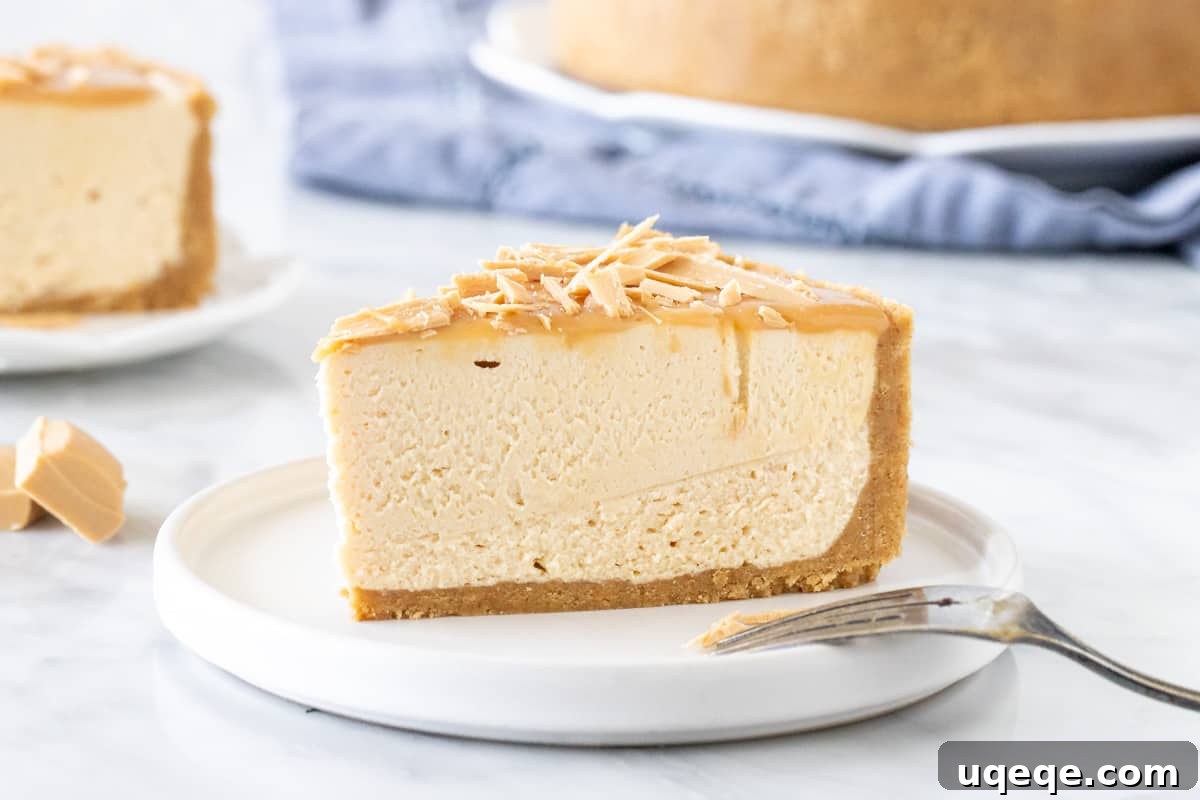
- Super Creamy No-Bake Cheesecake Filling: Forget heavy, dense cheesecakes. Our filling boasts an almost mousse-like lightness, melting in your mouth with every spoonful. This airy texture is achieved without any baking, resulting in a dessert that feels luxurious yet surprisingly light.
- Subtle, Irresistible Caramilk Flavour Infusion: The heart of this cheesecake lies in its filling, delicately infused with the unmistakable taste of Caramilk. It’s a harmonious blend that provides a creamy, caramelised white chocolate hint without being overly sweet or overpowering.
- Generous Caramilk Topping for Extra Indulgence: To elevate the Caramilk experience, the cheesecake is generously adorned with even more of this beloved chocolate. This final layer intensifies the flavour, adding a beautiful finish and an extra touch of decadence that truly takes this dessert to the next level.
One of the greatest advantages of this recipe is its no-bake nature. This method yields a cheesecake that is inherently lighter and less dense than its baked counterparts, making it a refreshing treat, especially on warmer days. The filling itself is expertly balanced – it carries a delicious Caramilk essence without being excessively sweet. It’s the artfully applied Caramilk topping, whether a silky ganache or delicate shavings, that truly amplifies the flavour profile, transforming each slice into an unforgettable experience.
For this particular recipe, precision in ingredients matters for that perfect Caramilk bliss. You will need to purchase two standard 180-gram Caramilk blocks. A significant portion of one, alongside a little from the second, will be thoughtfully incorporated into the creamy filling, ensuring a rich, consistent flavour throughout. The remainder of the second block will be reserved for the magnificent topping, providing both an aesthetic flourish and an intensified Caramilk burst.
The Perfect Biscuit Crust: Foundation of Flavour
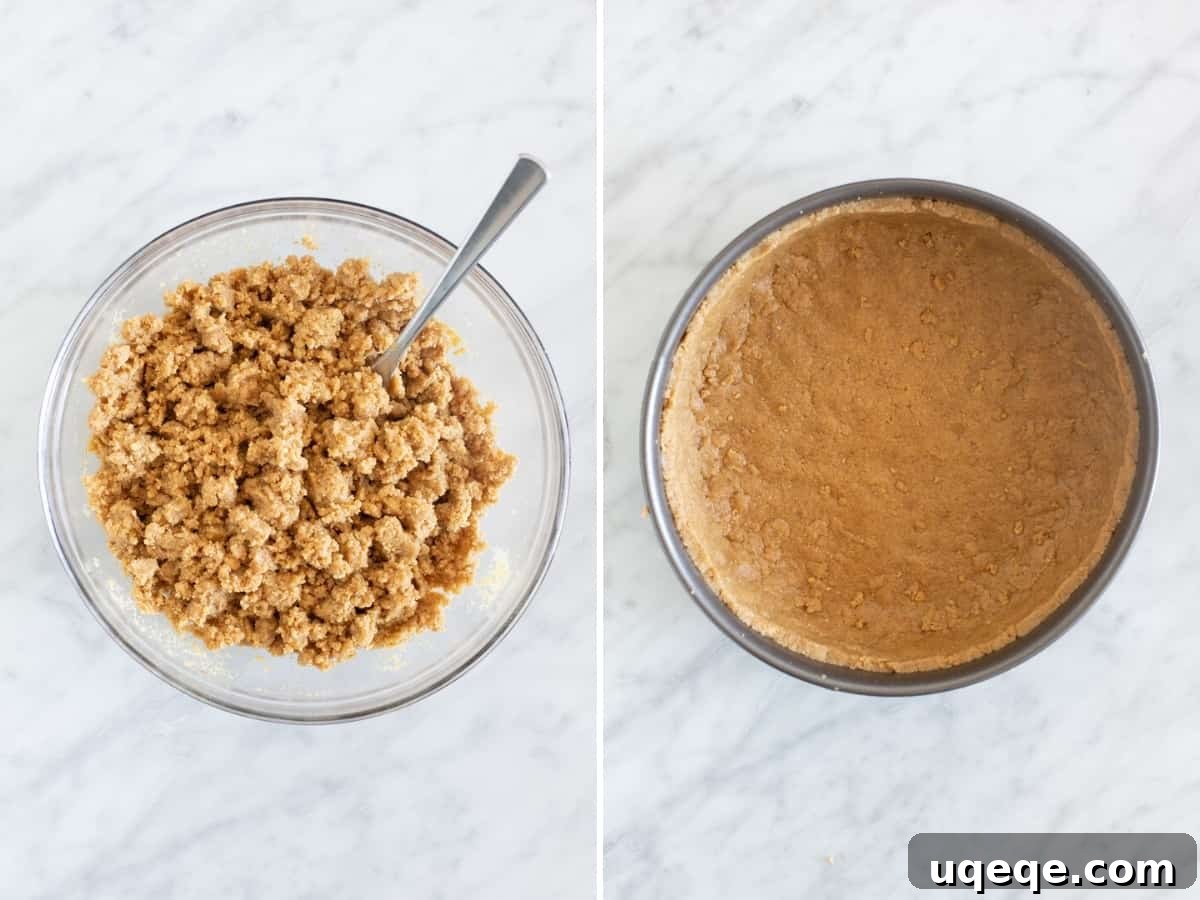
Every exceptional cheesecake begins with an equally exceptional crust, and this Caramilk cheesecake is no exception. Our crust is designed to be thick, perfectly crunchy, and robust enough to create a delightful edible barrier that encases the luscious filling within your springform pan. To achieve this, you’ll need to finely crush 300 grams of digestive biscuits – the finer the crumbs, the more uniform and compact your crust will be. These crumbs are then combined with approximately 100 grams of rich, melted unsalted butter.
Pro Tip for a Flawless Crust: When incorporating the melted butter, do so gradually and deliberately. The precise amount of butter required can vary slightly depending on how finely your biscuits have been crushed. You’re looking for a specific consistency: the mixture should resemble wet sand, and when you gently squeeze a handful, it should hold its shape and clump together firmly. This indicates the perfect butter-to-biscuit ratio, ensuring a crust that is neither too dry and crumbly nor too greasy. Once achieved, press this mixture evenly into the bottom and partway up the sides of your springform pan to create a beautiful, even base.
Crafting the Irresistible Caramilk Cheesecake Filling
The heart of this no-bake Caramilk cheesecake lies in its incredibly smooth and creamy filling, which requires just a few simple yet crucial ingredients. You’ll begin by taking two blocks (500 grams total) of full-fat, brick-style cream cheese and a half cup of icing sugar (also known as powdered sugar). These ingredients are beaten together until the mixture is exquisitely smooth, completely free of any lumps, ensuring a uniform and velvety texture.
Important Note on Cream Cheese: For this recipe, it is imperative to use full-fat, brick-style Philadelphia cream cheese, or a comparable high-quality brand. Crucially, avoid the Caramilk-flavoured cream cheese that often comes in tubs. While convenient, these tub-style cream cheeses typically have a higher water content and softer consistency, which means they often require the addition of gelatin to set properly in no-bake recipes. My philosophy for this cheesecake is to keep it as simple and natural as possible, so if I can achieve a perfect set without gelatin, I absolutely prefer to do so. The brick-style cream cheese provides the necessary structure and richness for a truly decadent no-bake filling.
Next, you’ll gently fold in 200 grams of melted Caramilk bar and one teaspoon of pure vanilla extract. The vanilla enhances the caramelised notes of the Caramilk, adding depth to the flavour profile.
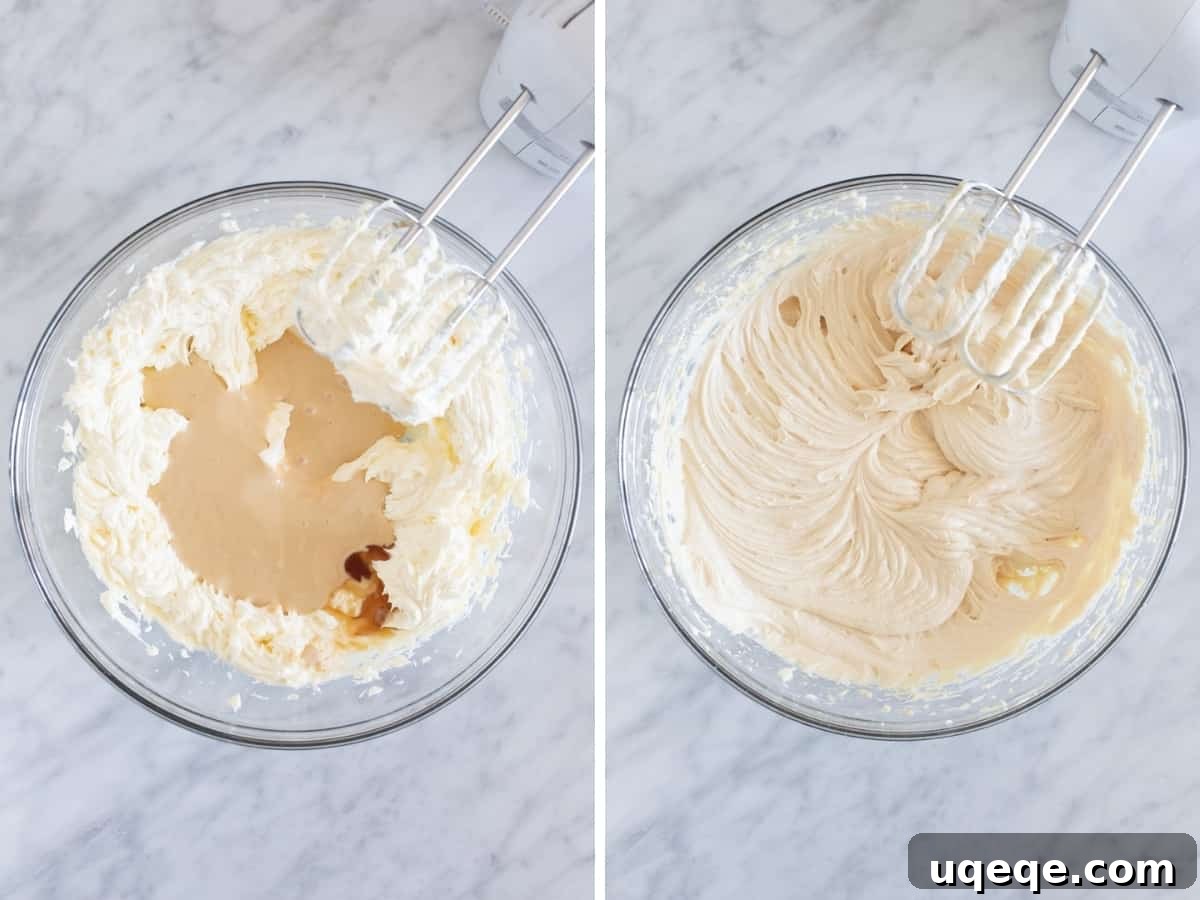
Pro Tip for Melting Caramilk: When melting any chocolate, particularly caramelized white chocolate like Caramilk, always chop it into very small, uniform pieces first. This ensures even melting and prevents scorching. If you’re using a microwave, melt the chocolate in short, controlled bursts – typically 45-second intervals at a medium power setting (around 180 to 360 watts). Between each interval, stir the chocolate thoroughly. This method is crucial to prevent the delicate chocolate from burning, seizing, or developing a grainy, unpleasant texture. Patience here will result in a perfectly smooth, luscious melted Caramilk.
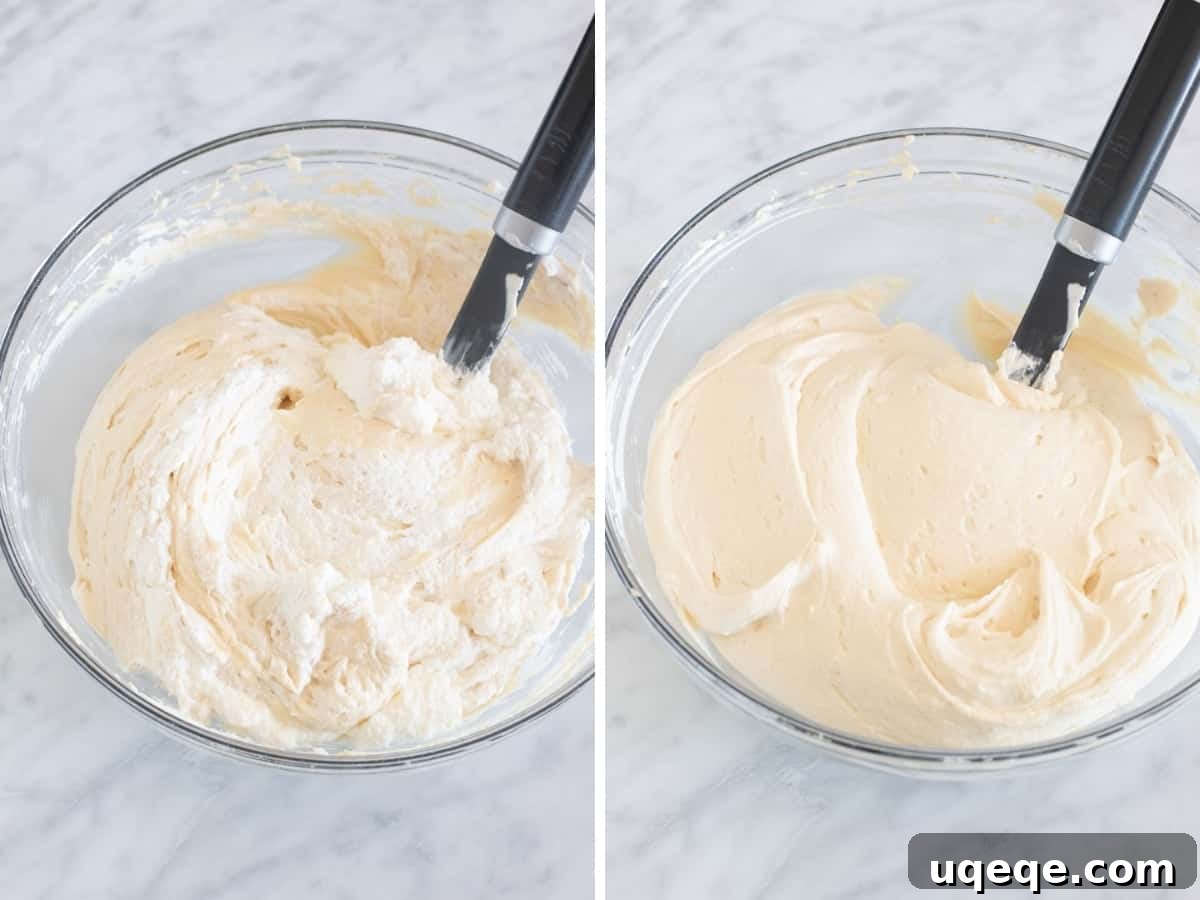
Finally, in a separate bowl, whip 150 ml of cold whipping cream (with a milk fat content over 35%) until it forms stiff peaks. This whipped cream is what gives the cheesecake its light, airy, and mousse-like texture. Once whipped, very gently fold this into your cream cheese and Caramilk mixture. At first, the mixture may appear streaky with visible clumps of whipped cream, which is completely normal. Continue folding with a light hand until the mixture becomes smooth, even, and uniformly incorporated. You can observe this transformation in the two photos below – the first shows the initial streaky stage, and the subsequent images demonstrate the desired smooth consistency.
Once your luxurious filling is ready, carefully spoon it into your prepared biscuit crust. Use an offset spatula or the back of a spoon to gently smooth the top, creating a perfect, even surface. Then, the most important step: pop it into the fridge to set. This chilling process is vital for the cheesecake to firm up and develop its signature texture. It will require a minimum of 6 hours, but for the very best results and a perfectly stable slice, I strongly recommend allowing it to set overnight. Patience is a virtue when it comes to no-bake cheesecakes!
The Grand Finale: An Irresistible Caramilk Topping
To truly crown this masterpiece and intensify its signature flavour, we add a captivating Caramilk topping. For the ultimate indulgence, I like to create a delicate Caramilk ganache or sauce, which provides a silky-smooth layer of caramelised white chocolate goodness. This is then beautifully complemented by a scattering of finely shaved or chopped Caramilk bar, adding both texture and an extra visual appeal.
However, if time is of the essence or you’re simply looking for a quicker finish, you can absolutely skip the ganache. A generous amount of freshly shaved or finely chopped Caramilk bar sprinkled directly onto the set cheesecake will still provide a fantastic flavour boost and an appealing finish. Whether you choose one, the other, or both, I wholeheartedly recommend adding a Caramilk topping. It truly elevates the dessert, ensuring that you experience the maximum deliciousness of Caramilk in every single bite, making this cheesecake an unforgettable treat.
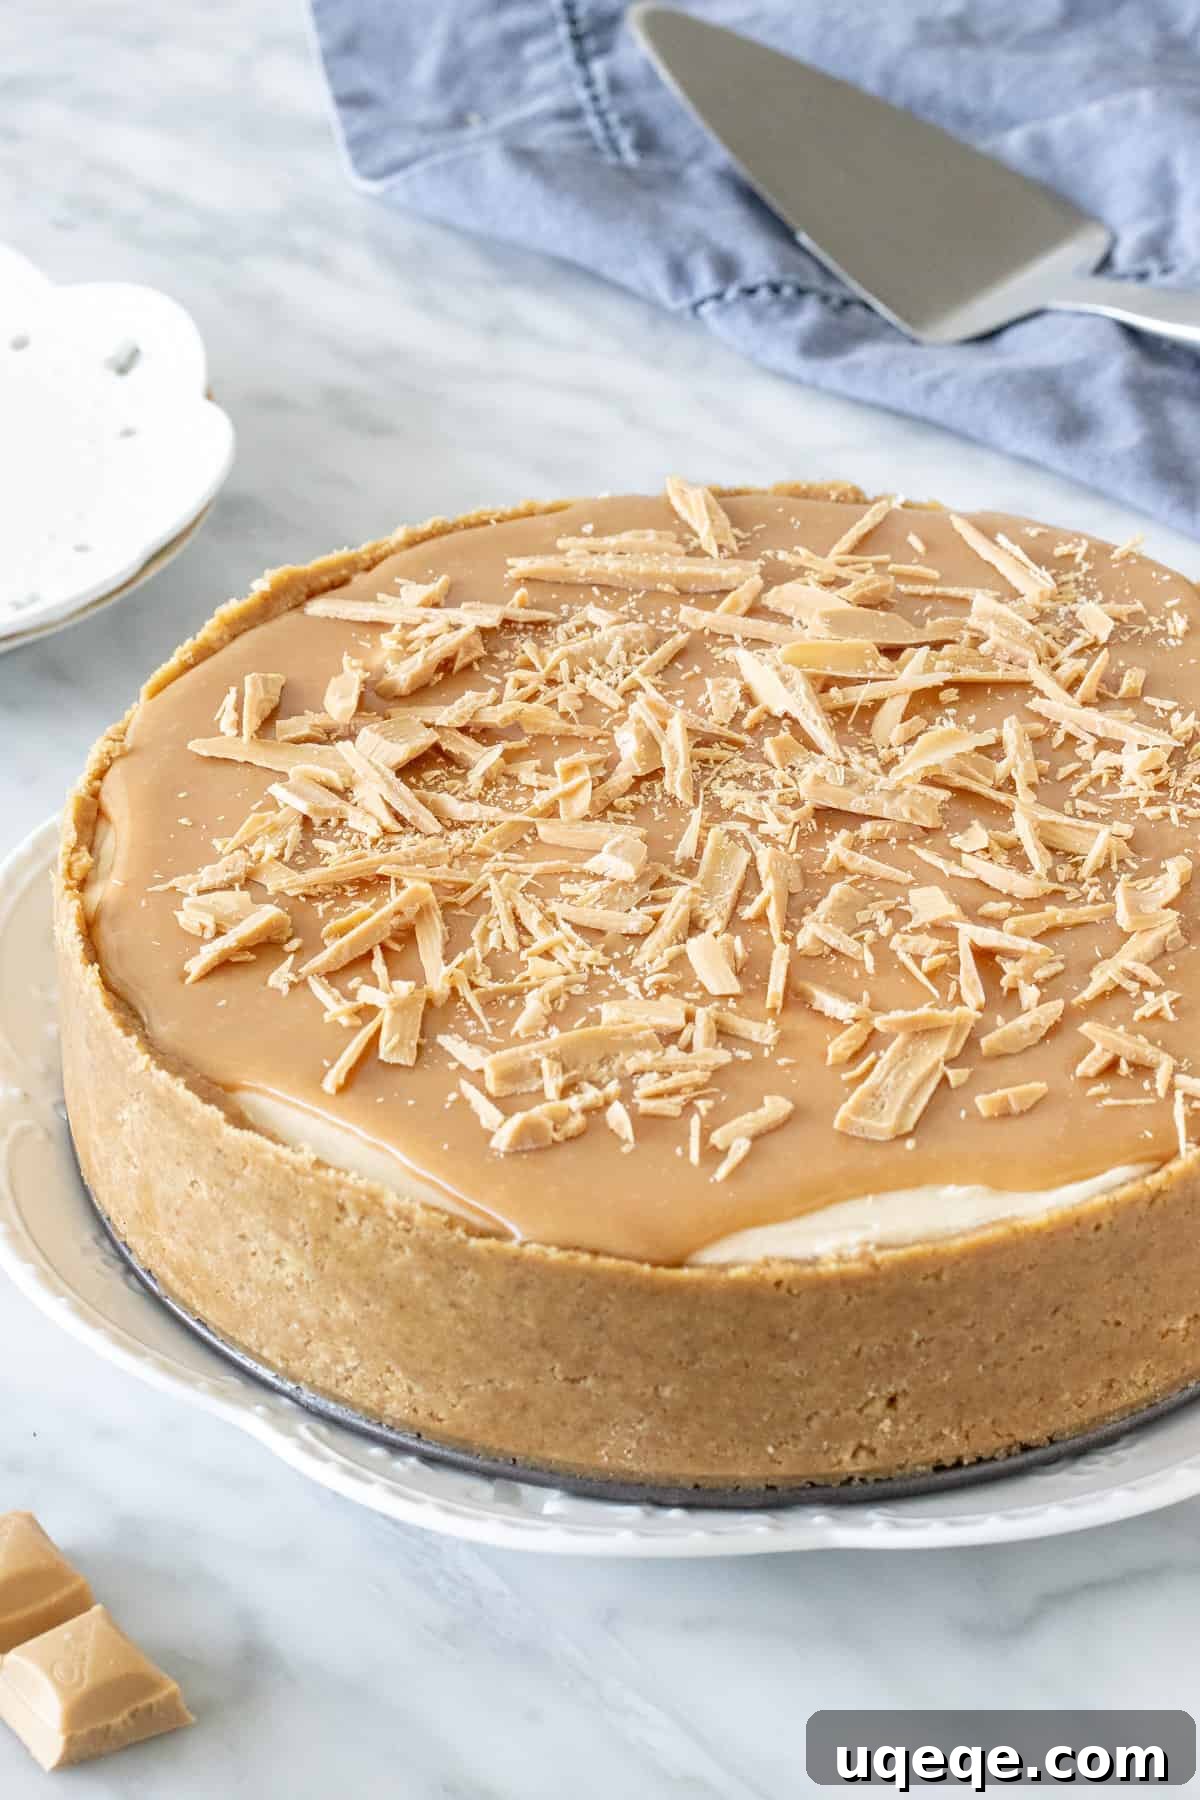
Creamy, dreamy, and utterly overflowing with the beloved taste of Caramilk – this no-bake Caramilk cheesecake isn’t just a dessert; it’s an experience. Many agree that it might just be even more delicious and satisfying than enjoying the classic chocolate block on its own! If you find yourself captivated by the unique charm of Caramilk, don’t stop here. You’ll definitely want to explore this equally delightful Caramilk Slice recipe, perfect for another easy and indulgent treat.
Looking for more effortless and delectable no-bake cheesecake ideas? Explore these other popular recipes:
- Easy, Classic No-Bake Cheesecake
- Rich No-Bake Chocolate Cheesecake
- Refreshing No-Bake Strawberry Cheesecake
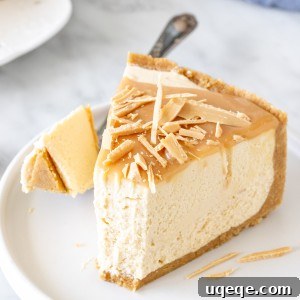
Caramilk Cheesecake Recipe
By: Fiona Dowling
Indulge in the creamy, dreamy perfection of our No-Bake Caramilk Cheesecake. This easy recipe turns your favourite caramelised white chocolate block into a decadent dessert with a crunchy crust and luscious topping.
Prep: 30 mins
Chilling: 6 hrs
Total: 6 hrs 30 mins
Servings: 12 pieces
Rate Recipe
Print Recipe
Equipment
- 22 cm springform pan*
Ingredients
Crust
- 300 grams digestive biscuits
- 100 grams unsalted butter, you may need a little less or a little more
Filling
- 200 grams Caramilk block*
- 500 grams brick-style cream cheese*, softened to room temperature
- 1/2 cup powdered sugar
- 1 teaspoon vanilla extract
- 150 ml whipping cream, anything over 35% MF
Caramilk Topping
- 125 grams Caramilk block
- 3 tablespoons whipping cream (45 ml), anything over 35% MF
Instructions
- Take the cream cheese out of the fridge about 60 minutes prior to making the cheesecake so that it has enough time to soften to room temperature.
Crust
- Crush the biscuits in a food processor, or place in a freezer bag and crush with a rolling pin. The biscuits should be very fine crumbs.
- In a medium bowl, slowly stir the melted butter into the crushed biscuits until it’s the consistency of wet sand. Depending on how finely crushed the biscuits are, you may need a little less or a little more butter.
- Pour the mixture into your springform pan, and press it into the bottom and about 1/2 way up the sides of the pan.
- Place in the fridge as you make the filling.
Caramilk Cheesecake Filling
- Chop the Caramilk into very fine pieces and place in a heatproof bowl.
- Melt the chocolate very slowly – either in a double boiler over low heat or in the microwave. If microwaving, place in a heatproof bowl. Microwave for 45-second intervals at a low-medium power (I typically use 180 watts), and stir between each interval until smooth. Set aside.
- In a large bowl, beat the cream cheese and sugar until smooth. Mix in the melted Caramilk and vanilla extract.
- In a separate large bowl, beat the whipping cream until stiff peaks form.
- Gently fold the whipped cream into the cream cheese mixture. It will first look streaky with sections of whipped cream. When you’re finished, it will be smooth and even.
- Carefully spoon the mixture into the crust and smooth the top.
- Cover the top of the pan and place in the fridge for at least 6 hours for the cheesecake to set. I typically let it set overnight.
Caramilk Topping
- Chop the Caramilk into very small pieces.
- Heat the cream until almost scalding.
- Pour the cream over the chopped chocolate and let it stand for 5 minutes.
- Whisk until smooth. If there are still lumps of chocolate, microwave on a low power (I use 90 or 180 watts) for 30 seconds and whisk until smooth.
- Pour the topping over the cheesecake and smooth to the edges.
- Finely chop/shave the remaining Caramilk, and sprinkle on top of the cheesecake.
- Return the cheesecake to the fridge until ready to serve.
Serving
- When ready to serve, gently trace around the outer edge of the crust using a very thin knife. Then unclamp the outer ring of the springform pan.
- Slice the cheesecake using a sharp, thin knife (not a table knife). Be sure to slice all the way through the crust.
- Store leftovers in the fridge.
Notes
- My springform pan is 22 cm in diameter. Anything between about 20 cm and 23 cm will work. You may have a little extra crust or filling if using a 20 cm pan.
- You’ll need to buy two 180 gram Caramilk blocks for this recipe.
- Make sure to use full-fat, brick-style cream cheese and not cream cheese that comes in a tub. This is necessary for the cream cheese to set properly.
- Nutrition information is an estimate only and based on 1 slice, assuming the cheesecake is sliced into 12 equal pieces.
- Store leftovers covered in the fridge for up to 5 days.
Nutrition
Calories: 524kcal, Carbohydrates: 41g, Protein: 6g, Fat: 38g, Saturated Fat: 1g, Polyunsaturated Fat: 2g, Monounsaturated Fat: 8g, Trans Fat: 1g, Cholesterol: 86mg, Sodium: 267mg, Potassium: 106mg, Fiber: 1g, Sugar: 28g, Vitamin A: 1007IU, Vitamin C: 1mg, Calcium: 59mg, Iron: 1mg
Like this recipe? Rate and comment below!