
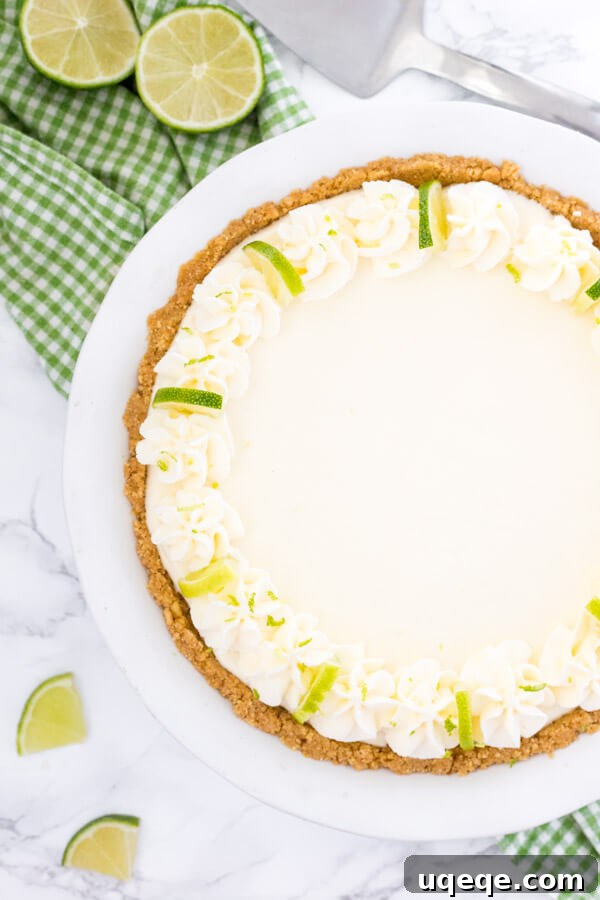
Indulge in the vibrant flavors of summer with this incredibly easy and luscious No-Bake Key Lime Pie. This recipe delivers everything you adore about classic key lime pie – that signature sweet-tart balance, a wonderfully smooth texture, and a crunchy graham cracker crust – all without ever needing to turn on your oven. It’s the quintessential warm-weather dessert, designed for effortless enjoyment and guaranteed to be a crowd-pleaser.
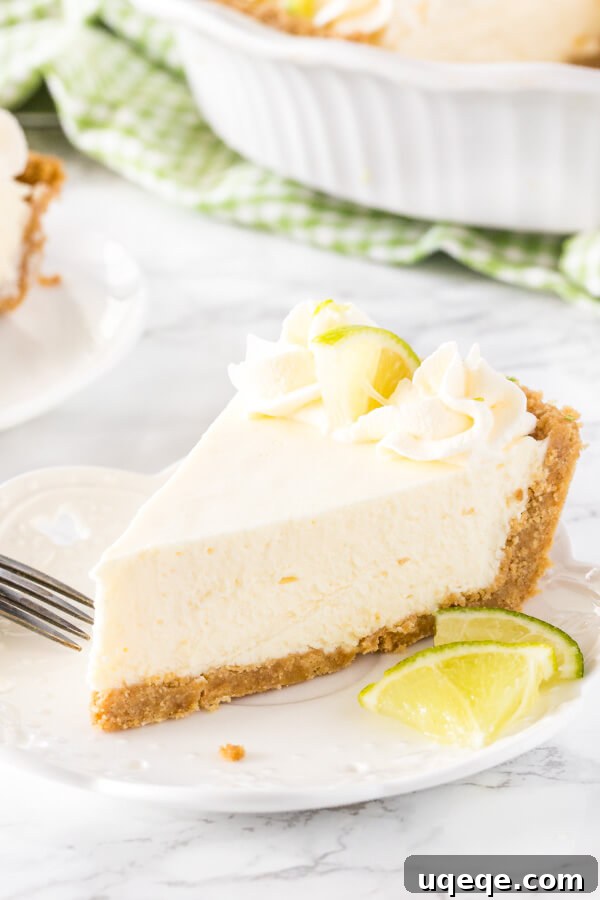
Key lime pie stands out as a truly iconic summer dessert. Its refreshing, zesty citrus punch, combined with a velvety smooth filling and a buttery, crisp graham cracker crust, creates an irresistible symphony of flavors and textures. Today, we’re taking this beloved classic and making it even better with our no-bake key lime pie recipe. You’ll achieve all the delightful deliciousness of the traditional version, but with the added convenience of keeping your kitchen cool – perfect for those hot summer days when an oven is the last thing you want running. This simplified approach makes a fantastic dessert accessible to everyone, from novice bakers to seasoned pros looking for an effortless yet impressive treat.
The Allure of Key Lime Pie: A Summer Classic Reinvented
The unique charm of key lime pie lies in its distinctive taste profile. Originating from the Florida Keys, this dessert is celebrated for its bright, intensely tart, yet perfectly balanced sweetness, derived from the small, aromatic key limes. Unlike their larger Persian lime counterparts, key limes offer a more fragrant and subtly bitter juice, which lends the pie its characteristic depth of flavor. Traditionally, key lime pies are baked, but the no-bake method allows us to capture that beloved essence with minimal effort, offering a wonderfully cool and refreshing alternative that’s ideal for any summer gathering, barbecue, or simply a treat after a long day. It’s a dessert that evokes sunny skies and tropical breezes with every bite.
Why This No-Bake Key Lime Pie Recipe Shines
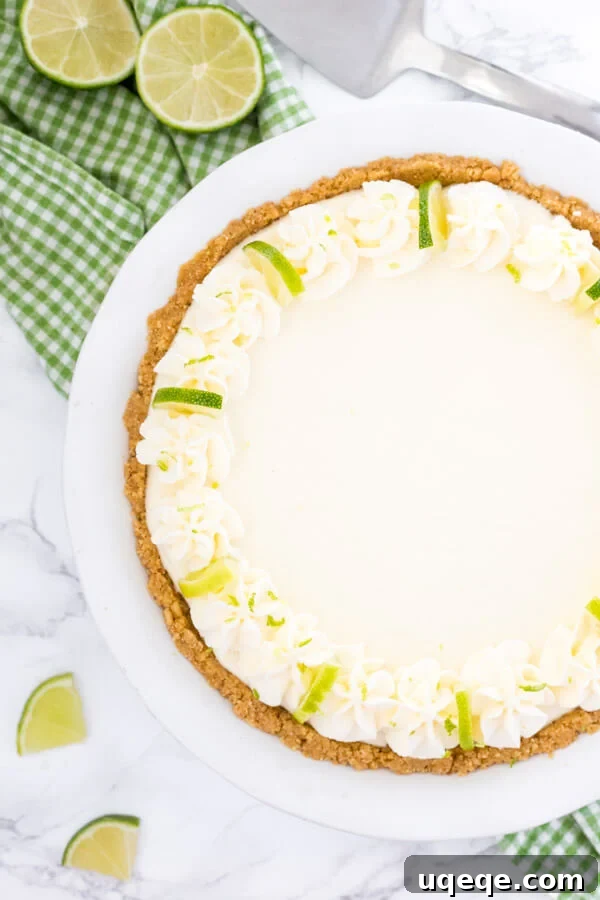
We’ve meticulously refined this no-bake key lime pie recipe to ensure it’s not just easy, but truly exceptional. Our goal was to enhance three key aspects:
- A More Intense Key Lime Flavor: We’ve optimized the recipe to deliver a more pronounced and authentic key lime tang, making each forkful a burst of refreshing citrus.
- A Sturdier, Perfectly Set Texture: Say goodbye to wobbly, unset pies. This improved version boasts a wonderfully thick and stable texture that slices beautifully, holding its shape perfectly, even on a warm day.
- An Unbelievably Creamier Experience: We’ve achieved an even more luxurious, velvety smooth filling that melts in your mouth, providing a truly dreamy dessert experience.
These enhancements ensure that every element, from the robust crust to the silken filling, contributes to a sublime dessert that will have everyone asking for a second slice. It’s the ideal fusion of convenience and gourmet quality, promising a flawless key lime pie every time.
Crafting the Perfect Graham Cracker Crust
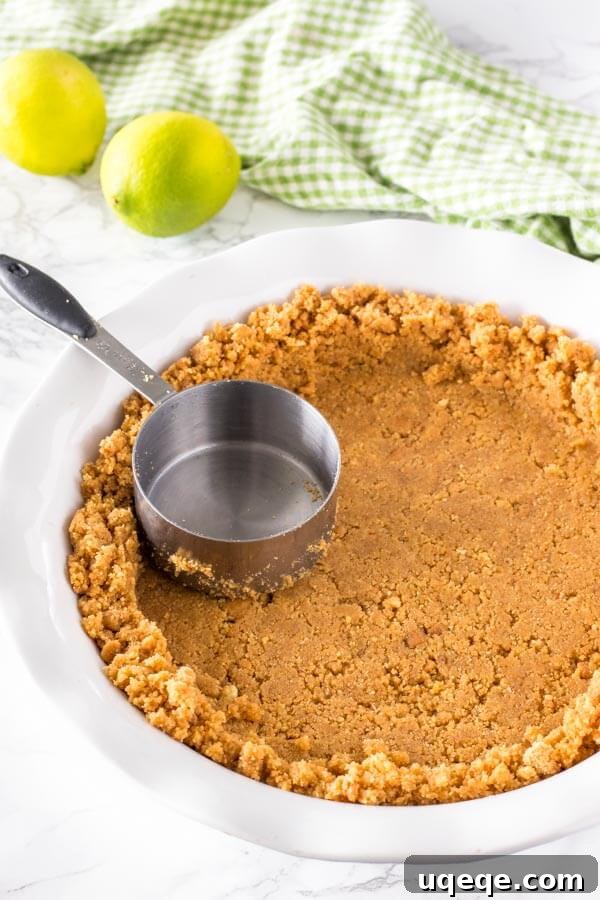
The foundation of any great pie is its crust, and for our no-bake key lime pie, a simple yet delicious graham cracker crust is absolutely essential. This crust is incredibly straightforward to prepare, requiring just three basic ingredients and no baking. Its buttery, slightly sweet flavor and crunchy texture provide a wonderful contrast to the creamy, tangy filling.
Essential Crust Ingredients:
- Graham Cracker Crumbs: These form the bulk of your crust, offering a subtly sweet and grainy texture.
- Granulated Sugar: A touch of sugar enhances the sweetness and helps the crust caramelize slightly, even without baking.
- Melted Unsalted Butter: The butter is crucial; it binds the crumbs together and provides that rich, buttery flavor we all love.
Creating the Crust:
Simply combine the graham crumbs and sugar in a medium bowl, then stir in the melted butter until the mixture resembles wet sand. Once combined, firmly press this mixture into the bottom and up the sides of a 9-inch pie plate. The key to a sturdy crust is to press it down very firmly, using the bottom of a measuring cup or your knuckles, to create a compact base. This prevents crumbling when you slice and serve your pie. Once formed, place the crust in the refrigerator to chill while you prepare the filling. This cooling period further helps the butter solidify, making the crust even more stable.
FAQs for Your Crust:
- Can I use a pre-made, store-bought graham cracker crust? Absolutely! Opting for a pre-made crust is a fantastic time-saver and works perfectly for this no-bake recipe. Just ensure it’s a 9-inch crust to accommodate all the filling.
- What if I can’t find graham crumbs or crackers? If graham crackers are difficult to source in your region, digestive biscuits are an excellent substitute. Their flavor and texture are very similar and will yield a delicious crust. Simply crush them finely to create crumbs.
The Secret to a Velvety No-Bake Key Lime Filling
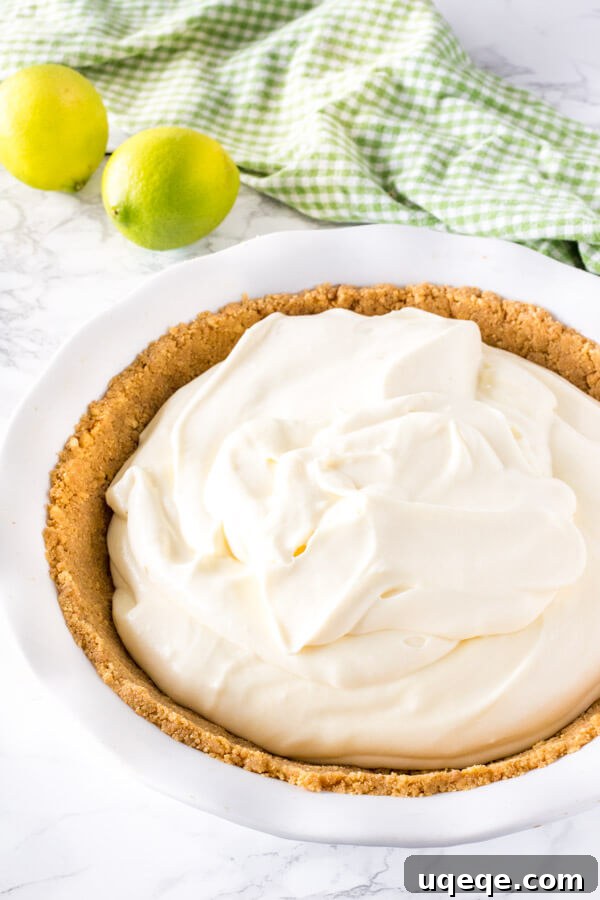
The heart of this incredible dessert is its rich, tangy, and utterly smooth filling. Achieving that perfect balance of tartness and sweetness, coupled with a luxurious texture, is what makes this no-bake key lime pie truly stand out. Our filling is crafted with just a few key ingredients, each playing a vital role in creating a flawless consistency and unforgettable flavor.
Key Ingredients for the Creamy Filling:
- Cream Cheese: Full-fat, brick-style cream cheese is paramount. It provides the essential creamy base and structure, contributing to the pie’s rich mouthfeel. Ensure it’s at room temperature for easy blending.
- Sweetened Condensed Milk: This ingredient not only adds a delightful sweetness but also contributes significantly to the filling’s smooth, dense texture. It’s a classic component in many no-bake desserts for its binding and sweetening properties.
- Key Lime Juice: The star of the show! Freshly squeezed key lime juice delivers that iconic tart and aromatic flavor that defines this pie. For convenience, bottled key lime juice can be used, but ensure it is specifically “key lime” juice, not regular lime juice.
- Heavy Whipping Cream: Whipped to stiff peaks, this cream is gently folded into the mixture, creating an airy, light, and incredibly creamy texture, making the pie feel exceptionally luxurious.
- Gelatin Powder: This is our secret weapon for a consistently perfect set. Gelatin ensures the pie is thick, stable, and slices beautifully every single time.
The Gelatin Advantage: Setting for Success
While some no-bake key lime pie recipes omit gelatin, we’ve found that including it is a game-changer for consistency and texture. Originally, this recipe was developed without gelatin, but the results could sometimes be temperamental, with the pie occasionally struggling to set firmly. By incorporating just a small amount of gelatin powder, we eliminate any guesswork. The gelatin works by creating a stable matrix that holds the creamy ingredients together, resulting in a pie that sets beautifully firm yet remains wonderfully smooth and velvety. It guarantees a thick, luxurious texture that will impress everyone and ensure your slices hold up perfectly, even hours after serving. For those seeking vegetarian options, plant-based gelatin alternatives are also available and work wonderfully.
Step-by-Step: Assembling Your Dreamy Key Lime Pie
Creating this magnificent no-bake key lime pie is a straightforward and enjoyable process. Follow these detailed steps to ensure a flawless dessert every time:
Graham Cracker Crust:
- In a medium-sized bowl, combine the graham cracker crumbs and granulated sugar. Whisk them together until well mixed.
- Pour the melted unsalted butter over the crumb mixture. Stir thoroughly with a spoon or spatula until all the crumbs are evenly moistened and resemble wet sand.
- Transfer the mixture to a 9-inch pie plate. Using the back of a spoon, the bottom of a flat-bottomed measuring cup, or your fingers, press the mixture firmly and evenly into the bottom and up the sides of the pie plate. The firmer you press, the more stable your crust will be.
- Place the prepared crust in the refrigerator to chill while you prepare the key lime filling. This helps the butter solidify and the crust set.
Key Lime Pie Filling:
- In a large mixing bowl, using an electric mixer fitted with a whisk attachment, beat the heavy whipping cream on high speed until stiff peaks form. Be careful not to overbeat, as it can turn granular. Once stiff, set the whipped cream aside.
- In a small, microwave-safe bowl, combine the key lime juice and gelatin powder. Stir briefly to mix. Microwave the mixture for approximately 1 minute, or until it is very hot and almost boiling. Stir vigorously until the gelatin powder is completely dissolved. Ensure there are no granules remaining. Set aside to cool slightly.
- In another large mixing bowl, beat the room temperature cream cheese with an electric mixer until it is light, fluffy, and smooth, with no lumps remaining. This is crucial for a smooth filling.
- Gradually beat in the sweetened condensed milk into the cream cheese mixture until fully combined and smooth.
- Slowly pour the slightly cooled key lime juice and gelatin mixture into the cream cheese and condensed milk mixture, beating on low speed until thoroughly incorporated.
- Finally, gently fold the reserved whipped cream into the key lime filling mixture using a spatula. Be gentle to maintain the airiness of the whipped cream, folding until just combined and no streaks remain.
- Pour the luscious key lime filling over the chilled graham cracker crust. Use a spatula to gently spread the top smooth and even.
- Cover the pie loosely with plastic wrap and refrigerate for a minimum of 6 hours, or preferably overnight. This chilling time is essential for the gelatin to fully set and for the flavors to meld beautifully.
- Before serving, decorate your stunning no-bake key lime pie with fresh whipped cream and thin slices or wedges of key lime for a beautiful presentation.
Expert Tips for No-Fail No-Bake Key Lime Pie
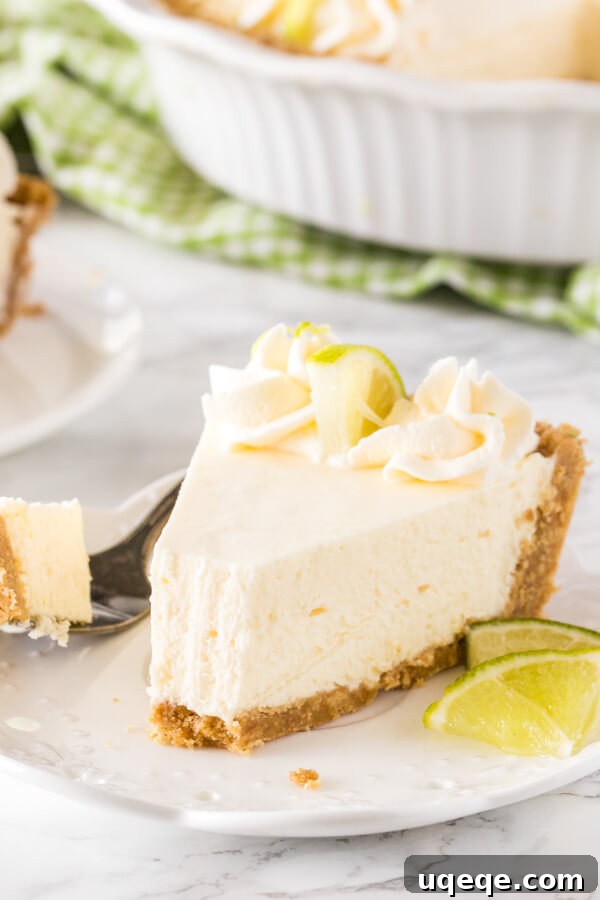
Achieving a flawless no-bake key lime pie is simple when you follow a few expert guidelines. These tips will help ensure your pie is perfectly set, wonderfully flavorful, and a true delight to serve:
- Choose Your Pan Wisely: While a standard 9-inch pie plate works beautifully, you can also use an 8- or 9-inch springform pan for easy removal and a more elegant presentation. If using a springform pan, gently trace around the edges of the crust with a very thin, sharp knife before unclamping the sides to ensure a clean release.
- Key Lime vs. Regular Lime Juice: For an authentic flavor, key lime juice is highly recommended due to its distinct tartness and aroma. You can squeeze fresh key limes (it takes many, but the flavor is unparalleled!) or use good quality bottled key lime juice. Important: Do not substitute with regular bottled lime juice, as its flavor profile is significantly different and will alter the pie’s characteristic taste. However, if fresh key limes are completely unavailable, fresh regular lime juice can be used as a last resort, though the flavor will be less nuanced.
- Room Temperature Cream Cheese is Key: Ensure your full-fat, brick-style cream cheese is at proper room temperature. This is crucial for achieving a smooth, lump-free filling. Cold cream cheese will result in a clumpy texture that won’t fully incorporate, leading to an inferior pie.
- Don’t Skip the Gelatin: As discussed, gelatin is your assurance for a perfectly set pie. Leaving it out comes with the risk of a runny or overly soft filling that won’t hold its shape. Gelatin provides the necessary structure, allowing for clean, beautiful slices. For dietary preferences, vegetarian gelatin alternatives are readily available and function similarly.
- Zest for Extra Zest: For an even more intense lime flavor and a beautiful aroma, consider adding a teaspoon or two of fresh key lime zest to your filling mixture. The zest contains essential oils that heighten the citrus notes without adding extra liquid.
- Proper Chilling is Non-Negotiable: The minimum 6-hour chilling time is essential for the pie to set completely. Rushing this step will result in a pie that is too soft. Ideally, chill it overnight for the best texture and flavor development.
- Decorate Just Before Serving: While the pie needs to chill, add your final garnishes, like freshly whipped cream and lime slices or zest, shortly before serving. This keeps the whipped cream looking fresh and prevents lime slices from drying out.
- Use Quality Ingredients: Since this is a simple recipe, the quality of your ingredients truly shines through. Opt for good quality full-fat cream cheese, fresh key lime juice, and high-quality graham crackers or digestive biscuits.
This no-bake key lime pie seriously boasts the creamiest, dreamiest, most luxurious texture imaginable, perfectly complemented by its vibrant, tangy flavor. Paired with a crunchy graham cracker crust and a dollop of fresh whipped cream, you’re in for a truly delicious and refreshing treat that will transport you straight to a tropical paradise.
Serving Suggestions and Storage
Once your no-bake key lime pie has thoroughly chilled and set, it’s ready to be enjoyed! Here are some tips for serving and storing your masterpiece:
- Presentation Matters: A simple garnish goes a long way. Top each slice with a generous swirl of freshly whipped cream. For an added touch of elegance and flavor, sprinkle a little extra key lime zest over the whipped cream or add a thin slice of fresh key lime. Fresh berries, such as raspberries or blueberries, also make a beautiful and delicious accompaniment.
- Cutting the Perfect Slice: For clean cuts, use a sharp knife that has been run under hot water and wiped dry between each slice. This will prevent the filling from sticking to the knife and creating messy edges.
- Optimal Serving Temperature: This pie is best served directly from the refrigerator, chilled and refreshing. If it sits out at room temperature for too long, the filling will begin to soften, especially on a warm day.
- Storage: To maintain its freshness, store any leftover no-bake key lime pie in the refrigerator. Ensure it is tightly covered with plastic wrap or placed in an airtight container to prevent it from absorbing other odors and drying out. When stored correctly, the pie will remain delicious for up to 4 days. While technically possible, freezing is generally not recommended as it can alter the creamy texture of the filling upon thawing.
The Full No Bake Key Lime Pie Recipe
No Bake Key Lime Pie
This no bake key lime pie is the perfect easy pie recipe for summer. It has a crunchy graham cracker crust, and a creamy filling with a delicious tanginess thanks to fresh lime juice and zest.
- Prep Time: 20 mins
- Chill Time: 6 hrs
- Total Time: 6 hrs 20 mins
- Servings: 8 slices
Ingredients
Graham Cracker Crust
- 2 1/4 cups graham crumbs
- 1/4 cup granulated sugar
- 1/2 cup unsalted butter, melted
Key Lime Pie Filling
- 2/3 cup heavy whipping cream
- 1/2 cup key lime juice
- One envelope gelatin powder*
- 8 oz cream cheese, room temperature
- One 14 oz can sweetened condensed milk
Instructions
Graham Cracker Crust
- In a medium bowl, stir together the graham crumbs and sugar. Stir in the melted butter until well combined.
- Press the mixture firmly into the bottom and up the sides of a 9-inch pie pan.
- Place in the fridge to chill as you prepare the filling.
Key Lime Pie Filling
- In a large bowl, using an electric mixer, beat the heavy cream until stiff peaks form. Set aside.
- Add the key lime juice and gelatin to a small bowl. Microwave for 1 minute, or until almost boiling. Stir until the gelatin is completely dissolved.
- In a separate large bowl, beat the cream cheese until soft and smooth.
- Beat in the sweetened condensed milk and the lime juice-gelatin mixture until fully combined.
- Gently fold in the whipped cream until the mixture is even and no streaks remain.
- Pour the filling mixture over the prepared crust, spread the top smooth, and place in the fridge to set for at least 6 hours (preferably overnight).
- Decorate with extra whipped cream and fresh lime slices before serving.
Notes
*One envelope of powdered gelatin is equivalent to about 2 1/2 teaspoons. If using sheet gelatin, you’ll need 1 sheet. Soak the sheet in cold water for 5-10 minutes. Then add the softened sheet to the bowl of lime juice and heat the mixture (as instructed) to dissolve the sheet.
Store the pie in the fridge, tightly covered, for up to 4 days.
Explore More Citrus Delights
If you adore the bright, refreshing flavors of citrus as much as we do, make sure to try these other fantastic recipes that celebrate the tangy zest of lemons and limes:
- No Bake Lemon Cheesecake
- Lemon Lime Cupcakes
- Coconut Cupcakes with Lime Frosting