
Easy No-Chill Christmas Chocolate Chip Cookies: Your Ultimate Holiday Baking Guide
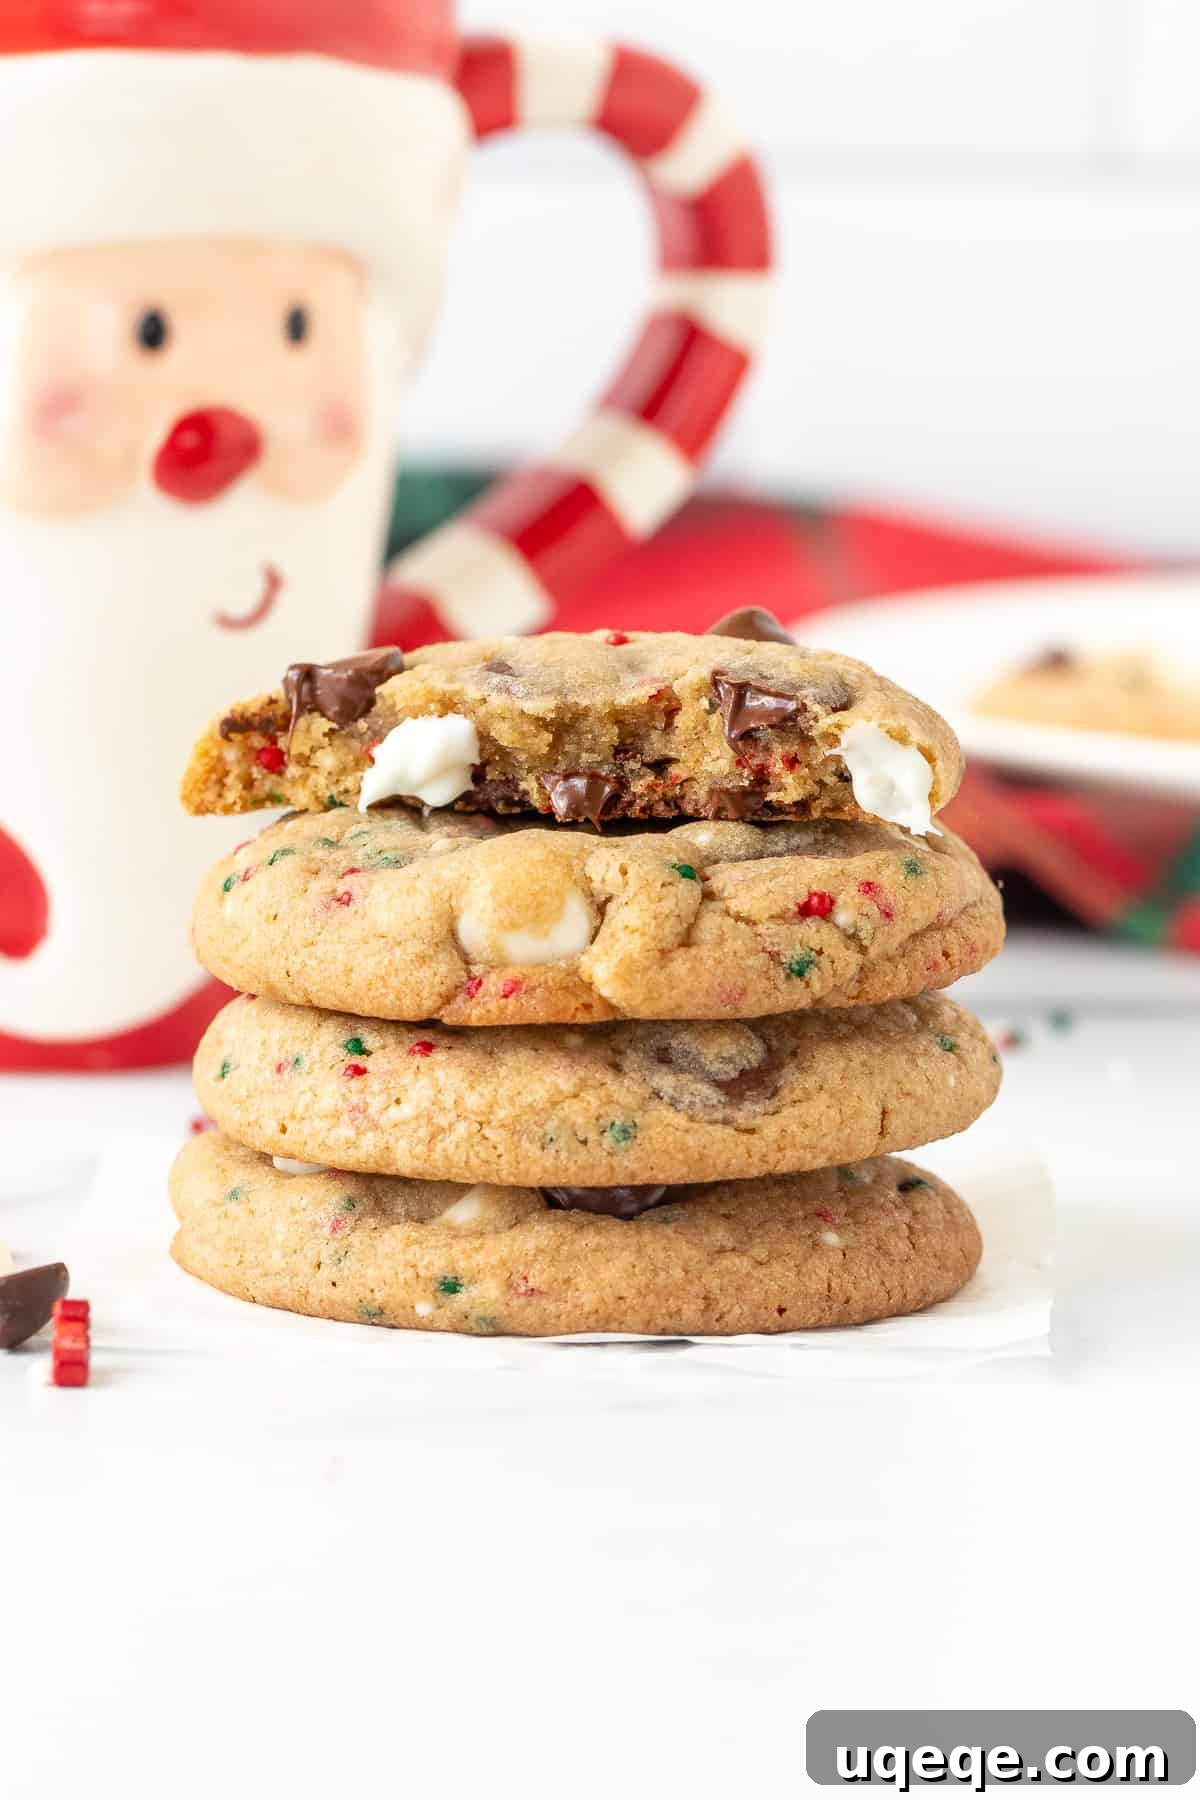
Transform your beloved classic chocolate chip cookies into a dazzling holiday delight with this incredibly easy recipe for Christmas Chocolate Chip Cookies. Brimming with a festive mix of milk chocolate chips, white chocolate chips, and vibrant red and green sprinkles, these cookies require absolutely no dough chilling and come together in record time. Say goodbye to complicated holiday baking and hello to a batch of warm, chewy, and irresistibly festive cookies!
Why These Are Your Go-To Christmas Cookies
The holiday season is a time for joy, family, and delicious treats, but it shouldn’t be a time for endless hours in the kitchen or mountains of dirty dishes. If you’re searching for a Christmas cookie recipe that’s refreshingly simple, demands zero fancy decorating skills, and won’t consume your entire day, then these Christmas Chocolate Chip Cookies are precisely what you need. Forget the tedious chilling process; this recipe is designed for maximum flavor with minimal effort, allowing you more time to enjoy the festive cheer.
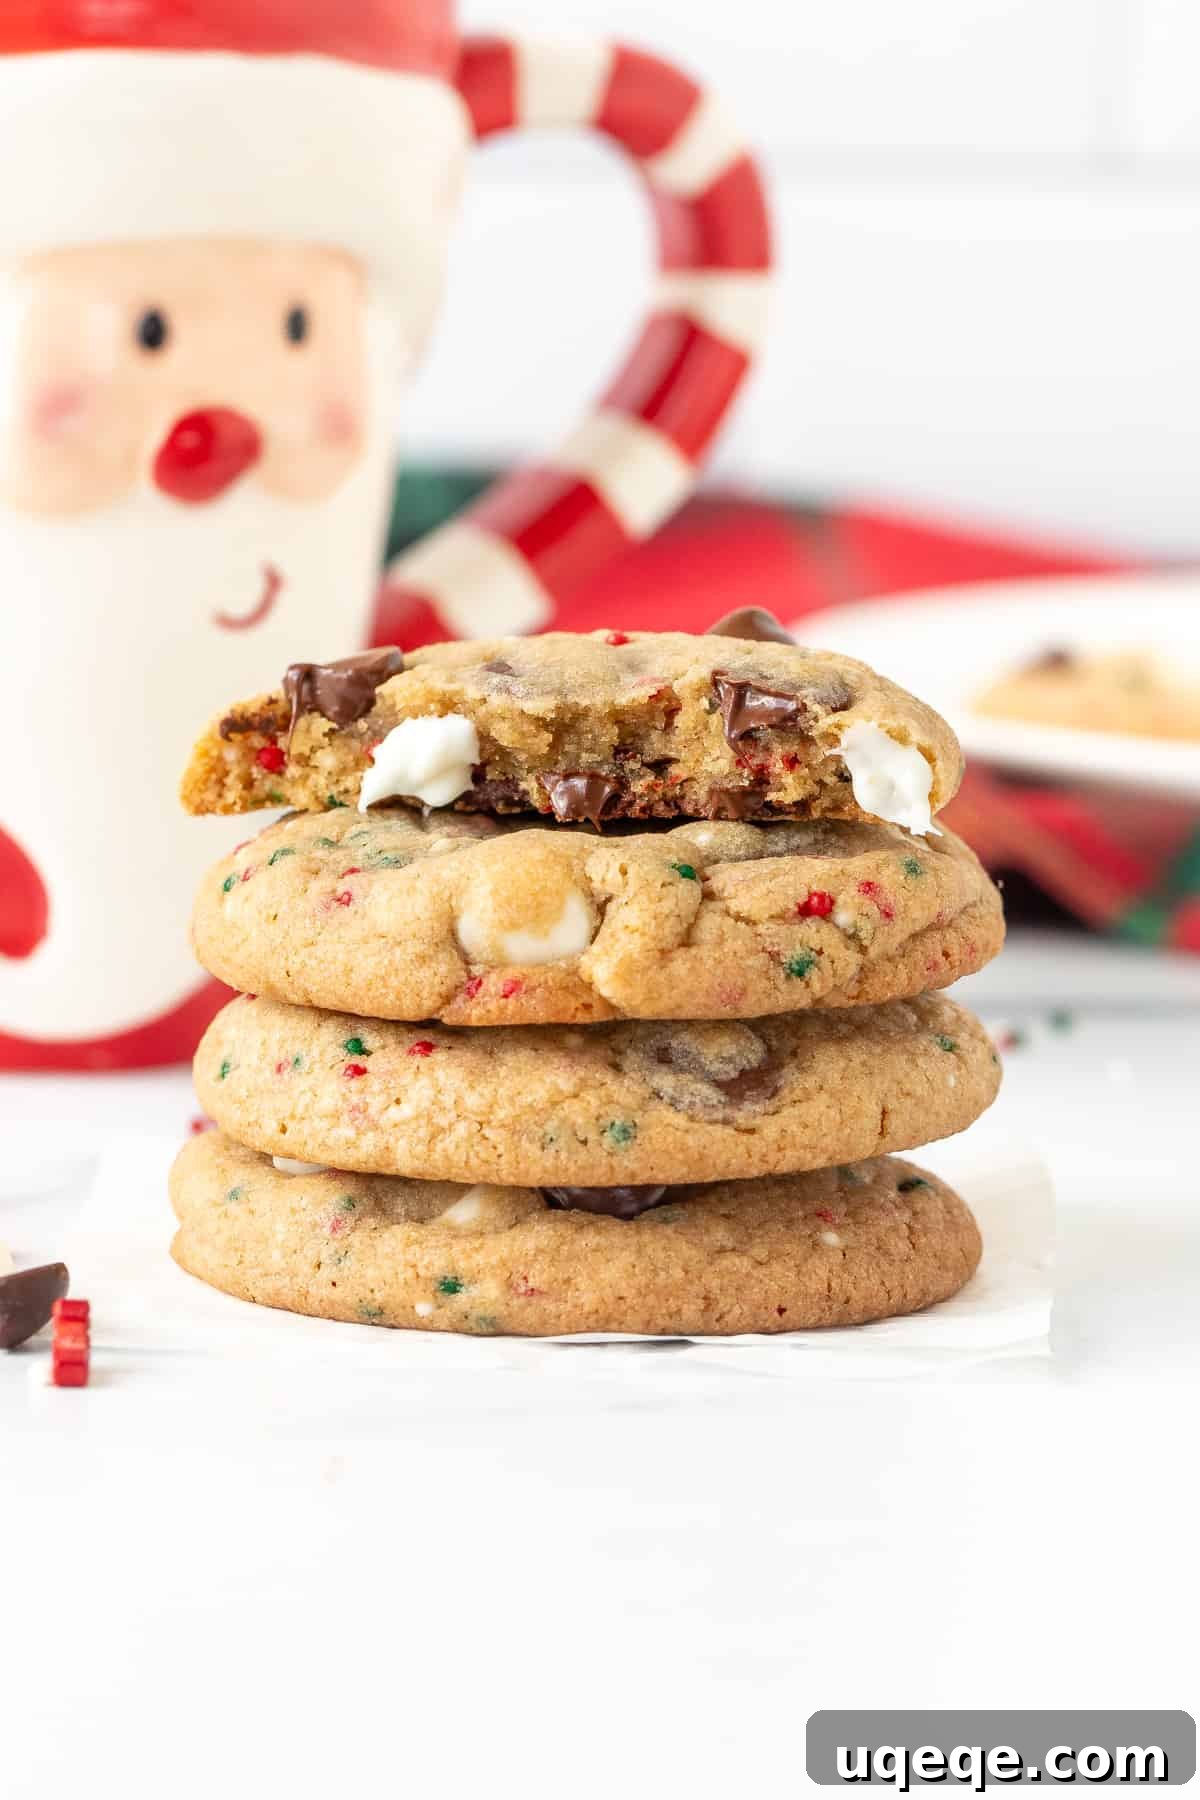
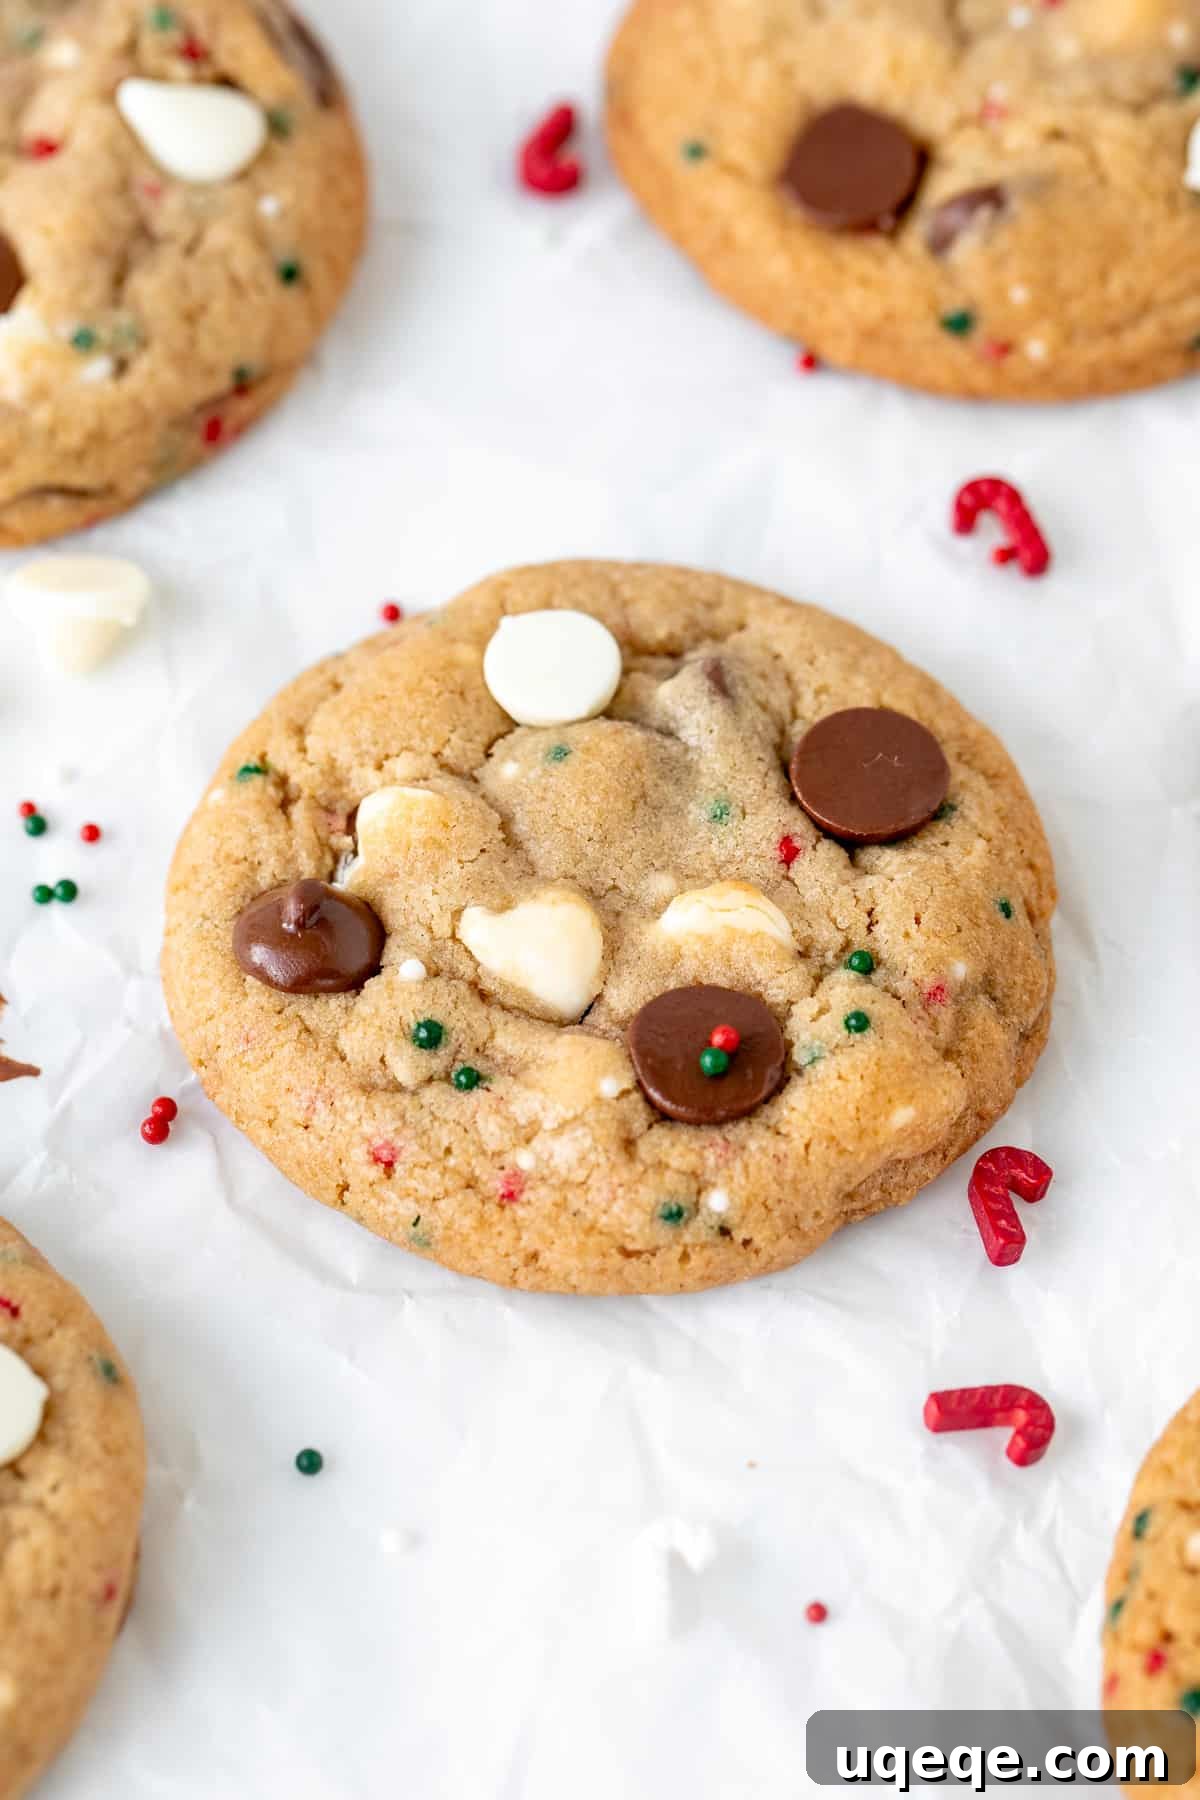
These holiday-themed chocolate chip cookies boast an utterly perfect texture – thick, wonderfully chewy, with gloriously soft centers and slightly crisp edges. Each bite delivers a delightful blend of rich brown sugar and warm vanilla notes. They’re generously loaded with both classic milk chocolate chips and creamy white chocolate chips, creating a dual chocolate experience. The vibrant addition of red and green sprinkles not only adds a playful crunch but also infuses every cookie with an unmistakable festive spirit, making them look as good as they taste.
Essential Ingredients for Your Festive Cookies
Crafting these exceptional Christmas chocolate chip cookies starts with a selection of common pantry staples, each playing a crucial role in achieving their signature taste and texture. Here’s what you’ll need, along with a few insights into why these ingredients are key:
- Unsalted Butter (1/2 cup / 112 grams), slightly softened: Using unsalted butter gives you control over the salt content, ensuring a balanced flavor. Softened butter creams beautifully with sugars, creating a light, airy base for your dough.
- Brown Sugar (1/2 cup / 105 grams), light or dark: The secret to the cookies’ incredible chewiness and moist texture lies in brown sugar. Its molasses content adds depth of flavor and helps keep the cookies soft.
- Granulated Sugar (1/2 cup / 100 grams): Provides crispness to the edges and contributes to the overall sweetness, balancing the richness of the brown sugar.
- Large Egg (1): Acts as a binder, holding all the ingredients together and adding richness to the dough.
- Vanilla Extract (1 teaspoon): A baking essential, vanilla extract enhances all the other flavors, giving the cookies a warm, comforting aroma and taste.
- All-Purpose Flour (1 1/2 cups / 188 grams): The structural foundation of the cookies. For even thicker cookies, you can add an extra 2 tablespoons (totaling 203 grams). Proper measurement is crucial for texture.
- Cornstarch (1 teaspoon): Also known as cornflour to our UK and Aussie friends, cornstarch is the magic ingredient for extra soft and tender cookies. It prevents them from becoming too cakey.
- Baking Powder (1/2 teaspoon): A leavening agent that helps the cookies rise and achieve their desired thickness.
- Baking Soda (1/2 teaspoon): Another leavening agent that reacts with the acidic brown sugar to create a soft, chewy texture.
- Salt (1/4 teaspoon): Essential for balancing the sweetness and enhancing the flavors of the chocolate and vanilla.
- Chocolate Chips (1/3 cup / 60 grams): Classic semi-sweet chocolate chips provide that timeless chocolate chip cookie flavor. Have a few extra on hand for decorating!
- White Chocolate Chips (1/3 cup / 60 grams): Add a creamy sweetness and a beautiful contrast to the darker chocolate chips, making them extra festive. Again, save a few for sprinkling on top.
- Red and Green Sprinkles (3 tablespoons): The ultimate festive touch! These sprinkles add color, a subtle crunch, and immediately signal “holiday treat.”
Step-by-Step Guide to Baking Christmas Chocolate Chip Cookies
This recipe is remarkably straightforward, earning its “easy peasy” reputation. With no dough chilling required, you can go from mixing bowl to freshly baked cookies in under 30 minutes. Here’s how to create your perfect batch of holiday cheer:
- Prepare Your Oven and Trays: Begin by preheating your oven to 350°F (180°C). Line two large baking sheets with parchment paper or silicone baking mats. Lining your trays is a simple trick to ensure your cookie bottoms bake evenly without becoming overly brown or crispy, yielding that perfect soft-chewy texture.
-
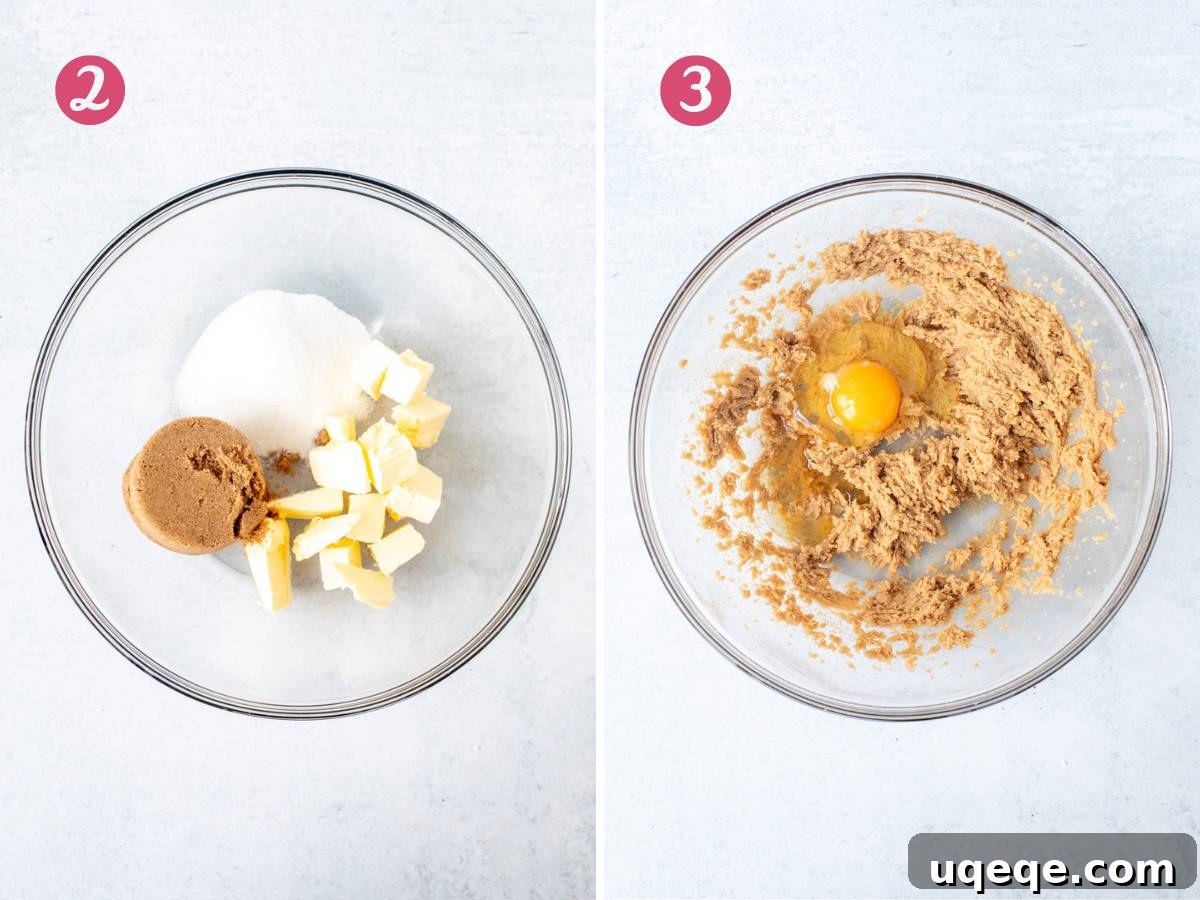
Cream Butter and Sugars: In a large mixing bowl, combine the slightly softened unsalted butter, brown sugar, and granulated sugar. Beat them together with an electric mixer on medium speed until the mixture is light, fluffy, and well-creamed, typically 1-2 minutes. The higher ratio of brown sugar to granulated sugar is key here, contributing significantly to the cookies’ irresistible chewiness and rich flavor. Remember, butter should be softened, not melted, for optimal creaming. Avoid overbeating, as this can incorporate too much air, leading to flatter cookies that spread excessively.

- Incorporate Wet Ingredients: Add the large egg and vanilla extract to the creamed mixture. Mix until just combined, ensuring no visible streaks of egg remain. Make sure to scrape down the sides and bottom of the bowl with a rubber spatula to guarantee all ingredients are thoroughly incorporated and there are no hidden lumps of butter or sugar.
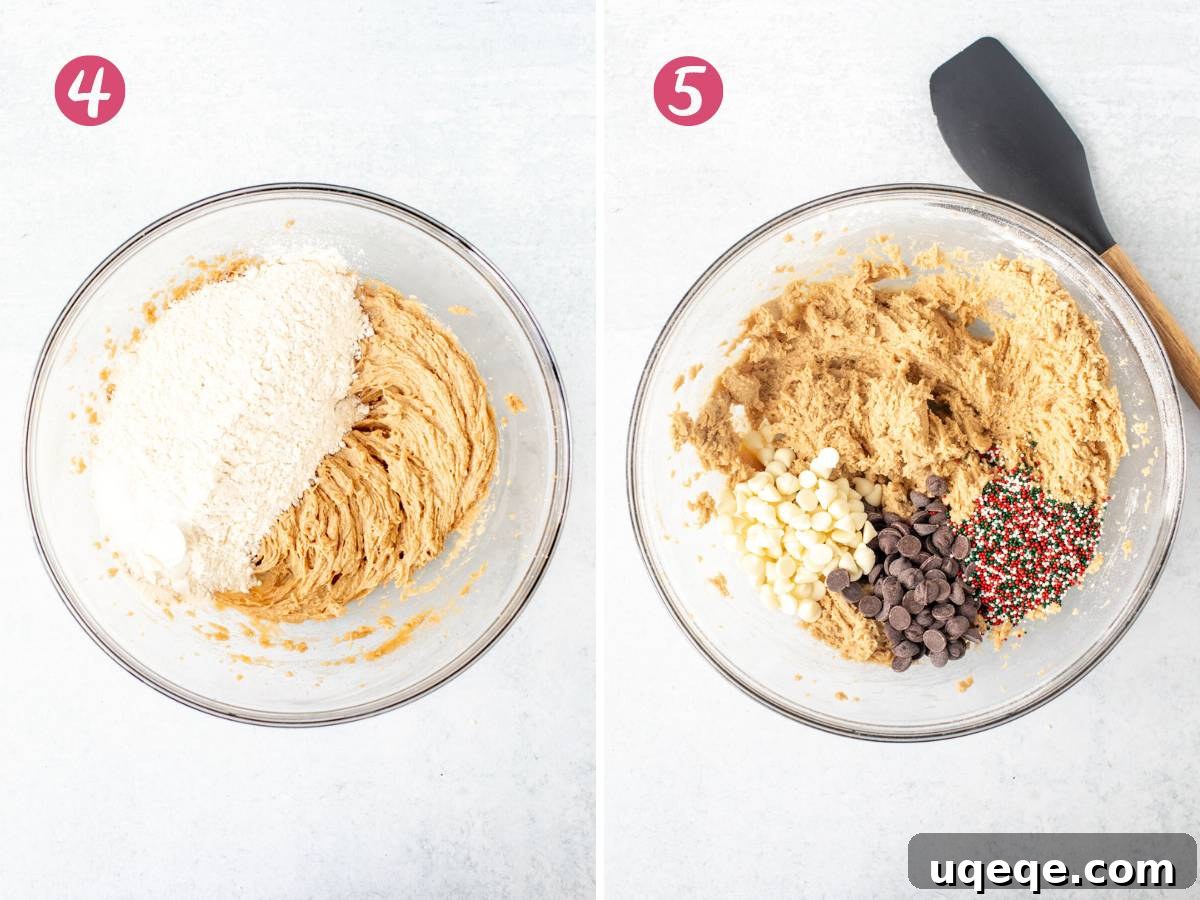
- Add Dry Ingredients: Gently add the all-purpose flour, cornstarch, baking powder, baking soda, and salt to the wet ingredients. Start by stirring a few times with a wooden spoon or spatula to prevent a “flour cloud,” then continue mixing on low speed with your electric mixer until the dry ingredients are just combined. Be careful not to overmix; too much mixing can develop the gluten in the flour, resulting in tough cookies. The cornstarch is a star here, ensuring your cookies remain wonderfully soft and chewy.
-
Fold in the Festive Mix-ins: Now for the fun part! Add the chocolate chips, white chocolate chips, and festive red and green sprinkles to the dough. Using a rubber spatula, carefully fold these mix-ins into the batter by hand. This gentle approach is crucial to prevent the sprinkles from bleeding their color into the dough, which would dull their vibrant appearance. Stop folding as soon as they are evenly distributed.
-
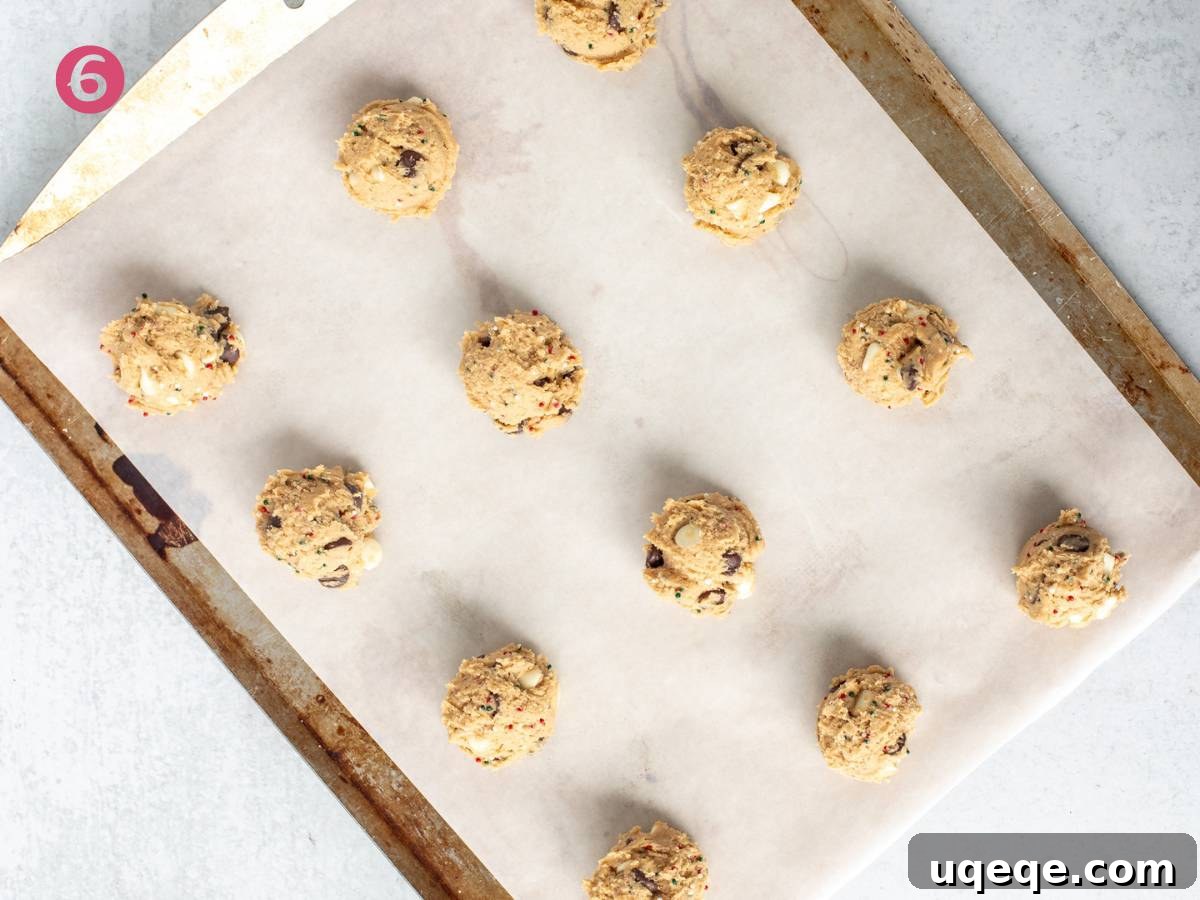
Portion the Dough: Scoop the dough into balls, using approximately 1.5 to 2 tablespoons of dough for each cookie. A medium cookie scoop, slightly overfilled, works perfectly for consistent sizing. Place the dough balls about 2 inches (5 cm) apart on your lined cookie sheets to allow for proper spreading during baking.
- Bake to Perfection: Bake one cookie sheet at a time in the center rack of your preheated oven for about 10-12 minutes. The cookies are ready when their edges are lightly golden and the centers still look slightly soft and “just set.” This slight underbaking is the secret to a wonderfully chewy interior. Do not overbake!
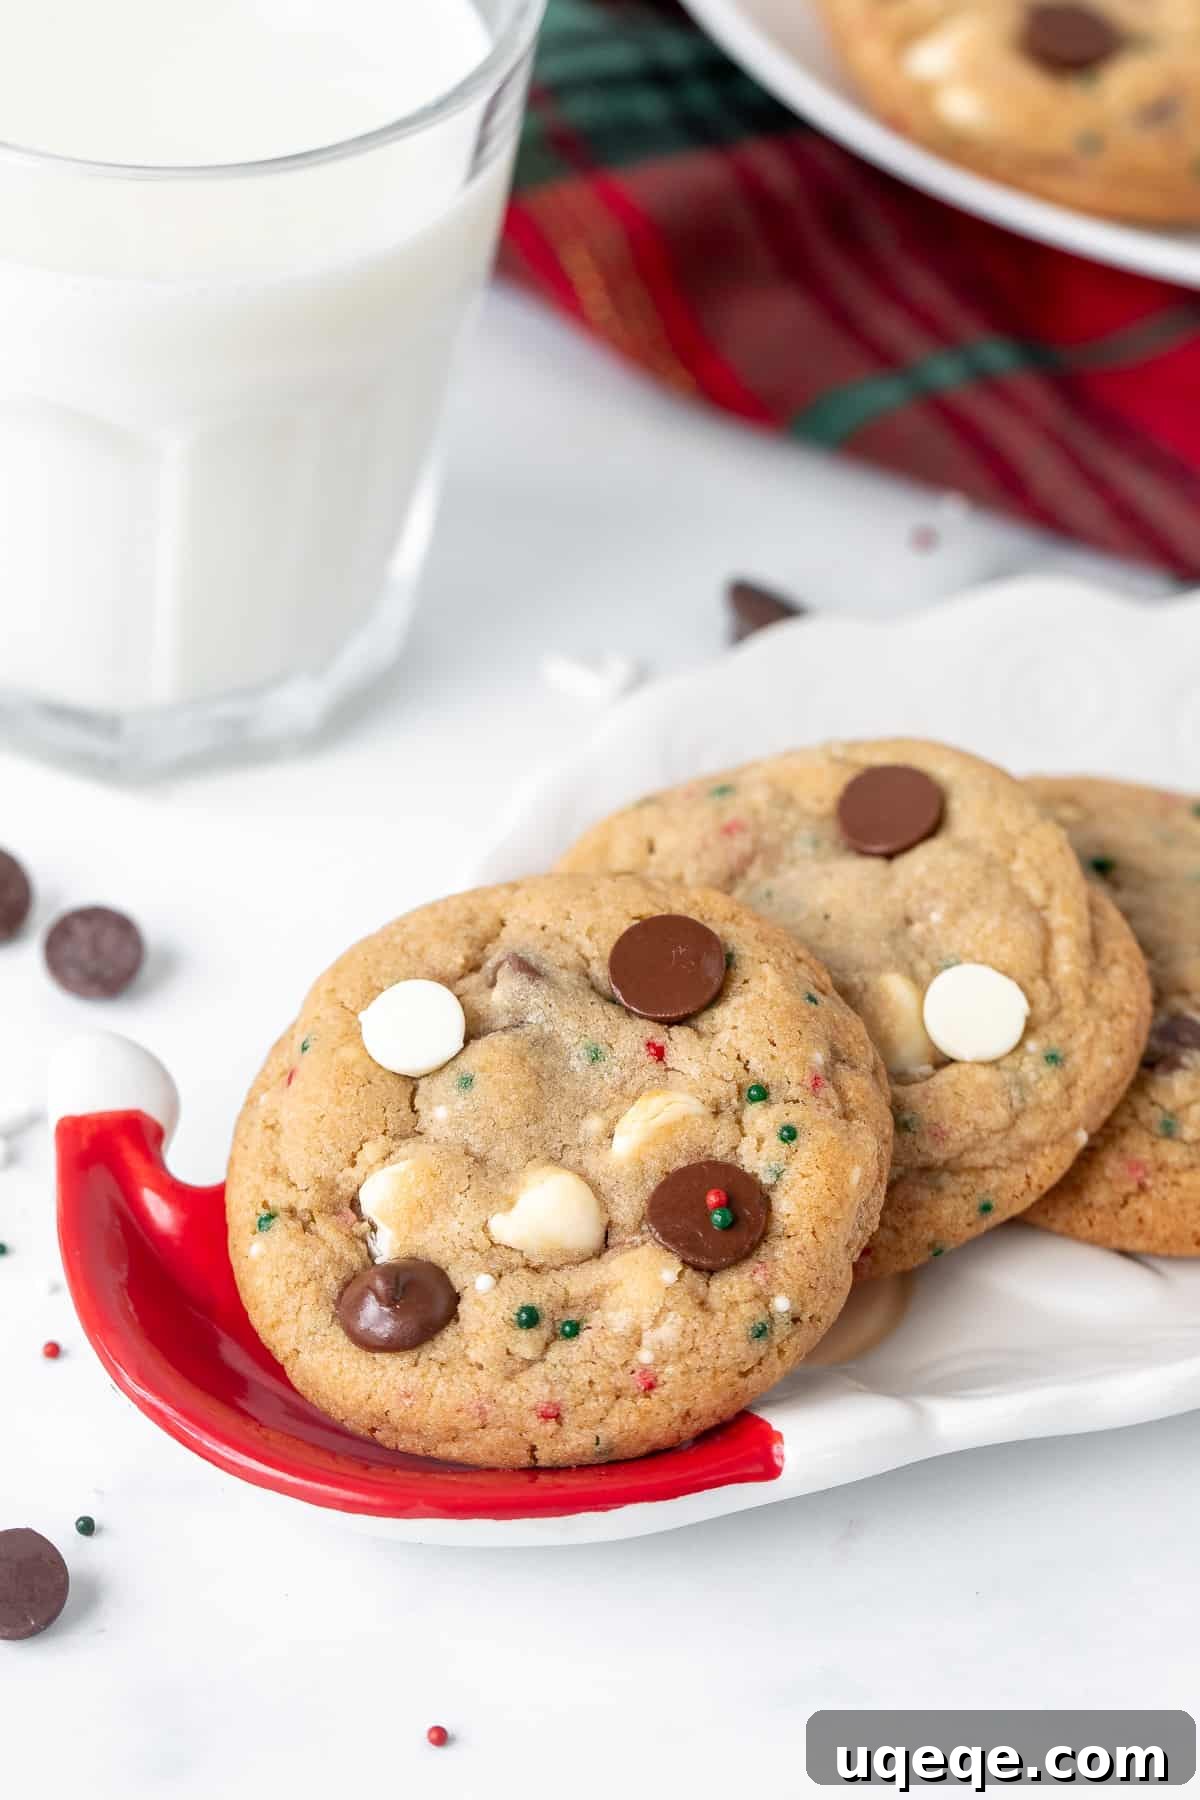
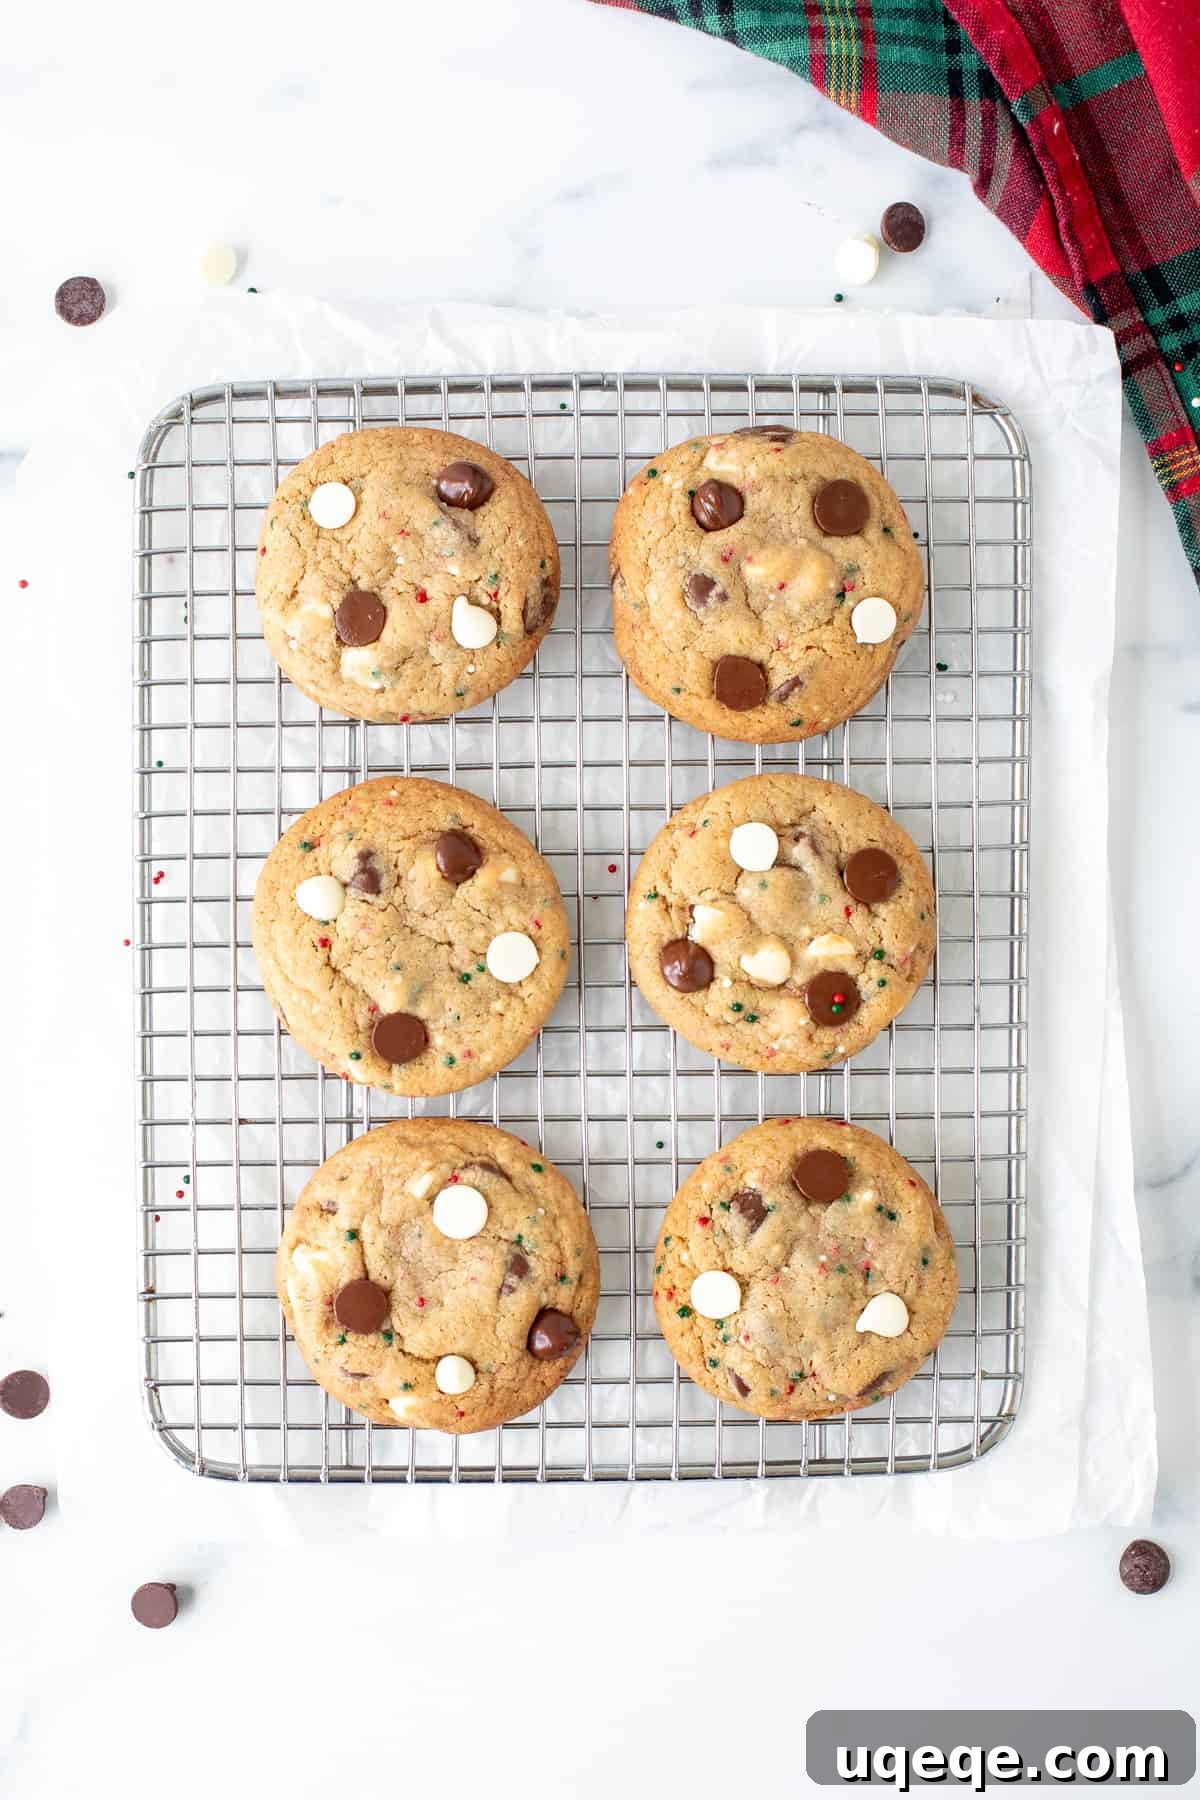
- Cool and Garnish: Once baked, remove the cookies from the oven. While they are still warm and fresh out of the oven, take a moment to press a few extra chocolate chips (both milk and white) onto the tops of each cookie. This simple trick makes them look incredibly appealing and professional. Allow the cookies to cool on the baking sheet for at least 10 minutes before carefully transferring them to a wire rack to cool completely. This resting period allows them to firm up without breaking.
Expert Tips for Flawless Christmas Cookies
Achieving bakery-quality cookies at home is easier than you think with these simple guidelines:
- Accurate Flour Measurement is Key: One of the most common baking mistakes is improper flour measurement. Too much flour can lead to dry, crumbly, and overly thick cookies, while too little can make them spread excessively. Always whisk your flour first to aerate it, then spoon it lightly into a dry measuring cup and level off the top with a straight edge. For the most accurate results, use a kitchen scale and measure flour by grams (188 grams for this recipe, or 203 grams for an extra thick cookie).
- Butter Temperature Matters: Ensure your butter is truly “softened,” not melted or rock-hard. Softened butter should yield slightly when pressed but still hold its shape. This ideal temperature allows it to cream properly with the sugars, creating a smooth emulsion that traps air for a lighter, chewier cookie.
- Don’t Overbeat the Dough: Once the flour is added, mix only until just combined. Overmixing develops gluten, which can lead to tough, dense cookies. A gentle touch ensures a tender crumb.
- The “Extra Chip” Trick: For that picture-perfect, professional look, gently press a few extra chocolate chips (milk and white) onto the tops of the freshly baked cookies as soon as they come out of the oven. The residual heat will melt them slightly, making them adhere beautifully and creating a mouth-watering appearance.
- Bake One Tray at a Time: For consistent baking, especially in home ovens, bake one cookie sheet at a time on the middle rack. This ensures even heat distribution and prevents uneven browning or baking.
Freezing Cookie Dough for Stress-Free Holiday Prep
The holiday season can be hectic, but your baking doesn’t have to be! This cookie dough freezes exceptionally well, making it ideal for make-ahead holiday prep. Imagine fresh-baked cookies at a moment’s notice – pure bliss!
Here’s how to freeze your cookie dough like a pro:
- Portion the Dough: Follow step 6 of the instructions and form the dough into uniform balls.
- Initial Chill: Place the dough balls on a plate or a baking tray lined with parchment paper. Cover loosely with plastic wrap and chill in the refrigerator for about 30-60 minutes. This step is crucial for the dough balls to firm up, which prevents them from sticking together when frozen.
- Freeze in a Bag: Once the dough balls are firm, transfer them to a freezer-safe bag or an airtight container. Squeeze out any excess air from the bag before sealing to prevent freezer burn. Label with the date and freeze for up to 2 months.
- Bake from Frozen: When you’re ready for a fresh batch of cookies, there’s no need to thaw the dough! Simply place the frozen cookie dough balls on a lined baking sheet as directed in the recipe. They will likely require an extra 1-2 minutes of baking time compared to fresh dough. Enjoy perfectly baked cookies straight from the freezer!
Delicious Variations and Customizations
While these Christmas Chocolate Chip Cookies are perfect as is, feel free to get creative and customize them to your heart’s content. The possibilities are endless for adding your personal touch:
- Chocolate Variety: Experiment with different types of chocolate! Use dark chocolate chunks for a more intense flavor, milk chocolate for extra sweetness, or even butterscotch chips for a unique twist.
- Nutty Crunch: Fold in 1/2 cup of chopped pecans, walnuts, or macadamia nuts for an added layer of texture and flavor. Lightly toast the nuts beforehand to enhance their aroma.
- Extracts & Spices: Beyond vanilla, a touch of almond extract (1/4 teaspoon) can add a subtle sophisticated note. For a truly festive twist, add 1/2 teaspoon of peppermint extract (perfect with white chocolate!) or a pinch of cinnamon or nutmeg for warm holiday spice.
- Holiday Candies: Instead of or in addition to sprinkles, mix in holiday M&M’s, chopped Rolo candies, or even crushed candy canes for a refreshing peppermint crunch. Add candy canes after baking for minimal melting.
- Citrus Zest: A teaspoon of orange or lemon zest can brighten up the flavors and add a fresh aroma, pairing beautifully with chocolate.
Serving and Storage Suggestions
These easy, chewy, and joyously festive Christmas chocolate chip cookies are an absolute must-add to your holiday baking list. They’re perfect for cookie exchanges, holiday parties, or simply enjoying with a warm cup of cocoa by the fireplace.
- Serving: While delicious at any temperature, these cookies are truly divine when served slightly warm, allowing the chocolate chips to be gloriously gooey. Pair them with a cold glass of milk, hot coffee, or your favorite festive beverage.
- Storage: Store leftover cookies in an airtight container at room temperature for up to 4 days to maintain their freshness and chewy texture. For longer storage, the frozen cookie dough method is your best friend!
More Easy Christmas Cookie Recipes
If you’re looking for even more simple and delicious holiday baking inspiration, be sure to try these festive treats:
- Christmas M&M Peanut Butter Cookies
- Sugar Cookie Bars
- Christmas M&M Cookie Bars