
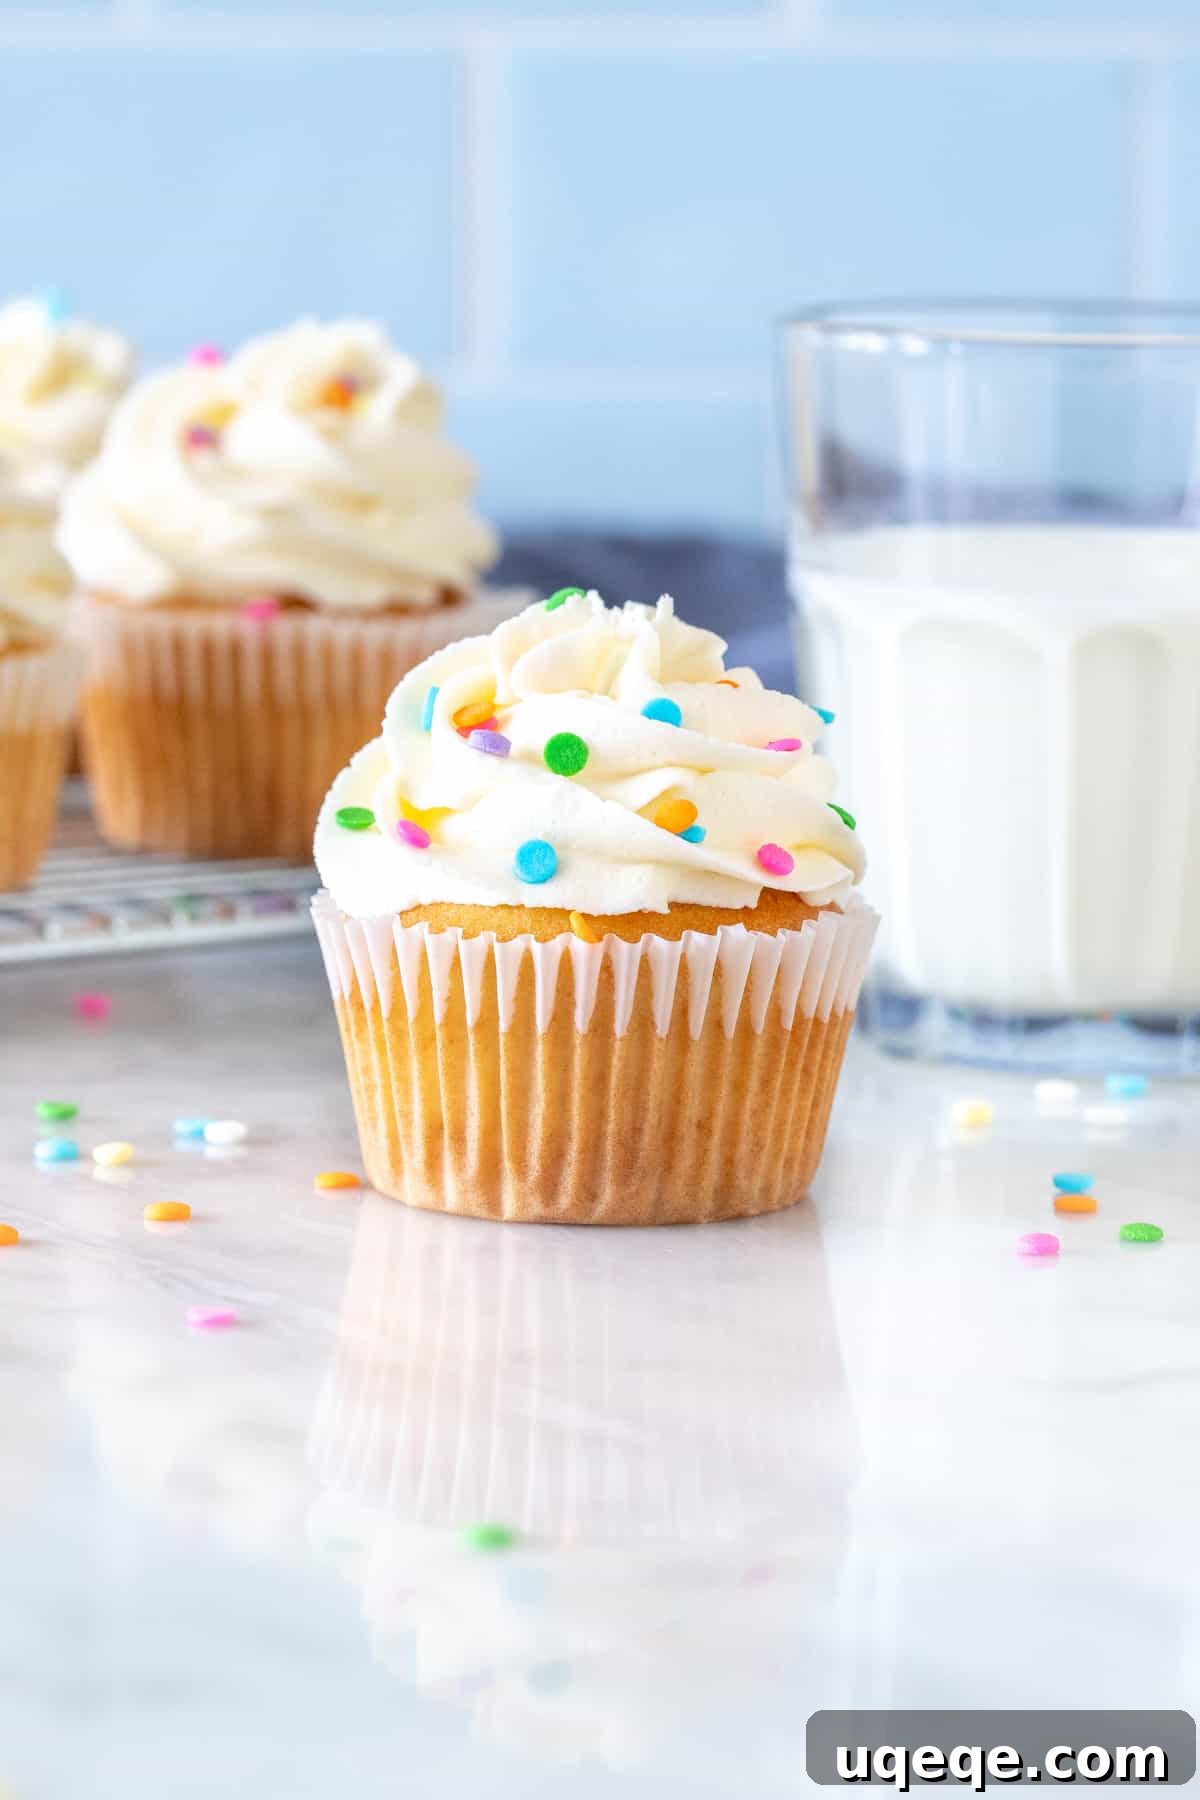
Achieve Bakery-Perfect Bright White Buttercream Frosting Every Time
Imagine perfectly white, thick, and creamy buttercream frosting that serves as the ideal canvas for any decoration, or stands alone in its pristine elegance. If you’ve ever found your vanilla buttercream leaning towards a pale yellow or cream color, despite your best efforts, you’re not alone. American-style buttercream, while delicious, often gets its subtle yellowish tint from the butter and the natural brown hue of vanilla extract. But what if you need that pure, bright white for a wedding cake, a baby shower, or simply to ensure your food coloring pops vibrantly? This comprehensive guide will reveal all the tips and tricks to create dazzlingly white buttercream frosting, no shortening required!
Why Bright White Buttercream Matters
The quest for bright white frosting goes beyond mere aesthetics for many bakers. While a creamy, off-white frosting is lovely for many occasions, there are times when a true white is indispensable. Think of elegant wedding cakes, delicate baby shower treats, or pristine winter wonderland desserts. Furthermore, achieving a pure white base is crucial when you plan to tint your frosting with food coloring. If your buttercream starts with a yellowish undertone, adding blue food coloring, for instance, will result in a greenish-blue hue instead of a true sky blue. This color theory applies to many shades; starting with white ensures you get closer to the intended vibrant color without muddying the tones.
The Shortening Solution: A Compromise
The simplest and most common method used by commercial bakeries to achieve stark white frosting is to substitute butter with shortening. Shortening is naturally white and provides excellent stability, making it easy to pipe and hold intricate shapes. However, this shortcut comes at a significant cost: flavor and texture. Shortening lacks the rich, creamy, buttery taste that makes homemade buttercream so irresistible. It can also leave an unpleasant oily residue or waxy mouthfeel, detracting from the overall enjoyment of your delicious cakes and cupcakes. For those who prioritize both appearance and exquisite taste, using shortening isn’t the ideal solution.
Fortunately, you don’t have to sacrifice flavor for color. By understanding a few key principles and implementing specific techniques, you can create a beautiful, thick, and creamy bright white buttercream frosting using real butter. Here are my best tips to achieve that flawless white finish:
The Secrets to Whiter Buttercream: Essential Tips & Tricks
1. Choose Butter That’s Very Pale
The journey to bright white buttercream begins with your primary ingredient: butter. Not all butter is created equal when it comes to color. The hue of butter is influenced by the diet of the cows; for example, cows that consume more grass tend to produce butter with a deeper yellow color due to a higher beta-carotene content. While it’s hard to recommend specific brands as butter variations differ significantly by country and region, the general rule is to visually inspect your butter. Look for brands that appear paler, almost white, rather than those with a distinct golden or deep yellow tint. Starting with a lighter-colored butter will give you a significant head start in achieving that coveted bright white finish.
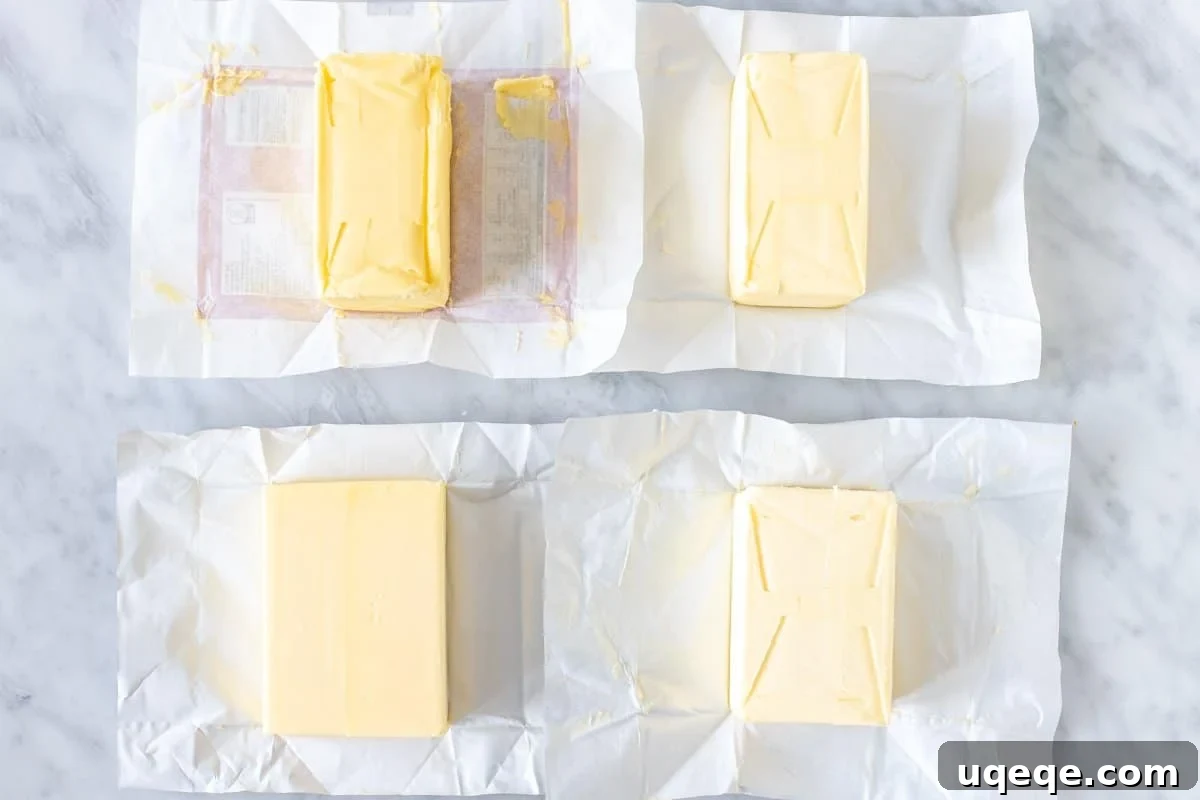
When selecting your butter, aim for unsalted varieties, as this gives you more control over the salt content in your frosting. If salted butter is your only option, simply omit the additional salt from the recipe. Ensure your butter is slightly softened, but not melted. Butter that is too cold won’t whip properly, and butter that is too warm can lead to a greasy, unstable frosting. Room temperature butter (around 68-70°F or 20-21°C) is ideal for optimal creaming.
2. Really Whip the Butter
This is arguably the single most important tip for achieving truly white buttercream. The act of whipping butter vigorously with an electric mixer introduces air, which not only lightens its color but also increases its volume and creates an incredibly fluffy texture. The longer you beat the butter, the paler and whiter it will become.
Using a stand mixer fitted with a paddle attachment is highly recommended for this step, as it allows for continuous, powerful beating. Begin by beating your softened butter on medium-high speed for a surprisingly long time – typically 5 to 10 minutes, or even longer. You will observe a remarkable transformation: the butter will change from its initial pale yellow to a much lighter, almost white shade, while also becoming significantly fluffier and more voluminous. Don’t rush this process; patience here truly pays off. This extensive whipping aerates the butter, trapping tiny air bubbles that reflect light, thus making the butter appear whiter. It also ensures a perfectly smooth, silky texture for your finished frosting.
3. Choose Clear Flavorings & Extracts
Traditional vanilla extract, while essential for classic vanilla buttercream flavor, has a brownish hue that can subtly darken your frosting. To maintain the brightest white color, you’ll need to use clear flavorings. Many brands offer clear vanilla extract, which provides the characteristic vanilla taste without impacting the color. Another excellent option is to use almond extract, which is naturally clear and imparts a delightful, subtle nutty flavor that pairs beautifully with many desserts. Other clear flavorings like peppermint extract, lemon extract, or clear butter emulsions can also be used to add different flavor profiles while preserving the white color.
If you’re very particular about keeping the frosting as white as possible, consider a combination of clear vanilla and a tiny amount of another clear extract to boost the flavor without compromising color. If you’re making a cake where the primary flavor is something other than vanilla (e.g., chocolate or red velvet), you might even consider omitting vanilla extract altogether or using a very minimal amount of clear extract.
4. Use White or Violet Food Coloring (Carefully!)
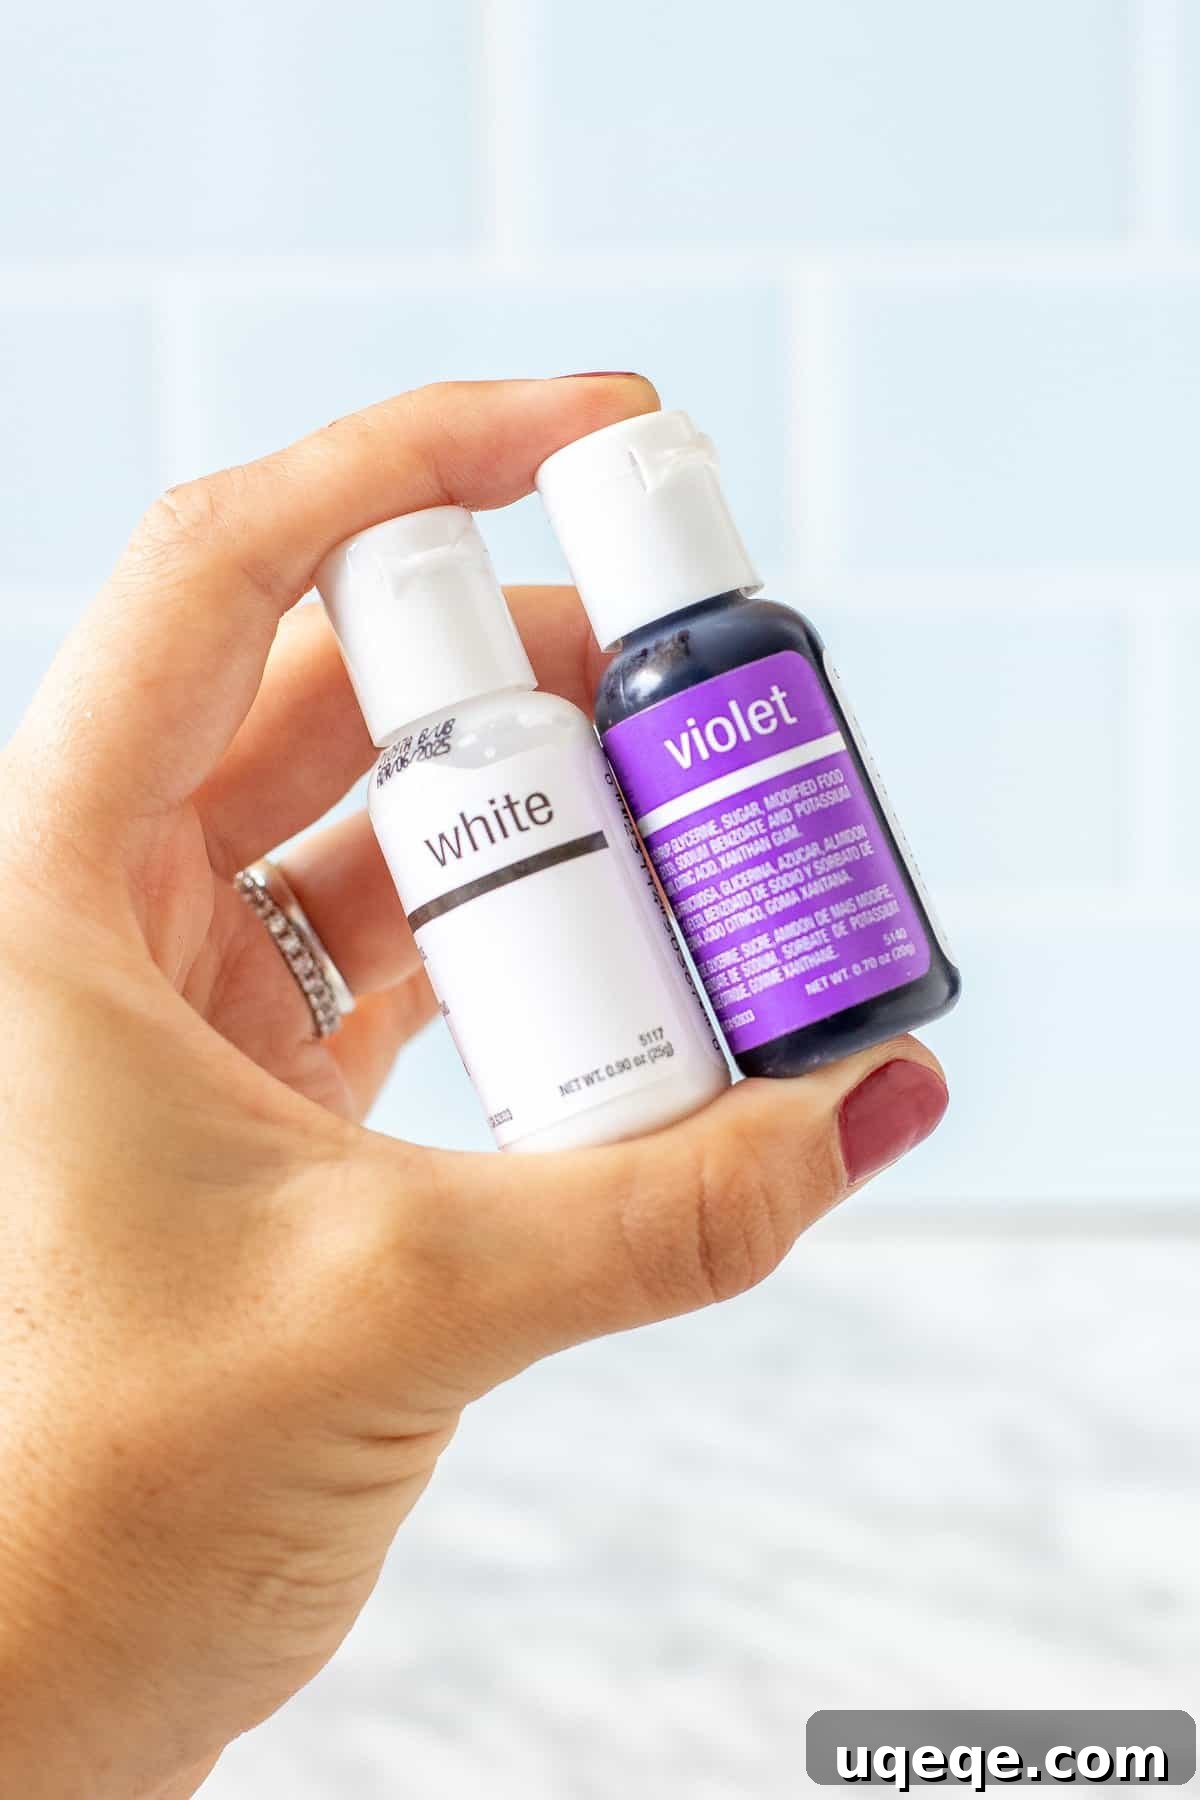
Food coloring can be your secret weapon to counteract any remaining yellow tones and achieve an even brighter white. There are two primary approaches:
- White Food Coloring: This is a simple and effective method. White food coloring, often made from titanium dioxide, works by adding white pigment to your frosting, effectively masking any underlying yellow. You can typically find white food coloring at specialty baking stores or online. Add a few drops at a time to your whipped butter or finished frosting, mixing well after each addition, until you reach your desired level of brightness. It’s a straightforward way to boost the whiteness without complex color theory.
- Violet Food Coloring: This technique uses color theory to neutralize yellow tones. On the color wheel, violet is directly opposite yellow. Adding a minuscule amount of violet food coloring can cancel out the yellow, making the frosting appear whiter. However, extreme caution is necessary here. The key word is “tiniest.” You absolutely DO NOT want to squeeze drops of violet food coloring directly into your frosting, as it will instantly turn purple. Instead, dip a clean toothpick or a wooden skewer into the violet food coloring. Then, gently touch the tip of the toothpick to the beater of your mixer (when it’s NOT running) or lightly dab it onto the side of your mixing bowl. Mix thoroughly and observe the change. You might need to repeat this process once or twice, but always using only the residual color from the toothpick. Go very, very slowly with this method, adding an infinitesimal amount at a time, until you see the yellow tint disappear. This method requires a delicate hand but can be incredibly effective.
5. Sift Your Powdered Sugar for Smoothness and Purity
This tip is less about color and more about texture, but a smooth, lump-free frosting contributes to a pristine, professional appearance. Powdered sugar (confectioners’ sugar) can often be lumpy due to moisture absorption. Sifting it before adding it to your butter will ensure a silky-smooth buttercream, free of any gritty texture or tiny lumps that might distract from its pure white aesthetic. This also helps to better incorporate the sugar, creating a more cohesive and visually appealing frosting.
6. Ensure Proper Butter Temperature
While mentioned briefly, it warrants its own emphasis. The success of your buttercream, both in texture and color, hinges on the butter’s temperature. It should be softened enough to indent easily with a finger, but not greasy or melting. If your butter is too cold, it won’t cream properly, leading to a lumpy and yellow frosting. If it’s too warm, the frosting will be too soft, potentially curdled, and difficult to achieve that desired light, airy texture and white color. Aim for butter that’s been out of the fridge for about 30-60 minutes, depending on your room temperature.
7. Gradual Liquid Addition for Perfect Consistency
When incorporating your cream or milk, add it gradually, one tablespoon at a time, alternating with powdered sugar. This allows you to precisely control the consistency of your buttercream. Adding too much liquid at once can make your frosting thin and difficult to manage, requiring more powdered sugar to compensate, which might slightly alter the sweetness or density. By adding liquid slowly, you can achieve the perfect thick, creamy, and pipeable consistency while maintaining the ideal balance of ingredients for a bright white finish.
Real Results: See the Difference
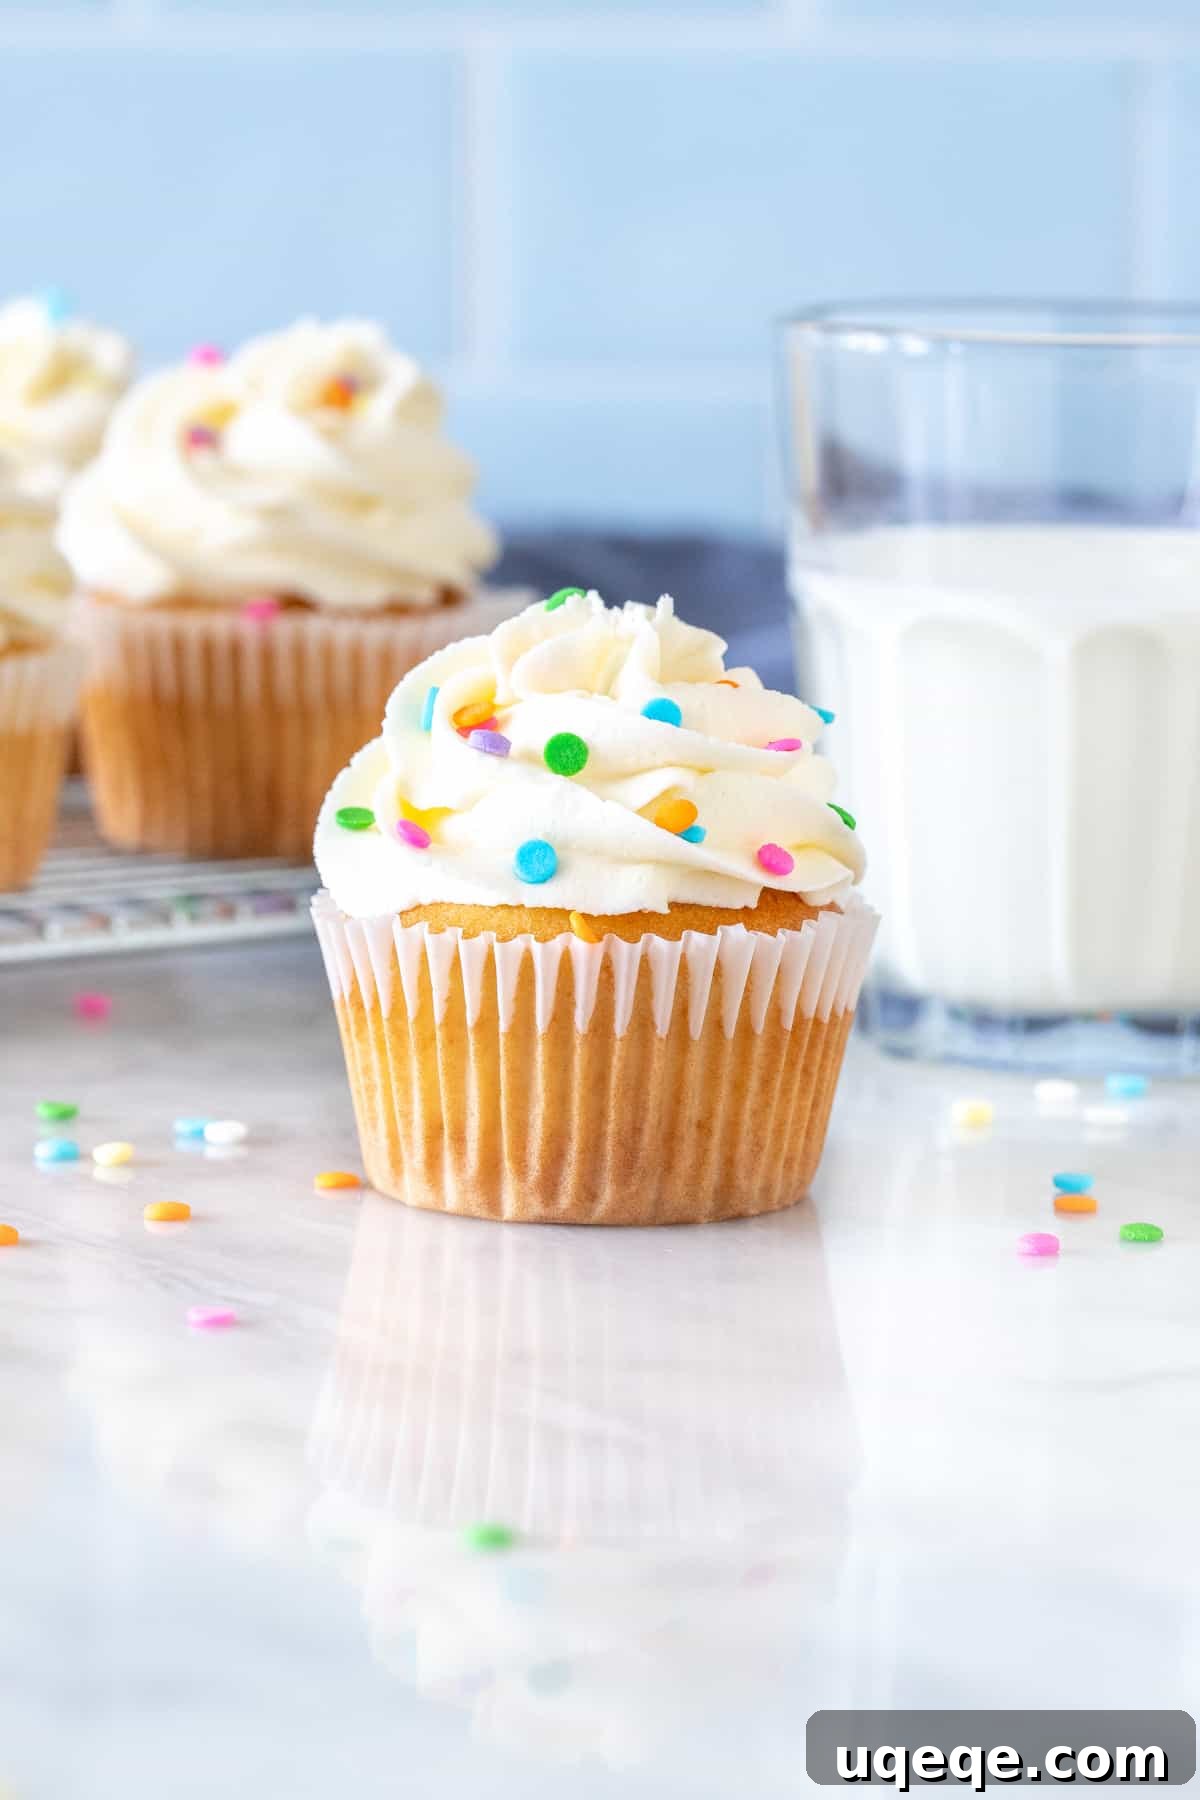
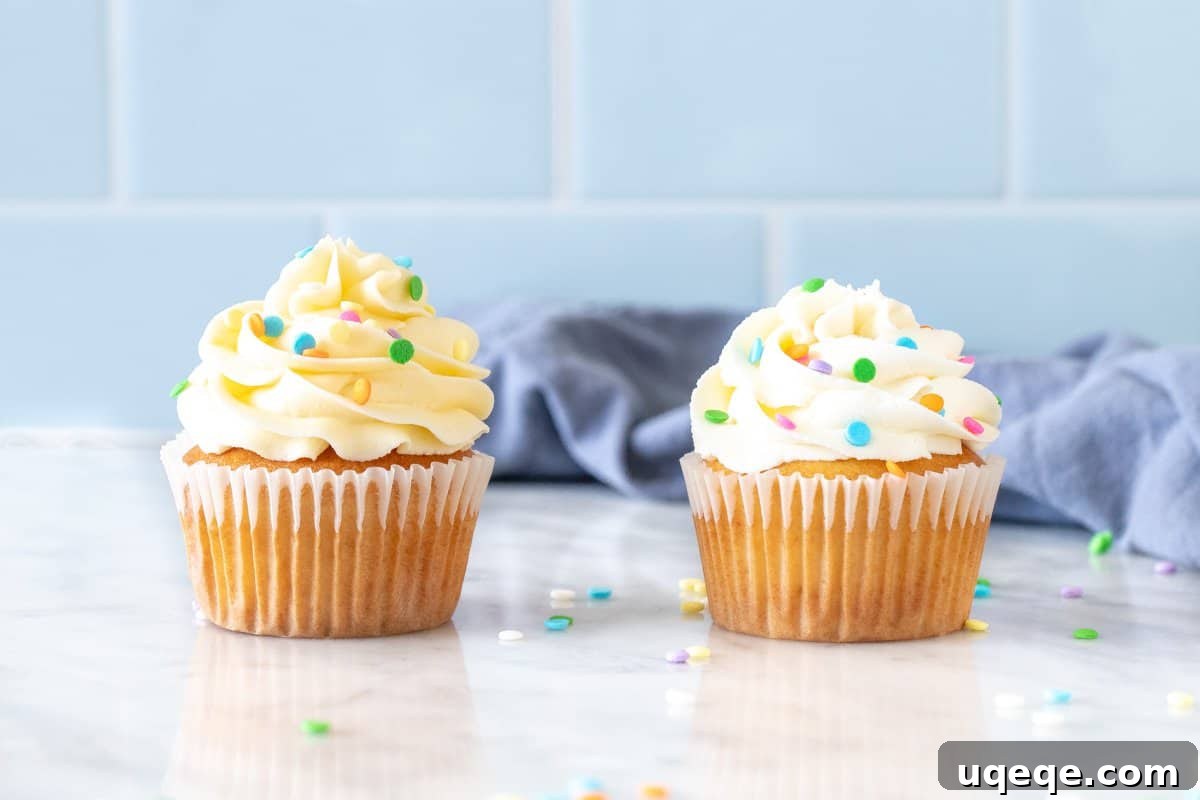
To truly appreciate the impact of these techniques, observe the comparison below. The cupcake on the right exemplifies the results of carefully implementing all the tips mentioned – especially prioritizing the extensive whipping of pale butter. In contrast, the cupcake on the left was frosted with buttercream made using the same recipe, but without the careful selection of butter and without prolonged whipping. The difference in brightness and overall appeal is undeniable. Following these steps will elevate your homemade frosting to a professional standard.
Delicious Cakes & Cupcakes for your Frosting
- Vanilla Cupcakes
- Funfetti Cake
- White Cake
- Small-Batch Vanilla Cupcakes
Bright White Vanilla Buttercream Frosting Recipe
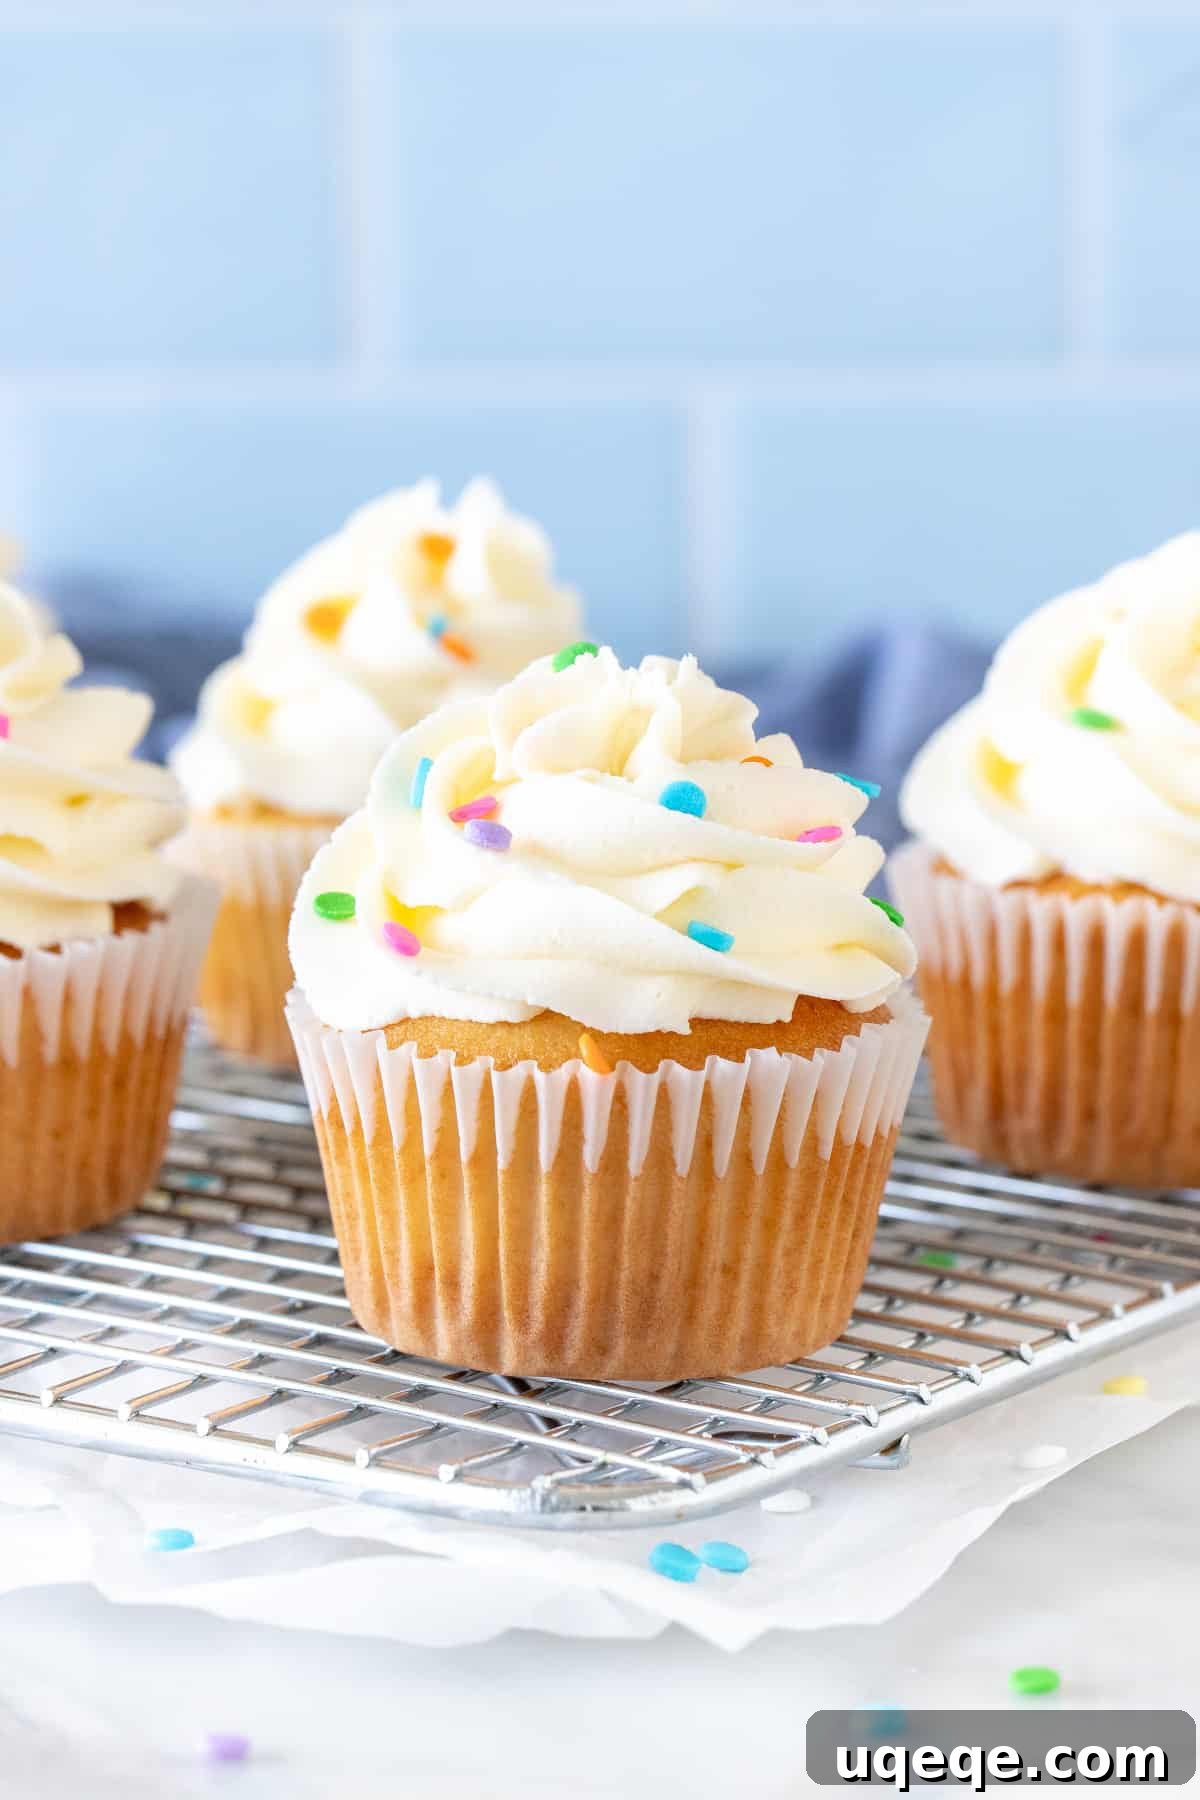
This easy recipe for vanilla frosting turns out beautifully bright white instead of yellow, without using any shortening. It’s perfect for decorating cakes and cupcakes, whether you desire a pristine white finish or want a vibrant base for tinting with food coloring.
Prep Time: 20 minutes
Total Time: 20 minutes
Yields: Approximately 12-18 cupcakes
By: Fiona Dowling
Equipment
- Stand mixer (highly recommended) or hand-held mixer
Ingredients
- 1 cup (226g) unsalted butter, softened slightly but not starting to melt
- 4-5 cups (450-560g) powdered sugar (confectioners’ sugar), sifted
- 1/4 teaspoon salt
- 1/2 teaspoon clear vanilla extract, or another clear flavoring such as almond extract
- 3-4 tablespoons heavy cream or milk
- White food coloring (optional, for an extra boost of brightness)
- Violet food coloring (optional, use sparingly with a toothpick to neutralize yellow tones)
Instructions
- In a very large bowl, using a stand mixer with the paddle attachment (or a hand-held mixer), beat the softened butter on medium-high speed for 5-10 minutes. Continue beating until the butter becomes extremely pale, almost white, and noticeably light and fluffy. This aeration is key to achieving whiteness.
- Once the butter is whipped to a pale, shiny consistency, gradually add in 2 cups of the sifted powdered sugar. Start mixing on low speed to prevent a sugar cloud, then gradually increase to medium speed and beat until well combined.
- Add in the salt and the clear vanilla extract (or your chosen clear flavoring). Beat for another minute to fully incorporate.
- Continue adding the remaining powdered sugar, about 1/2 to 1 cup at a time, alternating with 1 tablespoon of cream or milk. Beat well after each addition until the desired thickness and sweetness are reached. Use more or less liquid to achieve your preferred consistency.
- If desired, beat in a few drops of white food coloring for an even brighter white. If using violet food coloring to cancel out any lingering yellow tones, dip a clean toothpick or wooden skewer into the food coloring. Gently touch the tip of the toothpick to the beater or the side of the bowl (ensure the mixer is off when touching the beater). Mix thoroughly and add more tiny amounts if necessary. Remember, a minuscule amount is all you need to avoid purple frosting.
- Once your frosting is bright white and has reached the perfect consistency, you can use it as is, or tint it with other food colorings if desired.
- Use this beautiful bright white frosting to decorate cakes and cupcakes. You can spread it with a flat knife or transfer it to piping bags for more intricate designs. For cupcakes, a 1M piping tip creates a classic swirl.
Recipe Notes
- Butter Selection: Always opt for unsalted butter that appears very pale in color, rather than a deep yellow. If using salted butter, simply omit the 1/4 teaspoon of salt from the recipe.
- Cream/Milk: Heavy cream (whipping cream) yields the richest, creamiest frosting. Whole milk or half-and-half cream can also be used, adjusting the quantity as needed to achieve your desired consistency.
- Yield Information: This recipe makes a generous amount of frosting:
- Enough for approximately 12 cupcakes with a tall, piped swirl.
- Enough for 18-24 cupcakes if frosted with a knife or a thinner layer.
- Sufficient for a single 9×13 inch sheet cake.
- Suitable for an 8-inch two-layer cake with a thin layer of frosting between and on top.
- To frost a two-layer 8-inch cake with thick frosting and extra for decorative piping, or a three-layer 8-inch cake, or a two- to three-layer 9-inch cake, multiply the recipe by 1.5.
- Storage Instructions:
- Frosted cakes and cupcakes can be stored in an airtight container at room temperature for 2-3 days, provided your kitchen is not excessively warm. The high sugar content helps stabilize the butter and cream.
- Leftover buttercream can be stored in an airtight container in the refrigerator for up to 1 week. When ready to use, allow it to come to room temperature, then re-whip it on medium speed for a few minutes until it is light and fluffy again.
- Nutrition Details: The provided nutritional information is an estimate only, calculated based on the recipe yielding 12 servings of frosting. It does not include any cake or cupcake base.
Nutrition Information (Estimated Per Serving)
Calories: 304 kcal, Carbohydrates: 40g, Protein: 1g, Fat: 17g, Saturated Fat: 11g, Polyunsaturated Fat: 1g, Monounsaturated Fat: 4g, Trans Fat: 1g, Cholesterol: 46mg, Sodium: 53mg, Potassium: 8mg, Sugar: 39g, Vitamin A: 528 IU, Vitamin C: 1mg, Calcium: 7mg, Iron: 1mg
Conclusion
Creating bright white buttercream frosting that tastes as incredible as it looks is entirely achievable without resorting to shortening. By carefully selecting your butter, dedicating time to thorough whipping, choosing clear flavorings, and strategically using food coloring, you can produce a stunning, thick, and creamy frosting perfect for any celebratory confection. Embrace these techniques, and you’ll consistently achieve professional-quality results that will impress everyone who takes a bite. Happy baking!