
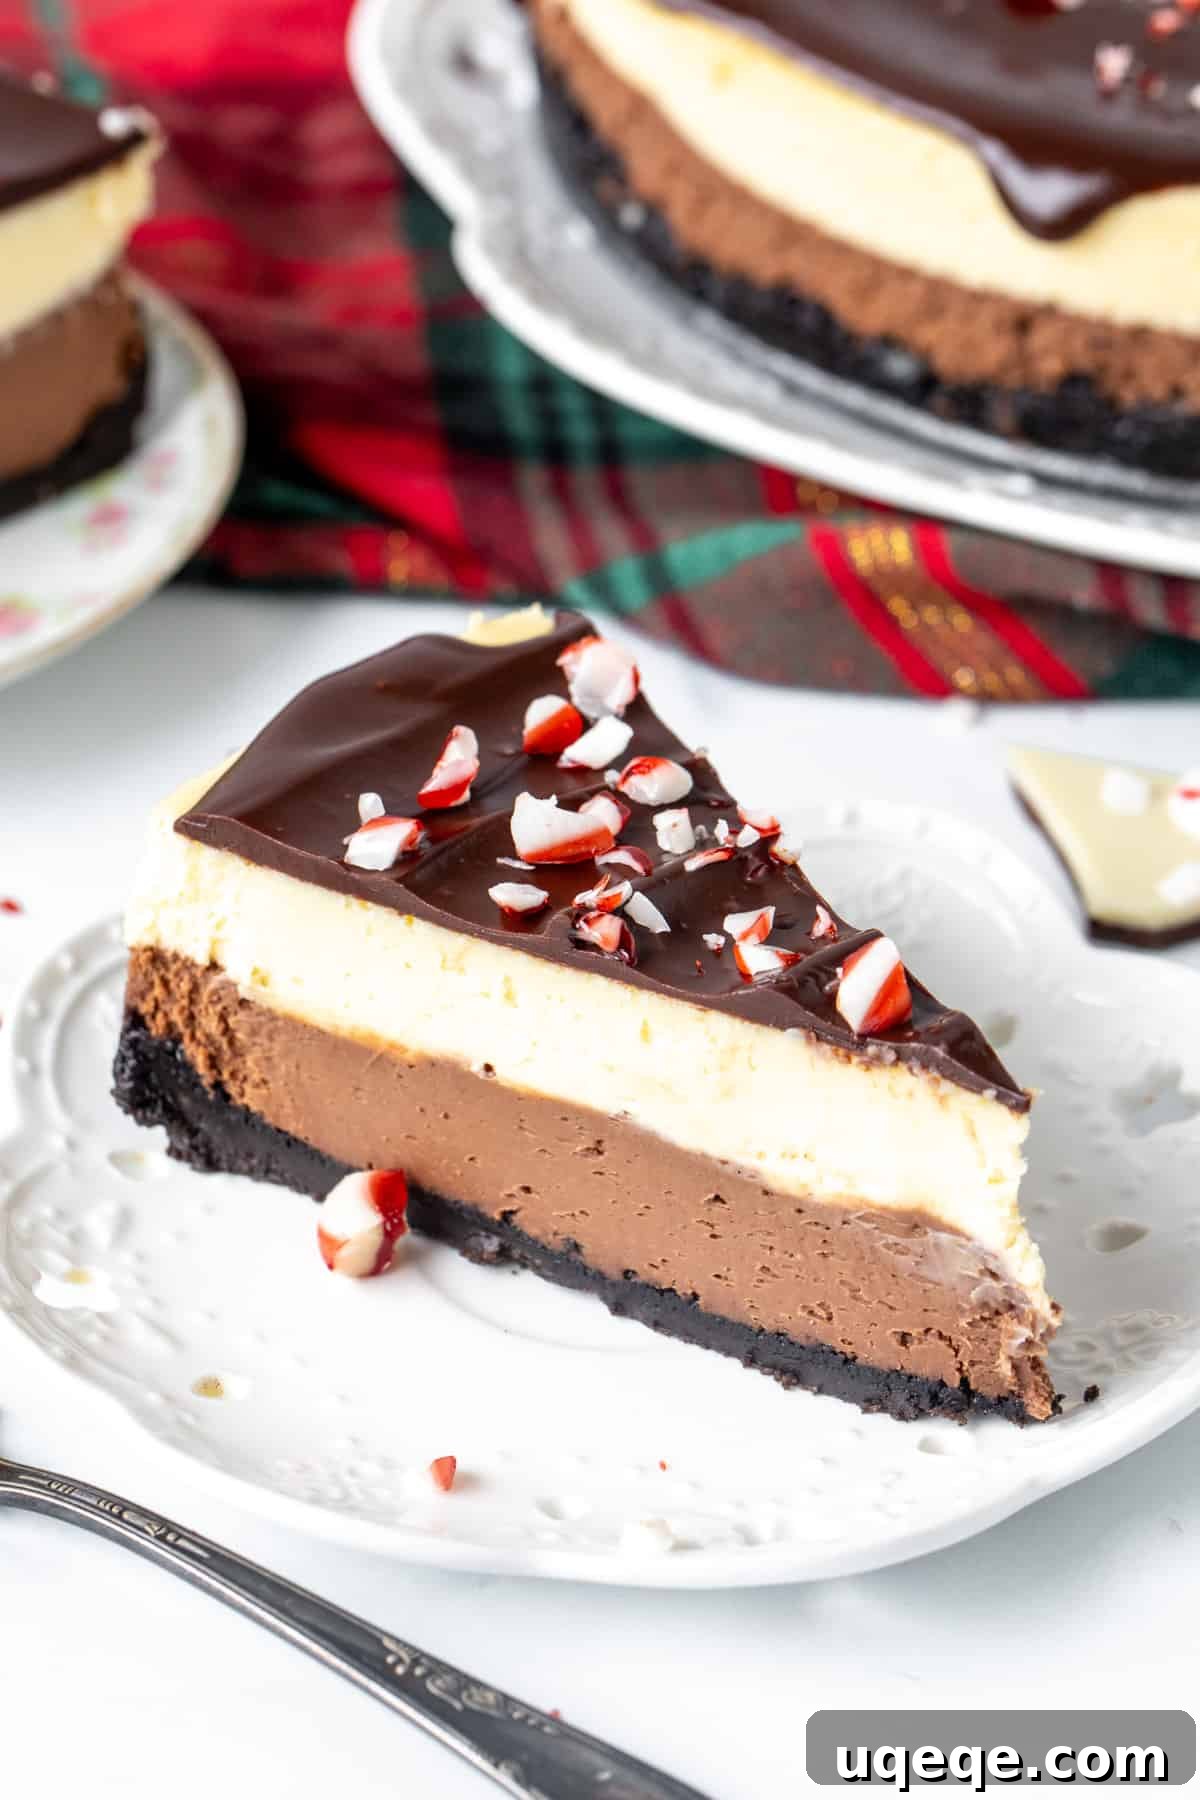
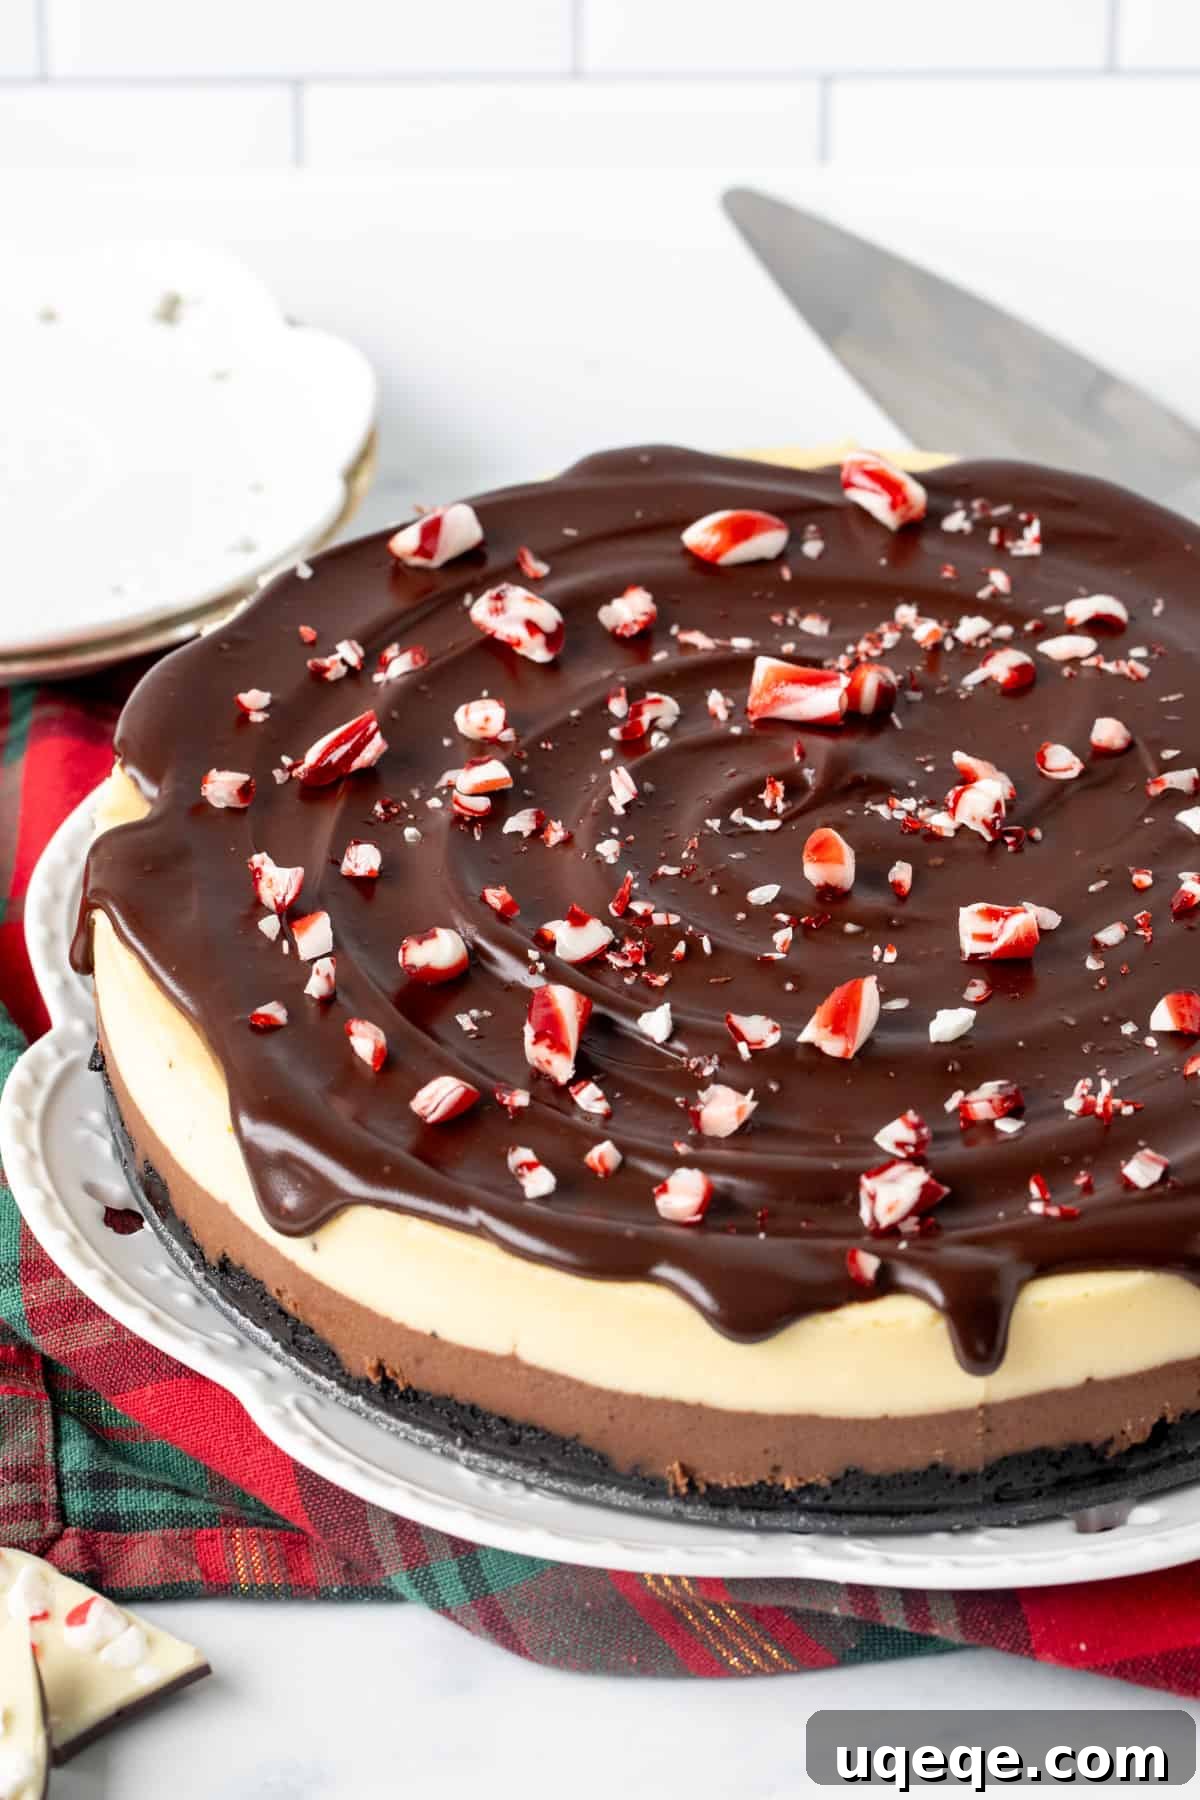
This Peppermint Bark Cheesecake is more than just a dessert; it’s a festive masterpiece designed to impress both visually and gastronomically. Drawing inspiration from the beloved classic Christmas treat, this cheesecake boasts exquisite layers of rich chocolate and silky white chocolate, all infused with a refreshing hint of peppermint. Crowned with a vibrant scattering of crushed candy canes, it promises an unforgettable culinary experience that truly embodies the spirit of the holidays.
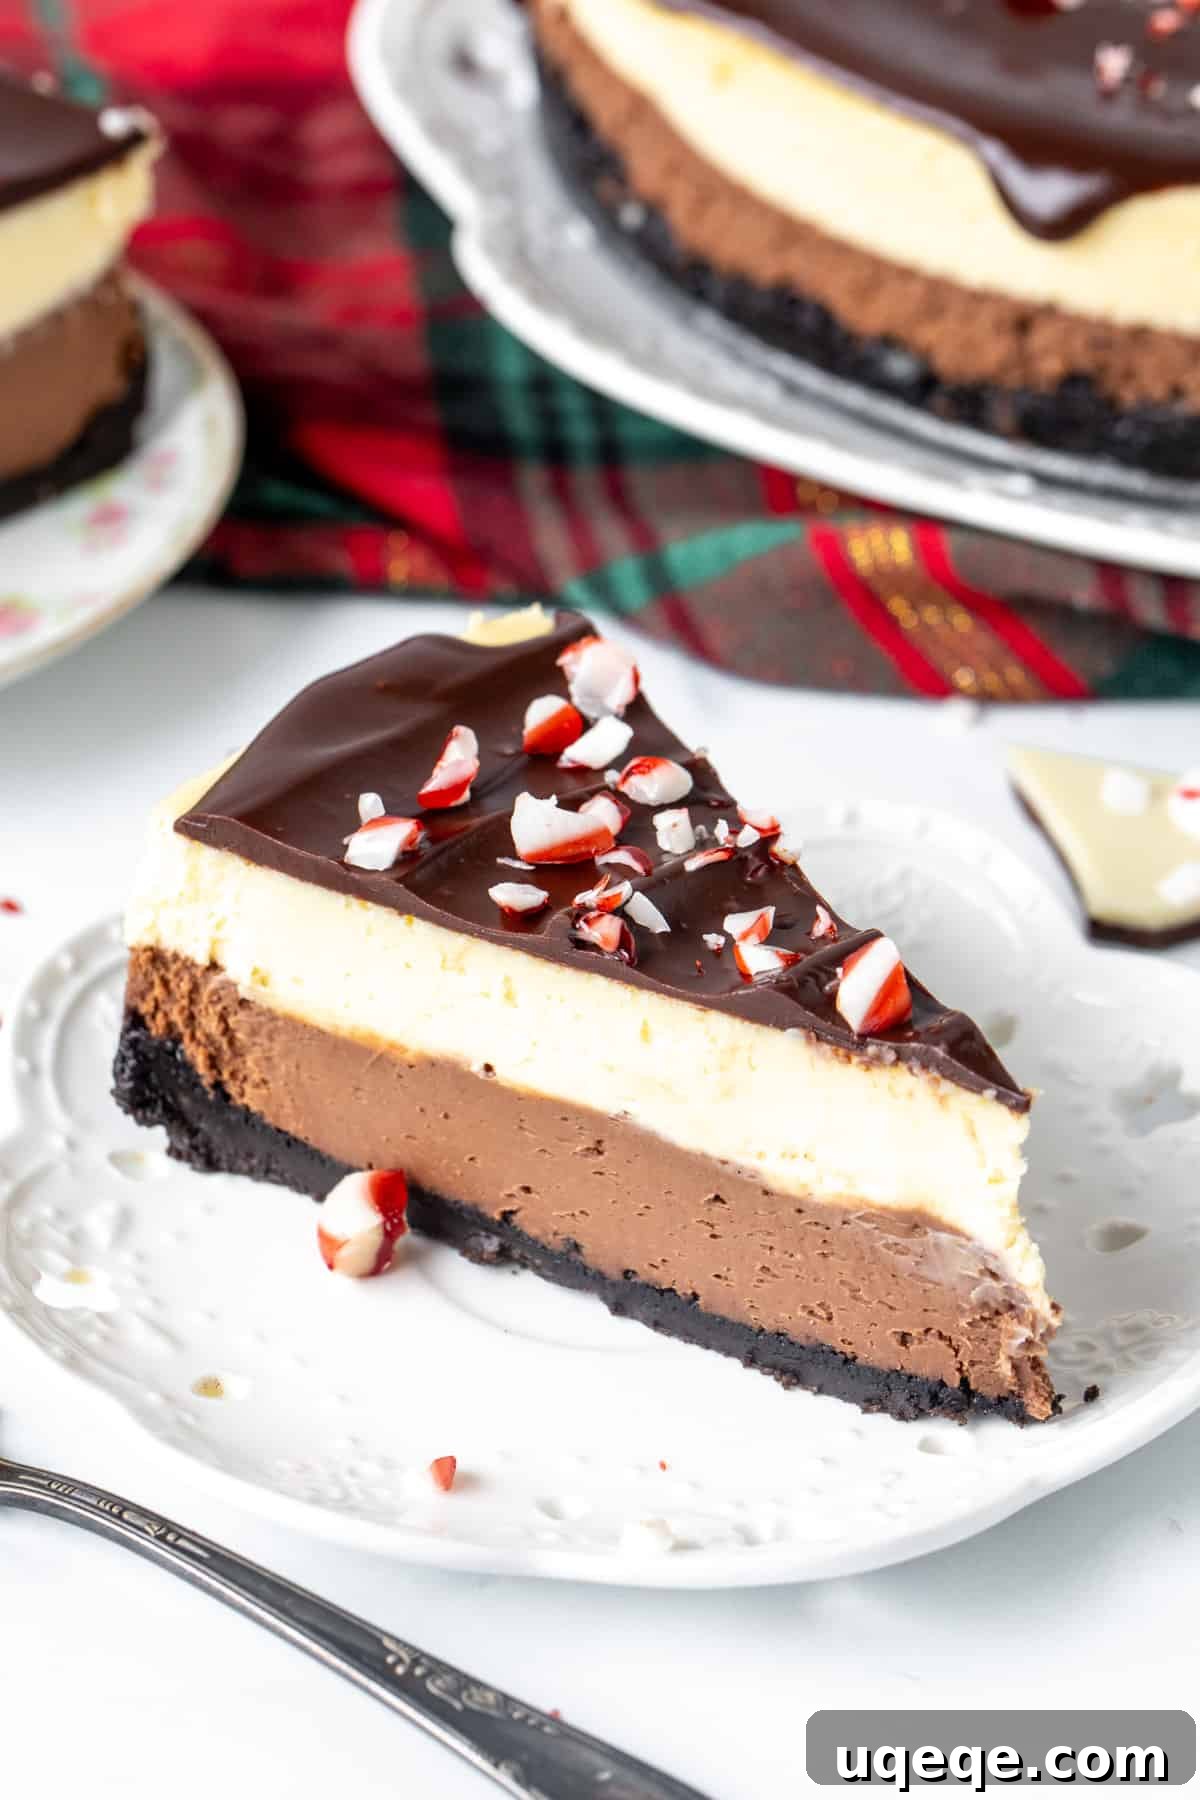
If the mere mention of peppermint bark brings a smile to your face, then prepare to be utterly enchanted by this Peppermint Bark Cheesecake. And for those unfamiliar with the delightful holiday classic, consider this your perfect introduction! Peppermint bark is a cherished seasonal indulgence, characterized by its distinct layers of decadent dark chocolate and smooth white chocolate, generously adorned with crunchy, crushed candy canes. This iconic combination creates a harmonious blend of rich chocolate and cool, minty freshness that is simply irresistible.
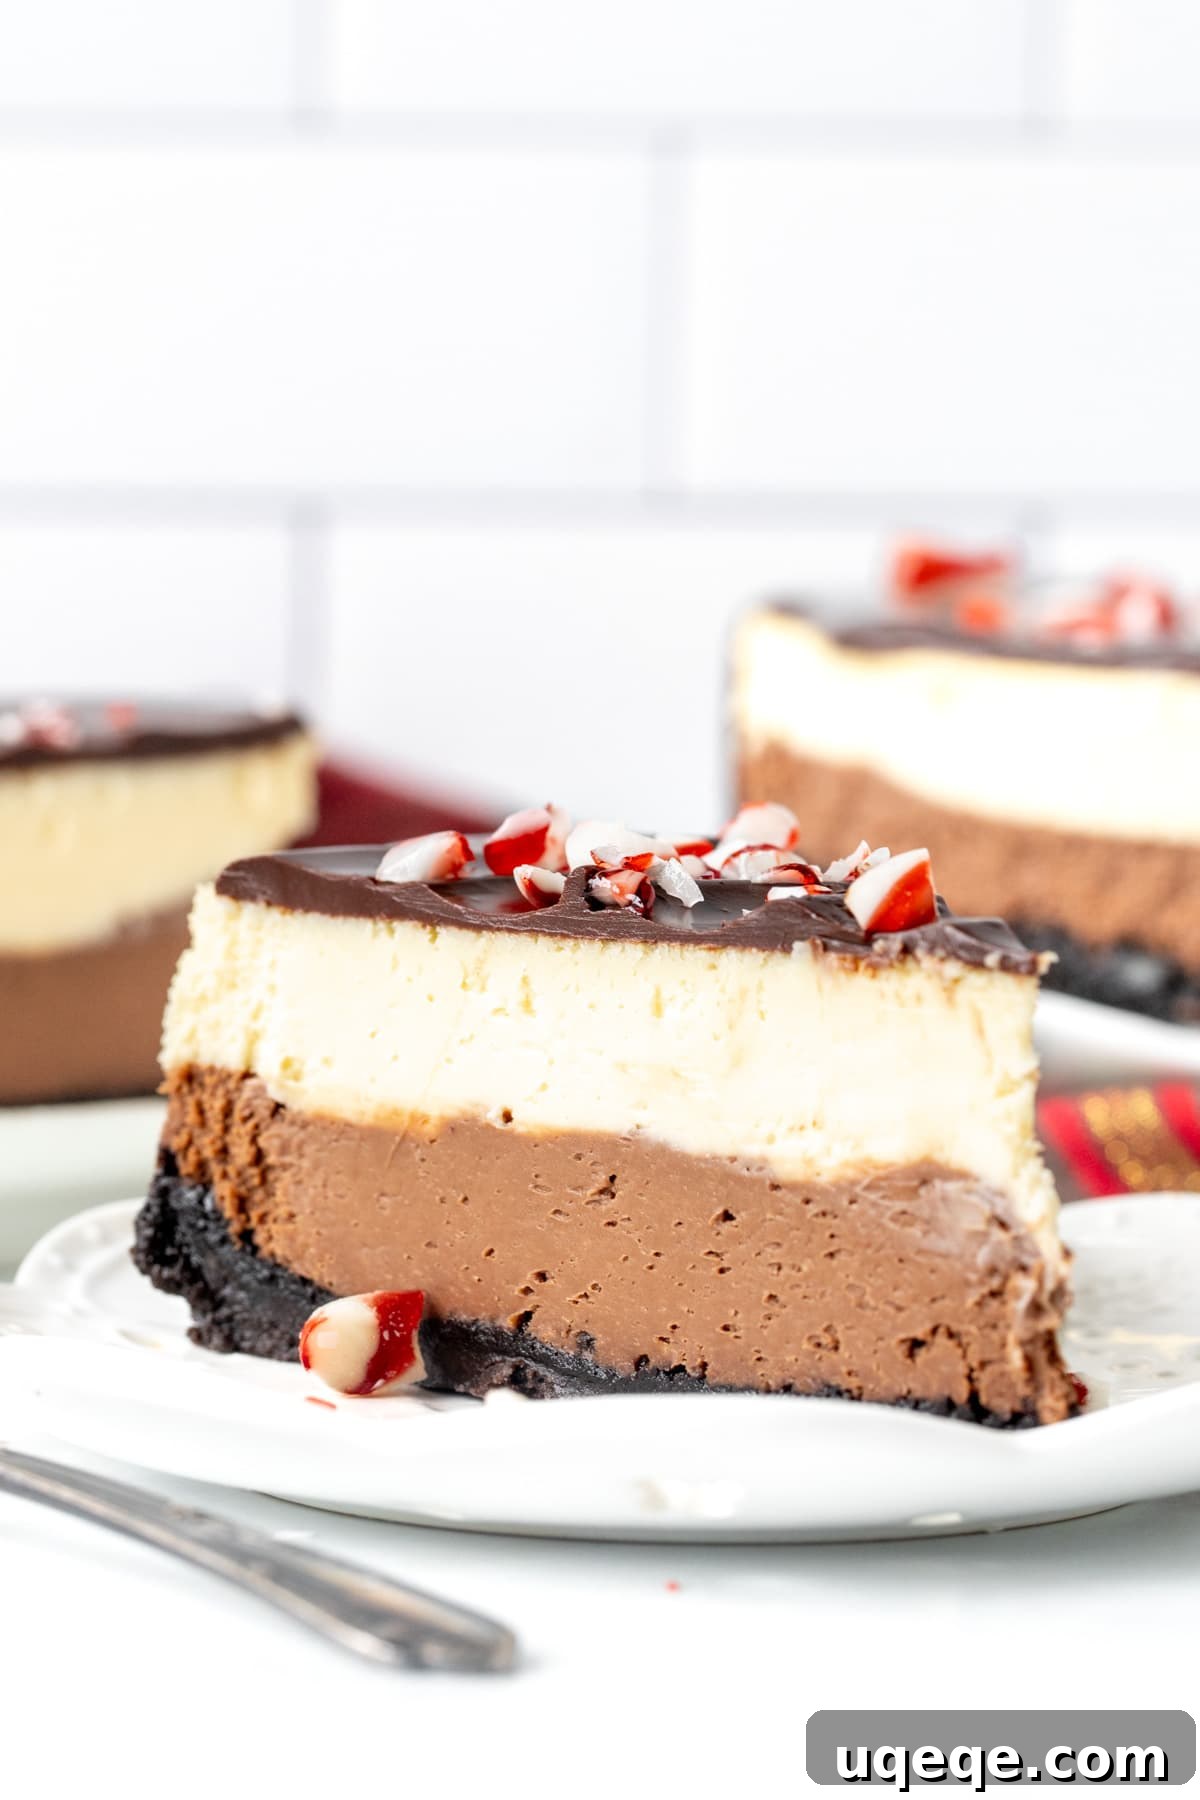
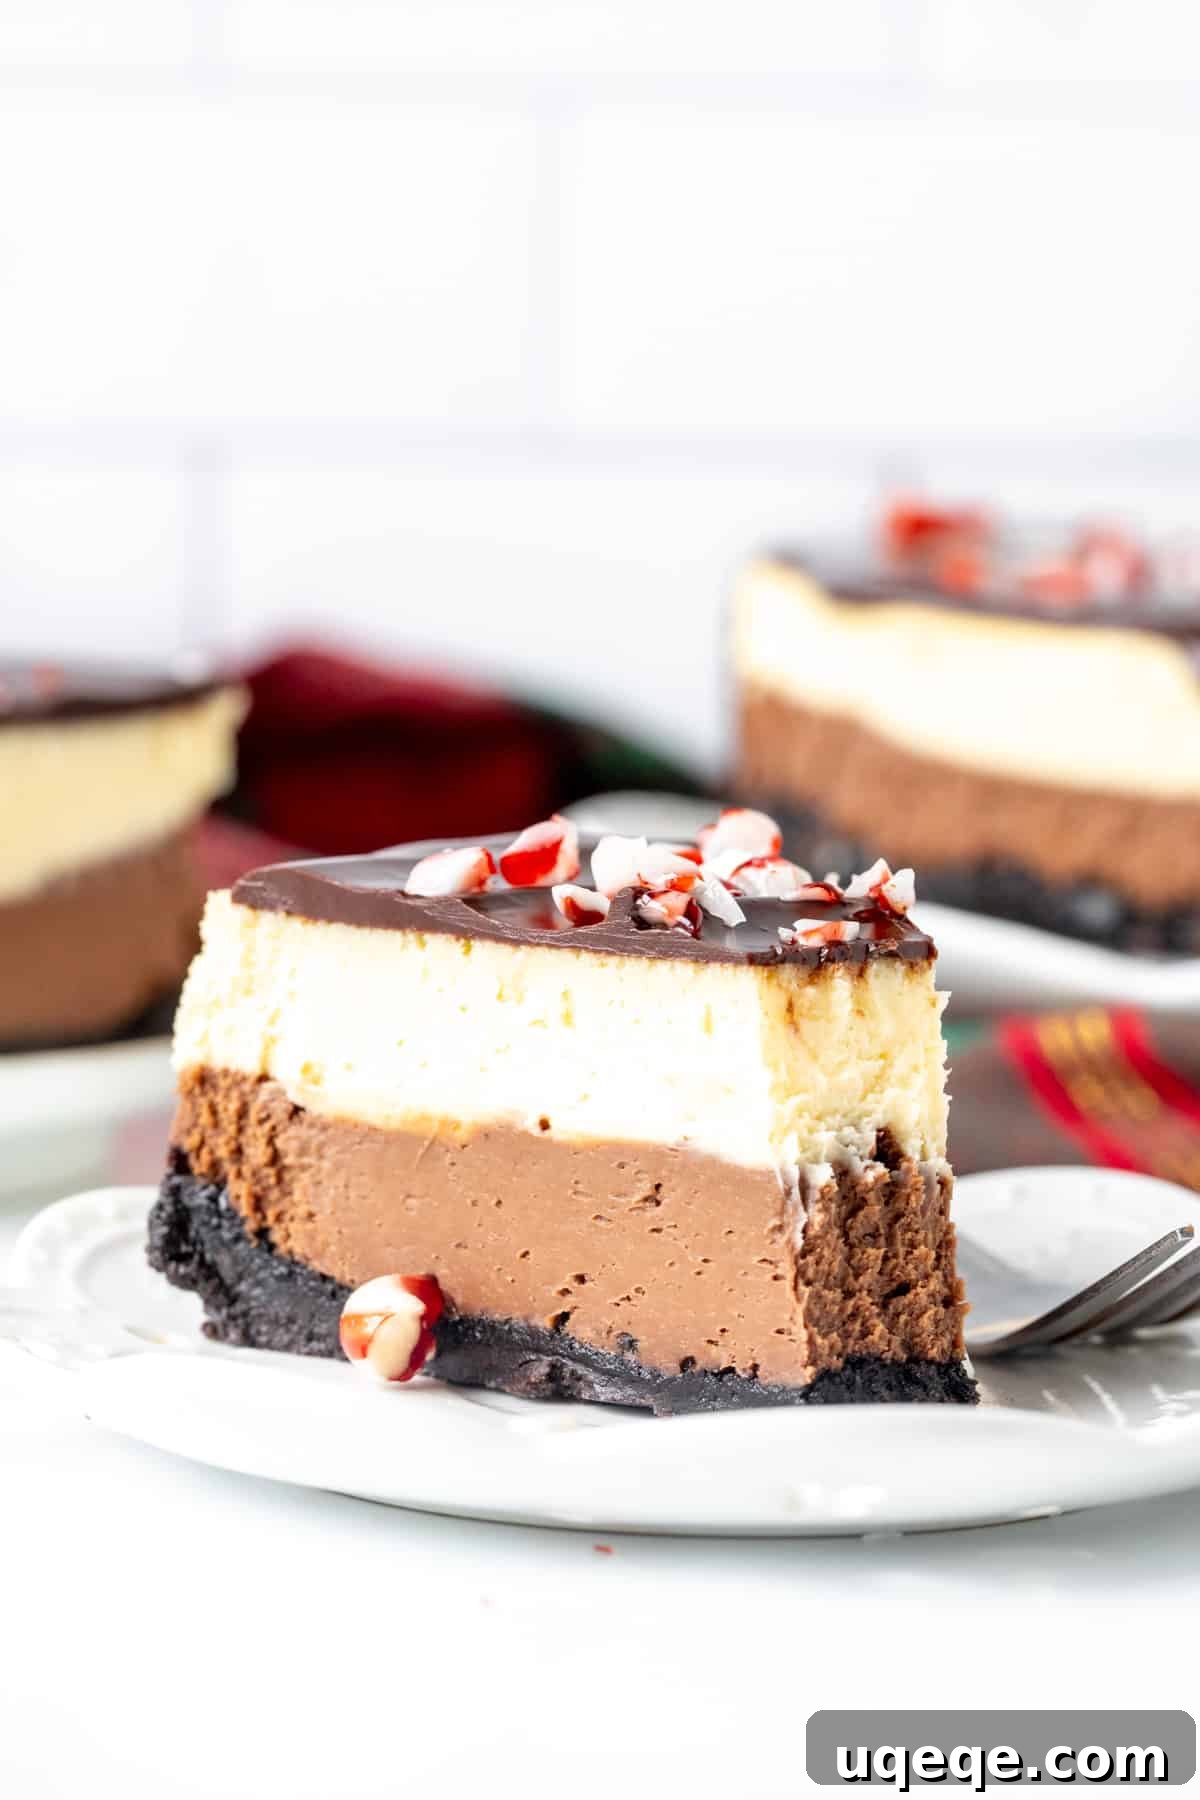
Our Peppermint Bark Cheesecake takes everything you adore about this traditional holiday candy and transforms it into an incredibly creamy, luxuriously smooth cheesecake. Each slice reveals beautifully defined layers of velvety chocolate cheesecake and equally sublime white chocolate cheesecake, sitting atop a wonderfully crunchy Oreo cookie crust. For an extra touch of indulgence and visual appeal, an optional silky chocolate ganache topping can be added, completing this dessert before it’s showered with an abundance of vibrant crushed candy canes. We’ve carefully balanced the peppermint extract to ensure that same delightful “peppermint-iness” of traditional bark, without overpowering the delicate chocolate flavors.
The Art of Crafting the Perfect Peppermint Bark Cheesecake
Creating this multi-layered masterpiece is a rewarding process that yields truly spectacular results. Due to its dual cheesecake layers, this recipe involves a few extra steps, but fear not! We’ve meticulously detailed each stage with clear instructions and helpful tips to ensure your cheesecake turns out flawlessly. Think of this as your comprehensive guide to baking a show-stopping holiday dessert that will be the talk of any gathering.
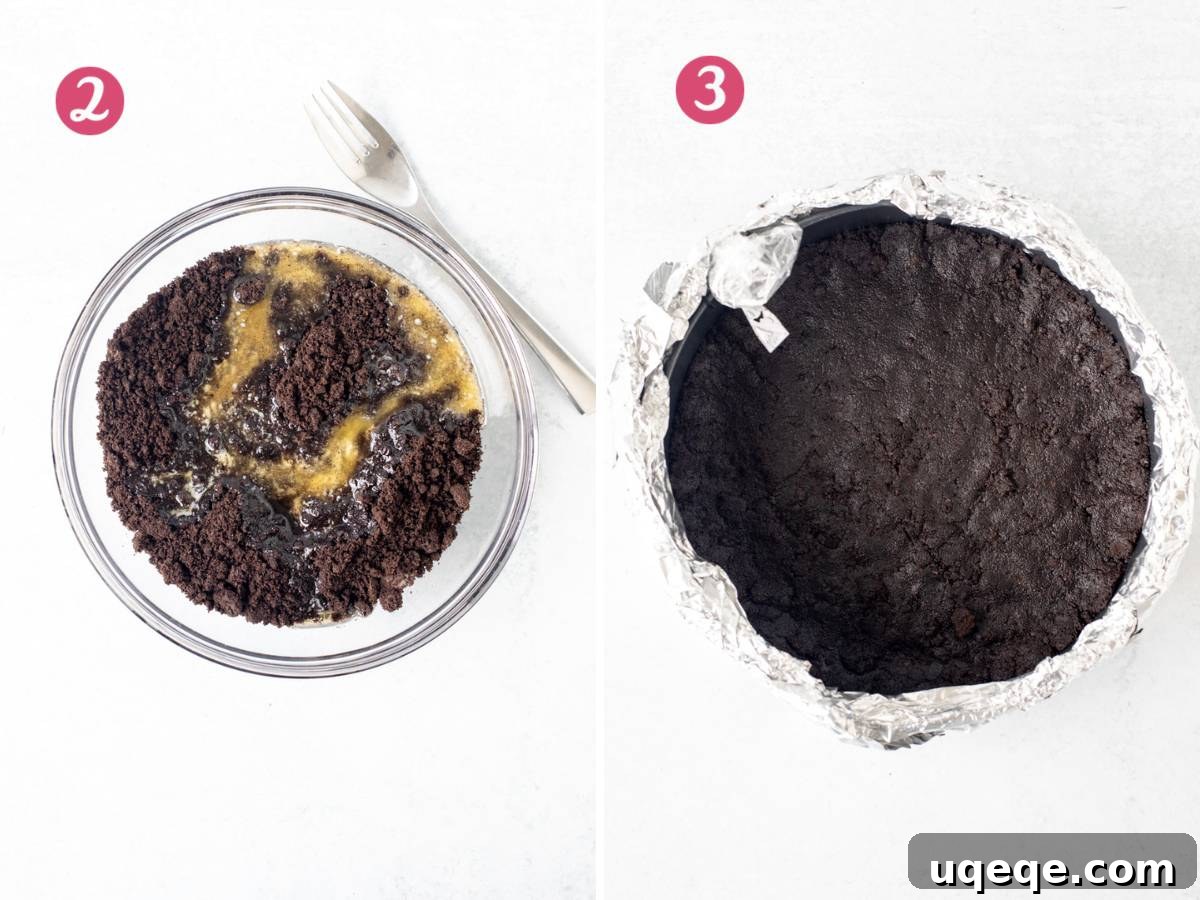
Before you even begin mixing, preparation is paramount. First, preheat your oven to 325°F (170°C). Next, you’ll need to prepare your 9-inch springform pan. The key to a leak-proof cheesecake baked in a water bath is meticulous wrapping. We highly recommend starting by encasing your springform pan in a disposable oven bag, securing it tightly with a key lock tie. This provides an excellent first line of defense against water seeping in. Then, reinforce this by wrapping the entire exterior of the pan – both the bottom and sides – with heavy-duty aluminum foil. Aim for at least 4 layers of foil, ensuring all seams are completely covered. This double-layer protection is crucial for preventing water from entering the pan and ensuring your cheesecake bakes evenly and cracks minimally.
Building the Irresistible Oreo Crust
A great cheesecake starts with a fantastic crust, and our Oreo crust provides the perfect crunchy counterpoint to the creamy filling.
- Start by crushing your Oreo cookies, including both the wafers and the creamy filling. A food processor makes quick work of this, transforming them into fine, uniform crumbs. Alternatively, for a bit of stress relief, place the cookies in a sturdy freezer bag and crush them thoroughly with a rolling pin.
- Once you have fine crumbs, mix them with melted unsalted butter. This can be done with a few quick pulses in the food processor or simply stirred together with a fork in a small bowl until the mixture resembles wet sand.
- Press this buttery crumb mixture firmly and evenly into the bottom of your meticulously prepared springform pan. Extend the crust slightly up the sides to create a small lip, which adds to the structural integrity and aesthetic appeal of the cheesecake.
- Bake this crust in your preheated oven for 8-10 minutes. This short bake time helps to set the crust, making it deliciously crisp and preventing it from becoming soggy once the cheesecake filling is added.
Crafting the Silky Cheesecake Batter
The base for both the chocolate and white chocolate layers uses the same foundational cheesecake batter. Precision and gentle mixing are key here to achieve that signature smooth, crack-free cheesecake texture.
- In a large mixing bowl, begin by beating together the softened cream cheese and granulated sugar. Continue to beat until the mixture is beautifully creamy and smooth, ensuring there are no visible lumps of cream cheese. It’s perfectly normal to see some small sugar granules at this stage. Throughout this process, remember to stop the mixer periodically and use a spatula to scrape down the sides and bottom of the bowl, as well as the beaters, to ensure everything is thoroughly incorporated.
- Next, in a separate small bowl, whisk together the large eggs and egg yolks thoroughly before adding them to the cream cheese mixture, along with the peppermint extract. Whisking the eggs separately ensures they integrate into the batter more easily and prevents overmixing. Overmixing the batter once the eggs have been added introduces too much air, which can lead to unsightly cracks in your finished cheesecake. Mix until just combined and no visible streaks of egg remain.
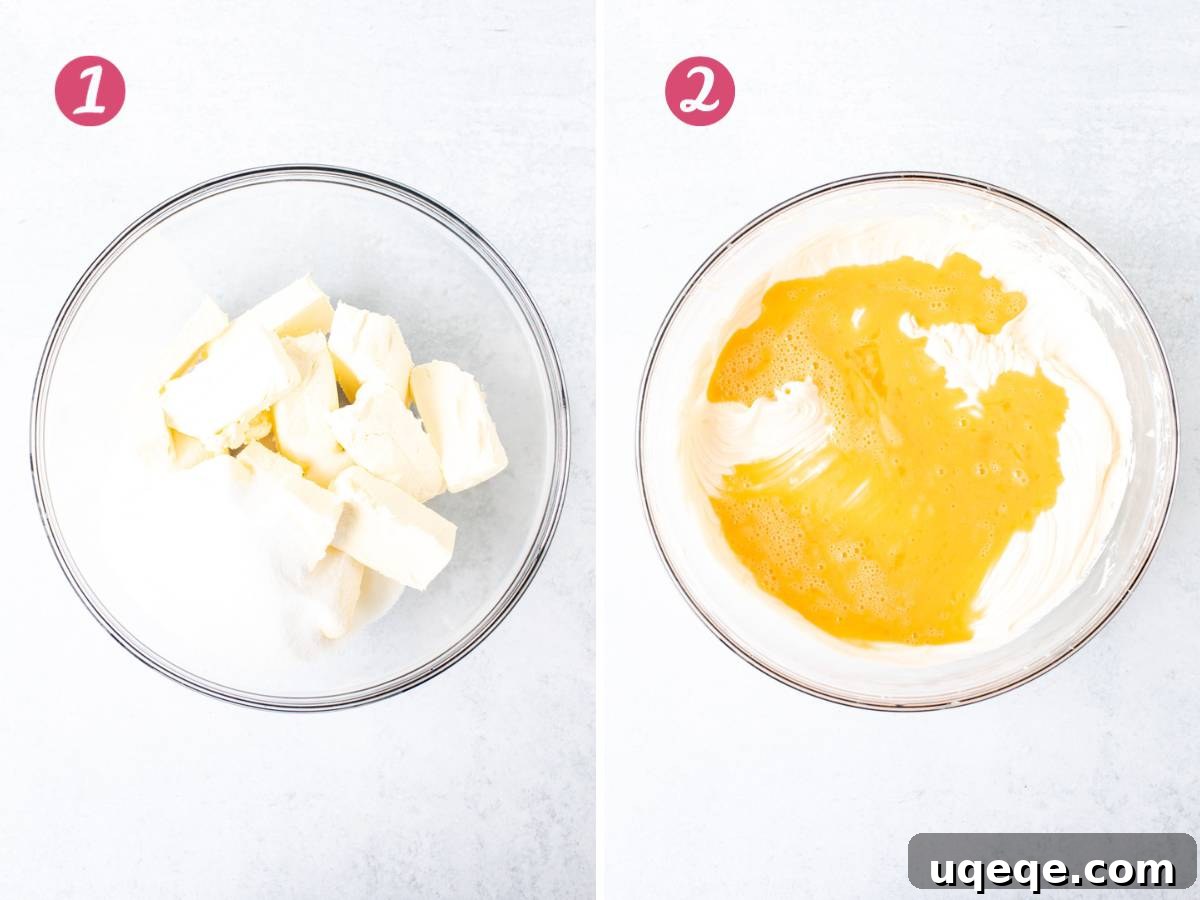
Once your foundational cheesecake batter is ready, carefully divide it into two equal portions. One portion will be transformed into the decadent chocolate cheesecake layer, and the other will become the luscious white chocolate cheesecake layer.
The Decadent Chocolate Cheesecake Layer
For the rich chocolate cheesecake layer, you’ll first create a smooth chocolate mixture.
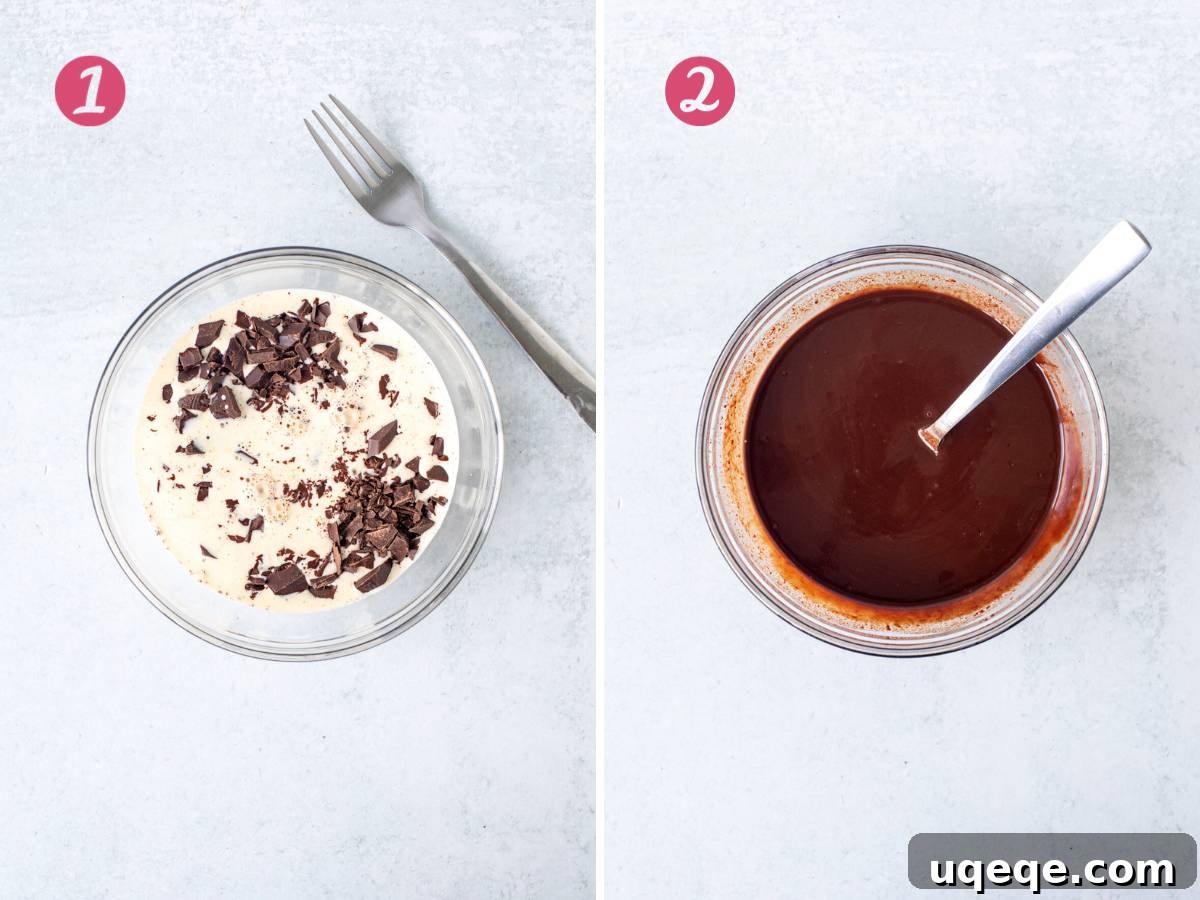
- Place your finely chopped dark chocolate in a heatproof bowl. In a separate saucepan or microwave, heat half of the whipping cream until it is almost boiling. Pour this hot cream directly over the chopped chocolate.
- Let the mixture sit undisturbed for 3-5 minutes. This allows the heat from the cream to gently melt the chocolate. After resting, whisk the mixture until it is completely smooth and glossy. If any chocolate pieces stubbornly refuse to melt, microwave the bowl in 30-second intervals at medium power, whisking thoroughly after each interval, until perfectly smooth.
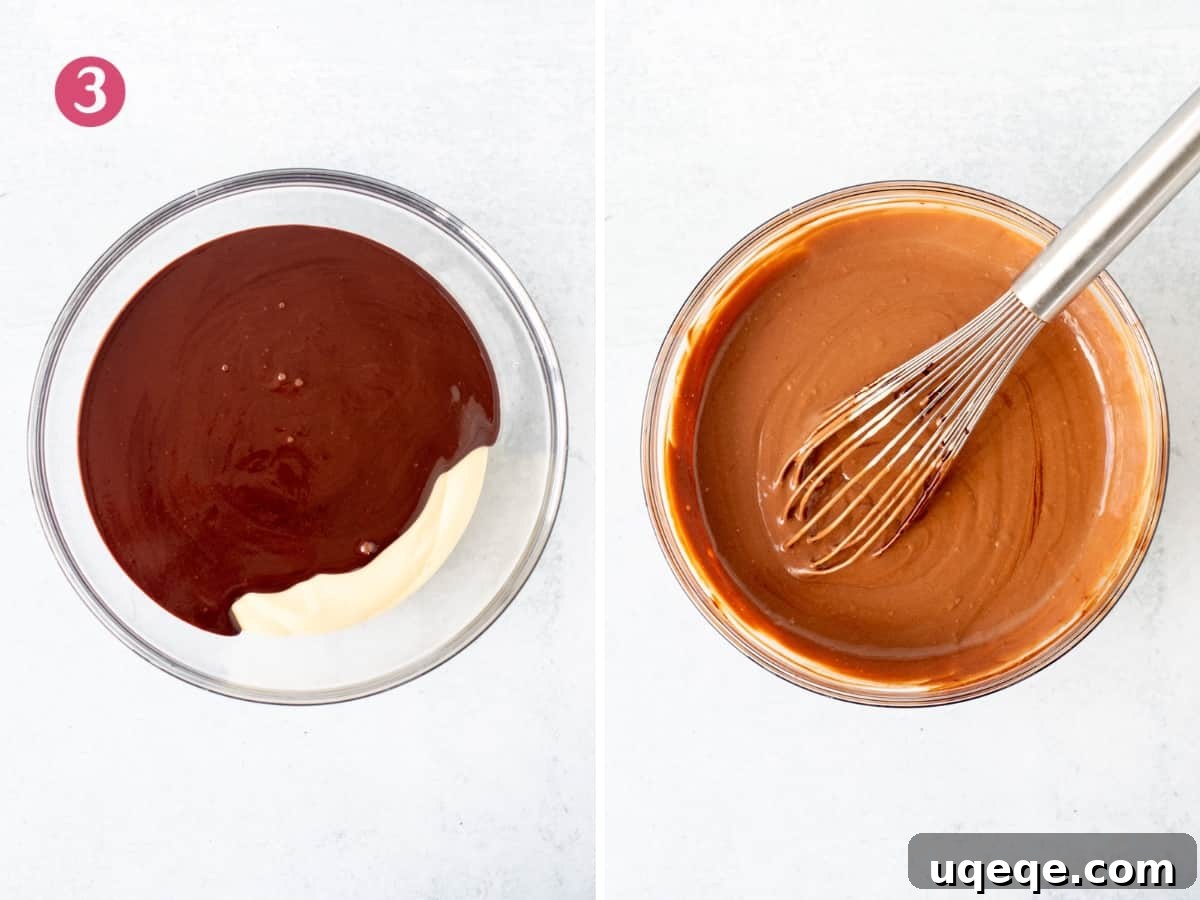
- Gently pour this warm, smooth chocolate mixture into one half of your prepared cheesecake batter. Using a wire whisk, carefully fold and whisk the chocolate into the batter until it is uniformly combined and smooth. It is absolutely crucial to whisk by hand at this stage to avoid overmixing. As previously mentioned, excessive mixing after the eggs have been incorporated can lead to cracks in the cheesecake during baking.
The Creamy White Chocolate Cheesecake Layer
You’ll repeat a similar process for the white chocolate layer with the remaining cheesecake batter. Place the finely chopped white chocolate into a heatproof bowl. Pour the remaining hot cream over the white chocolate and allow it to sit for 3-5 minutes, then whisk until completely smooth. If needed, use short bursts in the microwave at medium power, whisking well in between, to ensure a silky-smooth white chocolate mixture. Finally, gently whisk this white chocolate mixture into the second half of the cheesecake batter by hand until fully incorporated and smooth.
Assembling and Baking Your Layered Cheesecake to Perfection
Now, it’s time for the exciting assembly and baking process. This peppermint bark cheesecake is baked in a water bath, a technique essential for minimizing cracks and ensuring an incredibly creamy, luxurious texture. This is precisely why the thorough wrapping of your springform pan is so critical – it prevents any water from seeping in and affecting the cheesecake, while also keeping the cheesecake batter from leaking out.
Carefully place your tightly wrapped springform pan in the center of a large roasting pan. Slowly and evenly pour the chocolate cheesecake layer over the prepared Oreo crust, then gently spread it into an even layer using an offset spatula. Next, with utmost care, spoon the white chocolate cheesecake batter over the chocolate layer. It is vital that you do not pour or dump the white chocolate layer directly on top. Doing so will disturb the settled chocolate layer, resulting in uneven, swirling layers rather than the distinct, beautiful separation we aim for.
Once both layers are in place, pour about 1/2 to 1 inch (2-3 cm) of hot water into the large roasting pan, being careful not to splash any water into the cheesecake itself. Transfer the entire roasting pan with the cheesecake inside to your preheated oven. Bake for approximately 50-60 minutes, or until the top appears just set, and if you gently nudge the pan, the cheesecake wobbles delicately like a firm jello or pudding. If it appears liquidy and moves like a glass of milk, it needs more baking time. The center should still have a slight jiggle, which indicates it will finish setting as it cools.
After baking, remove the roasting pan from the oven and let the cheesecake cool gradually inside the water bath until the roasting pan is no longer warm to the touch. This slow cooling helps prevent cracks. Once cooled, carefully remove the springform pan from the roasting pan, cover the top of the cheesecake with plastic wrap, and refrigerate for a minimum of 6 hours, or ideally overnight. This chilling period is crucial for the cheesecake to fully set, firm up, and allow its flavors to meld beautifully.
The Grand Finale: Chocolate Ganache Topping and Candy Canes
The optional, but highly recommended, chocolate ganache topping adds another layer of decadent chocolate flavor and provides a smooth, elegant surface for the festive candy canes. It also cleverly hides any minor imperfections on the cheesecake’s surface, making your dessert look even more professional.
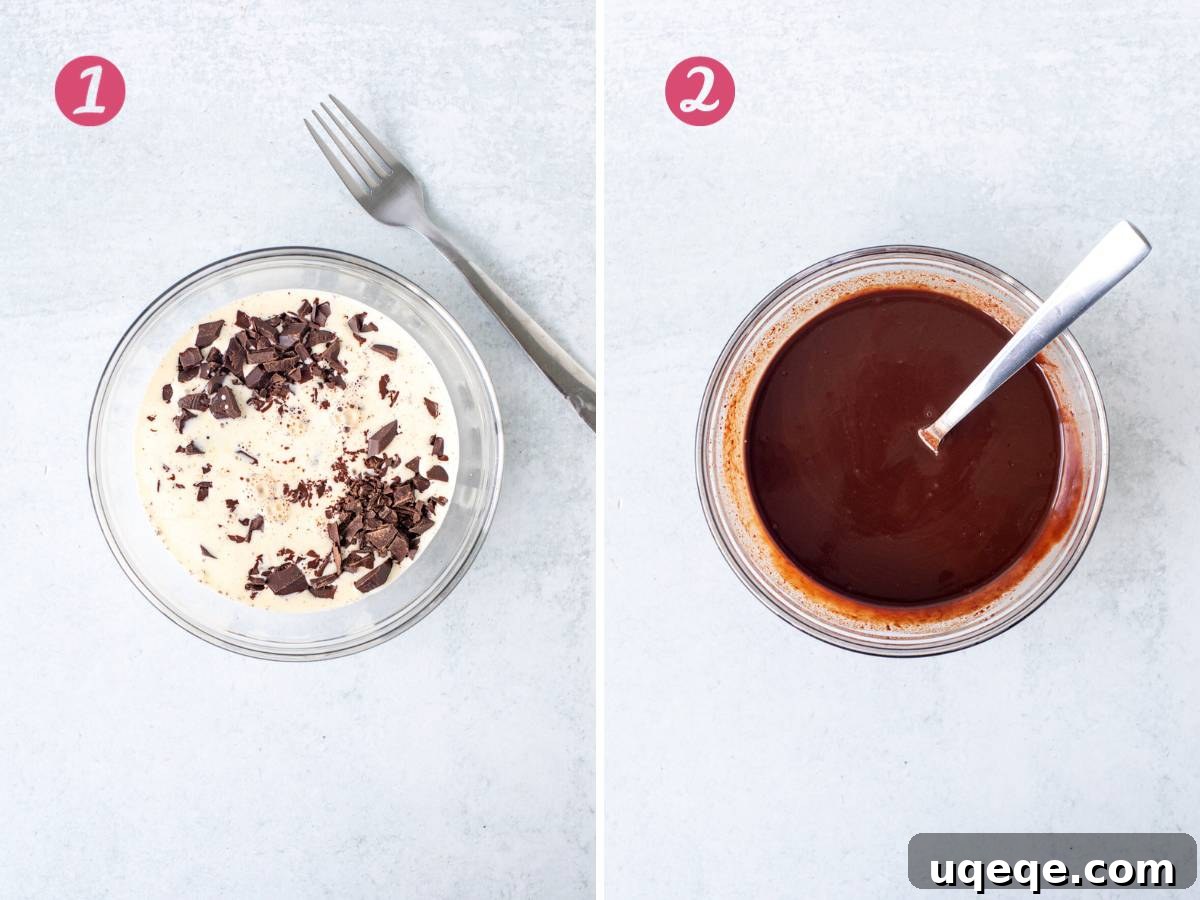
- Just like for the cheesecake layers, finely chop your dark chocolate and place it in a heatproof bowl. Heat the remaining whipping cream until it’s almost boiling, then pour it over the chopped chocolate.
- Allow the bowl to sit for 3-5 minutes, then whisk until the ganache is utterly smooth and glossy. If necessary, use 30-second microwave intervals at medium power, whisking after each, to achieve perfect consistency.
- Once your cheesecake is fully chilled and you’re ready to serve, carefully blot off any condensation from the top with a paper towel. Run a thin, sharp knife gently around the outer edge of the cheesecake before unclamping and removing the springform pan’s outer ring.
- Pour the smooth chocolate ganache over the top of the cheesecake, using a flat-edged knife or offset spatula to gently spread it into an even layer, allowing some of the luscious chocolate to gracefully drip down the sides.
- Return the cheesecake to the fridge until you are ready to slice and serve.
Essential Baking Tips for Perfect Peppermint Bark Cheesecake
Achieving a picture-perfect and deliciously creamy cheesecake requires attention to a few key details. Follow these expert tips for guaranteed success:
- Quality Cream Cheese is Non-Negotiable: Always use full-fat, brick-style cream cheese. Avoid anything labeled “light,” “low-fat,” or cream cheese that comes in a tub, as these often contain stabilizers or extra moisture that can negatively affect the texture and consistency of your cheesecake.
- Room Temperature Ingredients: Ensure your cream cheese and eggs are at room temperature before you begin mixing. This allows them to combine smoothly and evenly, preventing lumps and ensuring a truly silky batter. Take them out of the fridge at least 30-60 minutes before you plan to start baking.
- Choose the Right Chocolate: For melting into the cheesecake layers and for the ganache, opt for high-quality baking chocolate (bars or discs), not eating chocolate bars. Baking chocolate is specifically formulated to melt smoothly and incorporate well into mixtures, whereas eating chocolate often contains stabilizers that can make it seize or become grainy when melted.
- Patience is a Virtue (Especially for Chilling): Do not rush the cooling and chilling process. For the best texture and flavor, plan to make your cheesecake the day before you intend to serve it. Allow it to cool completely at room temperature, then chill it in the refrigerator overnight. This extended chilling time allows the cheesecake to fully set, intensify its flavors, and develop its perfectly firm yet creamy consistency.
- Timing is Everything for Candy Canes: Only sprinkle the crushed candy canes over the cheesecake just before serving. The moisture in the refrigerator can cause candy canes to soften, bleed their color, and even melt, which detracts from their crisp texture and vibrant appearance.
- Achieving Clean Slices: For the most elegant presentation, use a thin, sharp knife to slice your cheesecake. Dip the knife in hot water and wipe it clean after each cut to ensure smooth, clean edges for every slice. Make sure to slice all the way through the crunchy Oreo crust.
- Avoid Overmixing: As reiterated throughout the recipe, overmixing the batter after the eggs have been added can incorporate too much air, leading to cracks in your cheesecake during baking. Mix only until ingredients are just combined.
- Don’t Peek in the Oven: Resist the urge to open the oven door frequently while the cheesecake is baking. Sudden temperature changes can cause the cheesecake to crack.
- Gradual Cooling is Key: Allowing the cheesecake to cool slowly in the water bath and then gradually at room temperature helps prevent cracks and ensures a creamy texture.
Creamy, utterly decadent, and bursting with the ideal balance of chocolate and refreshing peppermint flavor, this Peppermint Bark Cheesecake is truly the quintessential Christmas dessert. Its impressive presentation and exquisite taste make it perfect for holiday parties, family gatherings, or simply a luxurious treat for yourself. If your heart sings for the combination of chocolate and peppermint, you’ll also adore these other festive recipes:
- Chocolate Peppermint Cake: A moist chocolate cake infused with minty goodness.
- Candy Cane Cake: Layers of delicate peppermint-infused white cake crowned with a creamy white chocolate peppermint frosting.
- White Chocolate Peppermint Fudge: A simple yet rich and irresistible holiday confection.
- Chocolate Peppermint Sandwich Cookies: Chewy chocolate cookies filled with a vibrant peppermint cream.
Peppermint Bark Cheesecake
By: Fiona Dowling
This peppermint bark cheesecake looks absolutely stunning and tastes even better. Inspired by the classic Christmas treat, this cheesecake has layers of chocolate and white chocolate cheesecake with crushed candy canes on top and a delicious hint of peppermint.
Prep: 45 mins | Cook: 50 mins | Cooling & Chilling: 6 hrs | Total: 8 hrs | Servings: 14 slices
Equipment
- 9-inch springform pan (23 cm)
- Large roasting pan (big enough for the springform pan to fit inside)
Ingredients
Oreo Crust
- 28 Oreo cookies, wafers and filling
- 5 tablespoons unsalted butter (70 grams), melted
Cheesecake
- 24 ounces full-fat cream cheese (680 grams), brick-style, softened to room temperature
- 1 cup granulated sugar (200 grams)
- 3 large eggs, room temperature
- 2 large egg yolks, room temperature (discard the whites or save for another recipe)
- 1 teaspoon peppermint extract (feel free to use 1/2 teaspoon for a subtle flavor)
- 5 ounces 50-60% dark chocolate (142 grams), finely chopped
- 5 ounces white chocolate (142 grams), finely chopped
- 1 cup whipping cream (240 ml), from the carton, about 33-35% MF
- Hot water, for the water bath
Topping
- 5 ounces 50-60% dark chocolate (142 grams), finely chopped
- 1/2 cup whipping cream (120 ml)
- 2 candy canes, crushed
Instructions
- Preheat the oven to 325°F (170°C).
- Wrap the outside of a springform pan. First, wrap with a disposable oven bag and tie the bag with a key lock tie. Then wrap the outside (bottom and sides) with aluminum foil. Wrap the pan at least 4 times so that all the seams are covered, ideally twice if only using foil.
Oreo Crust
- Crush the cookies (wafers and filling) in a food processor until fine crumbs. Alternatively, place cookies in a freezer bag and crush with a rolling pin.
- Mix together the crushed cookies and melted butter either in a bowl or with a few pulses in the food processor.
- Press the mixture firmly into the bottom of the prepared springform pan, creating a slight lip around the edge.
- Bake in the preheated oven for 8 minutes. Remove from the oven but leave the oven turned on and the pan wrapped.
Cheesecake Filling
- In a large bowl, beat together the cream cheese and sugar until smooth, ensuring no lumps of cream cheese remain. Scrape down the bottom and sides of the bowl a few times.
- In a small bowl, whisk together the eggs and egg yolks. Then, beat the whisked eggs and peppermint extract into the cream cheese mixture until just combined. Stop mixing when no visible pieces of egg remain.
- Divide the mixture in half.
Chocolate Cheesecake Layer
- Place the finely chopped dark chocolate into a heatproof bowl. Heat 1/2 cup of the whipping cream until almost boiling. Pour the hot cream over the chopped chocolate.
- Let sit for 3-5 minutes, then whisk until smooth. If the chocolate hasn’t quite melted, microwave in 30-second intervals on medium power, whisking between each interval until smooth.
- Pour the chocolate and cream mixture into the bowl with 1/2 of the cheesecake batter and whisk by hand with a wire whisk until smooth.
White Chocolate Cheesecake Layer
- Place the finely chopped white chocolate into a heatproof bowl. Pour the remaining 1/2 cup of hot cream over the chopped white chocolate.
- Let sit for 3-5 minutes, then whisk until smooth. If not smooth yet, microwave in 30-second intervals on medium power, whisking between each interval.
- Pour the white chocolate mixture into the bowl with the second half of the cheesecake batter and whisk by hand until smooth.
Assembling and Baking the Cheesecake
- Place the springform pan in the middle of a large roasting pan.
- Pour the chocolate cheesecake layer into the springform pan and spread into an even layer.
- Carefully spoon the white chocolate cheesecake layer over the chocolate cheesecake layer. Do not pour or dump the white chocolate batter, as this will disturb the chocolate layer.
- Pour about 1/2 to 1 inch (2-3 cm) of hot water into the large roasting pan, around the springform pan.
- Place the roasting pan with the cheesecake into the oven on a rack about 1/3 from the bottom. Bake for about 50-60 minutes, or until the top looks just set and the cheesecake wobbles like jello or pudding when gently nudged. If it wobbles like a glass of milk, it is not done.
- Remove from the oven. Let the cheesecake cool inside the roasting pan until the pan is no longer warm to the touch.
- Then, remove the springform pan from the roasting pan, cover the top of the cheesecake, and refrigerate for at least 6 hours or overnight.
Topping
- Finely chop the chocolate and place in a heatproof bowl. Heat the 1/2 cup whipping cream until almost boiling and pour over the chocolate.
- Let the bowl sit for about 3-5 minutes, then whisk until smooth. If not fully melted, microwave in 30-second intervals on medium power, whisking between each interval.
- Take the cheesecake out of the fridge. Blot off any moisture from the top using a paper towel. Gently trace around the outside of the springform pan with a sharp knife, then unclamp and remove the outer ring.
- Pour the chocolate ganache over the cheesecake, using a flat-edge knife to gently spread it into an even layer and allowing some chocolate to drip over the edges.
- Return the cheesecake to the fridge.
- When ready to serve, remove from the fridge and sprinkle the top generously with crushed candy canes right before serving.
- Slice with a thin, sharp knife (not a table knife), ensuring to cut all the way through the crust. For the cleanest cuts, wipe the knife clean after each slice.
Notes
- Cream Cheese: Use only full-fat, brick-style cream cheese for the best texture. Avoid low-fat or tub varieties.
- Eggs: You will need 5 eggs in total: 3 whole large eggs and the yolks from 2 additional large eggs. You can discard the whites or save them for another recipe.
- Room Temperature Ingredients: Ensure cream cheese and eggs are at room temperature. This is crucial for a smooth batter and to prevent lumps.
- Dark Chocolate: The 50-60% dark chocolate for both the cheesecake layer and topping can be substituted with semi-sweet baking chocolate if preferred.
- Storage: Store any leftover cheesecake covered or in an airtight container in the refrigerator for up to 4 days.
- Nutrition: The provided nutritional details are an estimate only, based on 1 slice (assuming 12 uniform slices) with chocolate topping and candy canes.
Nutrition
Calories: 659 kcal, Carbohydrates: 50g, Protein: 9g, Fat: 48g, Saturated Fat: 27g, Polyunsaturated Fat: 3g, Monounsaturated Fat: 14g, Trans Fat: 0.2g, Cholesterol: 157mg, Sodium: 283mg, Potassium: 338mg, Fiber: 3g, Sugar: 38g, Vitamin A: 1257IU, Vitamin C: 0.2mg, Calcium: 114mg, Iron: 6mg