
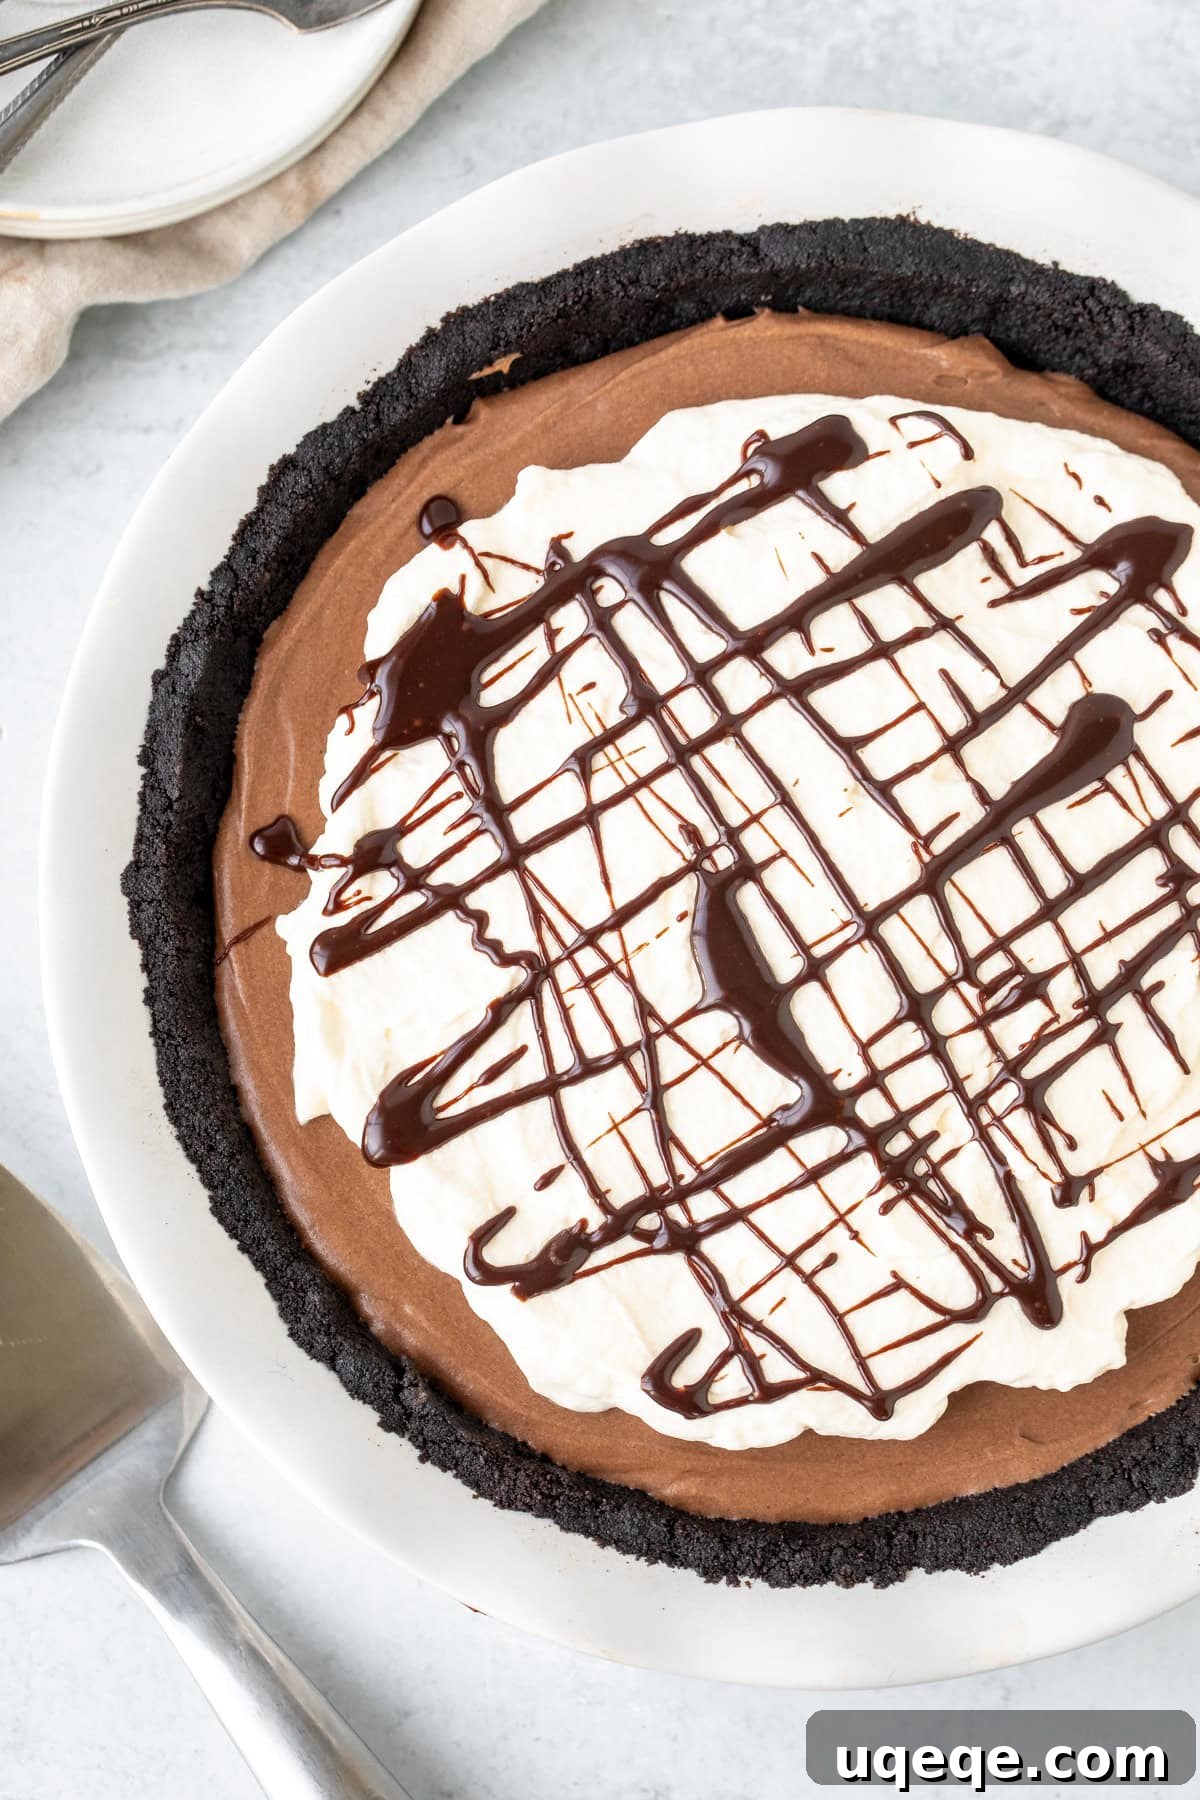
Irresistible No-Bake Nutella Pie with Crunchy Oreo Crust
Prepare for an extraordinary dessert experience with this incredible No-Bake Nutella Pie. It’s a dreamy creation featuring a supremely creamy, silky-smooth Nutella filling nestled in a satisfyingly crunchy Oreo crust, all crowned with a delicate dollop of whipped cream. This recipe is not just 100% no-bake; it’s effortlessly simple to make and promises to be a show-stopping treat for any occasion, delighting every Nutella enthusiast.
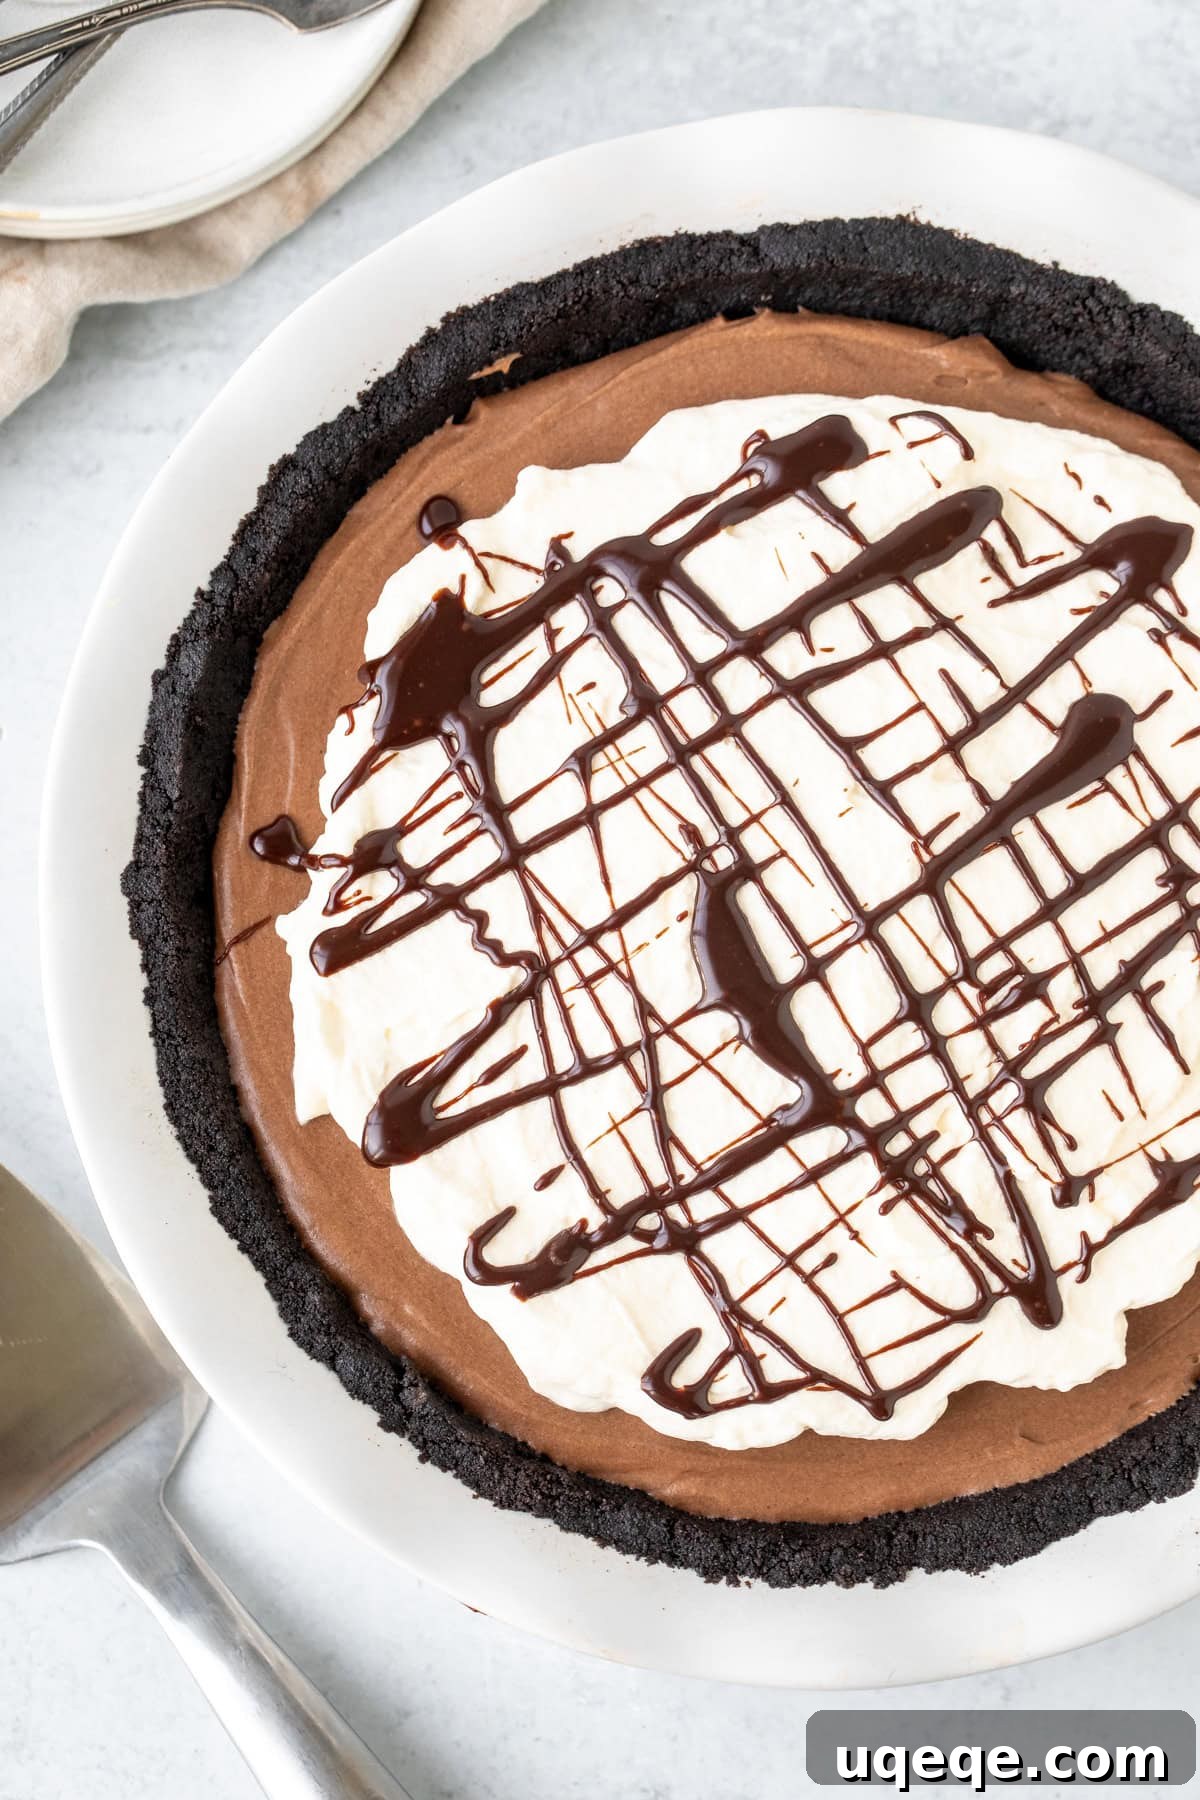
This dessert masterpiece strikes a perfect balance, sitting wonderfully between the rich decadence of a classic Nutella cheesecake and the airy lightness of a chocolate mousse. The star of the show is undeniably its filling: a blend so incredibly creamy it practically melts in your mouth, yet surprisingly light and airy. This exquisite filling is perfectly complemented by a robust and crunchy Oreo cookie crust. While we adore the dark chocolatey notes of an Oreo crust, feel free to substitute it with a classic graham cracker crust if you prefer. To elevate the experience, we recommend a generous topping of freshly whipped cream, perhaps with an extra drizzle of melted chocolate or warm Nutella for that ultimate finish. Think of this recipe as a beloved family member to our popular No-Bake Biscoff Pie and No-Bake Peanut Butter Pie – equally simple, equally delicious, and guaranteed to become a new favorite.
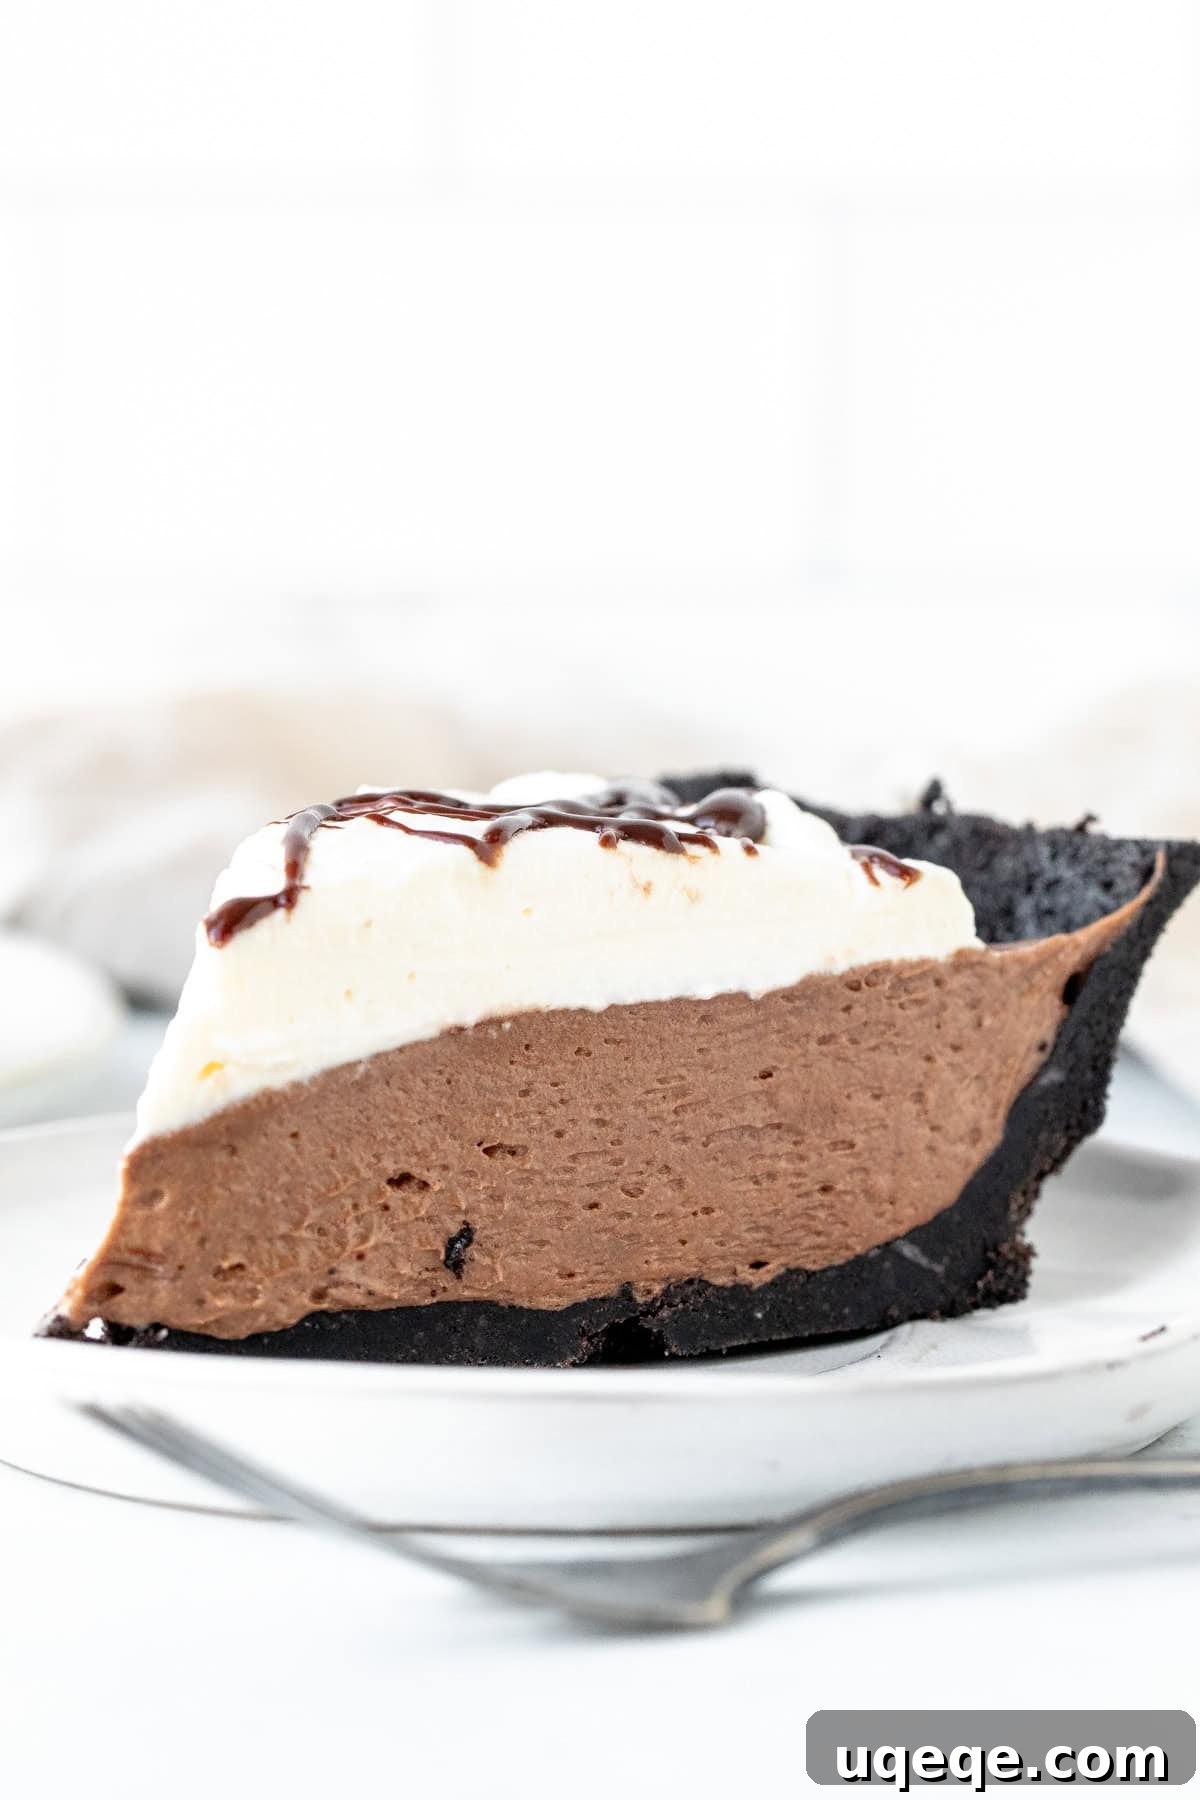
Why This No-Bake Nutella Pie is a Must-Make
In a world full of complex desserts, this No-Bake Nutella Pie stands out for its sheer simplicity and undeniable deliciousness. If you’re a fan of Nutella, you already know the magic that hazelnut spread brings to any dish. But combined with creamy cheese and whipped cream in a no-bake format, it transforms into something truly spectacular.
This pie is perfect for anyone looking for a dessert that delivers on flavor without requiring hours in the kitchen or the use of an oven. It’s an ideal choice for hot summer days when turning on the oven is the last thing you want to do, or for busy holidays when you need an impressive yet fuss-free treat. The contrast of the sweet, nutty Nutella filling with the slightly salty, chocolatey Oreo crust creates an unforgettable taste experience. Plus, it’s a fantastic make-ahead dessert, allowing you to prepare it the day before your event and simply pull it from the fridge when it’s time to serve.
How to Make This Dreamy No-Bake Nutella Pie
Creating this magnificent pie is incredibly straightforward, broken down into two main components: the irresistible Oreo crust and the luscious Nutella cream filling. Follow these simple steps for dessert perfection.
Crafting the Perfect Oreo Crust
The foundation of any great pie is its crust, and for this no-bake wonder, we opt for a robust Oreo base. Using whole Oreo cookies, including their creamy filling, ensures the richest flavor and best texture. You’ll need about 30 cookies for a standard 9-inch pie.
- Crush the Cookies. Achieving fine, even crumbs is key for a cohesive crust. You can efficiently crush the entire Oreo cookies (wafers and cream filling together!) in a food processor until they resemble fine sand. If you don’t have a food processor, a heavy-duty freezer bag and a rolling pin work just as well – a fantastic way to relieve a little stress!
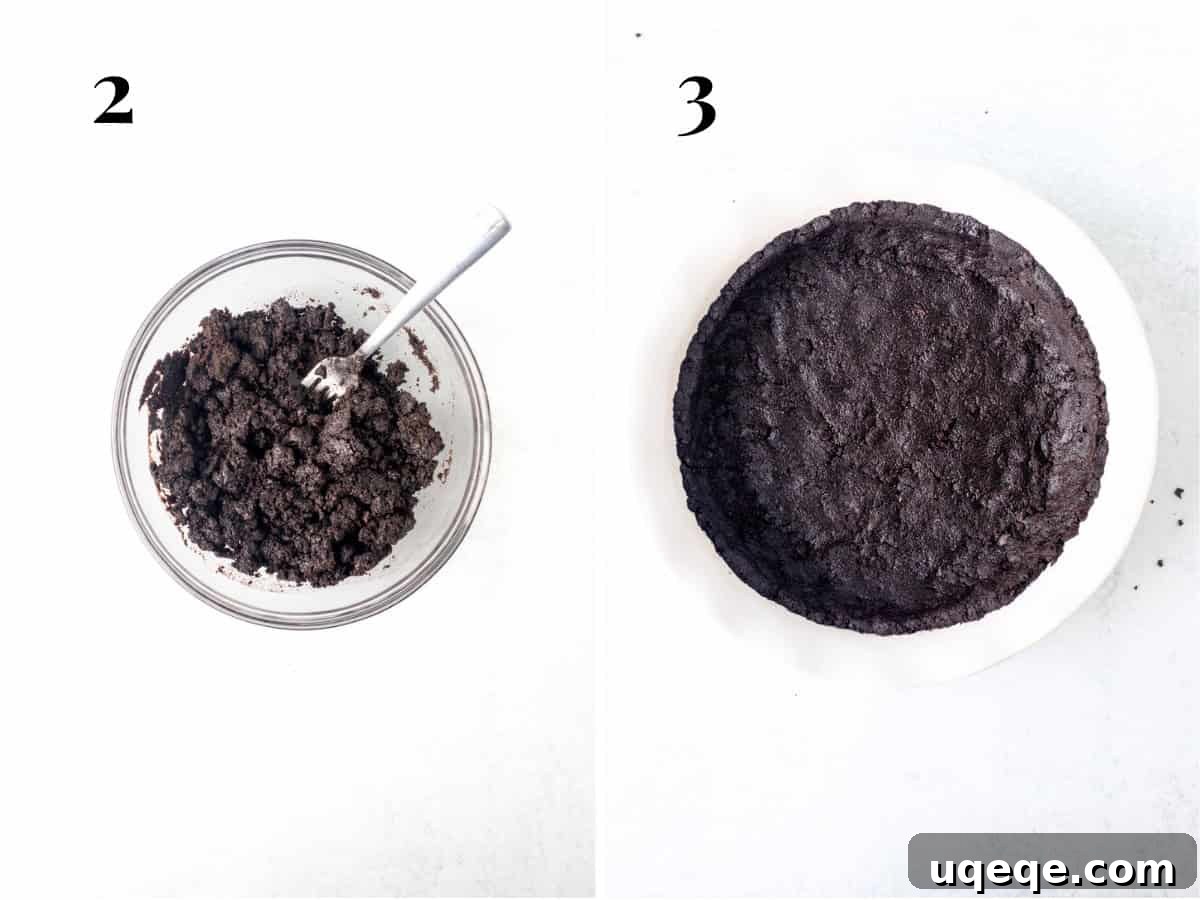
- Mix in the Melted Butter. Once your Oreos are perfectly crushed, combine them with melted unsalted butter. A few short pulses in the food processor will mix everything evenly, or simply use a fork in a medium bowl until all crumbs are moistened. The butter acts as the binding agent, holding your crust together.
- Form the Crust. Transfer the buttered cookie crumbs into a 9-inch pie plate. Using the bottom of a flat glass or your fingers, press the mixture firmly and evenly along the bottom and up the sides of the plate. Ensure it’s packed tightly enough to hold its shape, but avoid over-compressing, which can make slicing difficult later.
- Chill Thoroughly. Pop your freshly formed crust into the refrigerator while you prepare the filling. This chilling time helps the butter solidify, setting the crust and preventing it from becoming crumbly when sliced.
Preparing the Velvety Nutella Cream Filling
Now for the star of the show: the incredibly smooth and decadent Nutella filling. This component brings together the rich flavor of Nutella with the tang of cream cheese and the lightness of whipped cream.
- Whip the Cream to Stiff Peaks. In a clean, medium-sized bowl, use an electric mixer to whip your cold heavy whipping cream until stiff peaks form. This means when you lift the beaters, the cream stands up firmly. Set this aside gently, as it will be folded into the cream cheese mixture later. The air incorporated here is crucial for the pie’s light texture.
- Beat the Cream Cheese, Nutella, and Powdered Sugar. In a separate, larger bowl, combine softened full-fat cream cheese, Nutella, and powdered sugar. Beat these ingredients together with your electric mixer on medium speed until the mixture is completely smooth, creamy, and free of any lumps. It will be quite thick. Remember to stop the mixer periodically and scrape down the sides and bottom of the bowl with a rubber spatula to ensure everything is thoroughly combined. This step guarantees a uniformly delicious filling.
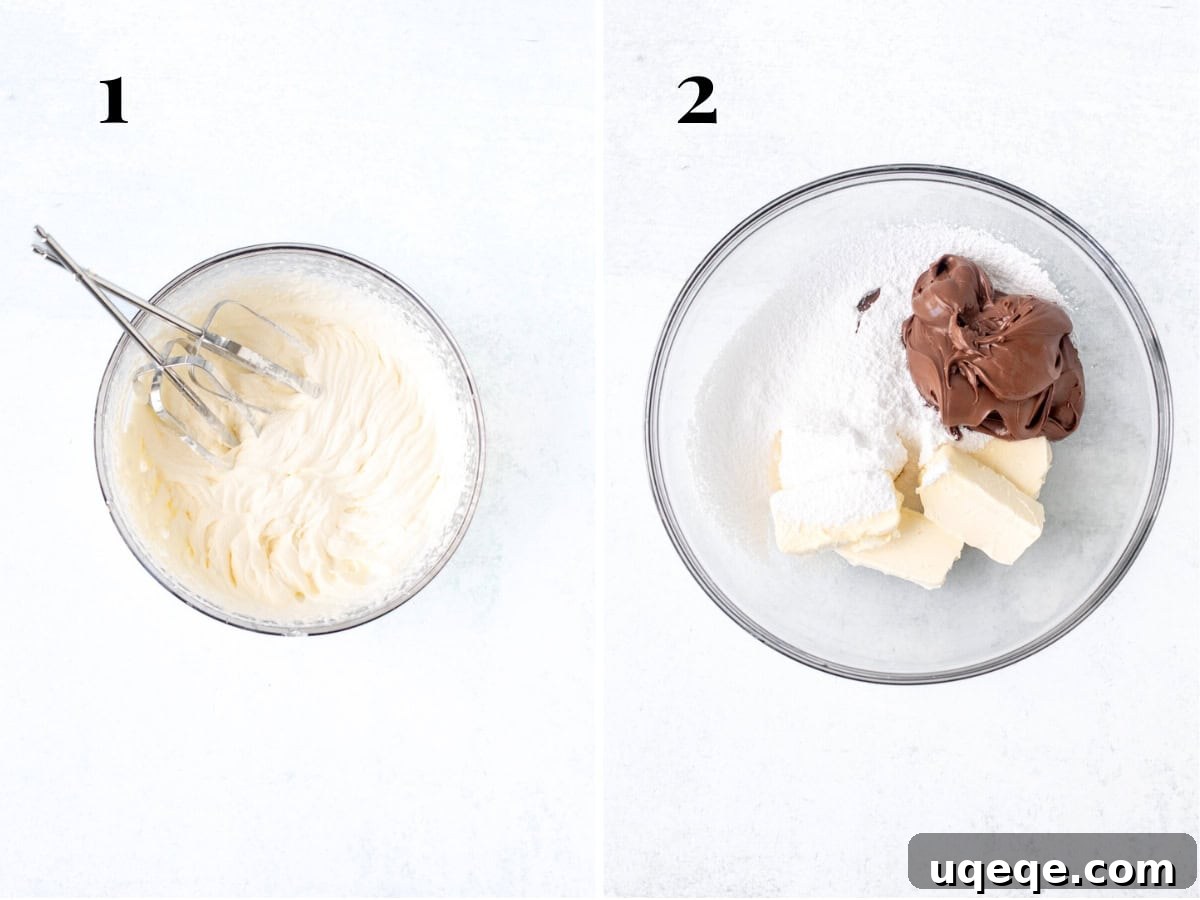
- Gently Fold in the Whipped Cream. This step is vital for maintaining the airy texture of the pie. Add the whipped cream to the cream cheese-Nutella mixture. Using a rubber spatula or a wooden spoon, gently fold the whipped cream into the thicker mixture. Use a gentle “cut and fold” motion, rotating the bowl as you go, until no streaks of whipped cream remain and the mixture is uniformly smooth and glossy. Be careful not to deflate the whipped cream.
- Spoon into the Crust and Smooth. Carefully spoon the light and fluffy Nutella filling into your chilled Oreo crust. Use an offset spatula or the back of a spoon to gently smooth the top into an even layer. The goal is a uniform, inviting surface for your finished pie.
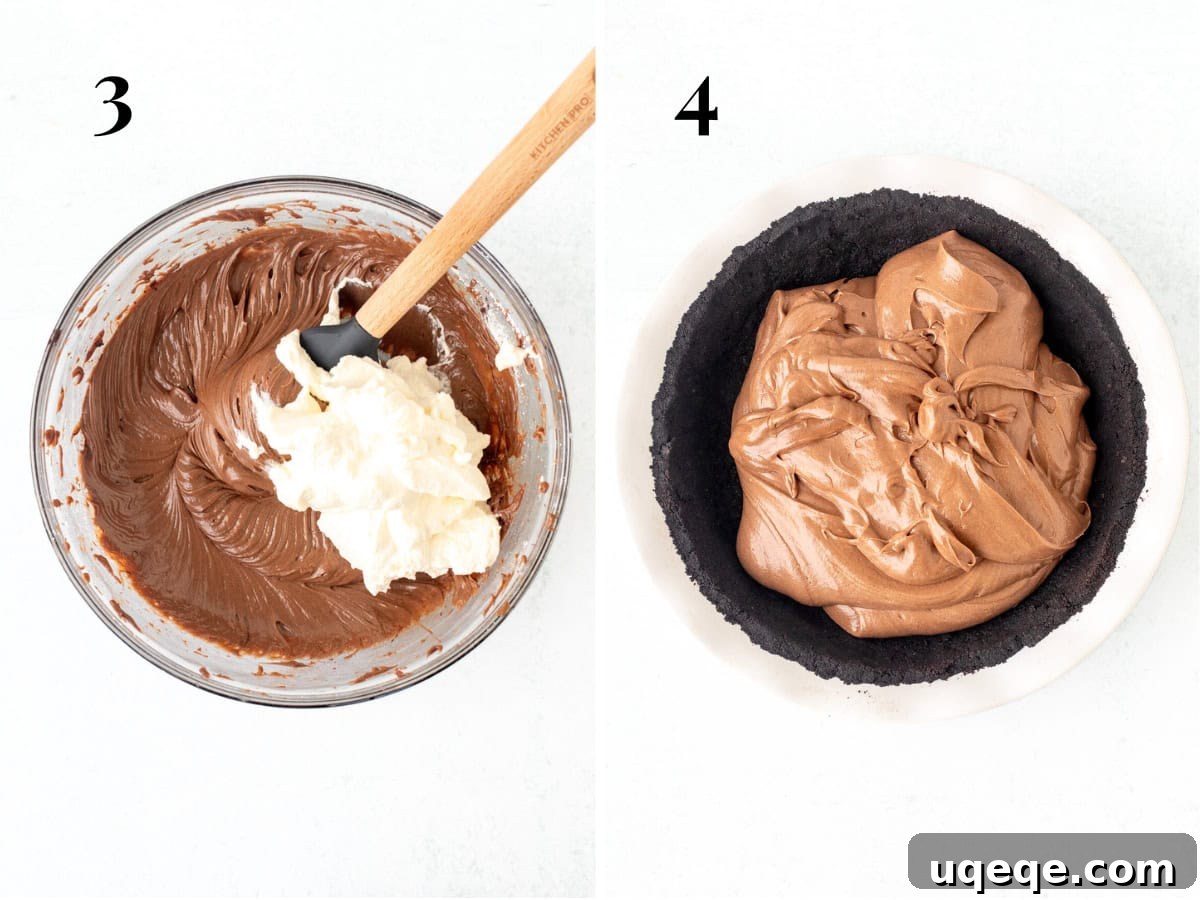
Chilling and Serving Your Masterpiece
The waiting game is often the hardest part, but proper chilling is essential for this no-bake pie to set beautifully and achieve its optimal creamy texture.
Once assembled, the pie will need to chill in the refrigerator for at least 6 hours, or ideally, overnight. This allows the filling to firm up properly, ensuring clean slices. Before serving, we love to add an extra flourish of freshly whipped cream on top, which contrasts beautifully with the rich Nutella. For an added touch of elegance and flavor, consider a drizzle of melted chocolate – simply melt about 2 ounces of finely chopped chocolate in a double boiler or microwave. Alternatively, a drizzle of warm Nutella works wonders; just warm a few tablespoons of Nutella in the microwave for about 30 seconds to make it easily pourable. Return the pie to the fridge until you’re ready to cut into it and enjoy.
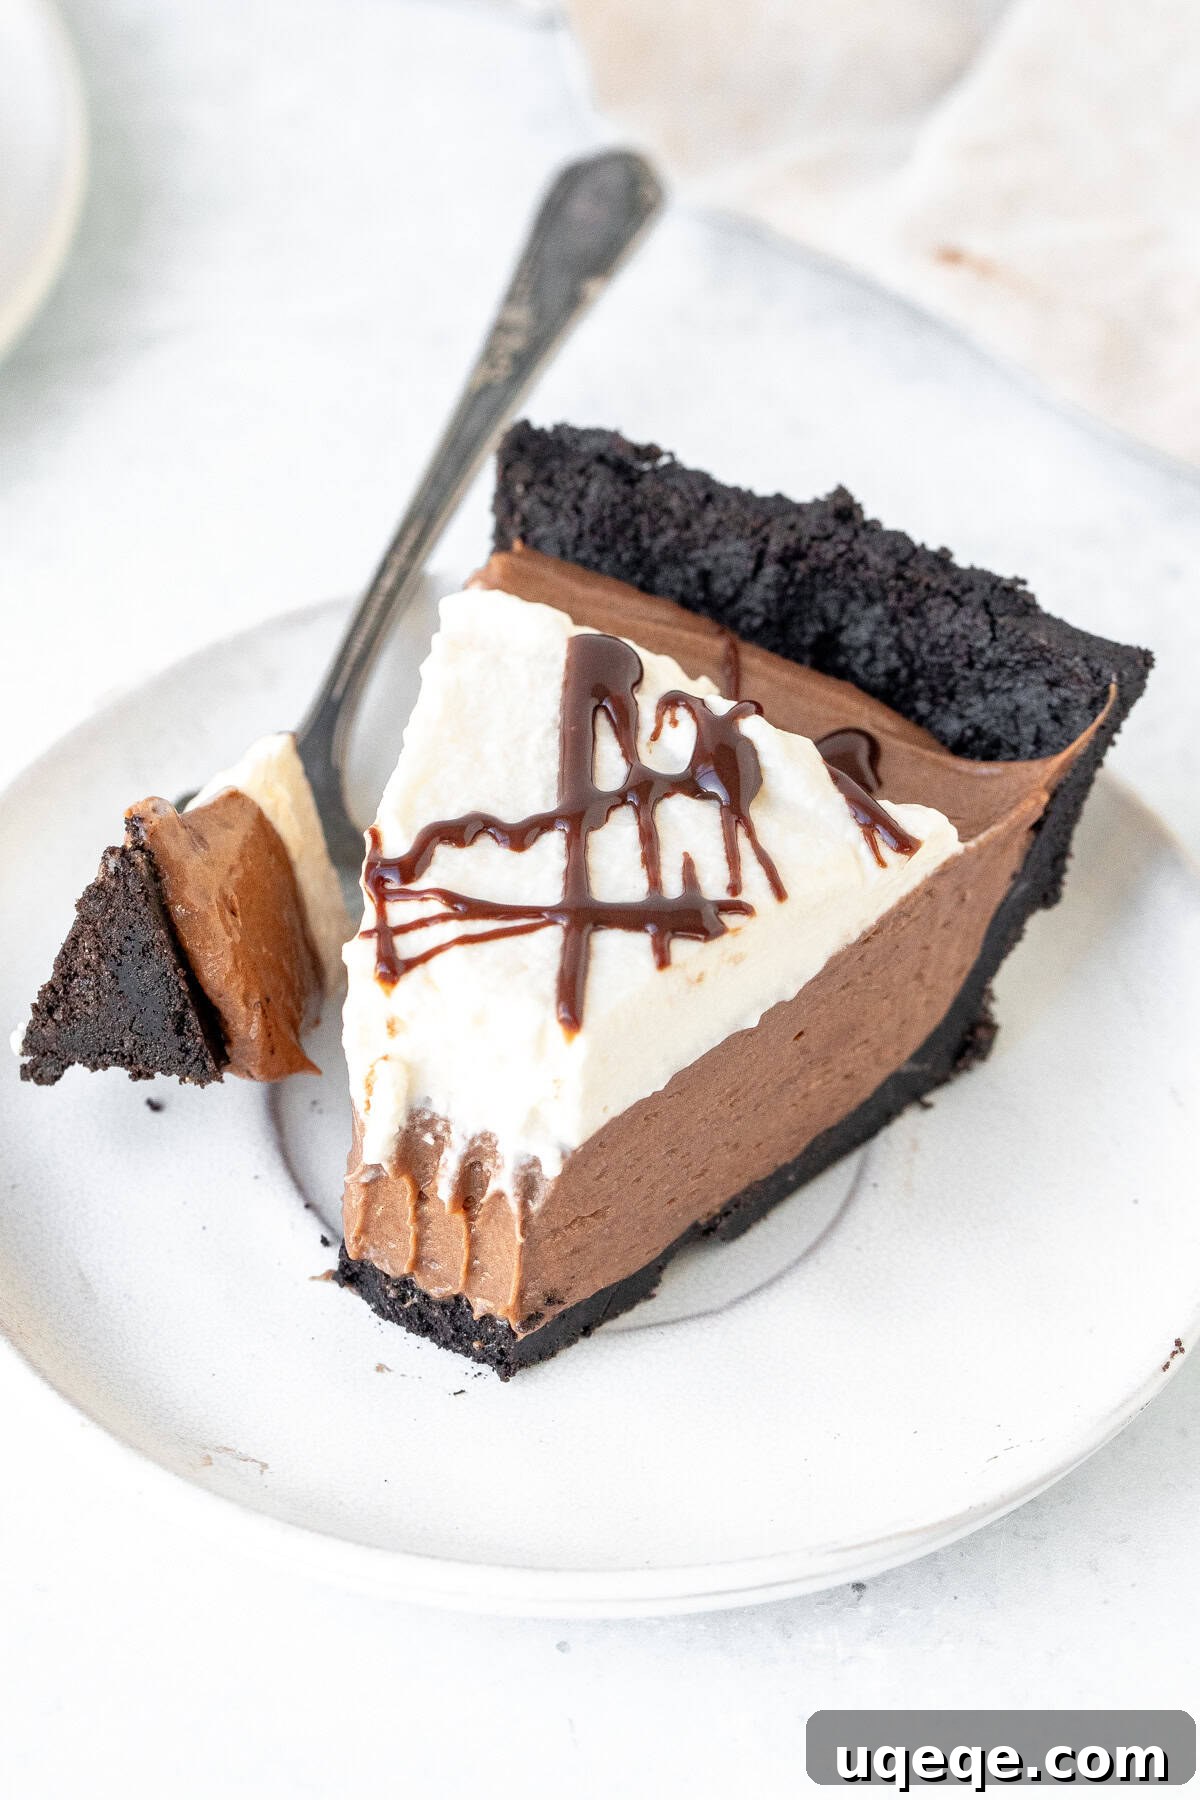
Expert Recipe Tips for Success
To ensure your No-Bake Nutella Pie turns out perfectly every time, keep these tips in mind:
- Nutella Quantity: This recipe uses 3/4 cup of Nutella for the pie filling. A standard 13-ounce (400 gram) jar of Nutella is more than enough for the filling and will leave you with a few extra tablespoons if you wish to add a Nutella drizzle on top for garnish. Don’t be shy with that extra drizzle!
- Cream Cheese: Always use full-fat, brick-style cream cheese, softened to room temperature. This is crucial for a smooth, lump-free filling that sets properly. Low-fat or whipped cream cheese will not yield the same results.
- Whipping Cream: Ensure your whipping cream is very cold when you whip it. Cold cream whips faster and achieves stiffer peaks.
- Folding Technique: When folding the whipped cream into the Nutella mixture, be gentle. Overmixing will deflate the cream, leading to a denser filling.
- Slicing: For perfectly clean slices, use a sharp knife and wipe it clean between each cut. Make sure to press all the way through the firm Oreo crust. The first slice can sometimes be a bit tricky, but subsequent slices should be easier.
This easy, creamy, and completely no-bake Nutella pie is truly perfection for anyone who adores the rich flavor of chocolate-hazelnut spread. It’s a versatile dessert, fitting for casual gatherings, elegant dinners, or simply a sweet indulgence for yourself. If you can’t get enough of Nutella, make sure to explore some of our other cherished Nutella recipes:
- Decadent Nutella Swirl Brownies
- Chewy Chocolate Nutella Cookies
- Irresistible Nutella-Stuffed Chocolate Chip Cookies
No-Bake Nutella Pie
By: Fiona Dowling
This Nutella pie is super creamy with a silky smooth texture, delicious Nutella flavor and crunchy Oreo crust. It’s 100% no bake, super simple, and delicious with whipped cream on top.
Prep Time: 30 mins
Chilling Time: 4 hrs (minimum)
Total Time: 4 hrs 30 mins
Servings: 8 slices
Loved this recipe? Share it with friends and family!
Equipment
- 9-inch (23 cm) pie plate
- Electric mixer (handheld or stand mixer)
- Food processor (optional, for crushing cookies)
- Rubber spatula or wooden spoon
Ingredients
Oreo Pie Crust
- 30 Oreo cookies (wafers and filling)
- 1/3 cup unsalted butter (75 grams), melted
Nutella Pie Filling
- 3/4 cup whipping cream (180 ml), 33-35% MF, cold from the fridge
- 8 ounces cream cheese (226 grams), full fat, brick-style, softened
- 3/4 cup powdered sugar (82 grams)
- 3/4 cup Nutella
Whipped Cream Topping (Optional Garnish)
- 1/2 cup whipping cream (120 ml), 33-35% MF, cold from the fridge
- 1 tablespoon powdered sugar
- Optional Drizzle: 2 ounces chocolate (56 grams), finely chopped OR 2-3 tablespoons Nutella
Instructions
Oreo Crust
- Crush the whole Oreo cookies (wafers and filling) in a food processor until they are fine crumbs. Alternatively, place the cookies in a freezer bag and crush them with a rolling pin.
- Mix the cookie crumbs with the melted butter. This can be done in a bowl with a fork, or by adding the melted butter to the food processor with the crumbs and pulsing a few times.
- Press the mixture evenly into your 9-inch pie plate, forming a crust along the bottom and up the sides. Ensure it’s packed firmly.
- Place the pie crust in the fridge to chill while you prepare the filling.
Nutella Pie Filling
- In a medium bowl, beat the 3/4 cup cold whipping cream until stiff peaks form. Set aside.
- In a separate large bowl, beat together the softened cream cheese, 3/4 cup Nutella, and 3/4 cup powdered sugar until the mixture is completely smooth and creamy. It will be thick. Scrape down the bottom and sides of the bowl a few times to ensure no cream cheese lumps remain.
- Gently fold the whipped cream into the cream cheese-Nutella mixture using a rubber spatula. Fold gently until smooth and glossy, with no streaks of whipped cream visible.
- Spoon the filling into the chilled Oreo pie crust and smooth the top into an even layer using your rubber or offset spatula.
- Cover the pie plate loosely with plastic wrap and refrigerate for at least 4 hours, or preferably overnight, to allow the pie to set completely.
Whipped Cream Topping & Garnish (Optional)
- Before serving, in a medium bowl, beat the 1/2 cup cold whipping cream and 1 tablespoon powdered sugar until medium peaks form.
- Dollop or pipe the whipped cream decoratively on top of the chilled pie, creating a beautiful, fluffy cloud.
- Optionally, prepare a drizzle: Melt the chocolate in a double boiler over gently simmering water or in the microwave in 30-second intervals, stirring until smooth. If using Nutella for drizzling, spoon 2-3 tablespoons into a microwave-safe container and microwave for about 30 seconds on medium power until warm and pourable. Drizzle over the top of the pie.
- Return the pie to the fridge until ready to serve.
- When serving, slice with a sharp knife, ensuring you cut all the way through the crunchy crust. The first piece may be a little messy, but subsequent slices will be easier.
Notes
- Whipping Cream Substitution: For convenience, thawed whipped topping (like Cool Whip) can be used instead of fresh whipping cream. Use 1 1/2 cups for the pie filling (skip whipping in step 5 and fold in directly in step 7) and 1 cup for the topping.
- Nutella Alternatives: Any brand of chocolate hazelnut spread will work. However, avoid brands where the oil separates or homemade versions, as the oil can separate and prevent the pie from setting correctly.
- Storage: Store the covered pie in the refrigerator for up to 4 days.
- Freezing: While this pie can technically be frozen and served frozen, the Oreo crust can become very hard and difficult to slice when completely frozen. It’s best enjoyed chilled.
Nutrition
Details provided are an estimate only and based on 1 slice with whipped cream topping, assuming the pie is sliced into 8 uniform pieces. You can likely get 10 smaller slices from this recipe.
Calories: 712 kcal | Carbohydrates: 71g | Protein: 7g | Fat: 46g | Saturated Fat: 29g | Polyunsaturated Fat: 3g | Monounsaturated Fat: 12g | Trans Fat: 0.3g | Cholesterol: 74mg | Sodium: 285mg | Potassium: 320mg | Fiber: 3g | Sugar: 53g | Vitamin A: 947IU | Vitamin C: 0.1mg | Calcium: 91mg | Iron: 7mg
Like this recipe? Rate it below and leave a comment!