

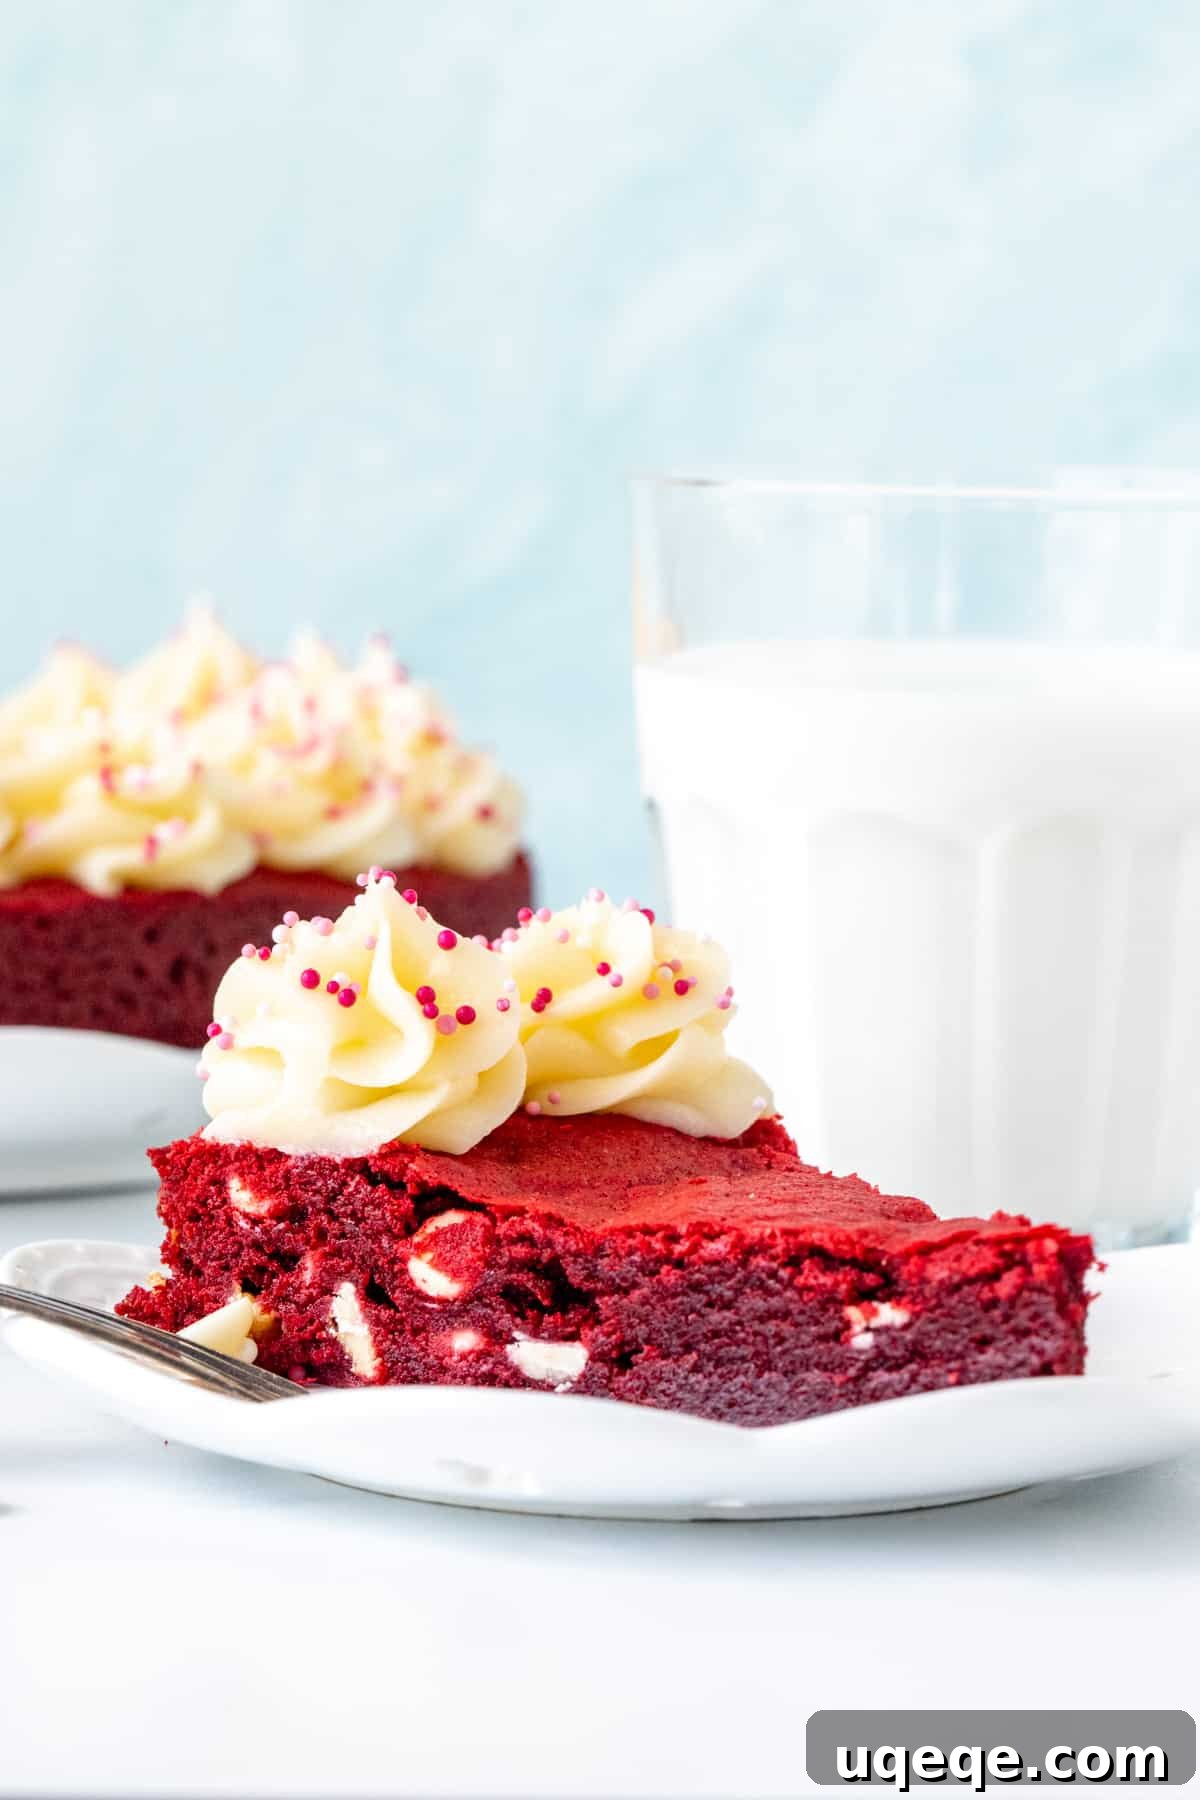
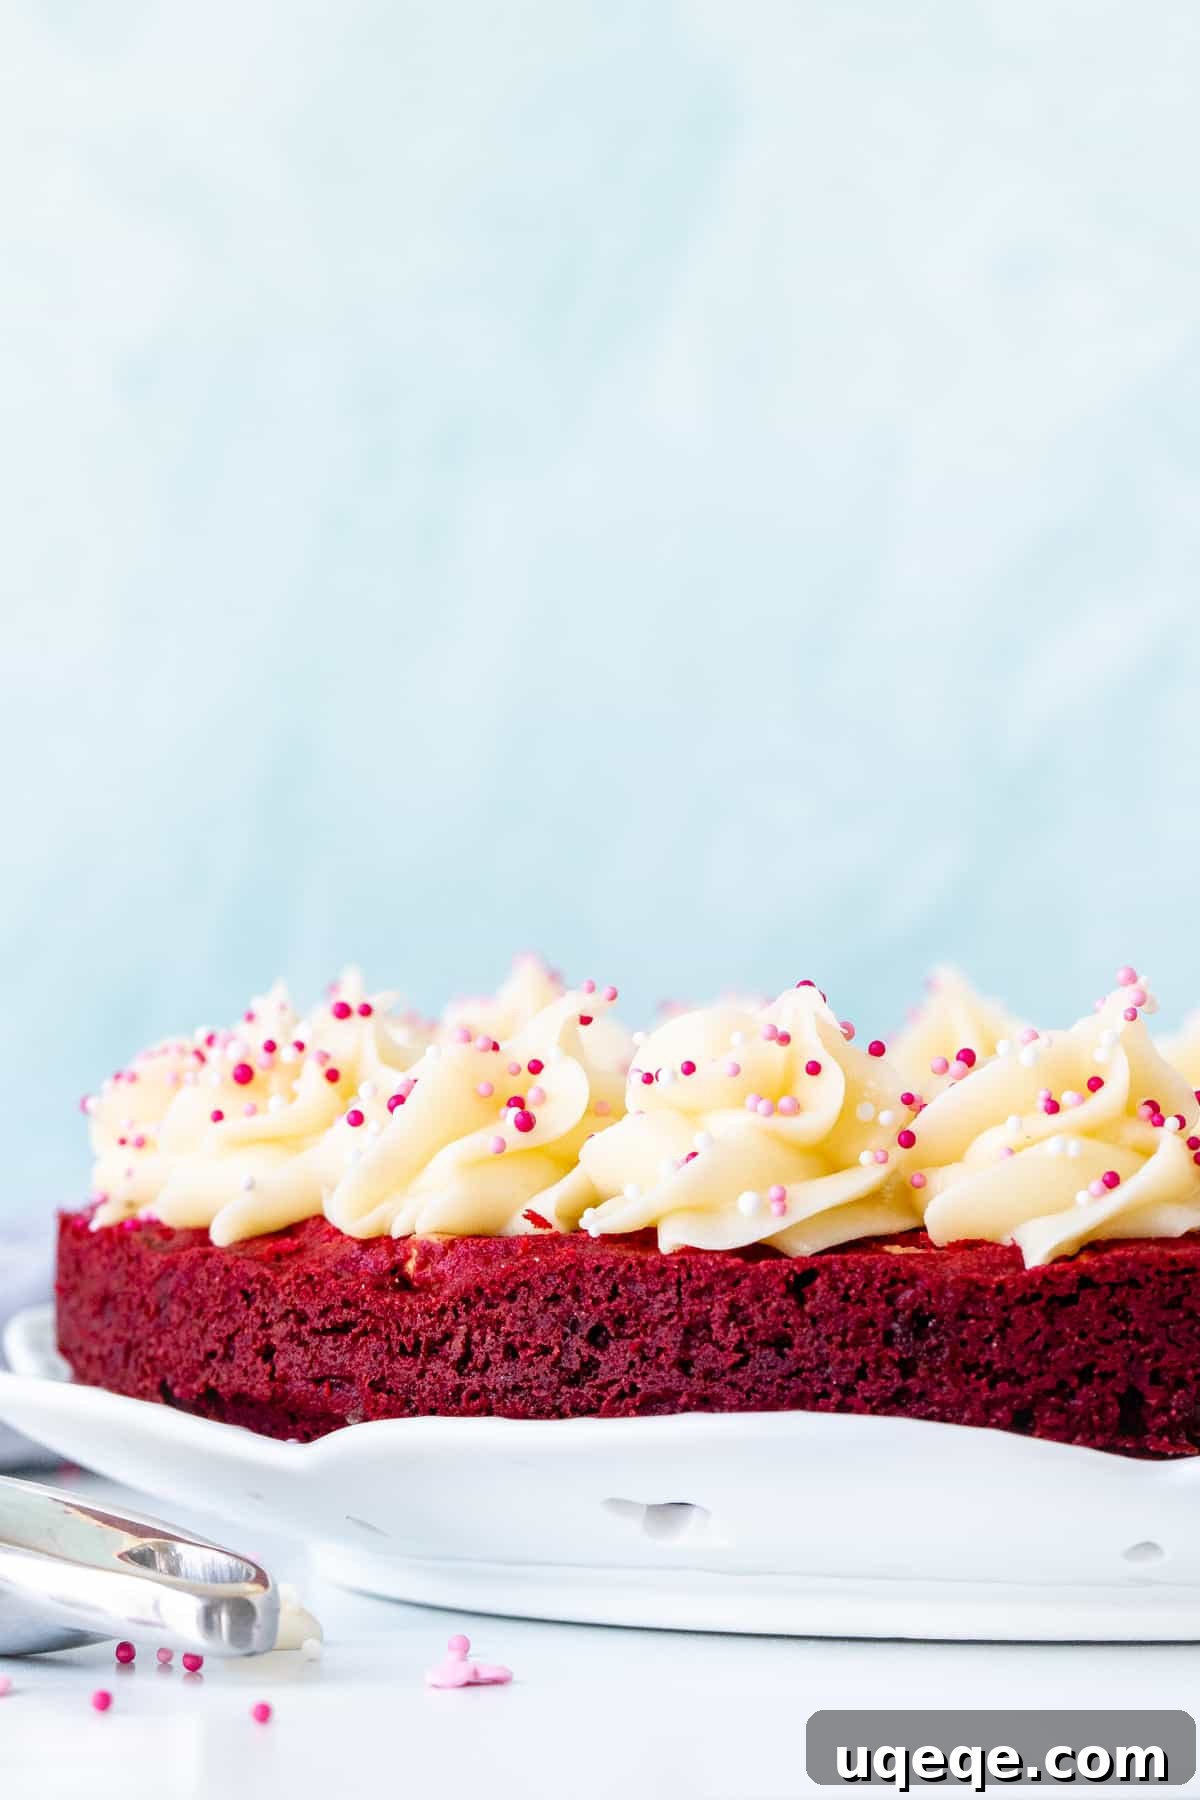
Prepare to be amazed by this truly sensational **GIANT Red Velvet Cookie Cake**, a dessert that elegantly marries the beloved flavor of red velvet with the delightful chewiness of a classic cookie. This magnificent creation boasts a vibrant, beautiful red hue, a perfectly soft and chewy texture, and is generously studded with creamy white chocolate chips. Crowned with a swirl of tangy, sweet cream cheese frosting, it presents a stunning visual and an irresistible taste experience that is sure to captivate any cookie lover or red velvet aficionado. Ideal for celebrations, romantic occasions like Valentine’s Day, or simply treating yourself, this **Red Velvet Cookie Cake with Cream Cheese Frosting** promises to be a showstopper on any dessert table.
**Important Update:** This recipe was revised on January 29, 2023, with updated photos and slight adjustments to the baking time to ensure perfect results, based on valuable feedback from our readers.
Why You’ll Fall in Love with this Red Velvet Cookie Cake
If you adore the rich, cocoa-infused taste and signature crimson color of traditional red velvet cake but are seeking a simpler, quicker baking project, then this **Giant Red Velvet Cookie Cake** is your answer. It offers all the luxurious flavor of red velvet in a delightfully less fussy format. This cookie cake is remarkably thick and wonderfully chewy, delivering that signature red velvet essence in every bite, enhanced by a generous amount of creamy white chocolate chips. The finishing touch – a luscious border of piped cream cheese frosting – is non-negotiable for an authentic red velvet experience, adding a delightful tang that perfectly balances the sweetness. While it’s a fabulous dessert any time of year, its striking red color makes it an especially perfect giant cookie cake for Valentine’s Day, anniversaries, or any celebration where a touch of romance is desired.
Crafting Your Perfect Red Velvet Cookie Cake: A Step-by-Step Guide
Creating this magnificent **Red Velvet Cookie Cake** is surprisingly straightforward, even for novice bakers. By following these clear steps and incorporating our expert tips, you’ll achieve a bakery-quality dessert right in your own kitchen. For those who prefer to jump straight to the full recipe card, feel free to scroll down, but we encourage you to read through these valuable insights first for the best possible results.
-
Prepare Your Baking Pan
As with almost all baking endeavors, you’ll begin by preheating your oven to 350°F (180°C) and preparing your chosen pan. This recipe is designed for a 9-inch springform pan or a 9-inch pie plate. If opting for a springform pan, we highly recommend lining the bottom with parchment paper and lightly greasing the sides. This ensures easy removal and a beautiful presentation. For a pie plate, a simple greasing will suffice. A springform pan generally yields a more cake-like presentation, which is lovely for decorating.
-
Whisk the Dry Ingredients
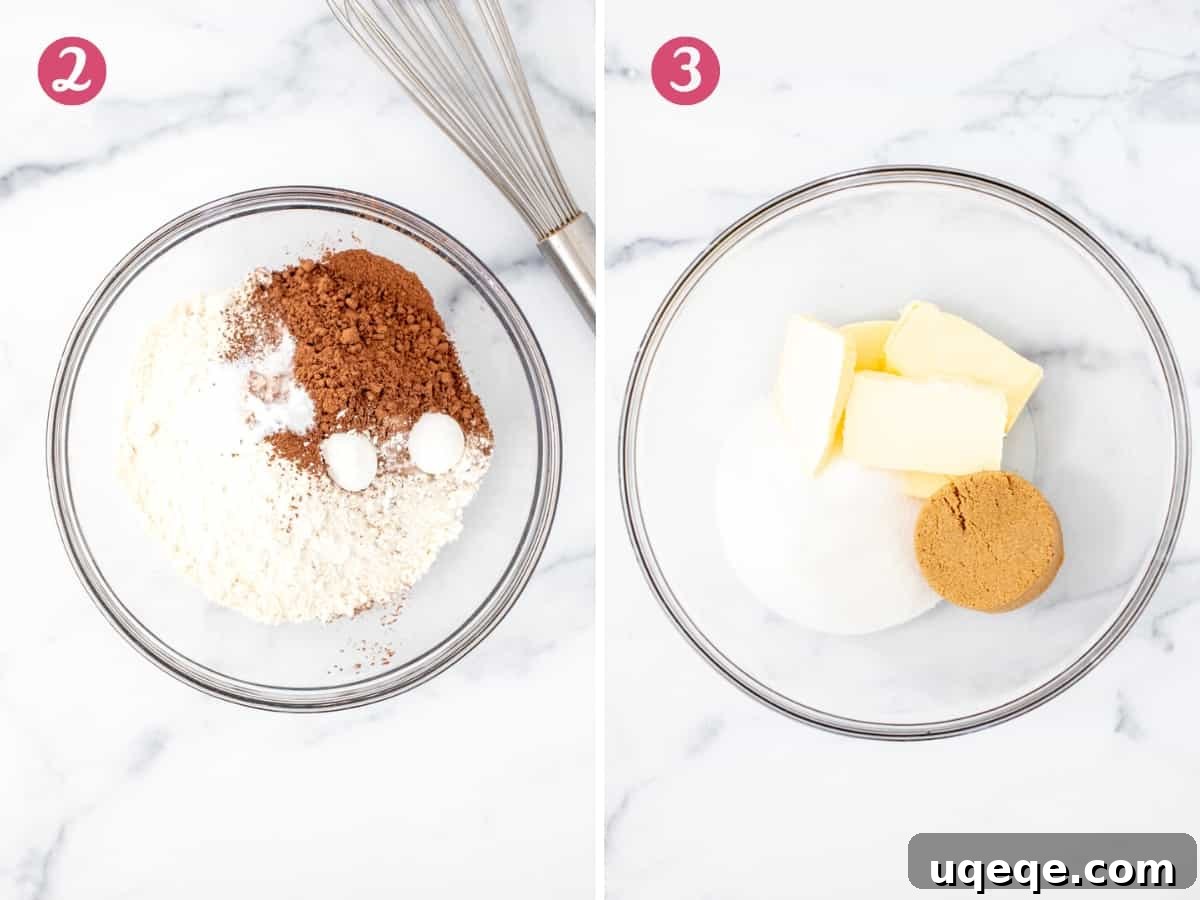
In a medium-sized bowl, meticulously whisk together the all-purpose flour, a touch of natural cocoa powder, cornstarch, baking soda, and salt. The small amount of cocoa powder is crucial for achieving that authentic red velvet flavor profile without making it taste like a pure chocolate cookie. The addition of cornstarch is a secret weapon for creating an irresistibly soft and perfectly chewy cookie cake texture that everyone will adore.
-
Cream the Wet Ingredients
In a separate, larger bowl, beat together the softened unsalted butter with both granulated sugar and brown sugar until the mixture is light and creamy. The consistency of your butter is paramount here: it should be softened to room temperature but not melted. Melted butter behaves differently in baking, potentially leading to a denser, less airy cookie cake. Ensure your butter holds its shape when gently pressed.

-
Introduce the Flavor and Color
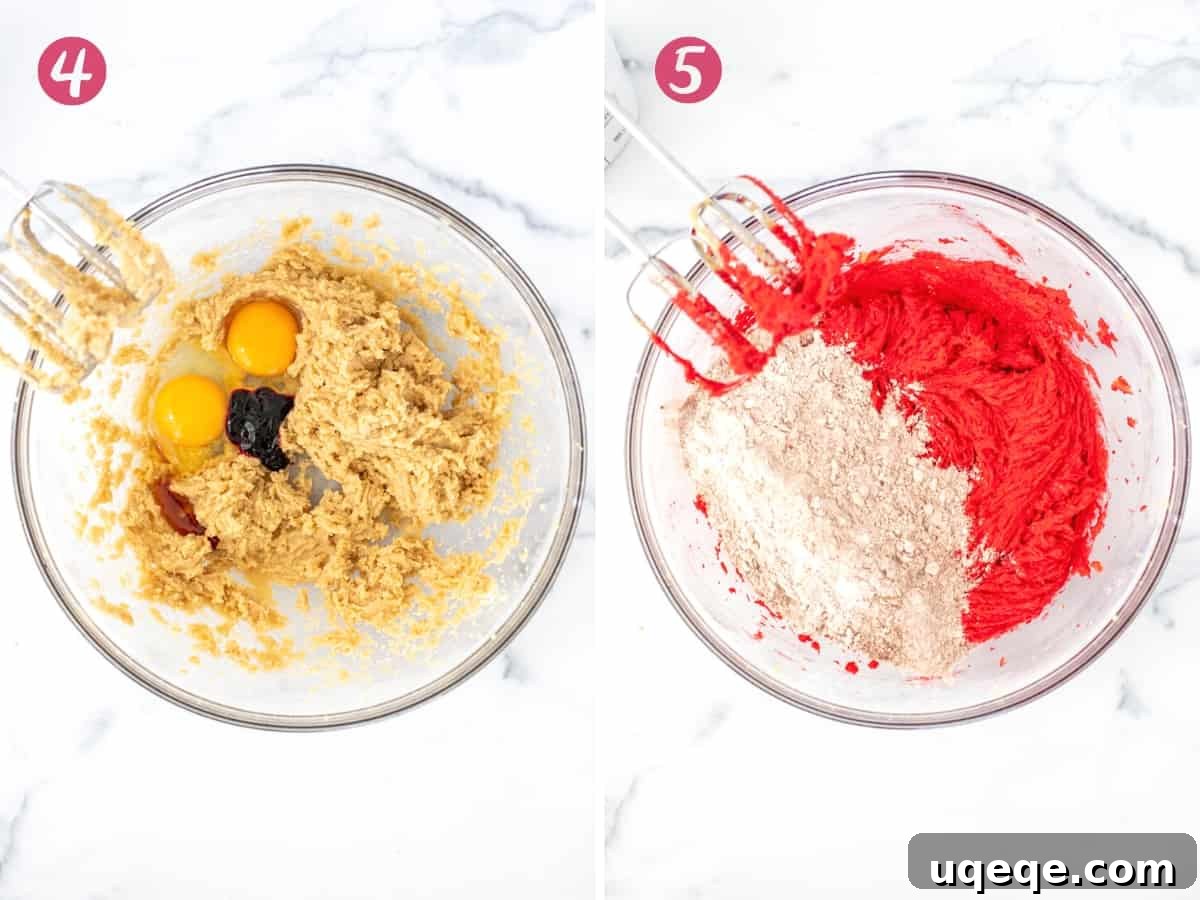
Next, beat in one large egg plus an additional egg yolk, along with the vanilla extract and, of course, the vibrant red food coloring. The extra egg yolk is key to enhancing the chewiness of the cookie cake, giving it that wonderfully rich mouthfeel. You can use either gel or liquid food coloring; gel coloring is often preferred for a more intense, deep red hue. Don’t be alarmed if the batter appears quite neon at this stage; its vibrant intensity will mellow beautifully once the dry ingredients are incorporated.
-
Combine Wet and Dry Mixtures
Gradually add the whisked dry ingredients into the butter mixture. To prevent a dusty cloud in your kitchen, start your mixer on a low speed and incrementally increase it until the ingredients are just combined. Overmixing can lead to a tough cookie cake, so stop as soon as no streaks of flour remain. You’ll notice the bright red color will deepen and become more mellow and appealing after this step.
-
Fold in the Chocolate Chips
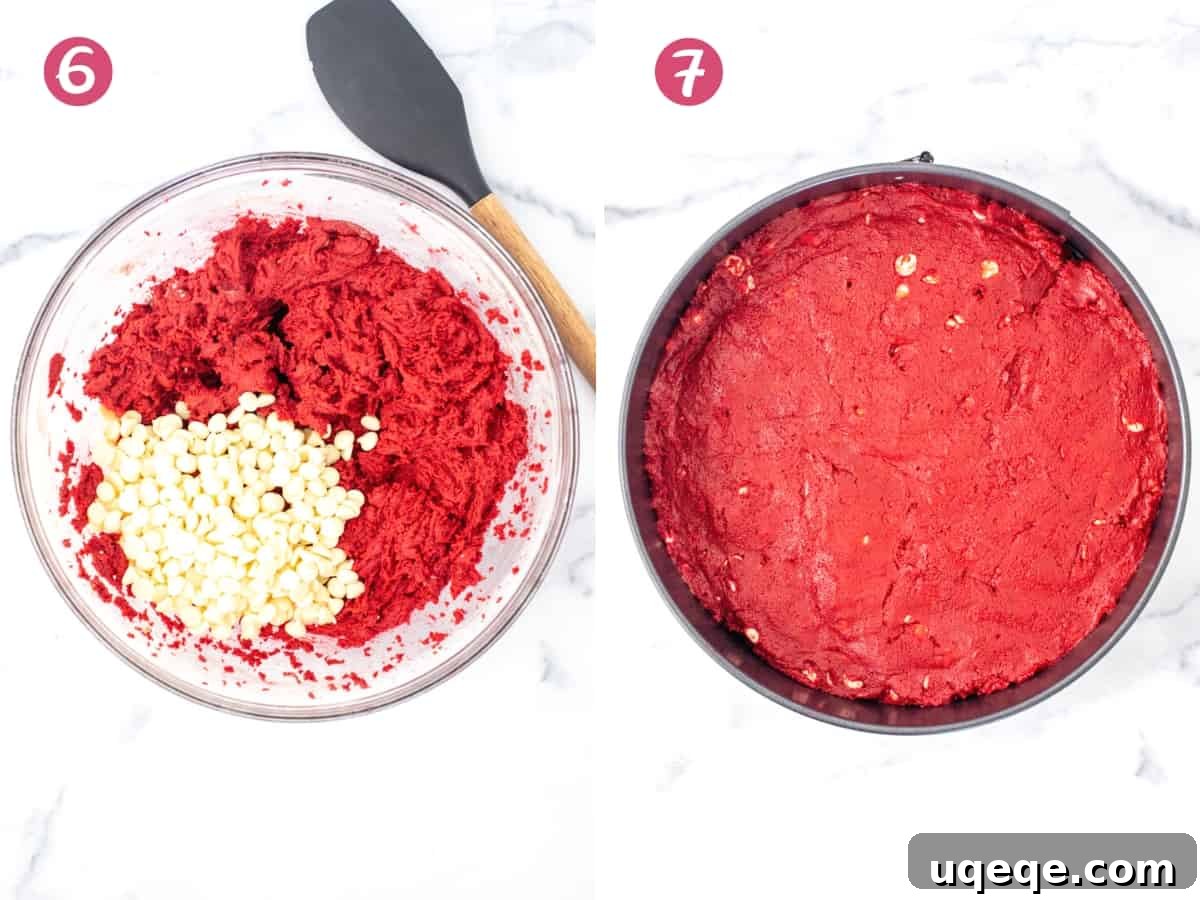
Gently stir in your chosen chocolate chips. While white chocolate chips provide a lovely contrast and classic pairing with red velvet, feel free to experiment with milk chocolate, dark chocolate, or even a mix to suit your preference. Their creamy texture melts slightly during baking, adding pockets of delightful sweetness.
-
Prepare for Baking
Spoon the thick cookie dough into your prepared pan. Use an offset spatula or the back of a spoon to spread it evenly into a flat layer. For a perfectly uniform top, a clever trick is to place a piece of wax paper over the dough and gently press it down. Just remember to remove the wax paper completely before sliding the pan into the oven!
-
Bake to Perfection
Bake the cookie cake in your preheated oven for approximately 30-35 minutes. The precise baking time can vary slightly depending on your oven and pan type. The cookie cake is done when the top looks set and a toothpick inserted into the center comes out clean or with only a few moist crumbs attached. Another indicator is a gentle nudge of the pan: the center should not wobble significantly. Avoid overbaking to maintain that desired soft and chewy texture.
Once baked, the patience truly begins! It’s absolutely crucial to allow the cookie cake to cool fully within the pan before even thinking about decorating it. This ensures the cake sets properly and is firm enough to handle the rich cream cheese frosting that will adorn its edges. After all, what is **Red Velvet** without its iconic cream cheese companion? We’ve even included a little extra frosting in the recipe, perfect for piping a special message or adding extra flair to your **Giant Red Velvet Cookie Cake**. If you’re feeling extra indulgent, a scoop of creamy vanilla ice cream makes a fantastic accompaniment, even if you decide to skip the frosting.
Make-Ahead Tips for Stress-Free Baking
Planning ahead can make dessert preparation a breeze. Because this **Red Velvet Cookie Cake** requires complete cooling before frosting, it’s an excellent candidate for making a day in advance. Simply bake the cookie cake, let it cool fully in the pan, then cover it tightly and store it at room temperature overnight. The next day, you can whip up the cream cheese frosting and decorate it just before you plan to serve. This strategy allows you to enjoy freshly decorated dessert without the rush.
With its soft, chewy texture and irresistible red velvet flavor, this **Red Velvet Cookie Cake** is truly a divine treat. While this recipe is specifically designed for a glorious cookie cake, if you’re craving individual cookies, we highly recommend our dedicated red velvet chocolate chip cookie recipe. For those who can’t get enough of red velvet, be sure to explore these other delicious options:
- Red Velvet Cupcakes – classic individual delights.
- Red Velvet Brownies – for a gooey, fudgy twist on the flavor.
- Red Velvet Oreo Cheesecake – a truly decadent dessert for special occasions.


Red Velvet Cookie Cake
By: Fiona Dowling
This Red Velvet Cookie Cake begins with a massive, soft & chewy red velvet cookie baked in a cake pan. Filled with white chocolate chips and adorned with cream cheese frosting, this from-scratch cookie cake is simple to make and absolutely perfect for any red velvet enthusiast.
Prep Time: 30 mins
Cook Time: 30 mins
Cooling Time: 1 hr
Total Time: 2 hrs
Servings: 10 slices
Rate Recipe
Print Recipe
Equipment
- 9-inch springform pan or 9-inch pie plate
Ingredients
Red Velvet Cookie
- 2 cups all-purpose flour (250 grams)
- 2 tablespoons natural cocoa powder
- 2 teaspoons cornstarch (AKA cornflour for those in Australia and UK)
- 1/2 teaspoon baking soda
- 1/4 teaspoon salt
- 3/4 cup unsalted butter (168 grams), softened to room temperature
- 3/4 cup granulated sugar (150 grams)
- 1/2 cup brown sugar (105 grams), light or dark
- 1 large egg, room temperature
- 1 large egg yolk, discard the egg white
- 2 teaspoons vanilla extract
- 2 teaspoons red food coloring, gel or liquid, gel recommended for intense color
- 1 cup white chocolate chips (180 grams), or your favorite variety
Cream Cheese Frosting
- 1/3 cup unsalted butter (75 grams), softened to room temperature
- 2 oz brick-style cream cheese (57 grams), softened to room temperature
- 1-2 cups powdered sugar (110-220 grams), sifted
- 1/4 teaspoon salt
- 1-2 teaspoons whipping cream (15-30 ml), if needed
Instructions
Make the Red Velvet Cookie
- Preheat the oven to 350°F (180°C). Line the bottom of a 9-inch springform pan with parchment paper and grease the edges. Alternatively, lightly grease a 9-inch pie plate. A springform pan is recommended for easier serving.
- In a medium bowl, sift together the flour, cocoa, cornstarch, baking soda, and salt. Whisk them until well combined.
- In a separate large bowl, using an electric mixer, beat together the softened butter, granulated sugar, and brown sugar until light and creamy.
- Beat the egg, additional egg yolk, vanilla extract, and red food coloring into the butter mixture until fully incorporated and vibrant in color.
- Gradually add the flour mixture to the butter mixture. Start the mixer on a low speed to prevent flour from scattering, then increase the speed slightly and beat until just combined. Do not overmix.
- Gently stir the white chocolate chips into the batter until evenly distributed.
- Spoon the red velvet batter into the prepared pan. Spread it into an even layer using an offset spatula or the back of a spoon. For a smoother top, you can use a piece of wax paper to press the batter down evenly (remember to remove the wax paper before baking).
- Bake in the preheated oven for about 30-35 minutes, or until the top looks set and a toothpick inserted into the center comes out clean or with a few moist crumbs. The center should not wobble when the pan is gently shaken.
- Remove from the oven and allow the cookie cake to cool fully within the pan before proceeding. This is crucial for structure and handling.
Cream Cheese Frosting
- Using an electric mixer, beat the softened butter until smooth and creamy. Then, add the softened brick-style cream cheese and beat until fully combined and lump-free.
- Add 1 cup of powdered sugar (sift if it’s lumpy) and the salt to the butter-cream cheese mixture. Beat on low speed to incorporate, then increase speed until smooth.
- Continue adding the remaining powdered sugar, about 1/2 cup at a time, until your desired sweetness and consistency are reached. If the frosting is too thick, beat in 1 to 2 teaspoons of whipping cream until it’s pipeable.
- Once the cookie cake is completely cooled, if using a springform pan, carefully unclamp the outer ring and transfer the cookie cake to your serving plate. If using a pie plate, leave the cookie cake in the plate.
- Pipe the prepared cream cheese frosting around the edges of the cooled cookie cake. A 1M star tip is excellent for creating decorative rosettes. Optionally, sprinkle with festive sprinkles for an extra touch of charm.
Notes for Success
- Room Temperature Ingredients: Always ensure your butter and eggs are at room temperature. This allows them to cream together more easily and uniformly, resulting in a smoother batter and a better-textured cookie cake.
- Achieving Vibrant Color: Gel food coloring typically provides a more intense and vibrant red hue compared to liquid food coloring. Depending on your personal preference and the brand of coloring, you might use anywhere from 1 to 2 teaspoons to achieve your desired shade of red velvet.
- Understanding Bake Times: Oven temperatures can vary significantly, and the material of your baking pan (metal, glass, or ceramic) can also influence baking time. While 30-35 minutes is a good guideline, some ovens might require up to 40 minutes. If you are using an 8-inch pan instead of a 9-inch, increase the bake time to 40-45 minutes. If you notice the top browning too quickly, lightly tent a piece of aluminum foil over the cookie cake for the last 10 minutes of baking.
- Nutrition Information: The provided nutritional details are an estimated value. They are based on one slice of cookie cake with frosting, assuming all frosting is used and the cake is divided into 10 equal portions. This recipe could easily yield 12 servings.
- Storage Guidelines: An unfrosted red velvet cookie cake can be stored, covered, or in an airtight container at room temperature for up to 4 days. If the cookie cake has been frosted with cream cheese frosting, it can be kept covered at room temperature for up to 8 hours, or in the refrigerator for up to 4 days to maintain freshness.
Nutrition
Estimated nutritional values per serving (1 of 10 slices, with frosting):
- Calories: 549 kcal
- Carbohydrates: 68g
- Protein: 5g
- Fat: 29g
- Saturated Fat: 18g
- Polyunsaturated Fat: 1g
- Monounsaturated Fat: 8g
- Trans Fat: 1g
- Cholesterol: 100mg
- Sodium: 220mg
- Potassium: 117mg
- Fiber: 1g
- Sugar: 48g
- Vitamin A: 755 IU
- Vitamin C: 0.1mg
- Calcium: 66mg
- Iron: 1mg
Enjoy this delightful **Red Velvet Cookie Cake** and let us know what you think!