
Achieving baking perfection often boils down to precision, and nowhere is this more critical than in the measurement of flour. Have you ever diligently followed a recipe, only to find your cookies disappointingly dry and hard, your muffins crumbly, or your cakes dense? These common baking frustrations are frequently traced back to a single culprit: inaccurate flour measurement. While it might seem like a straightforward task, even a slight miscalculation can dramatically alter the texture, moisture, and overall success of your baked creations.
Many home bakers unknowingly add too much flour, leading to a host of problems. This often happens because flour, when stored, tends to settle and compact in its bag or container. When you scoop directly from this packed flour, you’re inevitably gathering more than the recipe intends, even if your measuring cup looks perfectly level. This excess flour absorbs more liquid from your dough or batter, resulting in the dreaded dry, heavy, and often bland final product. Understanding and rectifying this common mistake is a game-changer for anyone aspiring to consistent baking success. This comprehensive guide will walk you through the most accurate methods for measuring flour, ensuring your baked goods are always moist, tender, and delicious.
The Hidden Science Behind Flour Measurement
Flour is the foundational building block for most baked goods, providing structure and texture. Its interaction with liquids and other ingredients is delicate and precise. When a recipe calls for a specific amount of flour, it’s typically based on an ideal weight, not just a volume. For instance, one cup of all-purpose flour is generally considered to weigh around 125 grams (or 4.4 ounces). However, if you simply dip a measuring cup into a bag of densely packed flour, you could easily end up with 150-170 grams or even more. This substantial increase of 20-35% can throw off the entire chemical balance of your recipe. Extra flour means less moisture, leading to less gluten development (for chewiness) or too much (for toughness), and ultimately, a compromised texture. Recognizing the impact of this density variation is the first step toward becoming a more confident and successful baker.
Fortunately, there are two reliable methods to ensure you measure flour with pinpoint accuracy, whether you’re a seasoned pro or just starting your baking journey.
The Gold Standard: Measuring Flour with a Kitchen Scale
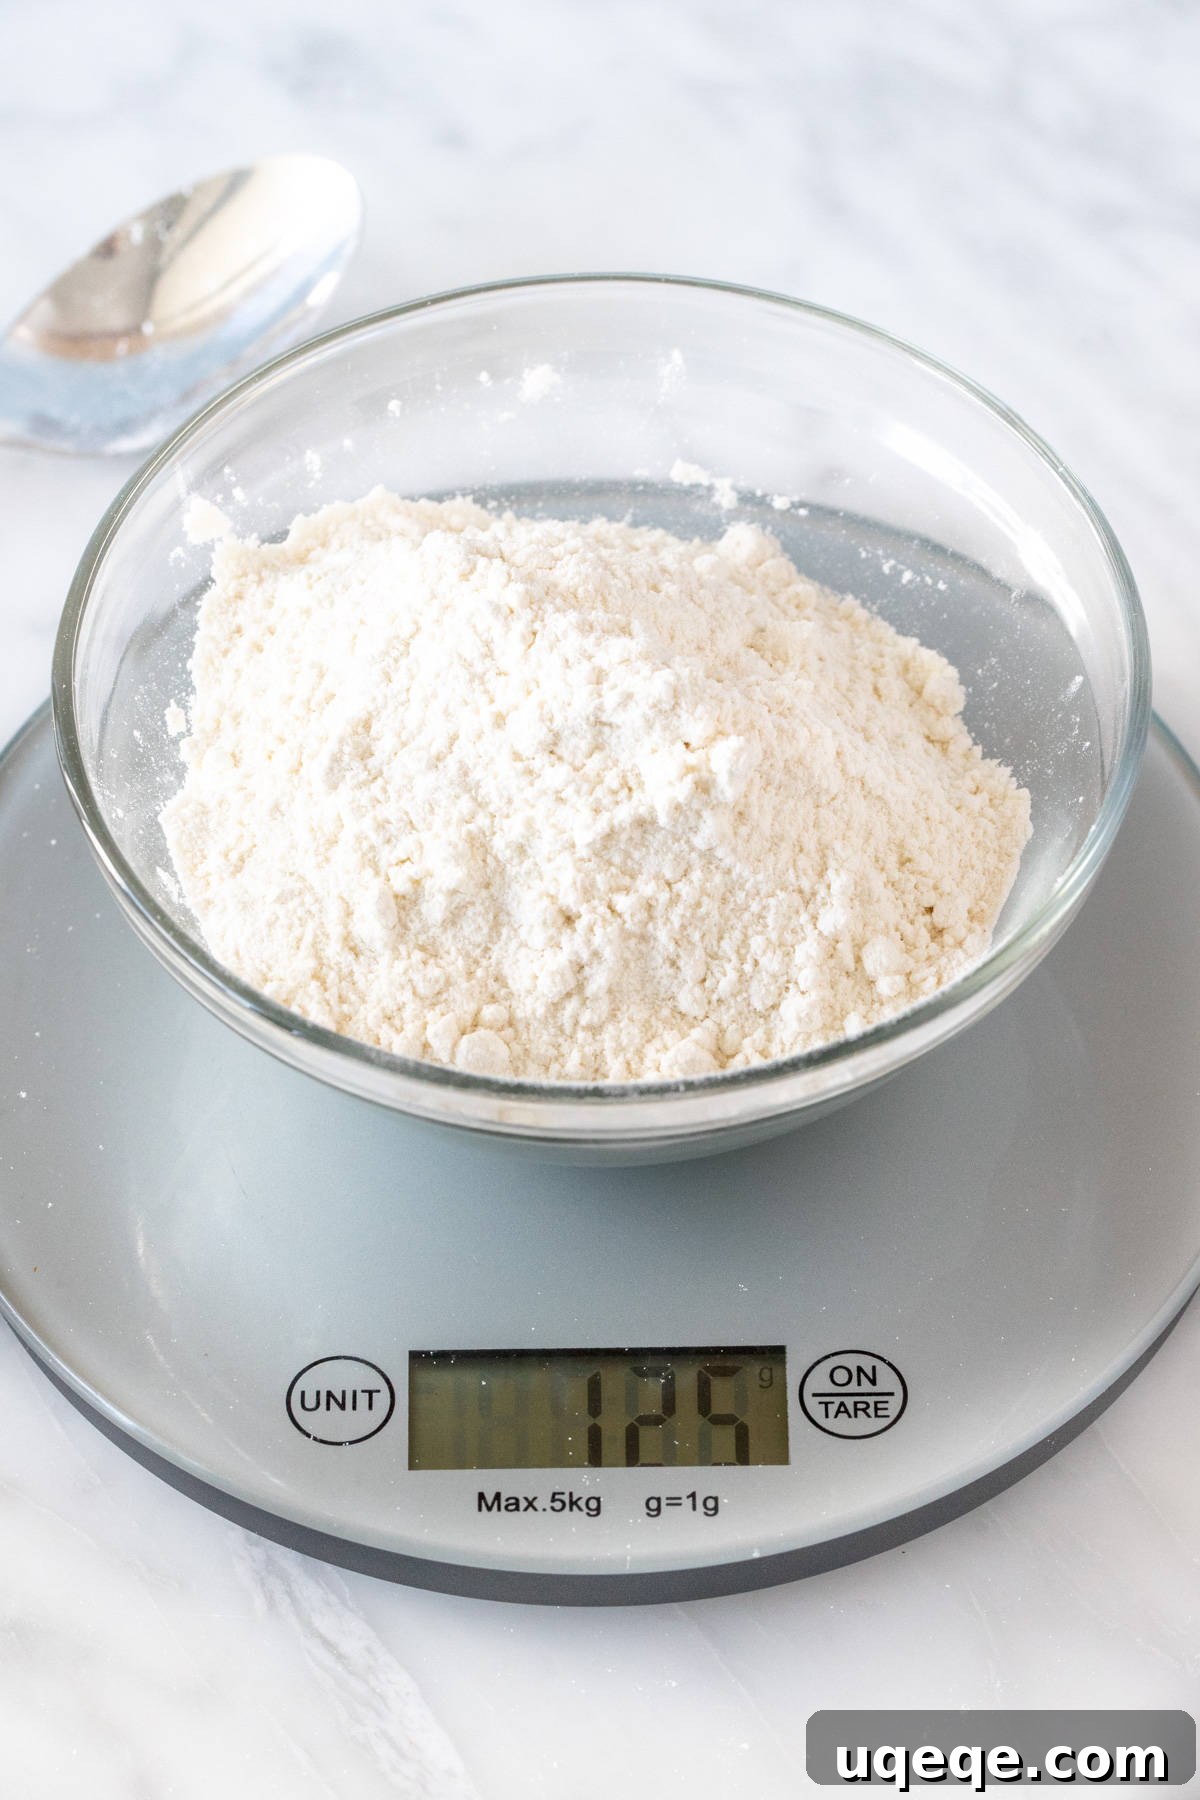
For unparalleled accuracy and consistency in baking, a digital kitchen scale is your best friend. It eliminates all guesswork, making flour measurement incredibly simple and precise. Using a scale ensures you get the exact amount of flour the recipe developer intended, leading to predictable and delicious results every time. Most professional bakers and serious home cooks swear by this method for its reliability.
Here’s how to properly measure flour using a kitchen scale:
- Place Your Bowl: Turn on your digital kitchen scale and place an empty bowl or the mixing bowl you plan to use directly on its surface.
- Tare the Scale: Press the “tare” or “zero” button. This crucial step resets the scale to zero, effectively subtracting the weight of your bowl so that only the weight of the ingredients is measured.
- Add Flour Gradually: Carefully spoon or pour the flour into the bowl until you reach the desired weight. For all-purpose flour, the standard conversion is 125 grams per 1 cup. If your recipe provides weights in ounces, you’ll aim for 4.4 ounces per cup. Always refer to your specific recipe’s weight recommendations if available, as some recipes may vary slightly.
- Read and Adjust: Watch the display as you add the flour. It’s much easier to add a little more if you’re under than to remove flour if you’ve added too much.
The benefits of using a kitchen scale extend beyond just flour. It’s ideal for all dry ingredients like sugar, cocoa powder, oats, and even liquids for maximum accuracy, especially in complex recipes or when scaling up or down batches.
The Traditional Method: Measuring Flour with Dry Measuring Cups (Spoon & Level)
If you don’t own a kitchen scale, or if your recipe only provides volume measurements, dry measuring cups are the next best option. It’s important to distinguish these from liquid measuring cups. Dry measuring cups come in sets (1/4 cup, 1/3 cup, 1/2 cup, 1 cup) and are designed to be filled to the brim and leveled off. They are not the clear, spouted cups with lines on the side that you use for liquids. When using dry measuring cups, the key is the “spoon and level” method, which helps prevent overpacking.
Follow these steps for accurate flour measurement with dry measuring cups:
- Fluff the Flour First: This is a critical initial step often overlooked. Flour settles and becomes compacted in its container. To accurately measure, you need to aerate it. You can do this by gently whisking the flour in its bag or container with a wire whisk or two forks for about 10-15 seconds. Alternatively, you can scoop out some flour and sprinkle it back into the container, helping to loosen it. This process introduces air back into the flour, making it less dense and closer to its intended volume.
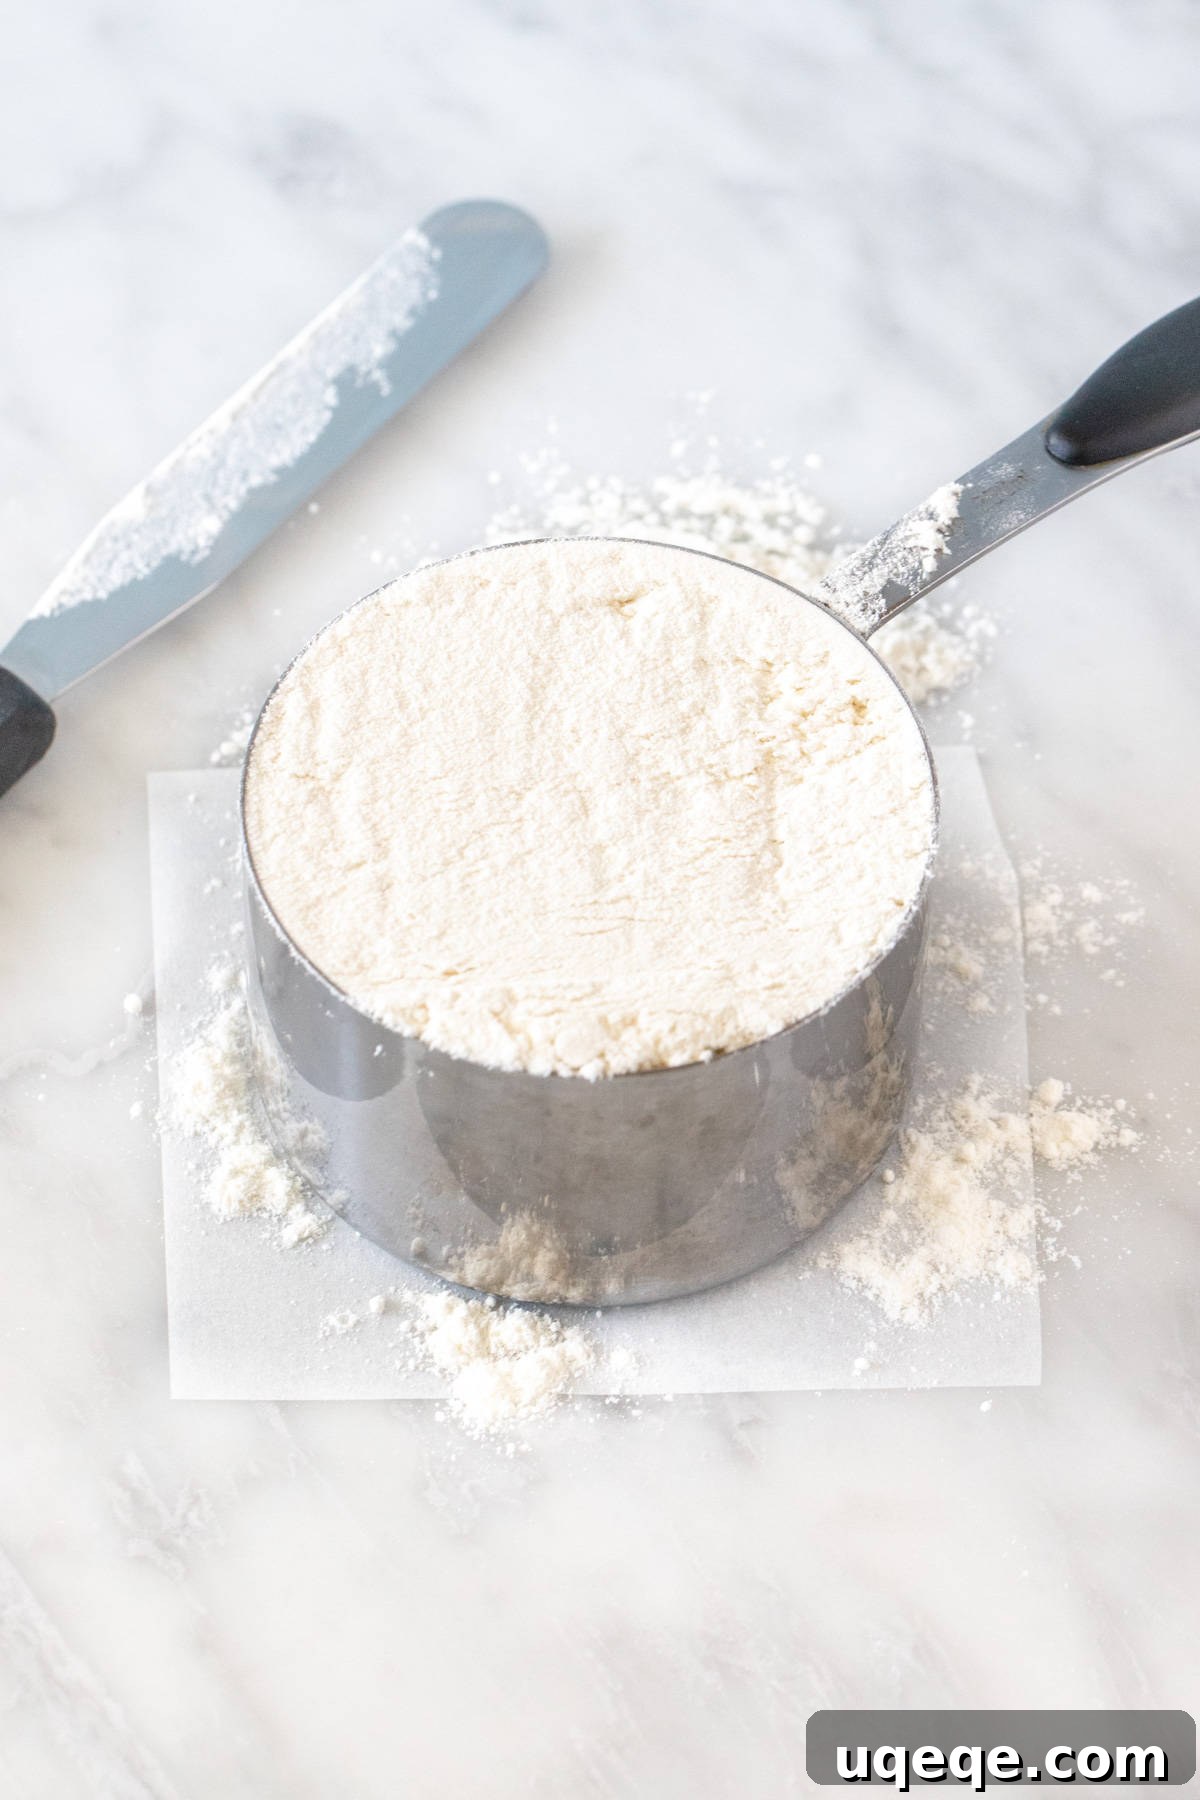
- Spoon Flour into the Measuring Cup: Do not scoop the measuring cup directly into the flour bag! This action forces and compacts the flour into the cup, leading to an excessive amount. Instead, use a separate spoon (like a tablespoon or a serving spoon) to gently spoon the fluffed flour into your dry measuring cup. Fill the cup until it’s overflowing slightly, making sure not to tap or shake the cup, as this will also cause the flour to settle and compact.
- Level Off the Top: Once the measuring cup is gently mounded with flour, use the flat back of a knife or a straight-edged utensil (like an offset spatula or bench scraper) to level off the excess flour. Simply scrape the straight edge across the top of the cup, pushing any extra flour back into your container. The goal is to have a perfectly flat, level surface of flour without any compression.
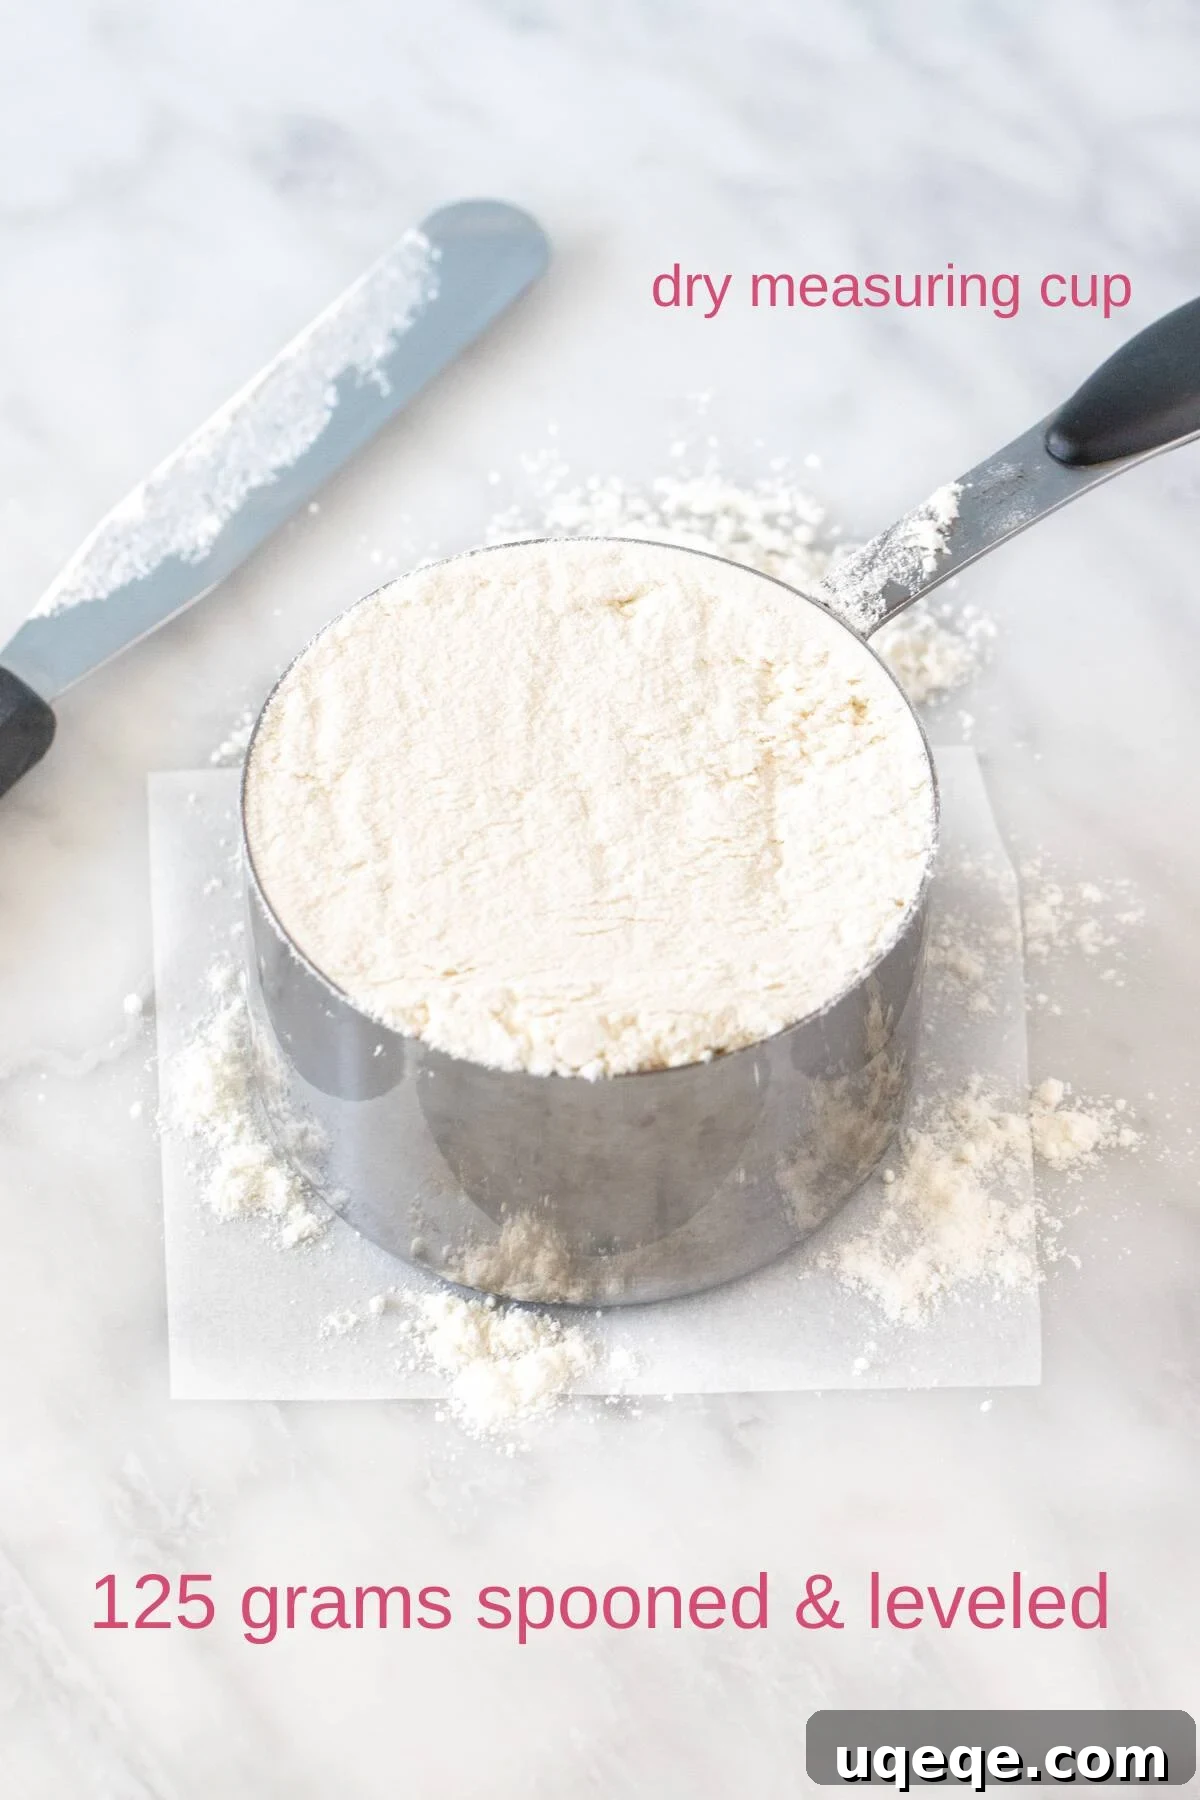
Important Note: While 125 grams per cup is a widely accepted standard for all-purpose flour, different brands and types of flour (e.g., cake flour, bread flour, whole wheat flour) can have slightly different densities and thus varying weights per cup. Always check if your recipe specifies a weight or a particular measurement guideline. In my recipes, I consistently use 125 grams per cup of all-purpose flour as my benchmark.
Why Accurate Flour Measurement Matters for Every Baker
The difference between a mediocre bake and a truly spectacular one often lies in these small details. Over-measuring flour can turn light, fluffy cakes into dense bricks, chewy cookies into crumbly discs, and moist muffins into dry, flavorless hockey pucks. Here’s how precise flour measurement positively impacts your baking:
- Perfect Texture: Correct flour amounts ensure your baked goods achieve their intended texture – whether that’s a tender crumb for a cake, a soft chew for a cookie, or a light airiness for bread.
- Optimal Moisture: Flour absorbs liquid. Too much flour means too much absorption, leaving your finished product dry. Accurate measurement ensures the perfect balance of moisture, keeping your treats succulent and delicious.
- Consistent Results: Once you master accurate measurement, you can replicate your favorite recipes with consistent success. No more guessing why a batch turned out differently than the last!
- Enhanced Flavor: When the flour-to-liquid ratio is spot on, other flavors in your recipe (like chocolate, fruit, or spices) can shine through without being muted by an overwhelming flour taste.
- Better Rise: Especially in leavened goods like cakes and muffins, too much flour can weigh down the batter, hindering the leavening agents (baking soda/powder) from creating that beautiful rise.
Common Flour Measurement Mistakes to Avoid
- Scooping Directly: Plunging your measuring cup straight into the flour bag compacts the flour, adding significantly more than needed.
- Tapping or Shaking the Cup: This action also settles the flour, increasing its density and leading to an over-measurement.
- Using Liquid Measuring Cups for Dry Ingredients: Liquid measuring cups are designed with headspace for liquids and pouring, making them unsuitable for level dry measurements.
- Not Taring the Scale: Forgetting to zero out your kitchen scale with the container on it means you’ll include the container’s weight in your flour measurement.
Beyond Flour: The Importance of Measuring Other Dry Ingredients
The principles of accurate measurement extend beyond flour to nearly all dry ingredients. Granulated sugar, powdered sugar, cocoa powder, oats, and even chocolate chips can vary in density. While a kitchen scale remains the most accurate for these, the “spoon and level” method is also beneficial for volume measurements of finely textured dry ingredients like cocoa powder and powdered sugar to avoid clumps and overpacking. For coarser ingredients like oats or nuts, direct scooping is generally acceptable, but consistency remains paramount.
Troubleshooting: What If Your Baked Goods are Still Dry?
While incorrect flour measurement is a leading cause of dry baked goods, it’s not the only factor. If you’ve mastered flour measurement and still face dryness, consider these other culprits:
- Over-Baking: Even a few extra minutes in the oven can suck the moisture out of your delicate treats. Always check for doneness at the earliest recommended time.
- Incorrect Oven Temperature: An oven that runs too hot can cook items too quickly, drying them out before they’re fully set. An oven thermometer can help verify your oven’s accuracy.
- Old Leavening Agents: Baking soda and baking powder lose their potency over time, leading to poor rise and sometimes a denser, drier texture.
- Too Little Fat or Liquid: Ensure you’re accurately measuring all liquids and fats in your recipe, as they contribute significantly to moisture and richness.
Elevate Your Baking Skills: More Essential Tips
Mastering flour measurement is just one step on your journey to becoming a baking pro. For more essential advice and techniques, explore these helpful guides:
- Easy Tips for Better Baking
- How to Make Buttermilk – a game changer for so many cake, cupcakes & muffin recipes
- Baking with Oats – understand the differences between quick, instant and old-fashioned oats
- Easy Tips for Making the Perfect Bundt Cake
The Simple Recipe for Measuring Flour
Here’s a quick summary of the methods for measuring 1 cup of all-purpose flour accurately.
Equipment
- Digital kitchen scale (recommended)
- Dry measuring cups (if not using a scale)
- Wire whisk or two forks
- Spoon for scooping flour
- Straight-edged knife or spatula for leveling
Ingredients
- 1 cup all-purpose flour (approx. 125 grams or 4.4 ounces)
Instructions
- Using a Kitchen Scale:
- Place an empty bowl on your digital kitchen scale and press the “tare” or “zero” button.
- Gently spoon or pour the flour into the bowl until the scale reads 125 grams (or 4.4 ounces).
- Using Dry Measuring Cups (Spoon & Level Method):
- Fluff up the flour in its container using a wire whisk or two forks to aerate it and break up any compaction.
- Using a separate spoon, gently spoon the fluffed flour into your dry measuring cup until it is slightly mounded. Do not pack, tap, or shake the cup.
- Use the flat back of a knife or a straight-edged utensil to level off the top of the measuring cup, scraping any excess flour back into its container.
By implementing these straightforward techniques for measuring flour, you are setting yourself up for unprecedented baking success. Say goodbye to dry, dense, or crumbly baked goods and hello to consistently perfect, moist, and delicious treats every time you step into the kitchen. Happy baking!