
Effortless Elegance: The Ultimate Christmas Sprinkle Slice & Bake Cookies
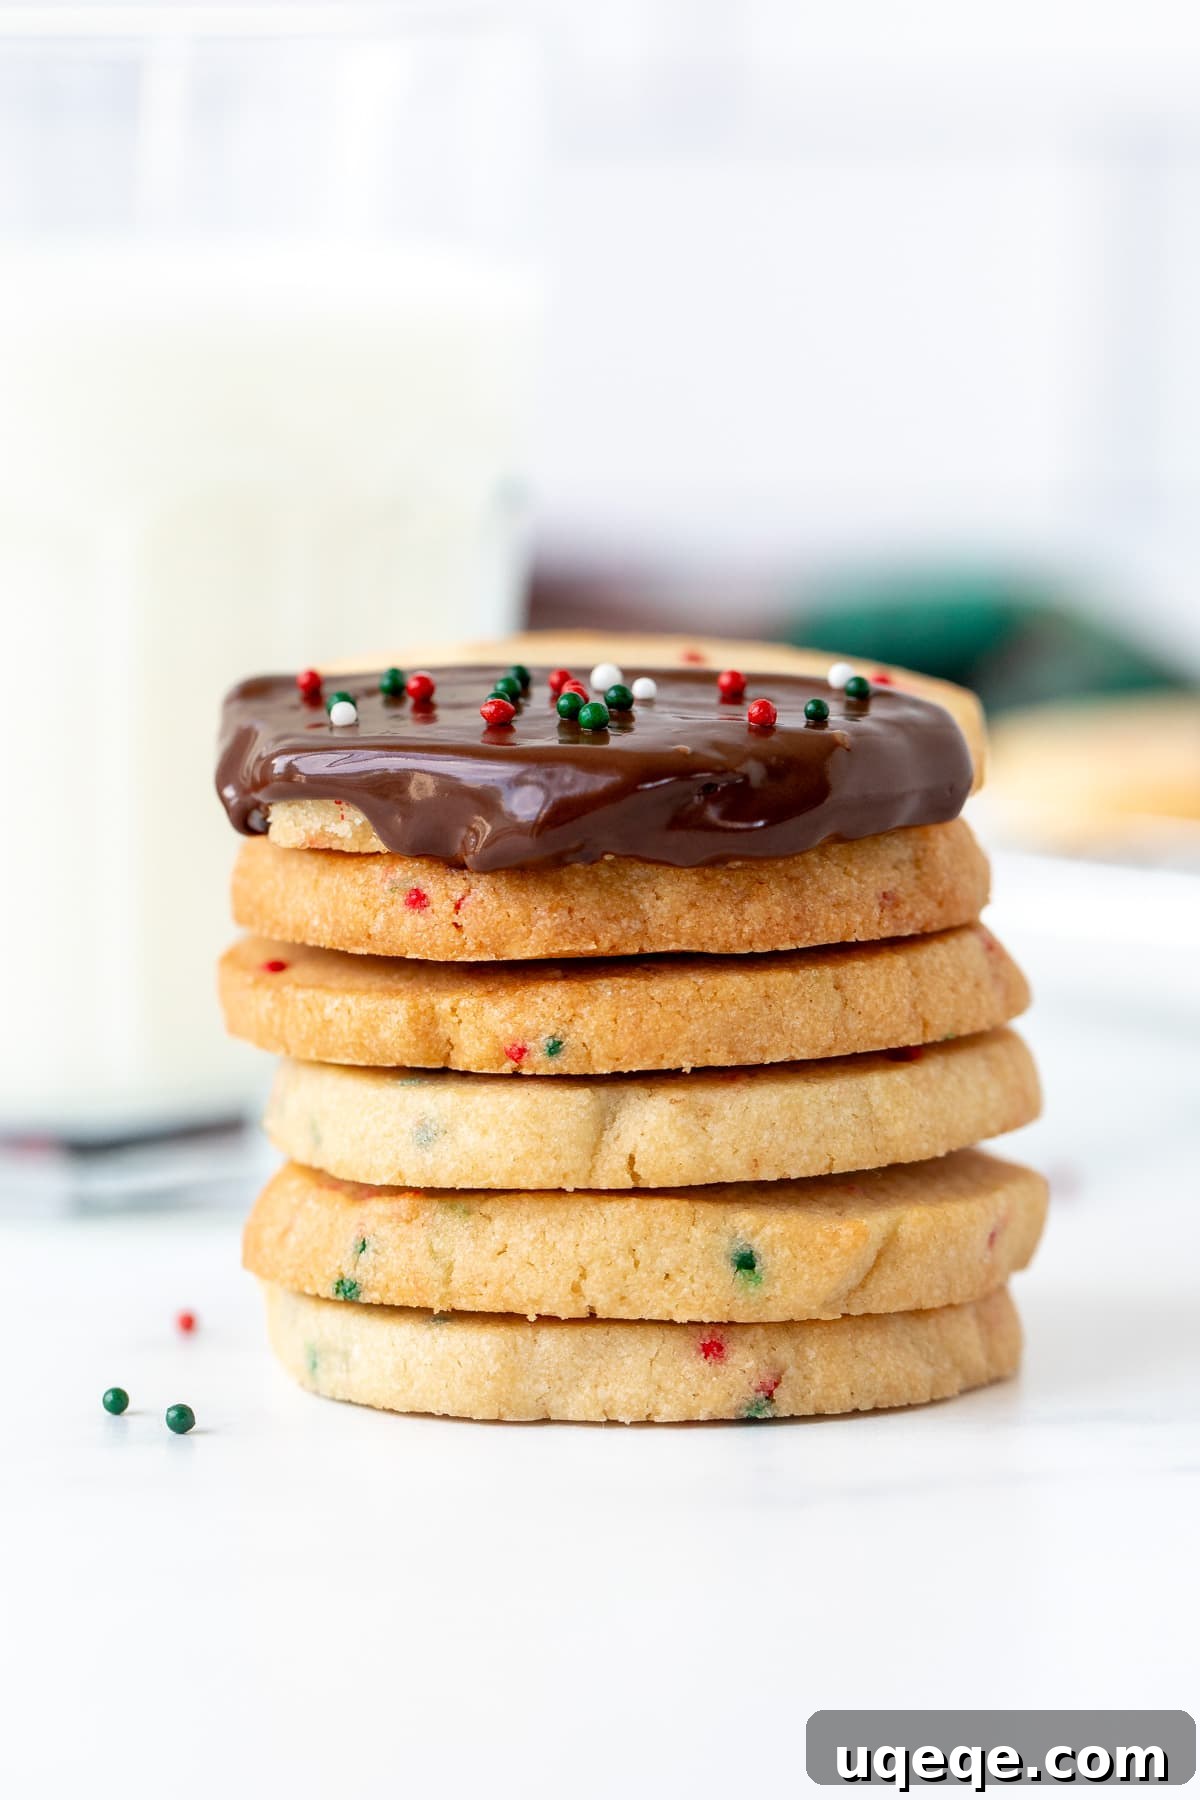
As the festive season approaches, the scent of freshly baked cookies is a cornerstone of holiday cheer. Our easy Christmas Sprinkle Slice & Bake Cookies offer the perfect solution for busy bakers seeking both convenience and culinary delight. These buttery, tender cookies are a true celebration of holiday flavors and aesthetics, making them an absolute must-have for your cookie trays. The beauty of this recipe lies in its simplicity and the ability to prepare the dough well in advance, freeing up precious time during the bustling holiday season.
Imagine a cookie that’s firm yet yielding, with a delicate crunch that gives way to a melt-in-your-mouth tender interior. That’s precisely what you get with these delightful sprinkle-studded treats. Their rich vanilla essence, subtly enhanced by a hint of almond, perfectly complements the colorful burst of festive sprinkles. While utterly delicious on their own, a decadent dip in melted chocolate and a final flourish of extra sprinkles transform them into miniature works of art, ready to impress on any holiday platter.
Why Slice & Bake Cookies Are Your Holiday Baking Secret Weapon
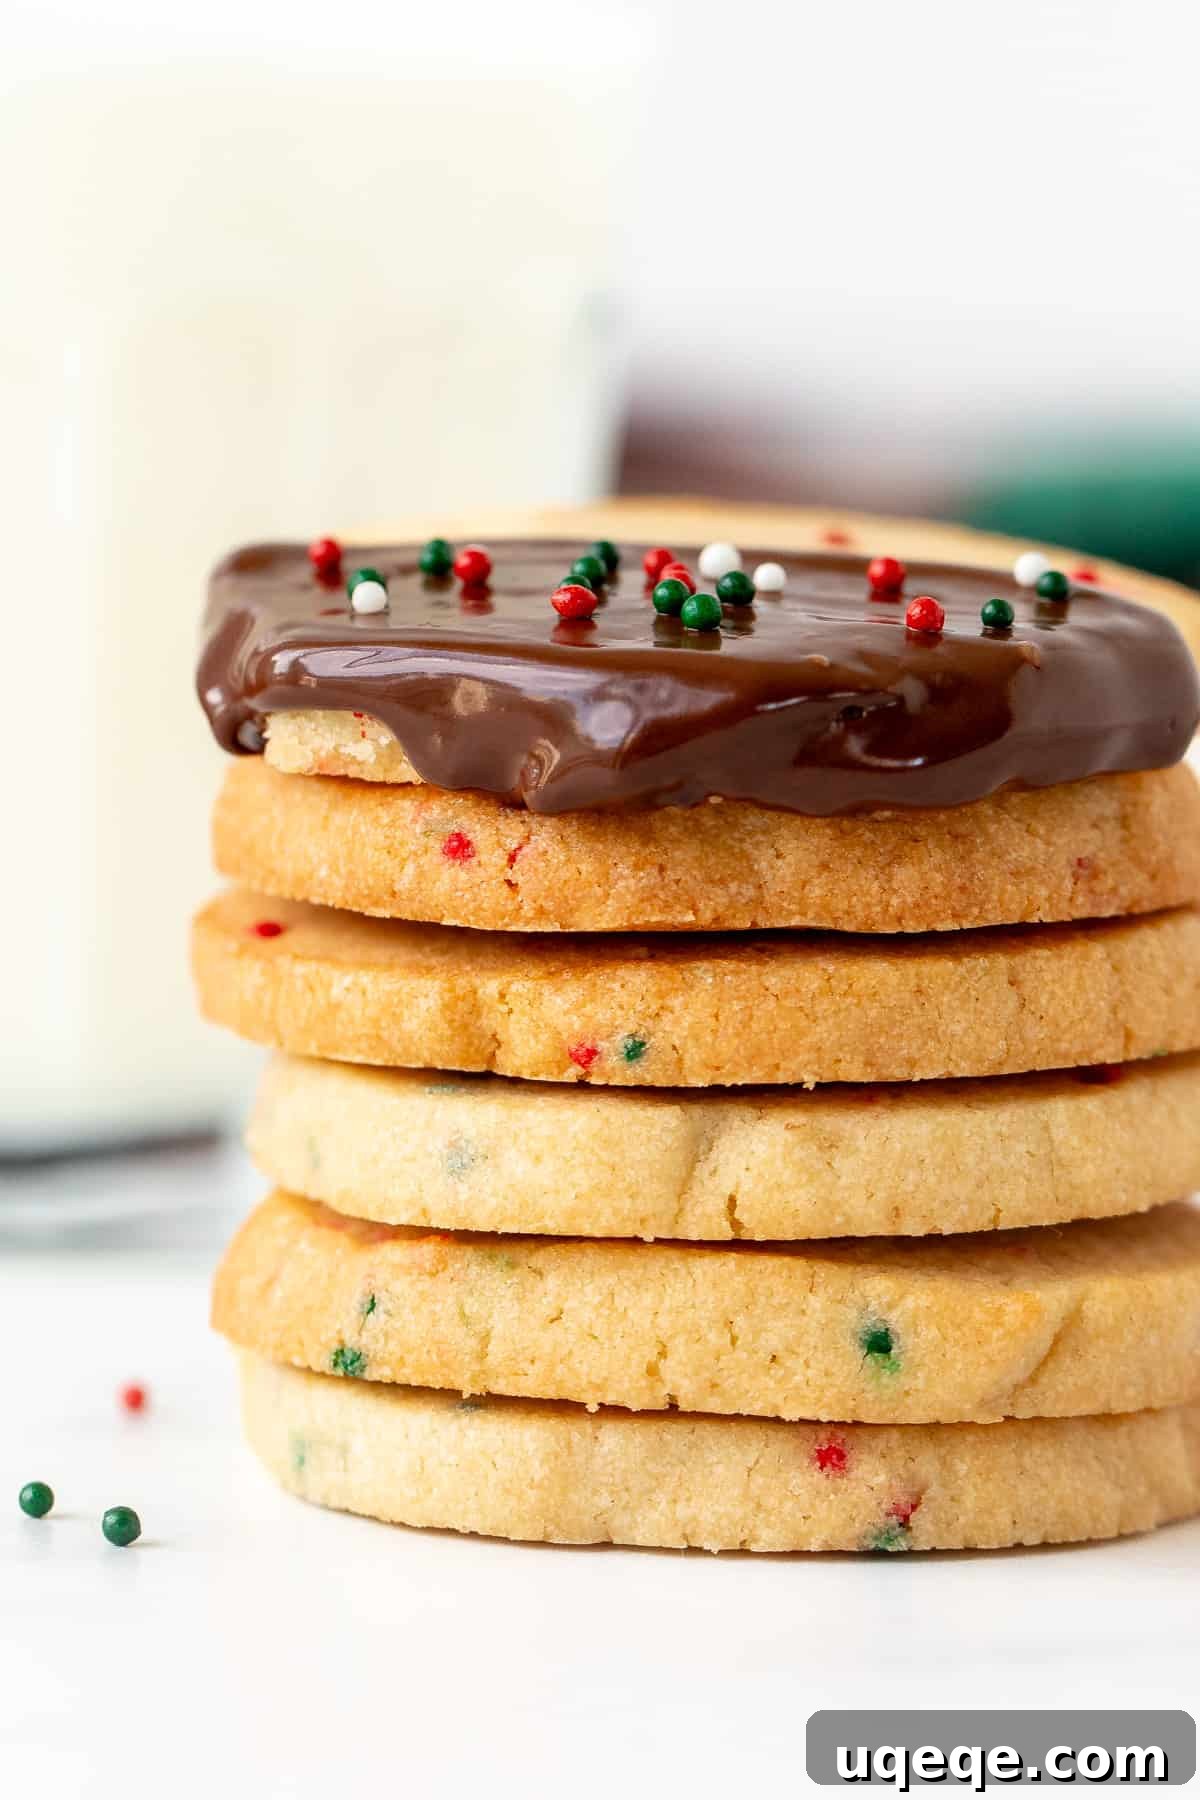
Slice and bake, also known as icebox cookies, are a personal favorite for holiday baking, and for good reason. Their inherent design makes them incredibly adaptable to a busy schedule. The dough, once prepared, can patiently wait in your refrigerator for days or even your freezer for months, ready to be sliced and baked at a moment’s notice. This Christmas sprinkle variation takes convenience a step further, delivering a visually stunning cookie that tastes as wonderful as it looks. Each cookie boasts a rich, buttery vanilla flavor profile, a firm yet slightly crunchy exterior, and a wonderfully tender interior, often compared to the satisfying texture of classic shortbread.
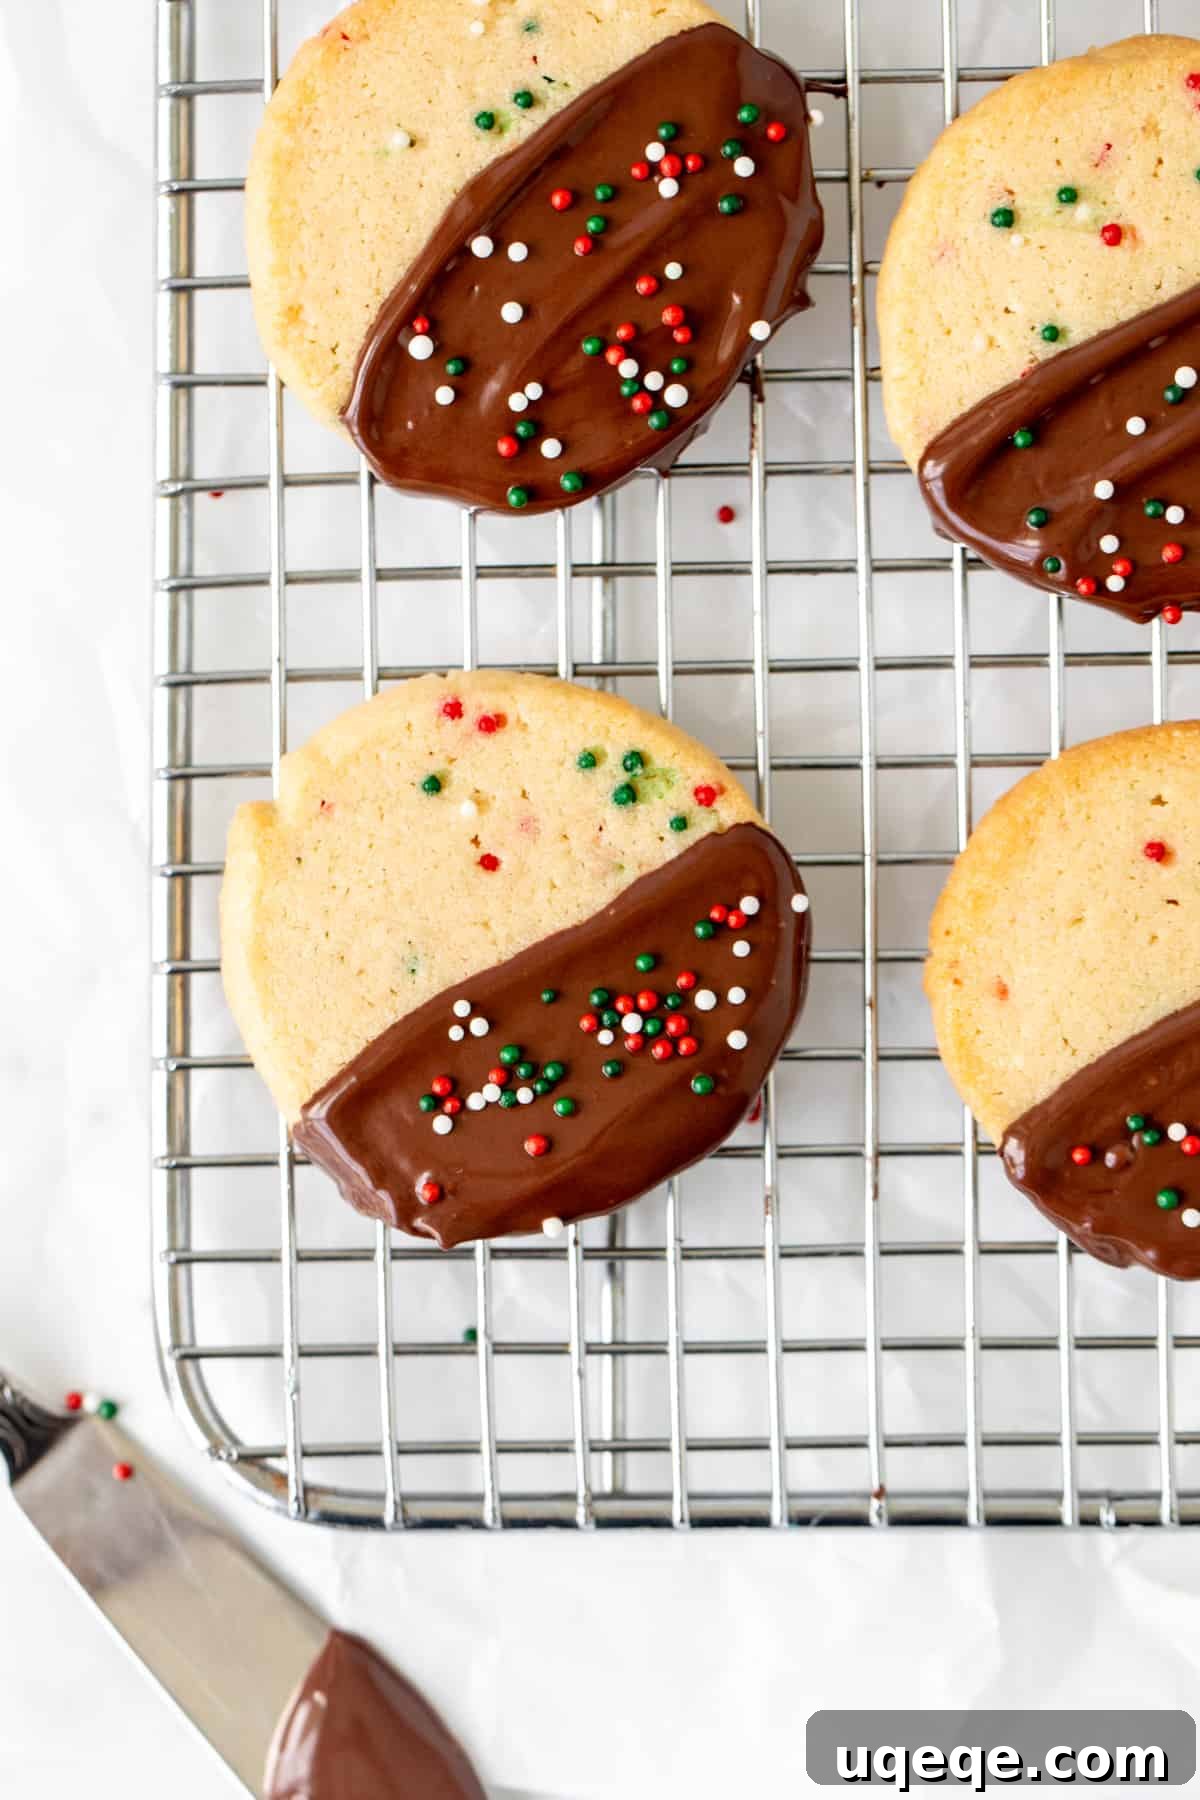
The versatility of these cookies is another major advantage. While they are undoubtedly delicious simply baked, dipping them in melted chocolate and topping them with an extra cascade of sprinkles elevates them to a truly show-stopping dessert. This extra step adds a layer of richness and a delightful textural contrast. However, if you’re short on time or prefer a slightly less sweet option, these cookies are equally delightful left plain, offering a pure, unadulterated buttery goodness. The choice is yours, and both paths lead to a supremely satisfying treat.
Crafting Perfect Christmas Slice & Bake Cookies: Essential Tips
Making these delightful slice and bake cookies is remarkably straightforward, requiring only a handful of common pantry ingredients. However, paying attention to a few key techniques will ensure your cookies are perfect every time, holding their shape beautifully and delivering that coveted tender-crisp texture. Here’s what you need to know:
- Butter Consistency is Key: Ensure your butter is softened, but still noticeably firm to the touch. It should yield slightly when pressed but not be oily or greasy. Using butter that is too warm or melted will cause the cookies to spread excessively during baking, losing their lovely round shape. The ideal consistency allows for thorough creaming with the sugars without over-aerating the mixture.
- Avoid Overmixing the Butter and Sugars: When creaming the softened butter with both granulated and brown sugars, mix just until the ingredients are combined and appear light and creamy, typically 1-2 minutes. Overmixing at this stage can incorporate too much air, which can negatively impact the cookie’s structure and lead to spreading in the oven. A light, fluffy texture is good, but don’t beat it into submission.
- The Secret Ingredient: Almond Extract: While optional, a small dash of almond extract truly elevates the flavor profile of these cookies. It adds a subtle, sophisticated depth that perfectly complements the vanilla and makes these cookies taste even more special and festive. You’ll find it in the baking aisle alongside vanilla extract.
- Dough Texture Check: The finished dough should feel soft but not overly sticky. If you find it clinging heavily to your fingers, incorporate an additional 1 to 2 tablespoons of all-purpose flour. This minor adjustment can make a significant difference in the dough’s workability and the final cookie’s structure. Remember to add flour gradually until the desired consistency is achieved.
- Gentle Hand with Sprinkles: Once the dough is mixed, it’s time for the sprinkles! Very carefully fold them into the dough using a rubber spatula or a wooden spoon. Avoid vigorous stirring or, critically, using an electric mixer. The friction and force can cause the vibrant colors of the sprinkles to “bleed” into the dough, resulting in a less defined and visually appealing cookie. Gentle folding ensures the sprinkles remain distinct and bright.
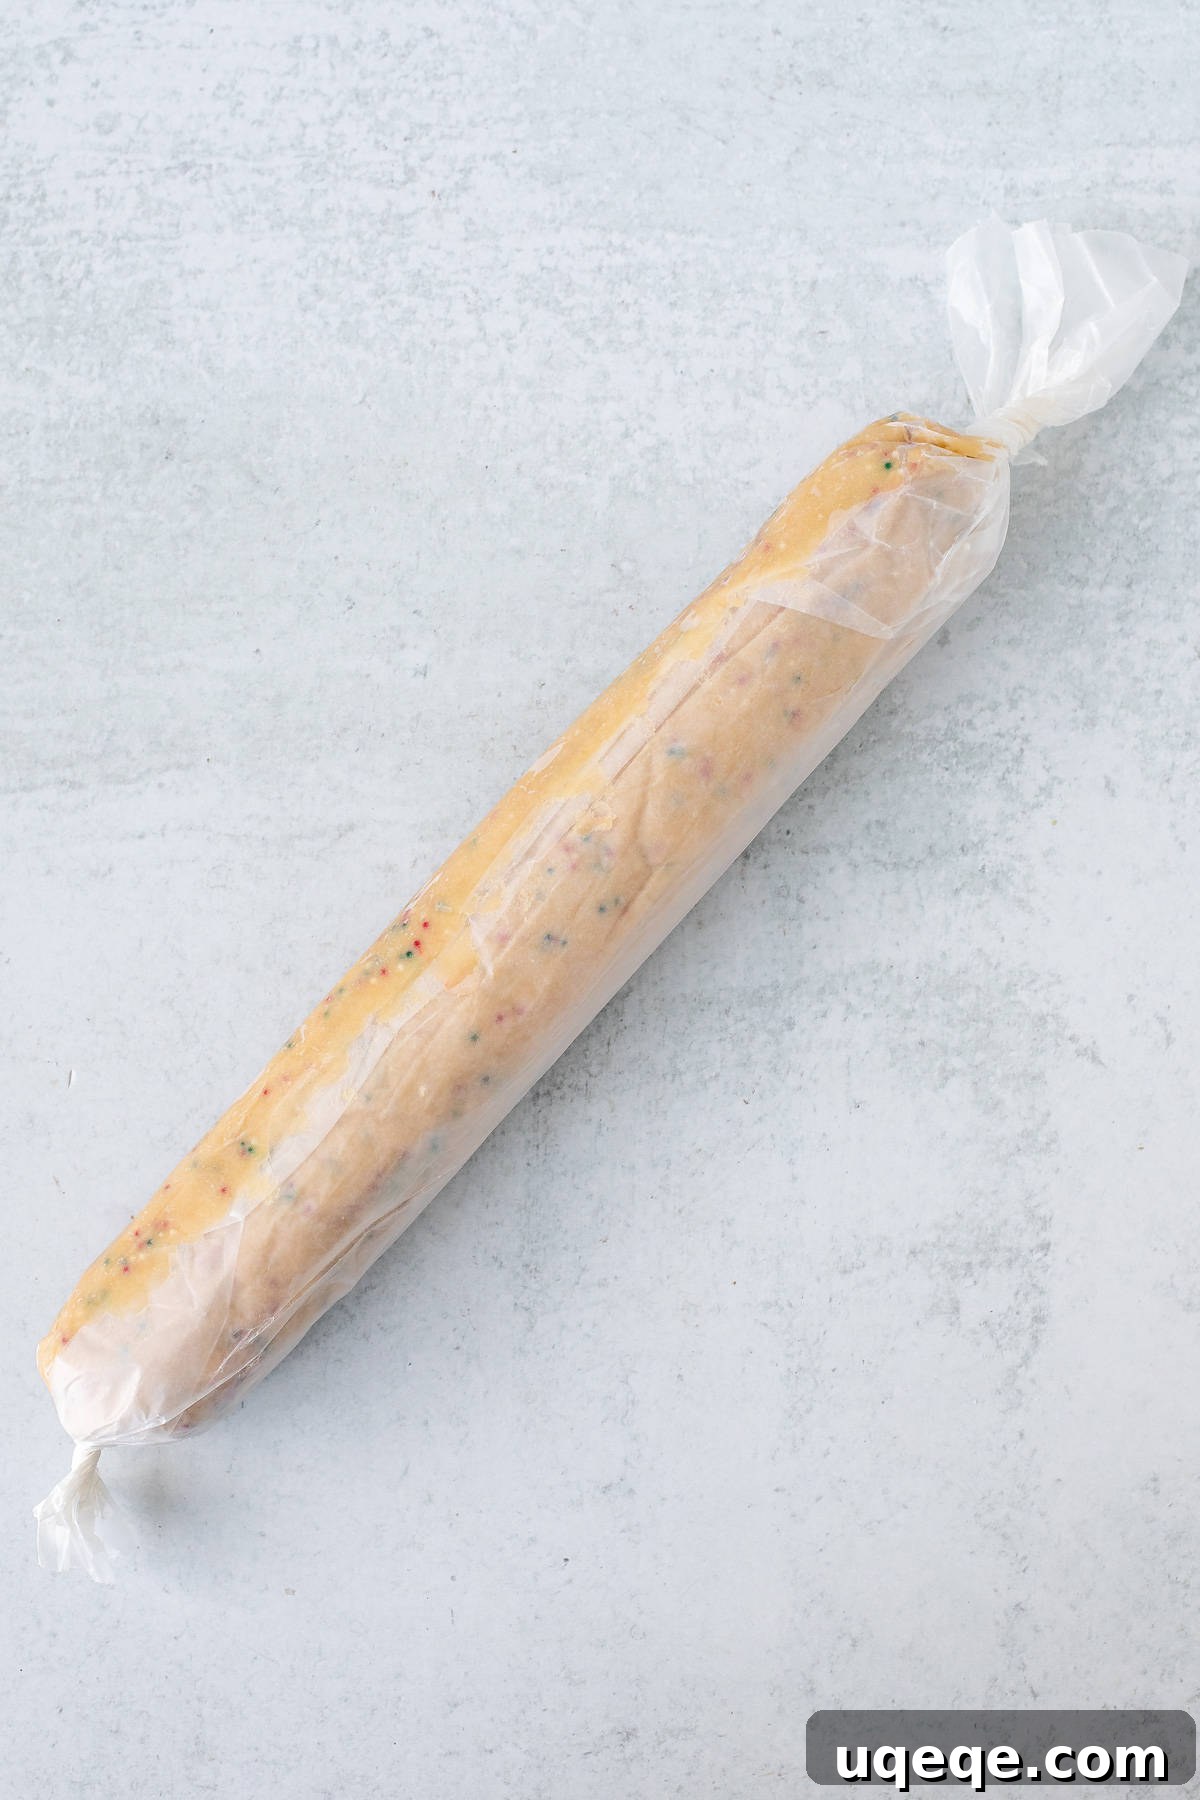
- Forming a Tight Log: After the sprinkles are incorporated, spoon the dough onto a sheet of wax paper. Shape it into a firm, compact log, ideally 1.5 to 2 inches in diameter. The trick here is to really pack the dough tightly as you form the log. This density is crucial for preventing air pockets and ensuring uniform slices. Once shaped, wrap the log securely in the wax paper, twisting the ends to seal it tightly.
- Chilling is Non-Negotiable: This step is absolutely mandatory for slice and bake cookies. The dough *must* be chilled for at least 4 hours, or ideally overnight, before baking. Chilling firms up the butter and allows the flour to fully hydrate, which is essential for the cookies to maintain their shape, prevent spreading, and allow for clean, even slicing. Without proper chilling, the dough will be too soft to cut and the cookies will likely lose their form during baking.
- Keep it Cool Before Slicing: Once the dough log is chilled and you’re ready to bake, work quickly. Do not allow the log to warm up significantly before slicing. If the dough becomes too soft, the cookies will again struggle to hold their shape in the oven. If you’re baking in batches, return the unbaked sliced cookies to the refrigerator between trays to keep them cool.
Effortless Holiday Baking: Make-Ahead & Freezing Strategies
A true Christmas cookie recipe shines with its make-ahead capabilities, and these sprinkle slice and bake cookies excel in this regard. Because the dough requires a minimum of 4 hours to chill, this recipe is inherently designed for advance preparation, making your holiday baking stress-free and enjoyable. Here’s how to maximize your prep time:
- Refrigerating the Dough: The unbaked cookie dough log, securely wrapped in wax paper, can be stored in the refrigerator for up to 5 days. This flexibility means you can prepare the dough a few days before your baking session, allowing you to simply slice and bake when you’re ready.
- Freezing the Dough for Longer Storage: For even longer preservation, the wrapped dough log can be placed inside a freezer-safe bag or airtight container and frozen for up to 2 months. When you’re ready to bake, simply transfer the frozen log to the refrigerator to thaw overnight. The next day, it will be perfectly ready for slicing and baking. This is a game-changer for spreading out your holiday baking tasks.
- Freezing Baked Cookies: Fully baked and cooled cookies also freeze wonderfully. Place them in a single layer on a baking sheet to freeze solid, then transfer them to a freezer bag or airtight container. To prevent them from sticking together, it’s a good practice to place a sheet of wax paper between layers of cookies. They can be frozen for up to 2 months. Thaw them in the refrigerator, then bring to room temperature before serving. A quick note: I generally do not recommend freezing cookies *after* they have been dipped in chocolate. While still safe to eat, the chocolate can sometimes discolor or develop a bloom in the freezer, affecting their pristine appearance on your holiday cookie tray. It’s best to dip them fresh after thawing and bringing to room temperature.
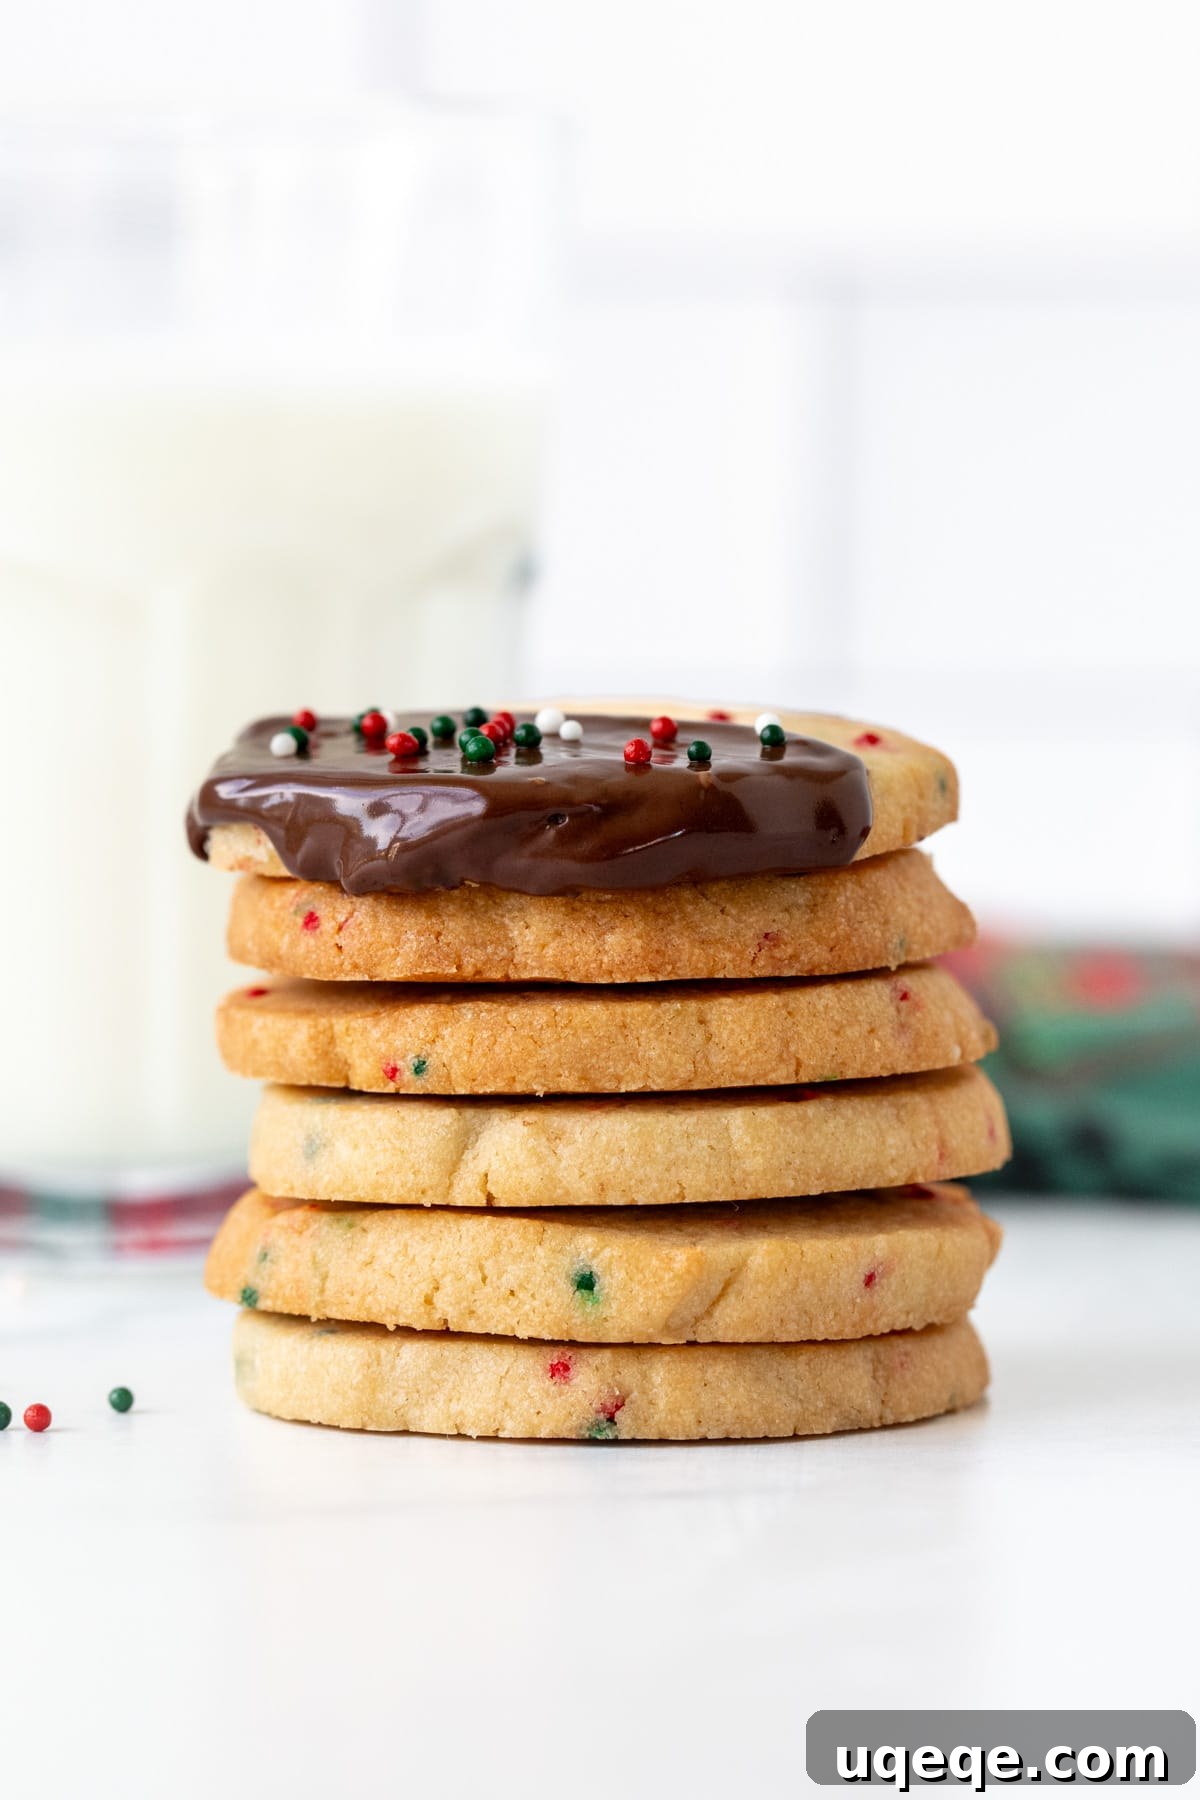
With their irresistibly tender, buttery texture, vibrant sprinkles, and optional decadent chocolate dip, these Christmas Sprinkle Slice & Bake Cookies are an excellent choice for anyone seeking a delicious yet not overly sweet holiday treat. Their design for advance preparation makes them an invaluable asset for staying organized and enjoying a stress-free baking season. Whether you’re baking for family, friends, or a festive party, these cookies are sure to bring smiles and holiday cheer.
Looking for more sprinkle-filled or festive Christmas recipes? Be sure to explore these other delightful options from Just So Tasty:
- Christmas Chocolate Chip Cookies – a classic with a holiday twist!
- Holiday Sprinkle Cookies – for those who adore soft and chewy sprinkle cookies.
- Christmas Sugar Cookie Bars – the perfect choice if you crave soft, tender, and easily shareable sugar cookie goodness.
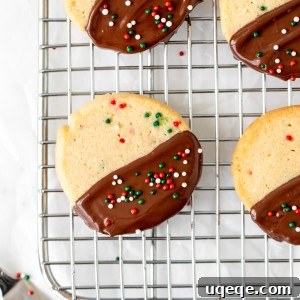
Christmas Sprinkle Slice and Bake Cookies
By: Fiona Dowling
These easy Christmas sprinkle slice and bake cookies are buttery and tender. They’re the perfect Christmas cookie for prepping ahead of time and look beautiful on your holiday cookie tray dipped in chocolate and topped with more sprinkles.
Rate Recipe
Print Recipe
Equipment
- Cookie Sheets
Ingredients
- 3/4 cup unsalted butter (168 grams), slightly softened, still slightly firm to the touch
- 1/2 cup granulated sugar (100 grams)
- 1/4 cup brown sugar (52 grams), I used light
- 1 large egg
- 1 1/2 teaspoons vanilla extract
- 1/4 teaspoon almond extract
- 2 cups all-purpose flour (250 grams)
- 1 teaspoon cornstarch, AKA cornflour
- 1/4 teaspoon salt
- 1/4 cup sprinkles
- 8 ounces chocolate (226 grams), finely chopped
- Sprinkles, for decorating
Instructions
- In a large bowl, beat together the butter, granulated sugar and brown sugar until combined and creamy – about 1-2 minutes.
- Beat in the egg, vanilla extract and almond extract until combined.
- Turn off the mixer and scrape down the sides and bottom of the bowl.
- Add in the flour, cornstarch and salt. Beat together, starting with the mixer on a low speed and gradually increasing to medium speed until combined.
- Carefully fold in the 1/4 cup sprinkles using a rubber spatula or wooden spoon. Do not beat in the sprinkles with the electric mixer, as this can cause the sprinkles to bleed color.
- Place a large sheet of wax paper on the kitchen counter and spoon/dump the cookie dough onto the wax paper.
- Form the dough into a log shape about 1.5 to 2 inches in diameter. Think of packing the dough tightly as you form it into the log. Wrap the log in the wax paper and twist the edges to seal.
- Place the log in the fridge for at least 4 hours or up to 5 days. Optionally, place the wrapped log in a freezer bag and freeze for up to 3 months.
- When ready to bake, preheat the oven to 350F (180C). If your log is frozen, take it out of the freezer and let it thaw in the fridge overnight the day before you plan to bake. Line cookie sheets with parchment paper or baking mats. Take the log out of the fridge and place on a cutting board. Unwrap the log and slice into cookies about 1/4 to 1/3 inch thick with a thin, sharp knife. You should get about 30 cookies.
- Place the cookies about 1 inch apart on the lined cookie sheets and bake 1 sheet at a time in the preheated oven for about 14-16 minutes or until the tops look set and the edges are starting to turn golden brown. While one cookie tray is baking, return the unbaked cookies to the fridge so that they don’t warm up too much.
- Let the cookies cool completely on the cookie sheets.
- Finely chop the chocolate. Place the chopped chocolate in a heatproof bowl. Melt in the microwave in 45-second intervals on medium power (not high power, which is often the default) and stir between each interval. Alternatively, melt in a double boiler over gently simmering water.
- Dip 1/2 of each cookie in chocolate. You can use the back of a spoon to simply paint 1/2 of each cookie. Then place on a wire rack or the cookie tray for the chocolate to harden. Add a few extra sprinkles to the top of each cookie immediately after dipping, before the chocolate sets.
Notes
- Flour: Measure carefully for best results. Whisk your flour first, then spoon it lightly into a dry measuring cup and level off the top. Alternatively, using a kitchen scale to measure in grams (250g) provides the most accurate measurement.
- Almond Extract: While these cookies will still be delicious without it, almond extract truly enhances the flavor, giving them a more professional and festive taste. It’s typically found in the baking aisle of most grocery stores, near the vanilla extract.
- Chilling the Dough: This step is critical! Do not skip it. If the dough is not adequately chilled, it will be too soft to slice cleanly, and your cookies will likely spread excessively and lose their shape during baking.
- Storage: Store baked and completely cooled cookies in an airtight container at room temperature for up to 4 days.
- Nutrition: The provided nutritional details are an estimate only, based on 1 cookie with chocolate topping, assuming the recipe yields 30 uniform cookies. This is for informational purposes.
Nutrition
Calories: 138kcal, Carbohydrates: 17g, Protein: 1g, Fat: 8g, Saturated Fat: 5g, Polyunsaturated Fat: 0.3g, Monounsaturated Fat: 2g, Trans Fat: 0.2g, Cholesterol: 18mg, Sodium: 24mg, Potassium: 37mg, Fiber: 1g, Sugar: 10g, Vitamin A: 151IU, Calcium: 7mg, Iron: 1mg
Like this recipe? Rate and comment below!