
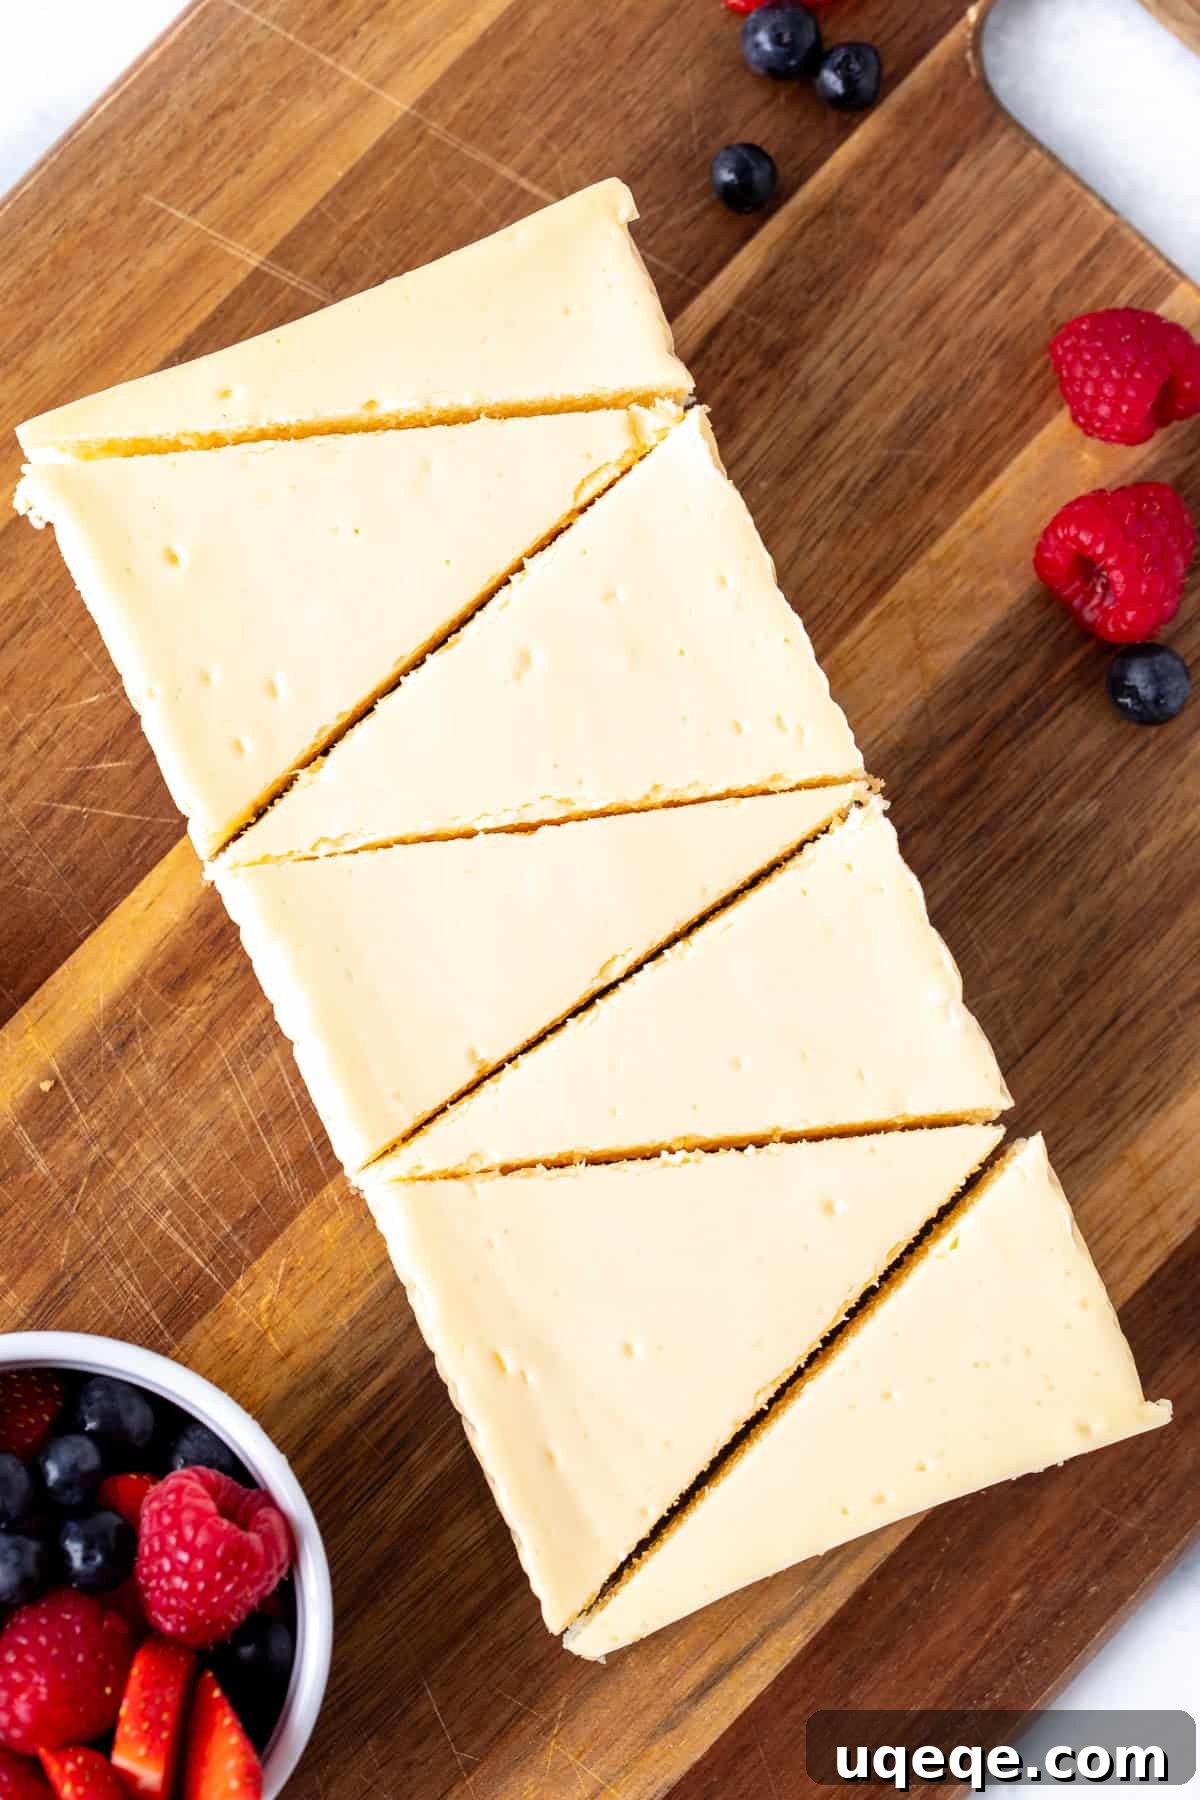
Indulge in Perfection: The Ultimate Small Batch Cheesecake
Craving a rich, creamy slice of cheesecake but don’t need a whole 9-inch dessert? Look no further! This perfect small batch cheesecake recipe is designed specifically for a loaf pan, yielding a delectable treat that serves 4-6 people. It embodies everything you love about a classic New York cheesecake: an incredibly smooth, velvety filling paired with an irresistibly thick graham cracker crust. Whether it’s a cozy dinner for two or a small gathering with friends, this easy-to-make dessert promises gourmet flavor without the fuss of a large cake.
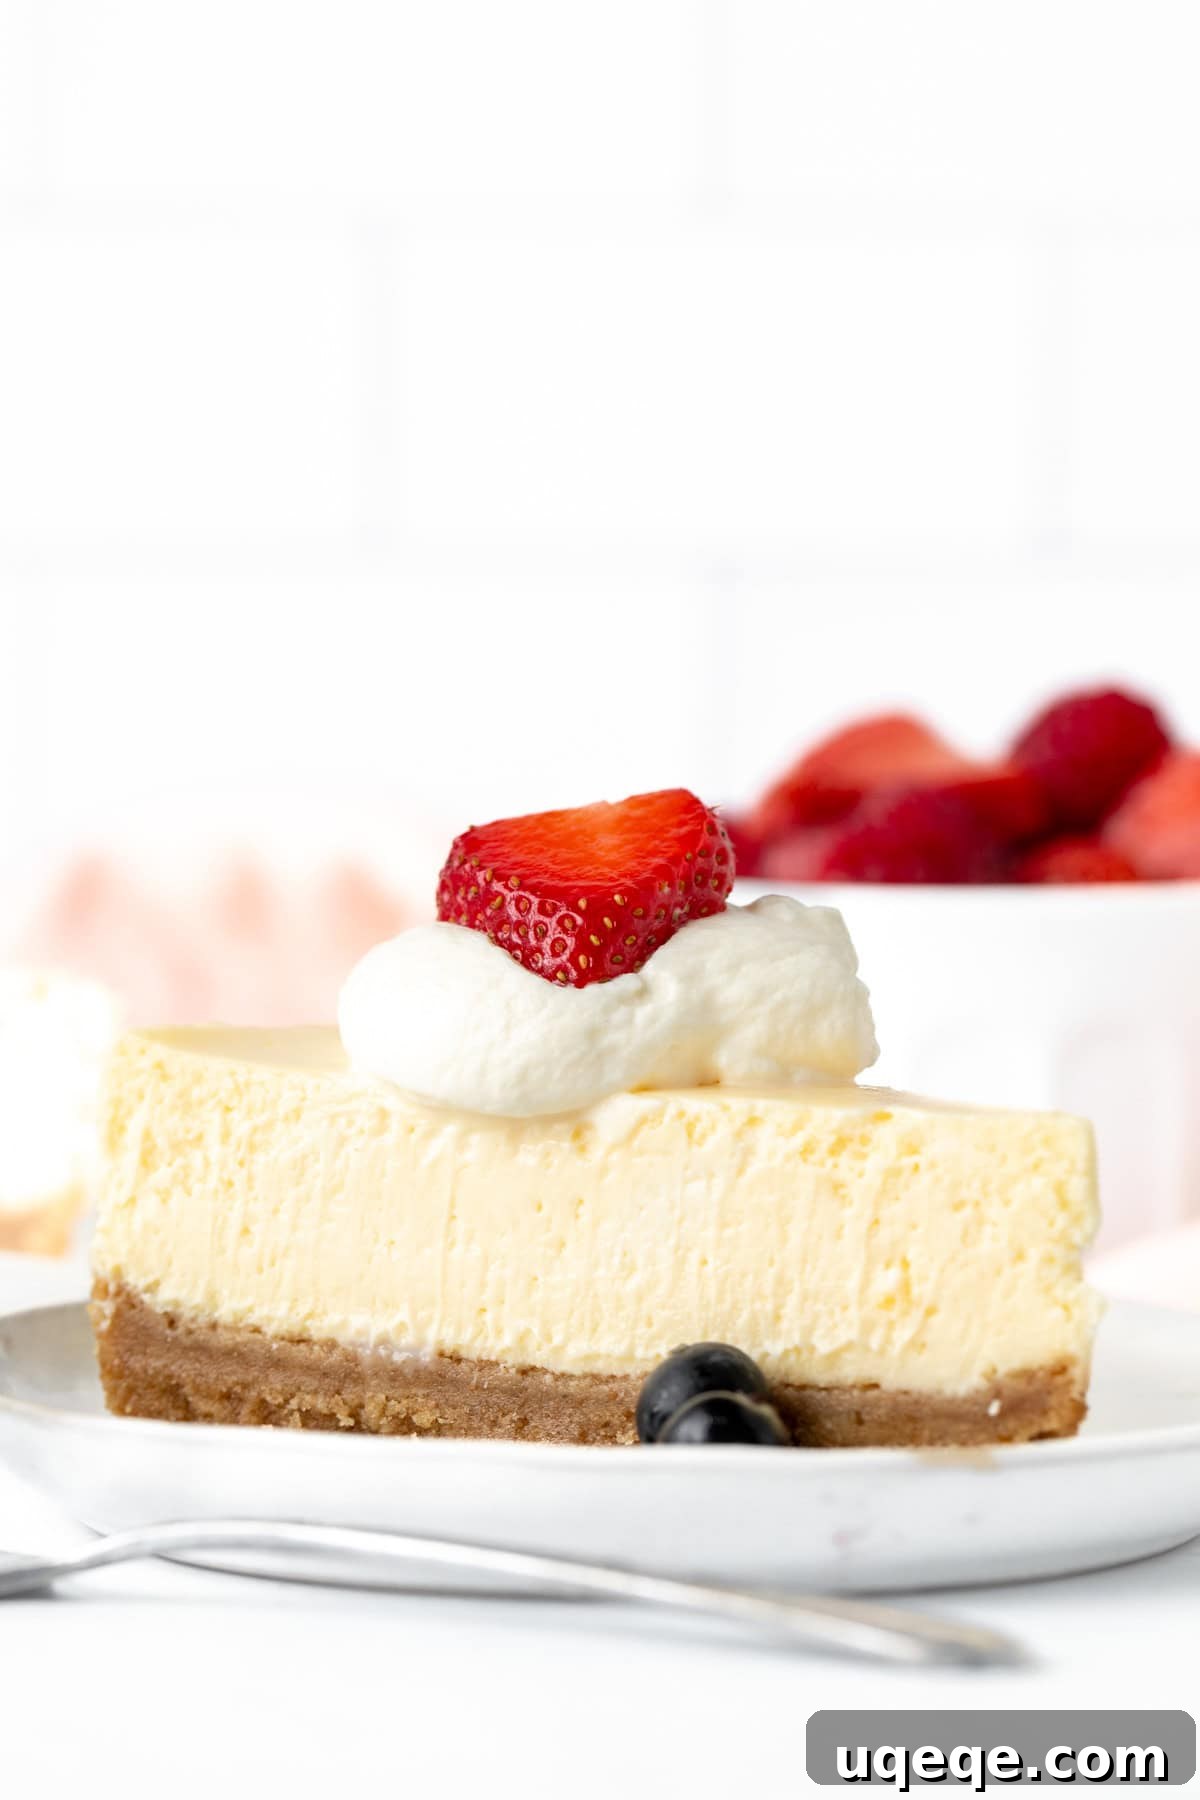
This recipe is a scaled-down version of a classic vanilla cheesecake, making it incredibly simple to execute while maintaining all the luxurious qualities. The harmony between the dense, creamy cheesecake and the crunchy, buttery crust is simply divine. To achieve its optimal texture and flavor, ensure you allocate at least 4 hours for chilling before serving – this crucial step allows the cheesecake to set perfectly and intensifies its taste.
Mastering Your Small Batch Cheesecake: Step-by-Step Guide
Creating a truly magnificent cheesecake begins with precision and preparation. Just like any exceptional cheesecake, it’s absolutely vital that your cream cheese, sour cream, and eggs are at room temperature. This ensures a smooth, lump-free batter and an even baking process. Remember to take these ingredients out of the refrigerator about 30 minutes to an hour before you begin.
This scaled recipe is perfectly suited for a loaf pan. I typically use a standard 9×5 inch (23×12.7 cm) pan, which is ideal for this batch size. Alternatively, an 8×4 inch (20×10.2 cm) pan can be used, though you might need to adjust the baking time slightly longer. To prepare your pan, lightly grease it, then carefully line it horizontally with a strip of parchment paper, leaving an overhang on both ends. This ingenious trick allows you to effortlessly lift the cooled cheesecake out of the pan for clean, precise slicing.
Crafting the Perfect Thick Graham Cracker Crust
One of the hallmarks of a truly great cheesecake is its crust, and this recipe delivers an extra-thick, wonderfully crunchy base that I personally adore. Here’s how to create it:
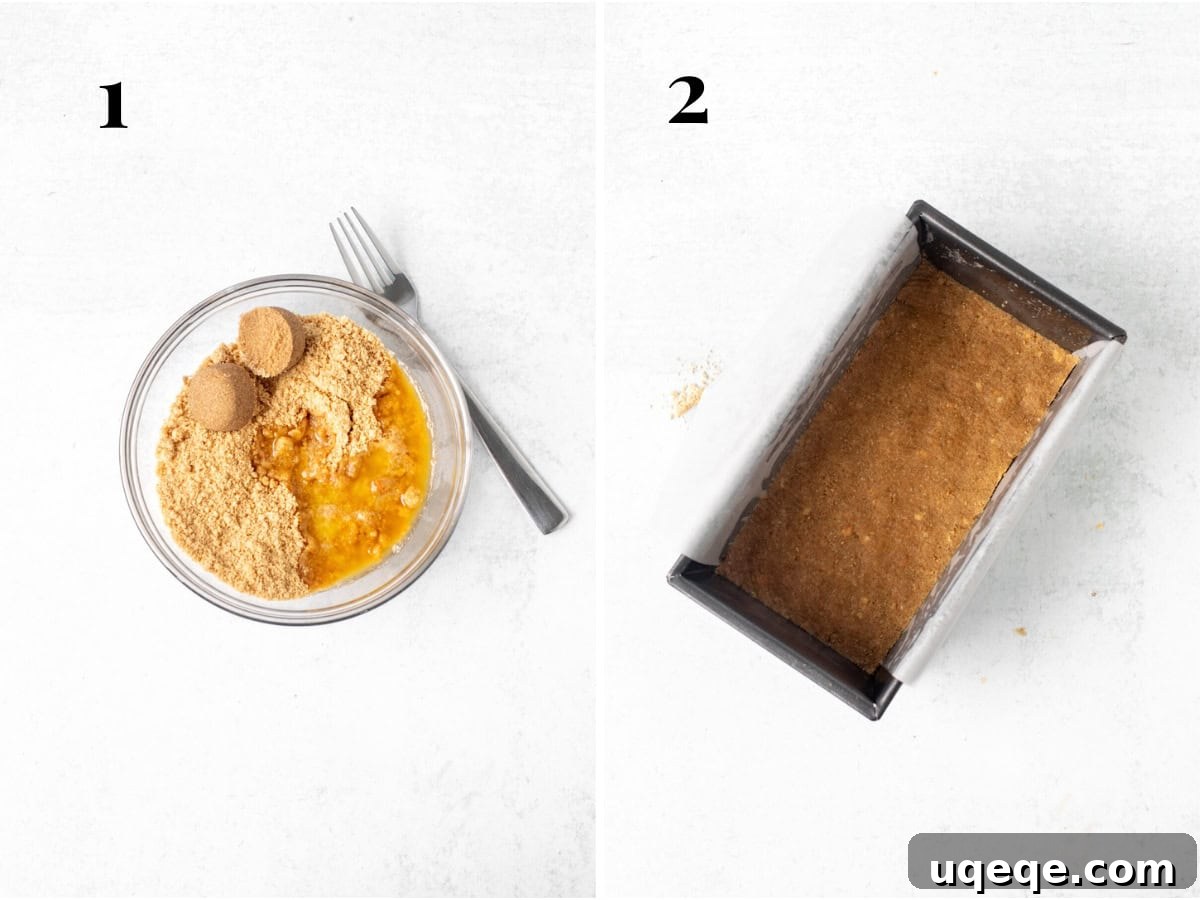
- In a small bowl, combine the graham cracker crumbs, a touch of brown sugar for added depth, and melted unsalted butter. (For those outside North America, digestive biscuits make an excellent substitute – refer to the recipe notes for specific measurements.)
- Press this mixture firmly and evenly into the bottom of your prepared loaf pan. Ensure it’s compact to prevent crumbling.
- Bake the crust in a preheated oven for approximately 8 minutes. This crucial pre-baking step toasts the crumbs, making the crust exceptionally crunchy and preventing it from becoming soggy when the filling is added.
Whipping Up the Velvety Cheesecake Filling
While your crust is baking to golden perfection, you’ll prepare the luscious cheesecake filling. The key here is achieving a silky-smooth consistency without overmixing:
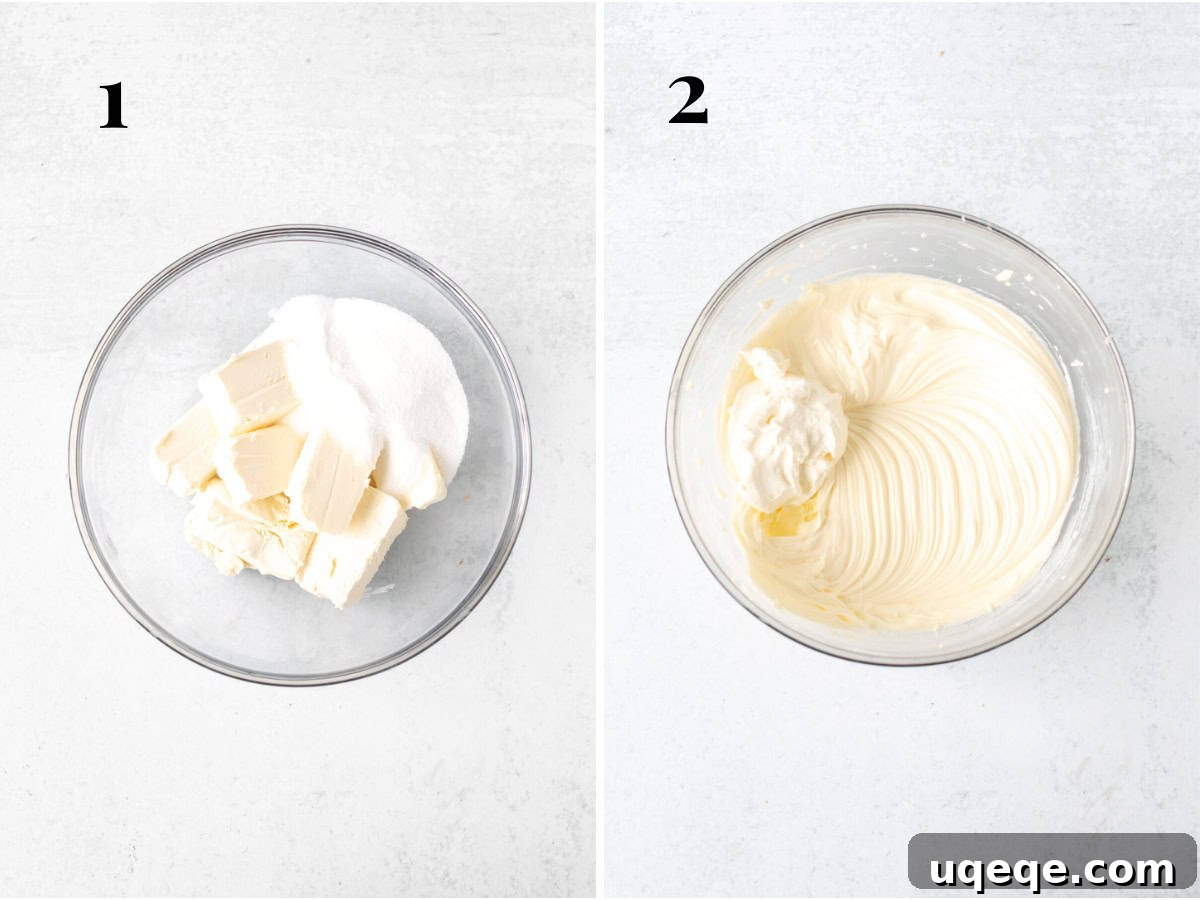
- In a medium bowl, combine the room-temperature cream cheese and granulated sugar. Beat them together until the mixture is completely smooth and creamy. This typically takes 2-4 minutes with an electric mixer, ensuring no lumps remain for that signature velvety texture.
- Next, incorporate the sour cream and a hint of freshly squeezed lemon juice. The sour cream is essential for creating an ultra-smooth, melt-in-your-mouth texture that avoids any “block of cream cheese” sensation. The lemon juice, even just a teaspoon, brightens the flavor profile beautifully, adding a subtle tang that complements the richness of the cheese. Mix until just combined, being careful not to overbeat.
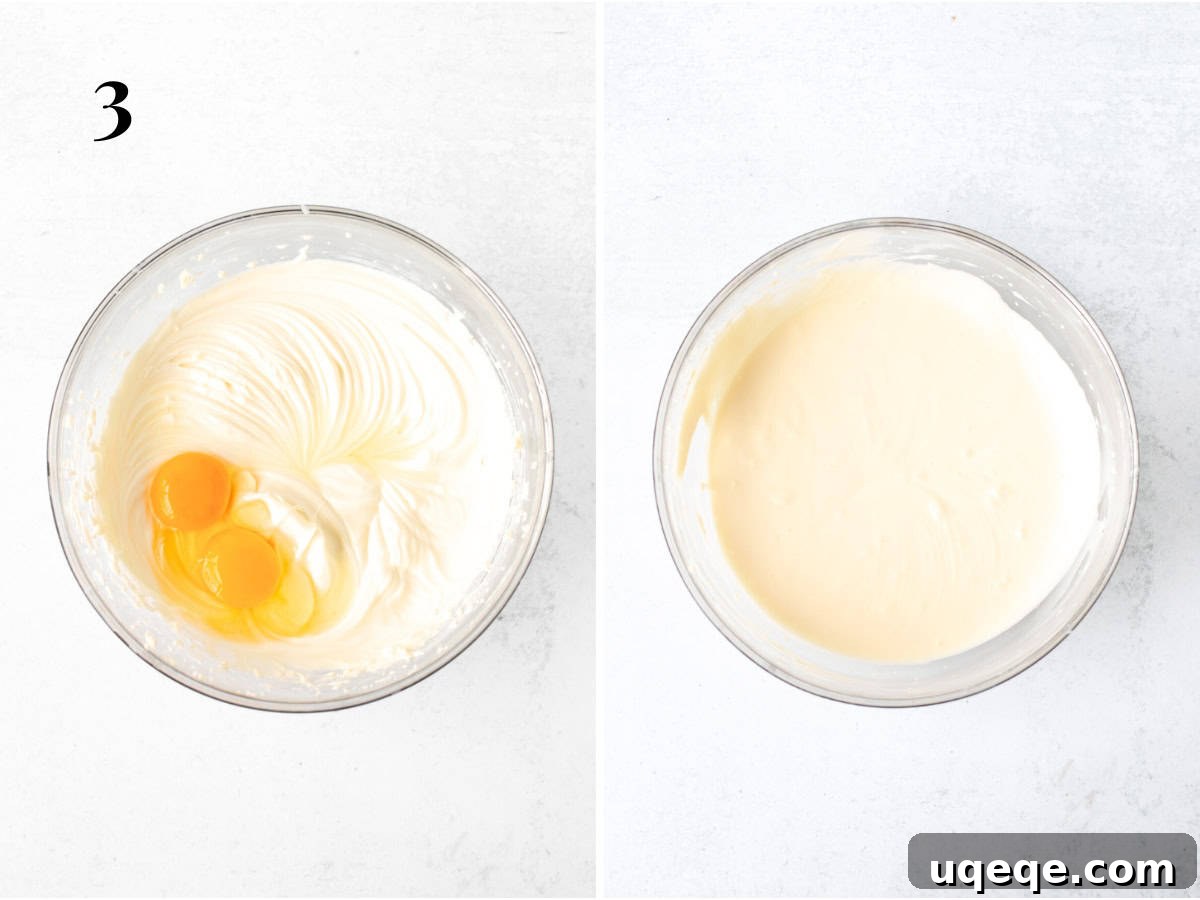
- Finally, add the large egg and the additional egg yolk. For best results and to prevent overmixing (which can lead to cracks), I recommend stirring these in gently by hand using a wire whisk until just combined. You should no longer see streaks of egg in the batter. If using an electric mixer, switch to the lowest speed and mix only until the egg is incorporated. The egg acts as a binder, giving the cheesecake its structure, while the extra yolk adds unparalleled richness and helps achieve that signature dense, yet creamy texture.
Baking to Perfection: The Water Bath Method
For an extra creamy texture and to significantly reduce the likelihood of cracks forming on the surface of your cheesecake, baking it in a water bath (bain-marie) is highly recommended. This method creates a moist, even baking environment that gently cooks the cheesecake.
- Carefully place your loaf pan, containing the crust and cheesecake batter, into the center of a larger baking pan – a 9×9 inch (23×23 cm) square pan works well, or any pan that comfortably fits the loaf pan.
- Then, pour about 1 inch (2-3 cm) of boiling water into the larger baking pan, ensuring the water surrounds the loaf pan but does not get into the cheesecake itself. Be cautious not to overfill.
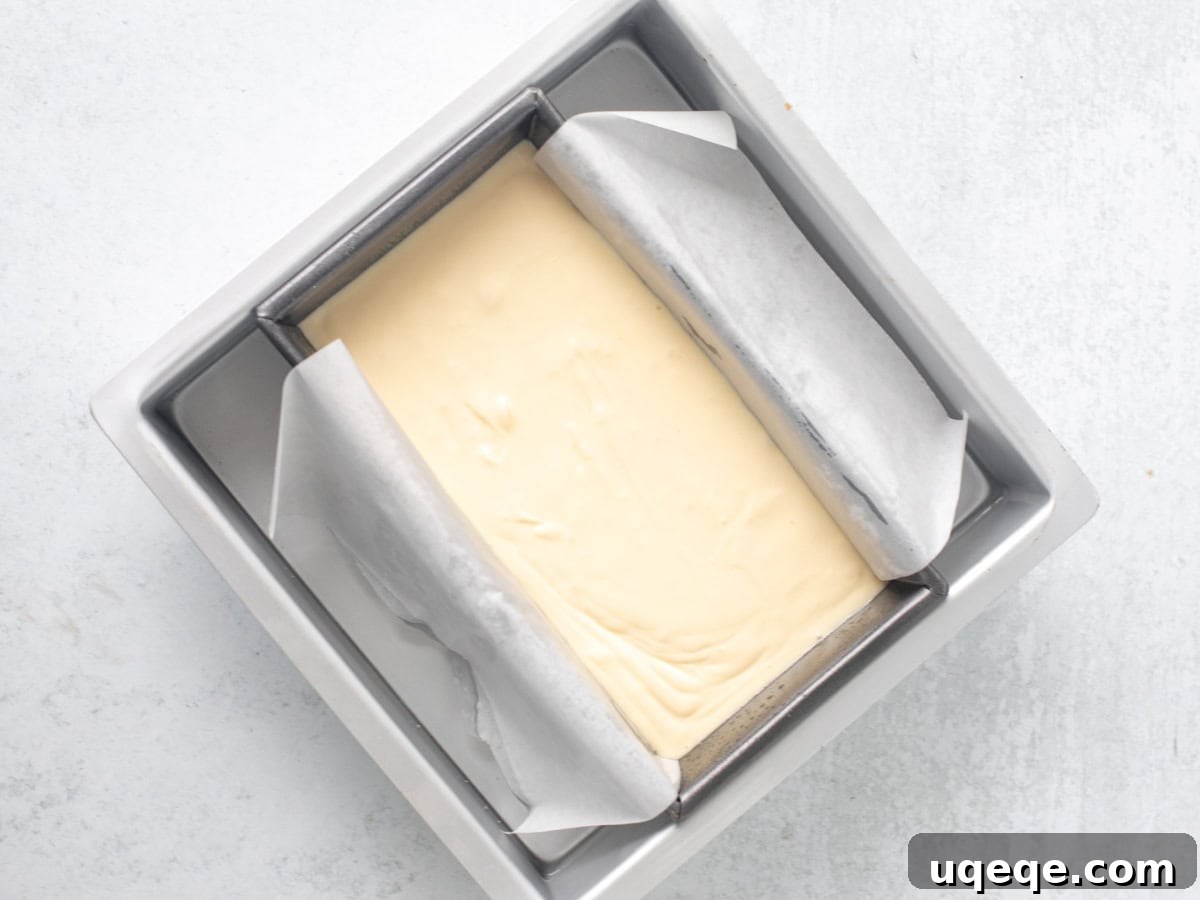
- Place the entire setup (cheesecake in the water bath) into the preheated oven. Bake for approximately 35-40 minutes. The cheesecake is done when the edges appear set, but the center still has a slight “jiggle” or gentle wobble if you gently nudge the pan. It will firm up completely as it cools.
Baking Without a Water Bath
If you don’t have a baking pan large enough for a water bath, or prefer to skip this step, don’t worry! Your small batch cheesecake can still be baked directly in the oven. Simply bake it at 325°F (160°C) for about 40-45 minutes, or until the edges are set and the center has a slight wobble. While a water bath offers an extra layer of protection against cracks, baking without it will still yield a delicious cheesecake.
The Art of Cooling and Chilling
Once your cheesecake is out of the oven, the cooling process is just as important as the baking itself. Allow the cheesecake to cool completely within its loaf pan, still inside the water bath if used, until it reaches room temperature. Then, carefully remove the loaf pan from the larger pan, cover it loosely with foil or plastic wrap, and transfer it to the refrigerator. Chilling is absolutely essential for at least 4 hours, or preferably overnight.
This prolonged chilling period serves multiple purposes: it allows the cheesecake to fully set, firming up its luxurious texture, and it also allows the flavors to meld and deepen, resulting in a more complex and satisfying taste experience. While many traditional cheesecake recipes call for 6 hours or more of chilling, this smaller, less thick cheesecake sets beautifully in 4 hours, making it a relatively quicker delight.
Serving Your Masterpiece: Toppings & Presentation
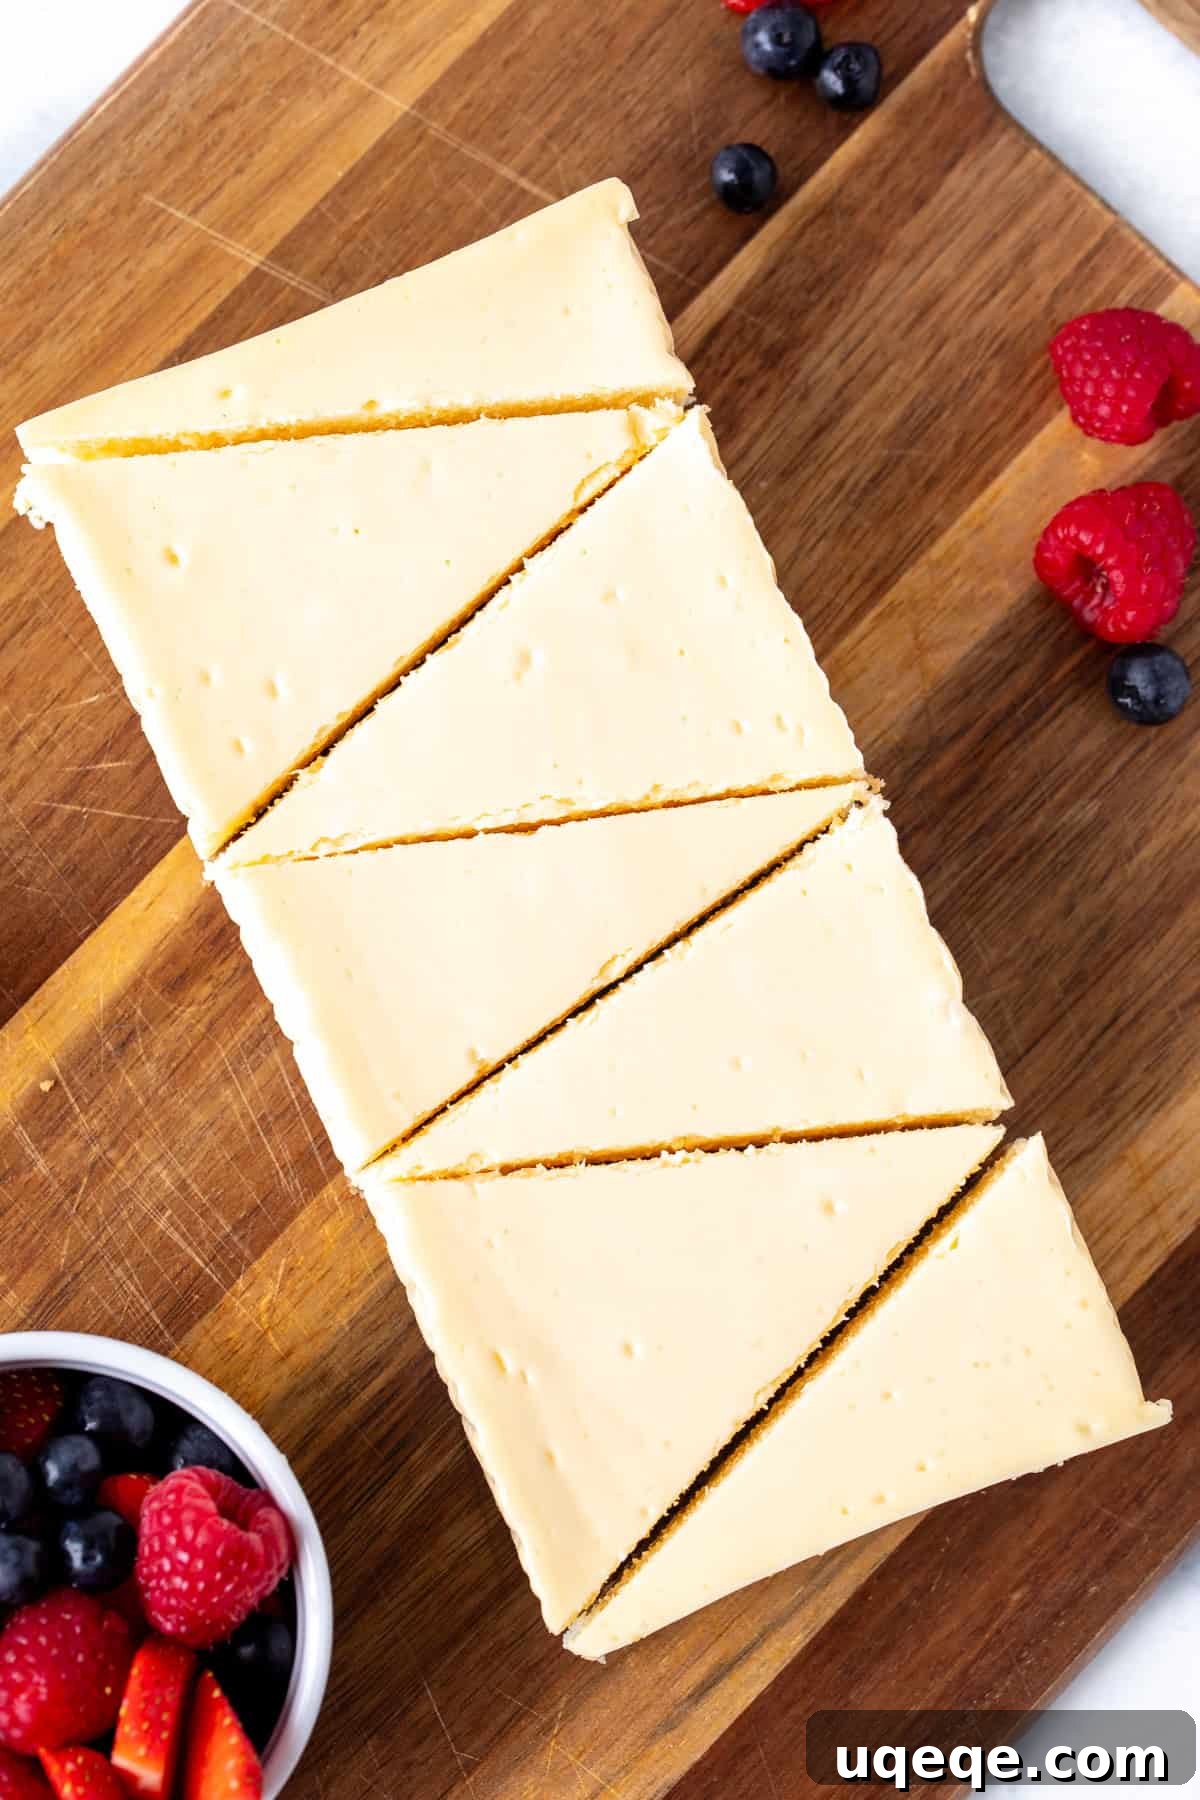
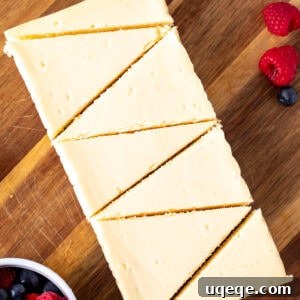
When you’re ready to serve, gently lift the chilled cheesecake out of the loaf pan using the parchment paper overhang. Place it on a cutting board and slice it with a sharp, thin knife. Running your knife under hot water and wiping it clean between slices can help achieve those picture-perfect cuts, ensuring you get cleanly through the thick graham crust.
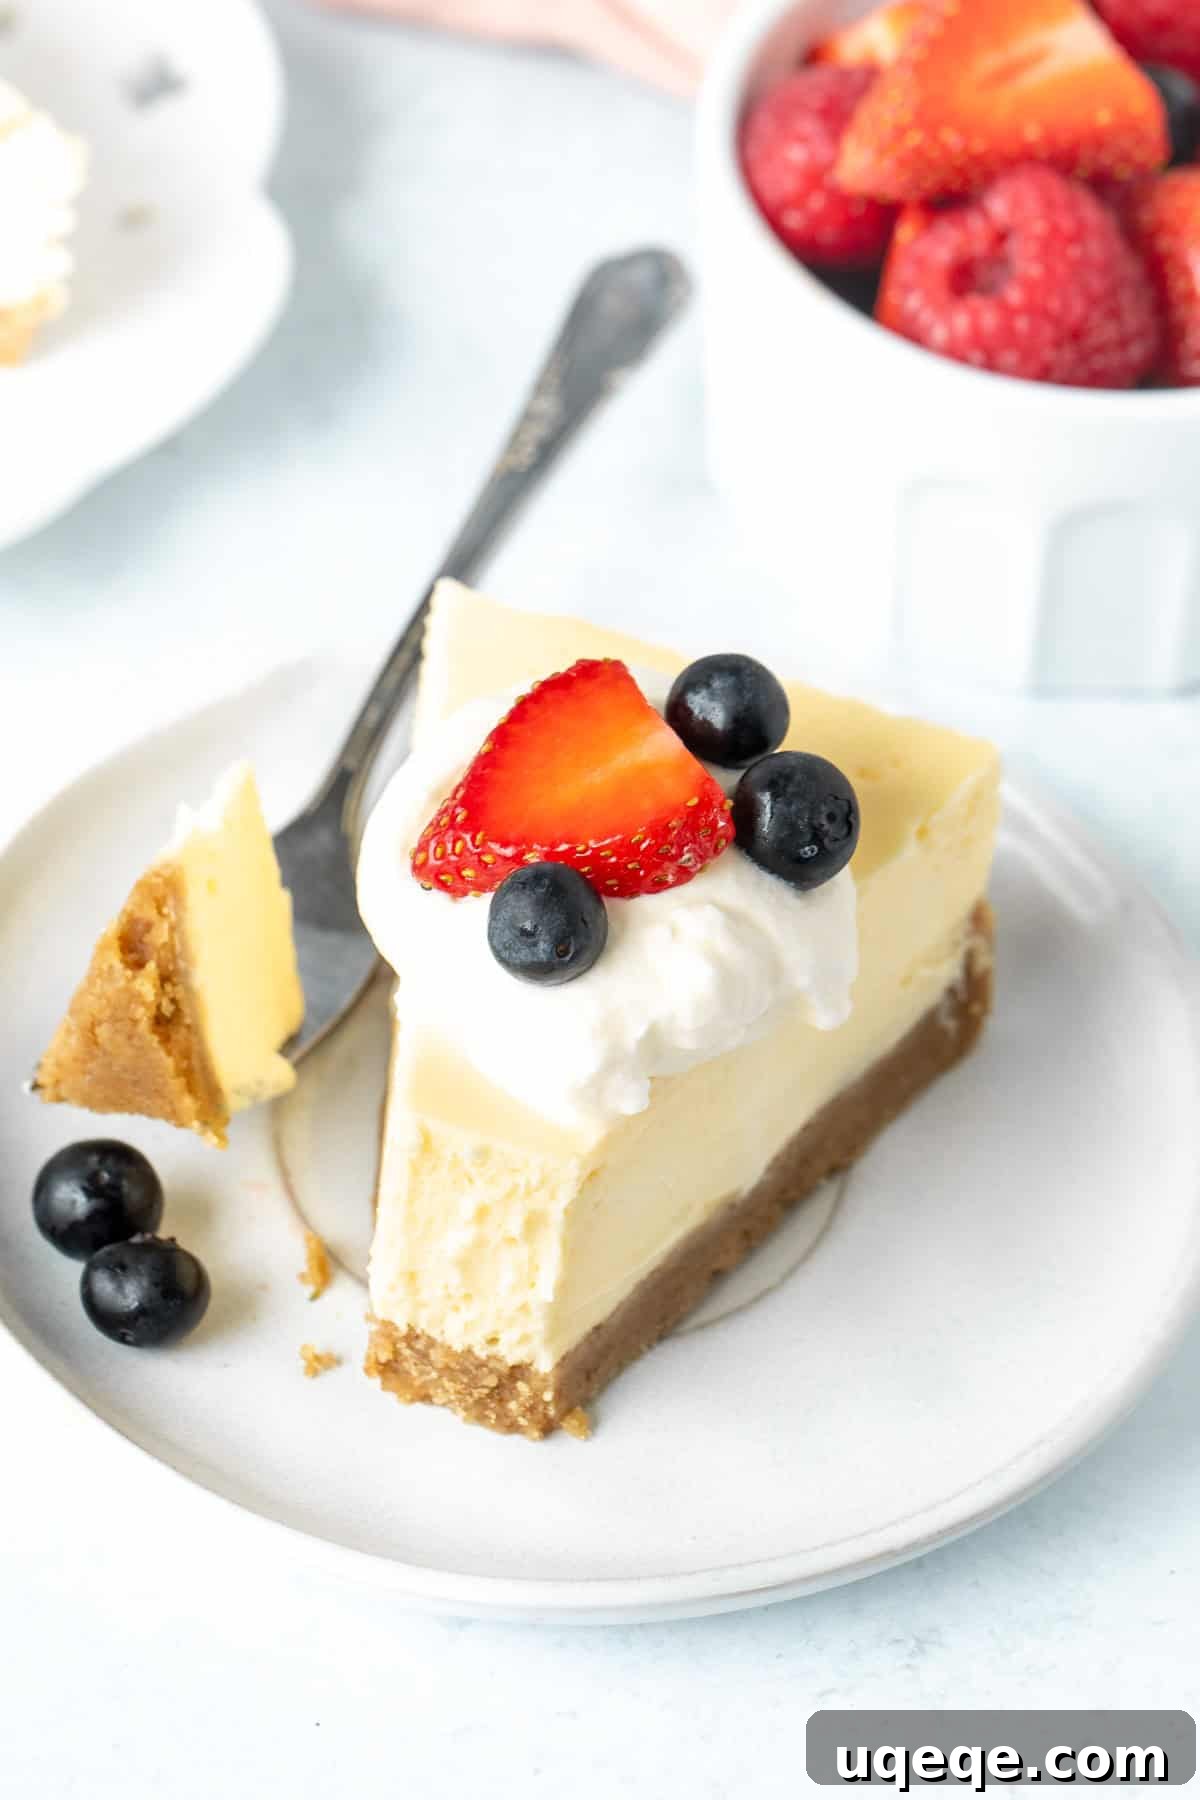
A classic presentation includes a generous dollop of freshly whipped cream and a vibrant medley of fresh berries, which perfectly complement the cheesecake’s richness. However, the topping possibilities are endless! Here are some other delightful suggestions:
- Luscious Salted Caramel Sauce: A drizzle of homemade caramel adds a sophisticated sweetness.
- Bright Strawberry Sauce: A simple berry compote provides a fresh, fruity counterpoint.
- Sweet Blueberry Sauce: Another fantastic berry option that pairs wonderfully with the creamy texture.
- Chocolate Ganache: For the ultimate chocolate lover, a rich, glossy ganache is irresistible.
- Lemon Curd: To enhance the subtle lemon notes in the cheesecake, a tangy lemon curd offers a burst of citrus flavor.
Small Batch Cheesecake Recipe
Small Batch Cheesecake
Fiona Dowling
30 mins
40 mins
4 hrs
6 hrs
6 people
Rate Recipe
Print Recipe
Equipment
- 9×5 inch (23×13 cm) loaf pan
- 9×9 inch (23×23 cm) baking pan (for water bath)
- Electric mixer (stand or hand mixer)
- Mixing bowls
- Parchment paper
Ingredients
Graham Crust
- 1 1/4 cup graham crumbs (160 grams)
- 2 tablespoons brown sugar
- 3 tablespoons unsalted butter (42 grams), melted
Cheesecake Filling
- 10 ounces brick-style cream cheese (283 grams), room temperature
- 1/2 cup granulated sugar (100 grams)
- 1/4 cup sour cream (60 ml), room temperature
- 1 teaspoon lemon juice, freshly squeezed
- 1 large egg, room temperature
- 1 large egg yolk, discard the white, room temperature
- Boiling water, for water bath
Instructions
-
Preheat oven to 325°F (160°C). Lightly grease a 9×5 inch (23×13 cm) loaf pan. Line it horizontally with parchment paper, allowing an overhang on the short sides.
Graham Cracker Crust
-
In a small bowl, stir together the graham crumbs, brown sugar, and melted butter until well combined.
-
Press the mixture firmly and evenly into the bottom of the prepared loaf pan.
-
Bake in the preheated oven for 8 minutes. Remove from the oven and set aside (keep the oven on).
Cheesecake Filling
-
In a medium bowl, using an electric mixer, beat the room-temperature cream cheese and granulated sugar together until the mixture is completely smooth and creamy, about 2-4 minutes. Scrape down the sides of the bowl as needed.
-
Add the sour cream and fresh lemon juice. Mix on low speed until just combined and smooth. Be careful not to overmix.
-
Gently whisk in the large egg and additional egg yolk by hand, or with the mixer on its lowest speed, until just combined. Stop mixing as soon as no egg streaks are visible. Overmixing at this stage can incorporate too much air, which can lead to cracks.
Baking & Cooling
-
Place the loaf pan in the center of a larger 9×9 inch (23×23 cm) baking pan (or similar size that fits the loaf pan). Pour the cheesecake batter over the baked crust in the loaf pan and gently smooth the top.
-
Carefully pour about 1 inch (2-3 cm) of boiling water into the larger baking pan, ensuring it surrounds the loaf pan. Be careful not to splash water into the cheesecake batter.
-
Bake in the middle of the preheated oven for about 35-40 minutes. The cheesecake is done when the edges appear set but the center still has a slight, gentle wobble when the pan is lightly nudged.
-
Remove the entire baking pan with the cheesecake from the oven. Let the cheesecake cool in the water bath until it reaches room temperature. Then, remove the loaf pan from the larger pan, cover it loosely with foil or plastic wrap, and transfer it to the fridge to chill for at least 4 hours, or ideally overnight, for best results.
-
When ready to serve, use the parchment paper overhang to gently lift the cheesecake out of the loaf pan. Place it on a cutting board and slice with a sharp, warm knife, ensuring you cut through the thick crust. Serve with your favorite toppings.
Notes
- Room Temperature Ingredients: Always ensure cream cheese, sour cream, and eggs are at room temperature. This is critical for a smooth, lump-free batter and an evenly baked, creamy cheesecake. Take them out of the fridge at least 30-60 minutes before you start preparing the crust.
- Digestive Biscuit Substitution: If graham crumbs are not available, you can substitute with digestive biscuits. For the crust, use approximately 1 1/2 cups of crushed digestive biscuits, 2 tablespoons of brown sugar, and 3-4 tablespoons of melted unsalted butter. Adjust butter amount slightly for desired consistency.
- Cream Cheese Type: For the best New York-style cheesecake, always use full-fat, brick-style cream cheese. Avoid low-fat, whipped, or spreadable cream cheese, as they have different consistencies and moisture content that will affect the final texture of your cheesecake.
- Baking Without a Water Bath: While the water bath is recommended for a crack-free and extra-creamy cheesecake, you can bake it directly. Simply bake the cheesecake at 325°F (160°C) for approximately 40-45 minutes. It will still be delicious!
- Nutrition Information: The provided nutritional details are an estimate only and are based on one slice, assuming the cheesecake is cut into 6 uniform pieces, and do not include any toppings like berries or whipped cream.
- Storage: Store any leftover small batch cheesecake in an airtight container in the refrigerator for up to 4 days. It’s also freezer-friendly; wrap individual slices tightly in plastic wrap and then foil for up to 1 month. Thaw in the refrigerator before serving.
Nutrition
Carbohydrates: 37g,
Protein: 6g,
Fat: 27g,
Saturated Fat: 15g,
Polyunsaturated Fat: 1g,
Monounsaturated Fat: 7g,
Trans Fat: 0.2g,
Cholesterol: 130mg,
Sodium: 282mg,
Potassium: 128mg,
Fiber: 1g,
Sugar: 27g,
Vitamin A: 955IU,
Vitamin C: 0.4mg,
Calcium: 83mg,
Iron: 1mg
Liked this recipe? Share your thoughts below!