
Perfect Mini Vanilla Cake: Your Go-To Recipe for Small Celebrations
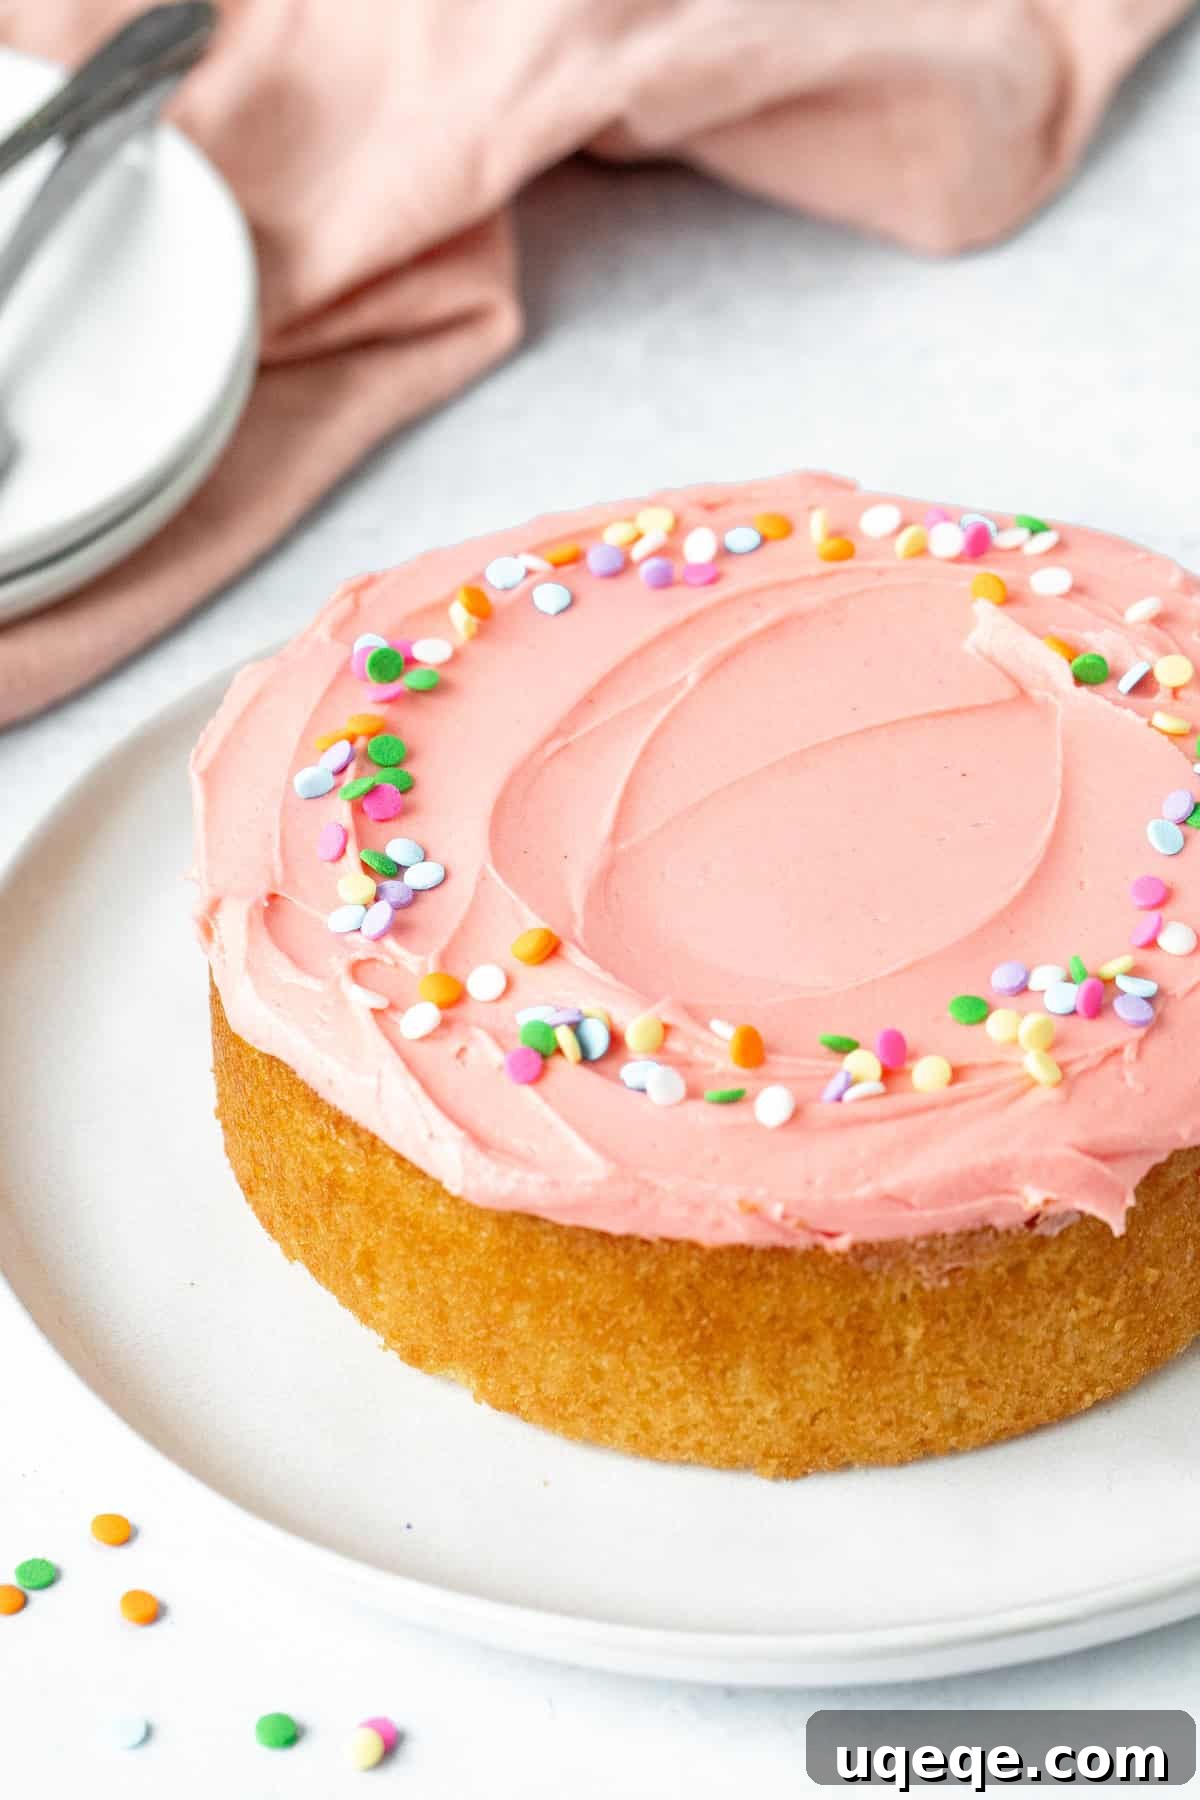
Craving a delightful homemade cake but don’t want a mountain of leftovers? This exquisite mini vanilla cake recipe is your ideal solution. Designed to make one perfectly sized 6-inch single-layer cake, it’s a beacon of moist, fluffy perfection with an irresistible vanilla flavor. Crowned with a luxurious, creamy vanilla frosting, this dessert comfortably serves about 4 people, or 2 if you’re feeling indulgent and want a second slice! It’s the ultimate choice for a cozy weeknight birthday, a small celebration, or simply when you desire a fresh, scrumptious treat without the commitment of a large bake.
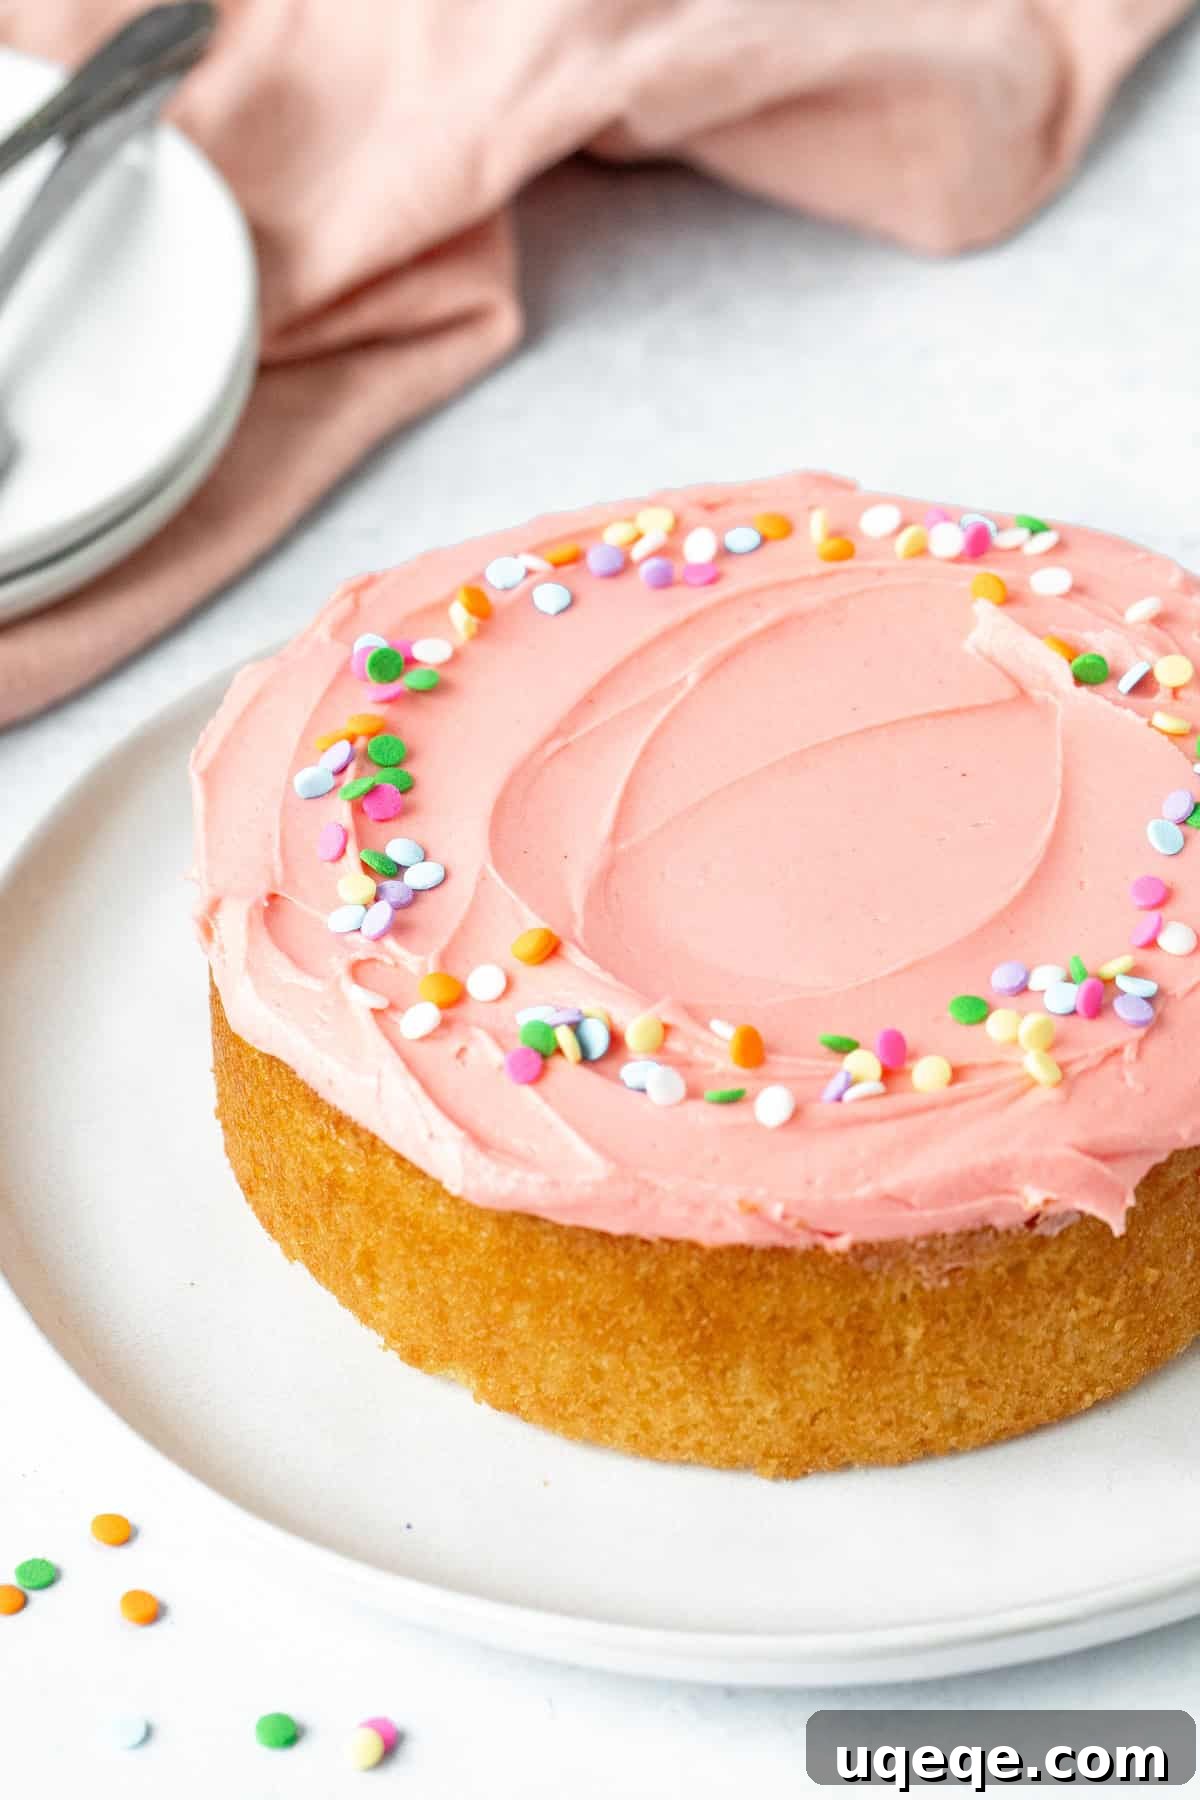
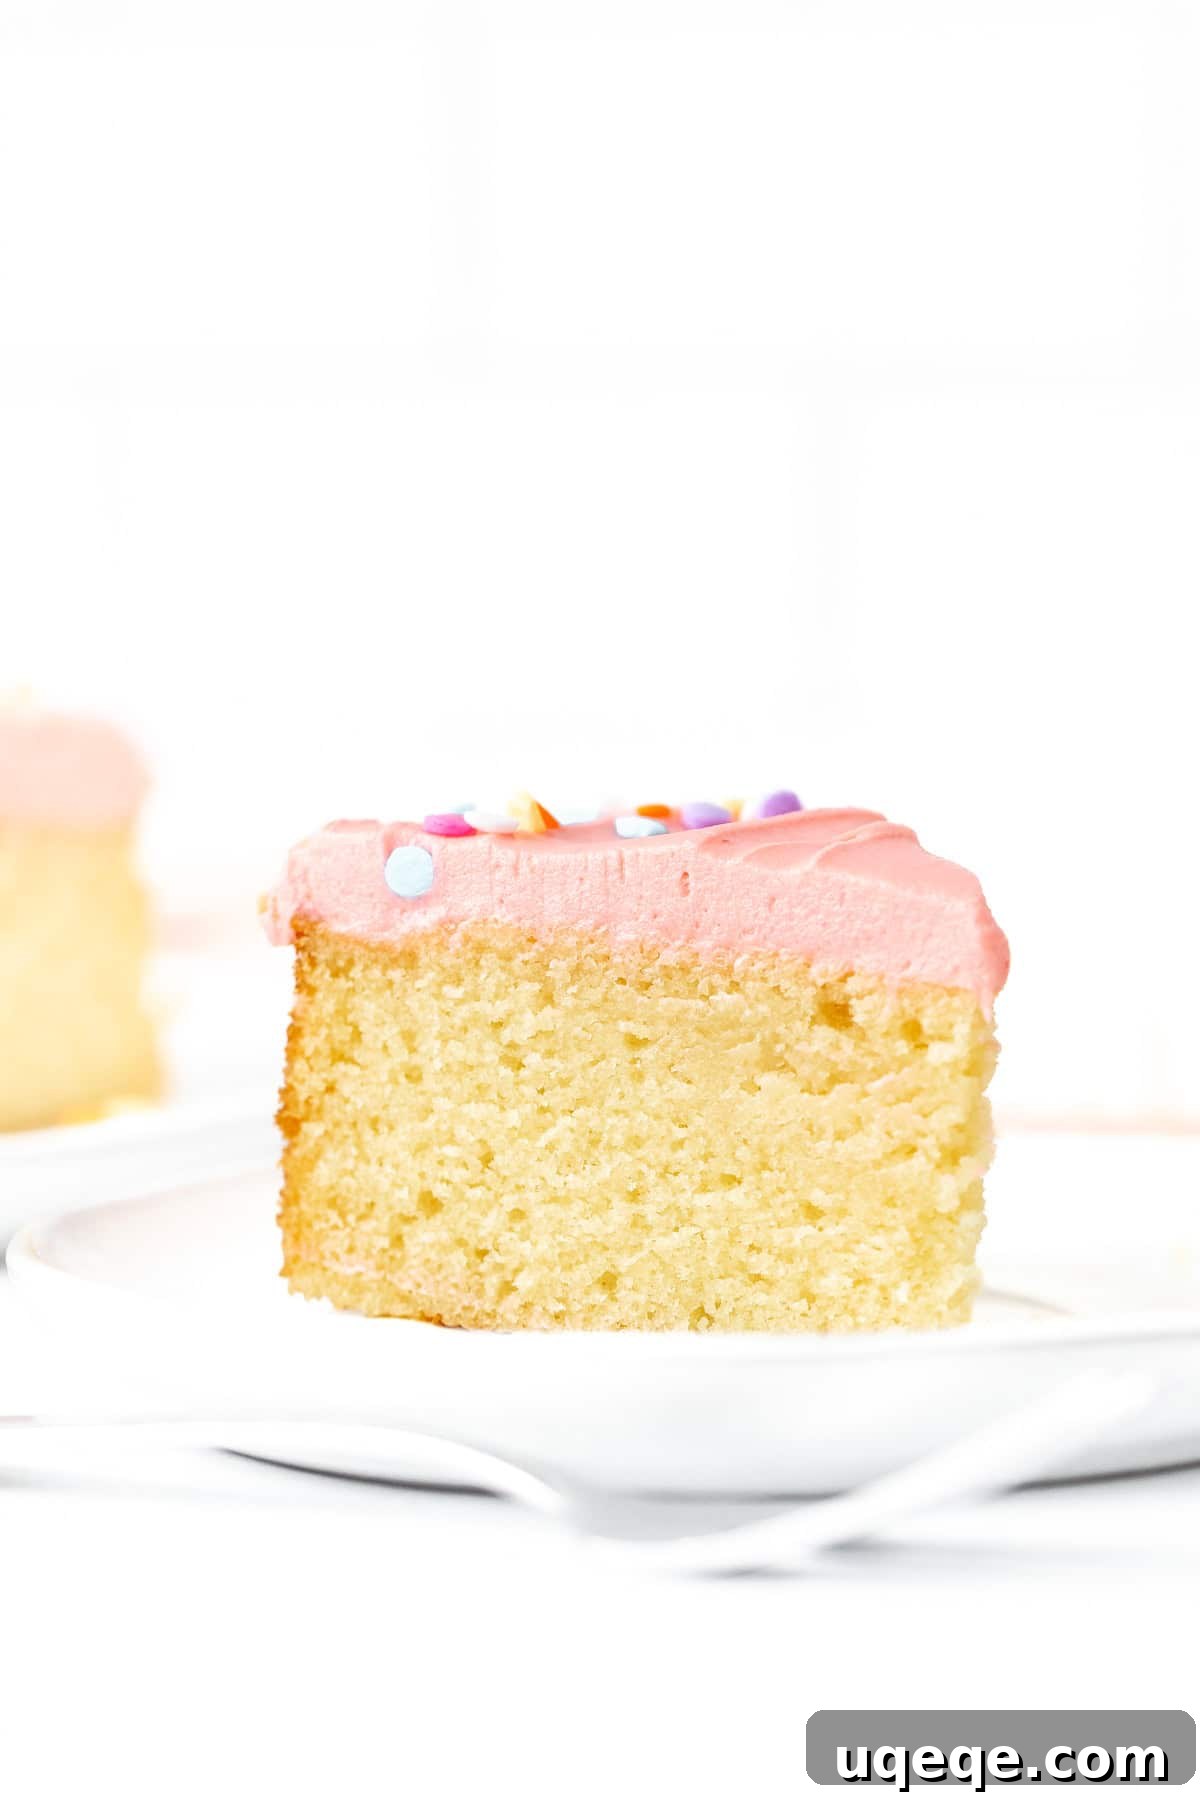
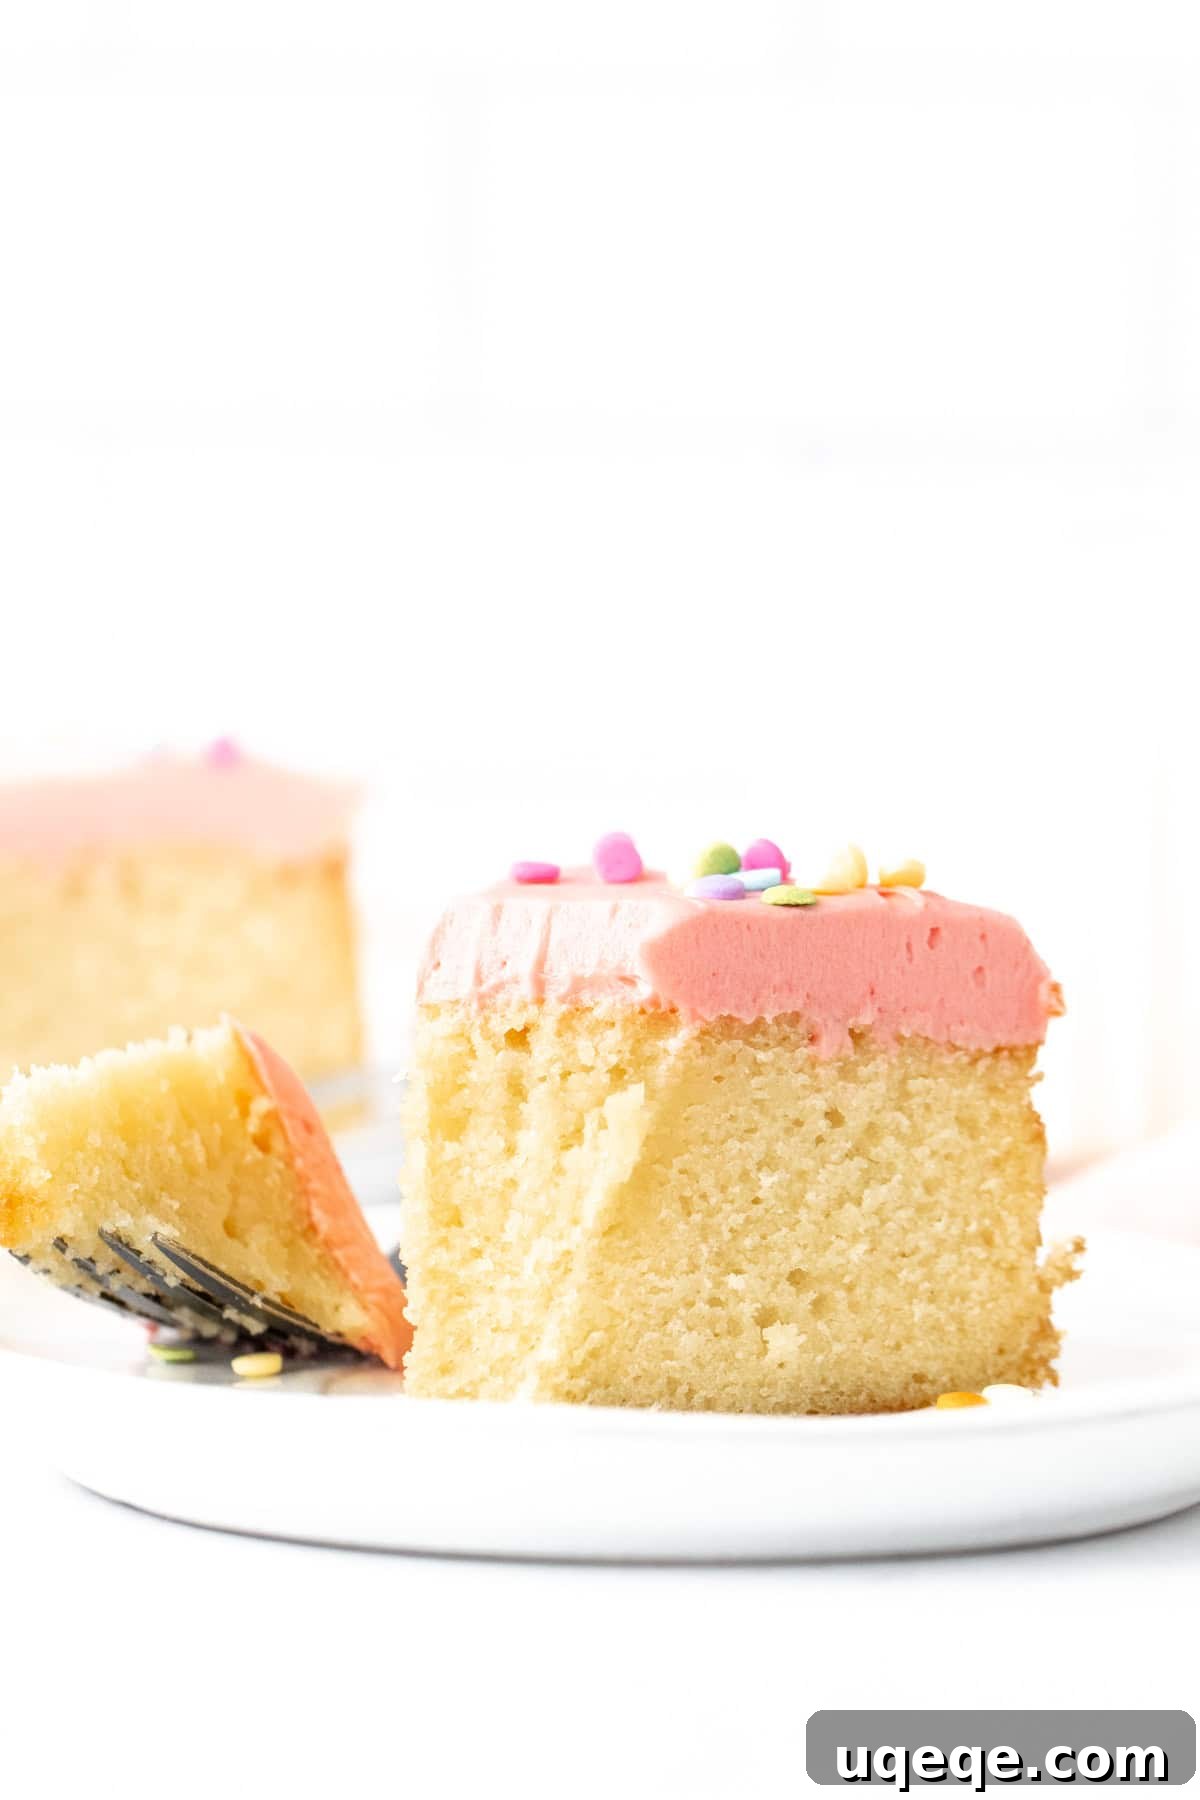
This scaled-down vanilla cake masterfully balances a rich, buttery vanilla flavor with a delicate sweetness. Its crumb is exceptionally soft and perfectly moist, promising a delightful bite every time. The recipe itself is surprisingly straightforward, coming together with minimal effort, making it accessible even for novice bakers. While it shines brightly with its signature creamy vanilla frosting, it’s equally enchanting served simply alongside fresh berries and a dollop of whipped cream. Beyond its deliciousness, this cake is celebrated for its simplicity in presentation. As a single-layer creation, it requires very little decorating expertise, allowing you to achieve stunning results with ease. This truly is the perfect scaled-down birthday cake recipe, offering all the joy of a celebratory dessert without the overwhelming scale.
The Secret to a Perfect Crumb: Understanding the Reverse Creaming Method
Crafting a truly exceptional mini cake requires a keen understanding of baking techniques, especially when working with smaller batches. When I was developing this particular mini vanilla cake recipe, I quickly discovered that the scaled-down batter was highly susceptible to overmixing. Overmixing cake batter is a common pitfall that leads to an undesirable outcome: a tough, dry cake crumb marred by unsightly air tunnels throughout. To circumvent this issue and ensure a consistently soft, tender, and moist cake, this recipe ingeniously employs the **reverse creaming method**.
Traditional Creaming vs. Reverse Creaming: A Closer Look
Let’s briefly compare it to the more widely known traditional creaming method. In the traditional creaming method, you typically begin by beating softened butter and granulated sugar together until light and fluffy. This process incorporates air into the butter, contributing to the cake’s lift and texture. Eggs are then added, followed by alternating additions of dry ingredients (flour, leavening agents) and wet ingredients (milk, extracts). While effective for many recipes, this method can sometimes encourage over-development of gluten, especially if the dry ingredients are mixed too vigorously or for too long, resulting in a tougher cake.
The reverse creaming method, on the other hand, takes a different, often superior, approach, particularly beneficial for delicate cakes like this mini vanilla masterpiece. Here’s how it works and why it’s so effective:
- You start by whisking together all the dry ingredients – flour, sugar, baking soda, and salt.
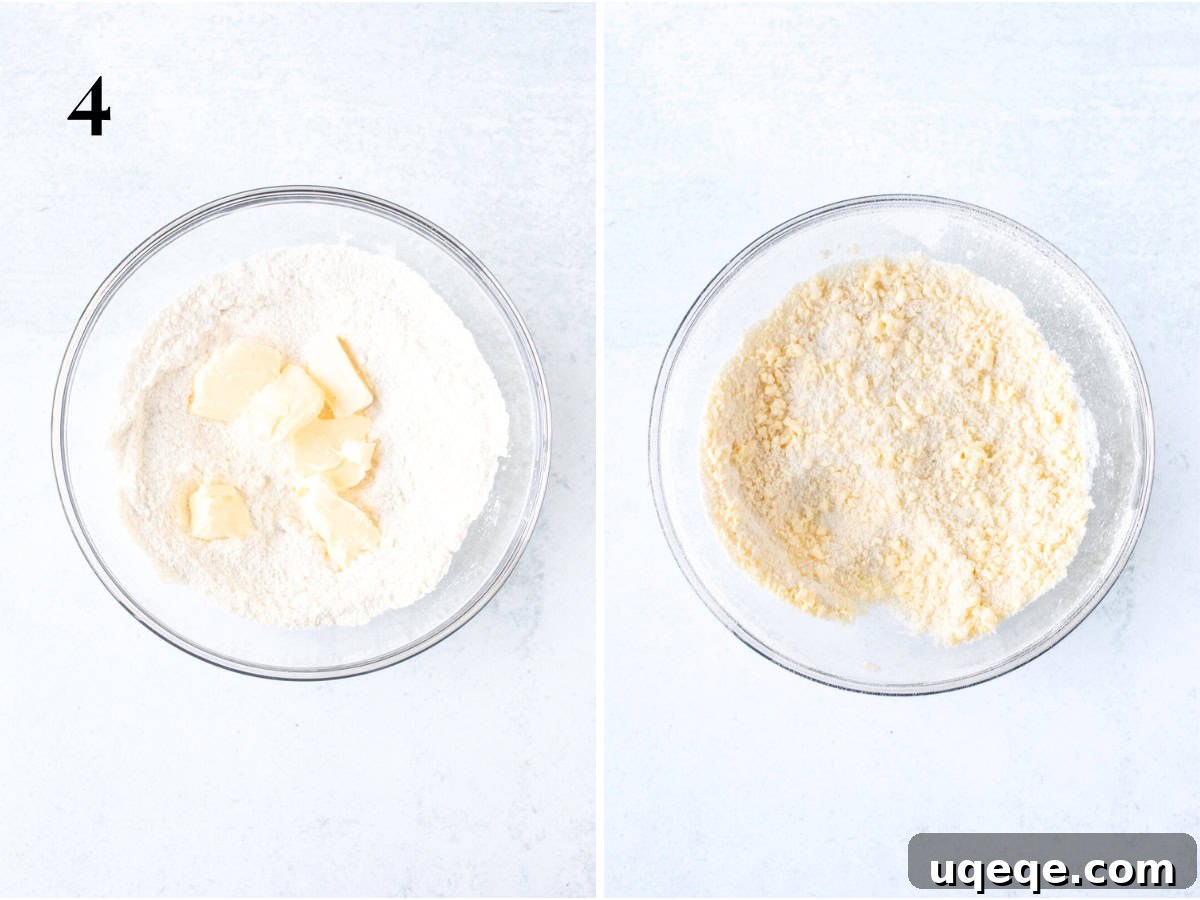
- Next, the softened butter is added directly to these dry ingredients. Using a mixer on a low speed, you beat the butter into the dry mixture until it’s incorporated into tiny pieces, resembling coarse crumbs (think smaller than a pea). This step coats the flour particles with fat, which acts as a protective barrier against excessive gluten development when the wet ingredients are introduced.
- Finally, the liquid ingredients, including eggs, milk, oil, and vanilla extract, are slowly drizzled into the flour and butter mixture while mixing on low speed. This gradual addition ensures even distribution without overworking the batter.
By coating the flour in fat first, the reverse creaming method helps to minimize gluten formation, preventing the cake from becoming dense or rubbery. This technique guarantees a soft, velvety, and tender cake crumb every single time, making it the ideal choice for achieving that melt-in-your-mouth texture in your mini vanilla cake.
How to Make Mini Vanilla Cake: A Step-by-Step Baking Guide
Ready to bake your own perfect mini vanilla cake? Follow these detailed steps to achieve a deliciously moist and tender result:
- Prepare Your Oven and Pan: Begin by preheating your oven to 350°F (180°C). For the cake pan, you’ll need a 6-inch (15 cm) round cake pan with sides at least 2 inches (5 cm) high. Line the bottom of the pan with a round of parchment paper to prevent sticking, and then lightly grease the sides. This ensures easy release once baked.
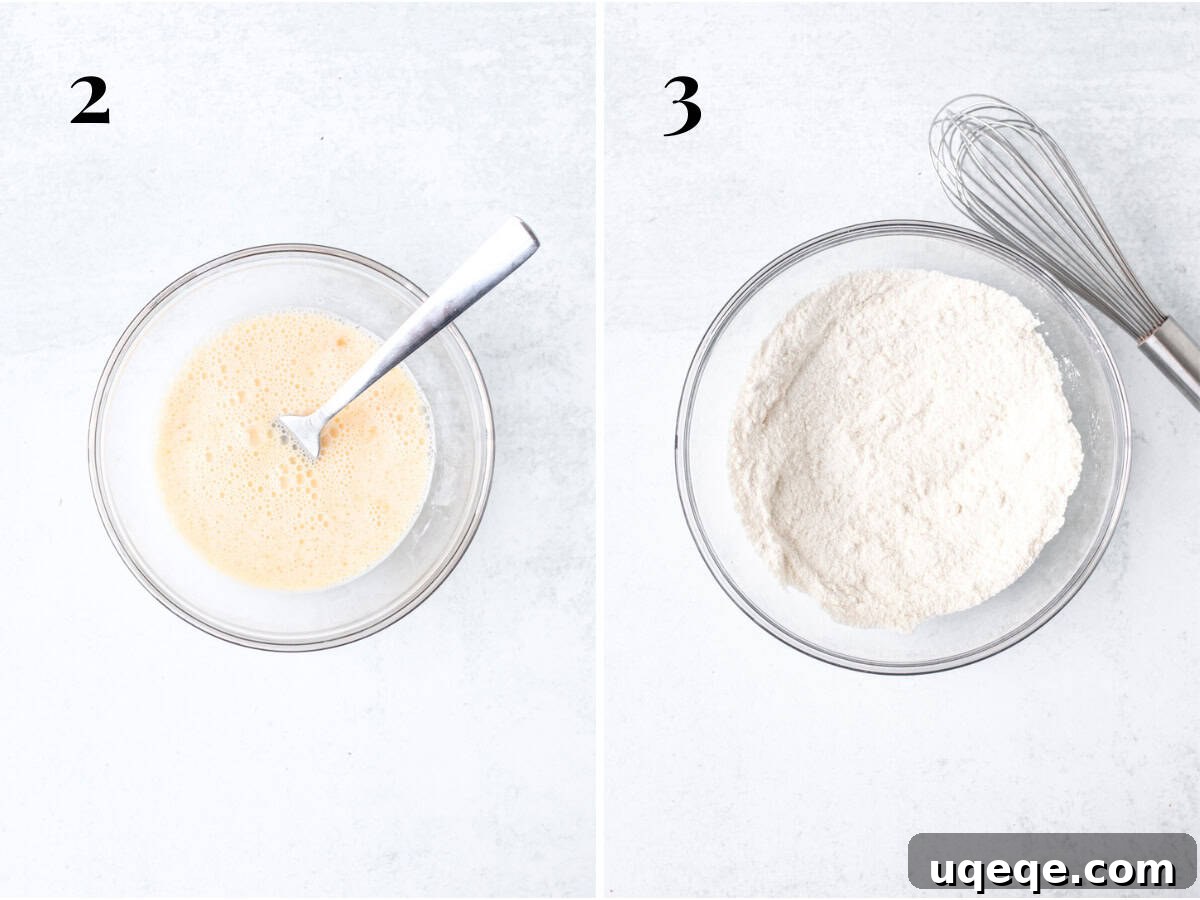
- Combine Wet Ingredients: In a small bowl or a liquid measuring cup, whisk together the milk (2% or whole milk is recommended for richness), a large egg, a little vegetable or canola oil, and the vanilla extract. Whisk thoroughly until the egg is fully incorporated and you no longer see any visible pieces or lumps. Set this mixture aside.
- Whisk Dry Ingredients: In a separate, medium-sized mixing bowl, combine all your dry ingredients: the all-purpose flour, baking soda, salt, and granulated sugar. Whisk them together until they are well combined and there are no clumps of leavening agents.
- Incorporate Butter into Dry Ingredients: Add the cubed, softened unsalted butter (ensure it’s soft but not melting) to your bowl of dry ingredients. Using an electric mixer on a low speed, beat the mixture until the butter is broken down into small, pea-sized pieces, or even smaller. At this stage, the mixture will resemble coarse, sandy flour with tiny bits of butter dispersed throughout – you won’t be fully mixing the flour into the butter. This crucial step creates that protective coating around the flour.
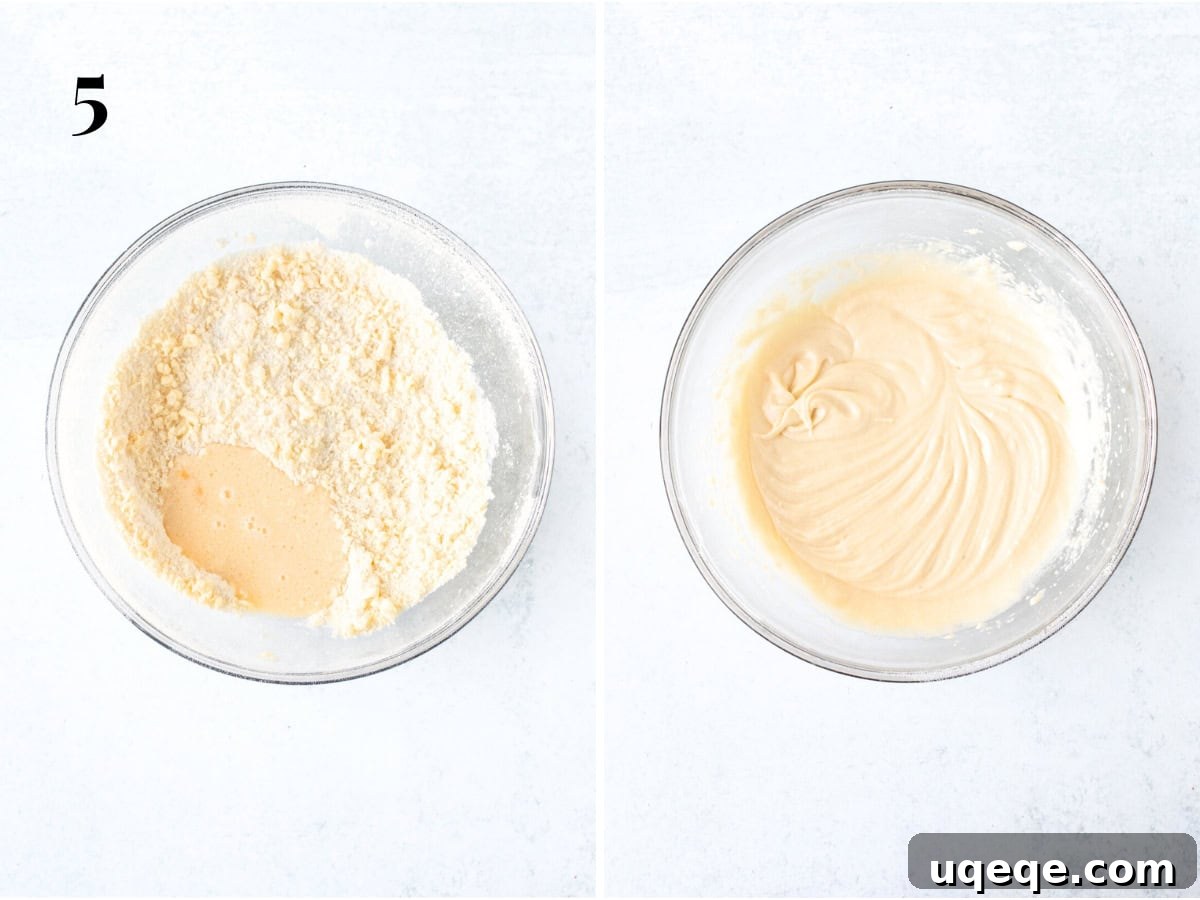
- Add Wet Ingredients to Dry: With your mixer still on a low speed, slowly drizzle the previously prepared wet ingredients into the flour and butter mixture. Continue mixing just until the batter comes together and appears smooth with no visible lumps. It’s imperative to stop mixing as soon as this consistency is achieved to prevent overworking the gluten, which would compromise the cake’s tenderness.
- Bake the Cake: Carefully pour the smooth cake batter into your prepared 6-inch pan. Gently smooth the top with a spatula to ensure even baking.
- Pro Tip (Optional): Cake Strips For a flatter cake top and more even baking, consider wrapping your pan in a cake strip soaked in water. These strips insulate the sides of the pan, allowing the cake to rise more evenly. They are readily available at baking supply stores or online. While optional for this recipe, they can elevate your results.
- Check for Doneness: Bake the cake in the middle of your preheated oven for approximately 30-35 minutes. You’ll know it’s ready when the top is set, the edges begin to pull away slightly from the sides of the pan, and a toothpick inserted into the center comes out clean or with a few moist crumbs clinging to it (but no wet batter).
- Cooling: Once baked, remove the cake from the oven and let it cool in the pan on a wire rack for about 10-15 minutes before carefully inverting it onto the wire rack to cool completely. Cooling thoroughly is essential before frosting to prevent your beautiful frosting from melting.
Crafting the Creamy Vanilla Frosting
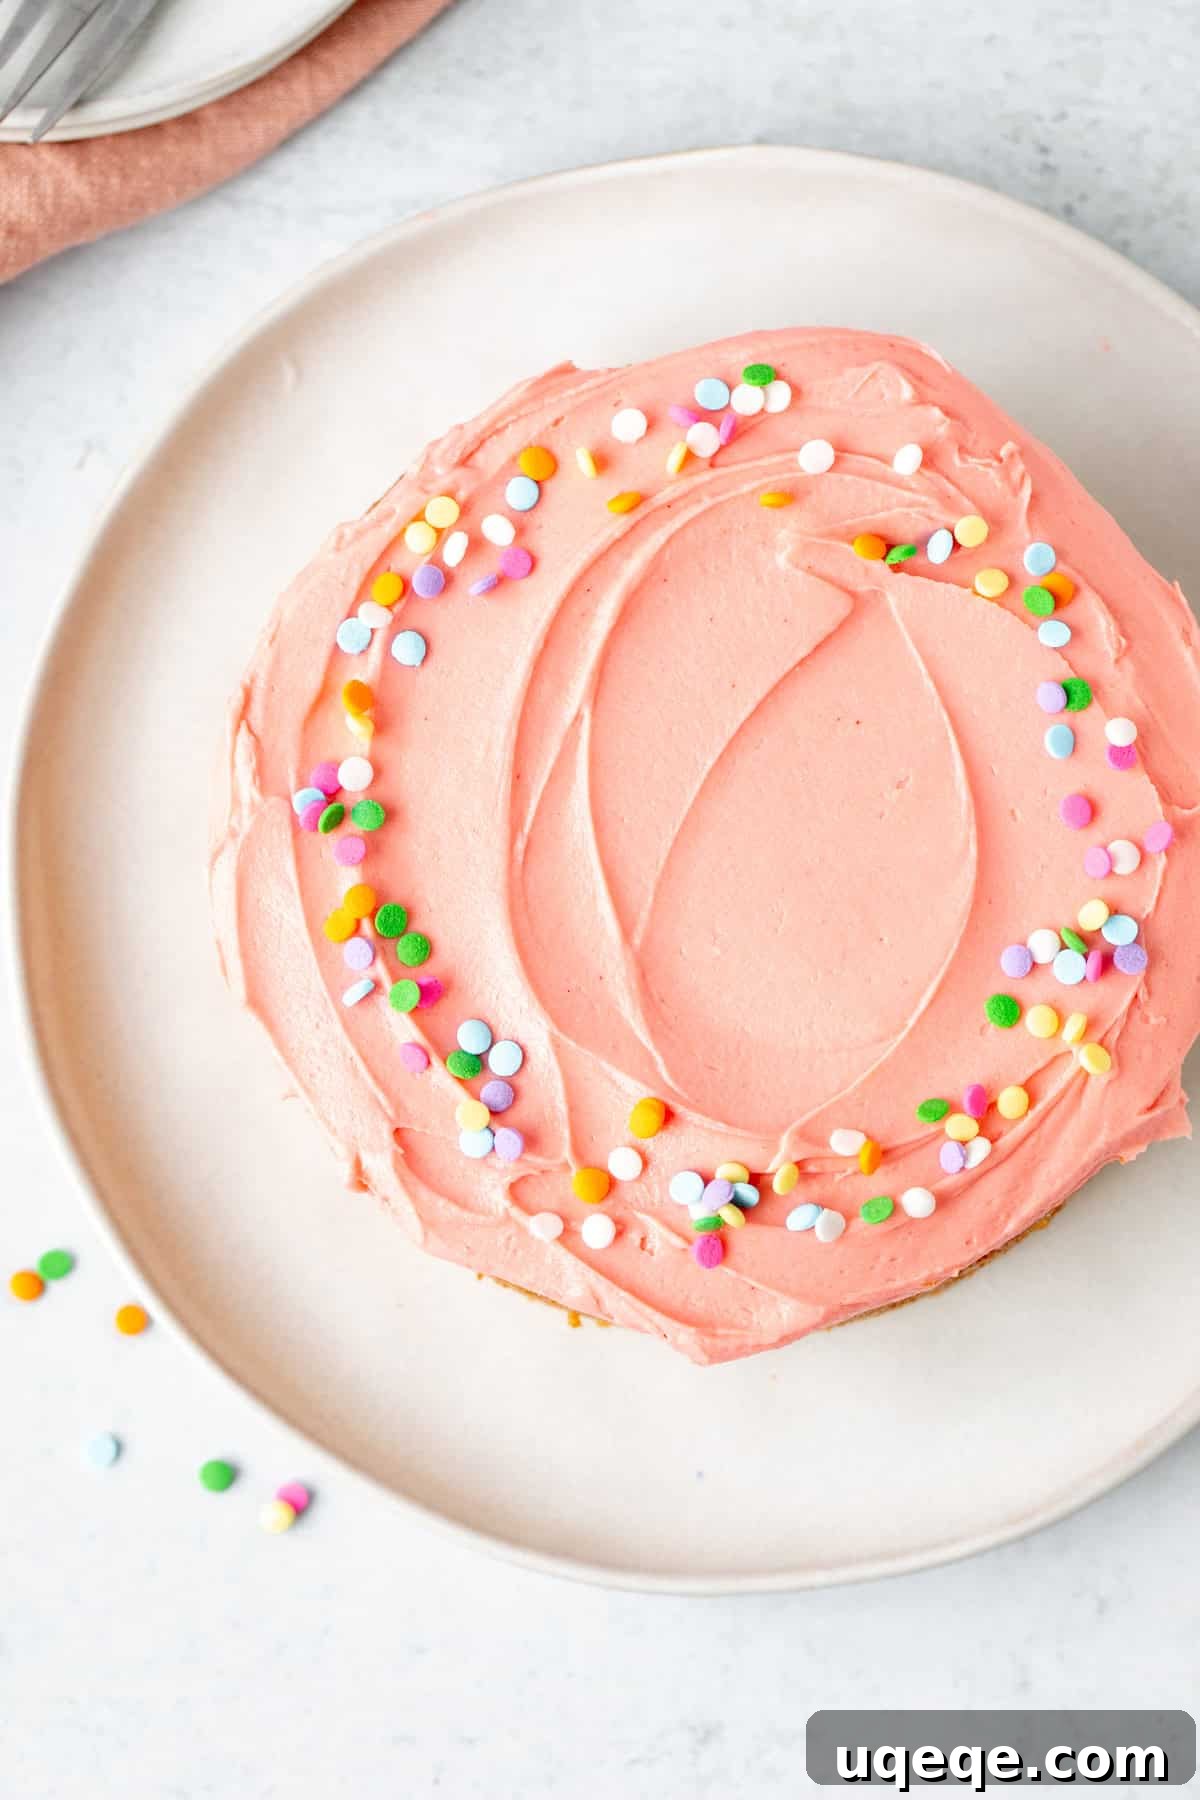
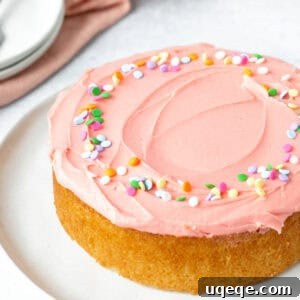
After your delightful mini cake has cooled, it’s time to prepare the crowning glory: a rich and creamy vanilla frosting. This recipe yields a generous amount, ensuring a wonderfully thick layer on top of your cake. The frosting is a simple yet luxurious blend of softened unsalted butter, sifted powdered sugar, a touch of vanilla extract for depth of flavor, a pinch of salt to balance the sweetness, and whipping cream (or milk) to achieve the perfect consistency. You can also add a few drops of food coloring, as pictured, to give your cake a festive touch, though this is entirely optional.
Recipe Tip: Elevate to a Layer Cake
If you wish to transform this single-layer mini cake into a beautiful two-layer creation, simply follow the cake baking instructions as directed. Once the cake is completely cooled, use a cake leveller or a serrated knife to carefully slice the single cake layer horizontally in half. To ensure you have enough frosting for the middle filling, sides, and top, remember to double the vanilla frosting recipe.
Your Perfect Dessert Awaits
With its moist, fluffy texture, delightful vanilla flavor, and luscious creamy vanilla frosting, this small vanilla cake is truly perfect for any occasion when you desire a delicious homemade dessert that’s simple, easy, and won’t leave you with an abundance of leftovers. It embodies all the charm and flavor of a classic cake in a manageable, intimate size.
If you’re a fan of baking small batch recipes, be sure to explore some of our other favorites:
- Mini Chocolate Cake: A rich and decadent treat in miniature form.
- Mini Carrot Cake: Spiced perfection, ideal for autumn cravings.
- Small Batch Brownies: Fudgy, chocolatey goodness for one or two.
- Vanilla Mug Cake: For those moments when you just need a single-serving vanilla treat, fast!
Mini Vanilla Cake Recipe Card
Mini Vanilla Cake
By: Fiona Dowling
This mini vanilla cake recipe makes one 6-inch single layer cake. It’s moist and fluffy with a delicious vanilla flavor and creamy vanilla frosting on top. It will serve about 4 people, or 2 people with leftovers. Perfect for a week night birthday, celebration or whenever you don’t want leftovers.
Prep Time: 20 mins
Cook Time: 30 mins
Total Time: 50 mins
Servings: 4 people
Equipment
- 6-inch (15 cm) round cake pan
Ingredients
Vanilla Cake
- 1 large egg
- 6 tablespoons milk (90 ml), 2% or whole is best
- 2 teaspoon vegetable oil (10 ml), or canola oil
- 1 teaspoon vanilla extract
- 3/4 cup all-purpose flour (94 grams)
- 1/4 teaspoon baking soda
- 1/8 teaspoon salt
- 1/2 cup granulated sugar (100 grams)
- 1/4 cup unsalted butter (56 grams), softened, but not starting to melt
Vanilla Frosting
- 1/3 cup unsalted butter (75 grams), softened
- 1 – 1 1/2 cup powdered sugar (110 – 165 grams), sifted
- 1/2 teaspoon vanilla extract
- 1/8 teaspoon salt
- 2-3 drops food coloring, optional
- 2-4 teaspoons whipping cream (10-20 ml), or milk
Instructions
Mini Vanilla Cake
- Preheat the oven to 350°F (180°C). Line the bottom of a 6-inch (15 cm) round cake pan with parchment paper. Lightly grease the sides. The sides should be at least 2 inches (5 cm) high.
- In a small bowl, whisk together the egg, oil, vanilla extract and milk until you no longer see pieces or lumps of egg. Set aside.
- In a separate medium bowl, whisk together the flour, baking soda, salt and sugar.
- Add the butter (cut into cubes) to the flour mixture. Beat with a hand held mixer on a low speed until the butter is in small pieces – none should be larger than a pea.
- While mixing on a low speed, drizzle the wet ingredients into the flour and butter mixture. Keep mixing until the batter is smooth and there are no lumps, but stop mixing as soon as it is smooth.
- Pour the cake batter into the prepared pan. Bake in the middle of the preheated oven for about 30-35 minutes, or until an inserted toothpick comes out clean and the edges are starting to pull away from the pan.
Vanilla Frosting
- Beat the softened butter until smooth and creamy using an electric mixer.
- Add in 1 cup of powdered sugar along with the vanilla extract, salt, and optional food coloring. Beat together, starting with the mixer on a low speed until combined, then increase speed to medium.
- Gradually beat in the rest of the powdered sugar, a little at a time, alternating with 1 teaspoon of whipping cream (or milk) until the desired sweetness and consistency are reached. Add more whipping cream if you prefer a thinner frosting, or more powdered sugar for a thicker one.
- Once the cake is completely cooled, gently invert it onto the plate that you plan to serve it on. Frost the top of the cooled cake with your freshly made vanilla frosting.
Notes
- Flour Measurement: Accurate flour measurement is key to a moist cake. Always whisk the flour first, then spoon it into a dry measuring cup and level off the top with a straight edge. For the most precise results, measure with a kitchen scale in grams.
- Storage: Store any leftover mini vanilla cake in an airtight container at room temperature for up to 2 days. For extended freshness, you can refrigerate it for up to 4 days. Remember, cake is always at its absolute best on the day it’s baked.
- Nutrition Information: The provided nutritional details are an estimate only. They are based on 1 slice of cake with frosting, assuming the cake is divided into 4 uniform pieces and all the frosting is used. Individual results may vary based on exact ingredients and portion sizes.
Nutrition
Calories: 672kcal
Carbohydrates: 90g
Protein: 6g
Fat: 33g
Saturated Fat: 19g
Polyunsaturated Fat: 3g
Monounsaturated Fat: 8g
Trans Fat: 1g
Cholesterol: 126mg
Sodium: 255mg
Potassium: 124mg
Fiber: 1g
Sugar: 72g
Vitamin A: 1004IU
Vitamin C: 0.01mg
Calcium: 76mg
Iron: 1mg
Like this recipe? We’d love to hear your thoughts! Rate and comment below to share your experience with this perfect mini vanilla cake!