
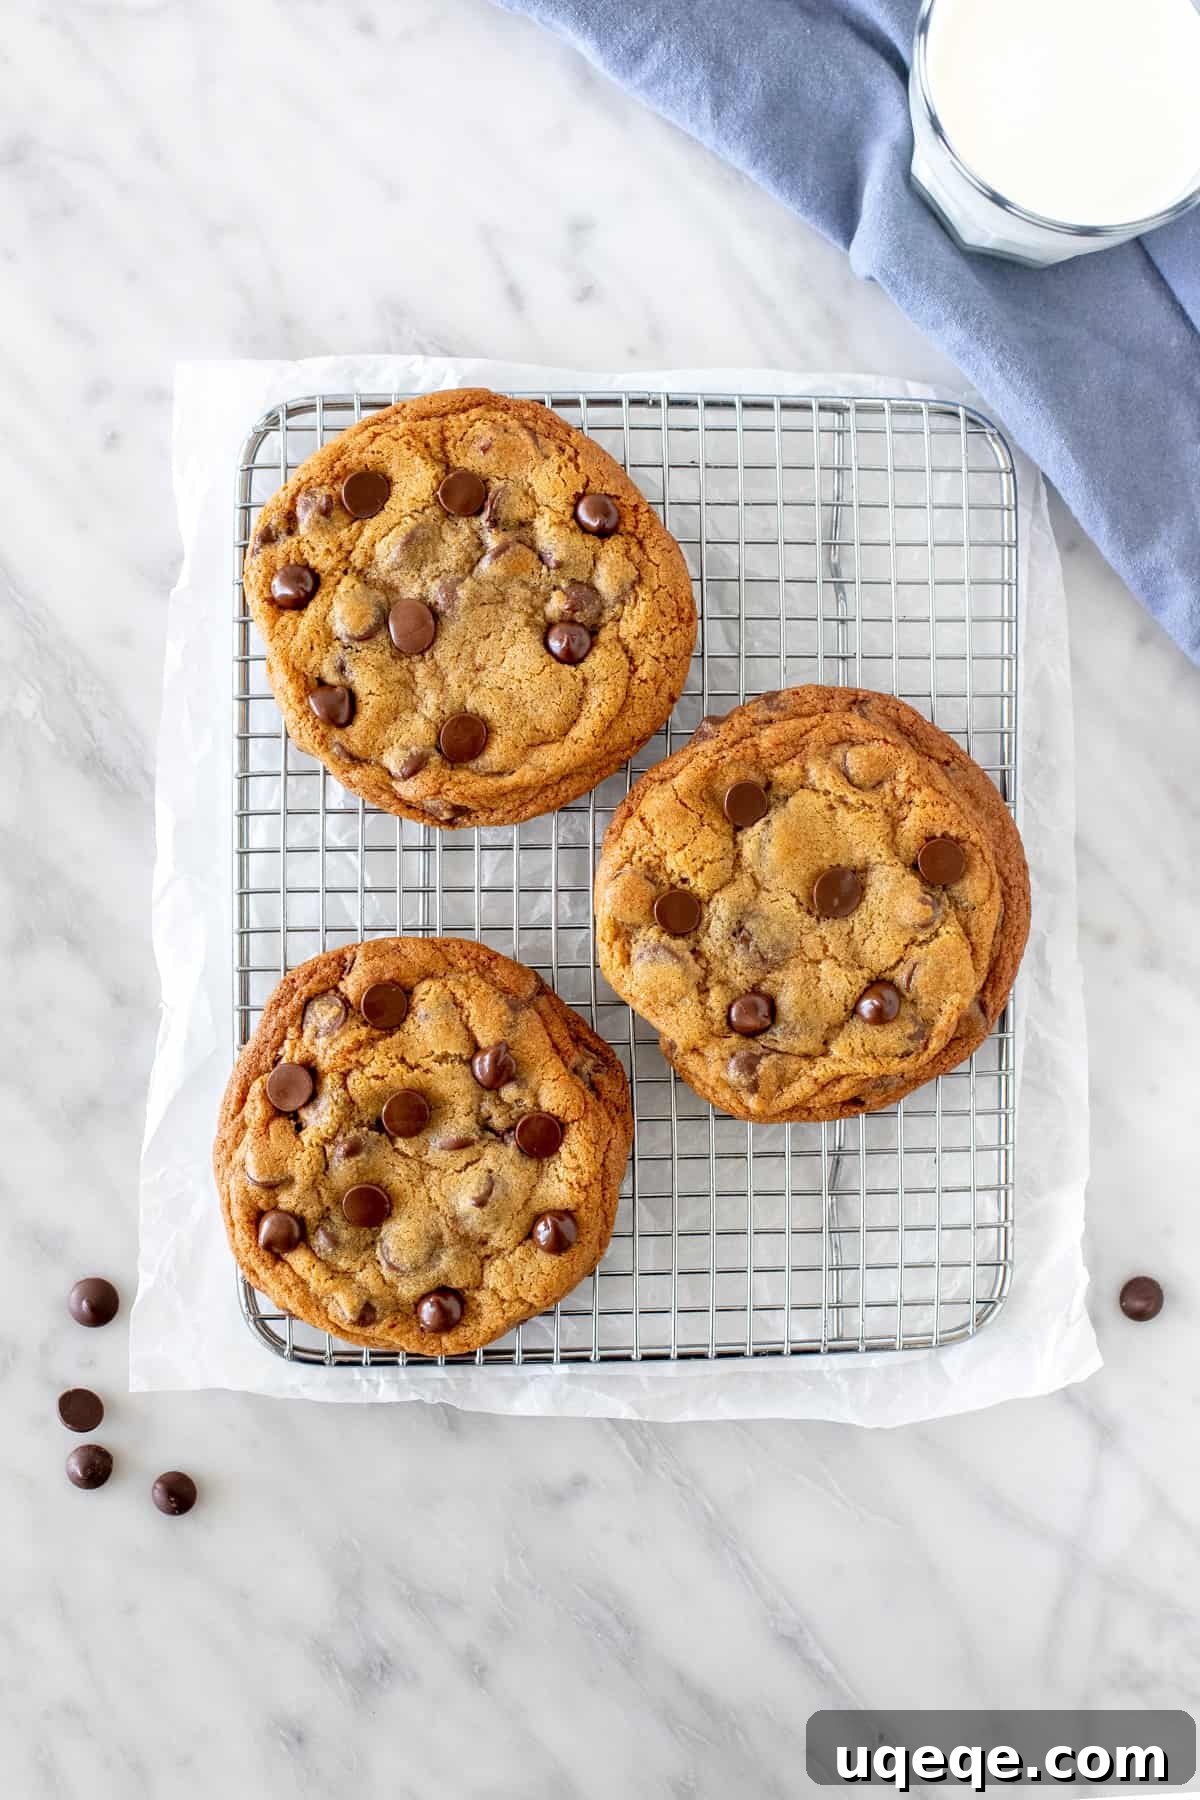
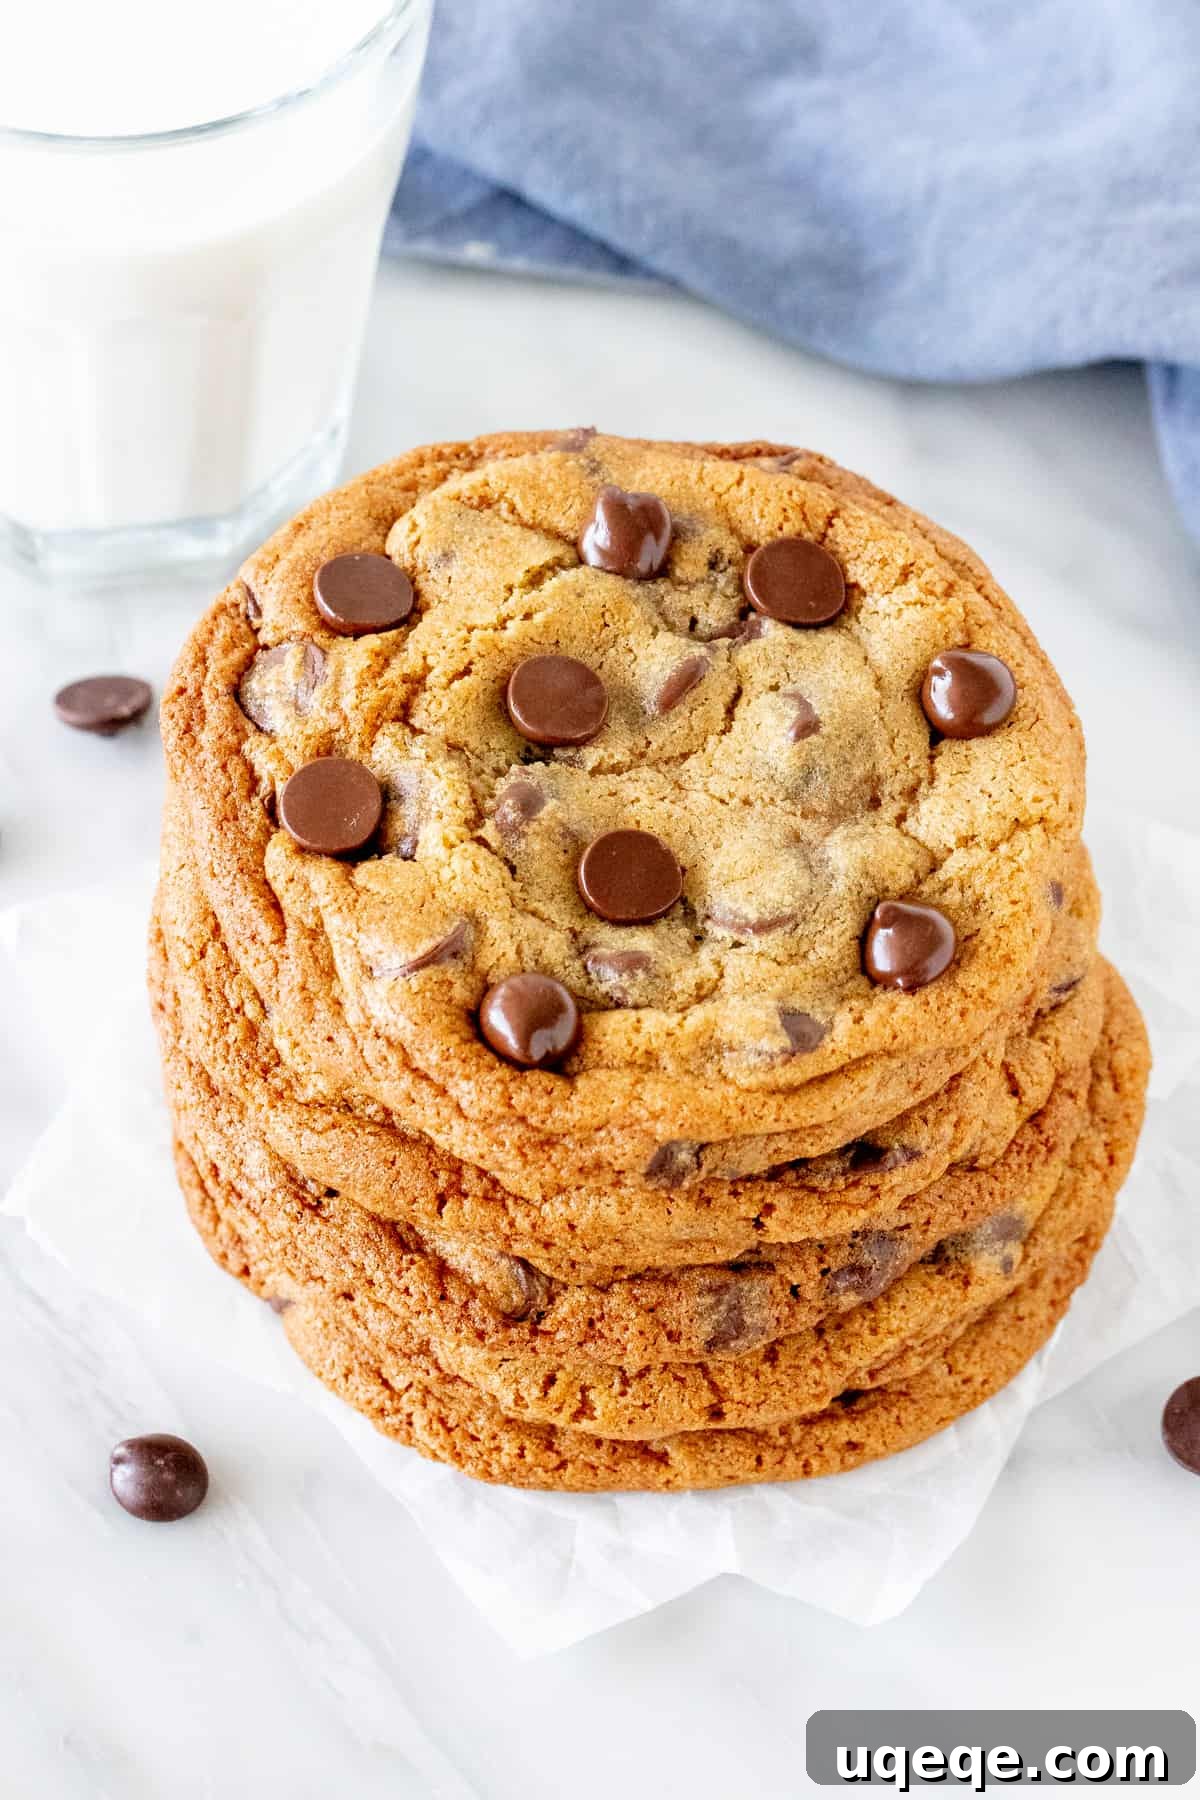
Imagine sinking your teeth into a colossal chocolate chip cookie – one that boasts perfectly golden edges, a delightfully gooey center, and an abundance of melty chocolate chips. These aren’t just any cookies; they are the epitome of bakery-style perfection, crafted to deliver an unparalleled experience right in your own kitchen. Prepare yourself for a cookie that will redefine your standards and quickly become a cherished favorite.
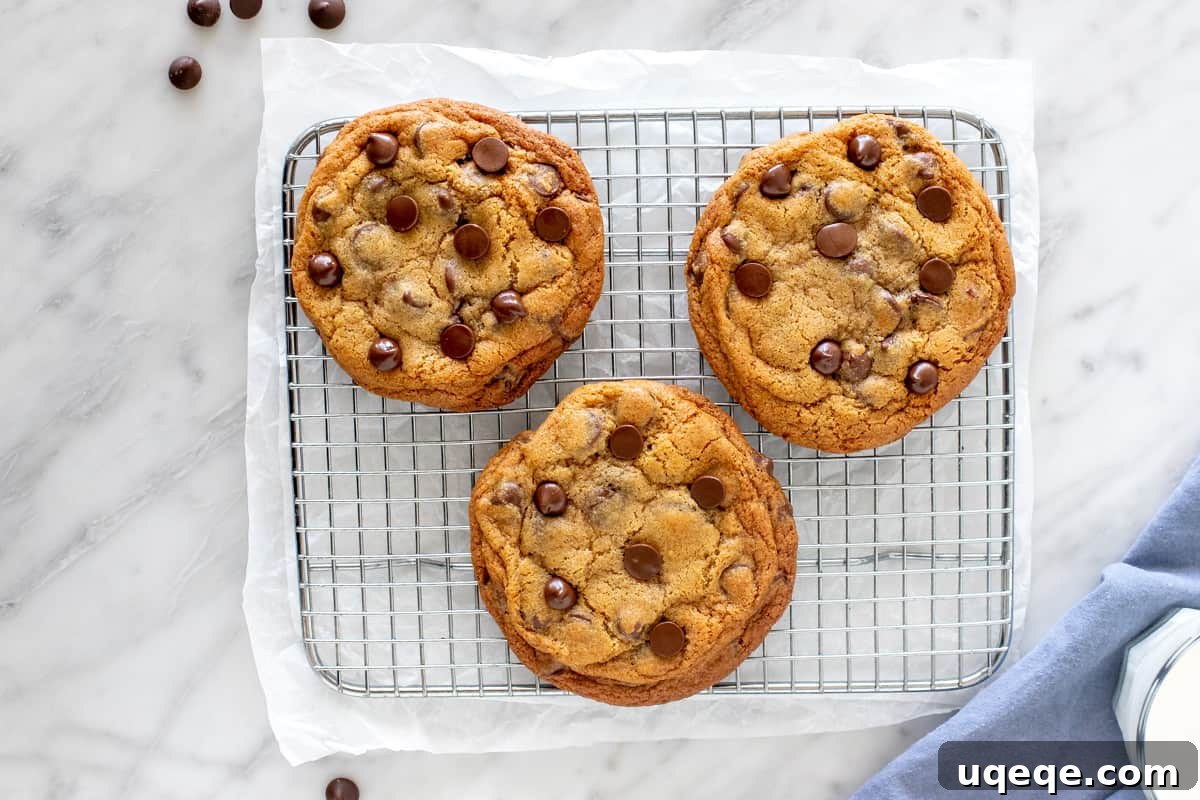
The Best, Bakery-Style Chocolate Chip Cookies You’ll Ever Make
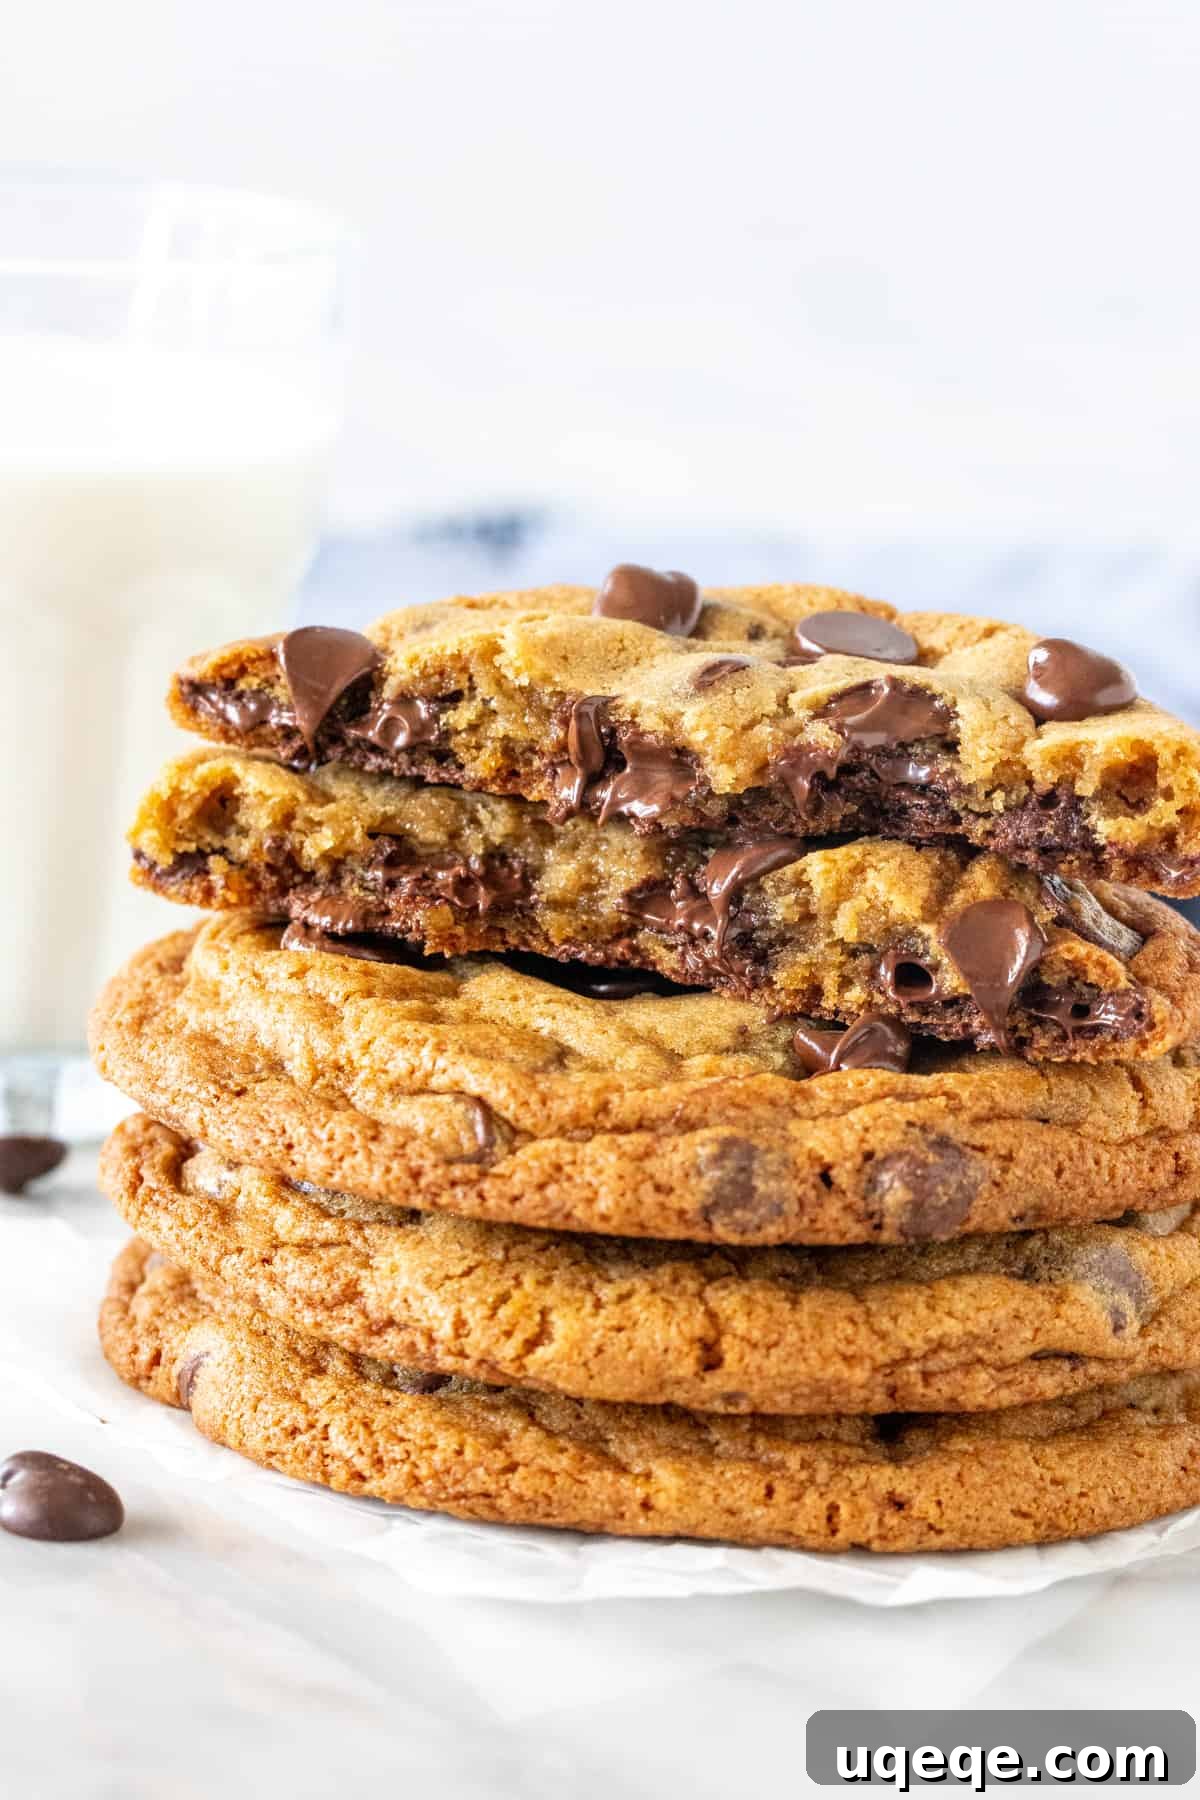
There’s an undeniable magic to an extra-large chocolate chip cookie. It’s more than just a sweet treat; it’s a comforting indulgence, a moment of pure bliss. Whether you pair it with a tall, cold glass of milk, a steaming mug of coffee, or simply enjoy it on its own, these bakery-style chocolate chip cookies are designed to rival – and perhaps even surpass – the very best you’ve ever tasted. This recipe focuses on creating cookies that are not only substantial in size but also complex in flavor and texture, embodying everything you love about a premium bakery treat.
Here’s why these cookies will capture your heart and become a staple in your baking repertoire:
- **Rich, Buttery Vanilla Flavor:** A deep, luxurious vanilla aroma combined with premium butter creates an unforgettable base flavor that sings with every bite.
- **Crispy, Golden Brown Edges:** The perfect contrast to a soft interior, these cookies feature beautifully caramelized edges that offer a satisfying crunch.
- **Chewy, Melt-in-Your-Mouth Centers:** Each cookie boasts a tender, chewy middle that remains slightly gooey, a hallmark of a truly exceptional chocolate chip cookie.
- **A Ridiculous Amount of Chocolate Chips:** Generously loaded with chocolate, ensuring a decadent burst of melty goodness in every single bite.
- **Absolutely Gigantic:** These are not your average cookies! Each one is a substantial treat, making it feel extra special and satisfying.
- **Easy to Follow:** Despite their impressive appearance and taste, this recipe is straightforward and achievable for bakers of all skill levels.
Mastering Your Ingredients: The Secret to Superior Bakery-Style Cookies
While the ingredients for these cookies might seem standard, the specific characteristics and preparation of a few key components are absolutely imperative for achieving that signature big, buttery, bakery-style result. Understanding the role each plays will elevate your baking from good to truly exceptional.
- Cold Butter is Crucial: Unlike many cookie recipes that call for softened or even melted butter to achieve a cake-like or chewier texture, we deliberately use cold butter here. Why? Cold butter creates pockets of steam as it bakes, which helps the cookies spread less rapidly and develop those coveted **crispier edges**. As the butter slowly melts, it also contributes to a richer, more profound flavor. Chop it into small, uniform pieces first to facilitate easier and more consistent mixing into the dry ingredients.
- Brown Sugar for Depth and Chewiness: The inclusion of a significant amount of **brown sugar** isn’t just for sweetness. Brown sugar contains molasses, which imparts a delicious **caramel undertone** to the cookies, adding a layer of complexity to their flavor profile. More importantly, the molasses also adds moisture, which is essential for ensuring those desirable **chewy centers**. You can use light or dark brown sugar; dark brown sugar will give a deeper molasses flavor and slightly chewier texture.
- Cornstarch for Unrivaled Softness: A seemingly small but mighty addition, a little bit of **cornstarch (also known as cornflour)** works wonders. It helps to tenderize the dough, ensuring the cookies maintain exceptionally **soft centers** even after cooling. It acts as a secret weapon against dry, crumbly cookies, promoting that delicate, melt-in-your-mouth texture that defines a perfect bakery cookie.
- Sea Salt for Flavor Balance and Enhancement: You’ll notice this recipe calls for a full 1/2 teaspoon of sea salt, which might seem generous. However, this specific amount is critical for balancing the sweetness and truly enhancing the overall flavor, cutting through the richness to create a sophisticated, high-end bakery taste. It brings out the notes of vanilla and chocolate beautifully. It’s important to use finely ground sea salt; if you have coarse crystals, grind them in a small bowl or cup first, then measure. Using 1/4 teaspoon is acceptable if you prefer less salt, but for that authentic bakery experience, trust the 1/2 teaspoon.
- **Quality Chocolate Chips:** While any chocolate chips will work, the type of chocolate significantly impacts the final taste. Dark chocolate chips offer a lovely contrast to the sweet dough, while milk chocolate provides a creamier, milder experience. For a truly gourmet cookie, consider a mix of different chocolate types or even chopped chocolate bars.
- **Vanilla Extract:** Don’t skimp on good quality vanilla extract. It’s a foundational flavor in chocolate chip cookies, and a premium extract will make a noticeable difference in the overall aroma and taste.
Expert Baking Tips for Bakery-Perfect Chocolate Chip Cookies
Achieving bakery-quality cookies at home requires attention to detail. These expert tips will guide you to success, ensuring your cookies turn out perfectly every single time.
- **Measure the Flour Correctly – It’s a Game Changer!** This is perhaps the most common baking mistake. If you simply scoop flour directly from the bag into your measuring cup, you’ll inevitably pack too much in, leading to dense, dry, and crumbly cookies. To avoid this, always follow the “spoon and level” method: first, whisk your flour thoroughly in its container to aerate it, then gently spoon it into your dry measuring cup until overflowing, and finally, level off the top with a straight edge (like a knife or ruler). Better still, and highly recommended for consistent results, use a digital baking scale. For this recipe, 1 2/3 cups of all-purpose flour should weigh approximately 207.5 grams or 7.3 ounces. Precision here makes all the difference!
- **Ensure the Dough is Cold Before Baking:** The cold butter and cold egg specified in the recipe are designed to keep your dough cool. A cold dough will spread slower in the oven, leading to thicker cookies with those desirable crispy edges and chewy centers. If, during the mixing process, you notice your dough has warmed up to room temperature (it might feel sticky or soft), don’t fret! Simply cover the mixing bowl with plastic wrap and pop it into the fridge for 30 minutes. This quick chill will firm it up and prevent excessive spreading during baking.
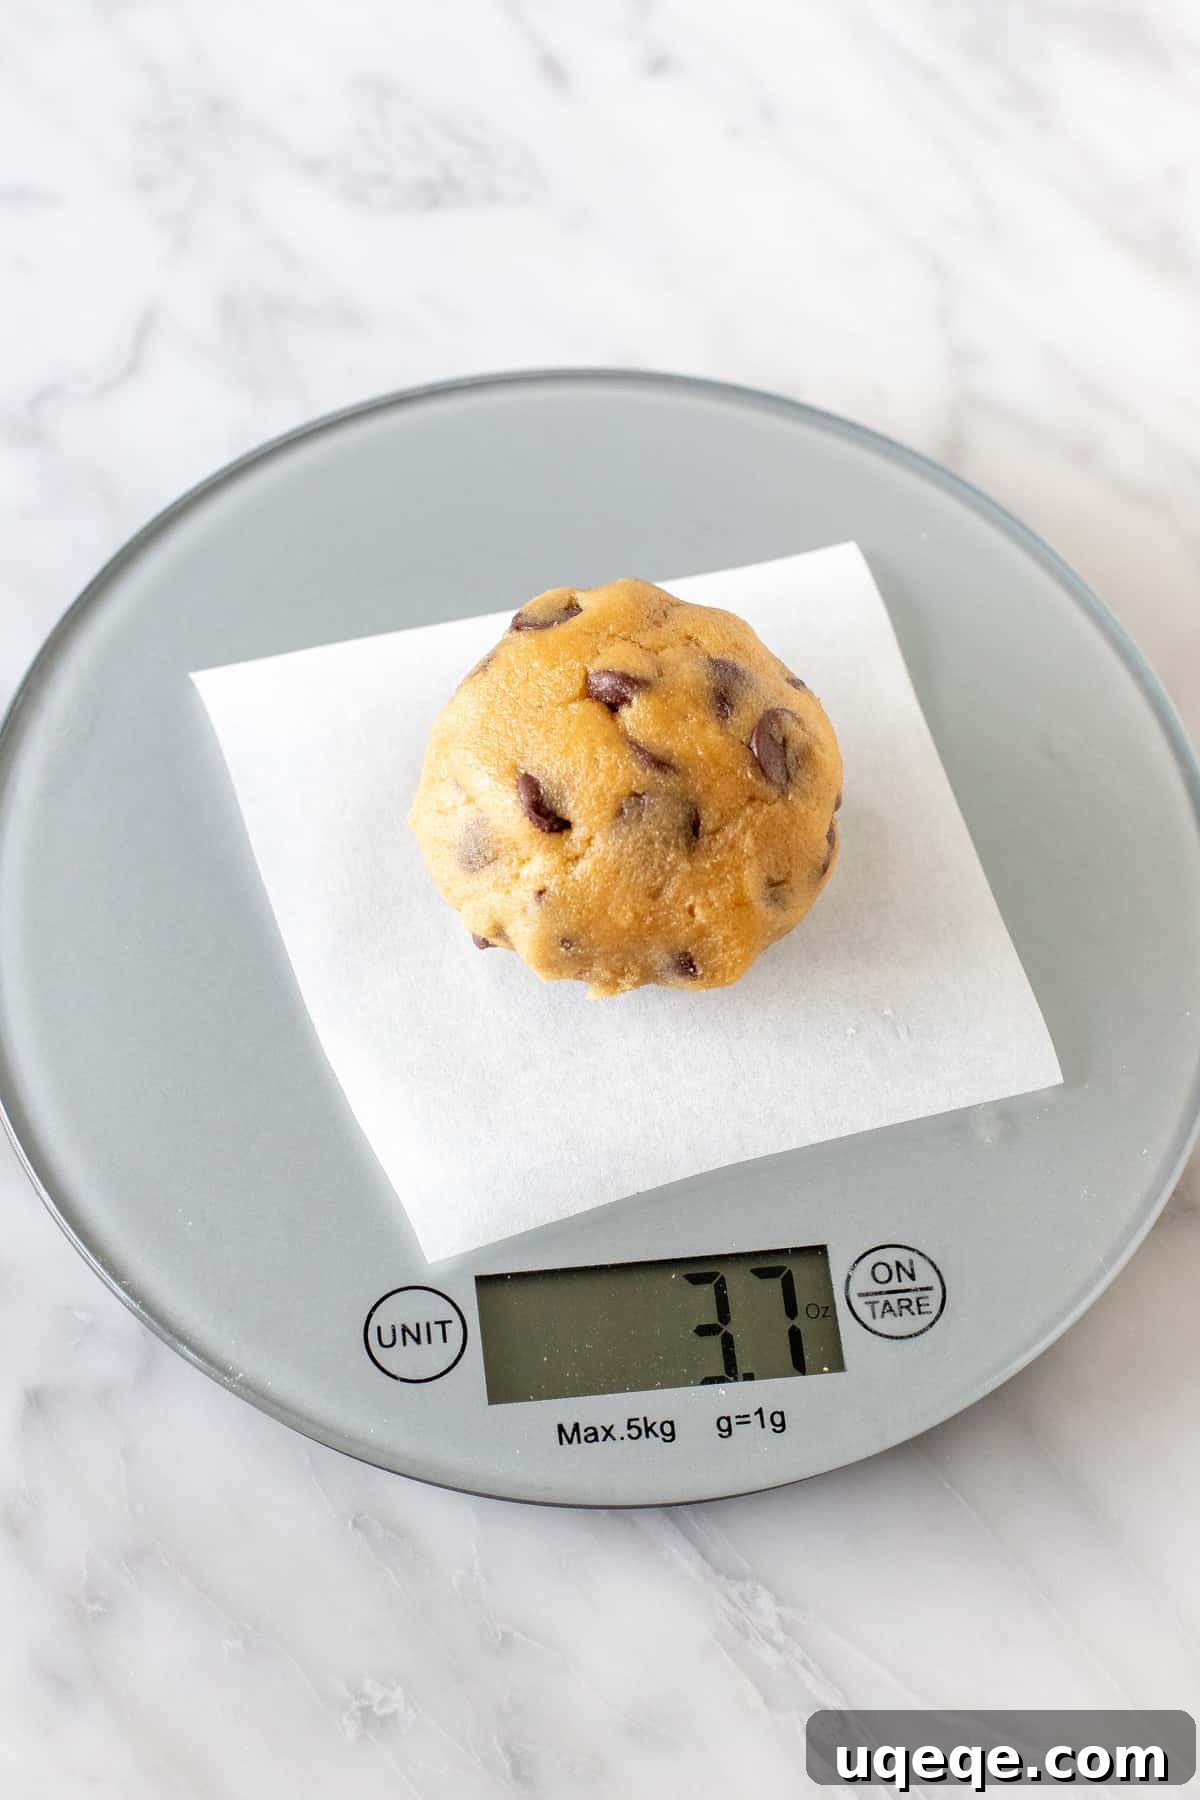
- **Uniformity for Even Baking:** This recipe yields 8 incredibly large cookies, each typically around 1/3 cup of cookie dough. For perfectly consistent results, where every cookie bakes evenly and looks beautiful, I highly recommend using a kitchen scale to portion your dough. Aim for each dough ball to be a little over 100 grams (about 3.7 ounces). This ensures that all your cookies will be baked to the same level of perfection – no more underbaked centers or overbaked edges!
- **Don’t Overmix the Dough:** Once you add the flour mixture, mix on low speed just until combined. Overmixing develops the gluten in the flour, which can lead to tough, dense cookies. A few streaks of flour are fine; they will disappear during the final stirring of the chocolate chips.
- **Space Them Out:** These are large cookies, and they need room to spread! Place dough balls at least 3 inches apart on your lined baking sheets. Overcrowding will cause them to meld together and bake unevenly.
- **Bake One Sheet at a Time:** For optimal baking, bake one cookie sheet at a time in the center rack of your oven. This ensures even heat distribution. While the first sheet is baking, keep the remaining dough balls in the fridge to stay cold.
- **The Power of Parchment Paper (or Silicone Mats):** Always line your baking sheets with parchment paper or silicone baking mats. This prevents sticking, promotes even browning, and makes cleanup a breeze.
Freezing and Make-Ahead Tips for Convenient Cookie Indulgence
Life is unpredictable, but your craving for a warm, fresh-baked cookie doesn’t have to be. This recipe is wonderfully adaptable for making ahead or freezing, ensuring you always have a delightful treat within reach.
Make-Ahead Dough:
The prepared cookie dough can be stored in the refrigerator for up to 1 day. Simply cover the bowl tightly with plastic wrap to prevent it from drying out. When you’re ready to bake, remove the dough from the fridge, form it into balls as directed, and proceed with baking. Allowing the dough to sit overnight can actually deepen the flavors, making for an even more exquisite cookie.
Storing Baked Cookies:
Once baked and fully cooled, these cookies will maintain their freshness and delicious texture for up to 3 days when stored in an airtight container at room temperature. However, based on their irresistible nature, it’s highly unlikely they’ll last that long!
Freezing Cookie Dough for Instant Gratification:
This is arguably the best secret weapon for any cookie lover. To freeze the cookie dough, first form it into individual balls according to the recipe’s size guidelines (about 1/3 cup each). You can flatten them just slightly to create a more uniform disc shape, which helps them bake more evenly from frozen. Arrange the dough balls in a single layer on a parchment-lined baking sheet and freeze until solid, typically for 1-2 hours. Once firm, transfer the frozen dough balls to a freezer-safe bag or airtight container. They can be stored in the freezer for up to 2 months, ready for whenever a cookie emergency strikes!
Baking from Frozen: The beauty of frozen cookie dough is that you don’t need to thaw it! Simply place the frozen dough balls on a lined baking sheet and bake as directed in the recipe. You’ll likely need to add about 1-2 extra minutes to the baking time to compensate for the frozen state. Keep an eye on them; they’re done when the edges are golden brown and the centers still look slightly soft.
Pro Tip: Freezing individual cookie dough balls is perfect for those moments when you just need a single, warm cookie. Pop one or two into the oven for a late-night treat or a quick pick-me-up without having to bake a whole batch.
To Chill or Not to Chill: Understanding Cookie Dough Chilling
The question of chilling cookie dough often sparks debate among bakers. In this specific recipe, using cold butter and a cold egg helps to keep the dough temperature regulated, so extended chilling is not strictly necessary for preventing excessive spreading. However, there are instances where chilling can be beneficial, and understanding why is key to adapting your baking process.
The Science Behind Chilling: Chilling cookie dough serves a few important purposes. Firstly, it solidifies the butter, which prevents the cookies from spreading too rapidly in the oven, leading to thicker, chewier cookies. Secondly, it allows the flour to fully hydrate, resulting in a more uniform texture. Lastly, and perhaps most importantly, chilling allows the flavors in the dough to meld and deepen over time, often producing a more complex and satisfying taste.
When to Consider Chilling: If you find that your cookies are spreading more than desired – perhaps your kitchen is particularly warm, or your butter wasn’t quite cold enough – then a 30-minute to 24-hour chill in the fridge can certainly help. This extra chilling period will firm up the dough, giving you greater control over the final cookie shape and thickness.
The “Test Cookie” Method: A fantastic approach to assess your dough’s behavior is to bake just one cookie first as a test. Observe how much it spreads. If it spreads too thin, a brief chill for the rest of the dough is a good idea. If, on the other hand, it’s not spreading out as much as you’d like, simply flatten the remaining dough balls slightly with the palm of your hand before baking. This simple test cookie can save you from a whole batch of less-than-perfect cookies.
Frequently Asked Questions (FAQs)
Even with the best recipes, questions can arise. Here are some common queries about baking perfect chocolate chip cookies:
Q: Why are my cookies flat and greasy?
A: This is usually due to butter that was too soft or melted, or dough that was too warm. Ensure your butter is cold and firm when you start, and chill the dough if it warms up during mixing. Overmixing the dough can also contribute to flat cookies.
Q: Can I use different types of chocolate?
A: Absolutely! While dark chocolate chips are classic, feel free to experiment with milk chocolate, semi-sweet, white chocolate, or even a mix. Chopped chocolate bars also create beautiful puddles of melted chocolate in the cookies.
Q: My cookies are too dry/cakey. What went wrong?
A: This is often a sign of too much flour or overbaking. Make sure to measure your flour accurately (using a scale is best!), and watch the cookies carefully. Remove them from the oven when the edges are golden and the centers are still slightly soft, as they will continue to set on the hot baking sheet.
Q: How can I make smaller cookies?
A: For smaller cookies, simply scoop about 1 1/2 tablespoons of dough per cookie. Reduce the baking time to 9-11 minutes, or until the edges are golden brown. Keep an eye on them, as smaller cookies bake much faster.
Q: Can I substitute salted butter for unsalted?
A: If you use salted butter, omit the added sea salt from the recipe. If you prefer a less salty flavor, you can reduce the sea salt even with unsalted butter, but remember it adds a wonderful balance.
Variations and Serving Suggestions
While these cookies are perfect as is, you can always get creative! For added texture and flavor, try mixing in chopped nuts like walnuts or pecans, or a sprinkle of flaky sea salt on top before baking. A hint of cinnamon or a dash of espresso powder can also add a delightful complexity to the chocolate. Serve these magnificent cookies slightly warm for the ultimate gooey chocolate experience, or at room temperature. They are incredible with a scoop of vanilla bean ice cream, a rich chocolate sauce, or simply enjoyed with your favorite beverage.
More Irresistible Cookie Recipes to Love
If you’ve fallen in love with these bakery-style treats, explore other delightful cookie creations from our kitchen:
- Bakery-Style Double Chocolate Cookies – For the ultimate chocolate lover, rich and intensely chocolatey.
- Cream Cheese Chocolate Chip Cookies – These are truly exceptional if you adore pillow-soft, tender cookies with a slight tang.
- Thin & Crispy Chocolate Chip Cookies – A classic for those who prefer a delicate crunch.
- Small-Batch Chocolate Chip Cookies – An easy, no-chill recipe perfect for when you need just a few cookies quickly.
Bakery Chocolate Chip Cookies
Rate Recipe
Print Recipe
Ingredients
- 1 2/3 cups all-purpose flour (207.5 grams)*, AKA plain flour, measured correctly (see notes)
- 1 tablespoon cornstarch, AKA cornflour, for softer centers
- 1/2 teaspoon baking powder
- 1/2 teaspoon baking soda
- 1/2 teaspoon sea salt*, finely ground; grind first, then measure (see notes for alternatives)
- 1/2 cup unsalted butter (112 grams), cold, directly from the fridge, chopped into small pieces
- 1/2 cup brown sugar (100 grams), light or dark – dark brown sugar used for deeper caramel notes
- 1/2 cup granulated sugar (100 grams)
- 1 large egg, cold, to maintain dough temperature
- 2 teaspoons vanilla extract, use high-quality vanilla for best flavor
- 1 1/2 cups chocolate chips*, plus an additional small handful for dotting on top of baked cookies (dark chocolate recommended)
Instructions
-
Preheat your oven to 350°F (180°C).
-
Line a couple of large baking sheets with parchment paper or silicone baking mats. This will prevent sticking and ensure even baking.
-
In a medium bowl, whisk together the flour, cornstarch, baking powder, baking soda, and salt. Whisking ensures all dry ingredients are evenly distributed.
-
Cut the cold unsalted butter into small, roughly 1/2-inch pieces. Place these pieces in a large mixing bowl (or the bowl of a stand mixer).
-
Add both the brown sugar and granulated sugar to the bowl with the butter. Mix on medium speed (using an electric mixer or stand mixer with paddle attachment) until the sugars and butter are just combined and look crumbly, not necessarily light and fluffy. This can take about 1-2 minutes.
-
Add the cold egg and vanilla extract to the butter mixture. Continue mixing until well combined and smooth, scraping down the sides of the bowl as needed.
-
With the mixer on low speed, gradually add the dry flour mixture to the wet ingredients, about half at a time. Mix only until the flour is *just* incorporated and no dry streaks remain. Be careful not to overmix, as this can lead to tough cookies.
-
Turn off the mixer and, using a spatula or spoon, fold in 1 1/2 cups of chocolate chips. Ensure they are evenly distributed throughout the dough.
-
Check the dough’s temperature. If it feels warm or too soft to the touch (which can happen in a warm kitchen), cover the bowl tightly and place it in the fridge for 30 minutes to firm up. This helps prevent excessive spreading during baking.
-
Form the dough into large balls, using about 1/3 cup of dough for each. This recipe yields 8 very large cookies. For consistency, I recommend using a kitchen scale to ensure each dough ball weighs approximately 100 grams (about 3.6 ounces).
-
Place the dough balls about 3 inches apart on your lined cookie sheets. Bake one sheet at a time in the preheated oven for 12-14 minutes, or until the edges are golden brown and the tops look just set but the centers still appear slightly soft and gooey. Baking one sheet at a time ensures even heat distribution. While the first batch bakes, place the second cookie sheet (with unbaked dough) in the fridge to keep the dough cold.
-
Immediately after removing the cookies from the oven, you can optionally press a few extra chocolate chips onto the top of each cookie for that classic “bakery-style” appearance. Allow the cookies to cool on the hot cookie sheet for at least 15 minutes. This crucial step allows them to continue baking slightly and firm up without becoming dry. After 15 minutes, carefully transfer them to a wire rack to cool completely. Enjoy warm or at room temperature!
Notes
- **Accurate Flour Measurement is Key:** Always whisk your flour first, then spoon it into a dry measuring cup and level off the top. For the most accurate results, use a kitchen scale: 1 2/3 cups of all-purpose flour weighs approximately 207.5 grams or 7.3 ounces. Incorrect flour measurement is a common cause of dry or dense cookies.
- **The Importance of Cold Ingredients:** This recipe is specifically designed to use cold butter and a cold egg. This ensures the butter melts slowly during baking, contributing to crispier edges and preventing the cookies from spreading too much, yielding a thicker, chewier final product.
- **Choosing Your Salt:** I highly recommend using fine sea salt for its superior flavor profile, which helps to balance the sweetness and enhance the chocolate. If you opt for regular table salt, reduce the amount to 1/4 teaspoon, as it is finer and more potent than sea salt.
- **Adjusting for Salted Butter:** If you are using salted butter instead of unsalted, remember to completely omit the additional salt from the recipe to avoid overly salty cookies.
- **Chocolate Chip Variety:** While dark chocolate chips were used for this recipe, feel free to use your favorite variety – semi-sweet, milk, or even a mix of different chocolates will work wonderfully. Quality chocolate makes a noticeable difference.
- **Smaller Cookie Option:** If you prefer standard-sized cookies, form the dough into balls using about 1 1/2 tablespoons of dough for each. These smaller cookies will require a shorter baking time, typically 9-11 minutes at 350°F (180°C). Watch them closely to prevent overbaking.
- **Freezing Dough for Future Enjoyment:** Cookie dough balls can be placed in a freezer-safe bag or airtight container and frozen for up to 2 months. When you’re ready to bake, there’s no need to thaw them – simply bake from frozen, adding approximately 1-2 minutes to the recommended baking time.
- **Storage of Baked Cookies:** Store baked and completely cooled cookies in an airtight container at room temperature for up to 3 days to maintain optimal freshness. While they can last up to 5 days, their texture will begin to dry out slightly after the third day.
- **Nutrition Disclaimer:** The nutrition information provided is an estimate only. It is based on 1 cookie, assuming the recipe yields 8 equally sized large cookies, and may vary depending on specific ingredients and brands used.
Nutrition (Per Very Large Cookie – Estimate)
Love this recipe? Show some love! Rate and comment below!Your feedback helps us and other bakers.