
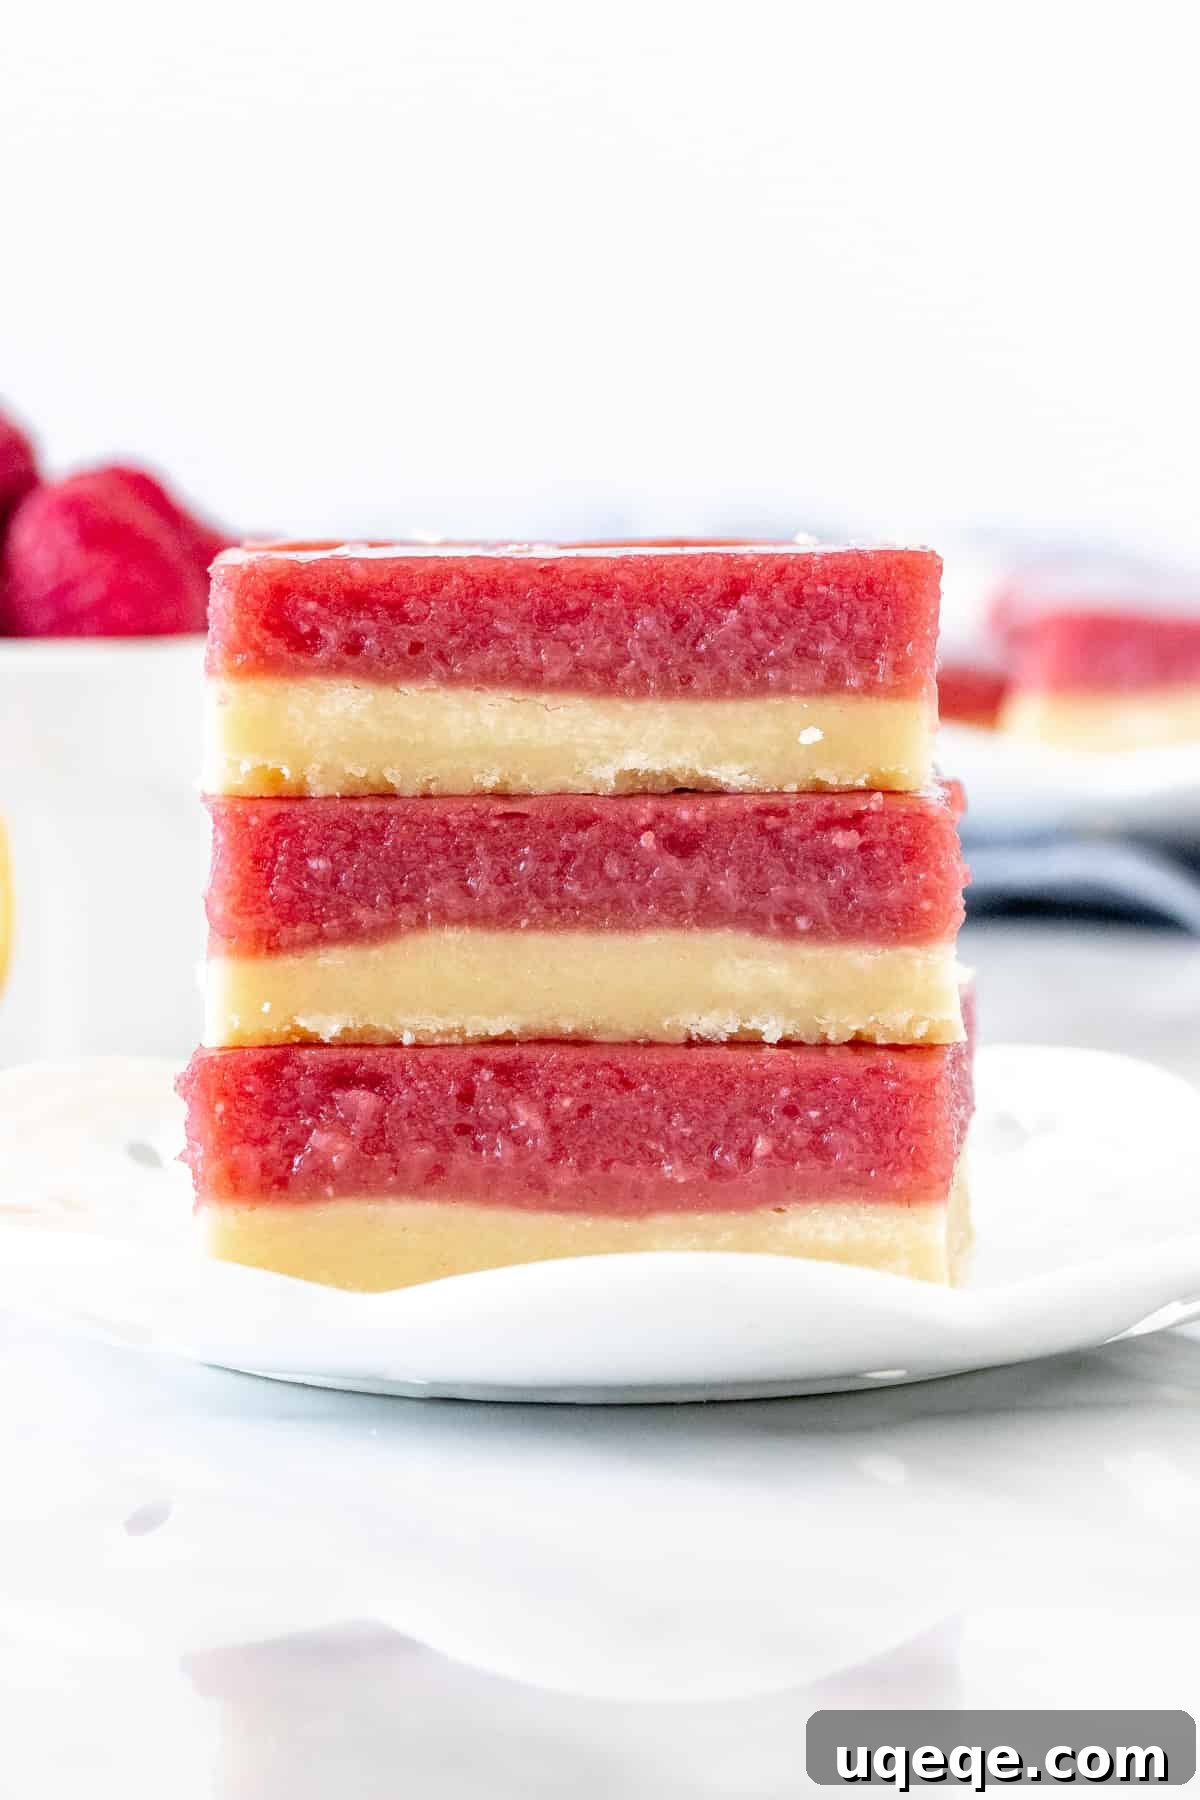
Irresistible Lemon Raspberry Bars: Your New Favorite Tangy Sweet Treat
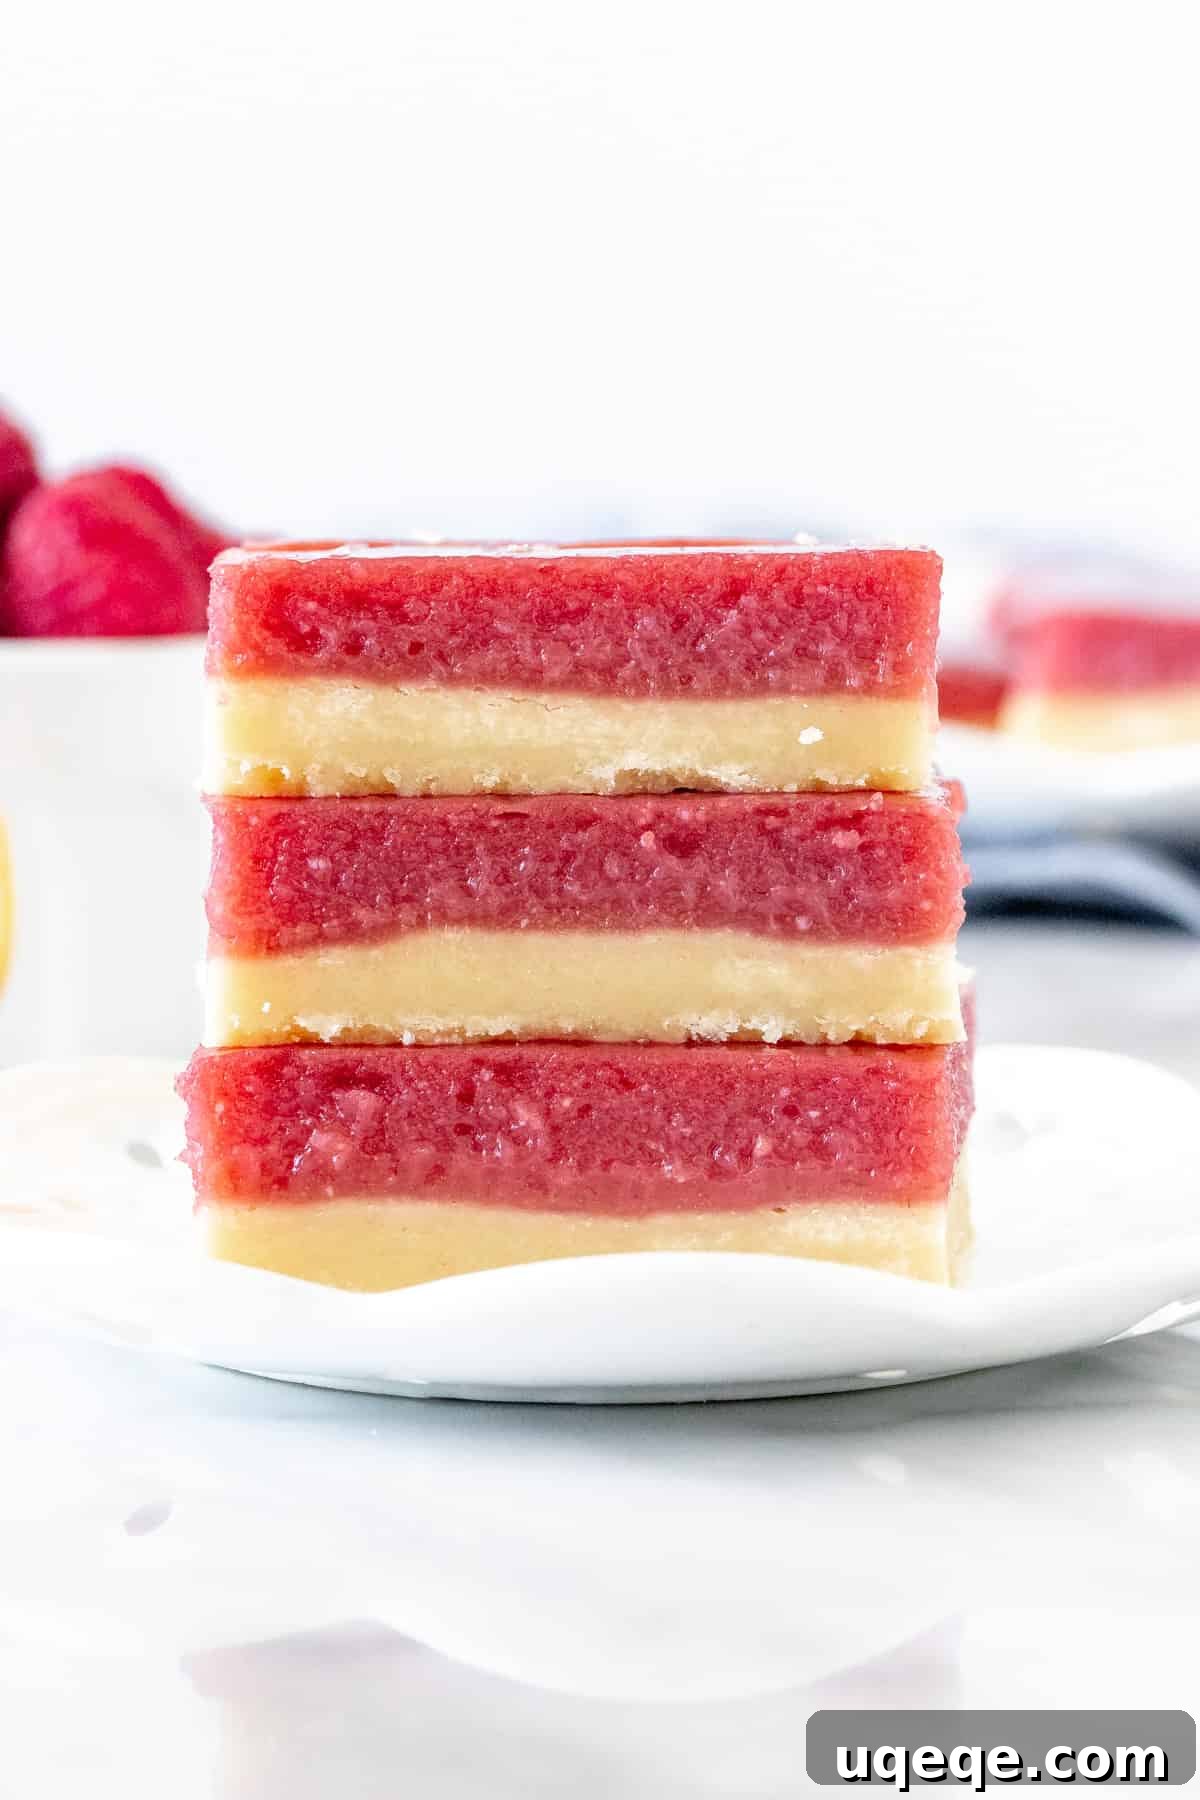
Prepare to fall in love with these extraordinary Lemon Raspberry Bars, a brilliant and refreshing take on the beloved traditional lemon bar. Imagine a foundation of rich, buttery shortbread, perfectly baked to a golden crisp, topped with a luscious layer of vibrant, tangy lemon raspberry custard. Each bite offers a harmonious blend of zesty lemon and sweet-tart raspberry, creating a truly unforgettable dessert that brightens any day.
The inspiration for these delightful bars stemmed from the timeless appeal of classic lemon bars. While the original is undeniably fantastic, a culinary curiosity led to exploring exciting variations. Given the universal appeal of raspberry lemonade, it was a natural leap to introduce the luscious flavor of raspberries. The result is a dessert that boasts a thick, robust shortbread base and a strikingly beautiful, dark pink lemon raspberry layer, infused with concentrated raspberry puree. It’s a flavor profile that distinctly emphasizes lemon with a beautiful kiss of raspberry, reminiscent of pure sunshine.
These bars aren’t just delicious; they’re a visual treat, too. The deep, rich color from the raspberries makes them stand out on any dessert table, making them ideal for spring gatherings, summer picnics, or simply as a cheerful homemade indulgence.
Crafting the Perfect Lemon Raspberry Bars
Achieving bakery-quality lemon raspberry bars at home is entirely within reach with this detailed recipe. We’ll walk through each critical step, ensuring both the shortbread base and the tangy fruit filling are perfected. From selecting the right ingredients to mastering crucial techniques, you’ll gain the confidence to bake these show-stopping treats time and again.
The Essential Buttery Shortbread Base
The journey to perfect lemon raspberry bars begins with a flawless shortbread base. This isn’t just any crust; it’s a deliciously rich, buttery foundation that, crucially, isn’t overly sweet. Since the lemon raspberry layer brings its own sweetness and tang, a less sweet base ensures a balanced flavor profile, preventing a sugar overload. You’ll press this versatile dough firmly into the bottom of your baking pan, then pre-bake it for approximately 20-25 minutes. This step is non-negotiable – it guarantees the crust is perfectly set, lightly golden around the edges, and never raw or doughy beneath the luscious filling.
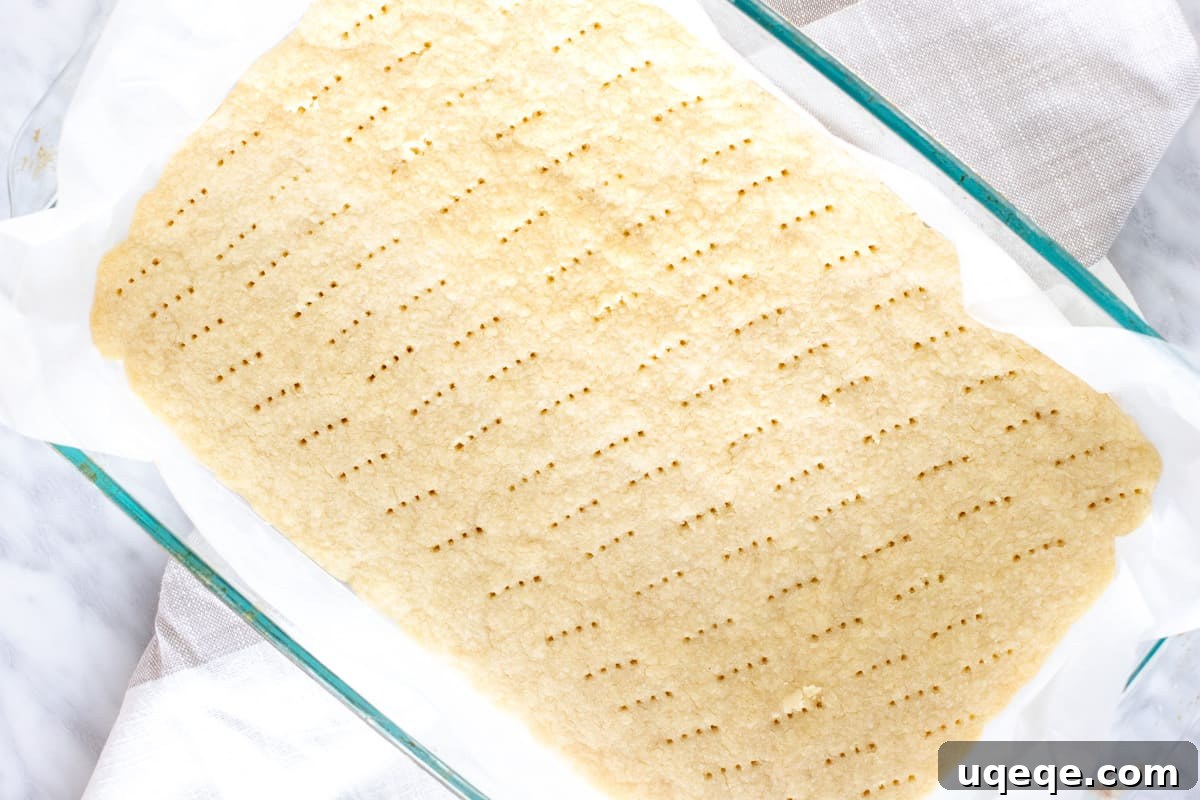
Expert Tip for a Superior Crust: To prevent the tangy raspberry-lemon filling from seeping around the edges and potentially making your shortbread soggy, create a subtle “ledge” when pressing the dough into the pan. Extend the dough slightly up the sides of the pan, about 1/3 inch (or just under 1 cm). This acts as a protective barrier. After baking, gently prick the top of the warm shortbread with a fork. This strategic pricking helps the subsequent lemon raspberry layer adhere beautifully to the base, ensuring both layers remain cohesive and delightful with every bite.
Crafting the Tangy Lemon Raspberry Filling
The heart of these bars is their vibrant, tangy lemon raspberry filling. While it shares similarities with a classic lemon bar filling, several thoughtful modifications ensure the raspberry shines:
- A slight reduction in lemon juice to accommodate the fruit.
- The thoughtful addition of concentrated raspberry puree.
- A modest decrease in sugar, recognizing the natural sweetness contributed by the raspberries.
The first step for the filling involves creating a smooth raspberry puree. Begin by pureeing fresh or frozen raspberries in a blender or food processor until completely smooth. For an ultra-luxurious, seedless texture, optionally pass the puree through a fine-mesh metal sieve, pushing it with the back of a spoon to extract all the delicious liquid while leaving the seeds behind. While not strictly mandatory, removing the seeds significantly elevates the overall eating experience. The most crucial step follows: gently boiling down the raspberry puree over low-medium heat to reduce its excess liquid. This concentration process takes about 15-20 minutes, transforming the watery puree into a thick, intensely flavored reduction. Skipping this step will result in a filling that’s too thin and won’t set properly, so be sure to commit to this vital part of the process. The photo below beautifully illustrates the dramatic difference between the initial puree and its thickened, reduced form.
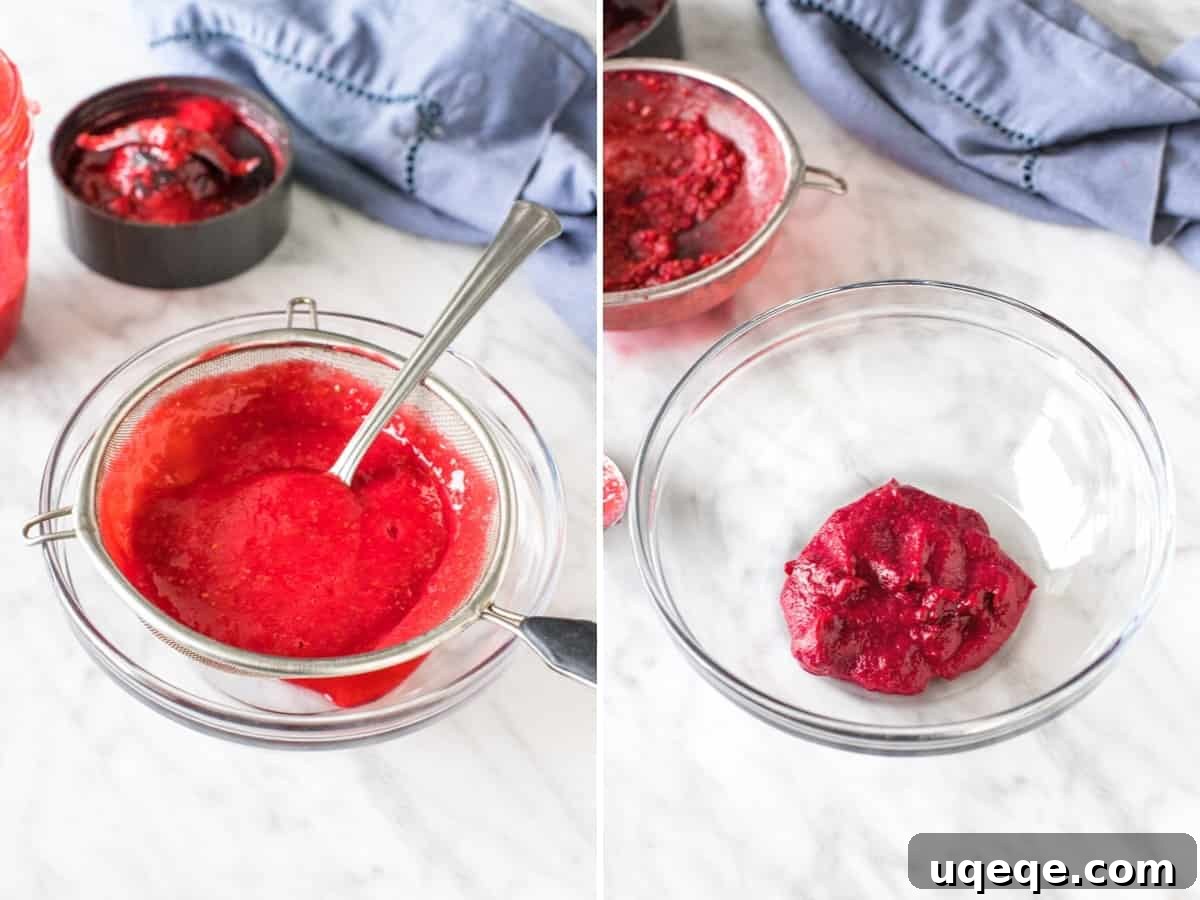
Once your raspberry puree is beautifully thick and cooled, assembling the filling is remarkably straightforward. In a large bowl, whisk together the granulated sugar and cornstarch to eliminate any lumps. Then, gradually whisk in the eggs, followed by your cooled, reduced raspberry puree, and finally, the freshly squeezed lemon juice. The mixture will be quite fluid, which is exactly as it should be. This vibrant, aromatic mixture is then carefully poured over your pre-baked shortbread crust, ready for its final bake in the oven.
Strategic Baking Workflow: To optimize your baking time, start by preparing the raspberry puree first. Puree the berries, strain if desired, and reduce it on the stovetop. While it cools, move on to making the shortbread crust. As the shortbread bakes to perfection, you’ll have ample time to whisk together the remaining ingredients for the luscious lemon raspberry filling, ensuring a smooth and efficient baking process.
The Grand Finale: Baking, Cooling, and Slicing
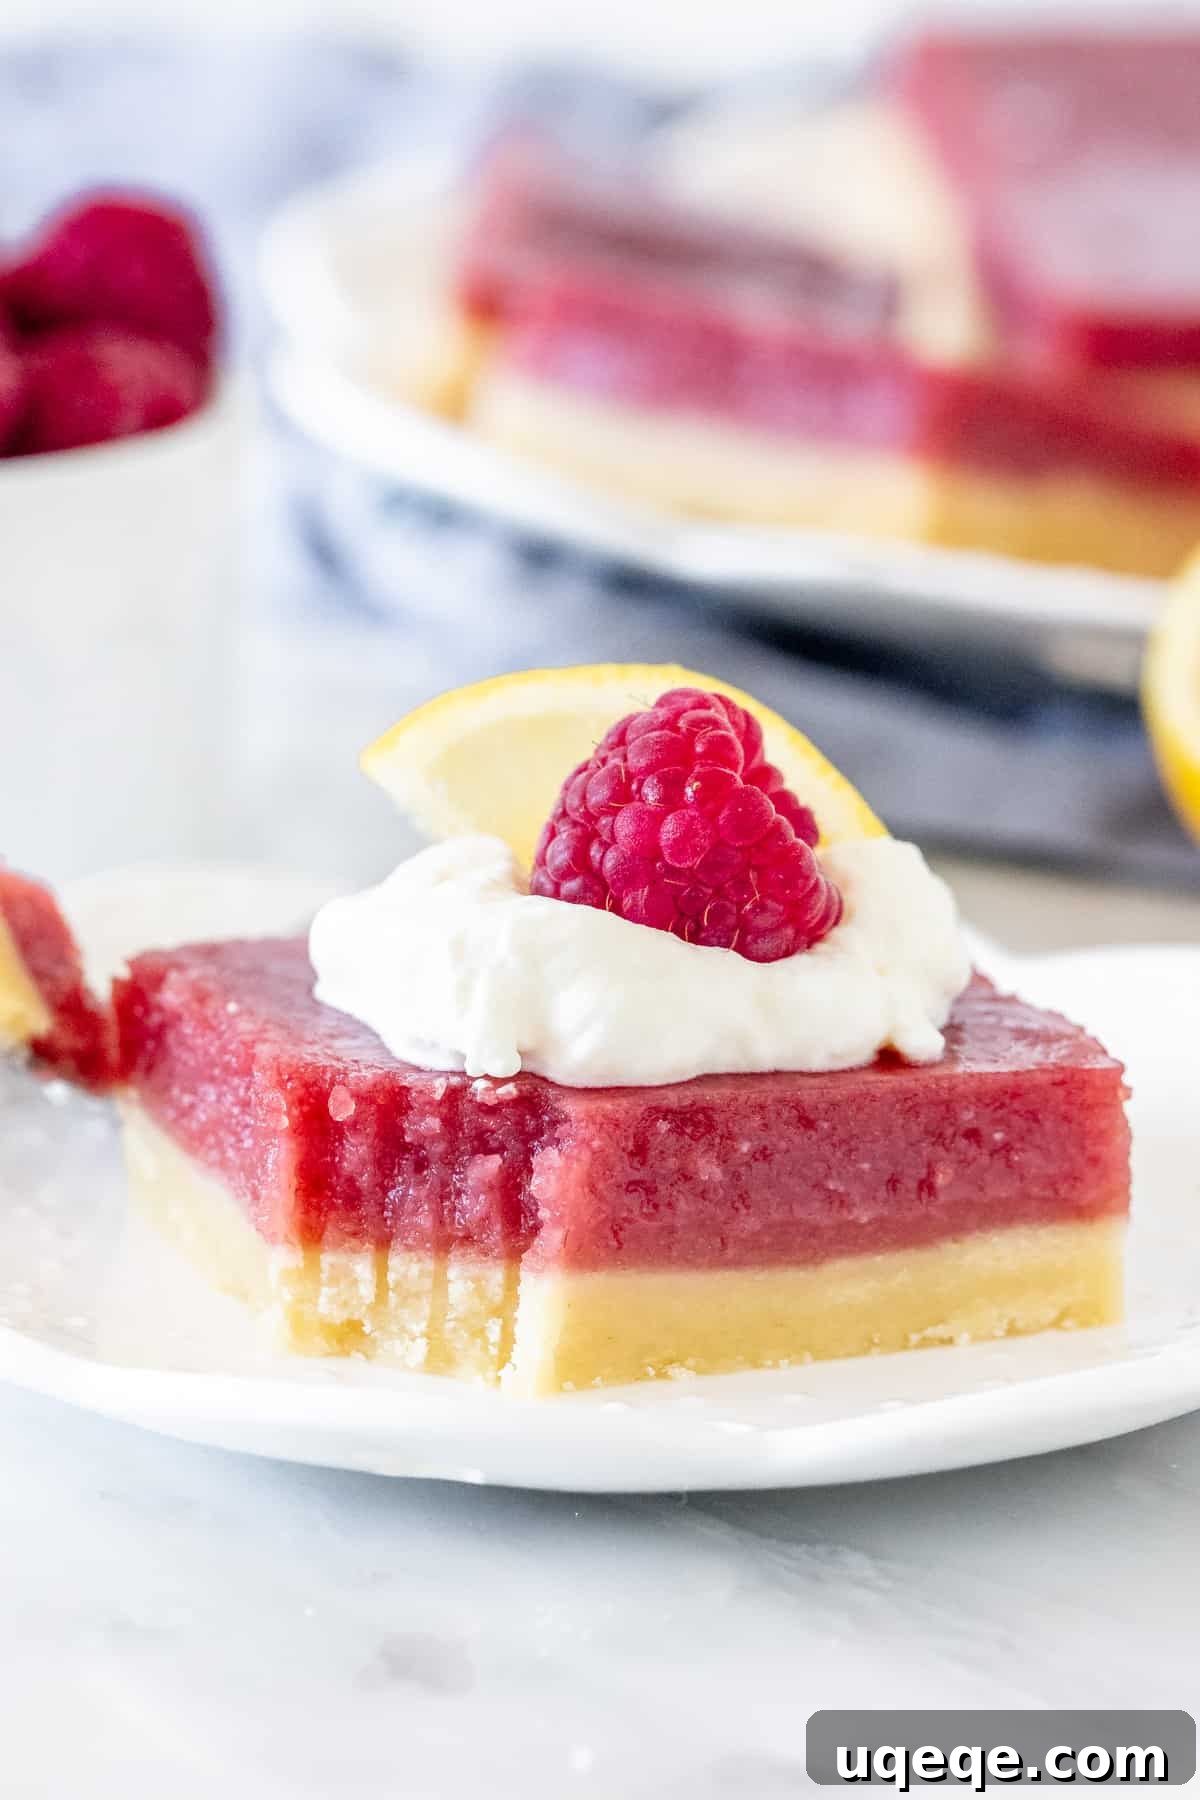
After your bars emerge from the oven, glowing with their beautiful pink hue, patience becomes your most important ingredient. It is absolutely critical to allow the bars to cool completely at room temperature, which typically takes at least an hour. Following this, they require a minimum of 2 hours of chilling in the refrigerator. This extended cooling and chilling period isn’t just a suggestion; it’s essential for the filling to fully set, ensuring that each bar holds its shape perfectly and boasts that delightful, firm-yet-creamy texture. For best results and stress-free serving, consider making these bars the morning you plan to serve them, or even the night before. They keep exceptionally well and taste incredibly refreshing when enjoyed cold straight from the fridge.
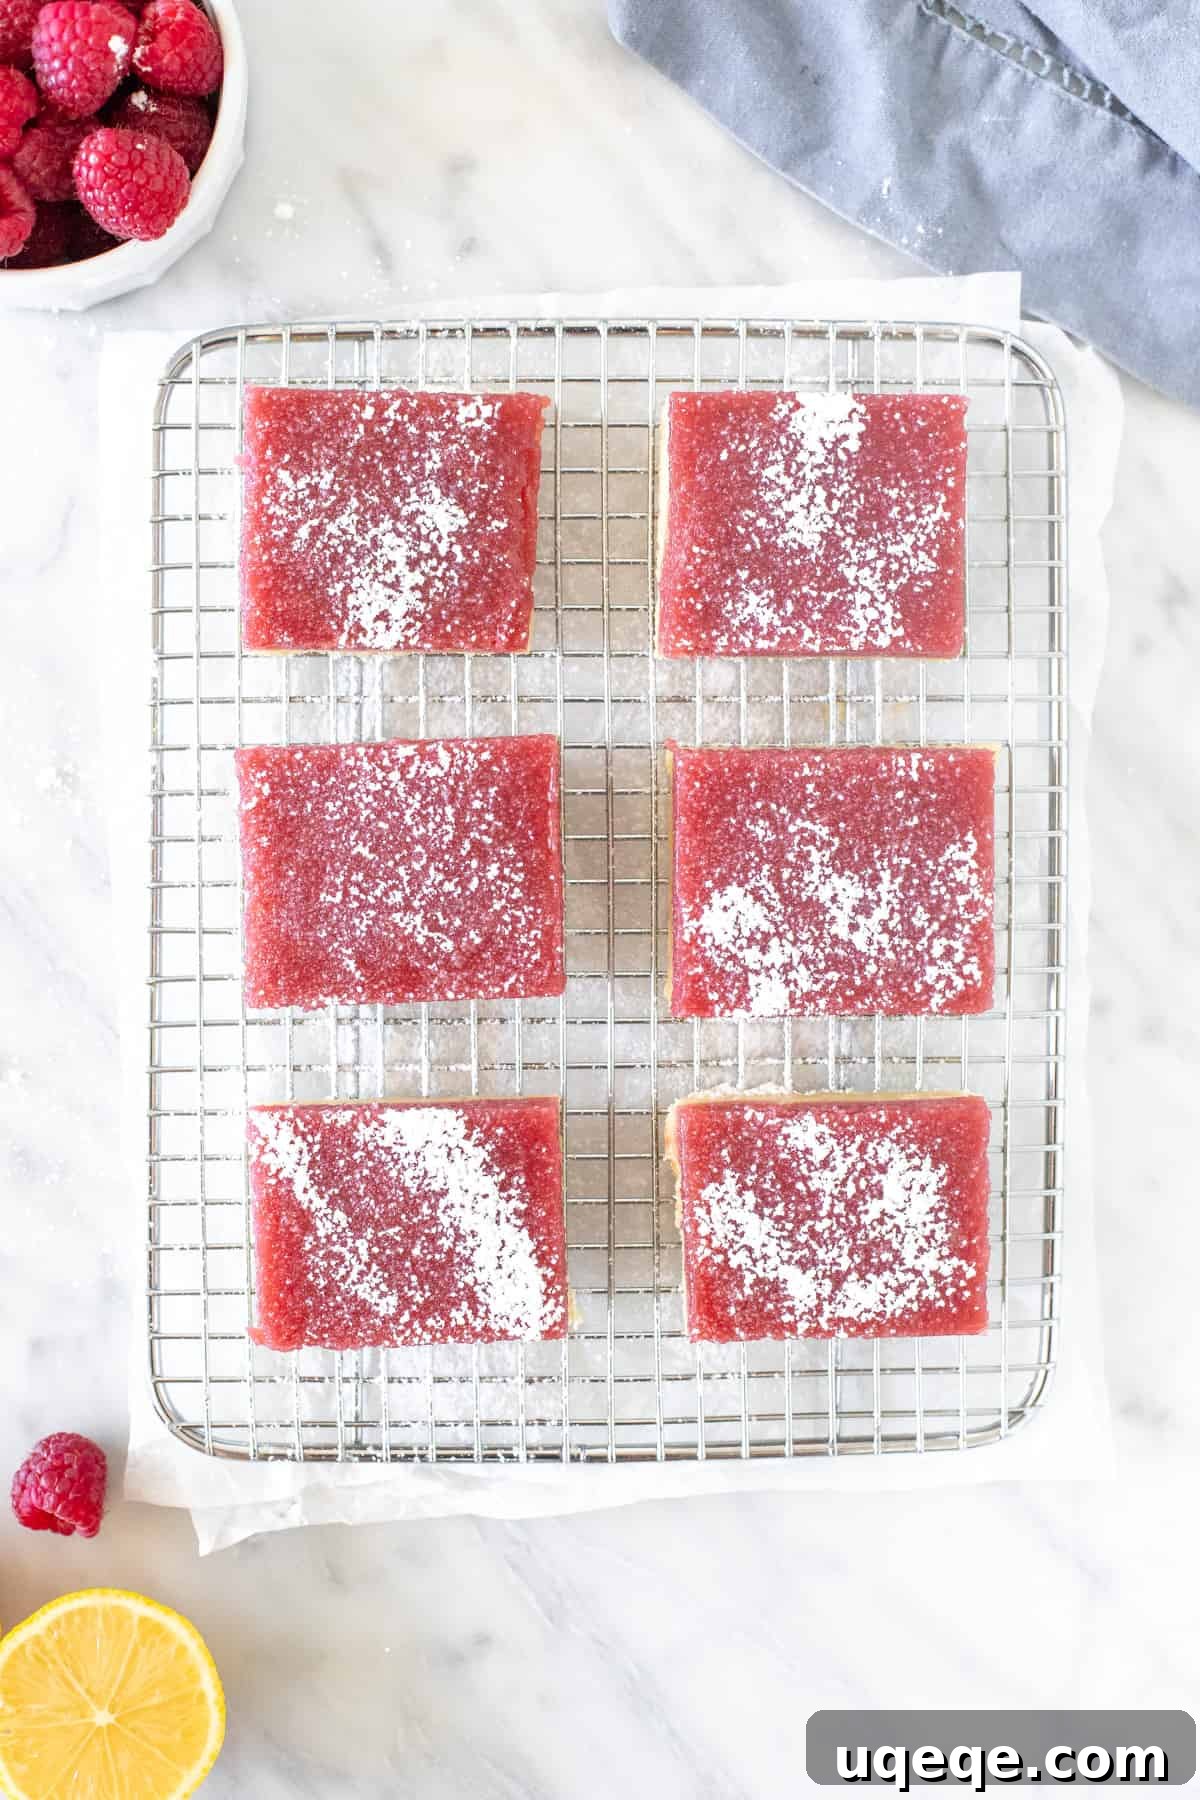
When it’s time to serve, these Lemon Raspberry Bars are stunning on their own, but a simple garnish can elevate them further. A delicate dusting of powdered sugar adds a touch of elegance and visual appeal. For an extra layer of indulgence, a generous dollop of freshly whipped cream or a few fresh raspberries truly complements the tangy sweetness of the bars. Both options are utterly delicious and highly recommended!
Tips for Lemon Raspberry Bar Perfection
- Fresh vs. Frozen Raspberries: Both fresh and frozen raspberries work beautifully for the puree. Just note that frozen berries contain more water, so they will require a slightly longer boiling down time to reach the desired thick consistency.
- Don’t Skip the Reduction: Reducing the raspberry puree is crucial. It concentrates the flavor and removes excess moisture, ensuring your custard sets properly and isn’t watery.
- Fresh Lemon Juice is Key: For the best flavor, always use freshly squeezed lemon juice. Bottled lemon juice often contains preservatives and lacks the vibrant, natural acidity and aroma essential for baking. It can also impart an unpleasantly sour or artificial taste.
- Creating the “Ledge”: Remember the shortbread ledge tip! Pressing the dough slightly up the sides creates a barrier that prevents the filling from seeping under the crust, maintaining a perfectly clean and firm base.
- The Importance of Cooling: Do not rush the cooling and chilling process. This is fundamental for the bars to set and achieve their characteristic texture. Cutting them too soon will result in a messy, unset filling.
- Clean Slices: For immaculate, professional-looking slices, use a sharp, warm knife. Wipe the blade clean with a damp cloth after each cut to prevent stickiness and smudging between slices.
- Storage: Store your Lemon Raspberry Bars in an airtight container in the refrigerator. They will remain fresh and delicious for up to 5 days.
Variations and Serving Suggestions
While these bars are spectacular as is, don’t hesitate to get creative:
- Citrus Zest: Add a teaspoon of lemon zest to your shortbread crust for an extra layer of bright citrus flavor.
- Berry Medley: Experiment with other berries! A mix of raspberries and blueberries, or even a different single berry like blackberries, could offer a delightful twist. Adjust sugar levels as needed based on the sweetness of the fruit.
- Chocolate Drizzle: For a decadent touch, drizzle melted white chocolate over the chilled bars before serving. The combination of white chocolate and raspberry is divine.
- Herbaceous Touch: A tiny sprig of fresh mint placed on top of each bar before serving adds a refreshing aromatic note and a pop of color.
Love Lemon and Berry Desserts? Explore More Favorites!
If the delightful combination of lemon and berries captured your heart with these bars, you’re in for a treat with these other beloved recipes:
- Lemon Raspberry Cupcakes: Fluffy cupcakes bursting with lemon and raspberry goodness.
- Classic Lemon Bars: The original, perfectly tangy and sweet.
- Lemon Blueberry Muffins: A breakfast or snack classic with a bright twist.
- Lemon Blueberry Cake with Cream Cheese Frosting: An elegant cake perfect for special occasions.
Lemon Raspberry Bars
By: Fiona Dowling
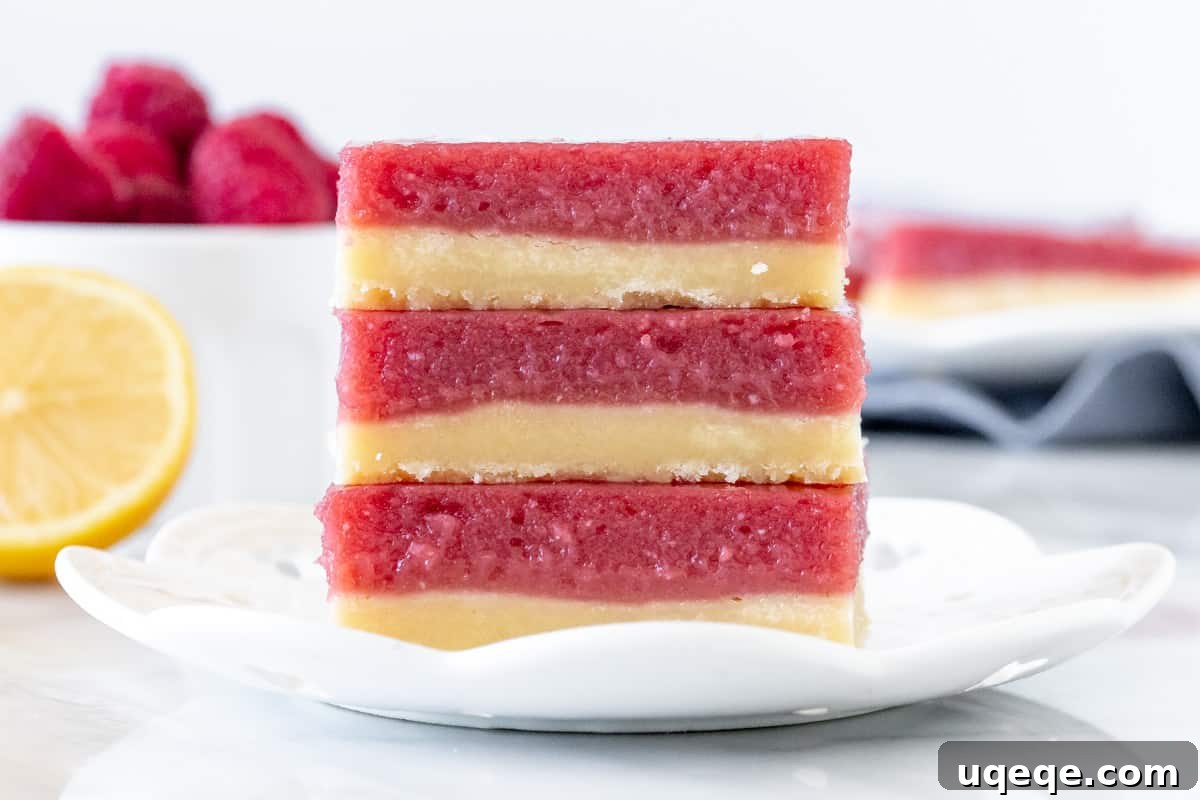
These lemon raspberry bars are the perfect twist on traditional lemon bars. They have a delicious shortbread crust and a layer of tangy lemon raspberry custard.
Equipment
- 9×13 inch (23×33 cm) baking pan
Ingredients
Raspberry Puree
- 2 cup raspberries (250 grams), fresh or frozen
Shortbread Base
- 2 1/4 cup all-purpose flour (281 grams)
- 1/2 cup granulated sugar (100 grams)
- 1 tablespoon corn starch
- 1/4 teaspoon salt
- 1 cup unsalted butter (226 grams), melted
Lemon Raspberry Layer
- 1 1/2 cups granulated sugar (300 grams)
- 1/3 cup corn starch (40 grams)
- 6 large eggs
- 1/4 cup reduced raspberry puree (60 ml), (reduced from 2 cups raspberries – see step 1 in the recipe below)
- 3/4 cup lemon juice* (180 ml), freshly squeezed
Switch between US Customary and Metric units.
Instructions
Raspberry Puree
- Add the raspberries to a blender or food processor and pulse until smooth.
- Pour the puree into a metal sifter a little at a time and push the puree through the sifter to remove the seeds. (This is optional, but recommended).
- Add the seedless puree to a small saucepan over low-medium heat. Gently boil down the puree to remove the excess liquid. It should be much thicker, and you should end up with about 1/4 – 1/3 cup. This will take about 15-20 minutes.
- Remove from the heat and let cool as you make the base.
Shortbread Base
- Preheat the oven to 325F (160C) degrees. Line a 9×13 inch (23×33 cm) baking pan with parchment paper, leaving an overhang around the edges.
- In a medium bowl, whisk together the flour, sugar, corn starch, and salt.
- Stir in the melted butter. The mixture should be quite thick.
- Press the dough into the bottom of the prepared pan. Create a slight lip around the edge of the pan.
- Bake in the preheated oven for 20-25 minutes, or until the top looks set and slightly golden. As it’s baking – make the filling.
- Remove from the oven once done baking. Gently prick the very top of the shortbread using a fork. Do not prick all the way down to the very bottom of the pan.
Lemon Raspberry Layer
- While the shortbread base is baking, make the top layer.
- In a large bowl, whisk together the sugar and cornstarch to remove any lumps.
- Then whisk in the eggs, followed by the cooled 1/4 cup of reduced raspberry puree.
- Carefully, whisk in the lemon juice. The mixture will be quite liquidy.
- Pour the lemon raspberry mixture over the baked shortbread base.
- Bake in the oven (still at 325F/160C) for 20-25 minutes, or until the top looks set.
- Remove from the oven. Cool the bars in the pan for at least 1 hour or until room temperature. Then cover the pan and place in the fridge to chill for at least 2 hours.
- When ready to slice, lift the bars out of the pan using the overhang of the parchment paper from the long sides of the pan.
- Place the bars on a cutting board and slice with a sharp knife. For clean cuts, wipe off the knife after each cut. Store bars in the fridge.
Notes
- Fresh or frozen berries will work. Frozen berries will take longer to boil down since they have more liquid.
- This recipe can be halved and made in an 8×8 inch (20×20 cm) square baking pan. The baking times will be about the same, or a minute or 2 less.
- Do not use lemon juice from a bottle. It is too sour for baking with.
- Nutrition information is an estimate only and based on 1 bar, assuming the pan is sliced into 18 equal pieces.
- Store bars in an airtight container in the fridge for up to 5 days.
Nutrition
Carbohydrates: 39g,
Protein: 4g,
Fat: 12g,
Saturated Fat: 7g,
Trans Fat: 1g,
Cholesterol: 89mg,
Sodium: 58mg,
Potassium: 74mg,
Fiber: 1g,
Sugar: 23g,
Vitamin A: 410IU,
Vitamin C: 7mg,
Calcium: 19mg,
Iron: 1mg