
Delicious Baked Mini Cinnamon Sugar Doughnuts: Your Favorite Fair Treat, Made at Home
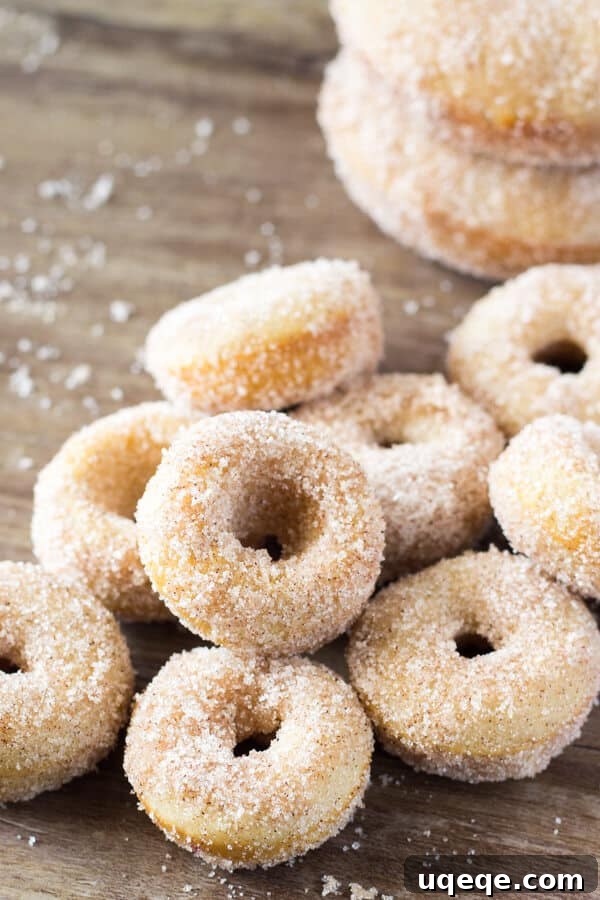
Revisit cherished childhood memories with these delightful Mini Cinnamon Sugar Doughnuts! Perfectly golden, wonderfully tender, and coated in a generous layer of sweet cinnamon sugar, these treats capture the essence of your favorite fairground indulgence. The best part? They’re baked, not fried, making them an incredibly easy and less messy copycat recipe you’ll want to make again and again.
Growing up, the annual county fair was the highlight of summer. While we might not have lived near grand amusement parks like Disney Land or Six Flags, the local fair brought its own unique brand of excitement and wonder right to our town. For me, the appeal wasn’t in the dizzying rides, the challenging games, or even the bustling crowds. In fact, many aspects of the fair made little sense for a child like me:
- I had a strong aversion to any ride that was fast, spun high in the air, or dared to go upside down.
- My aim with darts and bean bags was notoriously poor, making carnival games a quick way to lose pocket money.
- Public restrooms were always a dreaded necessity, navigated with extreme caution and copious hand sanitizer.
- Waiting in long lines for anything, even the most thrilling attraction, tested my patience to its limits.
Yet, despite these minor grievances, every summer, my excitement for the fair was undeniable. It was a day dedicated to pure, unadulterated summer bliss. We’d arrive armed with sunscreen and hand sanitizer, ready to dive into the vibrant atmosphere. And without a shadow of a doubt, the undisputed highlight of every single visit was indulging in those irresistible mini doughnuts.
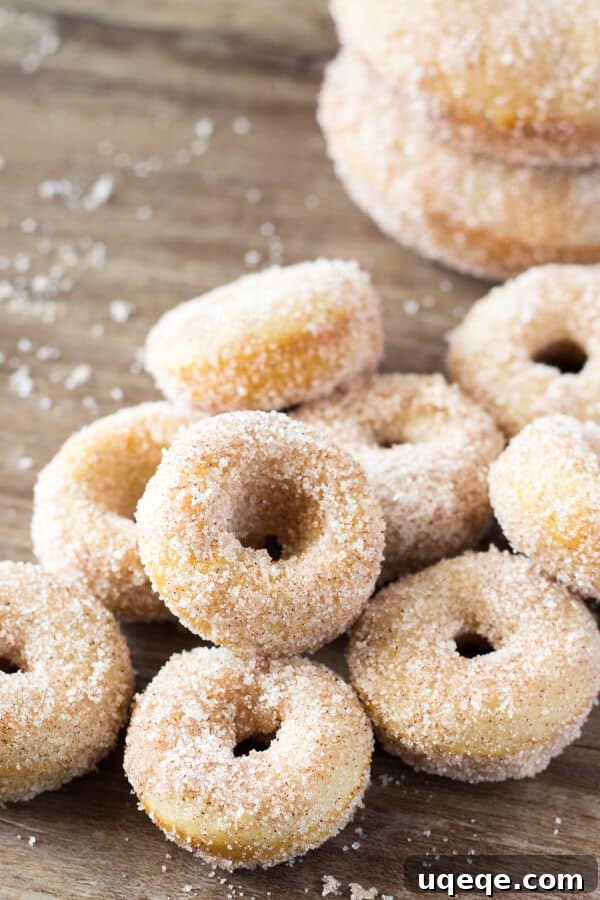
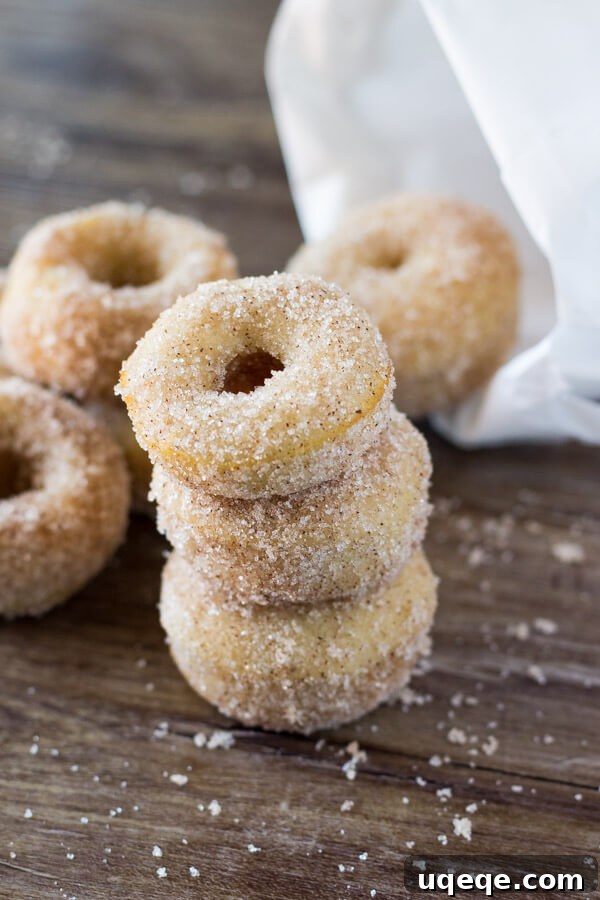
Imagine them: small, bite-sized cake doughnuts, boasting a wonderfully doughy and tender texture. Each one featured perfectly golden edges, hinting at the delightful crunch to come, all lovingly enveloped in a generous coating of warm, aromatic cinnamon sugar. They were, quite simply, perfection in a white paper bag.
The Magic of Homemade Mini Doughnuts
What could possibly be better than those iconic carnival mini doughnuts?
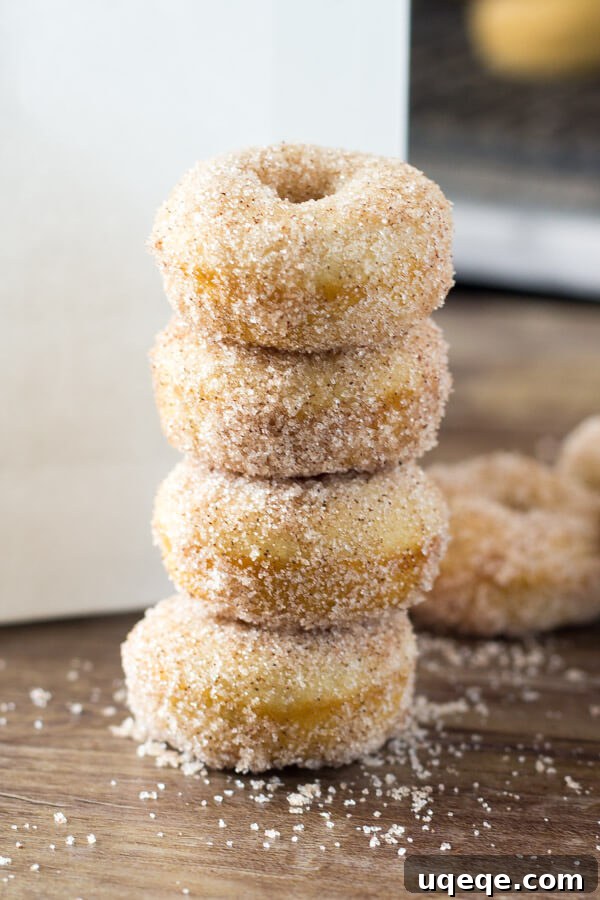
How about creating your own bite-sized version, perfectly replicating that fairground flavor and texture, but with added benefits? This recipe brings you the exact same deliciousness you’d find at the fair, only they’re baked instead of fried. This means less mess, a lighter treat, and the joy of skipping the crazy high price tags and endlessly long lines.
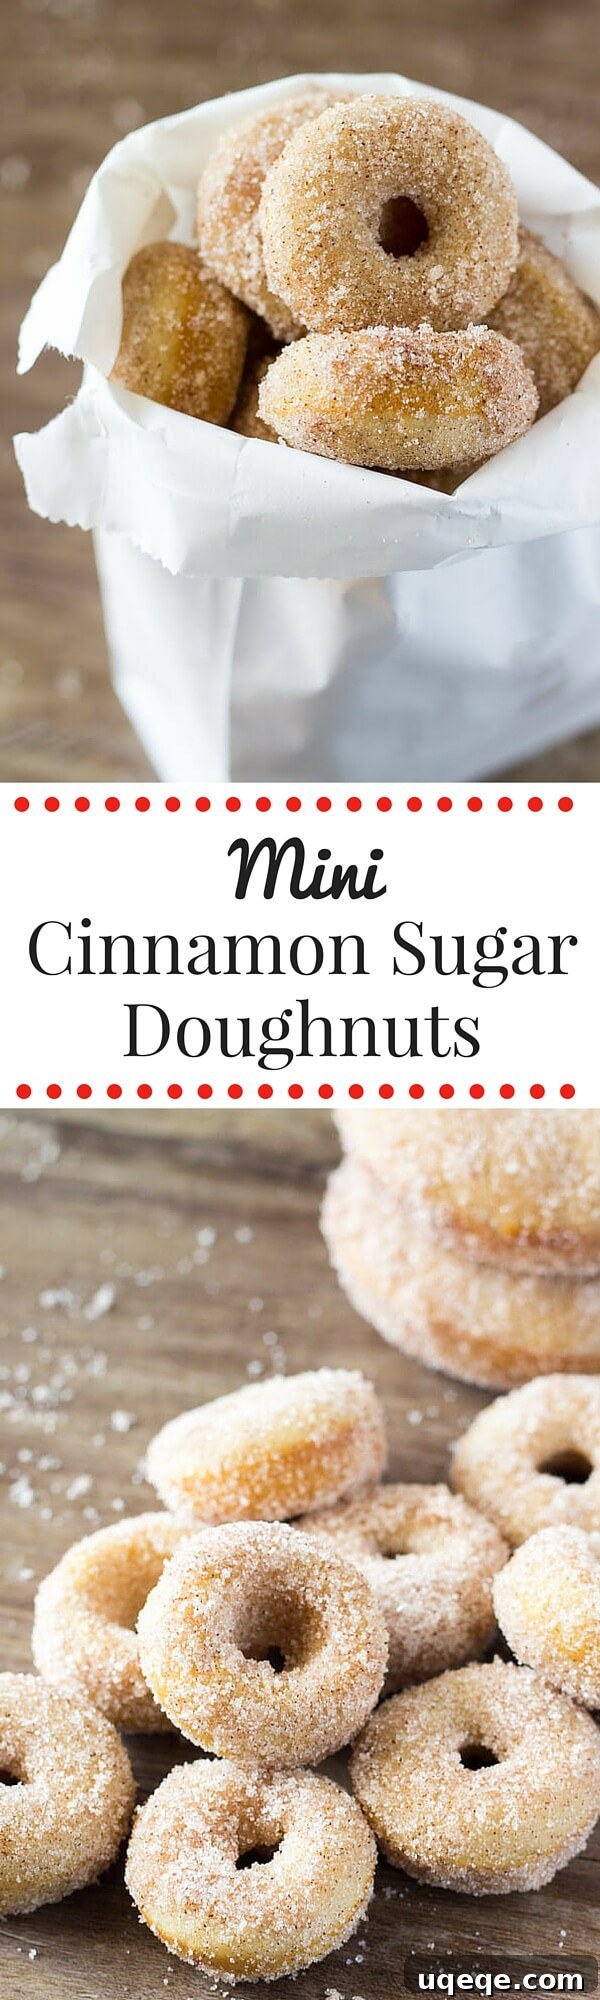
Yes, these homemade mini cinnamon sugar doughnuts truly deliver on all fronts. They are the ideal copycat recipe for those beloved treats sold in iconic white paper bags at fairs and carnivals. Once you try them, you’ll wonder why you ever waited for the fair to come to town. They’re simple to make, incredibly satisfying, and destined to become a staple in your dessert repertoire.
How to Make These Irresistible Baked Mini Doughnuts
The process for crafting these delectable mini doughnuts is surprisingly straightforward, even for novice bakers. The batter comes together quickly, requiring minimal effort and no electric mixer, making it an excellent project for a lazy afternoon.
Preparing the Doughnut Batter
We begin by combining the wet ingredients with the sugars. This ensures a smooth, well-integrated base for our doughnuts. In a separate bowl, your dry ingredients – flour, baking soda, and a pinch of salt – await their turn. Once whisked together, the wet mixture is gently folded into the dry, creating a harmonious batter that’s ready for baking in under 10 minutes. The simplicity of this process makes it even more appealing, allowing you to whip up a batch whenever a craving strikes.
The Secret to Perfect Baked Texture
Since these mini cinnamon sugar doughnuts are baked rather than fried, achieving that perfect soft, tender, and slightly doughy texture is crucial. Our secret lies in the dynamic duo of buttermilk and sour cream. These ingredients work wonders, adding moisture and a subtle tang that elevates the flavor profile and ensures a delightfully tender crumb.
Another essential ingredient that truly delivers that classic doughnut taste is nutmeg. Don’t be tempted to skip it! A mere quarter teaspoon of this warm spice imparts an authentic, comforting flavor that immediately transports you to the fairgrounds. It’s a small addition that makes a huge difference in achieving that signature doughnut character.
Filling Your Mini Doughnut Pan
A mini doughnut pan is your best friend for this recipe. Even if your pan boasts a non-stick coating, a light spray with cooking oil is highly recommended. This extra step guarantees easy release and perfectly shaped doughnuts every time.
The easiest and cleanest way to fill the doughnut cavities is by spooning the batter into a large ziploc bag. Snip off one of the bottom corners, creating a makeshift piping bag. This allows you to neatly pipe the batter into each mini doughnut cavity, filling each approximately halfway. This method minimizes mess and ensures consistent doughnut size, leading to even baking. You’ll likely get between 30-36 mini doughnuts from this recipe, so plan for multiple batches or use several pans if you have them.
Crafting the Irresistible Cinnamon Sugar Coating
Once our adorable little doughnut friends have emerged from the oven and cooled completely, it’s time for the grand finale: the glorious cinnamon sugar coating. This final step is what truly transforms them into the fairground delights we crave.
You’ll need a bowl of melted butter and another with your perfectly blended cinnamon sugar mixture. Using a pastry brush, gently brush both sides of each cooled doughnut with melted butter. The butter is absolutely key for that authentic carnival mini doughnut taste and provides the perfect adhesive for the cinnamon sugar. If you don’t have a pastry brush, simply dip each side of the doughnut into the melted butter, allowing any excess to drip off before proceeding.
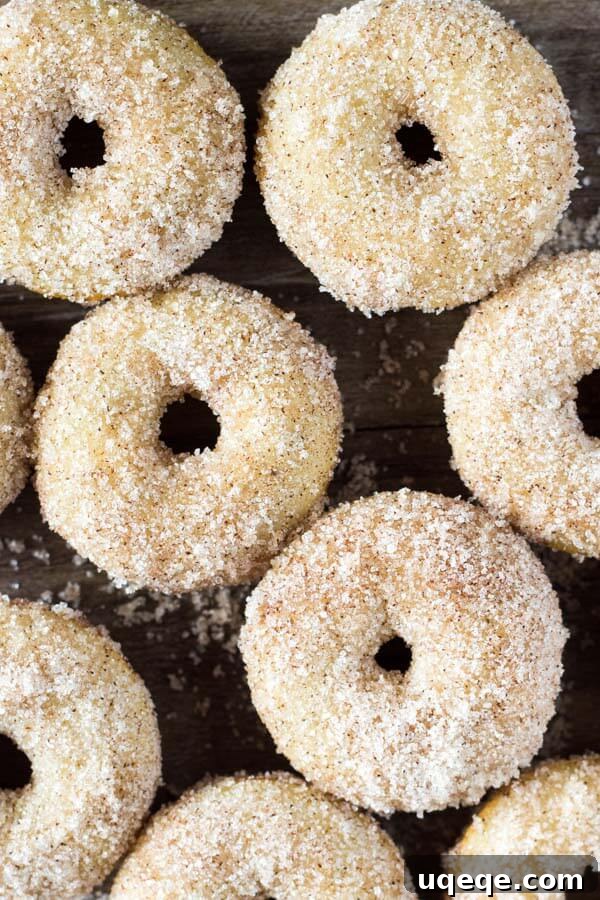
Immediately after buttering, roll both sides of the doughnut in the cinnamon sugar mixture, ensuring a generous and even coating. Place them on a wire rack as you work through the batch. The combination of warm spices and sweet sugar clinging to the buttery, tender doughnut is pure bliss.
I wholeheartedly encourage you to make these mini cinnamon sugar doughnuts. Gather your ingredients, enjoy the simple baking process, and then proceed to eat about 20 of them. It’s the perfect way to celebrate summer, or simply to bring a little bit of fairground joy into your home any time of year. What are your favorite summer treats that bring back nostalgic memories?
Mini Cinnamon Sugar Doughnuts
Fiona Dowling
36 minutes
5 minutes
45 minutes
36 mini doughnuts
Rate Recipe
Print Recipe
Ingredients
For the Doughnuts
- 1 cup all-purpose flour, spooned and leveled
- 1/4 teaspoon nutmeg
- 1/2 teaspoon baking soda
- 1/4 teaspoon salt
- 2 and 1/2 tablespoons butter, melted and cooled to room temperature
- 1/4 cup granulated sugar
- 2 tablespoons brown sugar
- 1 large egg*
- 1 and 1/2 teaspoons vanilla extract
- 1 tablespoon sour cream*
- 1/3 cup buttermilk*
For the Cinnamon Sugar Coating
- 1/3 cup unsalted butter, melted
- 3/4 cup granulated sugar
- 1 1/2 teaspoons cinnamon
Instructions
-
Preheat your oven to 350°F (175°C). Generously spray a mini doughnut pan with non-stick cooking spray. This recipe yields approximately 30-36 mini doughnuts, so you may need multiple pans or to bake in batches.
-
In a large mixing bowl, whisk together the all-purpose flour, nutmeg, baking soda, and salt. Set this dry mixture aside.
-
In a separate medium-sized bowl, whisk together the melted butter (ensuring it’s cooled to room temperature), granulated sugar, brown sugar, large egg, and vanilla extract until well combined and no sugar lumps remain. Next, whisk in the sour cream and buttermilk until the mixture is smooth.
-
Pour the wet ingredients into the dry ingredients. Whisk gently until just combined. Be careful not to overmix, as this can lead to tough doughnuts. A few small lumps are perfectly fine.
-
Transfer the doughnut batter into a large ziploc bag. Seal the bag, then snip off one of the bottom corners to create a piping opening. Carefully pipe the batter into each mini doughnut cavity, filling them about halfway. This method ensures neat and even filling.
-
Bake for 5-7 minutes, or until the doughnuts are golden around the edges and spring back lightly when gently touched. Remove the pan from the oven and allow the doughnuts to cool in the pan for 5-10 minutes before carefully transferring them to a wire rack to cool completely.
-
While the doughnuts are cooling, prepare the cinnamon sugar topping. In a small bowl, stir together the granulated sugar and ground cinnamon until well combined. Set up your workspace: a small bowl with your melted butter, the bowl with the cinnamon sugar mixture, and a wire cooling rack (with paper towels underneath to catch any drips).
-
For each cooled doughnut, use a pastry brush to coat both sides generously with melted butter, shaking off any excess. Immediately roll both sides of the buttered doughnut in the cinnamon sugar mixture, ensuring it’s evenly coated. Place the finished doughnuts back on the wire rack. Repeat this process for all remaining doughnuts. If you don’t have a pastry brush, you can gently dip each side of the doughnut directly into the melted butter before rolling in cinnamon sugar.
-
Serve your freshly coated mini cinnamon sugar doughnuts and enjoy! They are best enjoyed the same day they are made.
Notes
*For optimal results, ensure all cold ingredients like the egg, sour cream, and buttermilk are at room temperature before you begin mixing. This helps them combine more smoothly and creates a more even batter.
**If you don’t own a mini doughnut pan, don’t despair! This versatile batter can be adapted:
- Regular-sized doughnut pan: You’ll yield about 6-8 full-sized doughnuts. Increase the baking time to approximately 8-10 minutes.
- Muffin pan: Fill each muffin cavity about halfway. This will give you around 8-10 delightful muffin-shaped treats. The baking time will be longer, roughly 17-20 minutes, or until a toothpick inserted into the center comes out clean.
Nutrition
Calories:
63
kcal
Like this recipe? Rate and comment below!
Tips for Success and Variations
Achieving the Perfect Doughnut Texture
- Room Temperature Ingredients: As noted in the recipe, using room temperature eggs, buttermilk, and sour cream is critical. Cold ingredients can cause the batter to seize up, resulting in a lumpy texture and less tender doughnuts.
- Do Not Overmix: Overmixing the batter develops the gluten in the flour too much, leading to tough, chewy doughnuts rather than the desired light and tender ones. Mix only until the dry ingredients are just incorporated into the wet.
- Proper Pan Filling: The ziploc bag method is truly the easiest way to fill your mini doughnut pan evenly. This prevents unevenly sized doughnuts and ensures consistent baking.
Flavorful Variations to Try
- Lemon Zest Doughnuts: Add 1-2 teaspoons of lemon zest to the batter for a bright, citrusy twist. You could even mix a little lemon zest into the cinnamon sugar for an extra zing.
- Chocolate Drizzled: After coating with cinnamon sugar, melt some chocolate chips and drizzle over the cooled doughnuts for an extra layer of decadence.
- Powdered Sugar Coating: For a different classic, skip the cinnamon sugar and toss the warm doughnuts in a bag of powdered sugar.
- Maple Glaze: Instead of cinnamon sugar, whisk together powdered sugar, a splash of milk, and a teaspoon of maple extract for a delicious maple glaze.
Storing Your Mini Doughnuts
These mini cinnamon sugar doughnuts are undeniably best enjoyed fresh, ideally on the day they are made, while the coating is still perfectly crisp and the doughnut is wonderfully tender.
If you happen to have any leftovers (a rare occurrence!), store them in an airtight container at room temperature for up to 2-3 days. While they will still be delicious, the cinnamon sugar coating may lose some of its initial crispness over time. To refresh them slightly, you can warm them briefly in a microwave for 10-15 seconds or in a toaster oven.
Frequently Asked Questions (FAQs)
Can I make these doughnuts gluten-free?
While this recipe uses all-purpose flour, many readers have successfully substituted it with a 1:1 gluten-free all-purpose flour blend (one that contains xanthan gum). Results can vary between brands, so a little experimentation might be needed.
What if I don’t have buttermilk?
No buttermilk? No problem! You can easily make a homemade substitute. Simply pour 1/3 cup of regular milk (dairy or non-dairy) into a liquid measuring cup, then stir in 1 teaspoon of white vinegar or lemon juice. Let it sit for 5-10 minutes until it slightly curdles. This “sour milk” will work just as well as buttermilk in the recipe.
Can I freeze these mini doughnuts?
Yes, you can freeze the baked doughnuts *before* applying the cinnamon sugar coating. Allow the doughnuts to cool completely, then place them in a single layer on a baking sheet and freeze until solid. Once frozen, transfer them to an airtight freezer-safe bag or container for up to 1 month. When ready to enjoy, thaw them at room temperature, then proceed with the butter and cinnamon sugar coating steps.
Why did my doughnuts turn out dry?
Doughnuts can turn dry for a few reasons:
- Overmixing the batter: As mentioned, overmixing develops gluten and results in a tougher, drier texture.
- Overbaking: Even a minute or two too long in the oven can dry out these delicate treats. Keep a close eye on them and remove them as soon as they spring back to the touch.
- Too much flour: Ensure you’re spooning and leveling your flour, rather than scooping directly from the bag, which can compact the flour and add too much.