
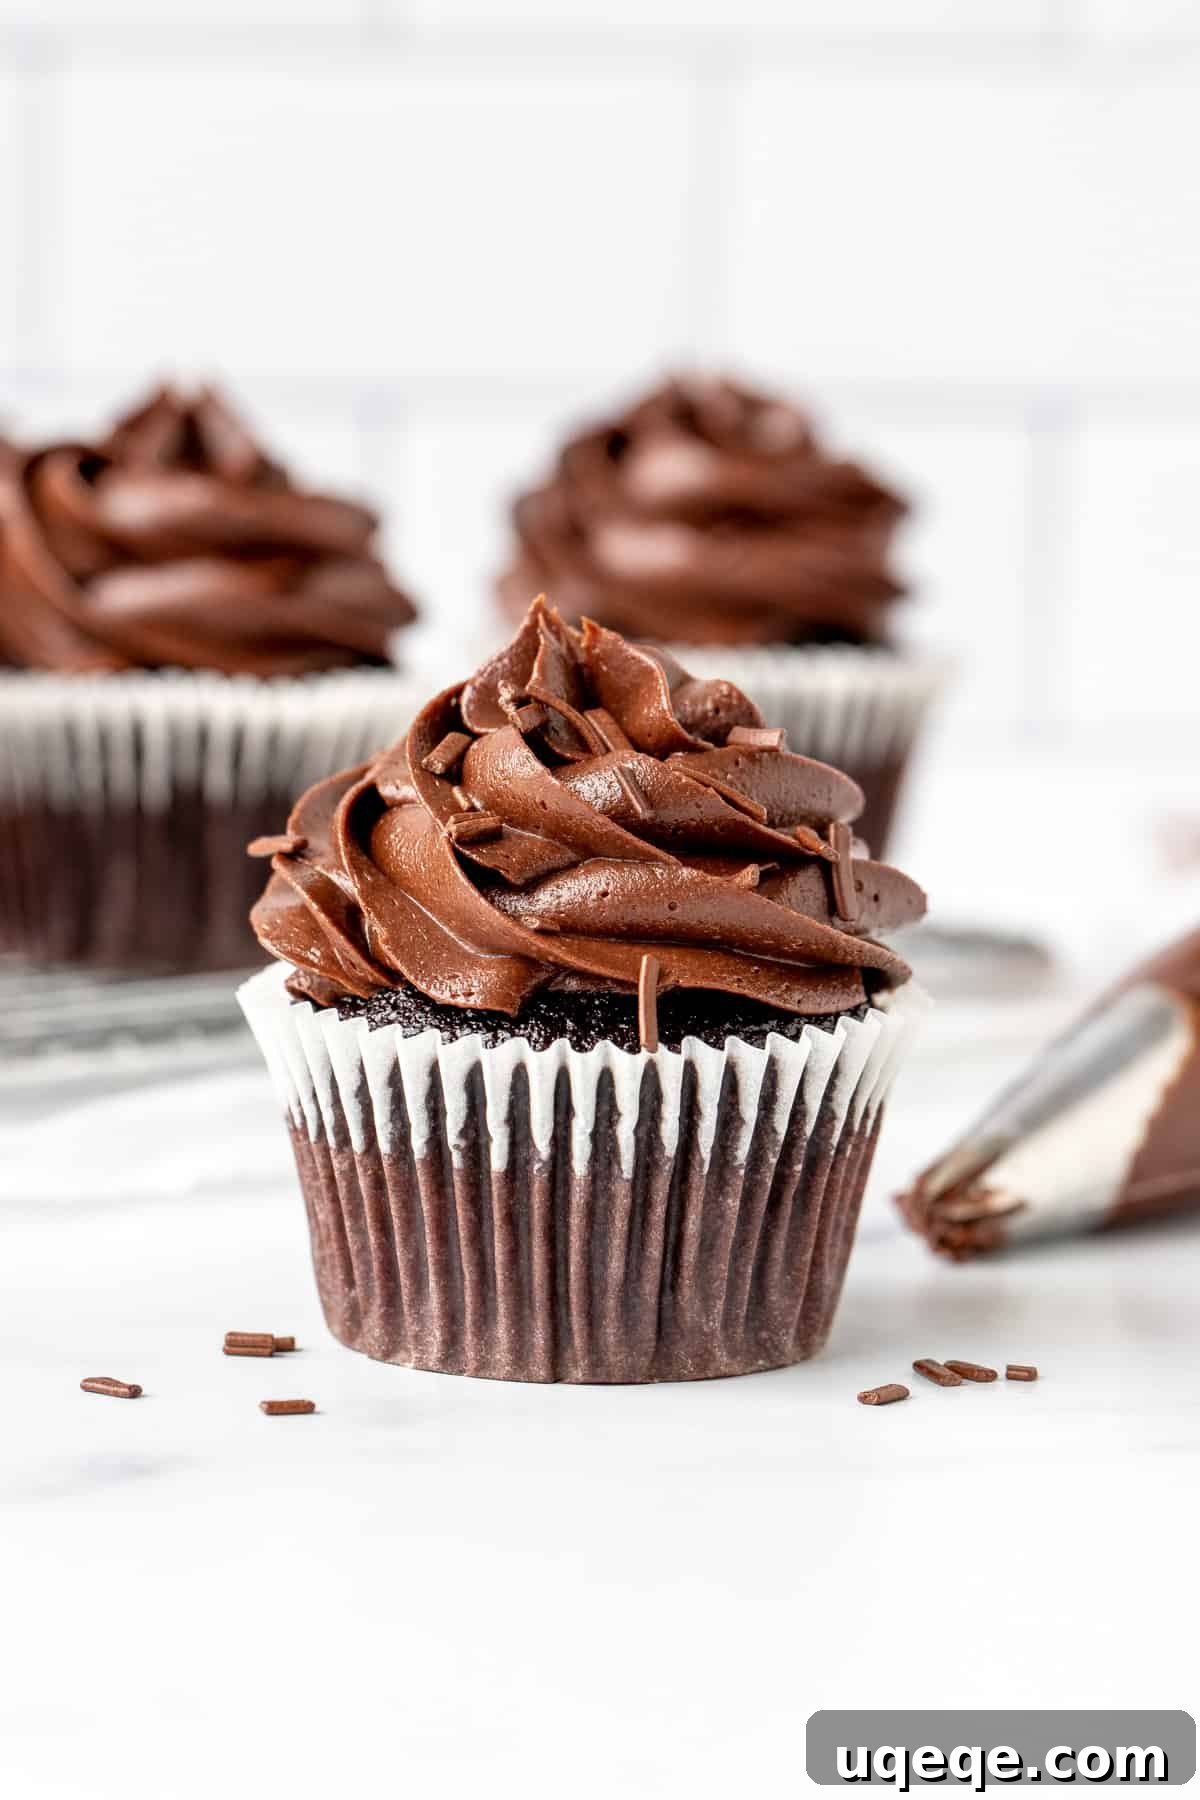
Welcome to the ultimate guide for crafting the most delectable **homemade chocolate frosting**. Forget those store-bought tubs! This recipe delivers a wonderfully **creamy, fluffy, and rich chocolate buttercream** that is simply irresistible. Using readily available cocoa powder, it’s designed for simplicity without compromising on exceptional flavor. Whether you’re decorating **cupcakes, layering a cake, or spreading it over brownies**, this classic recipe is a must-have for every home baker.
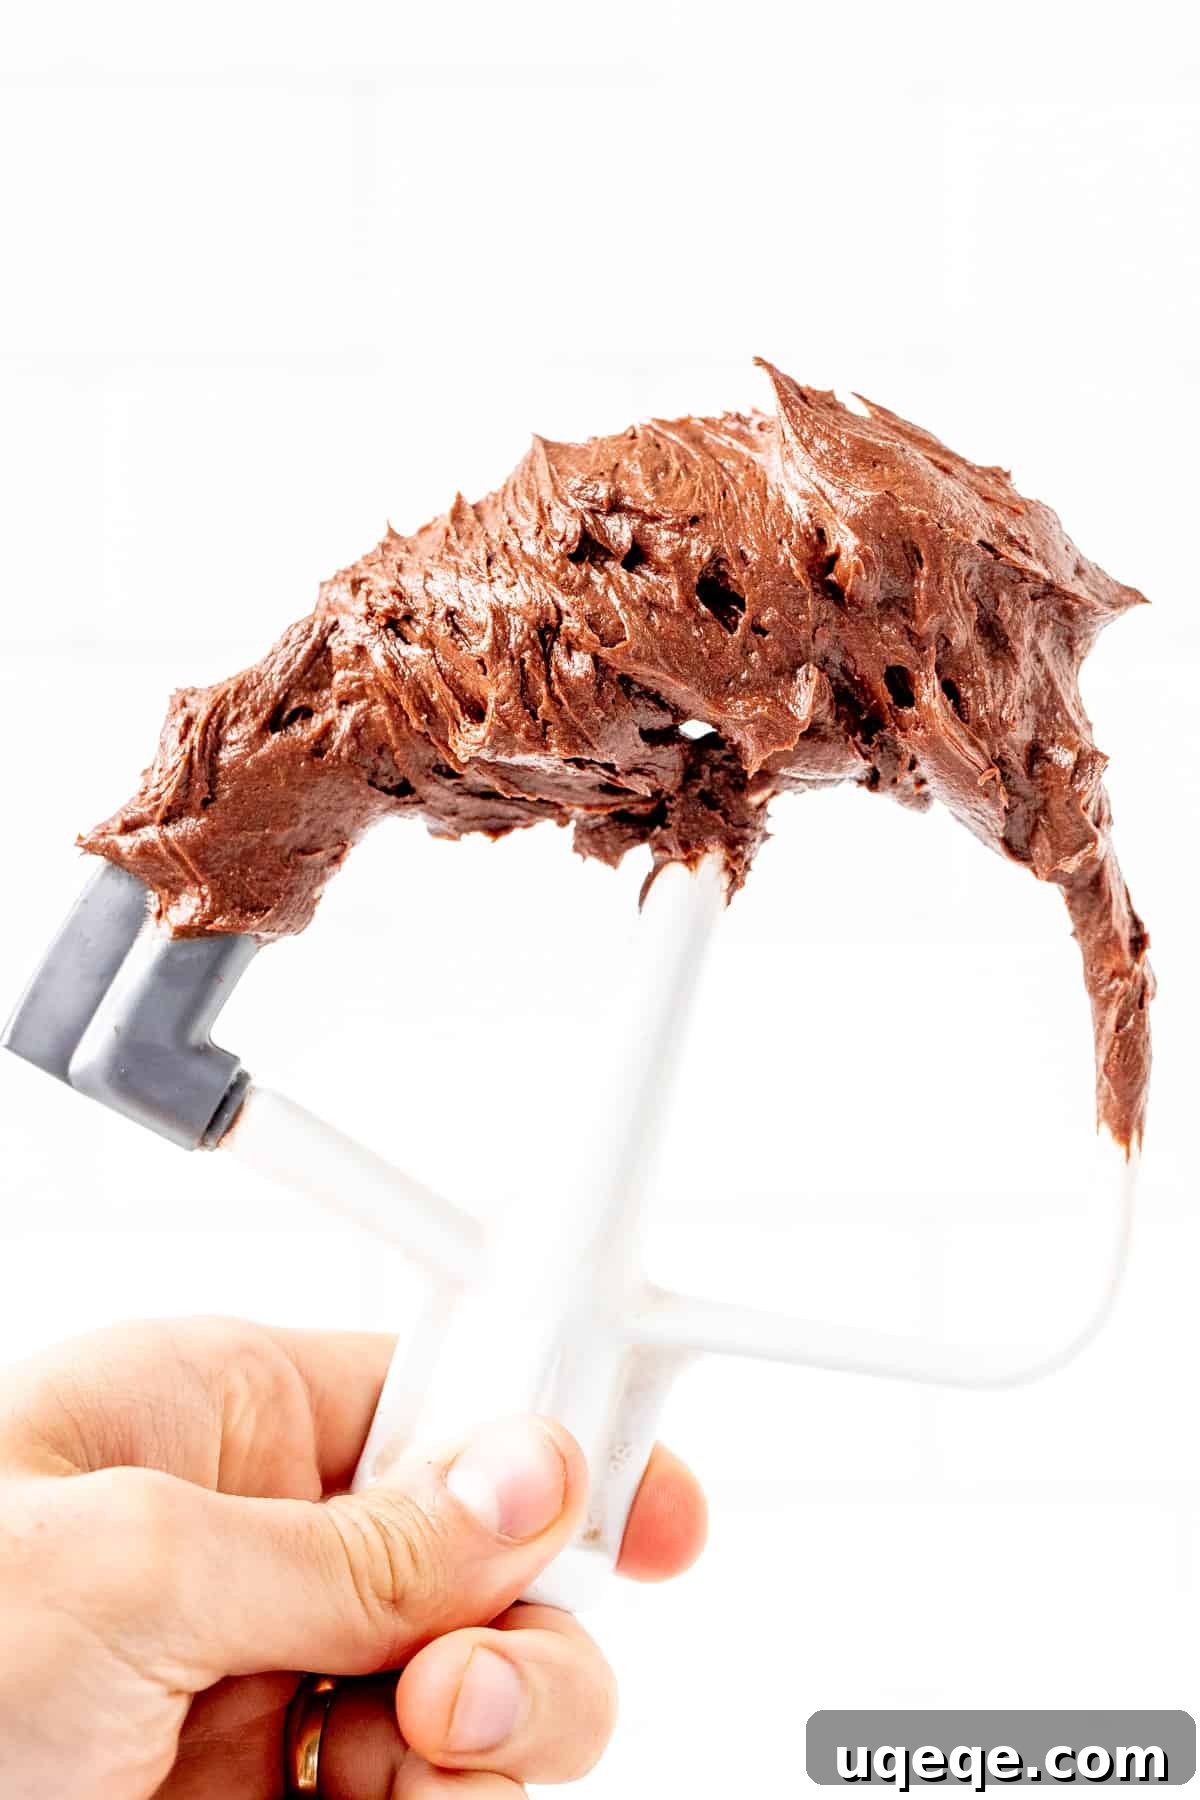
This recipe was originally posted and updated on March 26, 2023, with enhanced tips and fresh photos to ensure your baking success.
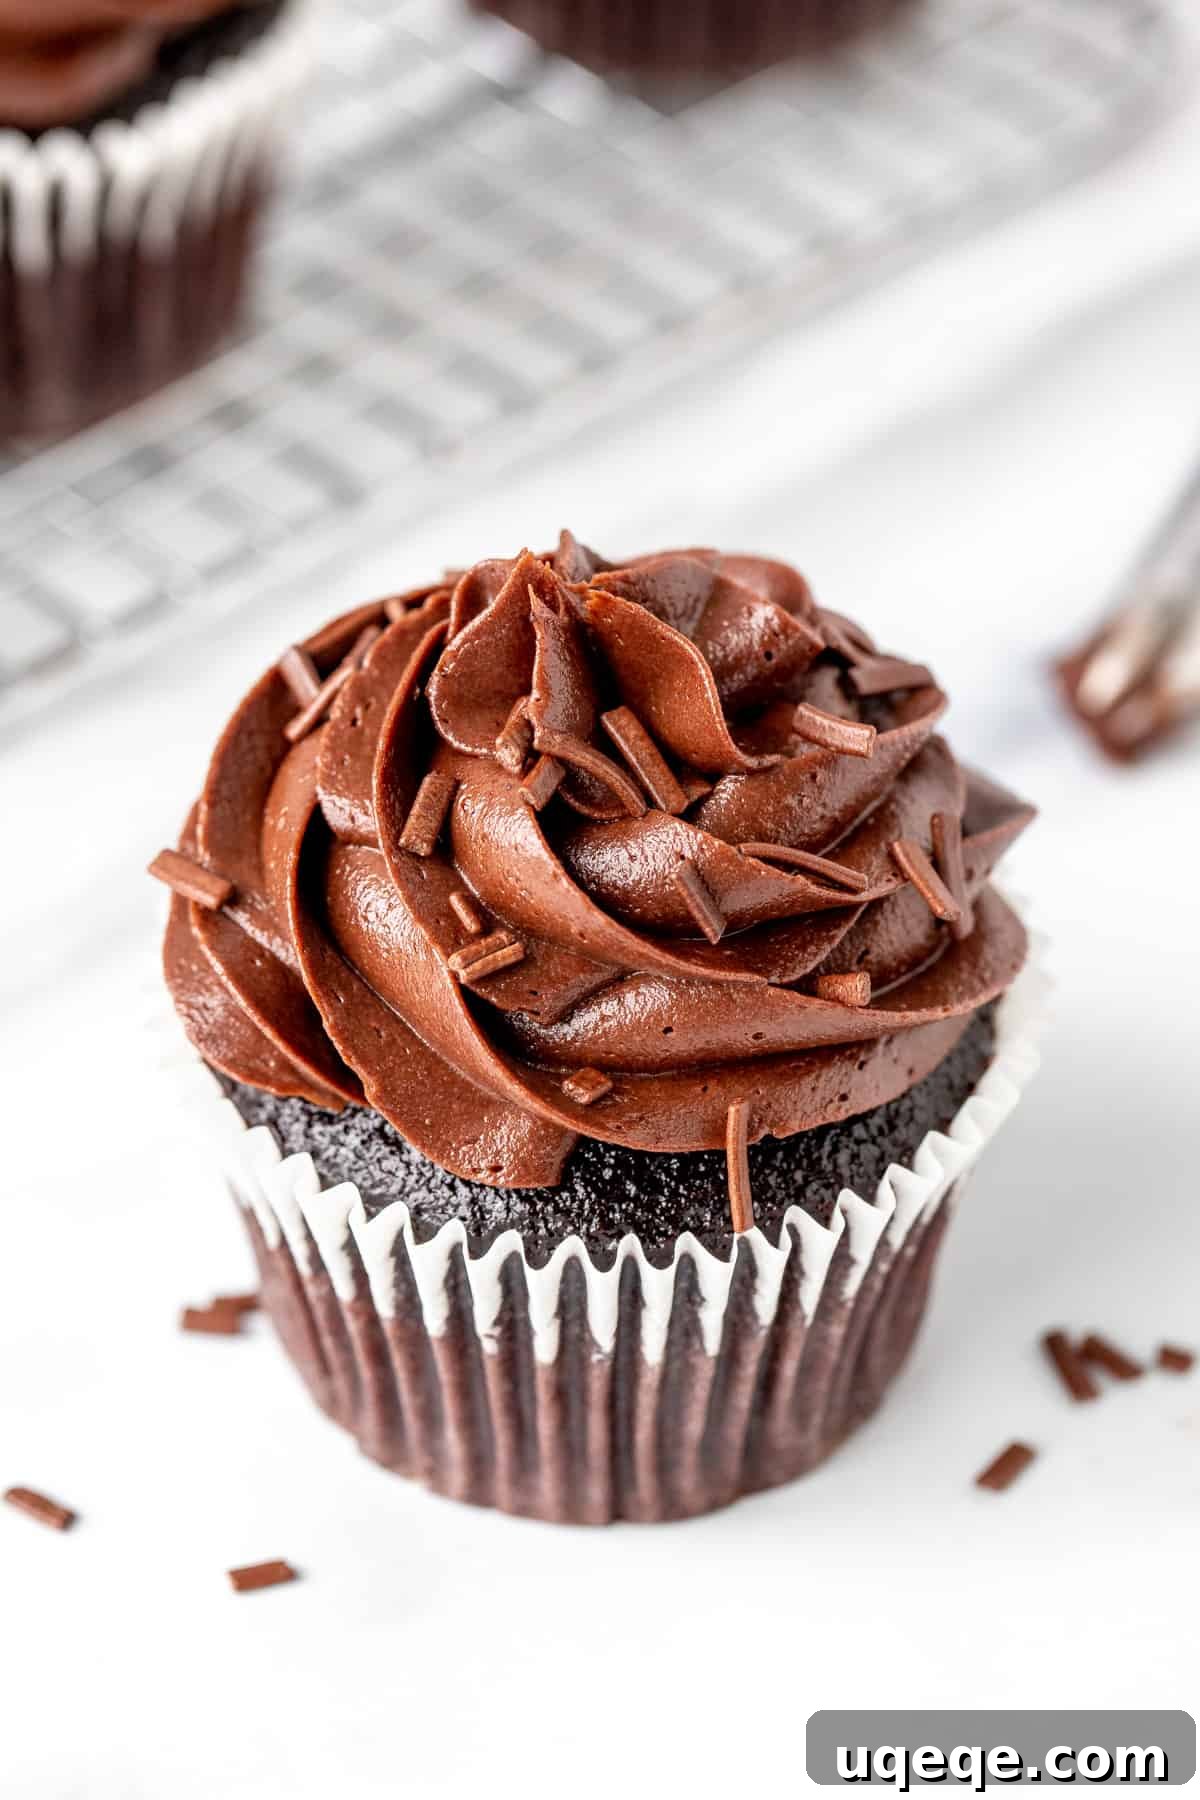
Over countless baking adventures, this particular chocolate buttercream recipe has proven itself time and again. It strikes the perfect balance – neither overly sweet nor bland, but boasting a deep, rich chocolate flavor complemented by an incredibly thick and creamy texture. It’s truly a baker’s dream! This frosting holds its shape beautifully when piped onto cupcakes, creating elegant swirls and designs. Furthermore, its robust consistency makes it ideal for confidently stacking a magnificent layer cake without worries of it collapsing. Confession time: this is the kind of frosting so good, I’ve been known to enjoy it straight off the spoon – and I have absolutely no regrets.
This recipe falls under the category of **American buttercream**, a beloved classic for its straightforward approach and delicious results. Unlike more intricate meringue-based buttercreams (such as Swiss or Italian), American buttercream is simply made by creaming together butter, powdered sugar, cocoa powder, and flavorings. This method makes it incredibly accessible for bakers of all skill levels. While some may use the terms “frosting” and “icing” interchangeably, technically, icing typically refers to a thinner, often glossy glaze, whereas frosting, like this recipe, is characterized by its thick, creamy, and wonderfully fluffy consistency. It’s the perfect choice for adding substantial flavor and decorative flourish to your baked goods.
Essential Ingredients for Perfect Chocolate Frosting
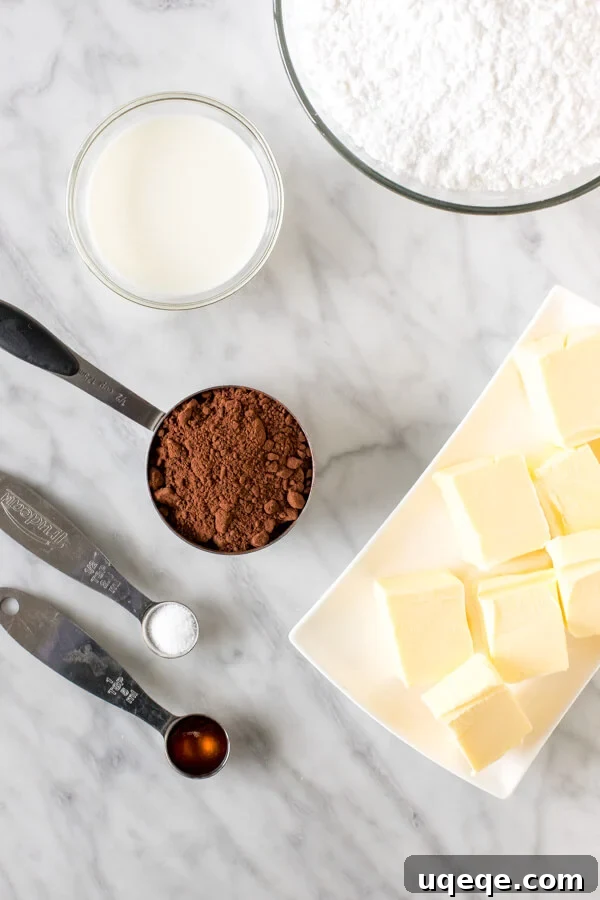
Creating this delicious chocolate frosting requires only a handful of common pantry staples. No fancy or hard-to-find ingredients here! You’ll need:
- 1 cup (2 sticks) unsalted butter: Crucial for flavor and texture. Ensure it’s properly softened.
- 1/2 cup cocoa powder: The star ingredient for that rich chocolate taste.
- 3-4 cups powdered sugar (confectioners’ sugar): Provides sweetness and the smooth, fine texture.
- 1/2 teaspoon salt: A vital flavor enhancer that balances the sweetness.
- 1 teaspoon vanilla extract: Adds a warm, complementary aroma and flavor.
- 3-4 tablespoons milk or cream: Adjusts consistency. Whole milk is great for a softer spread, while heavy cream or whipping cream yields a richer, thicker frosting, perfect for piping. Half-and-half also works beautifully.
When it comes to the fat component, I consistently opt for **butter over shortening** in my frosting. Butter not only imparts a significantly superior flavor profile but also avoids that unpleasant, greasy residue often associated with shortening-based frostings (a common culprit in many mass-produced cupcakes). If you only have salted butter on hand, it can certainly be used, but remember to omit the additional salt from the recipe to avoid an overly salty taste.
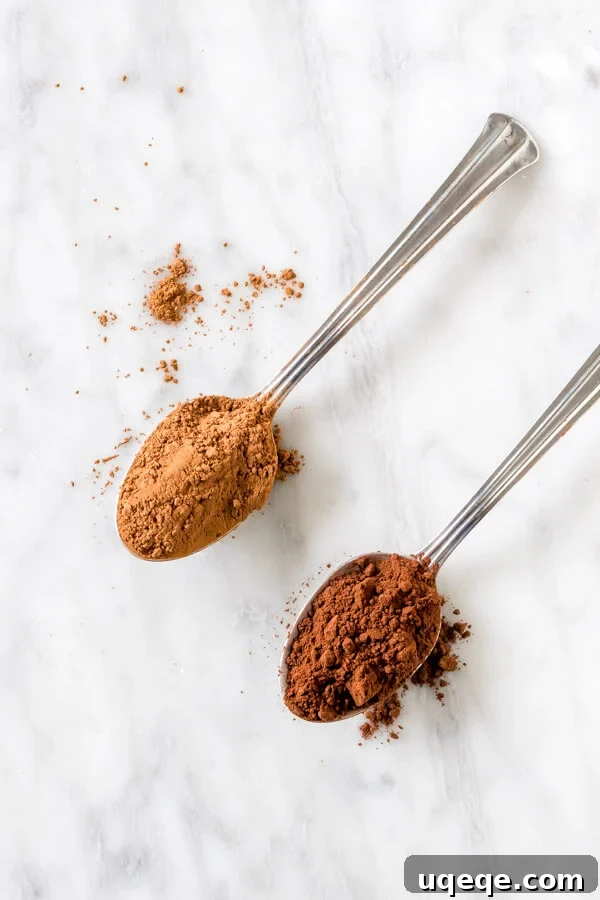
The type of **cocoa powder** you choose will directly influence both the richness of your chocolate flavor and the final color of your frosting. You can use either natural cocoa powder or Dutch-processed cocoa powder.
- Natural cocoa powder tends to be lighter in color and has a slightly fruitier, more acidic chocolate flavor.
- Dutch-processed cocoa powder (often labeled as “dark” or “specialty dark”) has been treated with an alkali to reduce its acidity, resulting in a darker color and a smoother, less bitter, and more mellow chocolate flavor.
For a truly intense, deep chocolate experience, consider increasing the cocoa powder to 3/4 cup. If you prefer a milder, more milk chocolate-like flavor, 1/3 cup will suffice. However, 1/2 cup serves as an excellent standard for a balanced, delicious chocolate taste. The visual difference between natural and Dutch-process cocoa powder is quite distinct, as you can see below:
For an extra depth of flavor and to subtly cut through the sweetness, a touch (1/2 to 1 teaspoon) of **instant espresso powder** can be a fantastic addition. While entirely optional, it enhances the chocolate without making the frosting taste like coffee.
Yield: How Much Frosting Does This Recipe Produce?
This versatile recipe yields a generous amount of frosting, suitable for various baking projects:
- It makes enough to lightly frost **24 cupcakes** with a knife or spatula.
- For beautifully piped swirls using a piping bag, expect enough frosting for **12-18 cupcakes**, depending on the size of your swirls.
- Perfectly covers the top of one standard **9×13 inch sheet cake or pan of brownies**.
- If you’re making a smaller batch of brownies or cake in an **8×8 or 9×9 inch pan**, simply halve this recipe for ideal coverage on the top.
- For an impressive **triple-layer 8-inch round layer cake**, you’ll want to double the recipe (or make two separate batches if your mixing bowl isn’t large enough). You might even have a little leftover, depending on how thickly you prefer to frost.
- To frost a **double-layer 8-inch round layer cake**, multiplying the recipe by 1.5 usually provides the perfect amount.
Expert Tips for Crafting Perfect Chocolate Buttercream
Achieving that perfect, silky-smooth, and fluffy chocolate buttercream is easy with these insider tips:
- Butter Temperature is Key: Ensure your butter is properly softened, but not melted or greasy. The ideal consistency is when you can gently press your finger into it and leave an indent without your finger sinking all the way through. This allows it to cream smoothly with the sugar.
- Sift Your Dry Ingredients: Cocoa powder, in particular, is notorious for forming lumps. Sifting both the cocoa powder and powdered sugar beforehand is crucial for a perfectly smooth, lump-free frosting. Nobody wants gritty frosting!
- Whip It Good (at the end): After all ingredients are combined, crank your mixer up to high speed for a final 15-30 seconds. This incorporates extra air, making your frosting incredibly light and fluffy.
- Mind Your Kitchen’s Temperature: Buttercream is temperature-sensitive. A hot kitchen can quickly lead to a thin, runny frosting. Especially during warmer months, it’s a good idea to turn on your air conditioning or work in a cooler part of your home to prevent your frosting from melting and losing its ideal consistency.
- Adjust Consistency Gradually: Always add liquid (milk/cream) and powdered sugar gradually. It’s much easier to thicken a thin frosting than to thin out a very thick one.
Storing Chocolate Frosting & Make-Ahead Tips
This homemade chocolate frosting is wonderfully versatile and can be made in advance, making your baking process smoother and less stressful.
- Storing Unused Frosting: Leftover or make-ahead frosting can be stored in an airtight container. At room temperature (if your kitchen is cool, below 70°F/21°C), it will keep for up to 1 day. For longer storage, refrigerate it for up to 2 weeks (or until the expiry date of your dairy products).
- Re-softening Refrigerated Frosting: When you’re ready to use refrigerated frosting, remove it from the fridge 30-60 minutes before you plan to frost, allowing it to come to room temperature and soften naturally. If it’s still too firm, give it a good beat with your stand mixer or hand mixer until it returns to its creamy, spreadable consistency. You might need to add a tiny splash of milk or cream if it seems too stiff after beating.
- Storing Frosted Cakes and Cupcakes: Once your cakes or cupcakes are frosted, they can be stored in an airtight container at room temperature for 2-3 days. The high sugar content in the frosting acts as a natural preservative, helping to stabilize it. Alternatively, they can be stored in the refrigerator for up to 5 days. For the best flavor and texture, I highly recommend letting refrigerated frosted goods sit on the counter for 30-60 minutes before serving to allow the cake and frosting to soften to their optimal consistency.
This **chocolate buttercream frosting** is undoubtedly my tried-and-true recipe. If you’re searching for that ideal frosting that is consistently creamy, perfectly fluffy, and pipes with professional grace, then look no further – this is truly the recipe you need.
And if you’re looking for some absolutely delicious treats to pair with this incredible chocolate frosting, I enthusiastically recommend trying these recipes:
- Moist Banana Cupcakes (a delightful flavor contrast!)
- Ultimate Double Chocolate Cupcakes (for the true chocolate lover!)
- Decadent Double Chocolate Layer Cake (the perfect canvas for this frosting)
- Classic Homemade Brownies (a simple treat elevated by this rich frosting)
Perfect Homemade Chocolate Frosting
Fiona Dowling
10 minutes
10 minutes
18
cupcakes*
Rate Recipe
Print Recipe
Ingredients
-
1
cup
unsalted butter* (226 grams) ,
softened -
3-4
cups
powdered sugar (330-440 grams) ,
sifted -
1/2
cup
cocoa powder* (45 grams) ,
sifted -
1
teaspoon
vanilla extract -
1/4
teaspoon
salt -
3-5
tablespoons
milk or cream* (45-75 ml)
Metric
Prevent your screen from going dark
Instructions
-
In a large mixing bowl, using an electric mixer, beat the softened butter on medium speed until it is light, fluffy, and all lumps are completely gone. This step is crucial for creamy frosting.
-
Reduce the mixer speed to low. Gradually add in 2 cups of the sifted powdered sugar, mixing until just combined and no dry pockets remain. Once incorporated, increase the speed to medium-high and beat for about 15 seconds to incorporate air.
-
With the mixer still on low speed (to prevent a cocoa cloud!), carefully beat in the sifted cocoa powder, vanilla extract, and salt until fully blended. Scrape down the sides of the bowl as needed to ensure even mixing.
-
Continue to beat in the remaining powdered sugar, about 1/2 cup at a time, alternating with 1-2 tablespoons of milk or cream. Add until your desired consistency and level of sweetness are reached. If the frosting seems too thick, add a little extra milk or cream, a teaspoon at a time. If it’s too thin, incorporate a bit more powdered sugar until perfect.
-
For an extra light and airy finish, give the frosting a final whip on medium-high speed for another 10-15 seconds after all ingredients are combined. This last burst of air makes it incredibly fluffy and easy to spread or pipe.
Notes
- Butter: The key to smooth buttercream is perfectly softened butter. It should yield slightly to the touch but not be greasy or melted. If using salted butter, omit the 1/4 teaspoon of added salt in the recipe.
- Cocoa: Experiment with natural or Dutch-process cocoa powder to achieve your preferred flavor and color intensity. For an extra rich chocolate flavor, consider using 3/4 cup cocoa powder.
- Milk/Cream: For adjusting consistency, 2% milk, whole milk, half-and-half, whipping cream, or heavy cream all work well. I personally prefer using whole milk for general frosting (like on brownies or cakes) and heavy cream for piping cupcakes, as it yields a slightly firmer, more stable frosting.
- Yield: This recipe is designed to generously frost:
- 12-18 cupcakes when piped with a decorative tip.
- Approximately 24 cupcakes with a thinner, knife-spread layer.
- The entire top surface of a 9×13 inch sheet cake or pan of brownies.
- Half the recipe is sufficient for frosting the top of an 8×8 or 9×9 inch pan of brownies or cake.
- For a grand 8- or 9-inch triple-layer cake, it is recommended to double the recipe (or make two separate batches if your mixer’s capacity is limited).
- Storage: Unused frosting keeps well in an airtight container in the refrigerator for up to 2 weeks (or follow the earliest expiry date of your dairy). Allow it to come to room temperature and re-beat with an electric mixer to restore its creamy texture before use. Frosted cakes and cupcakes stay fresh in an airtight container at room temperature for 2-3 days, or refrigerated for 4-5 days (note that most cakes tend to dry out after about 4 days). Always let refrigerated frosted desserts sit out for 30-60 minutes before serving for the best experience.
- Nutrition: The provided nutrition information is an estimate based on the frosting divided equally among 18 cupcakes, excluding the cupcake itself. It is intended for informational purposes only.
Nutrition
Calories:
176
kcal
,
Carbohydrates:
21
g
,
Protein:
1
g
,
Fat:
11
g
,
Saturated Fat:
7
g
,
Cholesterol:
27
mg
,
Sodium:
36
mg
,
Potassium:
43
mg
,
Fiber:
1
g
,
Sugar:
20
g
,
Vitamin A:
319
IU
,
Calcium:
9
mg
,
Iron:
1
mg
Did you enjoy this recipe? We’d love to hear your feedback!
Please take a moment to rate and leave a comment below!