
Ultimate No-Bake Oreo Pie: The Easiest Cookies and Cream Dream Dessert
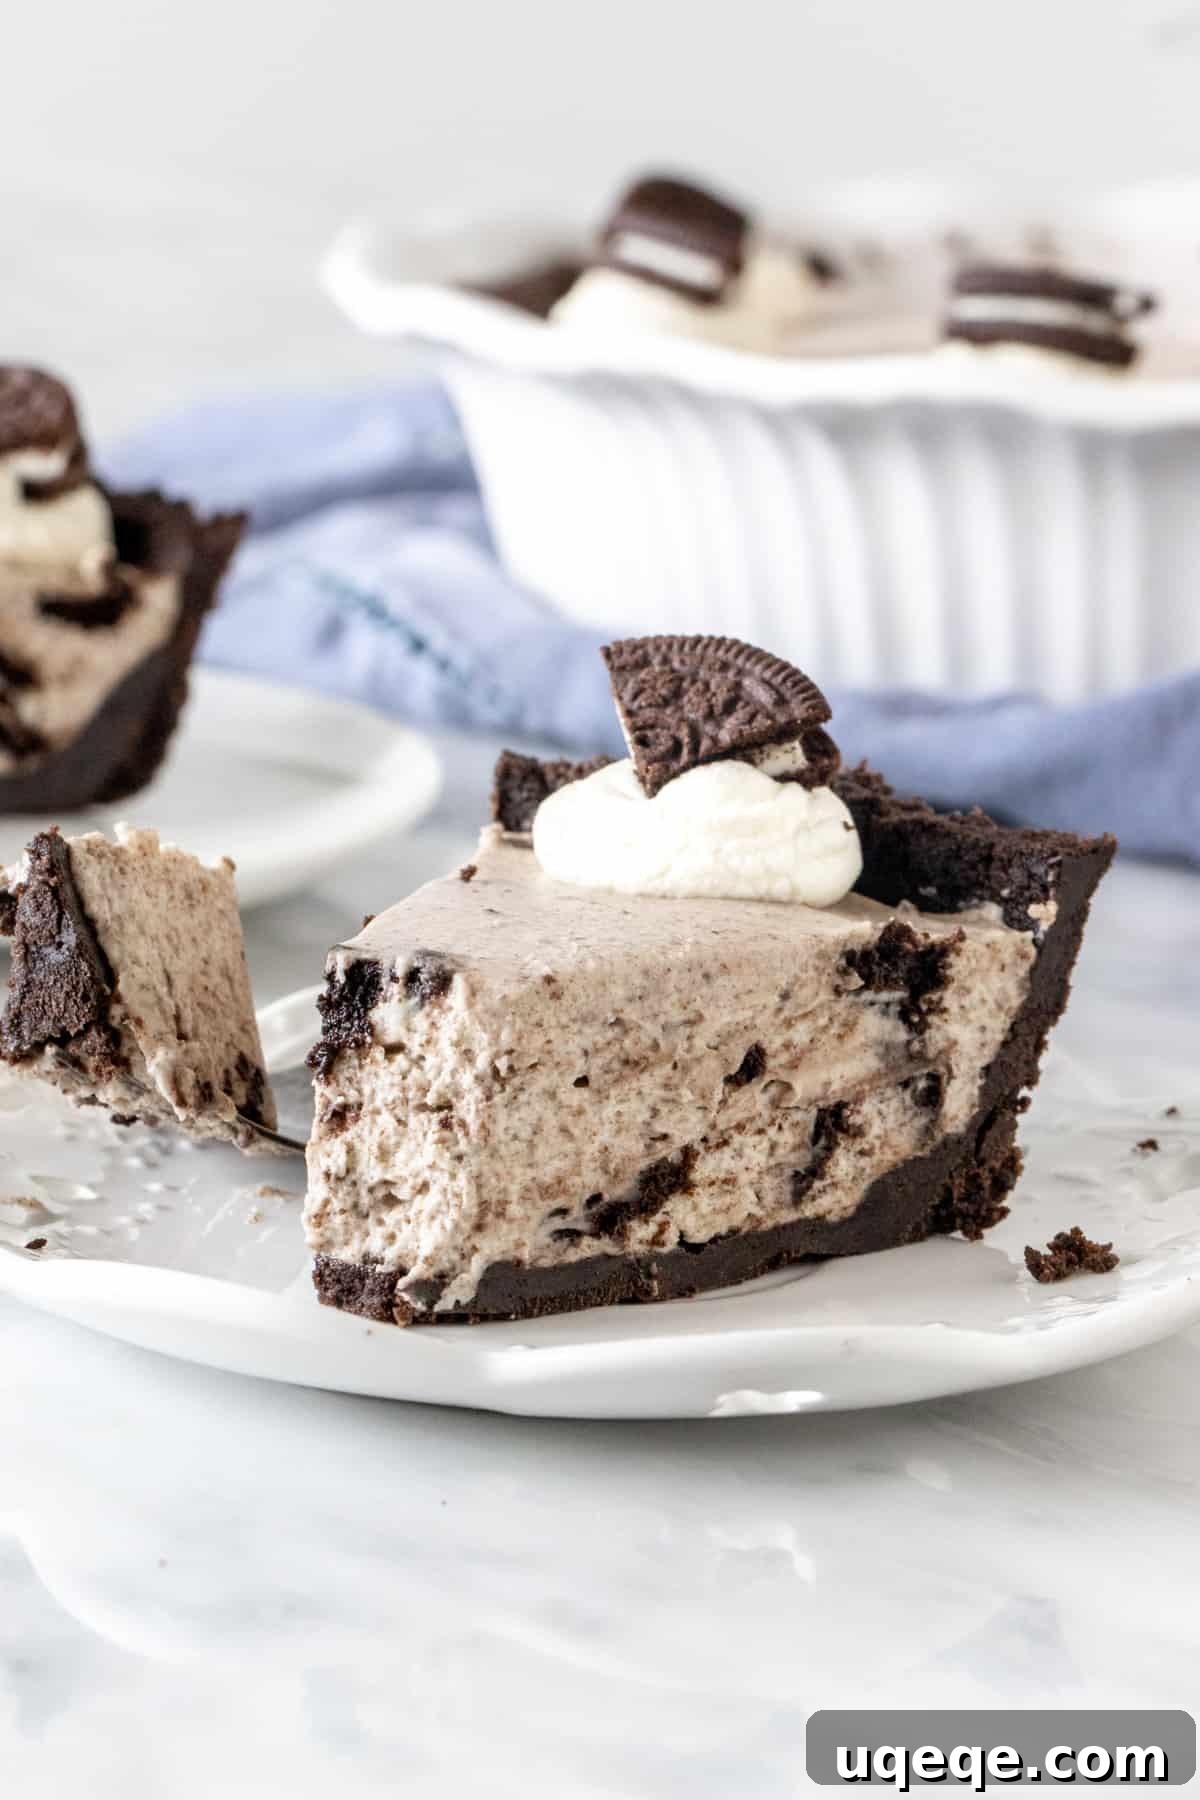
Prepare to fall in love with the most decadent yet incredibly simple dessert you’ll ever make: this luscious no-bake Oreo pie. Boasting an irresistibly creamy filling, generously studded with crushed Oreo cookies, and encased in a gloriously thick Oreo cookie crust, this recipe is a true game-changer. Requiring only 5 basic ingredients and absolutely no oven time, it’s the perfect treat for any occasion, offering an unparalleled cookies and cream flavor that will delight everyone.
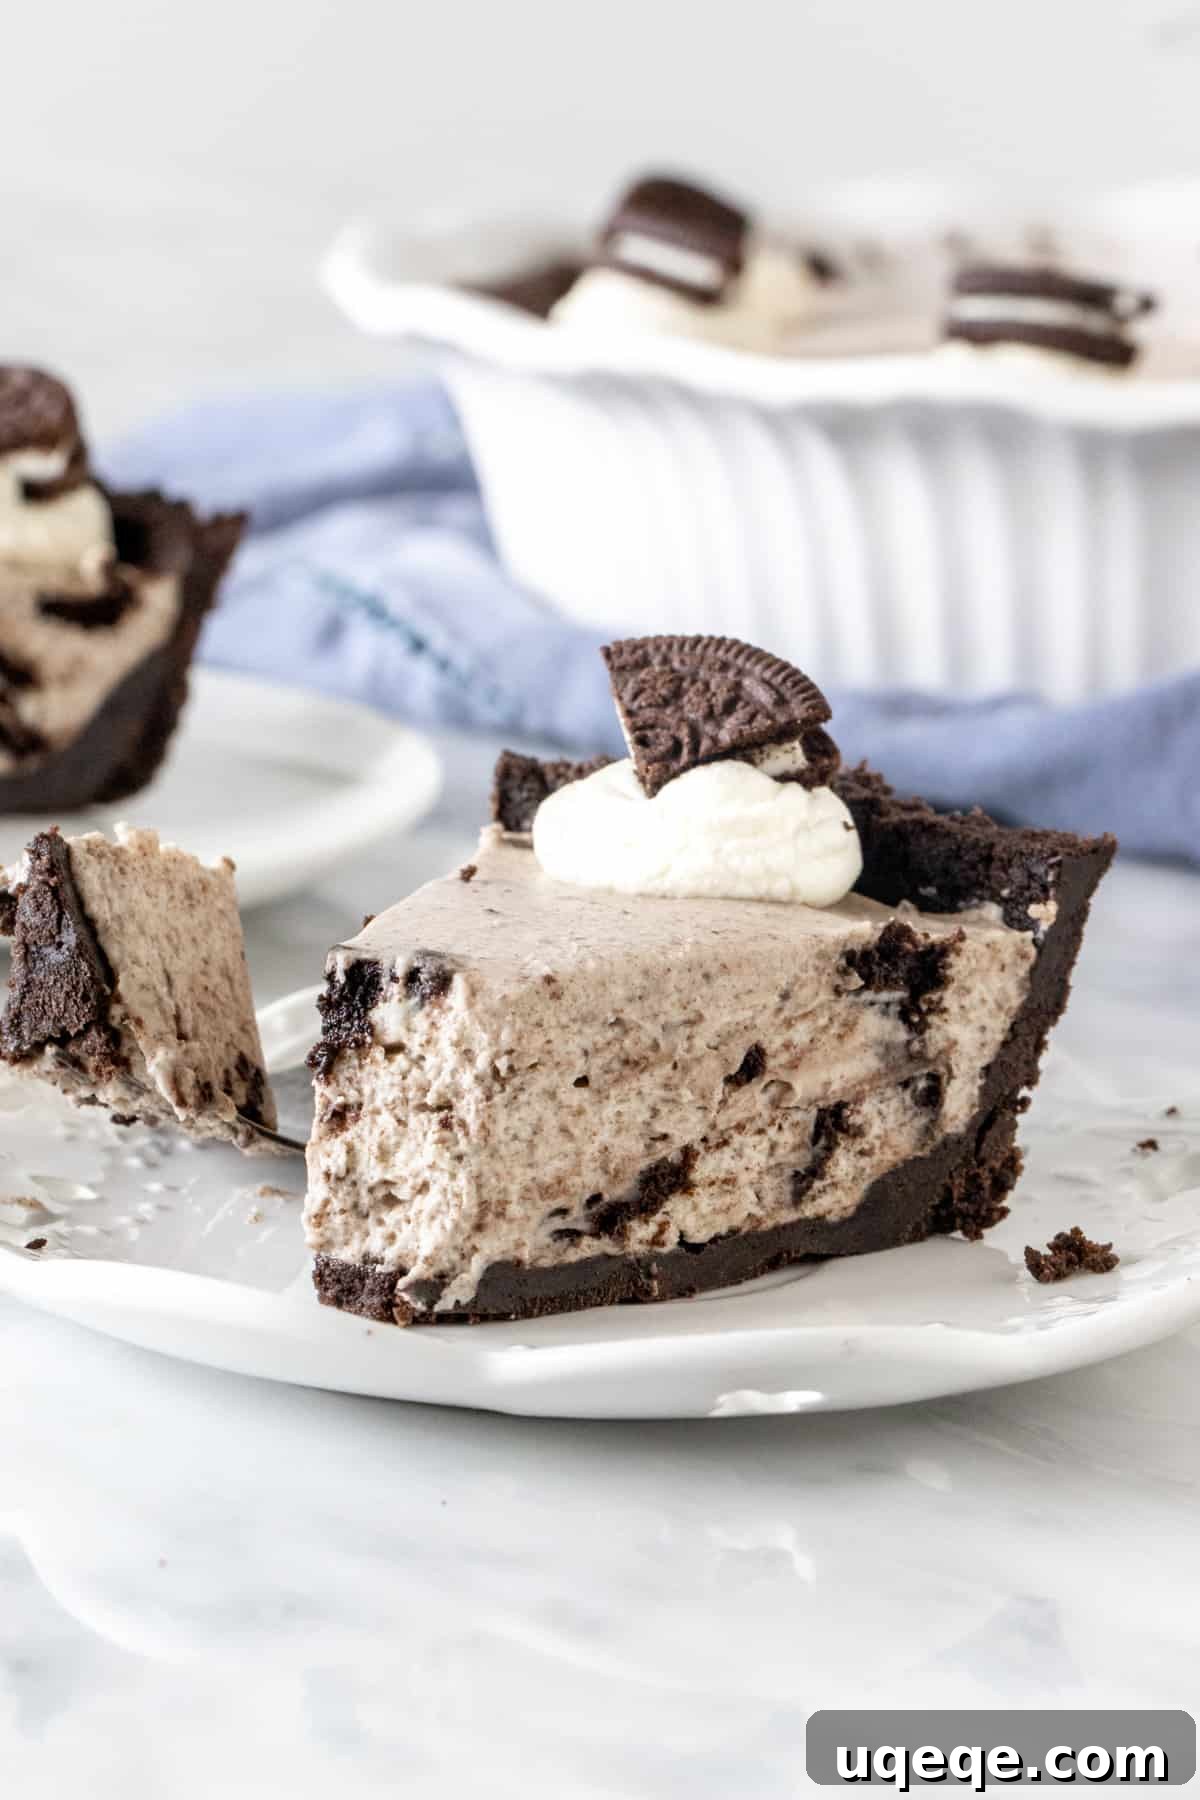
If you’re a devoted fan of classic Oreo cookies or find yourself constantly craving the cool, sweet delight of cookies and cream ice cream, then this magnificent Oreo pie is destined to become your new favorite. Its rich, velvety texture and abundant cookie pieces create a harmonious blend that is utterly addictive. The filling itself strikes a perfect balance, tasting like a delightful fusion of a no-bake cheesecake and a creamy Oreo milkshake, all beautifully held together by a robust, crumbly Oreo crust.
Why This No-Bake Oreo Pie Recipe is a Must-Try
This recipe isn’t just a dessert; it’s a testament to simple, delicious indulgence. You’ll quickly discover why it earns rave reviews and becomes a go-to in your recipe collection:
- Minimal Ingredients, Maximum Flavor: With only 5 core ingredients, you can whip up an impressively delicious dessert that tastes far more complex than its component list suggests.
- Beginner-Friendly Perfection: Whether you’re a seasoned baker or taking your first steps into the world of desserts, this recipe is incredibly forgiving and easy to follow, guaranteeing success every time.
- No-Bake Brilliance: Forget turning on the oven! This no-bake wonder is ideal for lazy afternoons, hot summer days, or anytime you want a fantastic dessert without the fuss of baking.
- An Oreo Lover’s Dream: This pie truly celebrates the iconic cookie, incorporating a generous amount of Oreos into both the crust and the creamy filling, ensuring every bite is packed with that unmistakable chocolatey crunch and sweet cream flavor.
Crafting the Perfect Oreo Crust
The foundation of any great pie is its crust, and for this Oreo pie, we’re building a truly spectacular one. A thick, crumbly Oreo crust provides the ideal contrast to the smooth, creamy filling, offering a satisfying texture in every mouthful.
To begin, gather your chosen Oreo cookies – yes, the entire cookie, both the chocolate wafers and the creamy filling! Pulse them in a food processor until they transform into fine, uniform crumbs. If you don’t have a food processor, no worries! Simply place the cookies in a sturdy freezer bag, seal it well, and crush them with a rolling pin or the bottom of a heavy pan. Once you have your cookie crumbs, mix them thoroughly with melted unsalted butter. The mixture should resemble damp sand and hold together easily when squeezed between your fingers. This is the perfect consistency for forming a stable crust.
Carefully press this delicious mixture into the bottom and up the sides of your 9-inch pie plate. The goal is to create an even, sturdy layer that will hold the creamy filling. A flat-bottomed glass or the back of a spoon can help you achieve a beautifully compact and smooth crust. Once pressed, transfer the pie plate to the refrigerator to chill while you prepare the filling. This cooling step helps the butter solidify, setting the crust firmly.
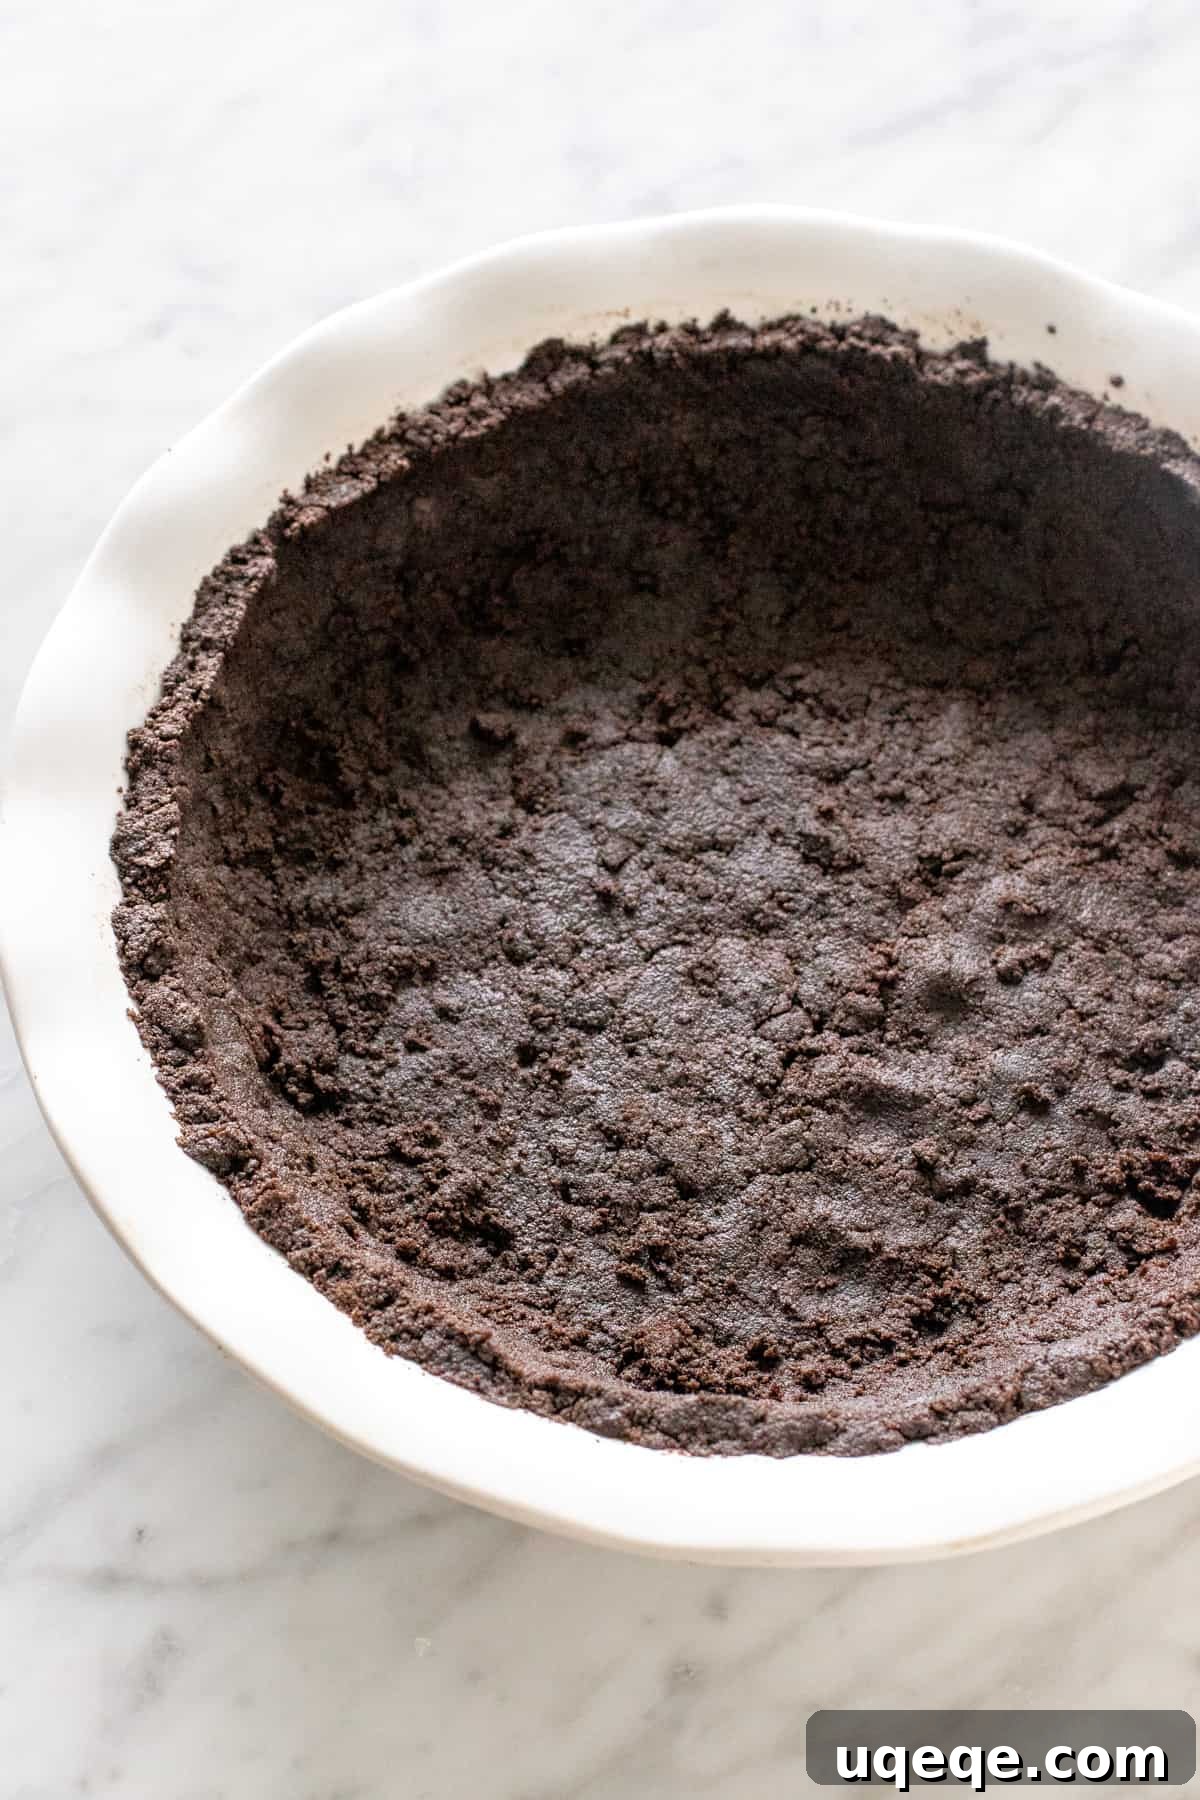
Time-Saving Tip: While a store-bought pre-made Oreo crust can save you a few minutes, I highly recommend making your own. This recipe is specifically designed to give you an extra-thick, more substantial crust that truly enhances the overall pie experience, offering a superior texture and flavor profile.
The Irresistible No-Bake Oreo Filling
Now for the heart of the pie – the wonderfully creamy, cookies and cream filling. This is where the magic truly happens, blending simple ingredients into a luxurious dessert.
Whipped Cream Perfection
First, you’ll prepare the whipped cream. In a large bowl, beat cold heavy cream (or whipping cream with 33-35% milk fat) until stiff peaks form. The key here is to start with very cold cream, which whips up faster and holds its shape better. Whipped cream is essential for this recipe as it lends an unparalleled lightness and airiness to the filling, preventing it from becoming too dense. It also acts as a stabilizer, ensuring the pie sets beautifully and maintains its structure when sliced. Be careful not to over-whip, as it can quickly turn grainy.
The Cream Cheese Foundation
In a separate large bowl, combine softened, brick-style cream cheese with powdered sugar. Beat these two ingredients together until the mixture is incredibly smooth and free of any lumps. Using room temperature cream cheese is crucial for achieving this silky texture. The cream cheese provides the necessary body and richness to the filling, making it thick and satisfying. However, unlike a traditional no-bake cheesecake, the amount used here is just enough to create a delightful creaminess without an overpowering tangy flavor, allowing the cookies and cream notes to shine through.
Folding in the Flavors
Once your whipped cream and cream cheese mixture are ready, it’s time to bring them together. Gently fold the whipped cream into the cream cheese mixture using a large rubber spatula. Continue folding until the mixture is uniform and you no longer see streaks of white whipped cream. The gentle folding technique is important to maintain the airiness of the whipped cream. Finally, carefully fold in the crushed Oreo cookies. This is where the pie gets its signature cookies and cream character.
Pro Tip for Texture: For the ultimate cookies and cream experience, I love to use a combination of finely crushed cookie crumbs and larger, coarsely chopped cookie pieces in my Oreo pie filling. The fine crumbs blend seamlessly into the cream, while the larger chunks provide delightful bursts of texture and intense chocolate flavor. You can experiment with using all crumbs, all chopped pieces, or a mix of both to find your preferred texture.
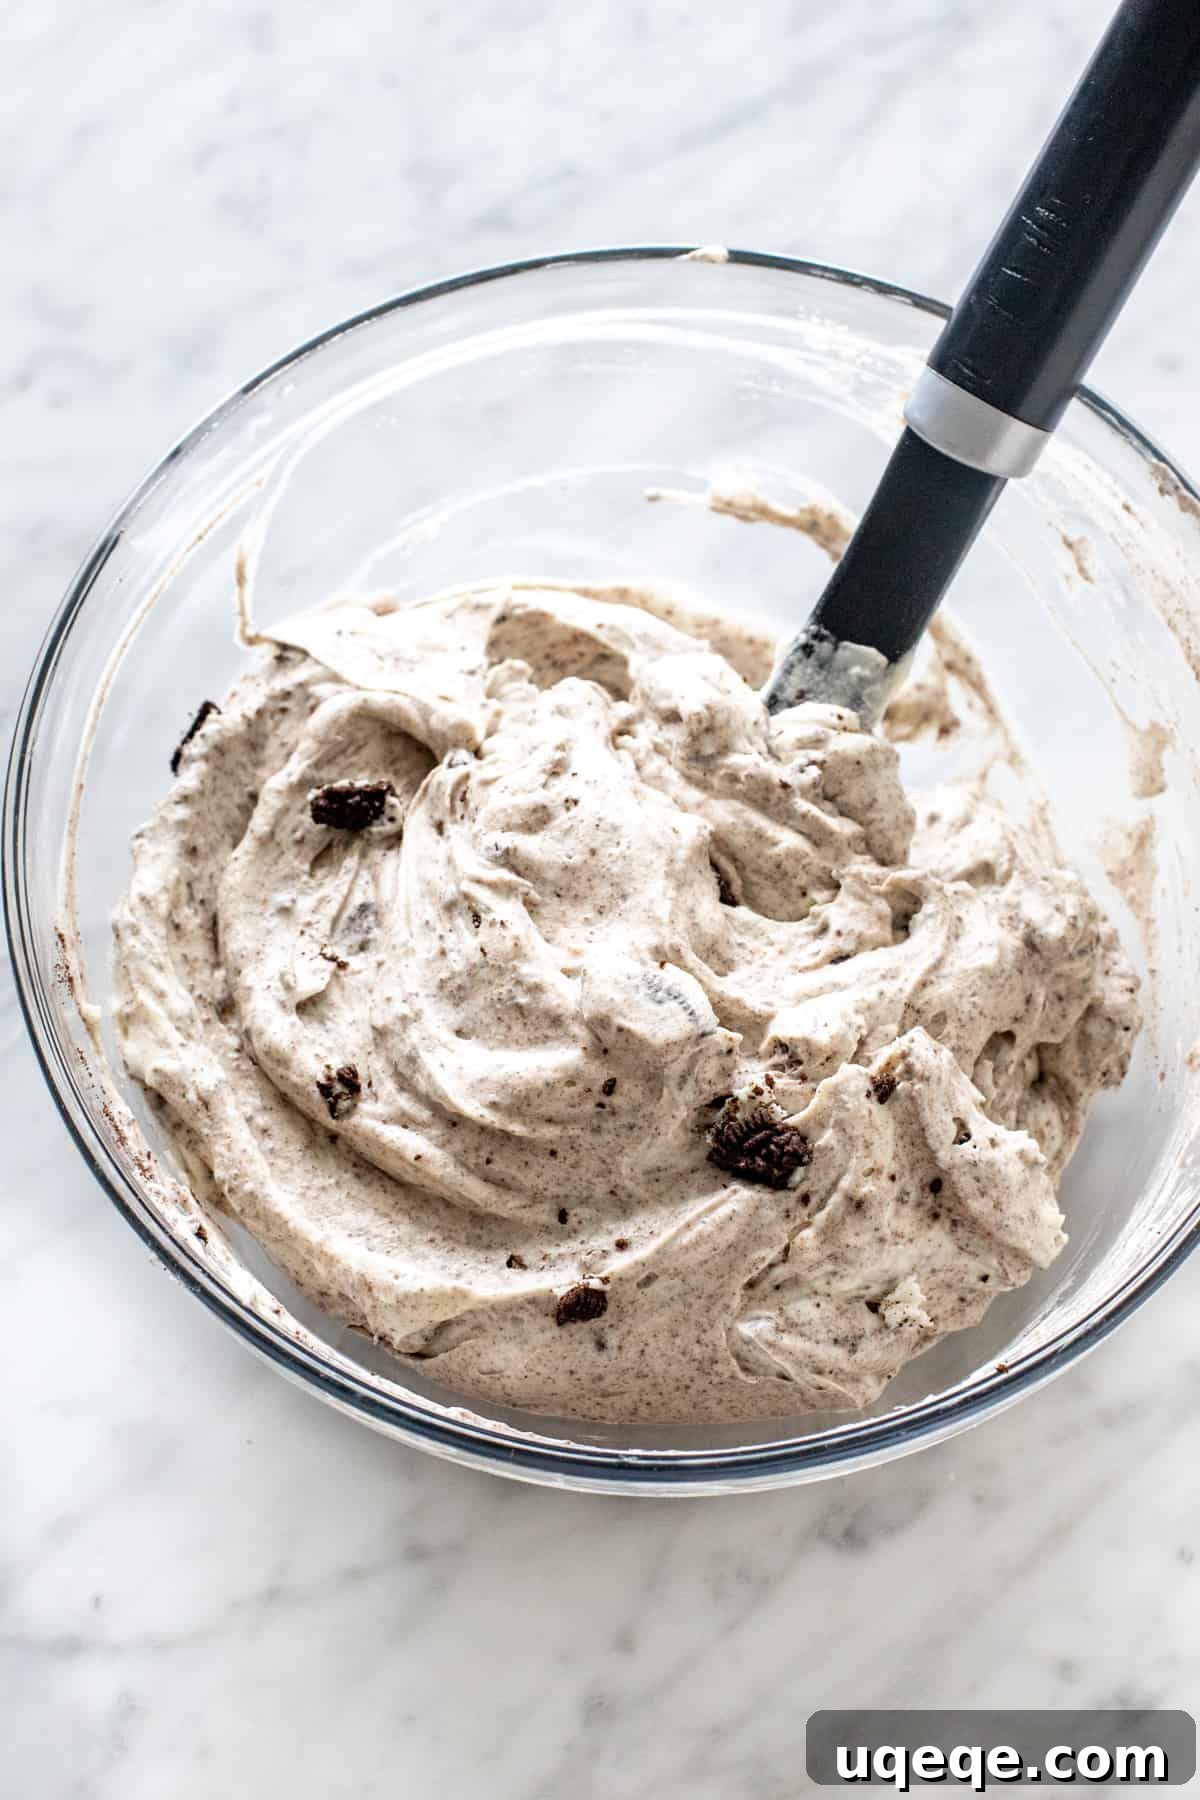
Once the filling is perfectly mixed, spoon it into your prepared Oreo crust. Smooth the top with your spatula to create an appealing finish. Then, the most important step: pop the pie into the fridge to chill for a minimum of 6 hours. This extended chilling period is vital for the pie to firm up properly, ensuring clean, elegant slices when it’s time to serve.
Whipped Cream vs. Whipped Topping: A Taste Comparison
While some recipes might suggest using whipped topping (like Cool Whip) for convenience, I strongly advocate for using freshly whipped heavy cream as specified in this recipe. The difference in taste and texture is undeniable. Real whipped cream imparts a truly luxurious, creamy flavor that complements the Oreos beautifully, creating a more sophisticated and deeply satisfying dessert. If, for any reason, you absolutely must use whipped topping, you can substitute 1 cup of whipping cream with an 8 oz tub of thawed whipped topping. However, be aware that the overall richness and fresh dairy taste will be slightly altered.
How Many Oreos Do You Really Need?
To avoid a last-minute dash to the store, here’s a guide to your Oreo cookie needs: You’ll require approximately 24 Oreo cookies for the thick, flavorful crust and another 12 Oreo cookies for the delightful filling. If you plan on decorating the top of your pie with additional cookies, remember to factor those into your purchase. In the US, a standard 14.3 oz (405 gram) package typically contains 36 Oreos, which is just enough for the pie without extra decorations. A family-sized 19.1 oz package, on the other hand, usually holds around 51 Oreos, giving you plenty for both the pie and decorative flourishes. Cookie counts can vary by region and package size, so always double-check the label when shopping.
Can You Freeze This Oreo Pie?
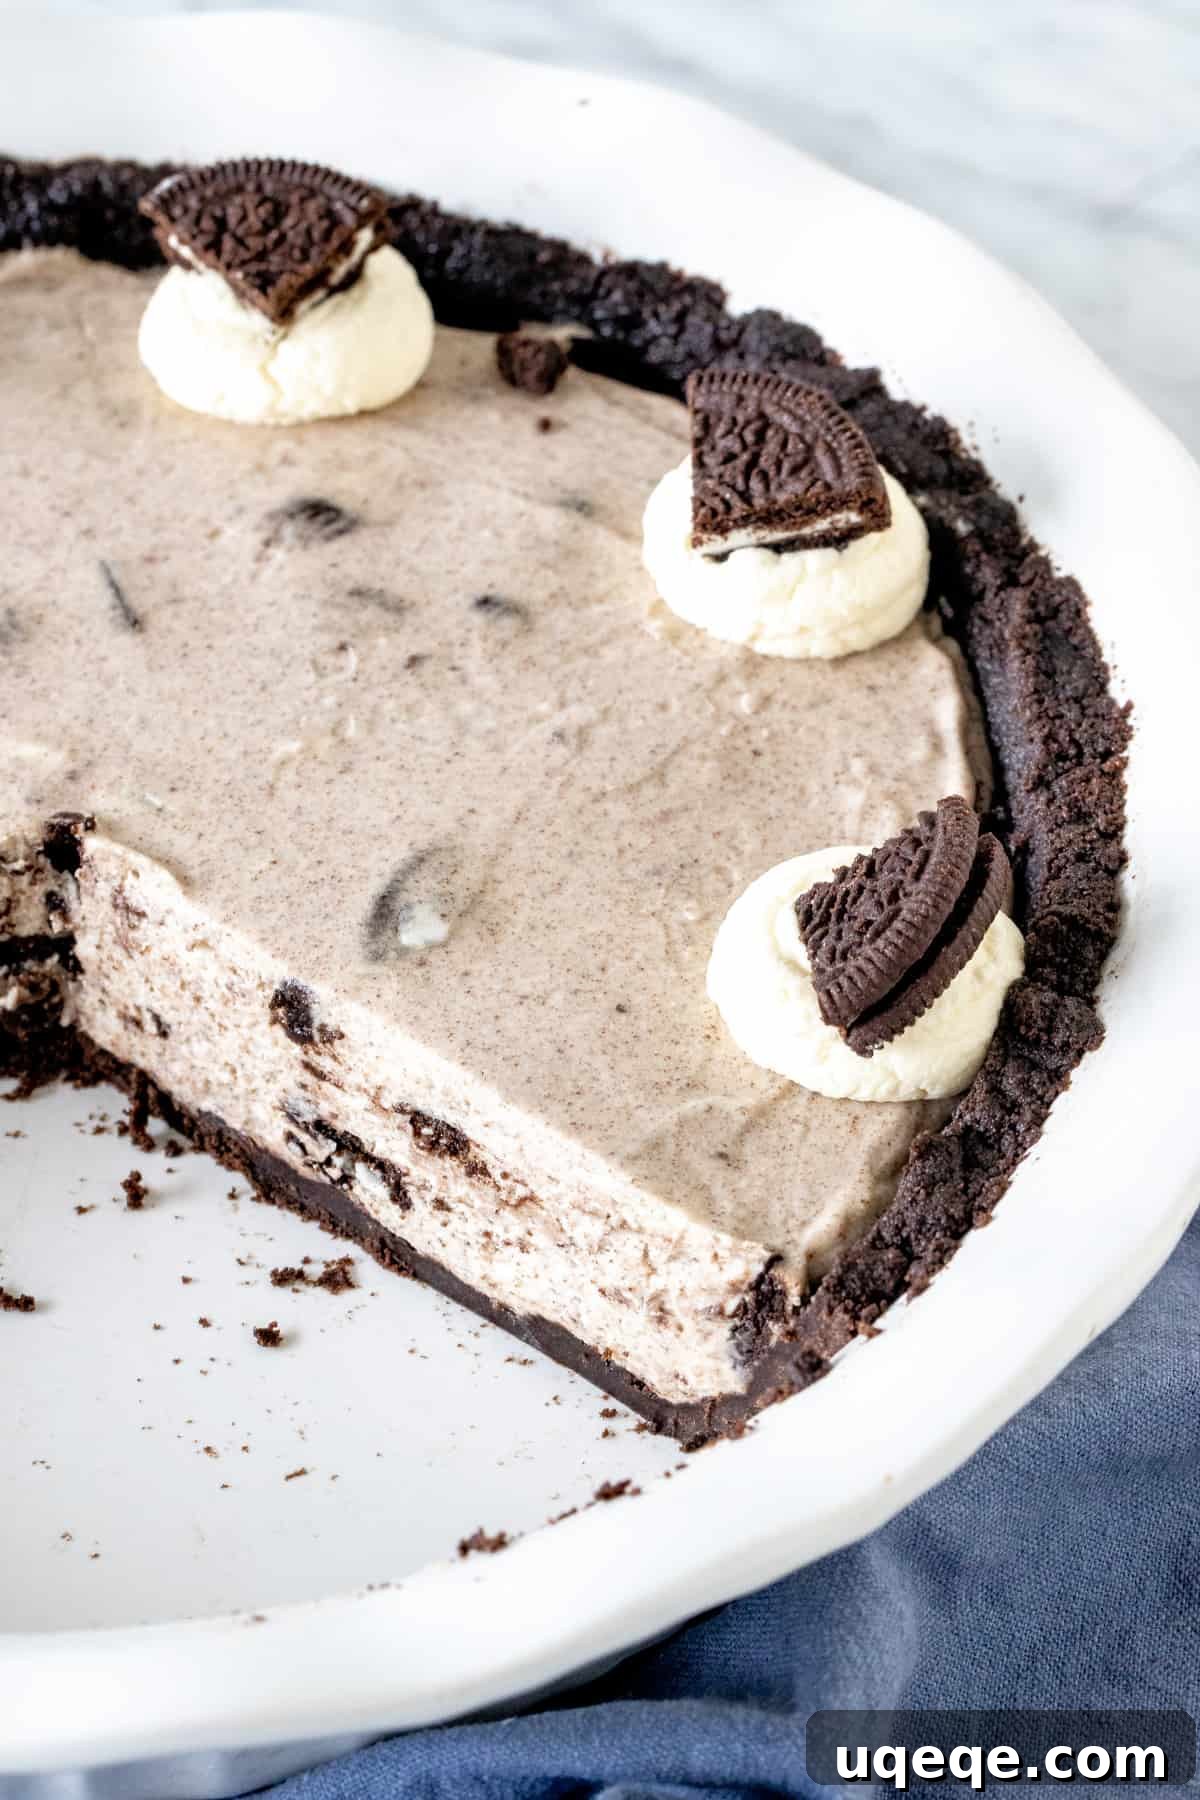
Yes, this versatile Oreo pie can certainly be frozen! If you prefer a firmer, almost ice cream-like dessert, or wish to prepare it in advance, simply place the pie in the freezer for about 4 hours instead of chilling it in the fridge. This will allow it to firm up beautifully. However, it’s important to note that a frozen crust can become quite dense and challenging to cut, so keep that in mind when serving. For easier slicing, allow the frozen pie to sit at room temperature for 10-15 minutes before attempting to cut.
Serving and Storing Your Oreo Pie
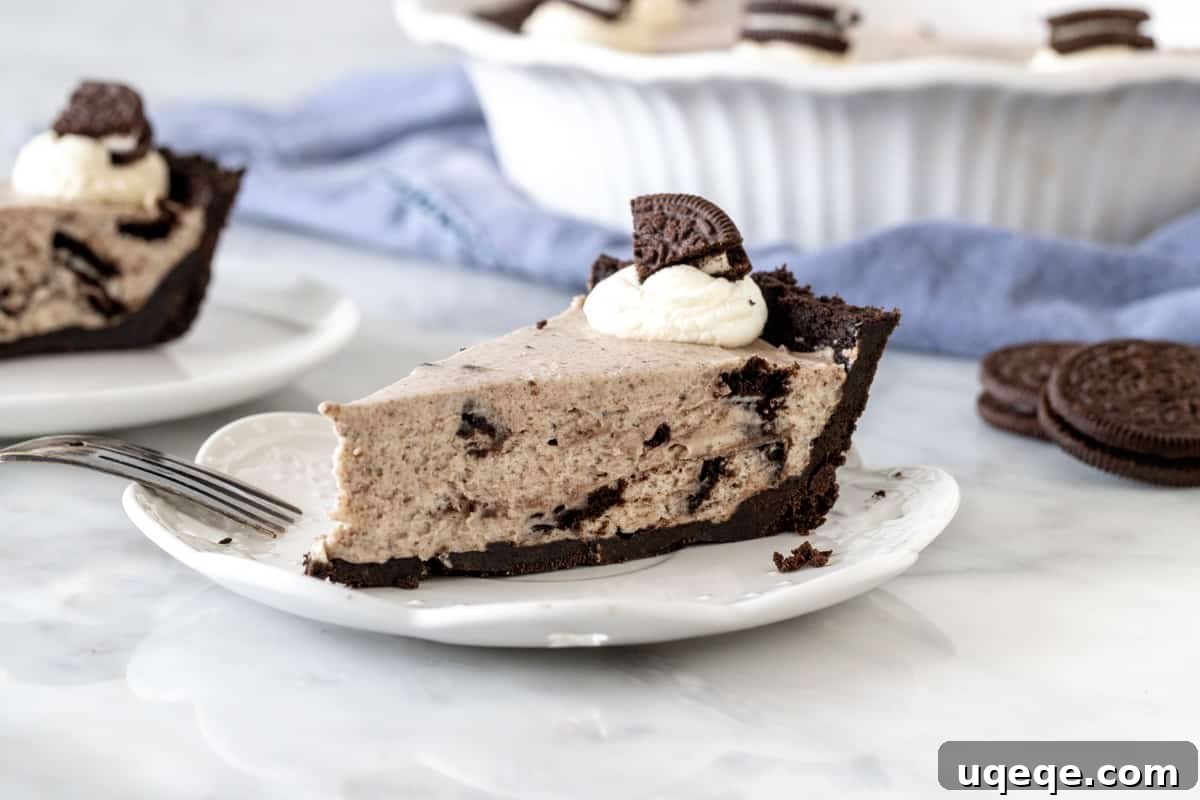
Once your no-bake Oreo pie is perfectly chilled and set, it’s ready to be served! For the cleanest slices, use a sharp knife and ensure you cut all the way through the thick crust. Don’t be discouraged if the very first slice looks a little messy – subsequent slices will be much neater. You can enhance the presentation by garnishing each slice with a dollop of fresh whipped cream and a few extra mini Oreo cookies or cookie crumbs. A drizzle of chocolate syrup can also add an elegant touch.
To enjoy leftovers, simply cover the pie tightly with plastic wrap and store it in the refrigerator for up to 5 days. It’s crucial not to let the pie sit at room temperature for extended periods, as the dairy-based filling requires refrigeration to maintain its quality and food safety.
Variations and Customizations
While this classic Oreo pie is fantastic as is, it also serves as an excellent base for creative variations:
- Mint Oreo Pie: Substitute regular Oreos with Mint Oreos for a refreshing twist.
- Peanut Butter Swirl: Swirl a few tablespoons of softened peanut butter into the cream cheese mixture before adding the whipped cream for a delightful nutty flavor.
- Chocolate Lover’s Dream: Drizzle melted chocolate or chocolate syrup over the top of the pie before chilling, or mix in some mini chocolate chips into the filling.
- White Chocolate Bliss: Fold in some white chocolate chips or a drizzle of melted white chocolate for a different sweet dimension.
- Seasonal Fun: Customize with holiday-themed Oreos or sprinkles for festive occasions.
More Oreo Favorites to Explore
If you’re an undeniable Oreo aficionado and can’t get enough of this iconic cookie, be sure to explore these other fantastic recipes that celebrate its deliciousness:
- Oreo Cheesecake: A rich and creamy baked cheesecake with an Oreo crust and generous Oreo chunks.
- Oreo Stuffed Brownies: Fudgy brownies with a surprise Oreo cookie baked right in the center.
- Oreo Cheesecake Cookies: Soft, chewy cookies infused with cream cheese and loaded with crushed Oreos.
Oreo Pie
Fiona Dowling
25 mins
6 hrs
6 hrs 25 mins
10 pieces
Rate Recipe
Print Recipe
Equipment
-
9-inch pie plate
Ingredients
Oreo Crust
- 24 Oreo cookies*
- 1/3 cup unsalted butter (76 grams), melted
Filling
- 1 cup whipping cream* (240 ml), 33 – 35% MF, cold
- 3/4 cup powdered sugar (90 grams)
- 8 ounces brick-style cream cheese* (680 grams) , room temperature
- 12 Oreo Cookies, crushed, chopped or a combination
To Serve/Decorate (Optional)
- whipped cream
- Oreos
Unit System: US Customary – Metric
Instructions
Oreo Crust
-
Add the Oreos (wafers and filling) to a food processor and pulse until fine crumbs. Alternatively, you can add the cookies to a freezer bag and crush with a rolling pin.
-
In a medium bowl, stir together the crushed cookies and melted butter until well combined.
-
Pour the mixture into a 9-inch (23 cm) pie plate. Press the mixture firmly into the bottom and up the sides of the plate to form a uniform crust. Place in the fridge to chill while you make the filling.
Oreo Pie Filling
-
Add the cold whipping cream to a large bowl. Whip the cream using an electric mixer until stiff peaks form. Be careful not to over-beat, as it can become gritty. Set aside.
-
In a separate large bowl, beat the room temperature cream cheese and the powdered sugar until the mixture is very smooth and creamy, with no lumps.
-
Using a large rubber spatula, gently fold the whipped cream into the cream cheese mixture until it is evenly combined and no streaks of whipped cream remain.
-
Gently fold the 12 crushed or chopped Oreos into the filling mixture. For varied texture, you can crush some into fine crumbs and chop others into larger pieces. (Example: I crushed 6 in a food processor and chopped 6 into small pieces).
-
Spoon the creamy Oreo filling into the prepared pie crust and smooth the top evenly with your spatula.
-
Place the pie in the fridge for at least 6 hours (or preferably overnight) before serving to ensure it is thoroughly chilled and set.
To Serve
-
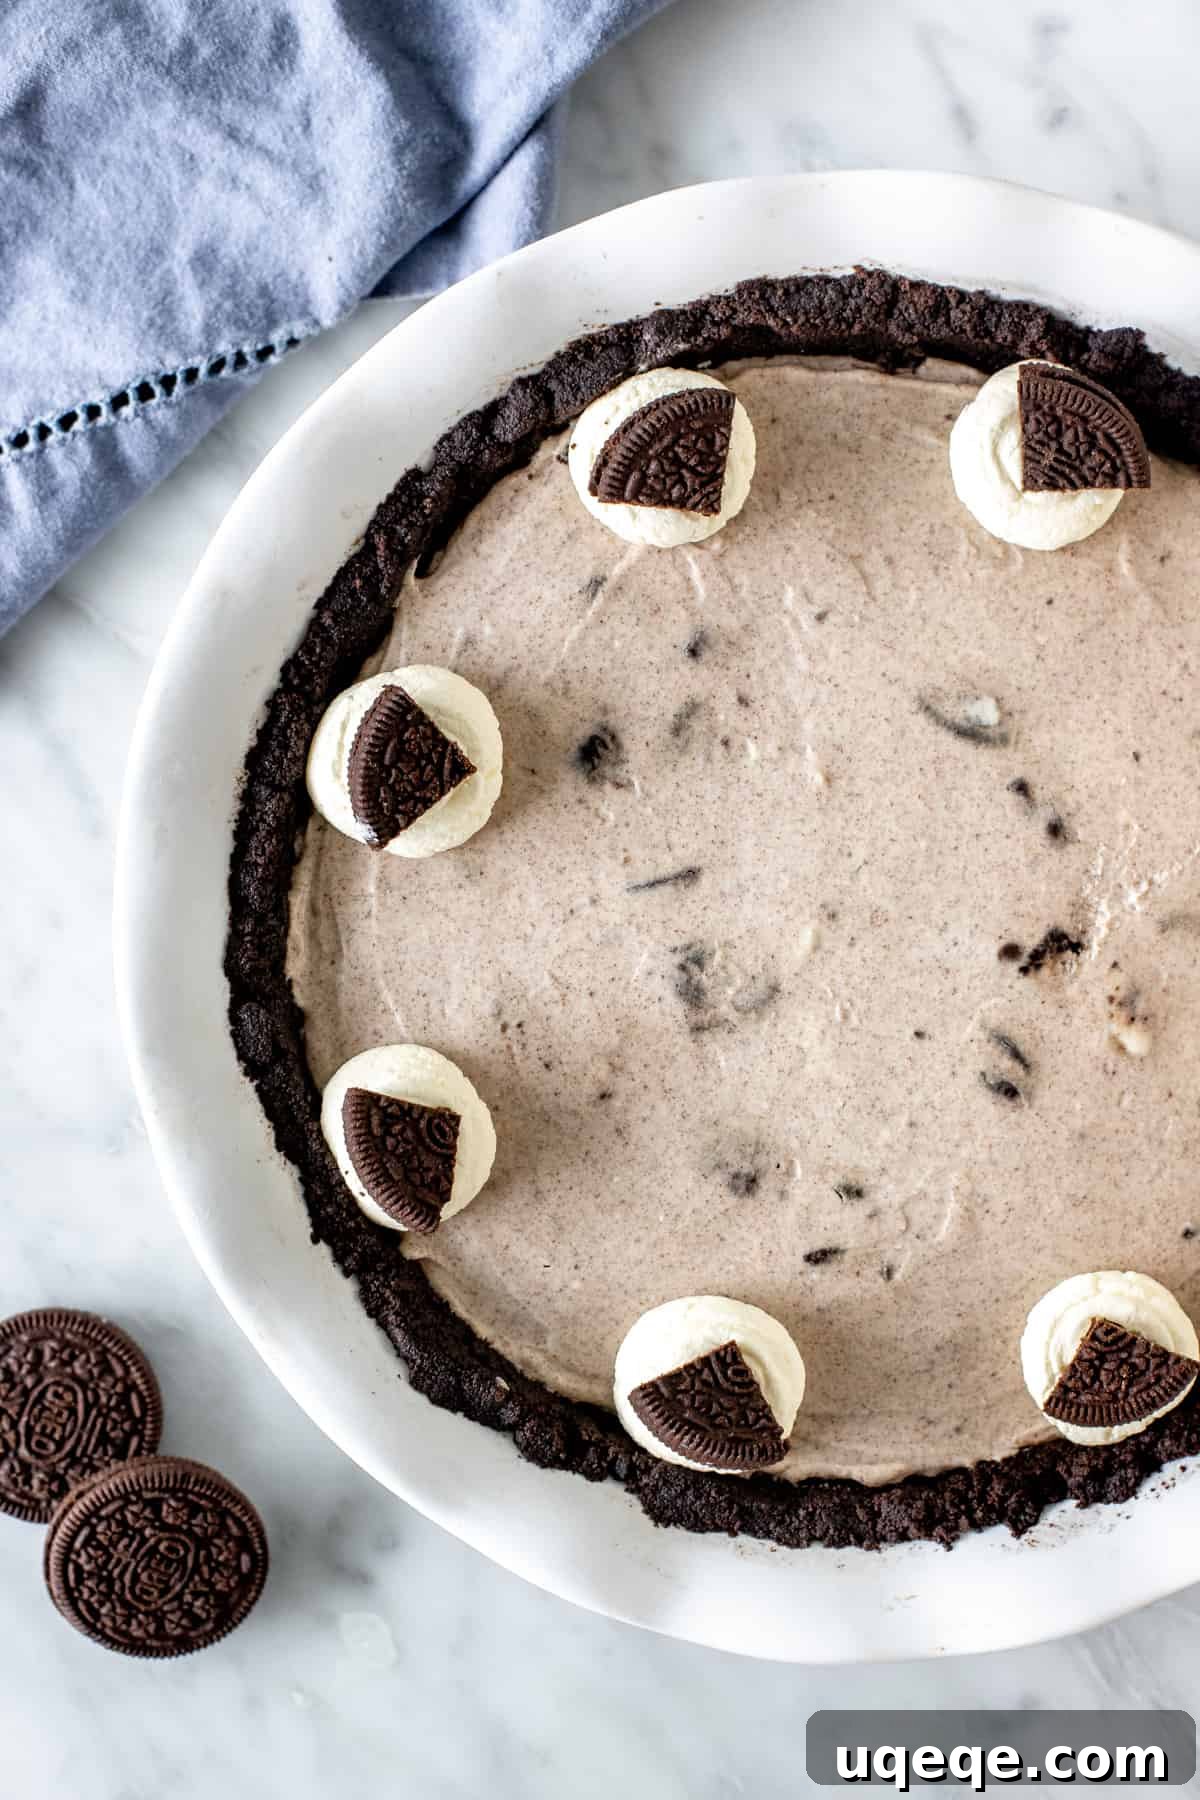
Optionally, decorate the top of the pie with additional whipped cream, whole Oreo cookies, or crushed cookie crumbs before serving.
-
To slice the pie, use a sharp, thin knife and press firmly to cut all the way through the thick crust. The first slice may not be perfectly neat, but subsequent slices will be easier.
-
Store any leftover pie covered tightly in the fridge for up to 5 days. Do not leave the pie at room temperature.
Notes
- You will need approximately 24 Oreos for the crust and 12 Oreos for the filling (you can sometimes use 14 or 15 for extra cookie goodness). Plan for additional Oreos if you wish to decorate the top of the pie. In the US, a 14.3 ounce (405 gram) package contains about 36 Oreos, which is enough for the entire pie without extra decorations.
- Ensure your whipping cream is very cold before whipping for the best results and easier stiff peak formation.
- For the best texture and stability, use full-fat, brick-style cream cheese at room temperature.
- This pie can be frozen for longer storage or a firmer texture. It will need about 4 hours to firm up in the freezer. Keep in mind that a frozen crust can be harder to slice.
- Nutrition information provided is an estimate only, based on 1 slice of pie (without any decorations) assuming the pie is divided into 10 equal pieces.
- Store any leftovers covered in the fridge for up to 5 days.
Nutrition
Carbohydrates: 41g,
Protein: 4g,
Fat: 31g,
Saturated Fat: 16g,
Trans Fat: 1g,
Cholesterol: 74mg,
Sodium: 282mg,
Potassium: 144mg,
Fiber: 1g,
Sugar: 27g,
Vitamin A: 844IU,
Vitamin C: 1mg,
Calcium: 49mg,
Iron: 4mg
Like this recipe? Rate and comment below!