
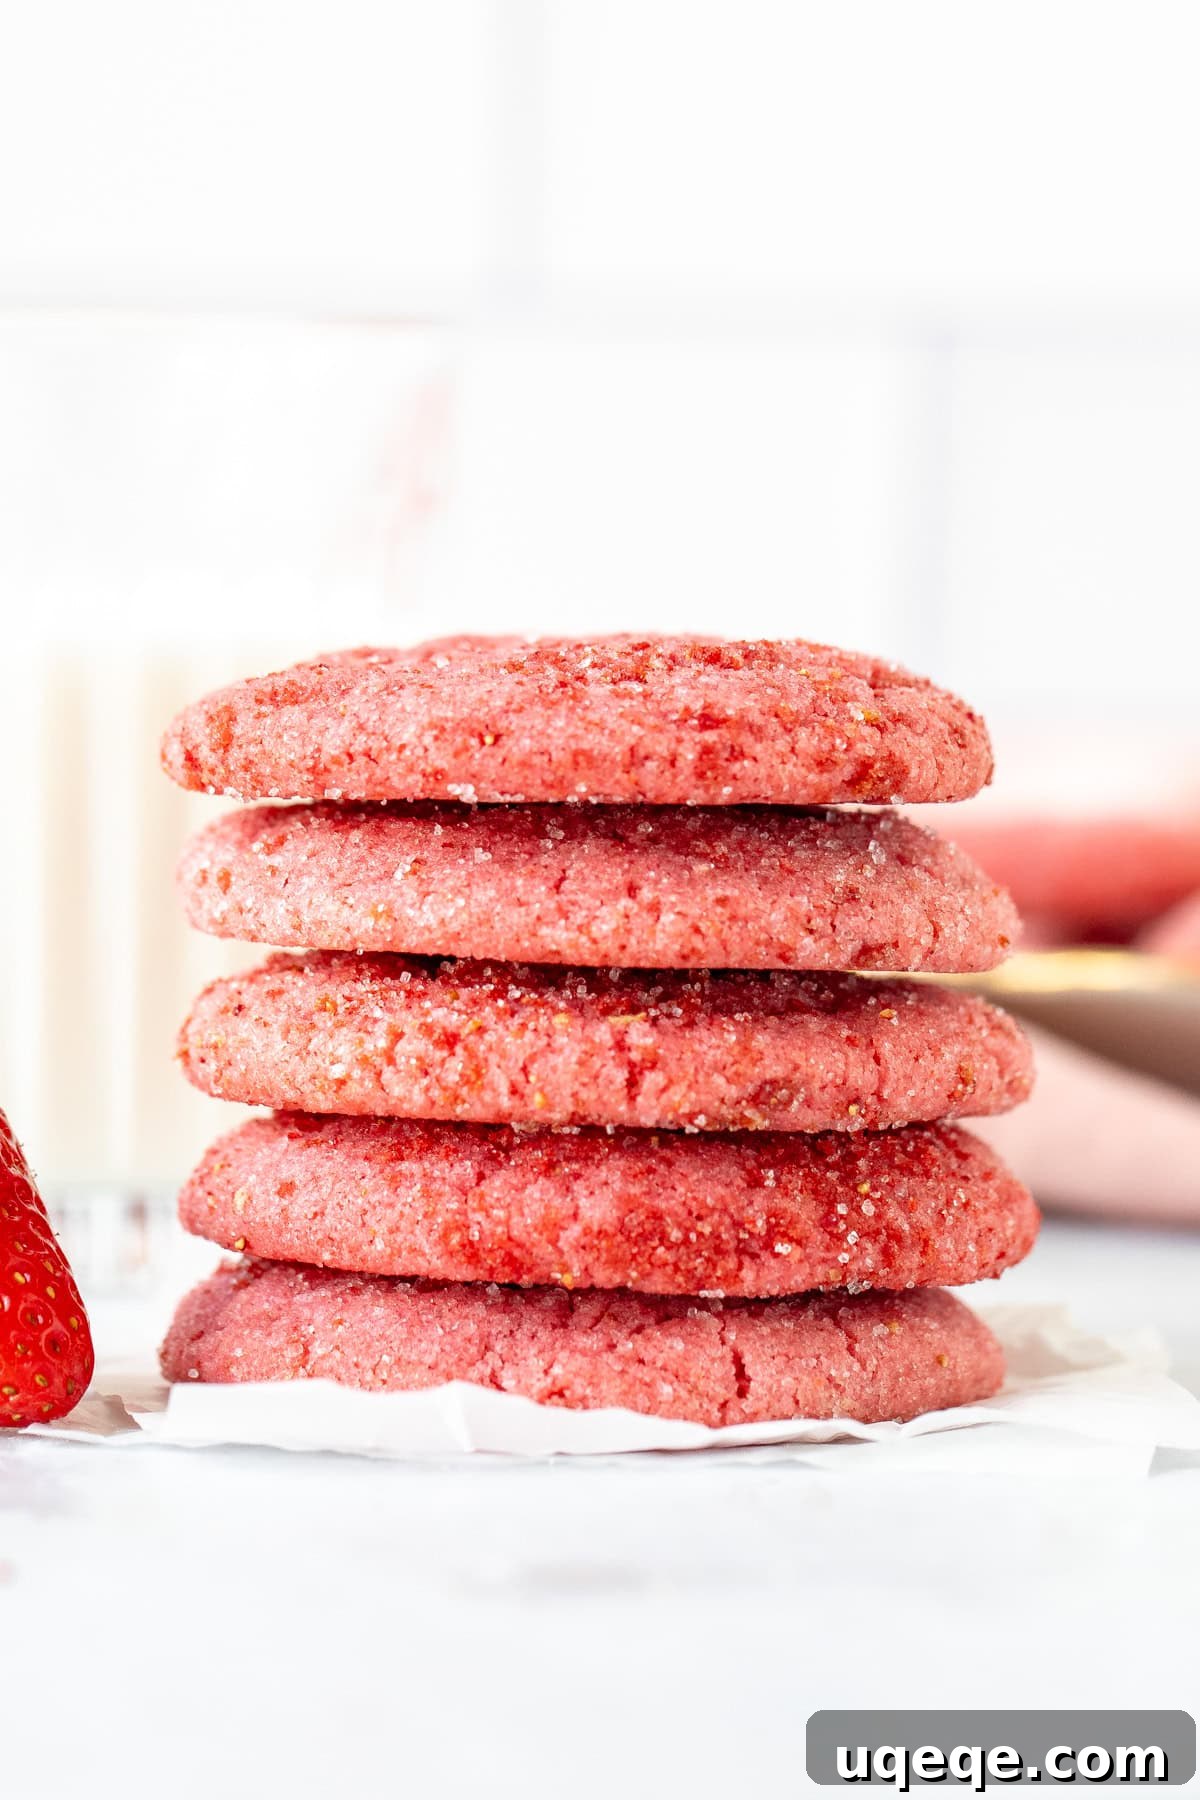
Imagine a cookie that melts in your mouth, bursting with genuine strawberry flavor, perfectly soft and wonderfully chewy, all wrapped in a delightful crunch of sugar. These aren’t just any cookies; these are the ultimate **strawberry sugar cookies**, meticulously crafted to be the perfect pink treat for any occasion. Their vibrant color and authentic taste are guaranteed to impress and bring a smile to anyone who tries them!
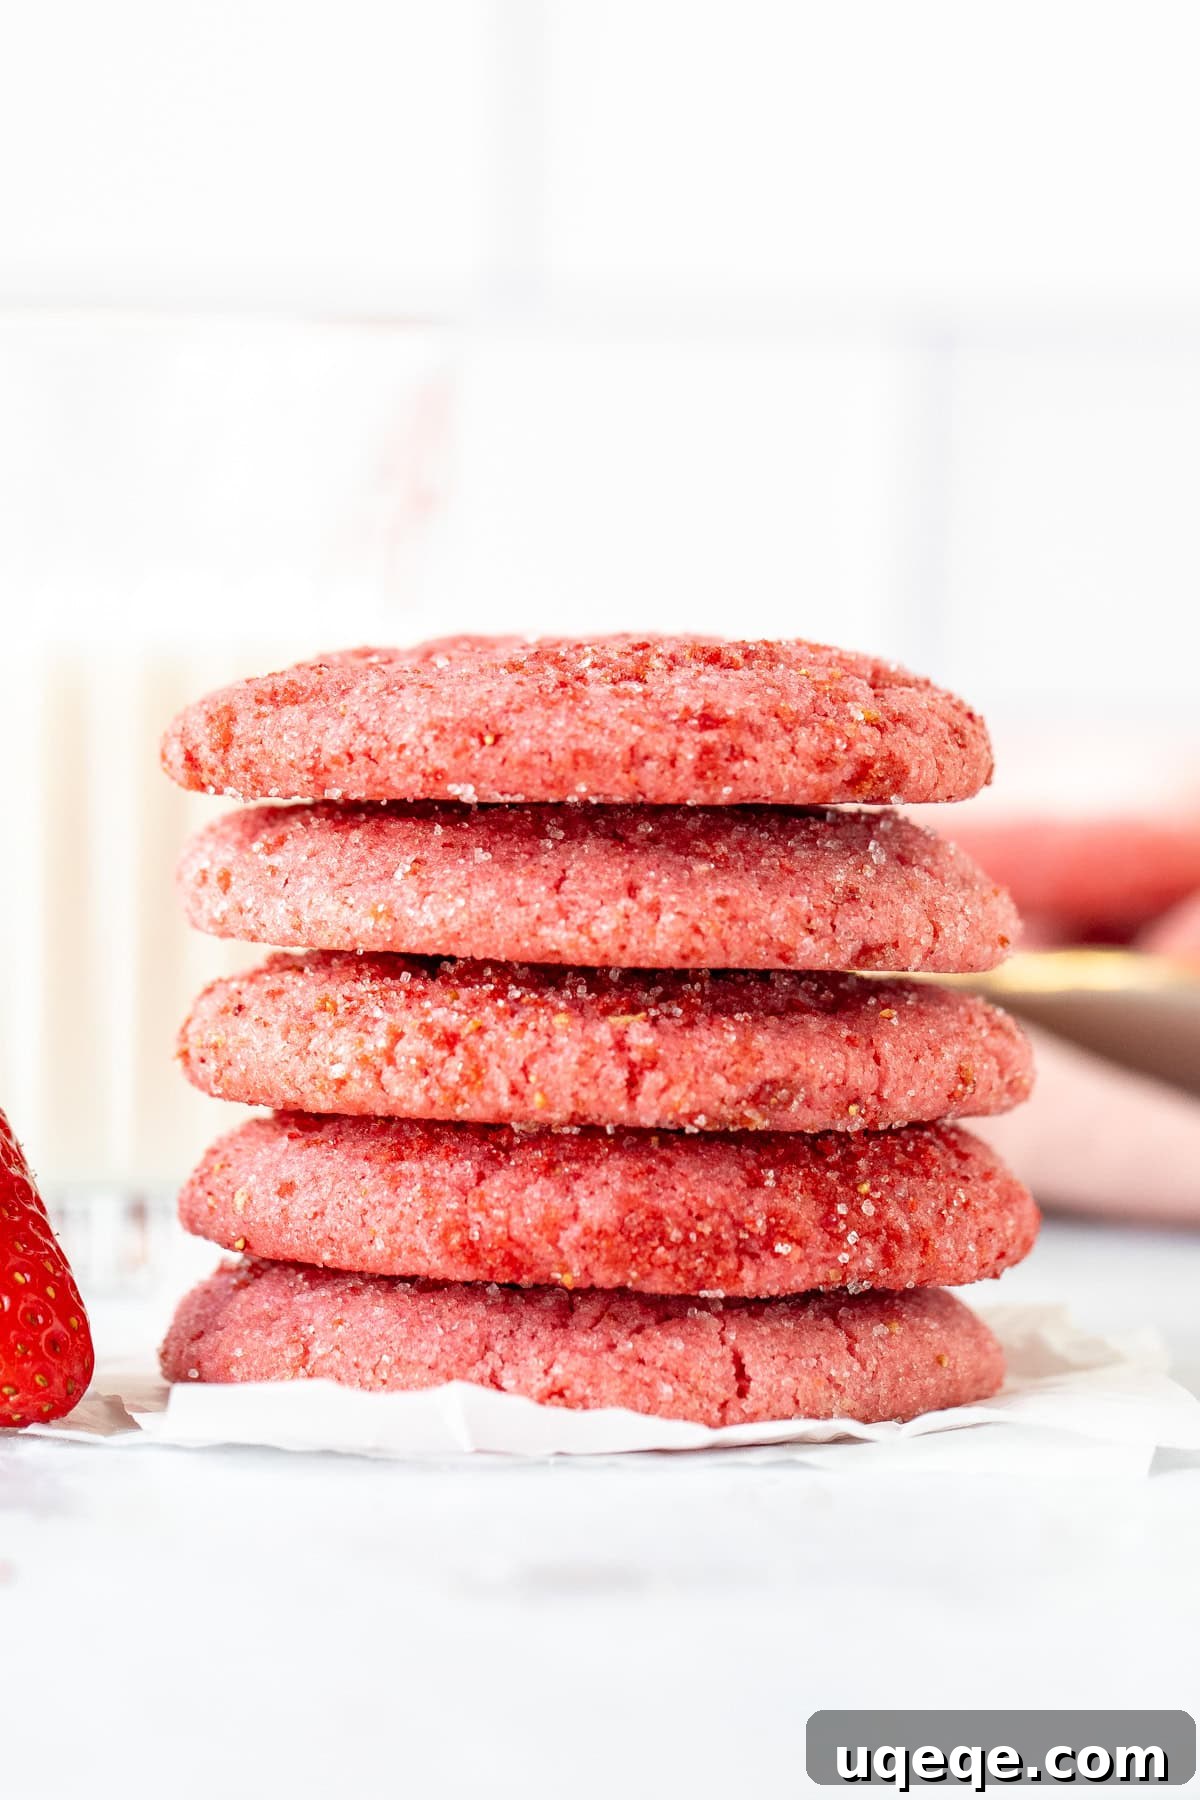
Whether you’re planning a romantic surprise for Valentine’s Day, organizing a charming baby shower, or simply seeking a festive and delicious dessert for a birthday party, these homemade strawberry sugar cookies are an absolute showstopper. They offer a delightful and unique twist on a classic sugar cookie, appealing to both sophisticated palates seeking gourmet flavors and those who cherish the comforting, nostalgic strawberry-flavored treats from their childhood. Forget artificial flavors and bland textures; this recipe proudly champions the authentic, bright taste of real berries, ensuring every single bite is a truly memorable and satisfying experience.
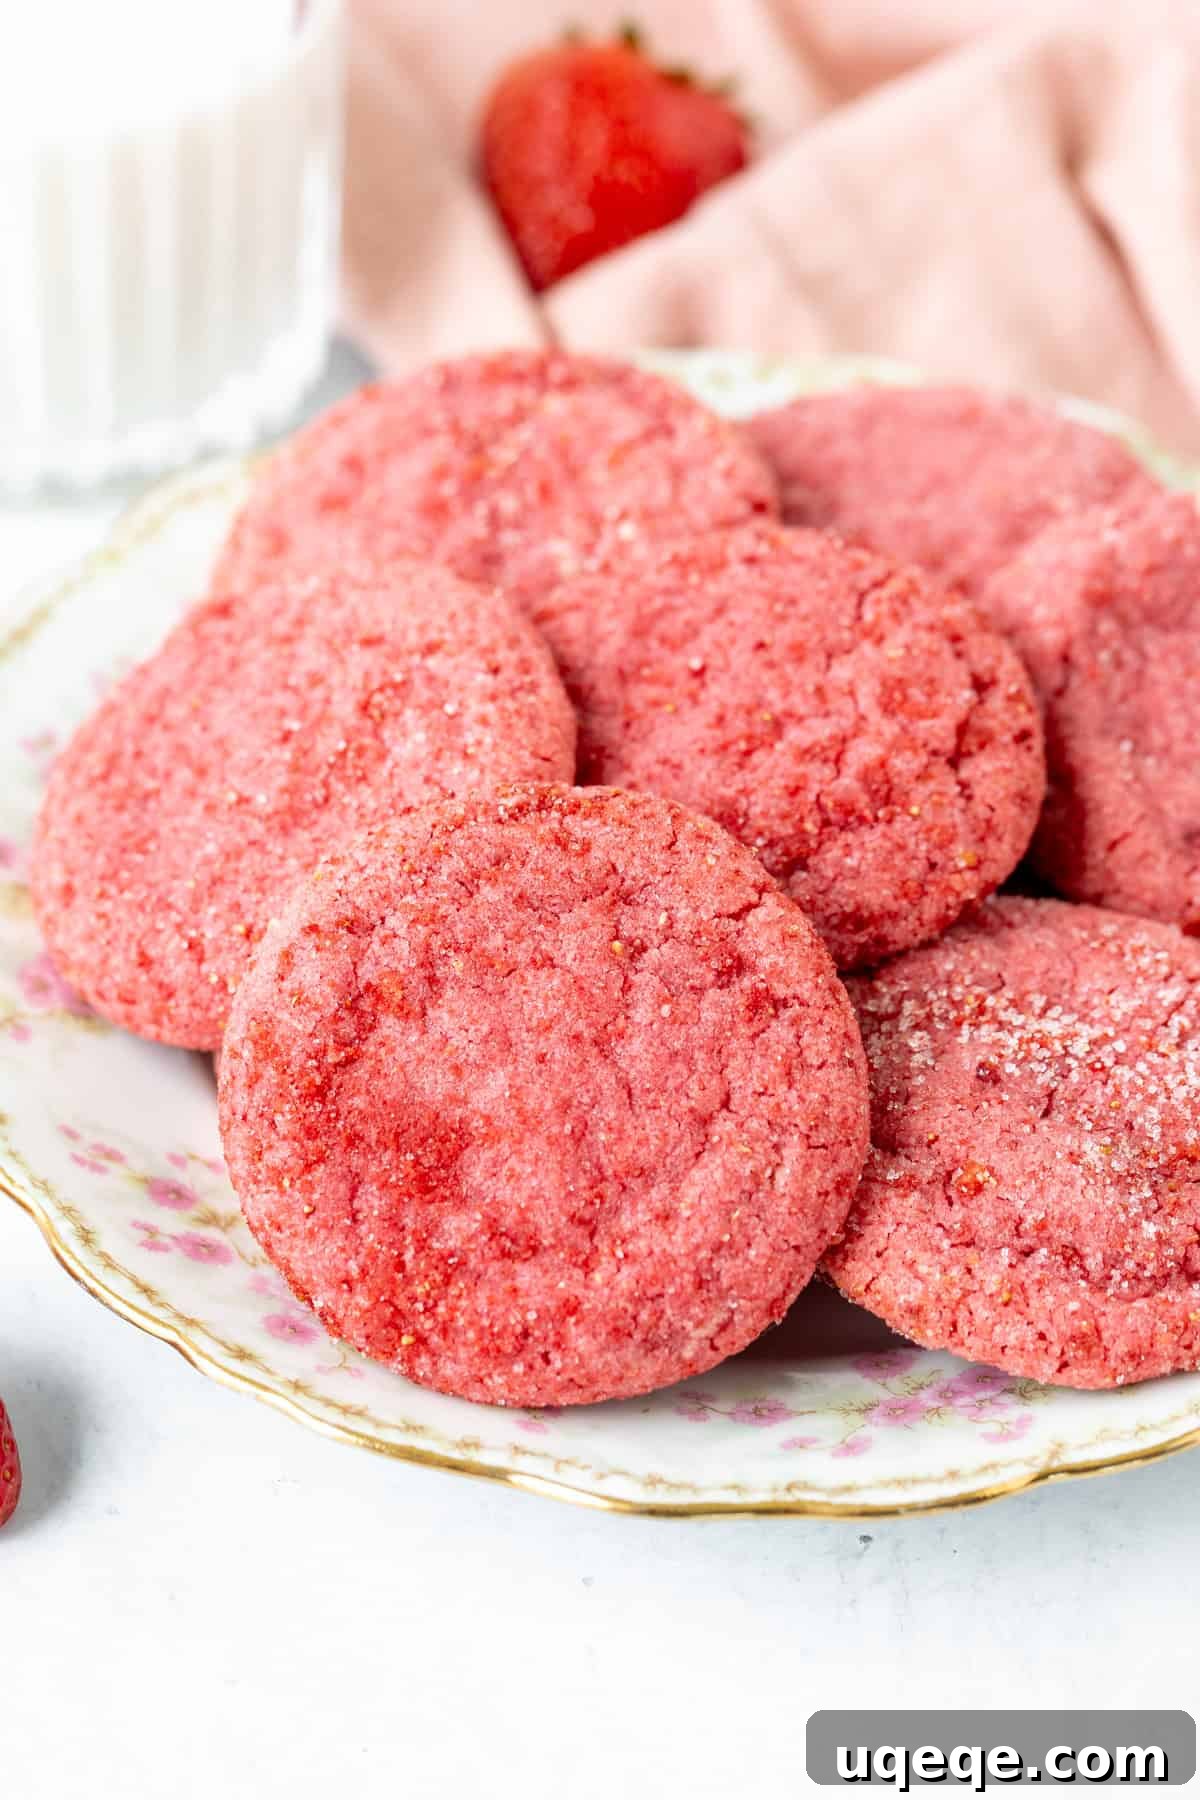
This particular strawberry sugar cookie recipe is designed as a rolled sugar cookie, distinguishing itself from traditional cut-out sugar cookies. It’s a cherished adaptation from our beloved recipe for irresistibly chewy sugar cookies, ensuring maximum tenderness and chewiness. Each cookie boasts a wonderfully tender interior, a satisfyingly crunchy sugar coating around the edges that adds textural contrast, a delicious, authentic strawberry flavor that truly pops, and a captivating, natural pink color. The beauty of this recipe lies not only in its exceptional taste but also in its simplicity and its reliance on genuine ingredients for an unparalleled baking experience.
Achieving Authentic Strawberry Flavor: The Secret to Superior Taste
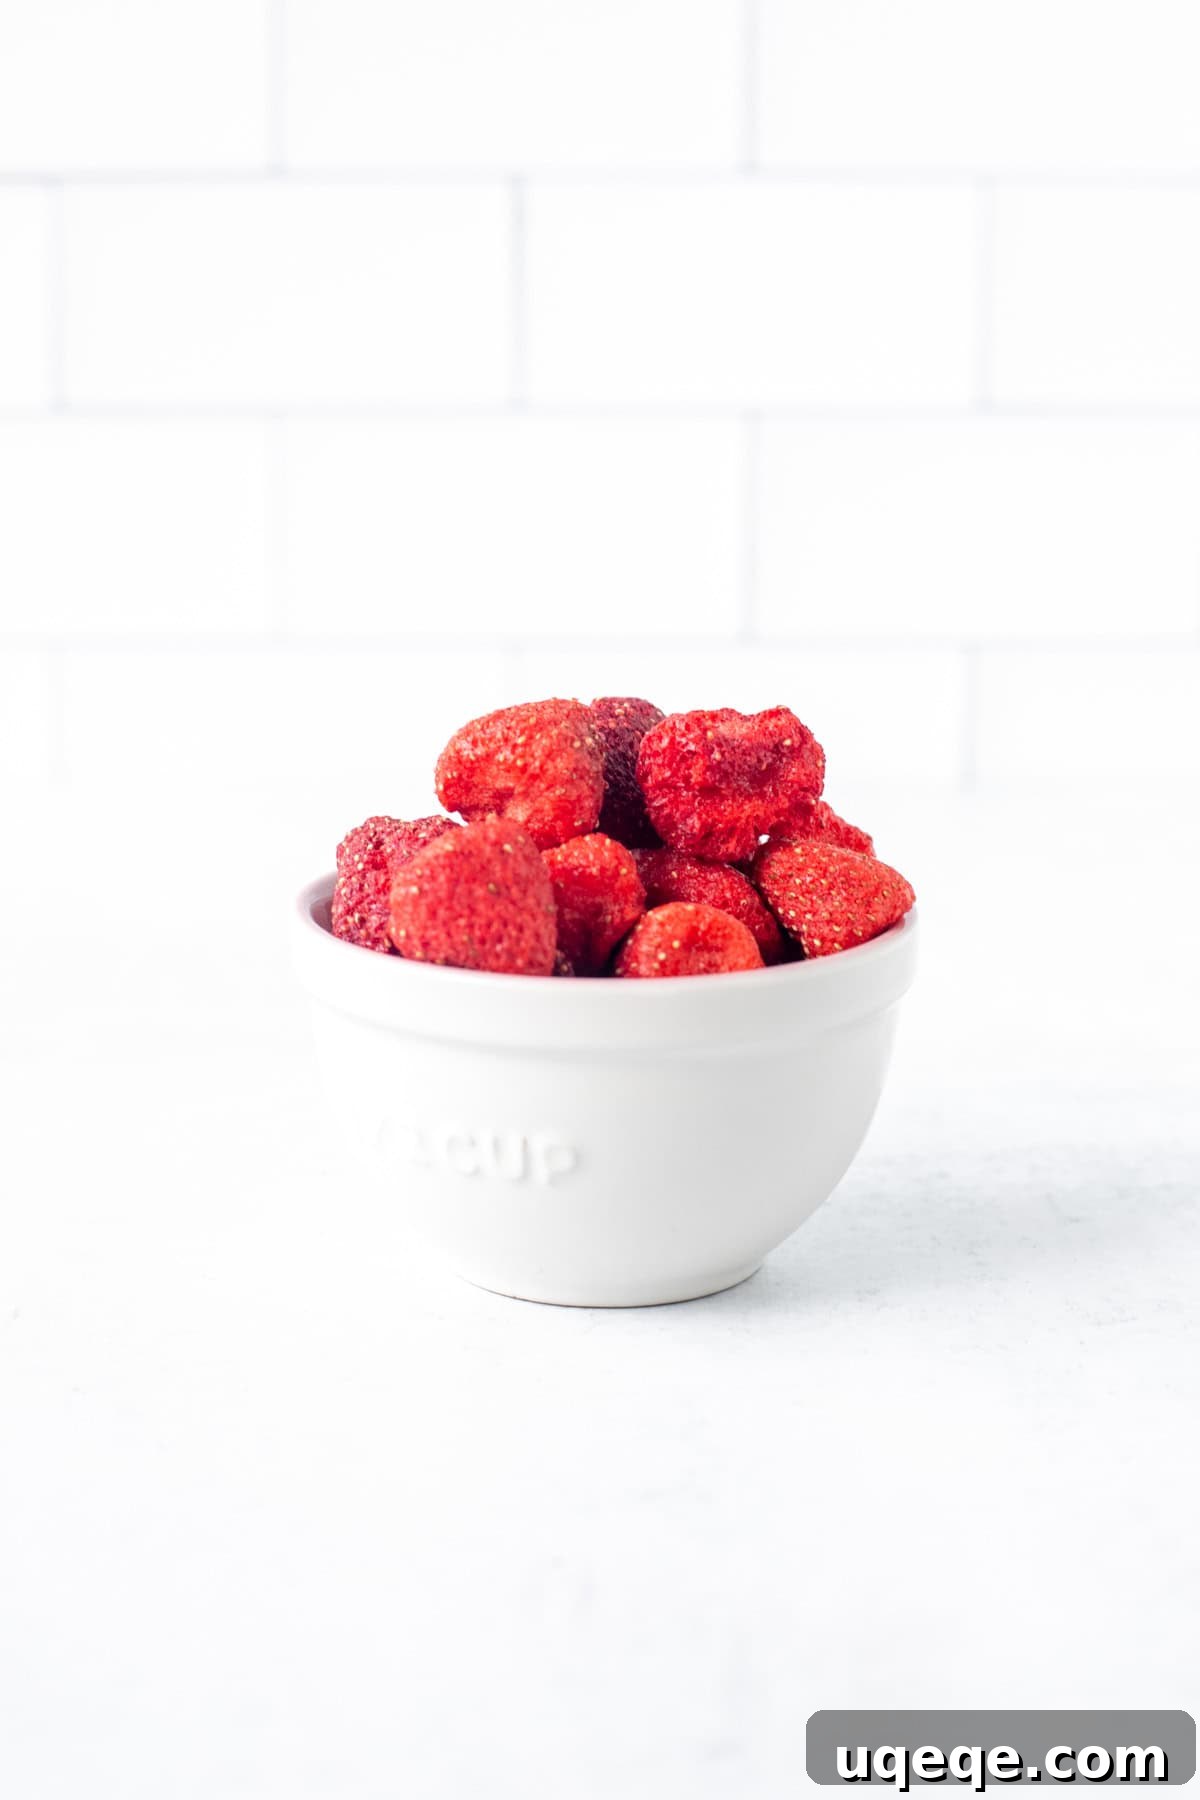
The hallmark of these exceptional cookies is their robust and genuine strawberry flavor, which comes directly from real berries. Unlike many recipes that might resort to artificial sources such as strawberry gelatin, synthetic flavorings, or even commercial cake mixes, our approach prioritizes authenticity. We’ve found that these common alternatives often fall short, either tasting overtly artificial or compromising the delicate texture of the cookie itself. Our meticulously tested secret to achieving this vibrant, natural taste and maintaining that perfect soft-and-chewy texture lies in one brilliant ingredient: **freeze-dried strawberries.**
Freeze-dried strawberries are a true marvel of modern food preservation. They are, in essence, actual strawberries that have undergone a specialized dehydration process, which meticulously removes all water content while preserving their essential taste, vivid aroma, and significant nutritional value. The result is a remarkably light, airy, and delicately crunchy berry that, when finely pulverized, transforms into an intensely concentrated flavor powder—an ideal ingredient for baking. This ingenious method allows us to infuse a profound and authentic strawberry essence directly into the cookie dough without introducing any excess moisture that could otherwise ruin the cookie’s delicate structure and desired chewiness.
Our culinary journey included extensive experimentation with various methods to incorporate strawberry flavor effectively. We rigorously tested approaches involving fresh strawberry purée, for instance. While fresh berries are undeniably delicious on their own, integrating them directly into cookie dough often introduces an undesirable amount of liquid. This surplus moisture inevitably leads to cookies with an altered, often disappointing, cake-like or muffin-top texture, rather than the distinctively soft, chewy consistency that defines a truly perfect sugar cookie. By intelligently utilizing freeze-dried berries, we skillfully bypass this common pitfall entirely. This guarantees that your cookies remain wonderfully soft and deliciously chewy, all while delivering an unmistakably real, bright berry flavor that will transport your taste buds back to the delightful essence of summer.
The strategic choice of freeze-dried strawberries ensures that your homemade strawberry sugar cookies not only burst with an authentically fruity taste but also consistently maintain their ideal soft and chewy texture. This innovative ingredient guarantees a superior strawberry flavor profile that no artificial additive can genuinely replicate, elevating these cookies from simple treats to a true culinary delight. You can typically find high-quality freeze-dried strawberries in the snack or dried fruit aisle of larger grocery stores, specialty food markets, or conveniently through various online retailers. While they might be a slightly more specialized ingredient, their profound contribution to the flavor and texture of these exquisite cookies makes them an investment in taste that is truly worth every effort.
Baking Delightful Strawberry Sugar Cookies: A Simple Step-by-Step Guide
Crafting these delectable strawberry sugar cookies is surprisingly straightforward and an absolute joy, especially since one of the most appealing aspects of this recipe is that there’s absolutely no need to chill the dough! This means you can get from mixing bowl to delicious cookie in a much shorter time, allowing you to savor these delightful treats even sooner. We’ve meticulously broken down each step with detailed instructions and helpful insights to ensure your baking process is smooth, enjoyable, and culminates in a batch of perfectly pink, soft, and chewy cookies that are simply irresistible.
- **Prepare Your Oven and Baking Sheets:** Start by preheating your oven to 350°F (180°C). As your oven comes to temperature, take the time to prepare your baking sheets. It is highly recommended to line them with either parchment paper or high-quality silicone baking mats. This crucial preparatory step is essential for preventing the cookie bottoms from over-browning, ensures an even bake across the batch, and facilitates effortless removal of the finished cookies from the sheet.
- **Pulverize the Freeze-Dried Strawberries:** This is where the magic truly begins! Carefully place your freeze-dried strawberries into a food processor or a high-speed blender. Pulse the berries until they are thoroughly transformed into a fine, vibrant pink powder. Precision is key at this stage, so accurately measure out exactly 1/3 cup of this intensely flavorful strawberry powder specifically for your cookie dough. Any remaining powder, typically about 1 to 2 tablespoons, should be set aside. This reserved powder will be later combined with sugar for rolling the cookie balls, adding an extra layer of strawberry goodness and a beautifully rustic finish.
- **Combine the Dry Ingredients:** In a medium-sized mixing bowl, take a whisk and thoroughly combine all your dry ingredients. This includes the all-purpose flour, cornstarch (which is commonly known as cornflour in the UK), baking powder, and a pinch of salt. Whisking ensures that all leavening agents and flavor enhancers are perfectly and evenly distributed throughout the mixture, leading to consistent results in every cookie.
- **The Importance of Cornstarch:** Adding a small amount of cornstarch might seem unconventional in a cookie recipe, but it plays a surprisingly vital role. It is the secret to achieving that signature extra soft and wonderfully chewy texture that makes these cookies so delightful. Cornstarch helps to tenderize the dough, effectively preventing the cookies from becoming overly crisp or dry, ensuring a tender bite every time.
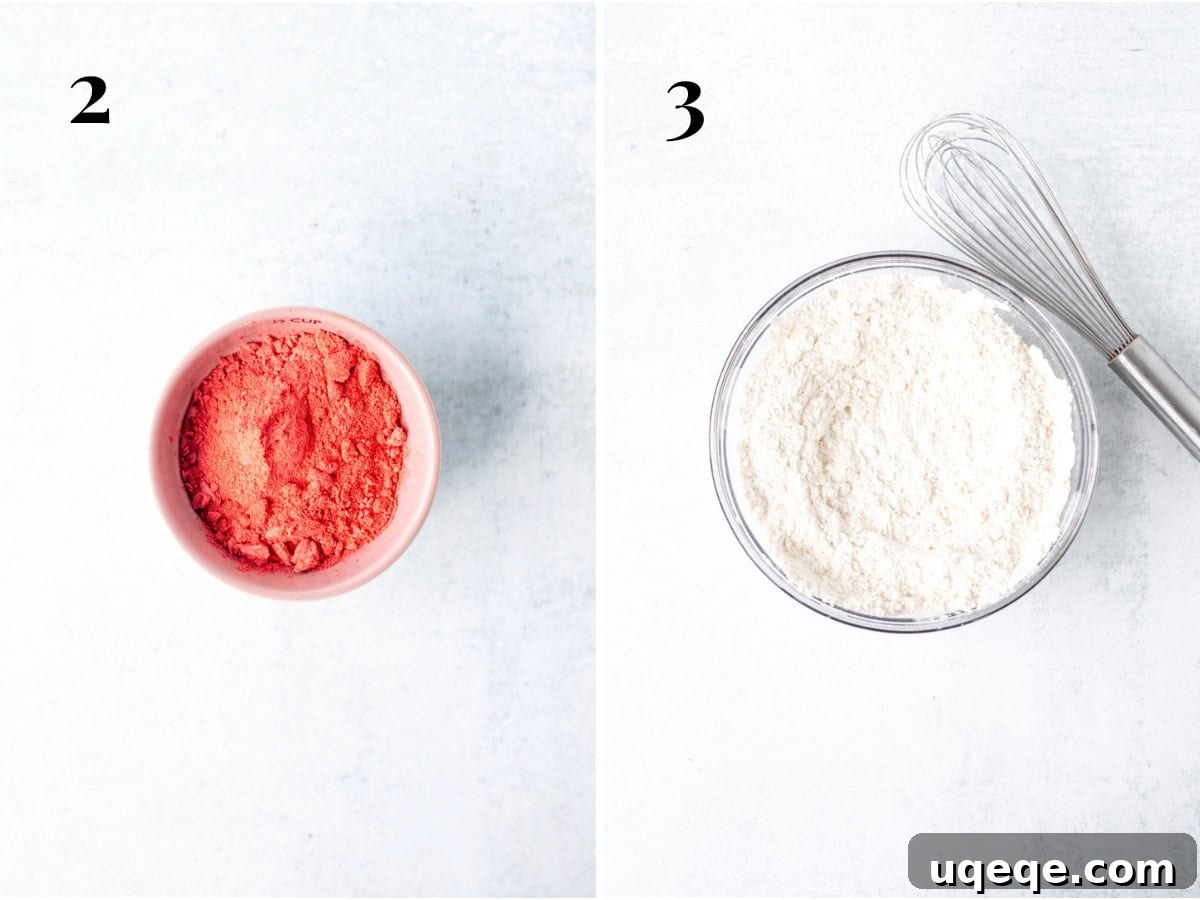
- **Cream the Wet Ingredients with Strawberry Powder:** In a large mixing bowl, using an electric mixer (either a stand mixer fitted with a paddle attachment or a handheld mixer), beat together the properly softened unsalted butter, the granulated sugar, and the previously measured 1/3 cup of pulverized freeze-dried strawberry powder. Continue beating until the mixture becomes light, fluffy, and thoroughly creamed. This crucial process typically takes about 2-3 minutes, ensuring a well-aerated base for your cookies.
- **Deep Flavor Infusion:** Beating the strawberry powder directly into the butter and sugar mixture at this stage is a critical technique. This intimate blending ensures that the intense strawberry flavor is deeply infused throughout every particle of the dough, maximizing its impact and creating a truly homogenous and delicious taste profile in the final cookie.
- **Incorporate Eggs, Vanilla, and Optional Color:** Next, mix in the large egg, the additional large egg yolk, and the vanilla extract into the now pink-hued butter mixture. Beat these ingredients until they are thoroughly combined, making sure to scrape down the sides of the bowl as needed to ensure everything is evenly incorporated. For an optional but highly recommended vibrant pink color, add a few drops of red food coloring at this stage, mixing until evenly dispersed.
- **The Role of the Extra Egg Yolk:** The single additional egg yolk contributes significantly to the cookies’ desired chewiness. The extra fat and emulsifiers naturally present in the yolk help to create a wonderfully tender crumb and a delightful, satisfying chew, effectively preventing your cookies from becoming dry or excessively crumbly.
- **Customizing Your Cookie Color:** If you desire a bold, vibrant pink hue, similar to the striking color of the cookies depicted in our photographs, we recommend using a few drops of concentrated gel red food coloring. For those who prefer a more subtle, delicate pale pink, you can certainly opt to skip the food coloring entirely. Rest assured, both versions are equally delicious and visually appealing!
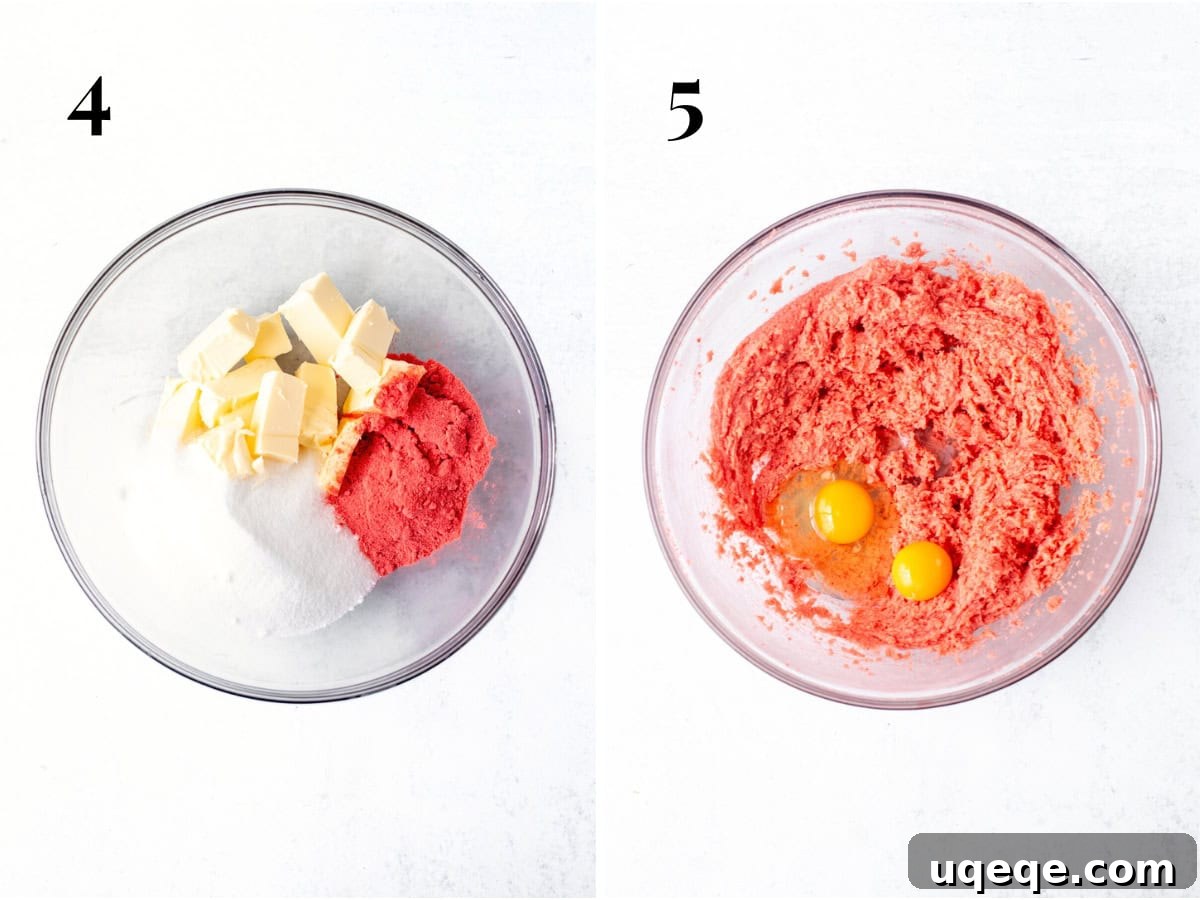
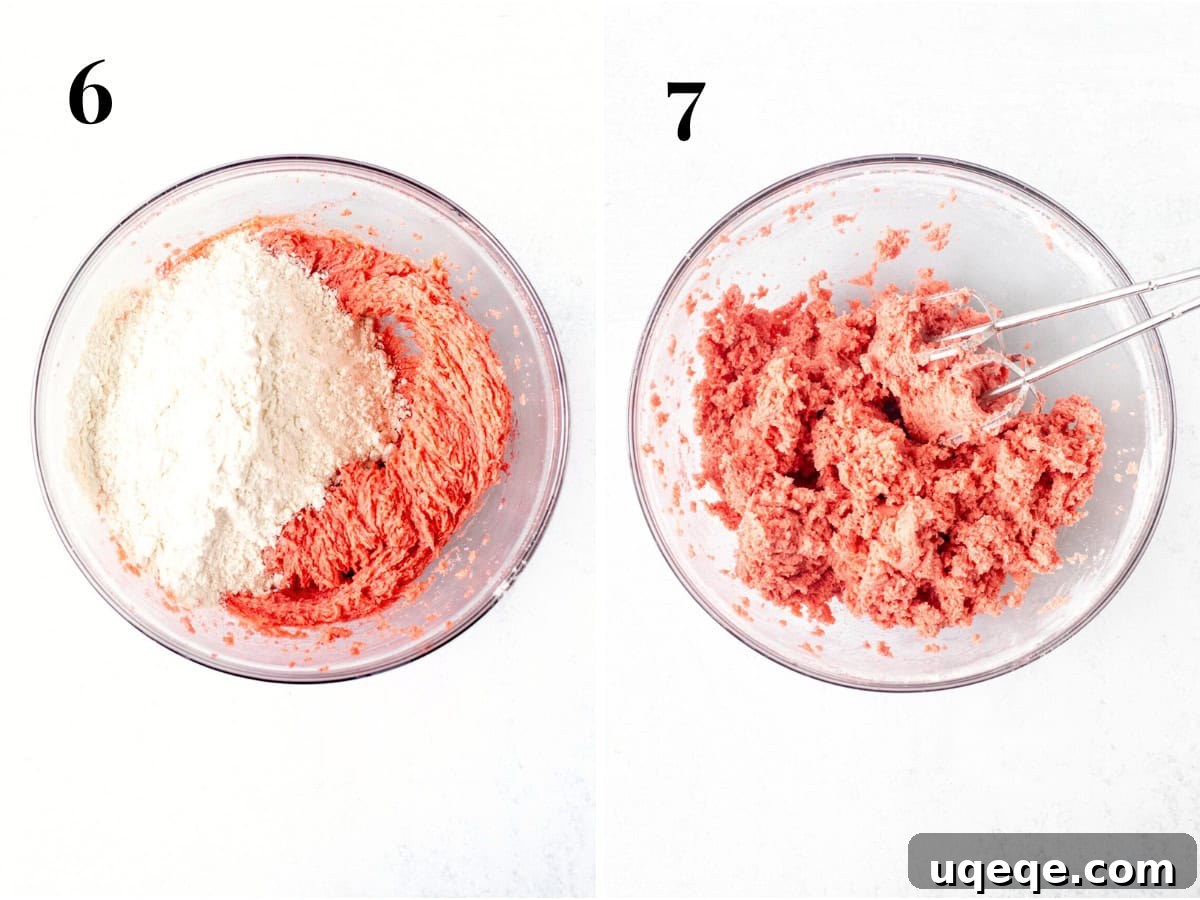
- **Gradually Fold in Dry Ingredients:** With your electric mixer set to the lowest speed, carefully and slowly add the whisked dry ingredient mixture into the wet strawberry butter mixture. Mix gently and incrementally until the dry ingredients are just combined and no streaks of flour remain visible. It is crucial to avoid overmixing at this stage, as excessive agitation can develop the gluten in the flour, which can unfortunately lead to tough, rather than tender, cookies.
- **A Pro Tip for Clean Baking:** Starting the mixer on a low speed when incorporating dry ingredients is a simple yet invaluable tip. This prevents an undesirable cloud of flour from erupting from your mixing bowl, helping to keep your kitchen cleaner and your baking experience significantly more pleasant and less messy.
- **Incorporate Milk and Check Dough Consistency:** Finally, mix in the milk until it is fully incorporated into the dough. Once mixed, perform a quick “dough squeeze test.” Take a small piece of the dough and gently squeeze it between your fingers. If it feels excessively sticky and adheres too much to your fingers, add an additional 1-2 tablespoons of flour, mixing until just combined. The dough should ultimately be soft and pliable but manageable, not overly sticky or dry.
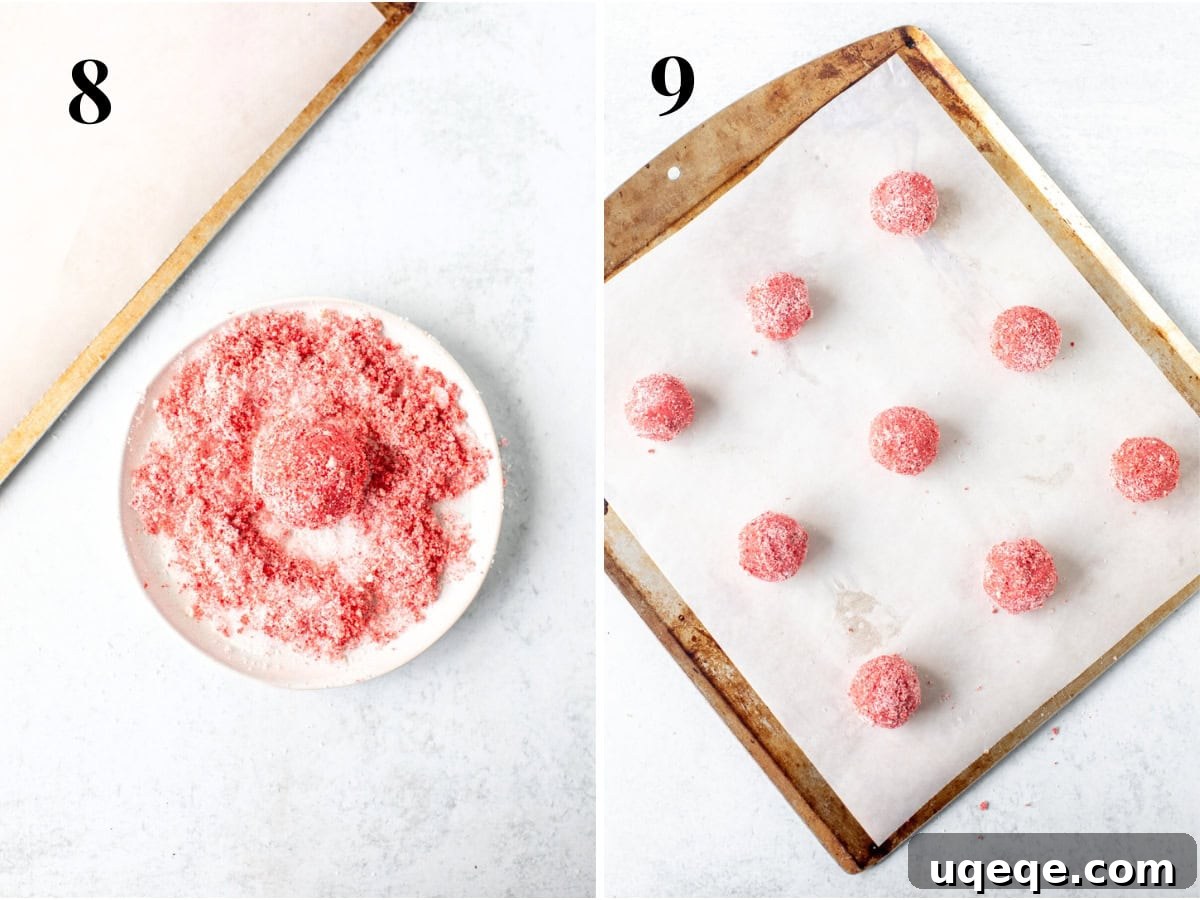
- **Roll and Coat the Cookie Balls:** On a small, shallow plate, combine the remaining pulverized freeze-dried berries (if you have any left from step 2; if not, plain granulated sugar is perfectly acceptable) with the 1/3 cup of granulated sugar specifically reserved for rolling. Using a cookie scoop (approximately 1 to 1.5 tablespoons of dough per scoop is ideal), portion the cookie dough into uniform balls. Each ball should be slightly smaller than a golf ball for consistent baking. Roll each dough ball generously in the strawberry sugar mixture until it is beautifully and thoroughly coated. This external sugar coating is what will create that delightful, sparkling, crunchy exterior when the cookies are baked.
- **Bake to Golden Perfection:** Carefully arrange the coated cookie dough balls about 2 inches apart on your prepared cookie sheets. For optimal results and to ensure even baking, it is highly recommended to bake one sheet at a time, positioning it in the middle rack of your preheated oven. The cookies will typically bake for approximately 9-11 minutes, or until their tops appear set and the edges are just barely starting to turn a light golden color. It is crucial to avoid overbaking, as this can compromise their signature soft and chewy texture. Once baked, remove them from the oven and let them cool on the baking sheet for a few minutes before carefully transferring them to a wire rack to cool completely.
Pro Tips for Crafting Your Perfect Strawberry Sugar Cookies
Mastering these delectable cookies is made even easier with a few insider tips and tricks:
- **Butter Temperature is Key:** Always ensure your unsalted butter is properly softened, but crucially, not melted. It should yield slightly when pressed with a finger but still retain its shape. This precise temperature is absolutely critical for achieving proper creaming with the sugar, which forms the foundation of your cookie’s texture.
- **Accurate Flour Measurement:** Precision in measuring flour is paramount for achieving soft, tender cookies and avoiding a dry or crumbly result. Always begin by whisking your flour thoroughly to aerate it, then gently spoon it into dry measuring cups, and finally, level off the top with a straight edge. For the utmost accuracy and consistent results, we highly recommend using a kitchen scale to measure your flour by grams.
- **Avoid Overmixing:** Once you introduce the dry ingredients into the wet mixture, it’s imperative to mix only until they are just combined and no streaks of flour are visible. Overmixing at this stage can rapidly develop the gluten in the flour, which unfortunately leads to tough, dense cookies rather than the desired tender, chewy ones.
- **Customizing Your Cookie Color:** The addition of red food coloring is entirely optional and serves purely aesthetic purposes. Without it, your cookies will still possess a lovely, subtle pale pink tint derived naturally from the strawberries. For those who desire a more vibrant, eye-catching pink hue, a few drops of concentrated gel food coloring will work wonders in achieving that striking color.
- **Freezing for Future Enjoyment:** These cookies are wonderfully suited for advance preparation! Once your cookie dough balls have been meticulously rolled in their delightful sugar coating, you can easily place them in a freezer-safe bag or an airtight container and freeze them for an impressive period of up to 2 months. When you’re ready to indulge, simply place the frozen dough balls directly onto a prepared baking sheet and bake them according to the recipe’s instructions (no need to thaw!). To prevent the dough balls from sticking together in the freezer, it’s a great practice to freeze them in a single layer on a tray first, and then transfer them to a storage bag once firm.
- **Optimal Storage:** To maintain their peak freshness, delightful chewiness, and overall quality, store your baked strawberry sugar cookies in an airtight container at room temperature for up to 4 days. For extended storage, they can also be frozen for up to 2 months, making them perfect for unexpected guests or a quick treat.
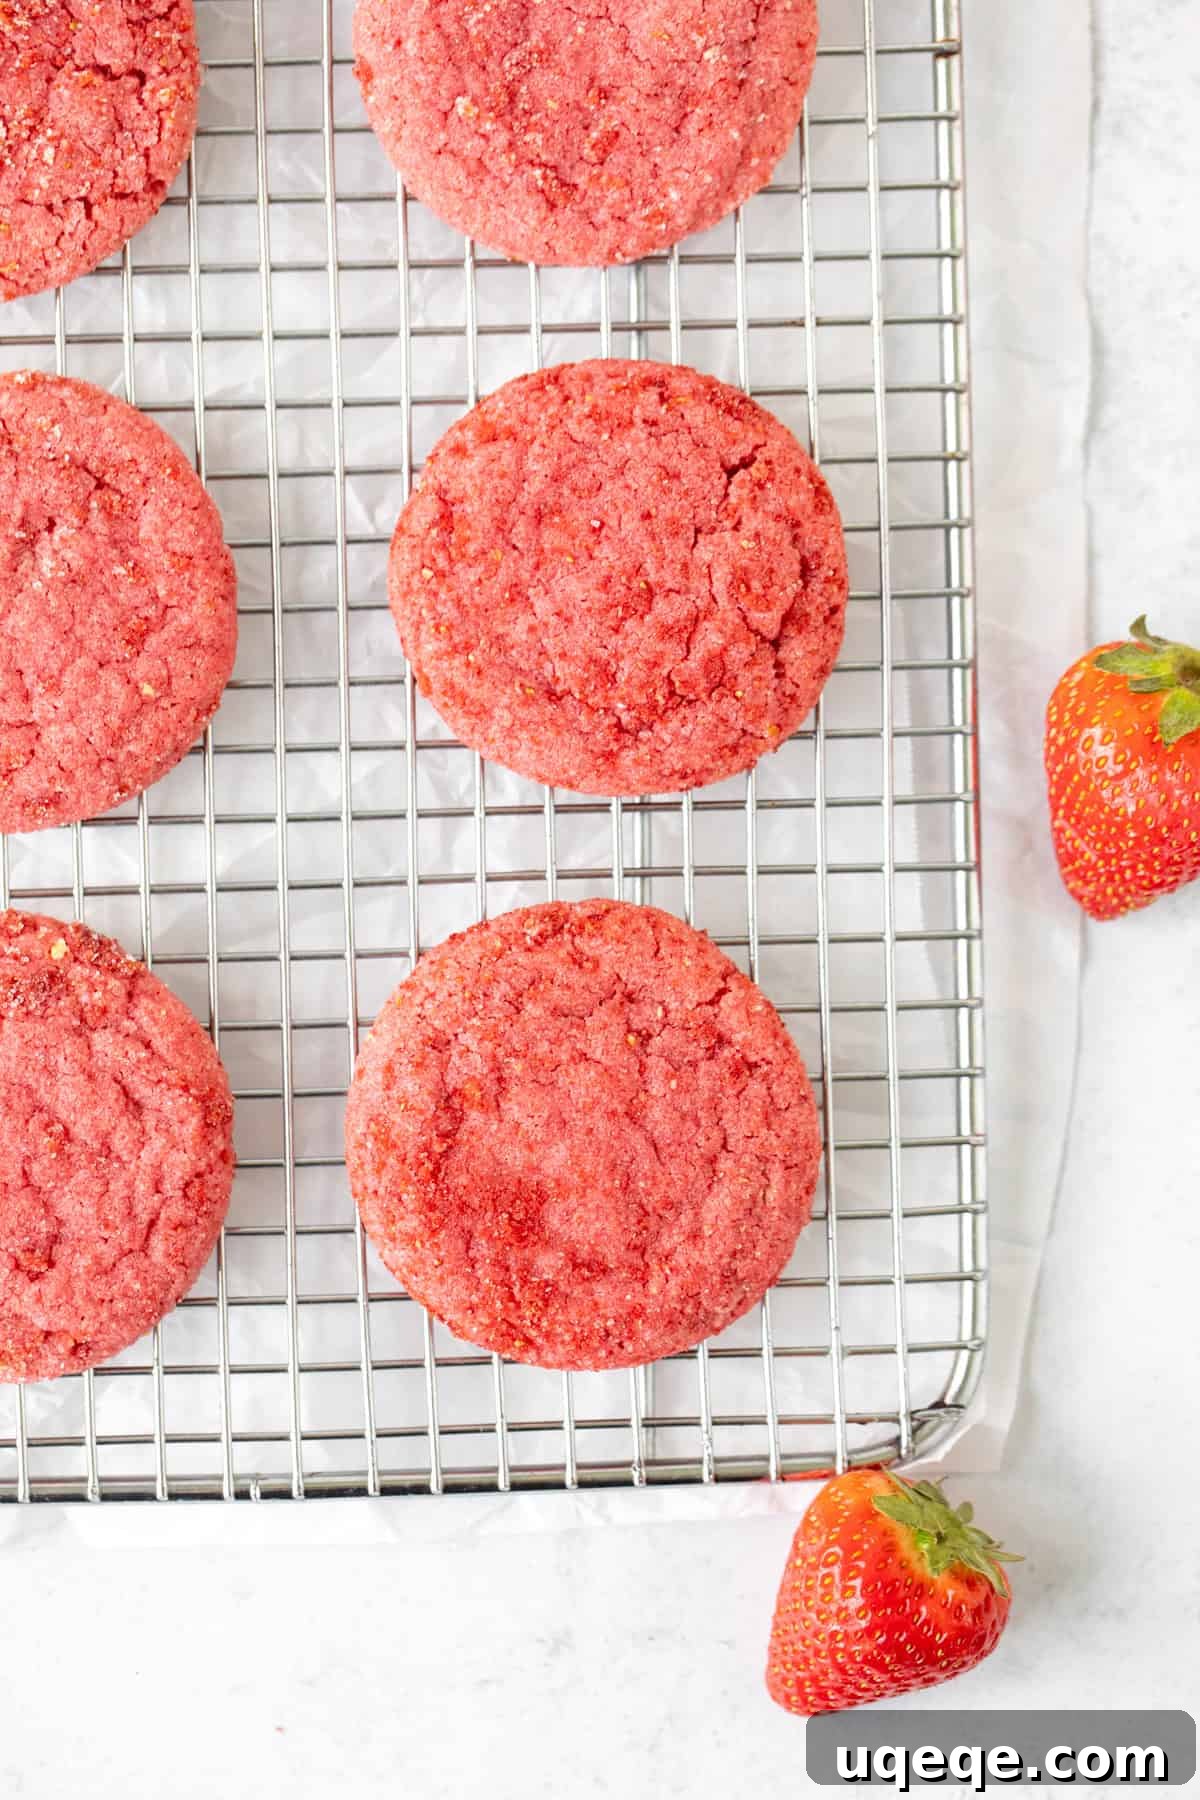
With their irresistible soft and chewy texture, vibrant real strawberry flavor, appealing crunchy sugar coating, and gorgeously captivating pink color, these homemade strawberry sugar cookies are much more than just a dessert—they are a genuine celebration in every single bite. They are truly the perfect pink cookie recipe, guaranteed to brighten any day, elevate any occasion, and delight every palate with their unparalleled taste and charm!
Explore More Pink & Strawberry Delights from Our Kitchen
If these delightful strawberry sugar cookies have truly ignited your passion for all things pink and strawberry in the world of desserts, then you are absolutely in luck! We are thrilled to share a carefully curated collection of other fantastic recipes that are guaranteed to satisfy your sweet cravings and add a touch of charming pink to your dessert table:
- Decadent Strawberry Layer Cake: A magnificent and showstopping cake, perfect for any grand celebration or special event, boasting layers of tender cake and luscious strawberry flavor.
- Refreshing Strawberry Shortcake Ice Cream Cake: This is the quintessential cool treat, brilliantly combining the beloved flavors and textures of both classic strawberry shortcake and a delightful ice cream cake.
- Fun Strawberry Rice Krispie Treats: An incredibly simple, fuss-free, and delightfully chewy no-bake classic, reimagined with a vibrant and fruity strawberry twist that kids and adults alike will adore.
- For an incredibly easy strawberry cookie option that requires minimal effort yet delivers maximum strawberry flavor, be sure to try these incredibly convenient Strawberry Cake Mix Cookies!
Strawberry Sugar Cookies
By: Fiona Dowling
These strawberry sugar cookies are soft and chewy with a delicious strawberry flavor and crunchy sugar coating. These cookies are the perfect pink treat!
- Prep Time: 30 minutes
- Cook Time: 10 minutes
- Total Time: 1 hour
- Yields: 32 cookies
Equipment
- Cookie Sheets
- Parchment paper or silicone baking mats
- Food Processor or High-Speed Blender
- Electric Mixer (Stand mixer with paddle attachment or a hand mixer)
- Large and Medium Mixing Bowls
- Cookie Scoop (optional, but highly recommended for uniform size)
- Wire Cooling Rack
Ingredients
- 2 ounces (58 grams) freeze-dried strawberries
- 2 1/4 cups (281 grams) all-purpose flour, measured carefully (whisk first, then spoon into dry measuring cups and level off)
- 2 teaspoons cornstarch (AKA cornflour in the UK)
- 1/2 teaspoon baking soda
- 1/4 teaspoon salt
- 1 cup (226 grams) unsalted butter, softened but not melted
- 1 1/4 cups (250 grams) granulated sugar
- 1 large egg
- 1 large egg yolk (discard the white)
- 1 teaspoon vanilla extract (clear vanilla extract can help maintain a brighter pink color)
- 2-4 drops red food coloring, optional (gel food coloring is recommended for vibrant color)
- 2 teaspoons milk (1%, 2%, or dairy-free works well)
- 1/3 cup (67 grams) granulated sugar, for rolling the cookies
Instructions
- Preheat your oven to 350°F (180°C). Line several cookie sheets with parchment paper or silicone baking mats to prevent sticking and ensure even baking.
- Add the entire quantity of freeze-dried strawberries to a food processor or high-speed blender. Pulse until they are ground into a very fine powder. Measure out precisely 1/3 cup of this strawberry powder for the cookie dough. Set aside any remaining powder (you should have about 1-2 tablespoons left) to mix with sugar for rolling the cookies later.
- In a medium bowl, thoroughly whisk together the all-purpose flour, cornstarch, baking soda, and salt. This ensures all dry ingredients are evenly distributed. Set this bowl aside.
- In a large mixing bowl, using an electric mixer, cream together the softened unsalted butter, 1 1/4 cups of granulated sugar, and the 1/3 cup of pulverized freeze-dried strawberries. Beat until the mixture is light, fluffy, and well-creamed, which typically takes about 2-3 minutes.
- Add the large egg, the additional large egg yolk, and the vanilla extract to the butter mixture. Beat until everything is thoroughly combined, scraping down the sides of the bowl as needed to ensure even incorporation. If you desire a vibrant pink color, add 2-4 drops of red food coloring (gel coloring yields the best results) and mix until the desired hue is achieved.
- With the mixer on a low speed, gradually add the reserved dry ingredients to the wet strawberry mixture. Mix gently until just combined and no visible streaks of flour remain. Be careful not to overmix the dough, as this can lead to tough cookies.
- Mix in the milk until fully incorporated. Perform a quick dough consistency check: take a small piece of dough and gently squeeze it between your fingers. If the dough feels excessively sticky and adheres to your fingers, mix in an additional 1-2 tablespoons of flour until it reaches a soft but manageable consistency.
- On a small plate, combine the 1/3 cup of granulated sugar with any remaining pulverized freeze-dried strawberry powder (if you used all the powder earlier, simply use 1/3 cup plain granulated sugar). Using a cookie scoop (approximately 1 to 1 1/2 tablespoons of dough per scoop), portion the cookie dough into uniform balls. Roll each dough ball generously in the strawberry sugar mixture until thoroughly coated.
- Place the coated cookie dough balls about 2 inches apart on your prepared cookie sheets. Bake one sheet at a time in the middle rack of your preheated oven for approximately 9-11 minutes. The cookies are ready when their tops appear set and the edges are just barely beginning to turn a light golden color. Avoid overbaking to maintain their soft and chewy texture.
- Once baked, remove the cookies from the oven and let them cool on the baking sheet for 5 minutes. After this initial cooling, carefully transfer them to a wire rack to cool completely before serving or storing.
Notes
- **Freeze Dried Strawberries are Essential:** To achieve the distinct flavor and desired texture, it is crucial to use freeze-dried strawberries. Substituting with fresh or frozen berries will introduce too much moisture, significantly altering the cookie’s consistency to a more cake-like texture.
- **Precise Flour Measurement:** Accurate flour measurement is key to preventing dry or dense cookies. Always whisk your flour first to aerate it, then spoon it into a dry measuring cup and level off the top with a straight edge. For the most consistent and accurate results, measuring flour by weight (281 grams) using a kitchen scale is highly recommended.
- **Food Coloring Option:** The addition of red food coloring is entirely optional and is used to achieve a more vibrant pink hue. Without it, the cookies will still have a beautiful, albeit paler, pink tint from the natural strawberries. Gel food coloring provides the best color intensity.
- **Freezing Instructions for Dough:** For convenience, cookie dough balls (already rolled in sugar) can be placed in a freezer-safe bag or airtight container and frozen for up to 2 months. When you’re ready to bake, place them directly from the freezer onto a prepared baking sheet and bake as directed in the recipe. Freezing them in a single layer on a tray first helps prevent them from sticking together.
- **Storage:** Store baked strawberry sugar cookies in an airtight container at room temperature for up to 4 days to maintain their optimal freshness, softness, and chewiness.
- **Nutrition Estimate:** The nutritional details provided are an estimate only and are based on the assumption that the recipe yields 32 uniform cookies. These figures should be used as a general guide.
Nutrition (Per Cookie Estimate)
- Calories: 133 kcal
- Carbohydrates: 18g
- Protein: 1g
- Fat: 6g
- Saturated Fat: 4g
- Polyunsaturated Fat: 0.3g
- Monounsaturated Fat: 2g
- Trans Fat: 0.2g
- Cholesterol: 27mg
- Sodium: 39mg
- Potassium: 38mg
- Fiber: 0.4g
- Sugar: 11g
- Vitamin A: 194 IU
- Vitamin C: 22mg
- Calcium: 5mg
- Iron: 1mg
Loved this recipe? We’d be delighted to hear from you! Please share your thoughts and rate it below. Your valuable feedback not only inspires us but also helps us continue to create and share more delicious content for your baking pleasure. Thank you for being a part of our culinary journey!