
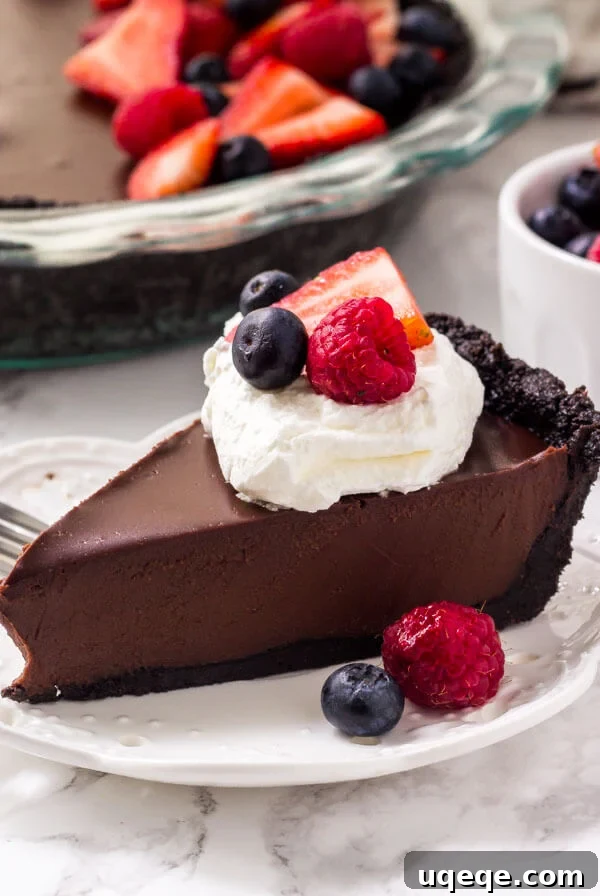
Irresistibly Decadent No-Bake Chocolate Pie with Oreo Crust
Craving an intensely rich, incredibly fudgy chocolate dessert that requires absolutely no oven time? Look no further than this sensational No-Bake Chocolate Pie. This recipe delivers a gourmet experience with minimal effort, making it the ultimate treat for any chocolate aficionado. Imagine sinking your teeth into a slice of pure chocolate bliss – a perfectly crumbly Oreo crust cradling a velvety-smooth, extra-creamy chocolate ganache filling. Topped with a dollop of fluffy whipped cream and vibrant fresh berries, it’s a show-stopping dessert that’s as beautiful as it is delicious. Forget complex baking techniques; this no-bake wonder is designed for true chocolate lovers who appreciate both decadence and simplicity.
Whether you’re hosting a dinner party, planning a special family gathering, or simply want to indulge in a luxurious dessert without the hassle, this easy no-bake chocolate pie is your perfect solution. Its rich flavor and silky texture are reminiscent of the finest chocolate truffles, yet it comes together with just a handful of common ingredients and straightforward steps. Prepare to impress everyone with this deceptively simple yet profoundly satisfying dessert.
Why You’ll Adore This No-Bake Chocolate Pie
There’s a reason why no-bake desserts, especially chocolate pies, are perennial favorites. This particular recipe elevates the classic to new heights, offering several compelling reasons to make it your go-to:
- Effortless Elegance: With no baking required, this pie is perfect for summer days, busy schedules, or when you just don’t want to heat up your kitchen. Its simplicity belies its sophisticated taste and appearance.
- Unmatched Decadence: This isn’t just a chocolate pie; it’s a celebration of dark chocolate. The combination of high-quality dark and milk chocolate, butter, and cream creates a ganache filling that is unbelievably rich, fudgy, and melts in your mouth.
- Silky Smooth Texture: Thanks to the precise ratio of ingredients and the clever addition of corn syrup, the filling sets into an incredibly smooth, almost mousse-like consistency that’s pure luxury.
- Perfect Oreo Crust: The classic Oreo crust provides a delightful contrast in texture and flavor, offering a slightly salty, perfectly sweet base that complements the rich chocolate filling beautifully.
- Customizable and Versatile: While phenomenal on its own, this pie serves as a fantastic canvas for various toppings and flavor variations, allowing you to tailor it to any occasion or preference.
- Impressive Yet Simple: Guests will be convinced you spent hours in the kitchen, when in reality, the active prep time is remarkably short. It’s the ultimate dessert for making a big impact with minimal fuss.
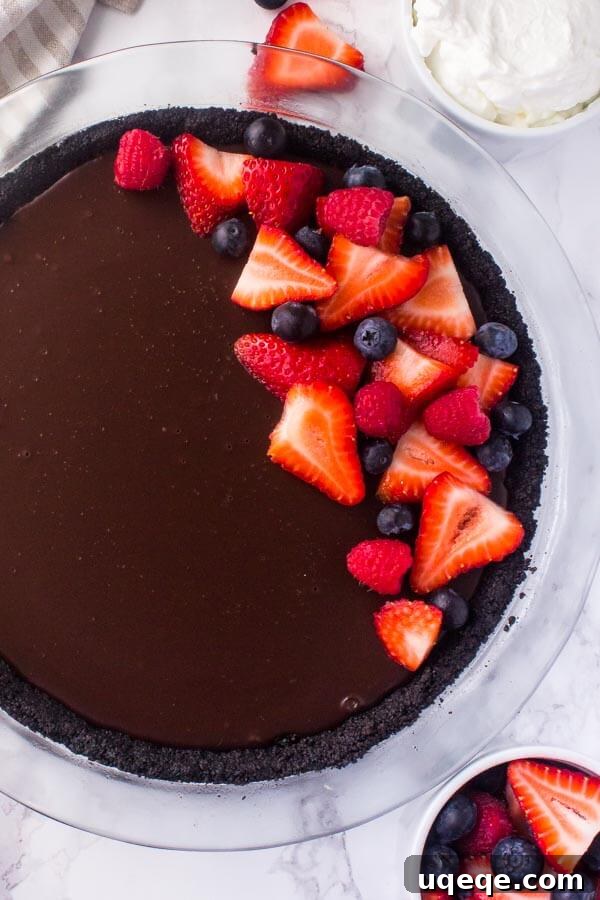
Key Ingredients for the Ultimate No-Bake Chocolate Pie
The beauty of this decadent chocolate pie lies in its reliance on a few high-quality ingredients. Choosing the right components is crucial for achieving that signature rich flavor and sublime texture.
- Oreo Cookies: These iconic chocolate sandwich cookies are the star of our no-bake crust. You’ll use both the chocolate wafers and the creamy filling, which helps bind the crust together and adds to its delightful flavor.
- Unsalted Butter: Butter plays a dual role in this recipe. It’s essential for binding the Oreo crumbs into a firm crust and is also incorporated into the chocolate filling to give it richness and a smooth consistency. Always use real butter for the best results; margarine can interfere with the setting of the ganache.
- Dark Chocolate (50%-80% Cocoa): This is where the pie gets its deep, intense chocolate flavor. I highly recommend using a high-quality dark chocolate bar, typically with 70% cocoa for a balanced richness. However, anything between 50% and 80% will work beautifully. The higher the cocoa percentage, the more intense and less sweet your pie will be. Avoid chocolate chips as they contain stabilizers that can prevent a smooth melt, resulting in a lumpy ganache. Brands like Callebaut or Lindt chocolate bars are excellent choices.
- Milk Chocolate: A touch of milk chocolate balances the intensity of the dark chocolate, adding a subtle sweetness and creaminess to the ganache, making it approachable even for those who prefer a slightly less bitter chocolate experience.
- Corn Syrup: Don’t skip this ingredient! Just a tablespoon of corn syrup is a game-changer. It acts as an invert sugar, preventing crystallization and creating an extra-smooth, glossy ganache filling that’s visually stunning and perfectly textured.
- Heavy Cream (33-35% MF): High-fat heavy cream is fundamental for creating a stable and luxurious ganache. The fat content is crucial for the emulsification process, ensuring your filling is silky, rich, and sets properly.
Crafting Your Decadent No-Bake Chocolate Pie: A Step-by-Step Guide
Making this no-bake chocolate pie is surprisingly simple, broken down into two main stages: preparing the crust and crafting the filling. Follow these detailed steps to ensure a perfect result every time.
Preparing the Oreo Crust
The foundation of this pie is a classic Oreo crust – simple to make and irresistibly delicious.
- Crush the Oreos: Begin by crushing the entire package of Oreo cookies (wafers and filling) until they resemble fine crumbs. You can easily do this in a food processor or blender for a consistent texture. Alternatively, place the cookies in a sturdy Ziploc bag and use a rolling pin to bash them into fine crumbs. Ensure there are no large chunks left.
- Combine with Butter: In a medium bowl, combine the finely crushed Oreo crumbs with 6 tablespoons of melted unsalted butter. Mix thoroughly until the crumbs are evenly moistened and resemble wet sand.
- Press into Pie Plate: Transfer the buttery cookie mixture into a 9-inch pie plate. Using the back of a spoon or your clean fingers, firmly press the mixture into the bottom and evenly up the sides of the pie plate. A flat-bottomed measuring cup can also help create a compact and even crust.
- Chill the Crust: Place the prepared pie crust into the freezer while you prepare the chocolate filling. This step helps the crust firm up and prevents it from becoming soggy when the warm ganache is poured in.
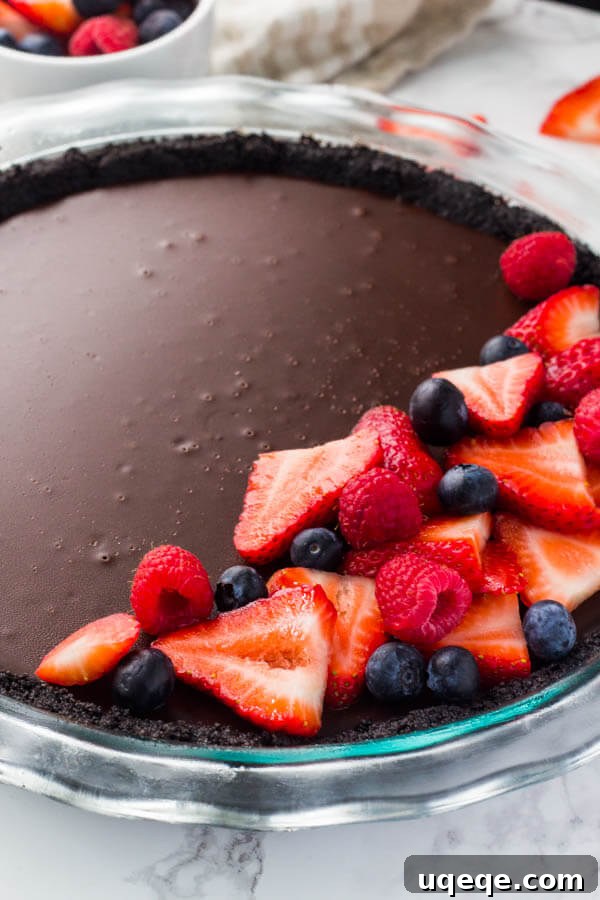
Creating the Silky Chocolate Ganache Filling
The heart of this pie is its rich, fudgy, and incredibly smooth chocolate ganache. Precision is key here for the perfect texture.
- Prepare Chocolate Mixture: Finely chop both the dark and milk chocolate bars into small, uniform pieces. This ensures they melt quickly and evenly. Place the chopped chocolate in a large, heatproof bowl, along with 6 tablespoons of unsalted butter (cut into small pieces) and 1 tablespoon of corn syrup.
- Heat the Cream: Pour 1 3/4 cups of heavy cream into a medium saucepan. Heat the cream over medium-low heat until it just begins to gently simmer around the edges. Do not let it come to a rolling boil.
- Combine and Steep: Once the cream is simmering, immediately remove it from the heat. Carefully pour the hot cream over the chocolate, butter, and corn syrup mixture in the heatproof bowl.
- Rest and Whisk: Do not stir immediately! Cover the bowl tightly with clingfilm and let it stand undisturbed for exactly 3 minutes. This allows the residual heat from the cream to melt the chocolate and butter thoroughly. After 3 minutes, remove the clingfilm and begin whisking the mixture gently from the center outwards. Continue whisking until the ganache is completely smooth, glossy, and no longer appears milky or streaky. It should be a uniform, rich chocolate color.
Assembling and Chilling Your Pie
The final steps bring everything together, leading to a perfectly set and ready-to-enjoy dessert.
- Pour the Filling: Carefully retrieve the chilled Oreo crust from the freezer. Pour the warm, silky chocolate ganache filling evenly into the crust. Gently tap the pie plate a few times on the counter to release any air bubbles and ensure a smooth, even surface.
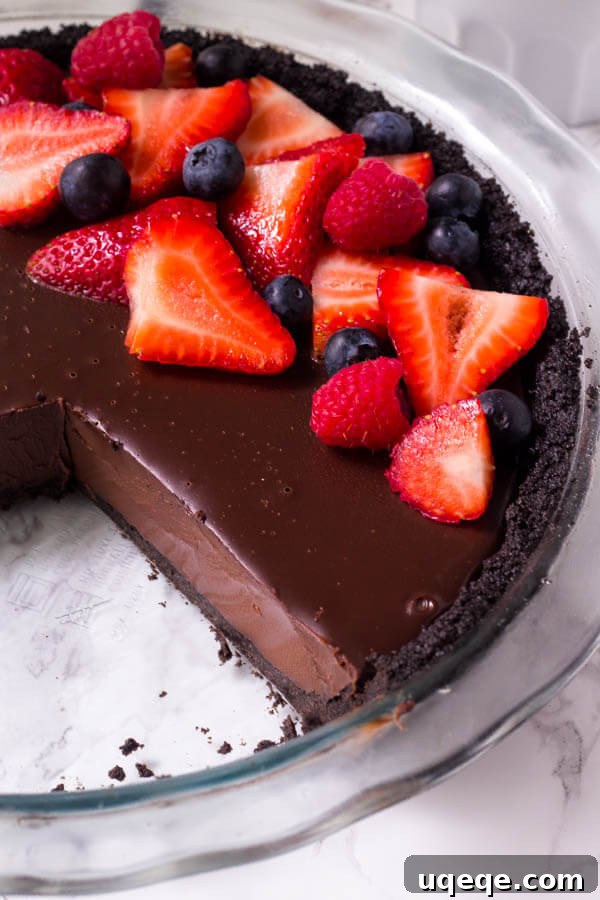
- Chill to Perfection: Place the assembled pie into the refrigerator. Allow it to chill for at least 2 hours, or ideally overnight, to allow the ganache to firm up completely. This chilling time is essential for achieving the perfect fudgy consistency and clean slices.
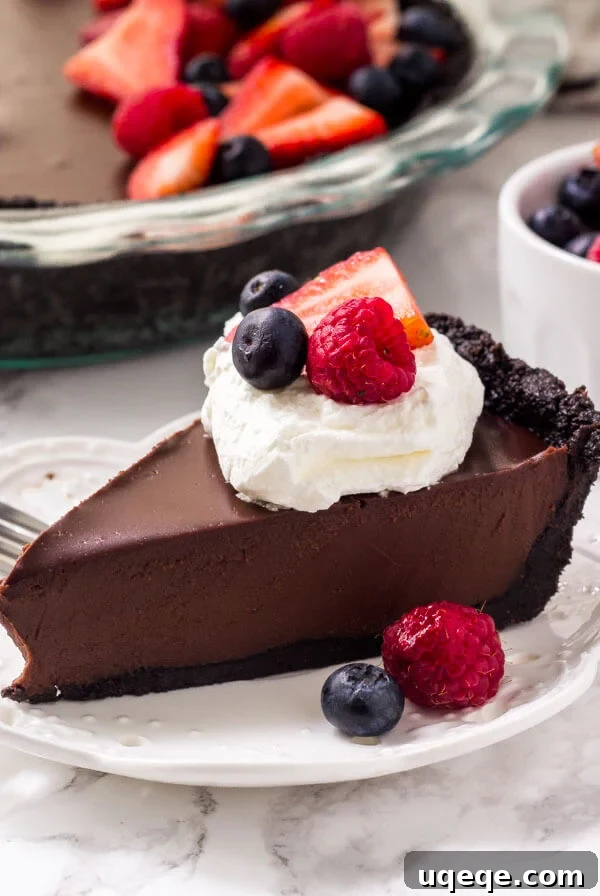
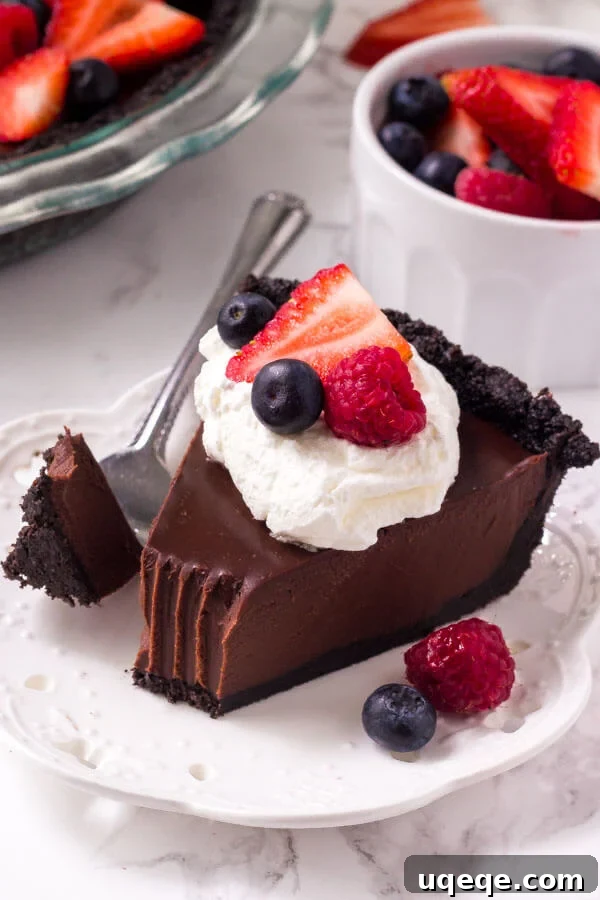
- Garnish and Serve: Once fully chilled, this pie is ready to be transformed into a dessert masterpiece. I love to adorn each slice with a generous dollop of freshly whipped cream and a scattering of fresh berries for a burst of color and tartness. However, it’s equally delicious served plain, or with a drizzle of salted caramel sauce and a sprinkle of flaky sea salt for an extra touch of gourmet sophistication.
Expert Tips for a Flawless No-Bake Chocolate Pie
While this recipe is straightforward, a few expert tips can elevate your no-bake chocolate pie from great to absolutely extraordinary.
- Quality Chocolate is Non-Negotiable: Since chocolate is the dominant flavor, its quality directly impacts the final taste. Invest in good-quality dark chocolate bars (like Callebaut or Lindt). Avoid waxy, overly sweet, or low-quality chocolate.
- Say No to Chocolate Chips: I cannot stress this enough – do not use chocolate chips for the ganache filling. Chocolate chips contain stabilizers (such as lecithin) that prevent them from melting smoothly. Using them will likely result in a grainy or lumpy ganache, rather than the desired silky texture. Always opt for chopped chocolate bars.
- Finely Chop Your Chocolate: Small, uniform pieces of chocolate will melt more evenly and quickly when the hot cream is poured over them, helping to create a perfectly smooth ganache.
- Troubleshooting Lumpy Ganache: If, after whisking, your ganache still appears lumpy or hasn’t fully emulsified (looks separated or milky), don’t panic! You can fix it using a double boiler. Place the bowl of ganache over a saucepan with about 1/2 inch of simmering water (ensure the bottom of the bowl does not touch the water). Gently whisk the mixture continuously until it becomes smooth and homogenous. This gentle heat will help everything melt and combine properly.
- Patience with Chilling: While 2 hours is the minimum, an overnight chill in the refrigerator yields the best results. This allows the ganache to fully firm up and develop its fudgy texture, making it easier to slice cleanly.
- Achieving Perfect Slices: For presentation-worthy slices, warm your knife before each cut. Dip a sharp knife into a tall glass of hot water, wipe it dry, and then make your slice. Repeat for each piece. The warm blade will glide through the rich ganache, creating clean, sharp edges.
- Bring to Room Temperature (Slightly): If your pie has been chilling overnight, take it out of the fridge about 20-30 minutes before serving. This slight warming allows the ganache to soften just a bit, enhancing its creamy texture and making it even easier to slice and enjoy.
Serving Your Masterpiece
Once your no-bake chocolate pie is perfectly chilled and ready, the serving possibilities are endless. Its intense chocolate flavor pairs beautifully with a variety of accompaniments.
- Classic Whipped Cream: A cloud of freshly whipped cream adds a delightful lightness and contrasts beautifully with the rich ganache.
- Fresh Berries: Strawberries, raspberries, or blueberries provide a burst of fresh, tart flavor and vibrant color, cutting through the richness of the chocolate.
- Salted Caramel Drizzle: For an extra layer of decadence, a drizzle of homemade or store-bought salted caramel sauce takes this pie to a whole new level. A tiny sprinkle of flaky sea salt on top can enhance all the flavors.
- Chocolate Shavings: A simple garnish of chocolate shavings adds a touch of elegance and extra chocolatey goodness.
- Espresso Dusting: A light dusting of cocoa powder or espresso powder can deepen the chocolate flavor and add a subtle bitterness.
This pie is an ideal dessert for dinner parties, holidays, or any occasion where you want to serve something truly special without the stress of baking. Its deep, complex flavor and luxurious texture will leave a lasting impression.
Variations to Explore
While the classic recipe is perfect as is, you can easily customize this no-bake chocolate pie to suit your taste or occasion:
- Coffee Infusion: Add 1-2 teaspoons of instant espresso powder to the heavy cream as it heats for a rich mocha flavor that perfectly complements the chocolate.
- Mint Chocolate: Stir in a few drops of peppermint extract to the ganache once it’s whisked smooth for a refreshing mint chocolate pie.
- Spiced Chocolate: A pinch of cayenne pepper or a dash of cinnamon can add a subtle, warming kick to the chocolate filling.
- Nutty Twist: For the crust, try adding 1/4 cup of finely chopped toasted pecans or almonds to the Oreo crumbs. Or sprinkle chopped nuts on top of the finished pie.
- Different Crusts: While Oreos are classic, you could experiment with a graham cracker crust or even a crushed shortbread cookie crust for a different flavor profile.
No Bake Chocolate Pie Recipe
This no-bake chocolate pie is rich, fudgy, and seriously delicious. The crust is no bake and made with Oreo cookies. Then the filling is a chocolate ganache that’s silky smooth.
Prep time: 20 minutes
Chill time: 2 hours
Total time: 20 minutes (active prep)
Servings: 12 slices
Ingredients
Oreo Crust
- 25 Oreo cookies (wafers and filling)
- 6 tablespoons unsalted butter, melted
Chocolate Filling
- 10 oz dark chocolate (50-80% cocoa), finely chopped
- 6 oz milk chocolate, finely chopped
- 6 tablespoons unsalted butter, cut into 6 pieces
- 1 tablespoon corn syrup
- 1 3/4 cups heavy cream (33-35% MF)
Instructions
Oreo Crust
- Crush the Oreos completely in a food processor or by placing them in a Ziploc bag and bashing with a rolling pin until fine crumbs form.
- Mix the crushed cookies with the melted butter until well combined.
- Press the mixture firmly into the bottom and up the sides of a 9-inch pie plate.
- Place the crust in the freezer to chill while you prepare the filling.
Chocolate Filling
- Place the finely chopped dark chocolate, milk chocolate, butter pieces, and corn syrup in a large heatproof bowl.
- In a medium saucepan, heat the heavy cream over medium-low heat until it just begins to gently simmer around the edges. Do not let it boil vigorously.
- Remove the cream from the heat and immediately pour it over the chocolate mixture in the bowl.
- Cover the bowl tightly with clingfilm and let it stand undisturbed for 3 minutes to allow the chocolate and butter to melt.
- After 3 minutes, remove the clingfilm and whisk the mixture from the center outwards until it is completely smooth, glossy, and uniform in color. Ensure no milky streaks remain.
- Retrieve the chilled Oreo crust from the freezer and carefully pour the chocolate filling into it. Gently tap the pie plate on the counter to settle the filling.
- Place the pie in the refrigerator to chill for at least 2 hours, or ideally overnight, until firm.
- Before serving, you can remove the pie from the fridge about 20 minutes beforehand to allow it to soften slightly for easier slicing.
- Serve with your favorite toppings, such as whipped cream and fresh berries.
Notes
- For the cleanest slices, dip a sharp knife in hot water and wipe it dry before each cut.
- This pie freezes exceptionally well. Wrap it tightly in plastic wrap and then foil, and store in the freezer for up to one month. Thaw overnight in the refrigerator before serving.
Nutrition (per serving): Approximately 476 kcal
Conclusion
This No-Bake Chocolate Pie with an Oreo Crust is more than just a dessert; it’s an experience. Its rich, fudgy texture, deep chocolate flavor, and effortless preparation make it a true crowd-pleaser and a perfect choice for any occasion. Whether you’re a seasoned baker or a kitchen novice, this recipe guarantees a dessert that looks and tastes like it came from a gourmet patisserie. So, go ahead, treat yourself and your loved ones to this ultimate chocolate delight. You’ll find yourself returning to this recipe again and again for its sheer simplicity and unparalleled deliciousness. Enjoy every single decadent bite!
For more easy and delicious pie recipes, be sure to try these:
- No Bake Peanut Butter Pie
- Fudge Brownie Pie
- No Bake Key Lime Pie