
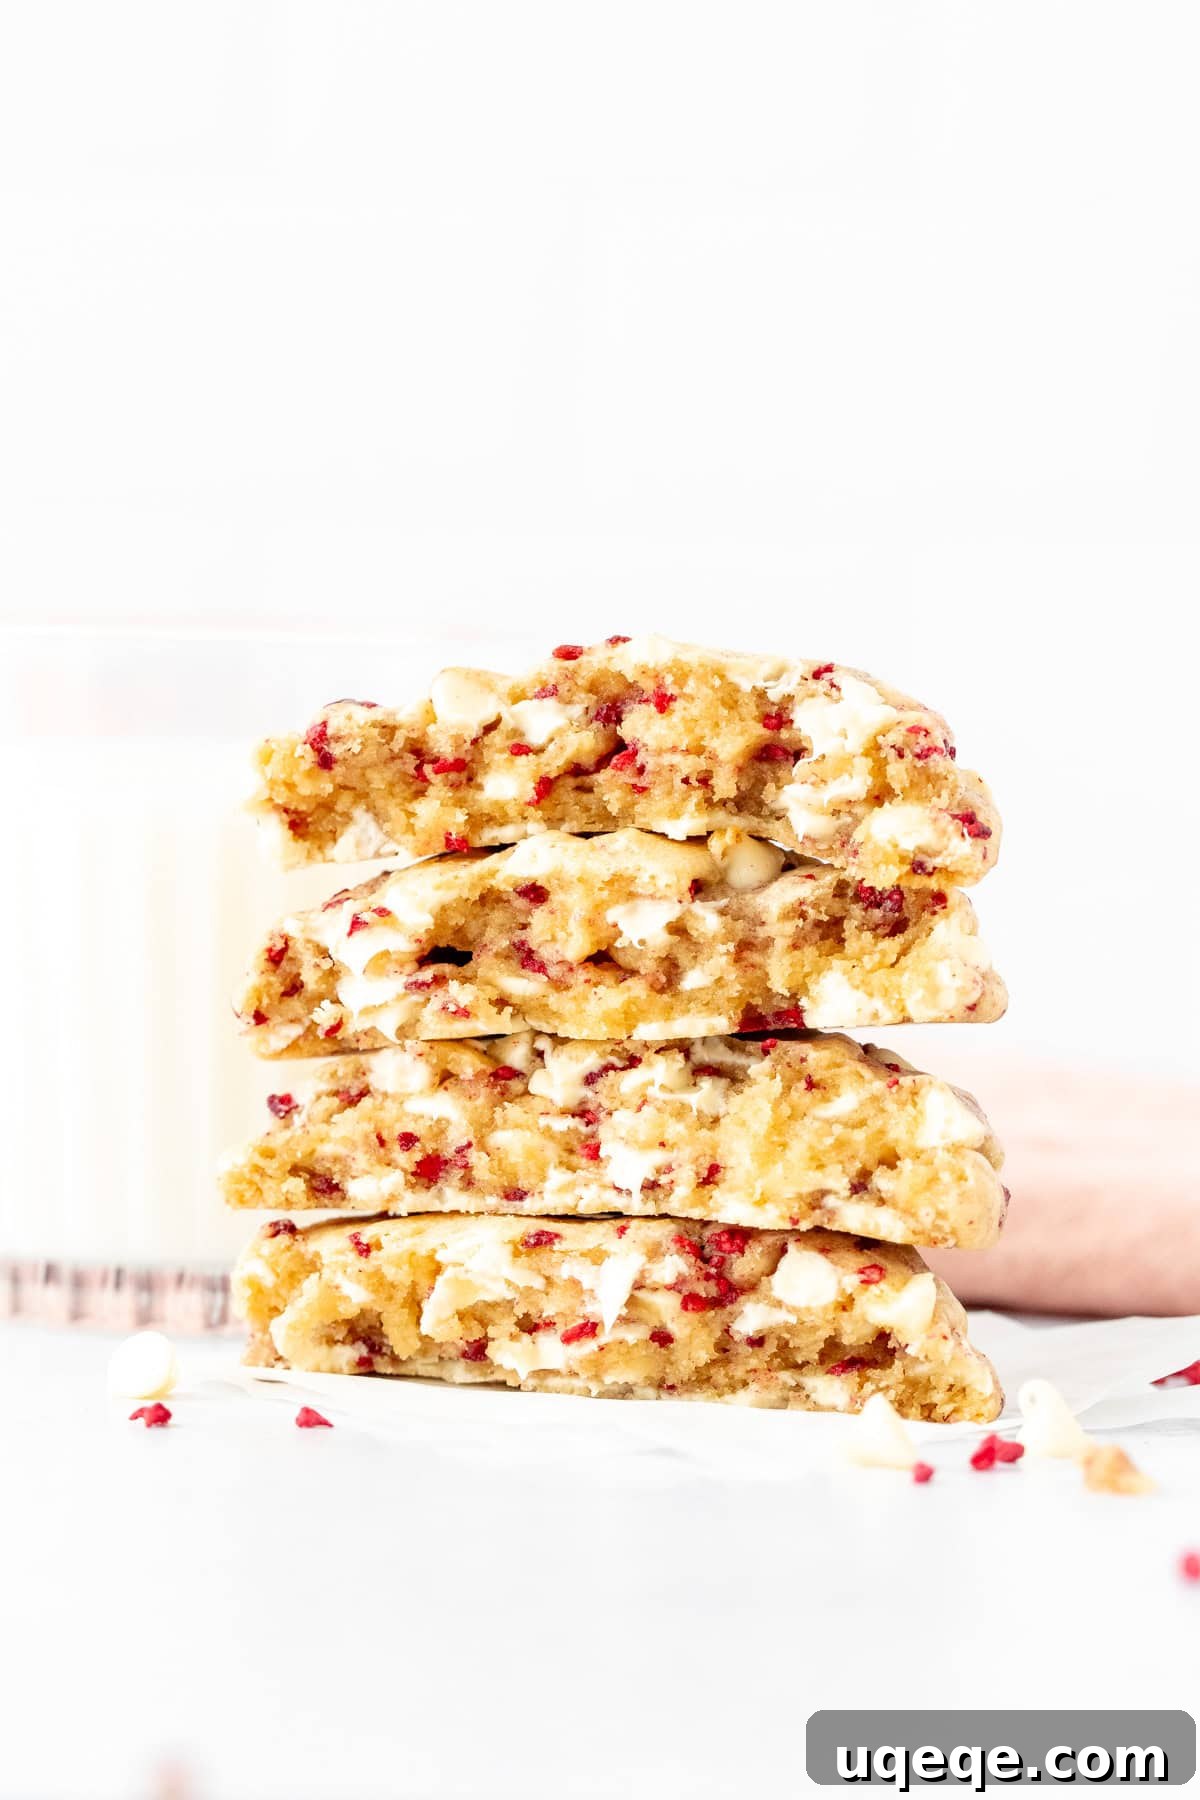
Welcome to the world of truly irresistible cookies! These ultimate bakery-style white chocolate raspberry cookies are a testament to gourmet baking right in your own kitchen. Imagine biting into a cookie that’s wonderfully thick, exquisitely soft, and just slightly crisp at the edges, yielding to a gloriously gooey center. Each mouthful is bursting with the perfect harmony of rich, creamy white chocolate and the vibrant, sweet-tart essence of raspberries. This recipe isn’t just about making cookies; it’s about creating a memorable dessert experience that rivals any high-end bakery, all from scratch.
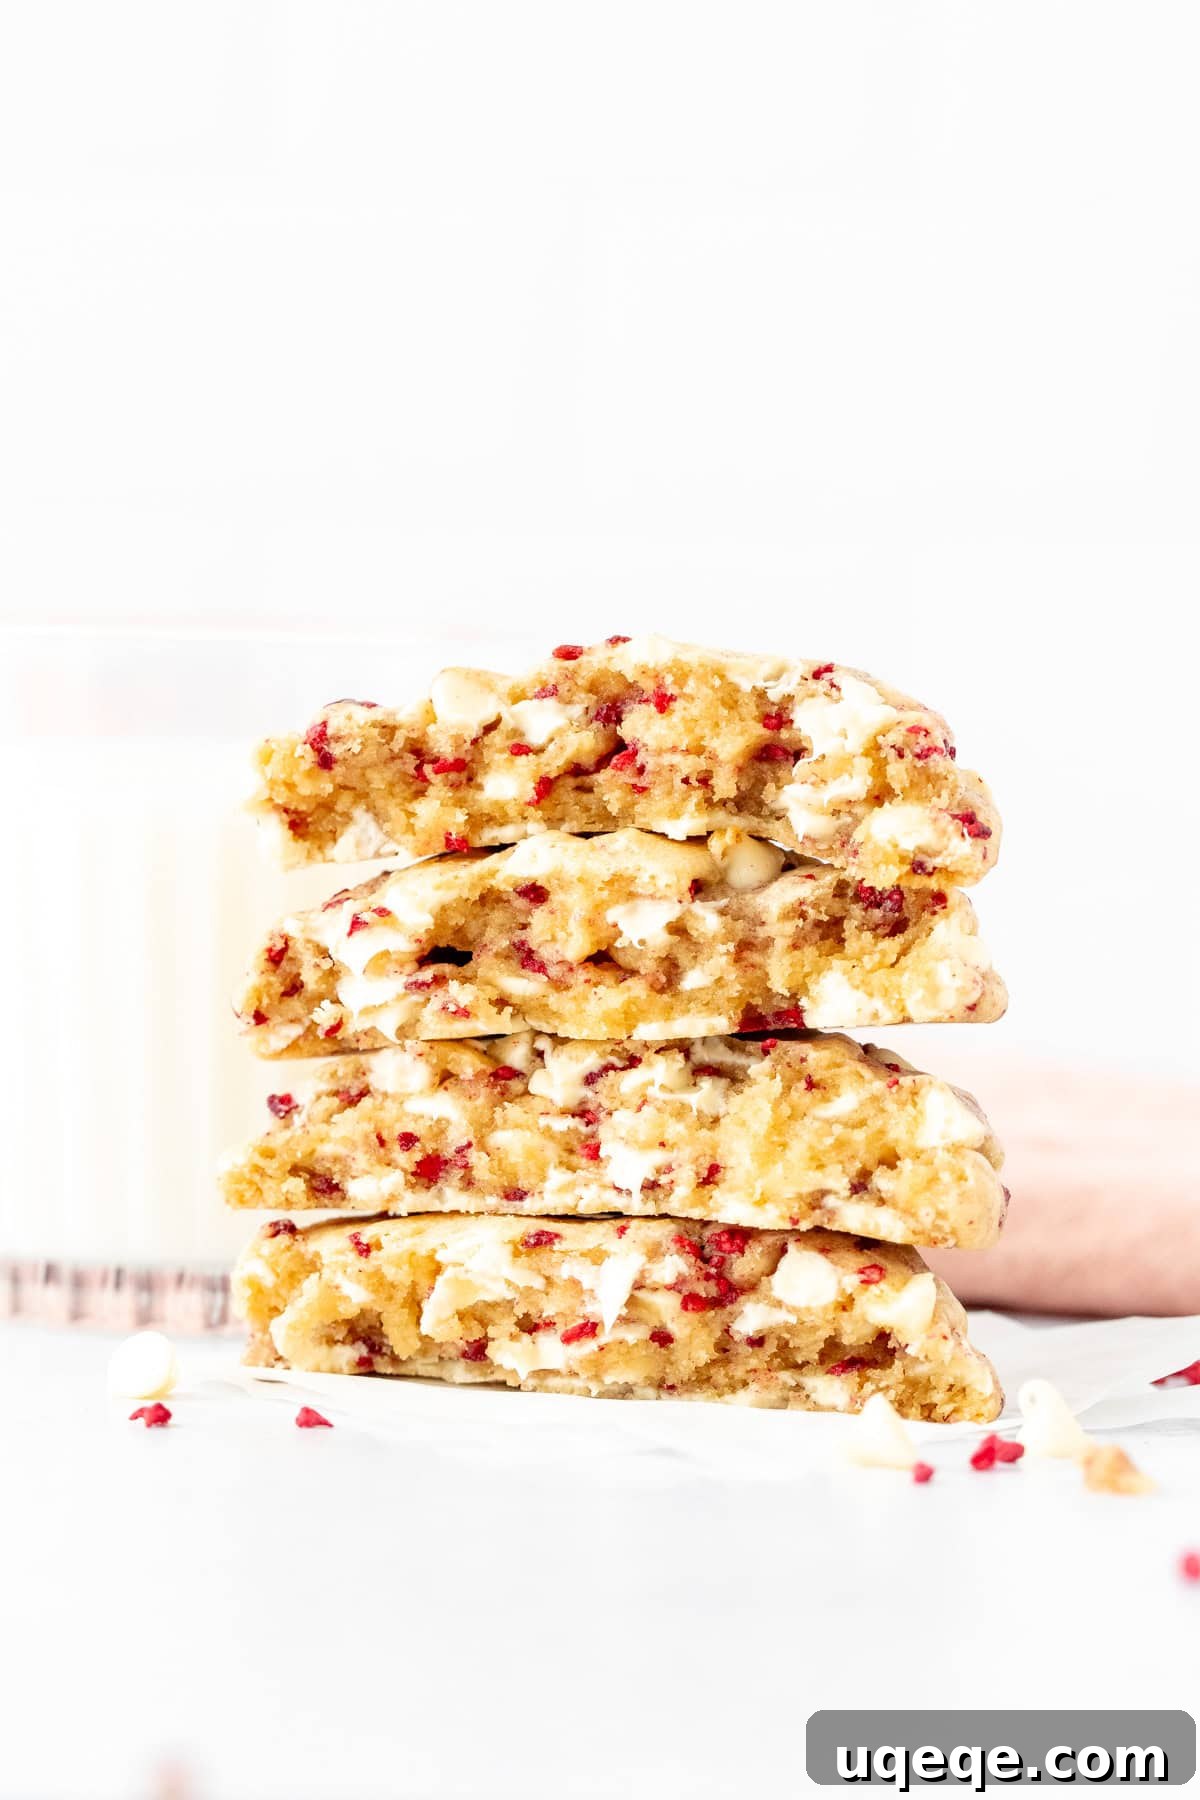
**This recipe has been meticulously refined and updated in January 2026 to bring you an even thicker, gooier, and more flavorful cookie. We’ve optimized the technique and ingredient choices, particularly emphasizing the use of freeze-dried raspberries for consistent, superior results.**
Indulge in Bakery-Style White Chocolate Raspberry Cookies
There’s something truly magical about the combination of rich white chocolate and sweet, tangy raspberries. It’s a classic pairing that elevates any dessert, and these cookies are no exception. For too long, finding a truly exceptional white chocolate raspberry cookie meant a trip to a specialty bakery, often at a premium price. But why pay upwards of $5 for a single cookie when you can create a batch of these magnificent, bakery-style treats in your own home? This recipe empowers you to achieve that same professional quality with ease and confidence.
Our recipe delivers cookies that are not only generously sized but also boast a perfectly balanced texture. They feature a delicate crispness around the edges, leading into an irresistibly soft and chewy interior that’s verging on gooey. The sheer volume of freeze-dried raspberries and premium white chocolate chips ensures that every single bite is packed with intense flavor and delightful contrast. Forget dry, crumbly cookies; prepare for a delightful explosion of flavor and texture that will make these a new favorite in your baking repertoire, perfect for special occasions like Valentine’s Day or simply a decadent everyday treat.
The Secret Ingredient: Why Freeze-Dried Raspberries are a Must for Perfect Cookies
For the absolute best white chocolate raspberry cookies, the choice of raspberries is critical. While fresh raspberries might seem appealing with their vibrant color, their high moisture content can introduce unpredictable variables into your cookie dough. This often leads to flatter, thinner, or inconsistent cookies that spread too much in the oven. This is precisely why our updated recipe exclusively calls for freeze-dried raspberries, and for several very good reasons.
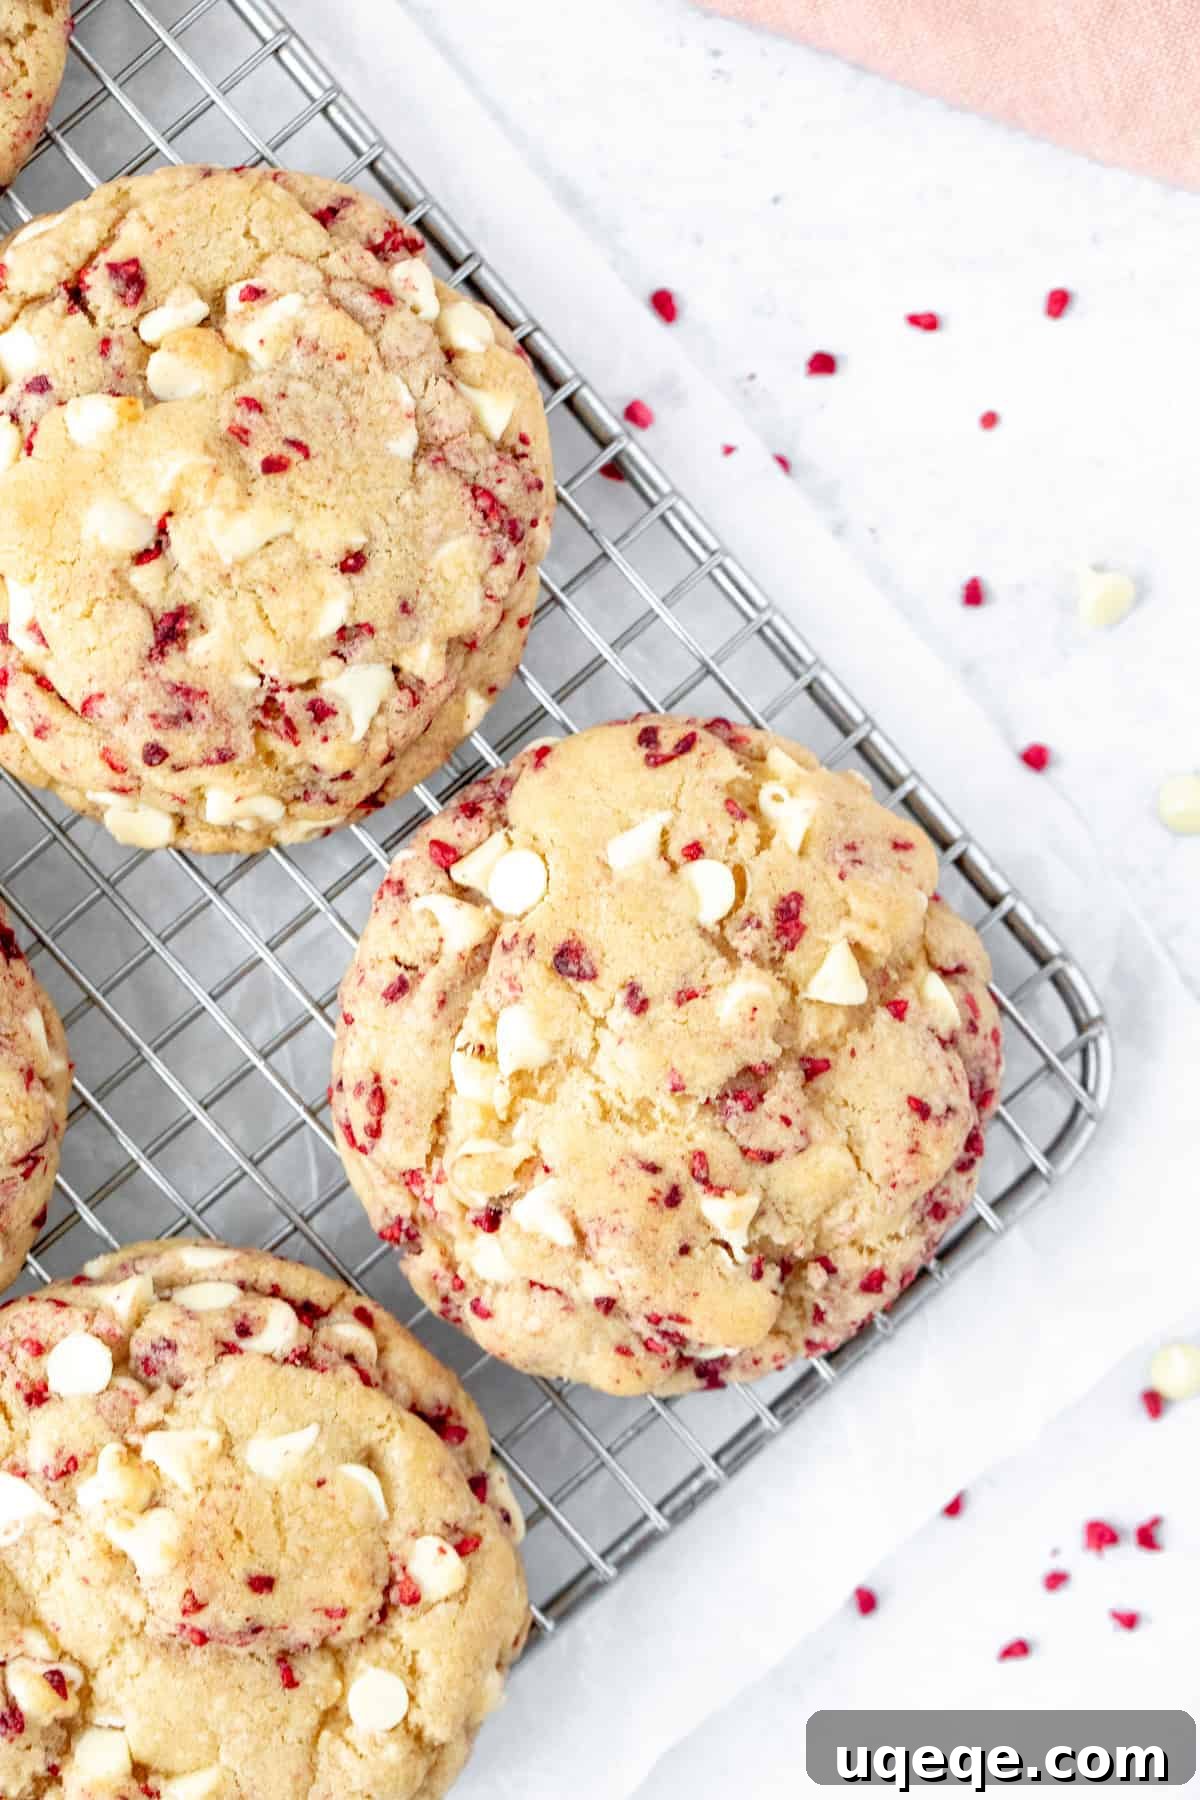
Freeze-dried berries are real fruit that has undergone a process to remove nearly all moisture while intensely preserving their concentrated flavor and vibrant color. This means you get an unadulterated, potent burst of raspberry essence without adding excess liquid to your dough, ensuring your cookies maintain their ideal thick, chewy, and bakery-style texture. Another significant advantage is that freeze-dried raspberries prevent the undesirable gray-purple discoloration often seen when fresh raspberries bleed into the dough during baking. Your cookies will maintain their pristine white chocolate base beautifully contrasted by the bright red flecks of raspberry.
When selecting freeze-dried raspberries, look for those that are already diced or in individual drupelets (the small segments that make up a whole raspberry). These smaller, more uniform pieces distribute more evenly throughout the dough, guaranteeing a delightful raspberry flavor in every single bite. If you can only find whole freeze-dried raspberries, a quick crush with your fingers or a light chop with a knife will easily prepare them. We advise against using powdered freeze-dried raspberries, as their super-fine texture can sometimes alter the dough’s consistency too much, leading to unexpected results. Freeze-dried berries can typically be found in the snack or baking aisle of most major grocery stores or online.
Mastering Bakery-Style Cookies: Essential Baking Tips for Perfection
Creating cookies that look and taste like they came from a professional bakery requires attention to detail and understanding a few key baking principles. Here are our top tips to ensure your white chocolate raspberry cookies are thick, chunky, and irresistibly delicious, yielding that gourmet texture every time:
- The Power of the Flour Blend (All-Purpose and Cake Flour): This recipe uniquely utilizes a combination of both all-purpose flour and cake flour. All-purpose flour provides the necessary structure and chewiness inherent in a great cookie. Cake flour, however, with its lower protein content and finer milling, contributes significantly to a softer, more tender crumb that truly melts in your mouth. This blend is the secret to achieving a cookie that is both sturdy and delicate. If you don’t have cake flour on hand, you can create a viable substitute by replacing a portion of all-purpose flour with cornstarch (please refer to the specific measurements in the recipe notes for exact ratios), although using actual cake flour is highly recommended for optimal results.
- Precise Flour Measurement is Key: Baking is a science, and accurately measuring flour is paramount. Too much flour will result in dry, dense, and crumbly cookies that lack flavor and moisture. We highly recommend using a kitchen scale to weigh your ingredients for the most consistent and accurate results (metric weights are conveniently provided in the recipe card). If you must measure by volume, always whisk the flour first to aerate it, then gently spoon it into your dry measuring cup until overflowing, and level off the top with a straight edge. Never scoop directly from the flour bag or pack it down, as this compacts the flour and leads to significant over-measurement, ruining your cookie texture.
- Cold Butter for Structure and Texture: Unlike many cookie recipes that call for softened butter, this one thrives on cold, cubed unsalted butter. Cold butter melts more slowly in the oven, releasing steam that creates tiny pockets of air within the dough, which helps the cookies rise and retain their thickness. This slow melt also prevents excessive spreading, contributing to those coveted slightly crispy edges and the wonderfully gooey, chewy center. Cutting the butter into small, uniform cubes before mixing makes it much easier to cream with the sugars.
- Don’t Skip the Chill Time: Chilling the cookie dough for at least two hours (and ideally up to 48 hours) is a non-negotiable step for truly thick, flavorful cookies. This process allows the flour to fully hydrate, absorbing excess moisture, which significantly prevents the cookies from spreading excessively and becoming flat in the oven. Furthermore, chilling gives the flavors a chance to meld and deepen, resulting in a richer, more complex taste profile. A well-chilled dough is also much firmer and easier to handle and shape, ensuring uniform cookie sizes.
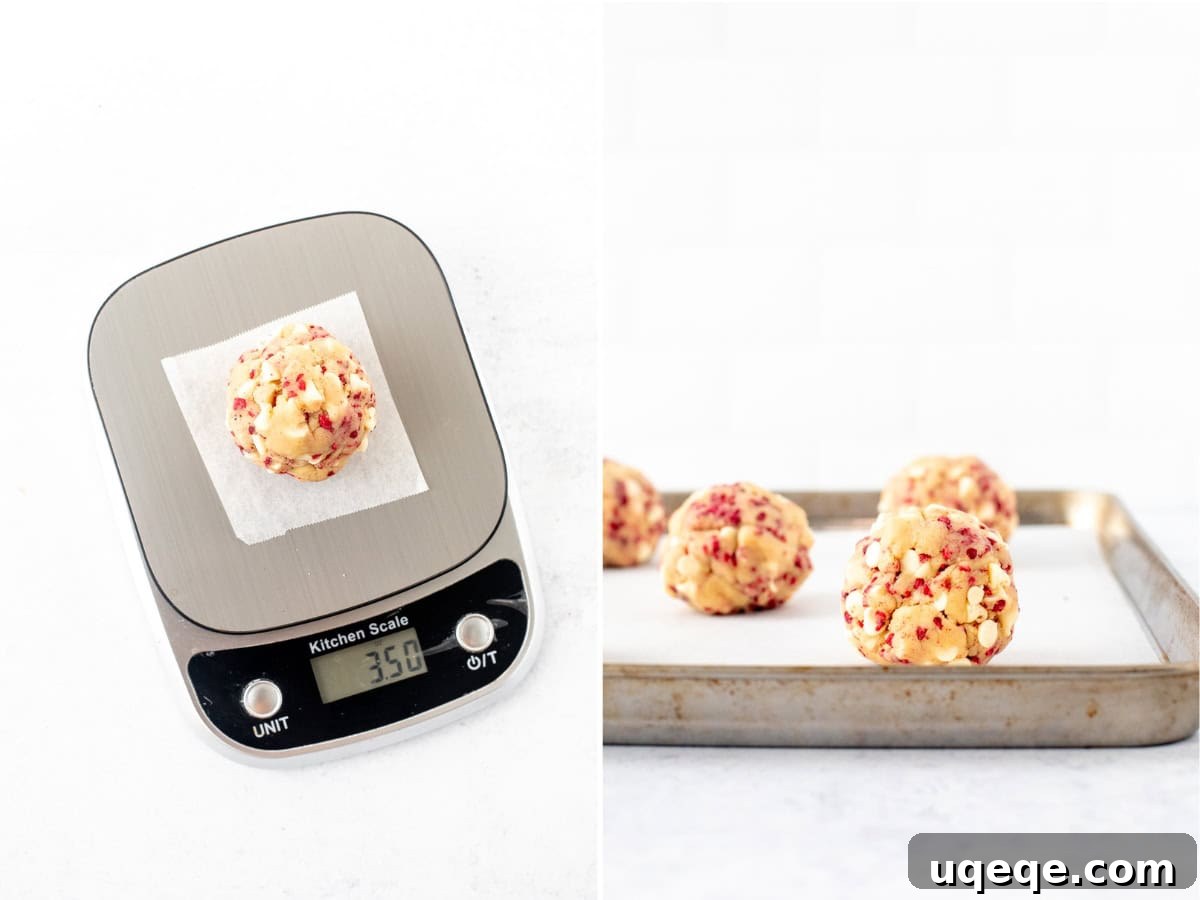
- Go Big with Your Dough Balls: For that impressive, substantial bakery-style appearance and texture, these cookies are meant to be generously sized. We recommend using a 1/4 to 1/3 measuring cup or a large ice cream scoop to portion the dough. For ultimate precision and consistency, weigh each dough ball to approximately 3.5 ounces (100 grams). There’s no need to flatten these large dough balls before baking; they will naturally spread into thick, perfectly formed cookies with those coveted crinkled edges.
- Bake at a Higher Temperature (375°F / 190°C): While many cookie recipes suggest 350°F, baking these at a slightly higher temperature of 375°F (190°C) is strategic. The initial blast of intense heat helps the edges of the cookie set quickly, locking in the height and preventing the cookies from spreading too thin. It also promotes a beautiful golden-brown exterior and a slight crispness, all while keeping the centers wonderfully soft and gooey. Always bake one cookie sheet at a time in the middle rack of your oven for optimal and even cooking results.
- Avoid Overmixing: Once you add the dry ingredients to the wet, mix only until they are just combined. Overmixing develops gluten in the flour, which can lead to tough, dense, and less tender cookies. Stop mixing as soon as no dry streaks of flour remain visible in the dough.
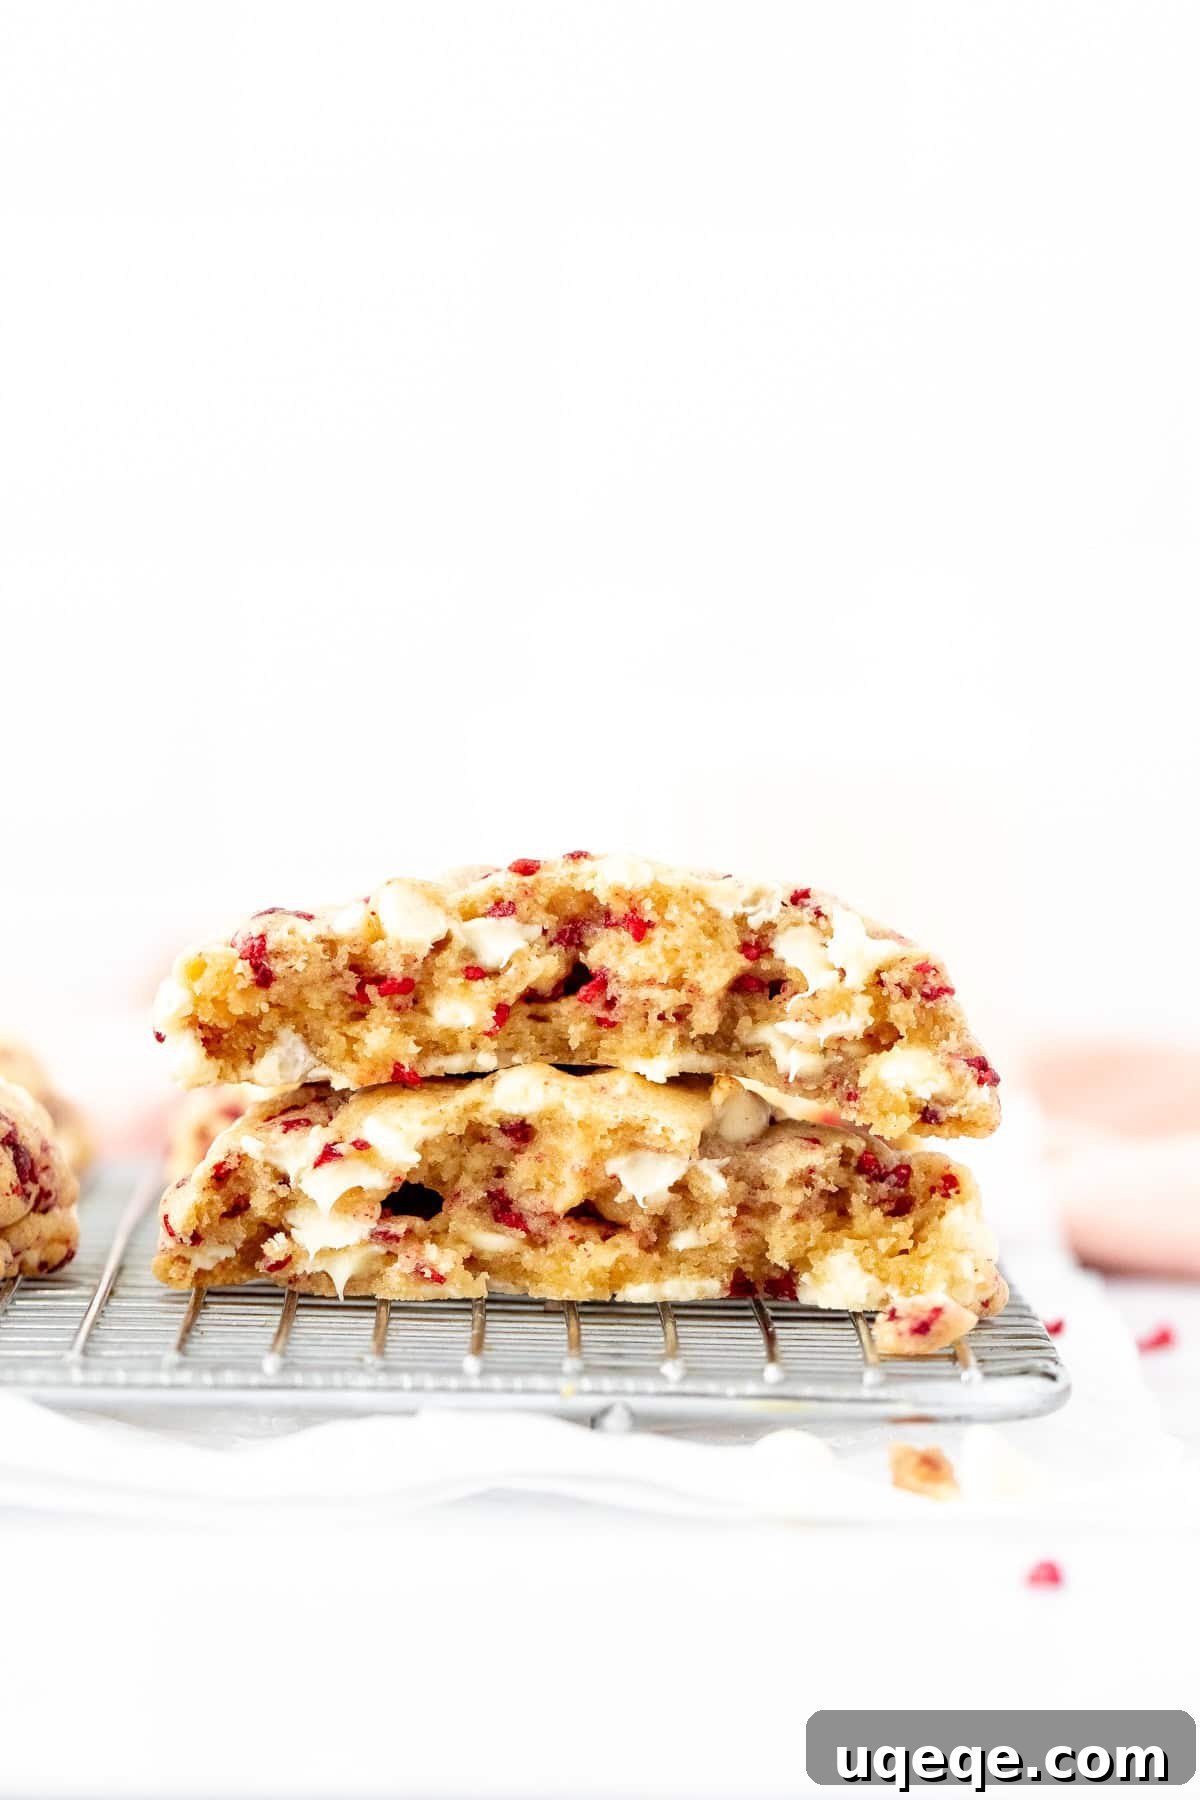
Smaller Cookie Variation
While this recipe is designed for impressive, large bakery-style cookies (yielding about 16 in total), you can certainly adjust the size to suit your preference for a more modest treat or a larger batch. For smaller, more delicate cookies, form dough balls using approximately 1.5 tablespoons of dough each. This adjustment will typically yield about 36-42 cookies from the same batch. When baking these smaller cookies, reduce the oven temperature slightly to 350°F (180°C) and shorten the baking time to approximately 9-11 minutes, or until the edges are lightly golden and the centers are just set. Keep a close eye on them to prevent over-baking.
Storage & Make Ahead Tips for Freshness and Convenience
These white chocolate raspberry cookies are undeniably best enjoyed warm from the oven, but their excellent storage qualities make them perfect for preparing in advance or savoring throughout the week. Here’s how to keep them at their peak freshness:
- Make-Ahead Cookie Dough: The unbaked cookie dough can be prepared up to 48 hours in advance. Simply cover the bowl tightly with plastic wrap to prevent it from drying out, and refrigerate. When you’re ready to bake, you might need to let the dough sit at room temperature for about 10-15 minutes to soften slightly, making it easier to scoop and shape into uniform balls.
- Freezing Cookie Dough Balls: For the ultimate bake-anytime treat, portion the dough into balls as directed in the recipe. Arrange these dough balls on a parchment-lined baking sheet and freeze until they are completely solid. Once frozen, transfer the solid dough balls to a freezer-safe zip-top bag or an airtight container, ensuring they are well-sealed to prevent freezer burn. They will keep beautifully for up to 2 months. When ready to bake, there’s no need to thaw! Simply place the frozen dough balls onto a prepared baking sheet and add an additional 1-2 minutes to the baking time specified in the recipe.
- Storing Baked Cookies: Once baked and fully cooled to room temperature, store your white chocolate raspberry cookies in an airtight container. They will maintain their deliciousness and soft texture at room temperature for up to 4 days. To help keep them extra soft, you can even add a fresh slice of bread to the container; the cookies will absorb moisture from the bread.
- Freezing Baked Cookies: These cookies also freeze wonderfully after baking. Once completely cooled, wrap each cookie individually in plastic wrap to protect it from freezer burn. Then, place the wrapped cookies in a freezer-safe bag or an airtight container. They can be frozen for up to 2 months. To enjoy, thaw them in the refrigerator overnight, then allow them to come to room temperature. For a truly fresh-baked experience, gently warm them in the microwave for 10-15 seconds before serving.
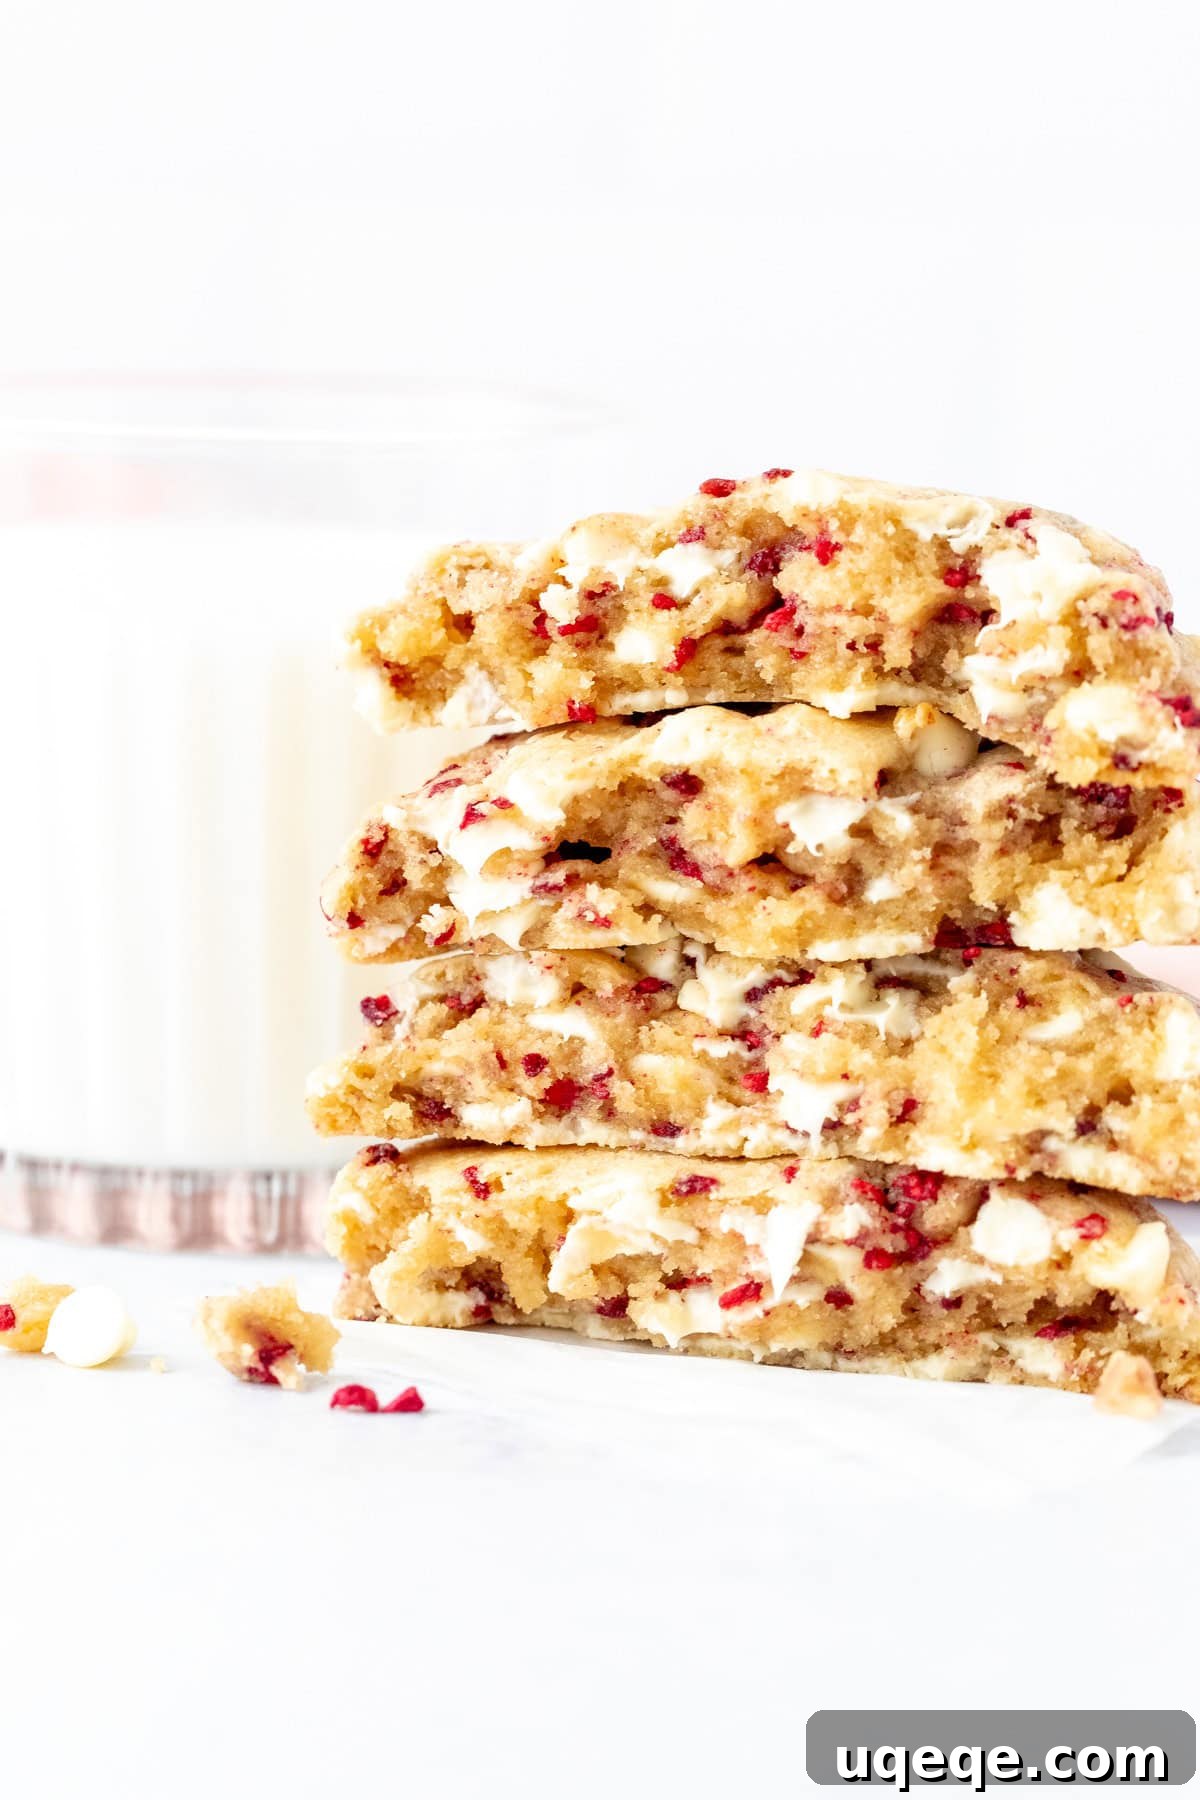
With their impressive size, wonderfully chewy texture, and explosion of sweet berries and creamy white chocolate, these raspberry white chocolate chunk cookies truly taste gourmet. They offer a delightful and sophisticated twist on classic cookies, proving that sometimes, a slight variation in ingredients and technique can make all the difference. Get ready to impress your friends and family with these decadent treats – they’re sure to become a cherished recipe!
Explore More Raspberry & Chocolate Delights
If you love the irresistible combination of chocolate and raspberries as much as we do, be sure to try these other fantastic recipes that celebrate this iconic pairing:
- Fudgy Chocolate Cake with Raspberry Frosting – a rich, moist chocolate cake topped with a dreamy, fruity frosting.
- Velvety White Chocolate Cheesecake – a decadent dessert that is simply perfect served with a generous helping of fresh raspberries.
- Decadent Chocolate Raspberry Sandwich Cookies – rich chocolate cookies embracing a vibrant raspberry filling.
White Chocolate Raspberry Cookies
By: Fiona Dowling
These big, bakery-style white chocolate raspberry cookies are bursting with sweet berries and white chocolate. They’re a little crispy on the edges, extra thick, and verging on gooey in the middle. The perfect thick, chunky, bakery-style cookies.
Prep: 20 mins
Cook: 14 mins
Chilling: 2 hrs
Total: 2 hrs 45 mins
Servings: 16 cookies
Rate Recipe
Print Recipe
Equipment
- Cookie Sheets (at least two, for rotating batches)
- Large mixing bowls (for wet and dry ingredients)
- Electric mixer (stand mixer with paddle attachment or a powerful hand-held mixer)
- Rubber spatula (sturdy, for folding in mix-ins)
- Fine-mesh sieve (for sifting flours)
- Whisk (for combining dry ingredients)
- Measuring cups and spoons
- Kitchen scale (optional, but highly recommended for accurate flour and butter measurements)
- 1/4 to 1/3 cup measuring cup or large ice cream scoop (for portioning dough)
- Parchment paper or silicone baking mats (for lining cookie sheets)
- Wire cooling rack
Ingredients
- 2 cups all-purpose flour (250 grams), measured correctly
- 1½ cups cake flour (180 grams), sifted and measured correctly, not self-rising
- 1½ teaspoon baking powder
- ½ teaspoon baking soda
- ½ teaspoon salt
- 1 cup unsalted butter (226 grams), cold, cut into cubes
- 1 cup brown sugar (210 grams) , light or dark
- ¾ cup granulated sugar (150 grams)
- 2 large eggs, cold, from the fridge
- 2 teaspoons vanilla extract
- 1¼ cup freeze dried raspberries (about 40 grams), either as drupelets or finely chopped, measure as drupelets – not as whole berries
- 1¼ cup white chocolate chips (225 grams)
Instructions
- In a large bowl, sift together the all-purpose flour, cake flour, baking powder, baking soda, and salt. Whisk briefly to combine thoroughly and set aside. Sifting is important for the cake flour to ensure a light texture.
- In a separate large bowl, using an electric mixer fitted with the paddle attachment, beat together the cold cubed butter, brown sugar, and granulated sugar on medium speed until the mixture is light, fluffy, and creamy, typically about 2-3 minutes. Scrape down the sides of the bowl as needed.
- Add the cold eggs one at a time to the butter mixture, beating well after each addition until fully incorporated. Stir in the vanilla extract until just combined. Ensure no egg streaks remain.
- Gradually add the dry ingredients to the wet mixture. Start the mixer on a low speed to prevent a cloud of flour from forming, and mix only until the ingredients are just combined and no dry streaks of flour remain. The dough will be quite thick. If it seems excessively dry and the flour isn’t fully incorporating, you may add 1-3 teaspoons (not tablespoons) of milk, but be careful not to overmix. Overmixing will lead to tough cookies.
- Using a sturdy rubber spatula, gently fold in the freeze-dried raspberries and white chocolate chips until they are evenly distributed throughout the dough. Avoid crushing the raspberries too much.
- Cover the bowl tightly with plastic wrap and place it in the fridge for at least 2 hours. For optimal flavor development and to ensure the cookies hold their shape, chilling the dough for up to 48 hours is highly recommended. This step is crucial for thick, non-spreading cookies.
- When you’re ready to bake, preheat your oven to 375℉ (190℃). Line two large cookie sheets with parchment paper or silicone baking mats.
- Form the chilled dough into large balls. Use a 1/4 to 1/3 cup measuring cup or a large ice cream scoop for generous portions. For precision and consistency in size, weigh each dough ball to approximately 3.5 ounces (100 grams). If the dough is very cold from overnight chilling, you may need to let it sit on the counter for about 10 minutes to make it easier to scoop and work with.
- Arrange the cookie dough balls about 3 inches (approximately 7-8 cm) apart on the prepared cookie sheets to allow for proper spreading without merging. Bake one sheet at a time on the middle rack of the preheated oven for about 13-15 minutes. The cookies are done when the edges are lightly golden brown and the centers look set but still appear slightly soft. They will continue to set as they cool.
- Once baked, remove the cookie sheets from the oven and allow the cookies to cool on the tray for at least 10-15 minutes before carefully transferring them to a wire rack to cool completely. This helps them firm up and prevents breakage, especially due to their soft centers.
Notes
- Measuring Flour: Accurate flour measurement is crucial for preventing dry cookies. Using a kitchen scale (metric weights provided) is the most precise method. If measuring by volume, whisk flour first, then spoon into a dry measuring cup and level off the top. Do not scoop directly or pack the flour.
- Cake Flour Substitute: If cake flour is unavailable, substitute the 1½ cups cake flour with an additional 1 cup all-purpose flour (making a total of 3 cups all-purpose flour) and add 1/3 cup cornstarch (also known as cornflour in some regions). Do not simply use 1½ cups of extra all-purpose flour without cornstarch, as this will result in a tougher, less tender cookie texture.
- Butter: This recipe specifically calls for cold butter, cut into cubes. Do not use melted or softened butter, as it will drastically alter the texture and spread of the cookies, leading to flat, greasy results.
- Freeze-Dried Raspberries: For best results, ensure your freeze-dried raspberries are either diced or in small drupelets for even distribution and intense flavor. If you have whole freeze-dried berries, gently crush or chop them to appropriate sizes. Avoid using powdered freeze-dried raspberries, as they can absorb too much moisture and change the dough’s consistency.
- Freezing Dough & Baked Cookies: Unbaked cookie dough balls can be frozen for up to 2 months. Bake directly from frozen, adding 1-2 minutes to the bake time. Fully baked and cooled cookies can also be frozen for up to 2 months; wrap individually before freezing, then thaw in the fridge and bring to room temperature before enjoying.
- Storage: Store baked and completely cooled cookies in an airtight container at room temperature for up to 4 days. For extended freshness, a slice of bread in the container can help maintain softness.
- Nutrition: The provided nutritional information is an estimate based on 1 cookie, assuming the recipe yields 16 equal-sized cookies. It is for informational purposes only and may vary depending on specific ingredient brands and preparation.
Nutrition Facts
Calories: 381 kcal, Carbohydrates: 53g, Protein: 5g, Fat: 17g, Saturated Fat: 10g, Polyunsaturated Fat: 1g, Monounsaturated Fat: 5g, Trans Fat: 0.5g, Cholesterol: 57mg, Sodium: 135mg, Potassium: 152mg, Fiber: 1g, Sugar: 32g, Vitamin A: 396IU, Vitamin C: 3mg, Calcium: 69mg, Iron: 1mg