
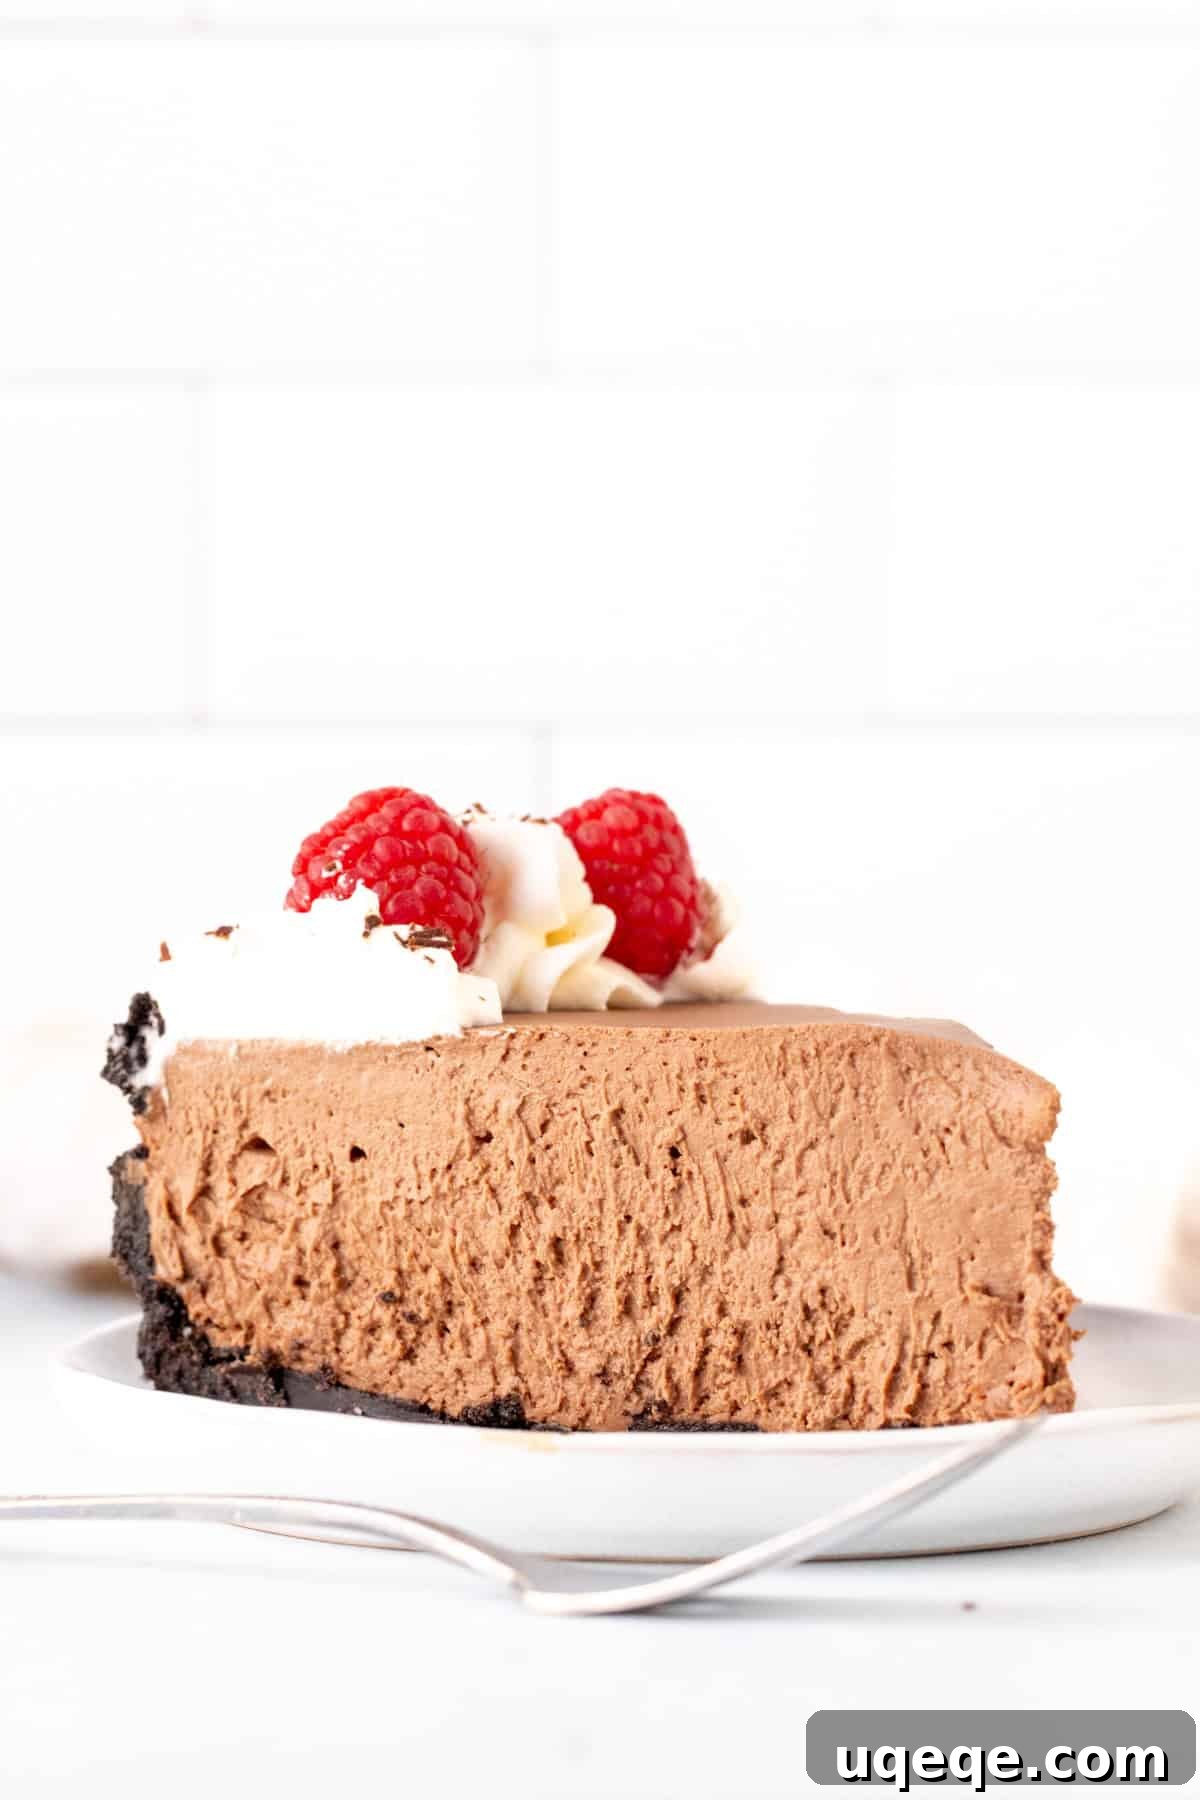
Craving a rich, velvety chocolate dessert without the hassle of baking? This decadent No-Bake Chocolate Cheesecake is your answer! Forget the oven, water baths, and potential cracks; this recipe delivers a luxuriously creamy filling with an intensely rich chocolate flavor that rivals a delicate chocolate mousse. Resting atop a satisfyingly crunchy Oreo crust and crowned with swirls of fluffy whipped cream, it sets beautifully with minimal effort, making it the ultimate make-ahead treat for any occasion. Prepare to impress with this effortlessly elegant dessert!
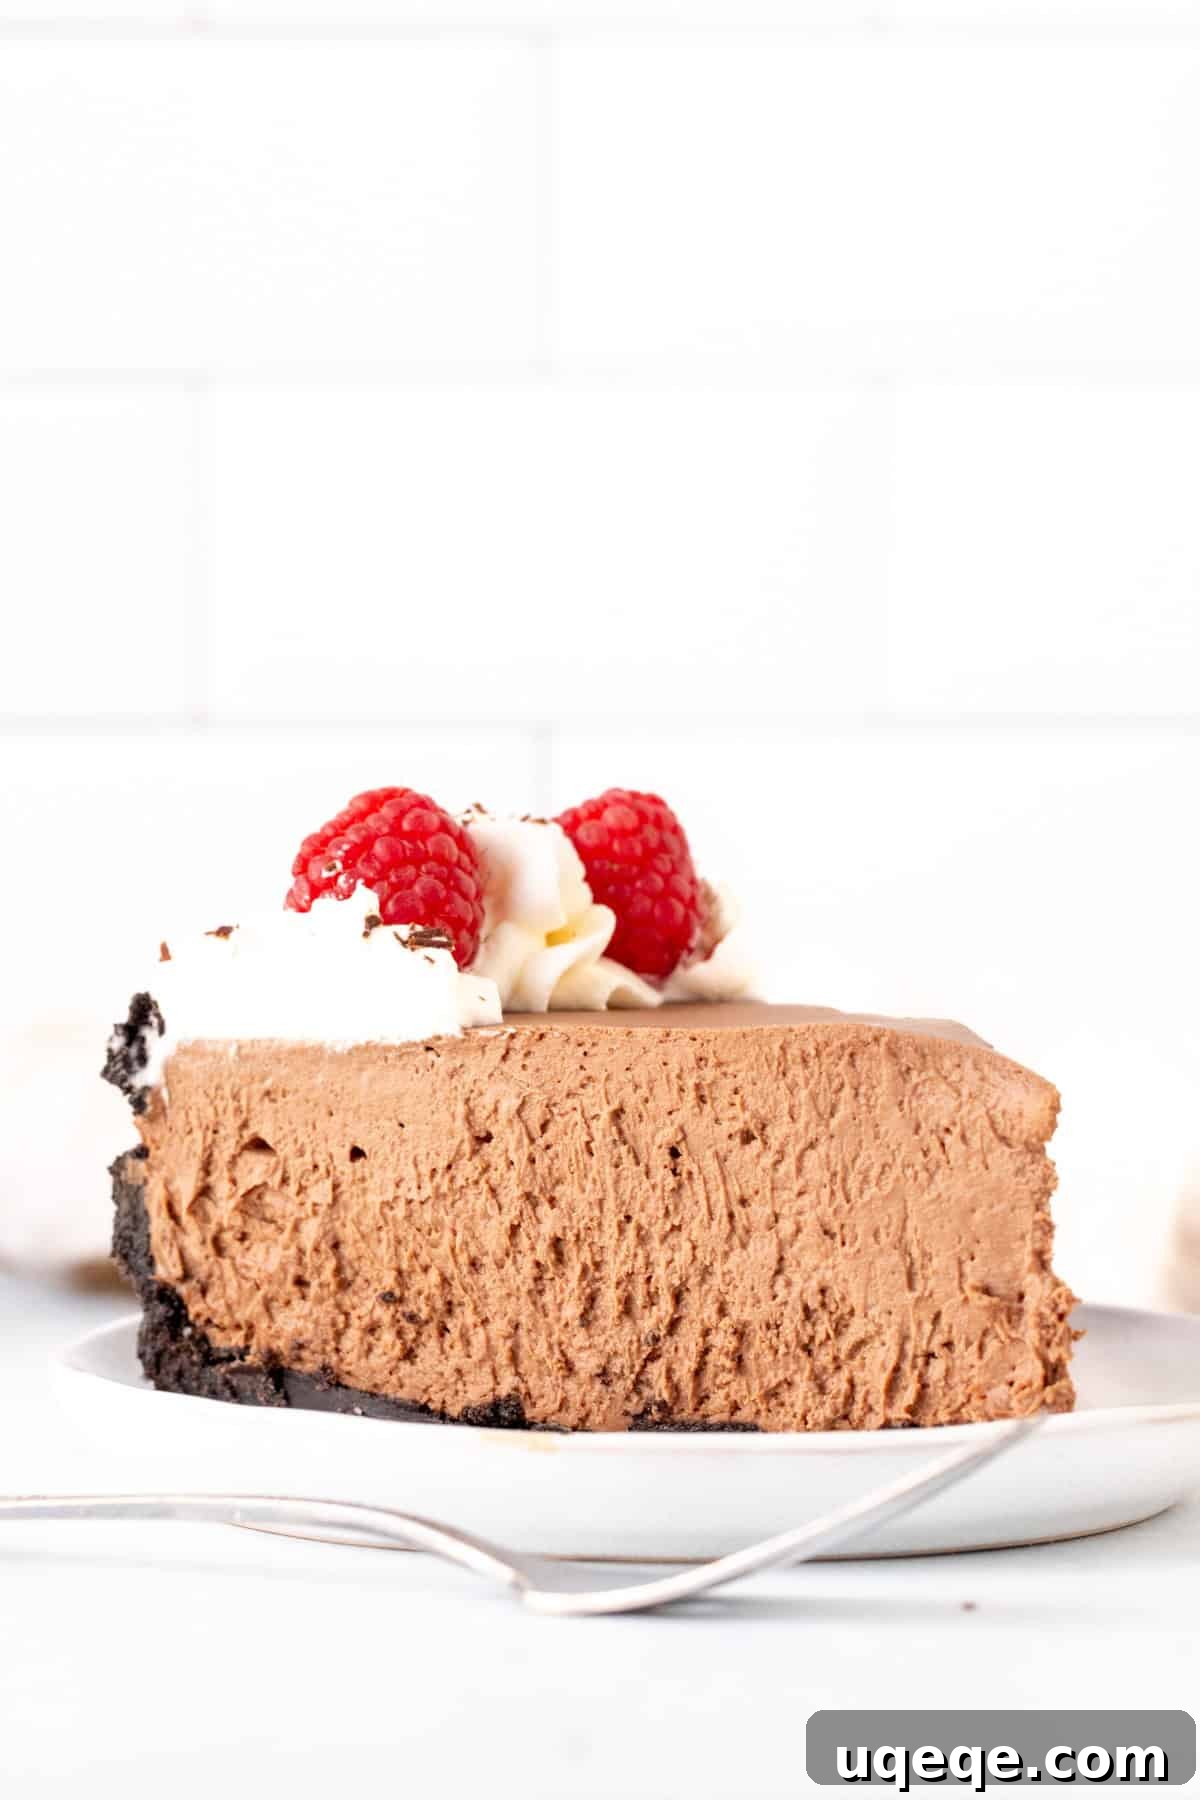
This recipe was thoroughly reviewed and updated in May 2025, featuring brand new recipe photos, enhanced step-by-step guidance, and a slightly refined method to ensure the smoothest preparation possible.
Table of Contents
- Why You’ll Adore This No-Bake Chocolate Cheesecake
- Essential Ingredients for Perfection
- Step-by-Step Method – With Visual Guidance
- Expert Recipe Tips and Tricks
- Creative Cheesecake Toppings & Serving Ideas
- Frequently Asked Questions (FAQ)
- No-Bake Chocolate Cheesecake Recipe Card
Why You’ll Adore This No-Bake Chocolate Cheesecake
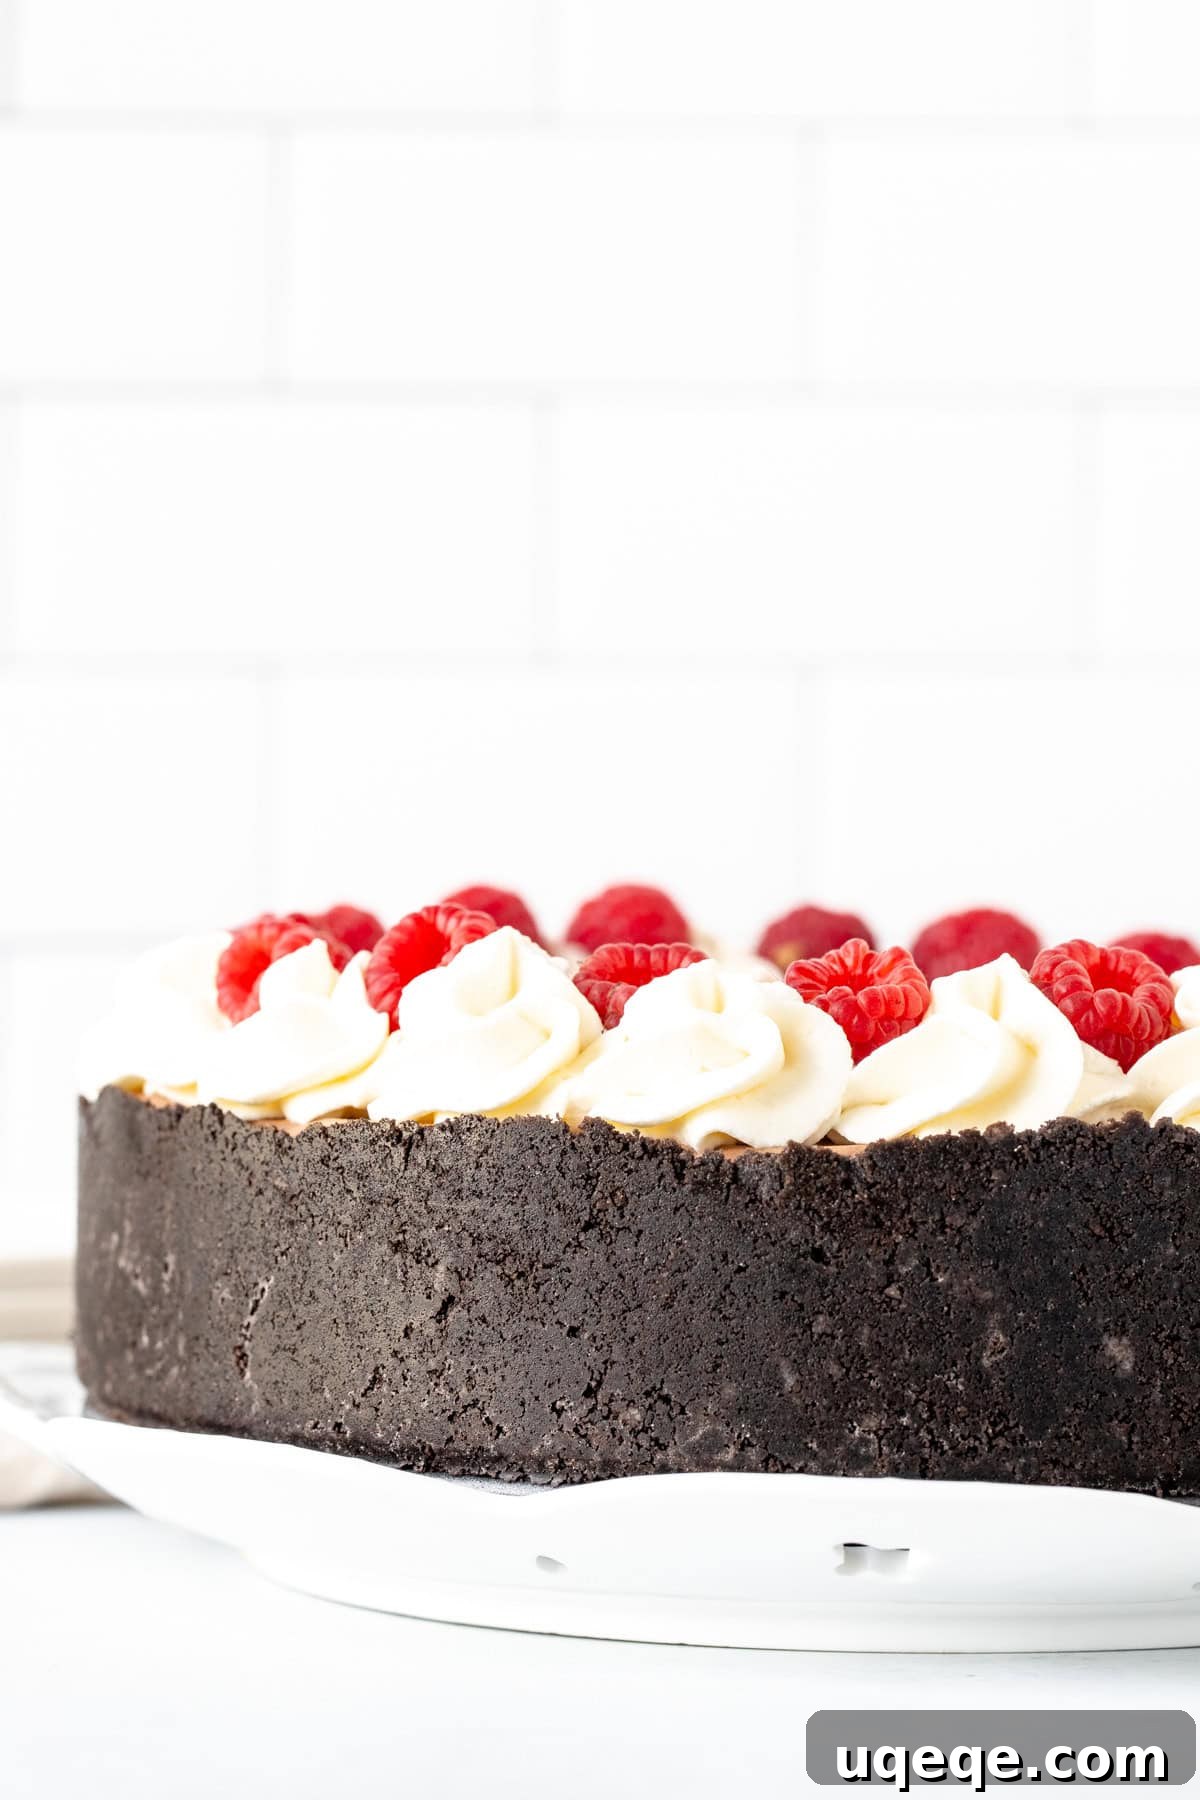
This isn’t just another chocolate dessert; it’s a testament to effortless indulgence. Our no-bake chocolate cheesecake is the ultimate treat for any chocolate lover, offering incredible richness and a smooth, creamy texture without any of the complexities typically associated with traditional baked cheesecakes. The velvety smooth cheesecake filling, tasting almost like a sophisticated chocolate mousse, is perfectly complemented by a robust, thick Oreo cookie crust, and generously topped with extra whipped cream.
What truly sets this easy chocolate cheesecake apart is its unique texture. Unlike its baked counterparts, which can sometimes be dense and heavy, this no-bake version boasts a delightful lightness and fluffiness while remaining wonderfully sturdy. It’s truly the best of both worlds – decadent yet surprisingly delicate on the palate. Furthermore, the notorious challenges of baking a cheesecake, such as cracks, over-baking, or uneven cooling, are completely sidestepped here, making it a much more fail-safe and stress-free option for home bakers of all skill levels. It’s a guaranteed crowd-pleaser that delivers exceptional flavor and texture every time.
Essential Ingredients for Perfection
Crafting the perfect no-bake chocolate cheesecake starts with selecting the right ingredients. Each component plays a vital role in achieving that sought-after rich flavor and impeccable texture. Here’s a detailed look at what you’ll need:
For the Irresistible Oreo Crust:
- Chocolate Sandwich Cookies (Oreos): While any chocolate sandwich cookie can work, classic Oreos are highly recommended for their perfect chocolate-to-cream ratio and distinctive flavor. You’ll use both the chocolate wafers and the creamy filling to create a rich, cohesive crust that stands up beautifully to the decadent filling.
- Melted Unsalted Butter: Unsalted butter is preferred as it gives you control over the overall saltiness of the cheesecake. However, if you only have salted butter on hand, it will work just fine – just be mindful of any additional salt in the filling. The melted butter acts as the binder, transforming the crushed cookies into a firm, flavorful base.
For the Velvety Chocolate Cheesecake Filling:
- Quality Dark Chocolate: This is the star of your filling, so opt for good quality chocolate. A cocoa percentage between 50% to 70% is ideal. This range ensures a deep, rich chocolate flavor that isn’t overly sweet or bitter. Semi-sweet chocolate can also be used. Steer clear of chocolate below 50% as it can make the cheesecake cloyingly sweet, and anything above 80% might result in an unpleasantly bitter taste for some palates.
- Heavy Whipping Cream (35% MF): Often labeled as heavy cream, this is crucial for achieving the cheesecake’s light, airy, yet sturdy texture. We’re talking about the fresh cream from a carton, not aerosol whipped topping. Whipping it to stiff peaks incorporates air, giving the cheesecake a mousse-like quality that prevents it from being too dense, while also helping it to set without gelatin.
- Full-Fat Cream Cheese (Brick Style): This is non-negotiable for a no-bake cheesecake! Always use brick-style, full-fat cream cheese, not the spreadable kind from a tub or any low-fat varieties. The high-fat content and firm consistency of brick-style cream cheese are essential for the cheesecake to set properly and achieve its luxurious, thick texture. Using anything else risks a soupy, unstable filling.
- Fine Powdered Sugar (Confectioners’ Sugar): Powdered sugar is chosen over granulated or caster sugar for a critical reason: its fine texture dissolves seamlessly into the cold cream cheese mixture. This ensures a silky-smooth, lump-free filling. Granulated sugar, even finely ground, can leave a slightly grainy texture in a no-bake context, which we want to avoid.
- Sour Cream: Don’t skip this ingredient! While it might seem unusual, sour cream is the secret weapon for an unbelievably creamy and velvety smooth cheesecake. Its tanginess balances the richness of the chocolate and cream cheese, preventing the filling from tasting flat or overly sweet. It adds depth and a professional finish, ensuring your cheesecake tastes sophisticated, not just like a block of sweetened cream cheese.
Remarkable Note: You’ll notice this particular no-bake cheesecake recipe beautifully sets without the addition of gelatin or any pre-made whipped topping. By relying on properly whipped heavy cream and full-fat cream cheese, we achieve an extra creamy flavor and a naturally firm yet light texture that truly stands out.
Step-by-Step Method – With Visual Guidance
Follow these detailed steps to create your perfect no-bake chocolate cheesecake. Taking your time with each stage will ensure a flawless and delicious result.
Crafting the Flawless Oreo Crust:
- Effortlessly Crush the Cookies: Begin by crushing your chocolate sandwich cookies (Oreos, including their cream filling) until they resemble fine, even crumbs. The easiest and fastest way to achieve this is in a food processor. Alternatively, place the cookies in a sturdy freezer bag and crush them thoroughly with a rolling pin until uniformly fine.
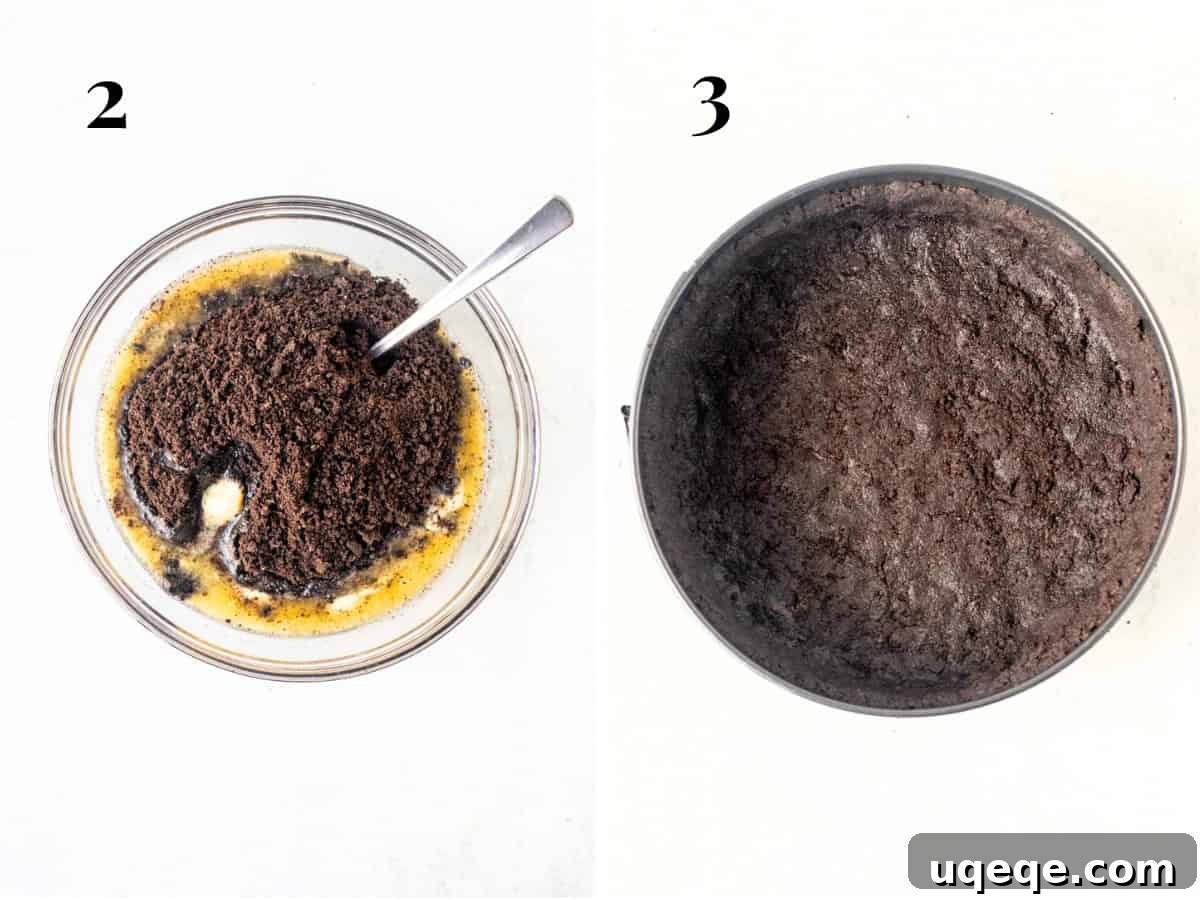
- Combine with Melted Butter: Once the cookies are finely crushed, mix them with the melted butter. You can either pulse them briefly in the food processor with the butter, or transfer the crumbs to a bowl and stir them together with a fork until they are fully moistened and hold together when pressed.
- Form and Press the Crust: Transfer the mixture to a 9-inch (23 cm) springform pan. Using the bottom of a glass or your fingers, press the mixture firmly and evenly into the bottom of the pan. Extend the crust about 1/2 to 3/4 of the way up the sides of the pan for an elegant edge.
- Chill to Firm: Place the springform pan with the pressed crust into the freezer while you prepare the cheesecake filling. This brief chilling period helps the crust to firm up and prevents it from becoming soggy once the filling is added.
Preparing the Silky Chocolate Filling:
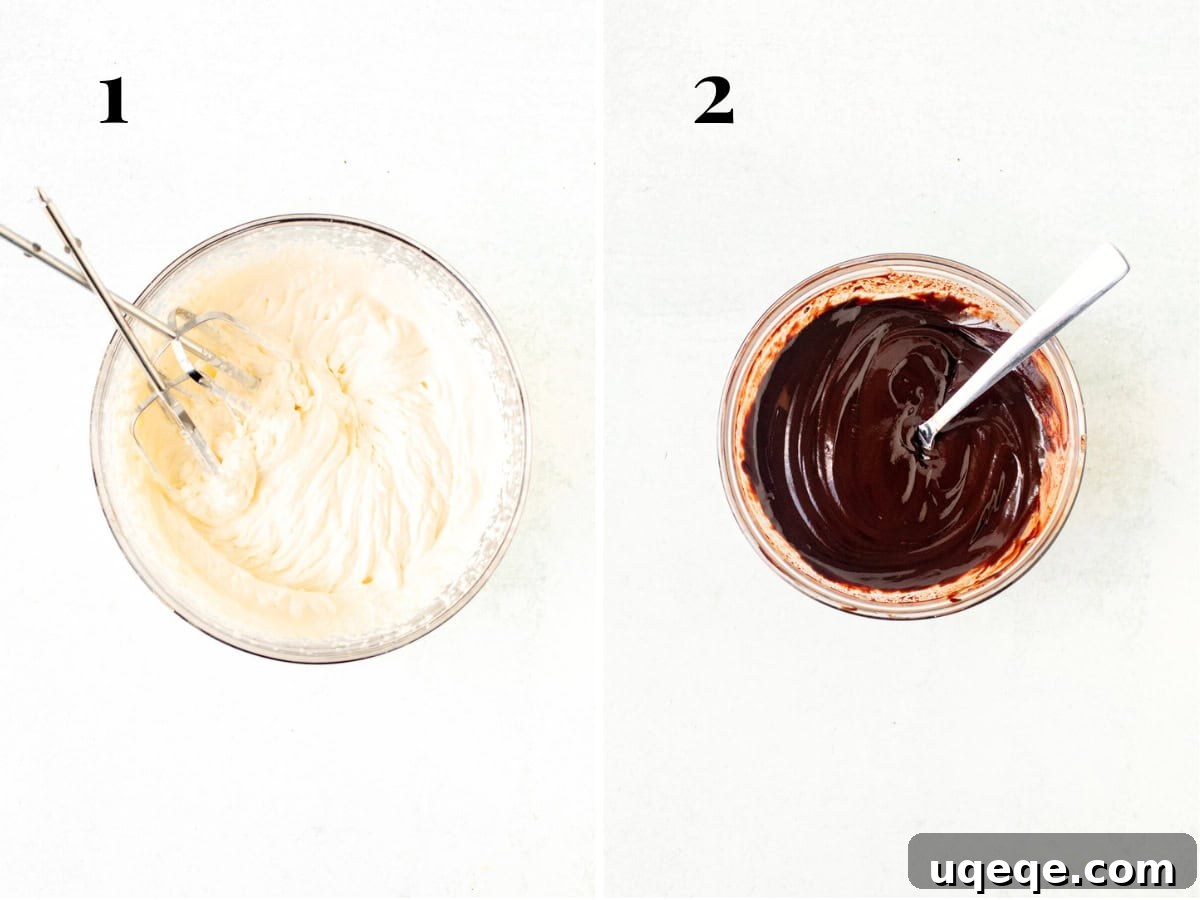
- Whip the Cream to Stiff Peaks: In a large, chilled bowl, using an electric mixer, beat the heavy whipping cream until stiff peaks form. This means the cream should hold its shape firmly when the beaters are lifted. Be careful not to over-whip, which can turn it grainy. Set the whipped cream aside.
- Gently Melt the Chocolate: Chop your dark chocolate into small, uniform pieces. Place them in a heat-proof bowl. Melt the chocolate either in the microwave using short 45-second intervals on medium power, stirring well after each interval to prevent burning, or over a double boiler. If using a double boiler, ensure the bowl doesn’t touch the simmering water. Slow and gentle melting is key to a smooth, unburnt chocolate. Allow to cool slightly.
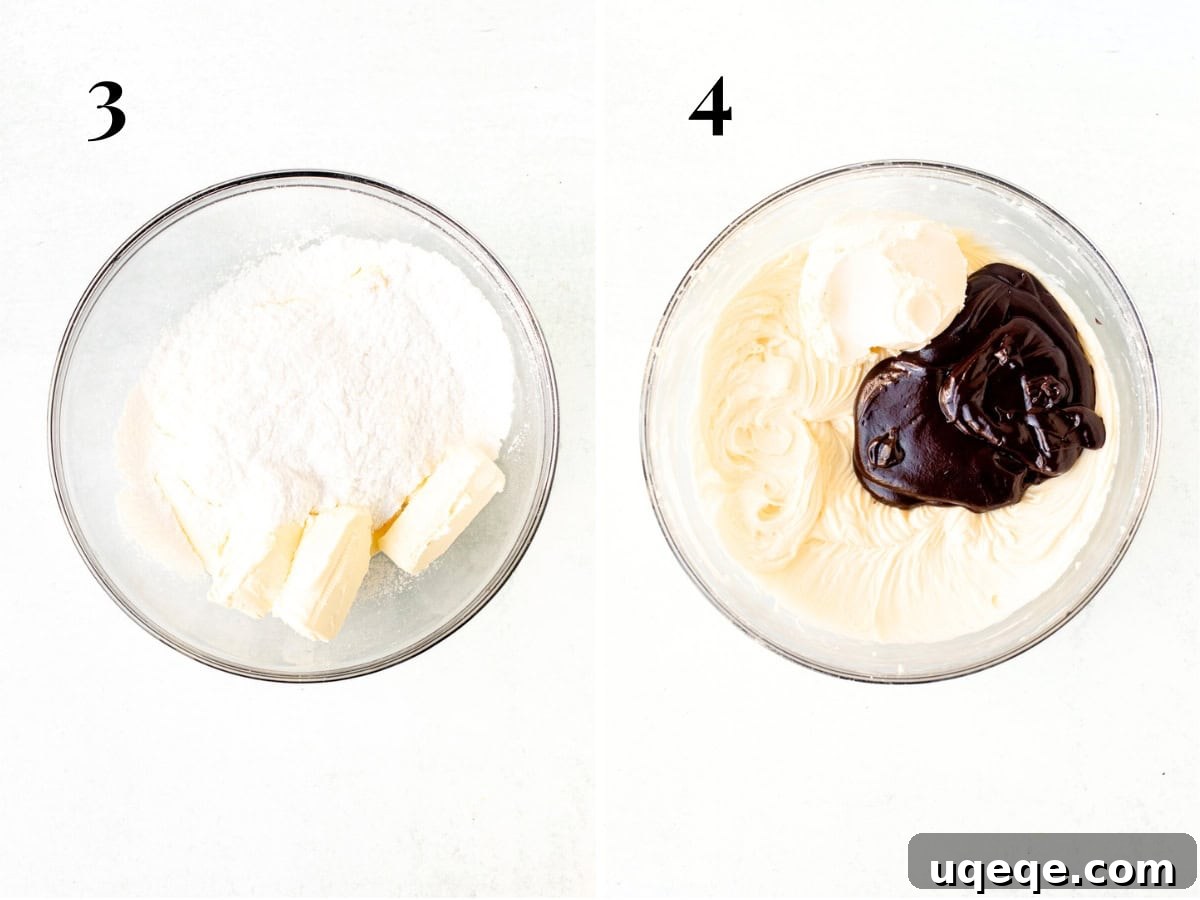
- Cream Together Cream Cheese and Sugar: In another large bowl, using an electric mixer, beat the softened full-fat cream cheese and powdered sugar together. Beat on medium speed for 2-4 minutes, or until the mixture is completely silky smooth and lump-free. Periodically stop the mixer and scrape down the sides and bottom of the bowl to ensure everything is thoroughly combined.
- Incorporate Chocolate and Sour Cream: Add the slightly cooled melted chocolate and the sour cream to the cream cheese mixture. Beat again on medium speed until fully combined and smooth, ensuring no lumps remain, especially at the bottom of the bowl. The mixture should now be uniformly chocolatey and creamy.
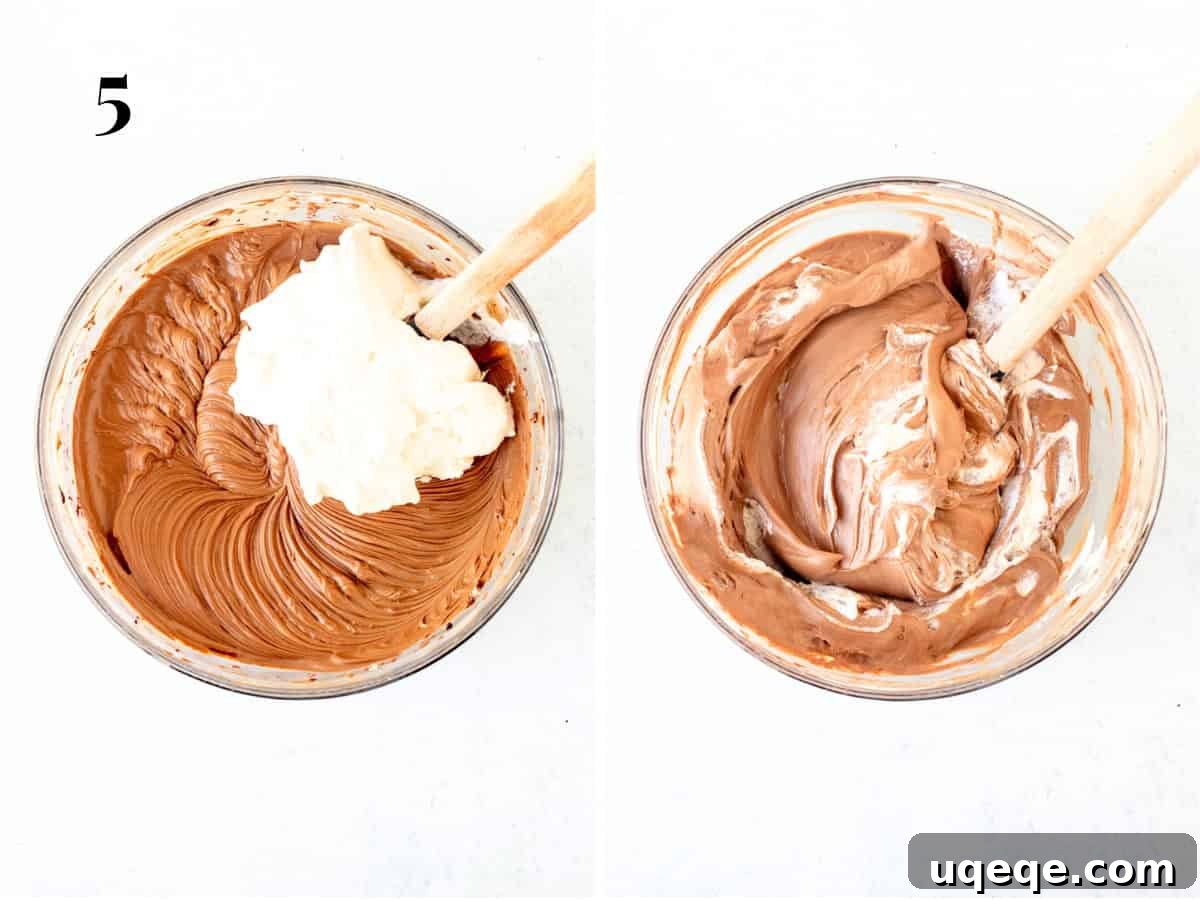
- Gently Fold in Whipped Cream: This is a delicate but crucial step. Using a rubber spatula, gently fold the whipped cream into the chocolate cream cheese mixture. Do this in batches, perhaps half at a time, incorporating it with light, upward motions. The goal is to maintain as much air as possible from the whipped cream. Continue folding until the batter is an even, uniform consistency with no white streaks of whipped cream visible. Over-mixing will deflate the cream, making the cheesecake dense.
- Spoon into the Prepared Crust: Carefully spoon the finished chocolate cheesecake filling into the frozen Oreo crust. Use the back of the spatula or spoon to gently smooth out the top, creating a neat and even surface.
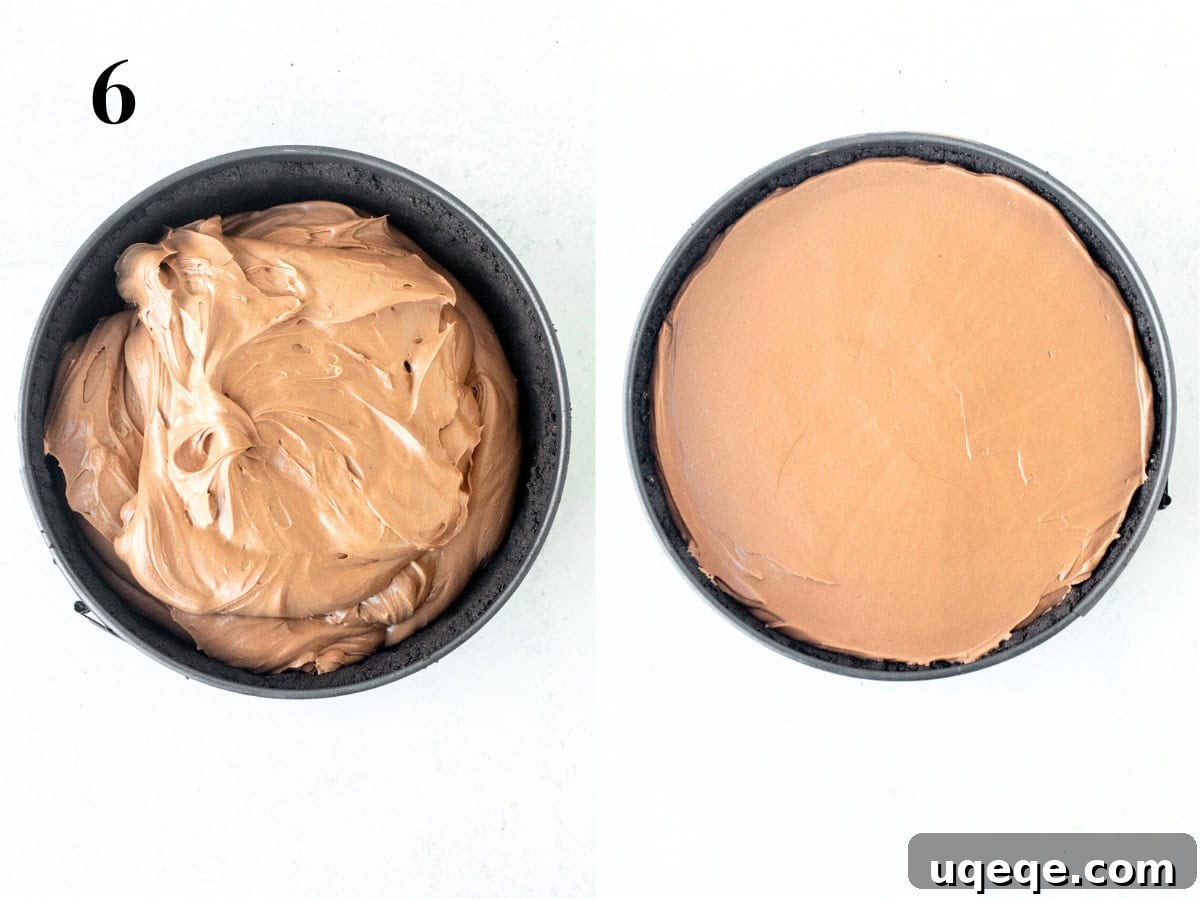
The final, and most important, step before serving this masterpiece is chilling. Cover the springform pan loosely with plastic wrap and refrigerate the cheesecake for at least 6 hours, or ideally overnight. Adequate chilling time is absolutely essential for the cheesecake to firm up, set properly, and develop its full, rich flavor and irresistible texture.
Expert Recipe Tips and Tricks
Because this no-bake cheesecake requires a substantial chilling period, it’s truly the perfect make-ahead dessert. You can effortlessly prepare it the day before your event and allow it to chill in the fridge overnight. This not only ensures it’s perfectly set and firm but also frees up your time on the day of serving. However, it’s crucial to note that freezing this particular no-bake cheesecake is not recommended. Freezing can lead to the formation of ice crystals within the delicate filling, which will unfortunately compromise its wonderfully velvety smooth and creamy texture, making it less enjoyable. Plan to make it fresh and chill only.
Room Temperature Ingredients: Ensure your cream cheese and sour cream are at proper room temperature before you begin. This is paramount for achieving a smooth, lump-free filling. Cold ingredients will resist blending, leading to a lumpy texture. Take them out of the fridge at least 30-60 minutes before you start.
Don’t Rush the Chill: We cannot stress enough the importance of the chilling time. Six hours is a minimum, but an overnight chill (8-12 hours) will yield the best, most stable results. Patience here truly pays off!
Serving Tip for Clean Slices: To achieve beautifully clean slices, run a sharp, thin knife under hot water, wipe it dry, and then make each cut. Repeat this process for every slice. This warmth helps glide through the crust and the firm filling. Be sure to slice all the way through the crunchy Oreo crust!
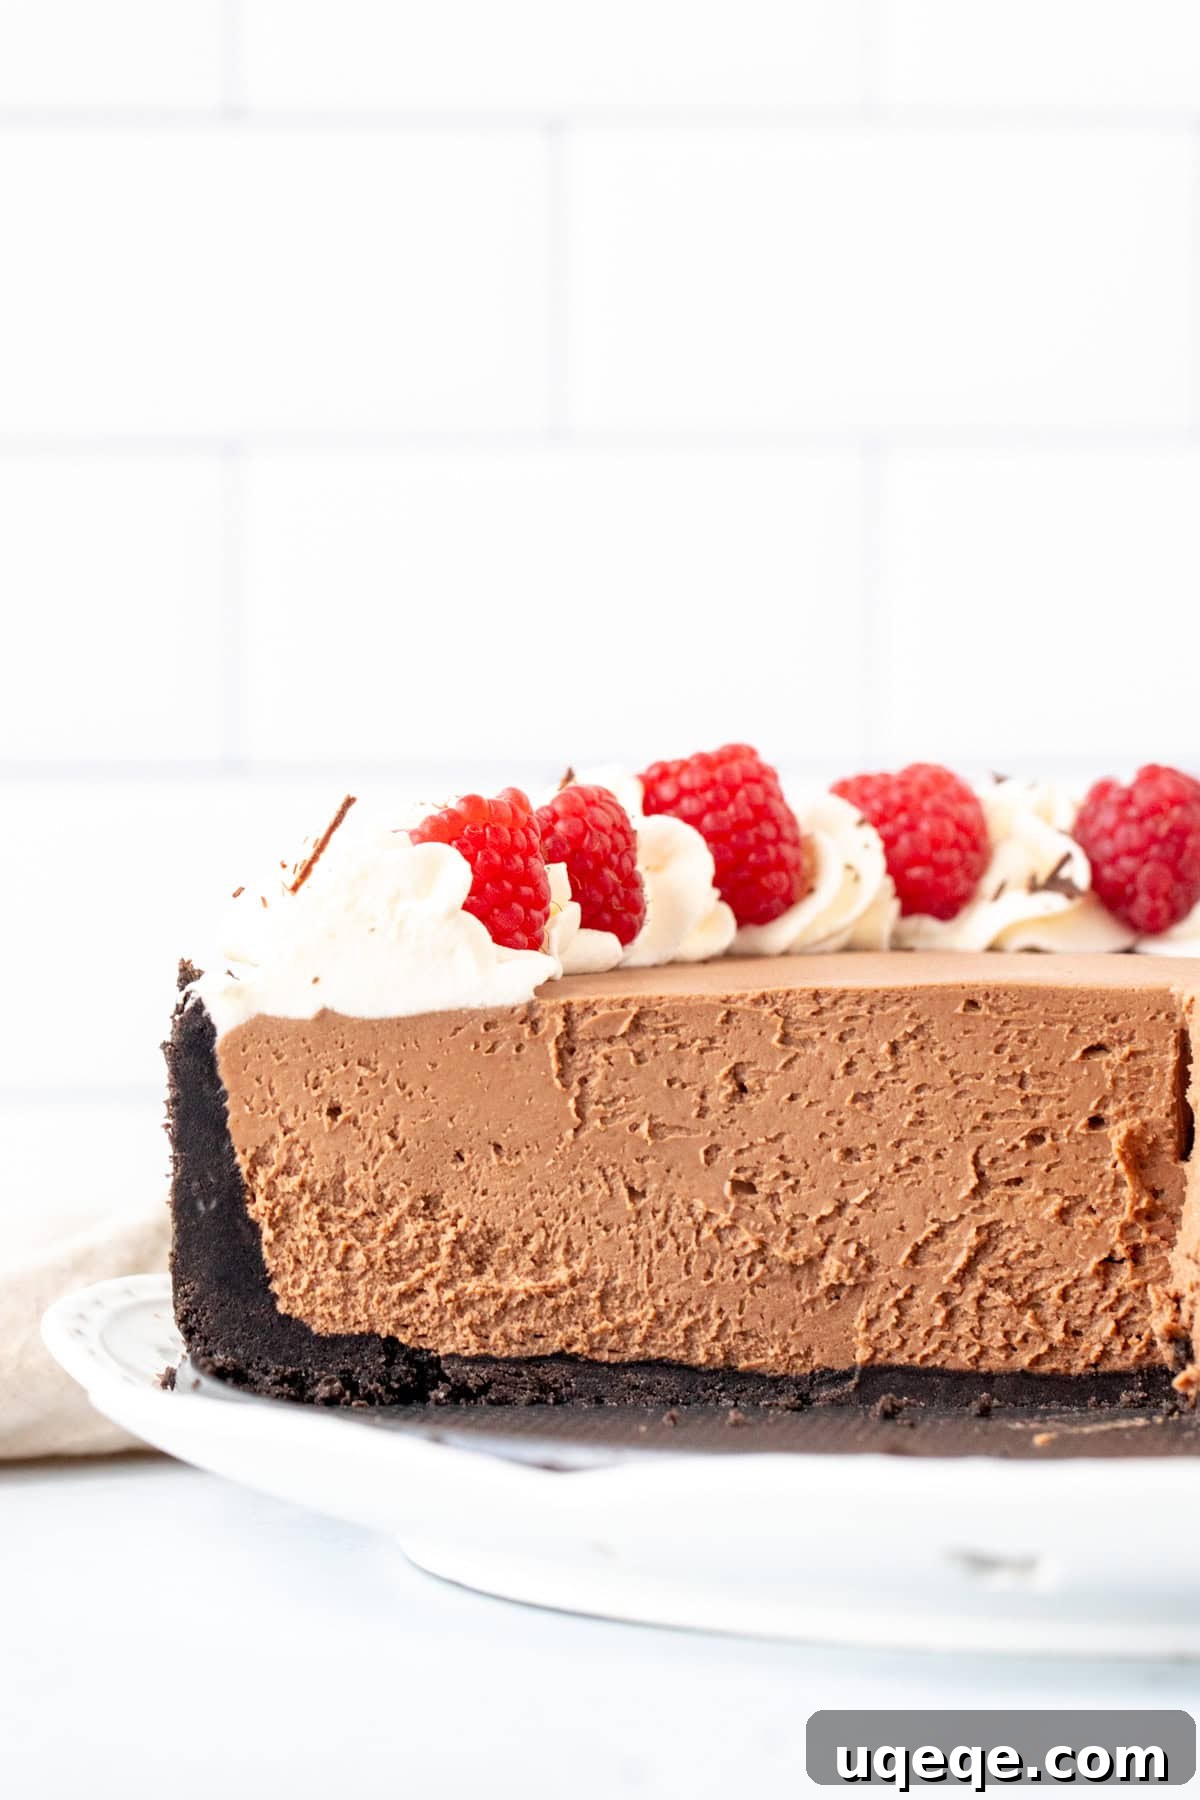
Creative Cheesecake Toppings & Serving Ideas
This decadent no-bake chocolate cheesecake is a showstopper on its own, but a thoughtful topping can elevate it to an even more exquisite level. While a classic combination of fresh whipped cream and vibrant berries is always a winner, consider these delightful alternatives to customize your dessert:
- Rich Salted Caramel Sauce: A drizzle of homemade salted caramel sauce adds a sophisticated sweet-and-salty contrast that perfectly complements the dark chocolate.
- Fresh Strawberry Sauce: Bright, tangy strawberry sauce provides a beautiful color and a refreshing fruity note that cuts through the richness of the chocolate.
- Decadent Chocolate Peanut Butter Sauce: For the ultimate chocolate and peanut butter lover, a generous pour of chocolate peanut butter sauce creates an incredibly rich and satisfying experience.
- Shaved Chocolate or Chocolate Curls: A simple yet elegant garnish that enhances the chocolate theme and adds a touch of visual appeal.
- Crushed Peppermint or Candy Cane: Perfect for holiday gatherings, this adds a festive touch and a refreshing minty crunch.
- Toasted Coconut Flakes: For a tropical twist, toasted coconut adds a lovely texture and nutty flavor.
- Mini Chocolate Chips or Sprinkles: A fun and easy way to add texture and color, especially if serving to children or for a festive occasion.
- Coffee or Espresso Powder Dusting: A light dusting of coffee or espresso powder can intensify the chocolate flavor without adding a strong coffee taste.
Serve this cheesecake chilled, allowing it to slightly warm at room temperature for about 10-15 minutes before slicing for the creamiest texture. Pair it with a strong coffee, a glass of red wine, or even a shot of espresso for a truly luxurious dessert experience.
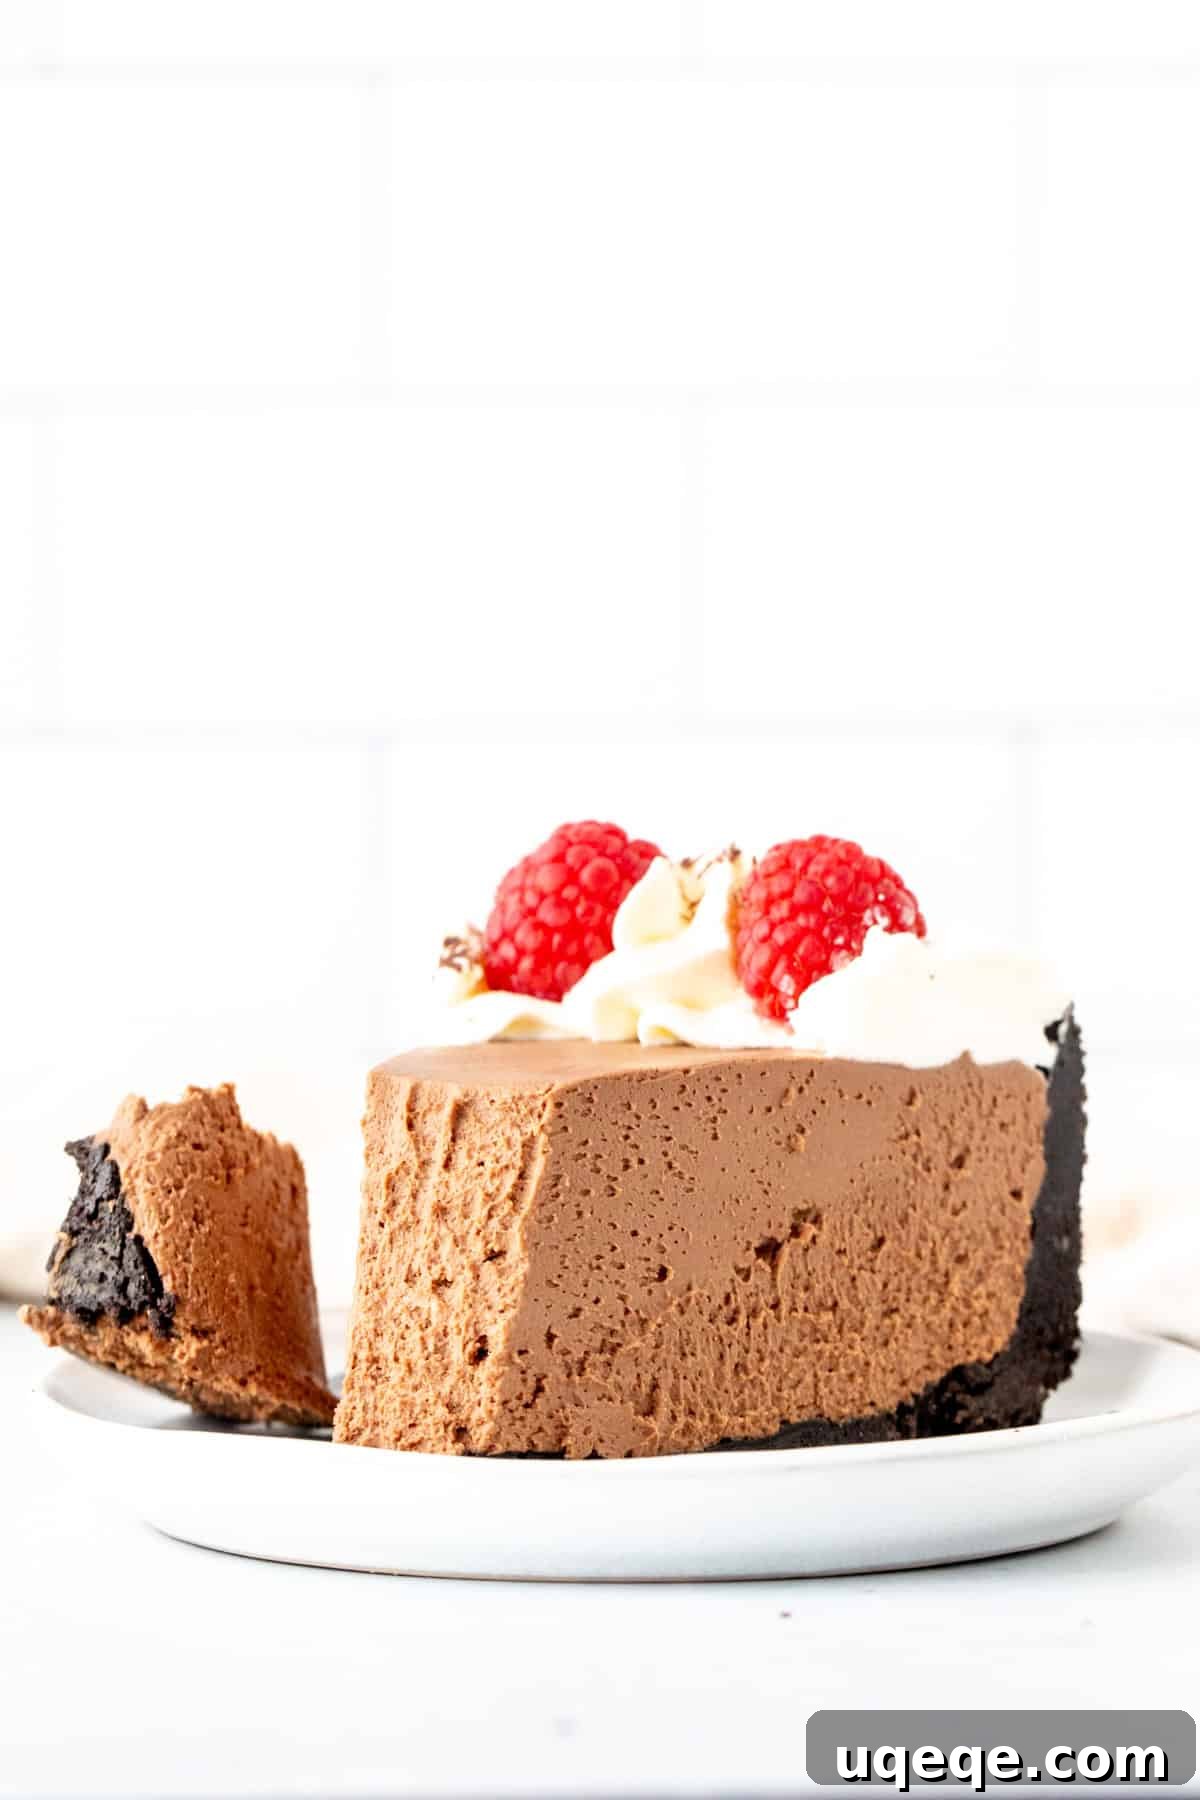
Frequently Asked Questions (FAQ)
Here are some common questions you might have when making this delicious no-bake chocolate cheesecake:
Q: Can I use different cookies for the crust?
A: Absolutely! While Oreos provide a classic chocolate flavor, you can experiment with other chocolate cookies, graham crackers, or even digestive biscuits for a different twist. Just ensure the cookie-to-butter ratio remains consistent to achieve a firm crust.
Q: My cheesecake didn’t set properly. What went wrong?
A: The most common reasons for a cheesecake not setting are insufficient chilling time, using low-fat or spreadable cream cheese instead of full-fat brick-style, or over-whipping the heavy cream (which can cause it to separate) or under-whipping (not enough air for stability). Ensure all ingredients are at room temperature (except the heavy cream for whipping) and follow the chilling recommendations strictly.
Q: Can I make this cheesecake ahead of time?
A: Yes, this is an excellent make-ahead dessert! It can be prepared 1-2 days in advance and stored, covered, in the refrigerator. In fact, an overnight chill often enhances the flavor and ensures a perfectly set cheesecake.
Q: How long does this no-bake cheesecake last?
A: When stored properly covered in the refrigerator, the cheesecake will remain fresh and delicious for 3-4 days. We do not recommend freezing it, as the texture can become icy and lose its desired creaminess.
Q: Can I make this cheesecake in a different size pan?
A: Yes, this recipe is flexible! Refer to the “Pan Sizes” section in the recipe notes for detailed guidance on adjusting for 8-inch or 10-inch springform pans, or even a 9-inch square pan. Please note it is not suitable for a 9-inch pie plate due to the volume of filling.
Looking for a classic no-bake cheesecake without the chocolate? Discover this easy vanilla no-bake cheesecake recipe.
Or if you’re ready to master the art of a traditional baked chocolate cheesecake, we’ve got you covered with a comprehensive recipe right here.
No-Bake Chocolate Cheesecake
Indulge in this truly decadent No-Bake Chocolate Cheesecake! Its filling is exquisitely creamy, wonderfully smooth, and intensely chocolatey. It remarkably sets without any gelatin, offering a delightful light and fluffy texture that’s utterly irresistible. This recipe is an effortless way to create a show-stopping dessert that will delight everyone.
Rate Recipe
Print Recipe
Equipment
- 9-inch (23 cm) springform pan
Ingredients
Oreo Crust
- 36 Oreo cookies, wafers and cream filling
- 7 tablespoons unsalted butter (98 grams), melted and cooled
Chocolate Cheesecake Filling
- 1 cup heavy whipping cream (240 ml), about 35% MF
- 8 oz dark chocolate (226 grams), 50-70% cocoa or semi-sweet
- 20 oz full-fat cream cheese (567 grams) , brick style, softened to room temperature
- 1 1/2 cups powdered sugar (165 grams)
- 1/2 cup sour cream (120 ml)
Instructions
Oreo Crust
-
Crush the cookies (including the filling) until they form fine crumbs. This can be done quickly using a food processor, or by placing the cookies in a sturdy freezer bag and crushing them thoroughly with a rolling pin.
-
Mix the crushed cookies with the melted butter. You can either combine them in a bowl with a fork, or add the melted butter directly to the food processor and pulse a few times until the mixture is cohesive.
-
Press the mixture firmly and evenly into the bottom of a 9-inch (23 cm) springform pan. Extend the crust roughly 1/2 to 3/4 of the way up the sides of the pan.
-
Place the crust in the freezer to chill and firm up while you prepare the cheesecake filling.
Cheesecake Filling
-
Chop the dark chocolate into fine pieces and place in a heat-proof bowl. Melt it in the microwave using 45-second intervals on medium power, stirring well between each interval. Avoid using high power, as this can cause the chocolate to bake or become grainy. Alternatively, melt the chocolate in a double boiler over gently simmering water, ensuring the bottom of the bowl does not touch the water. Let it cool slightly before use.
-
In a large, chilled bowl, beat the heavy whipping cream with an electric mixer until stiff peaks form. Set aside.
-
In a separate large bowl, beat together the softened full-fat cream cheese and powdered sugar until the mixture is completely silky smooth and free of lumps (this typically takes 2-4 minutes). Remember to occasionally turn off the mixer and scrape down the bottom and sides of the bowl to ensure thorough blending.
-
Beat the slightly cooled melted chocolate and the sour cream into the cream cheese mixture until fully incorporated and smooth.
-
Gently fold the whipped cream into the chocolate cream cheese mixture using a rubber spatula. Do this in two additions, using light, upward motions to preserve the air in the whipped cream. Continue folding until the batter is an even, uniform consistency with no white streaks of whipped cream remaining.
-
Spoon the finished cheesecake filling into the prepared Oreo crust, and gently smooth the top surface with your spatula.
-
Cover the pan loosely with plastic wrap and refrigerate for at least 6 hours, or ideally overnight, before serving. This chilling time is crucial for the cheesecake to set properly.
Serving
-
When you are ready to serve, carefully unclamp and remove the outer ring of the springform pan.
-
Optionally, decorate the cheesecake with additional whipped cream (using a piping bag with a 1M star tip for rosettes) and fresh berries around the edges for a beautiful presentation.
-
For clean slices, use a sharp, thin knife (not a table knife). Dip the knife in hot water and wipe it dry before each cut to ensure it glides smoothly. Be sure to slice all the way through the crunchy Oreo crust. The very first piece can sometimes be a little challenging to remove.
Notes
- Pan Sizes & Adaptations:
- 9-inch (23 cm) Springform Pan: This recipe is specifically formulated for a 9-inch springform pan, which yields a cheesecake of ideal thickness and proportion.
- 8-inch Springform Pan: If you prefer a thicker, taller cheesecake, you can use an 8-inch springform pan. The crust will extend higher up the sides, and the overall height of the filling will be more substantial.
- 10-inch Springform Pan: For a thinner cheesecake, a 10-inch springform pan can be used. Note that with this size, the cookie crust mixture will likely only cover the bottom of the pan, not extend up the sides.
- 9-inch Square Pan: No springform? No problem! Line a 9-inch square baking pan with aluminum foil, extending the foil up the sides to create “handles.” Ensure your pan has sides that are at least 3 inches tall. When ready to serve, simply lift the cheesecake out using the foil handles, transfer it to a cutting board, peel back the foil, and slice with a sharp knife.
- Pie Plate: Due to the generous amount of filling, this recipe is not suitable for a standard 9-inch pie plate, as it will overflow.
- Whipped Topping Substitution (Cool Whip): If you wish to substitute store-bought whipped topping (like Cool Whip) for fresh whipping cream, simply skip step 2 of the cheesecake filling instructions (whipping the cream). Then, in step 5, gently fold in 1 1/2 cups of thawed whipped topping into the cheesecake batter instead of the freshly whipped cream. Keep in mind that using whipped topping may slightly alter the final texture and flavor, making it a bit less rich than with fresh cream.
- Make-Ahead & Storage Guidelines: This no-bake cheesecake is an ideal make-ahead dessert. It can be prepared 1 to 2 days in advance, covered, and stored in the refrigerator. An overnight chill typically results in the best set and flavor. However, freezing this cheesecake is not recommended, as it can cause ice crystals to form, compromising the smooth and creamy consistency. Store any leftovers covered in the fridge for up to 3-4 days.
- Nutrition Information: The provided nutritional data is an estimate only. It is based on 1 slice of cheesecake, assuming the entire cheesecake is cut into 12 uniform pieces and does not include any additional decorations or toppings.
Nutrition
Enjoyed this recipe? Please consider rating it and leaving a comment below!Your feedback helps others discover delicious recipes.