
Indulge in the delightful simplicity of our Berries and Cream Cake, a truly exquisite dessert that promises a perfect balance of flavor and elegance. Featuring a tender, moist vanilla cake base, crowned with lightly sweetened whipped cream and an abundance of vibrant fresh berries, this cake is a celebration of summer’s bounty. It’s designed to be effortlessly beautiful and wonderfully light, making it an irresistible treat that’s never overly sweet.
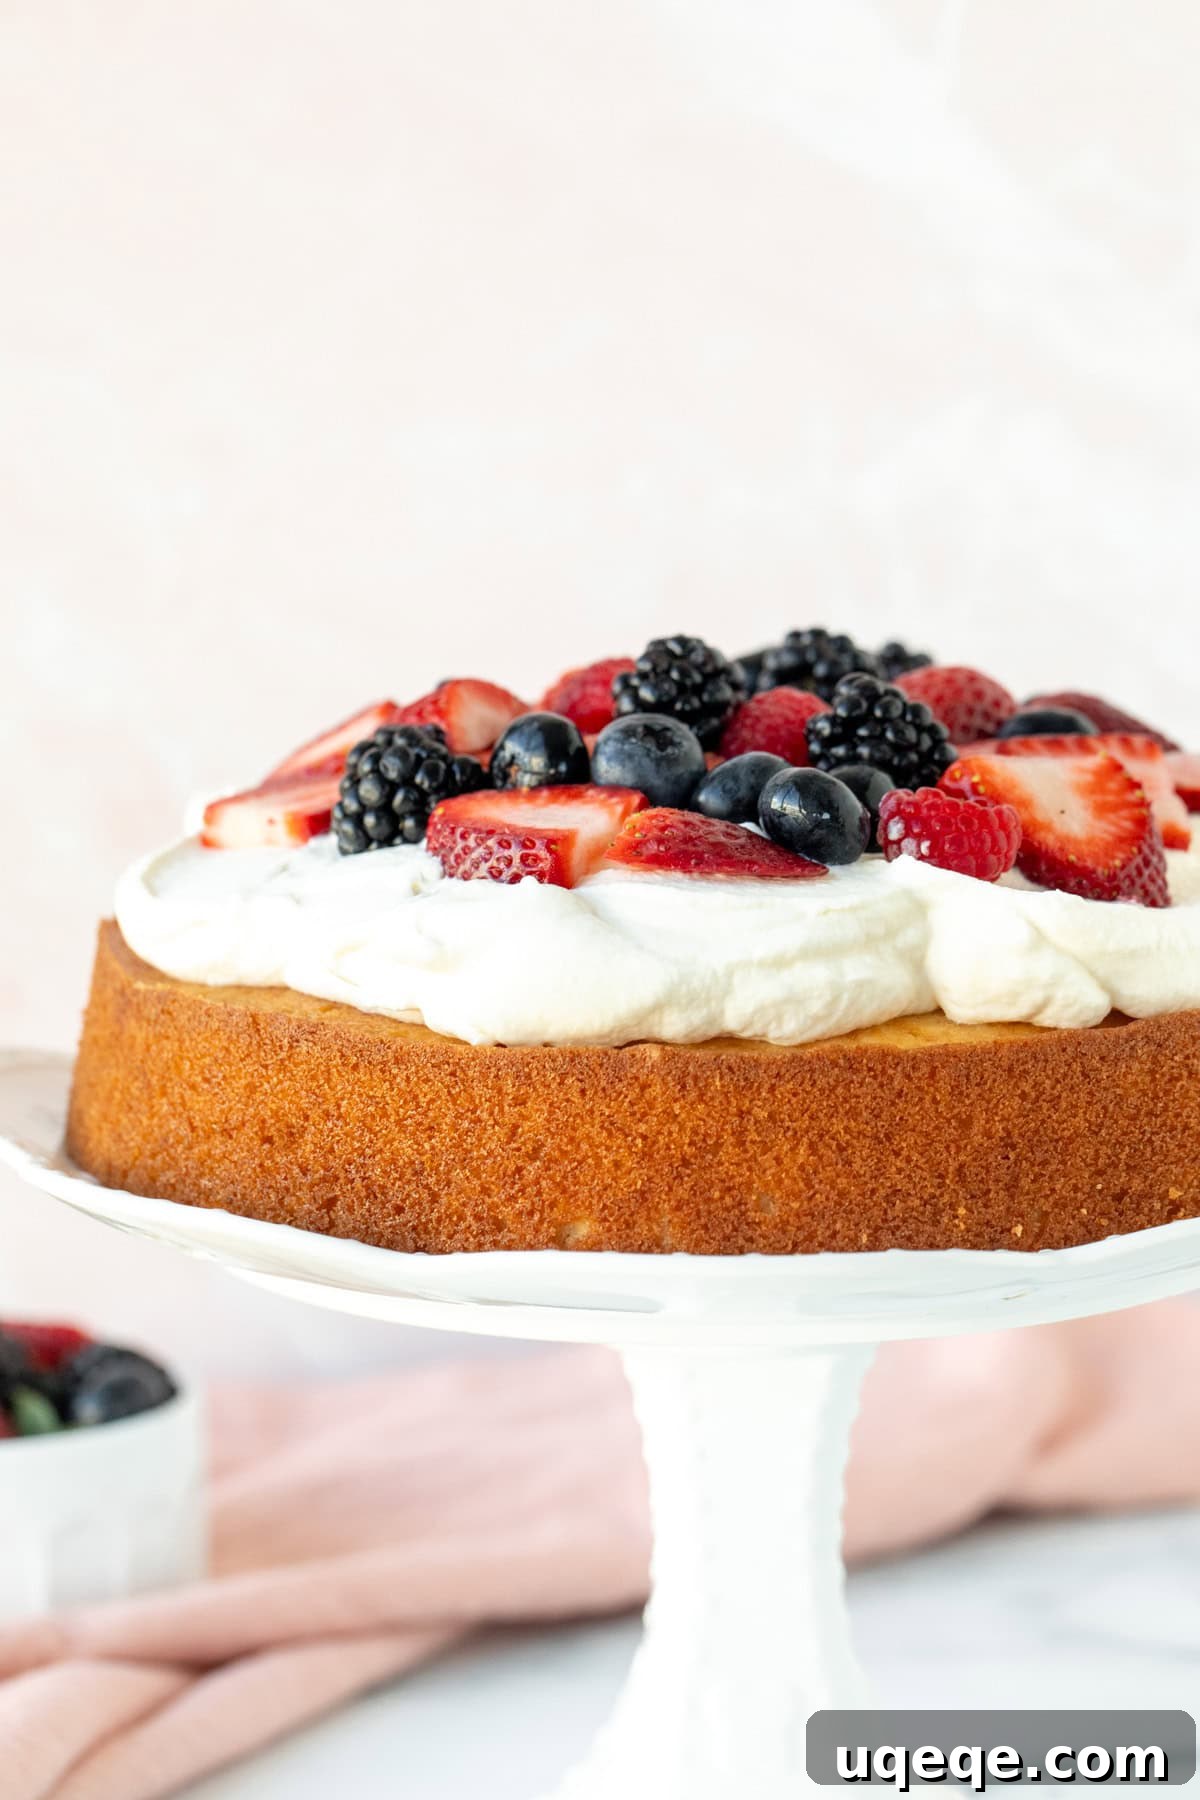
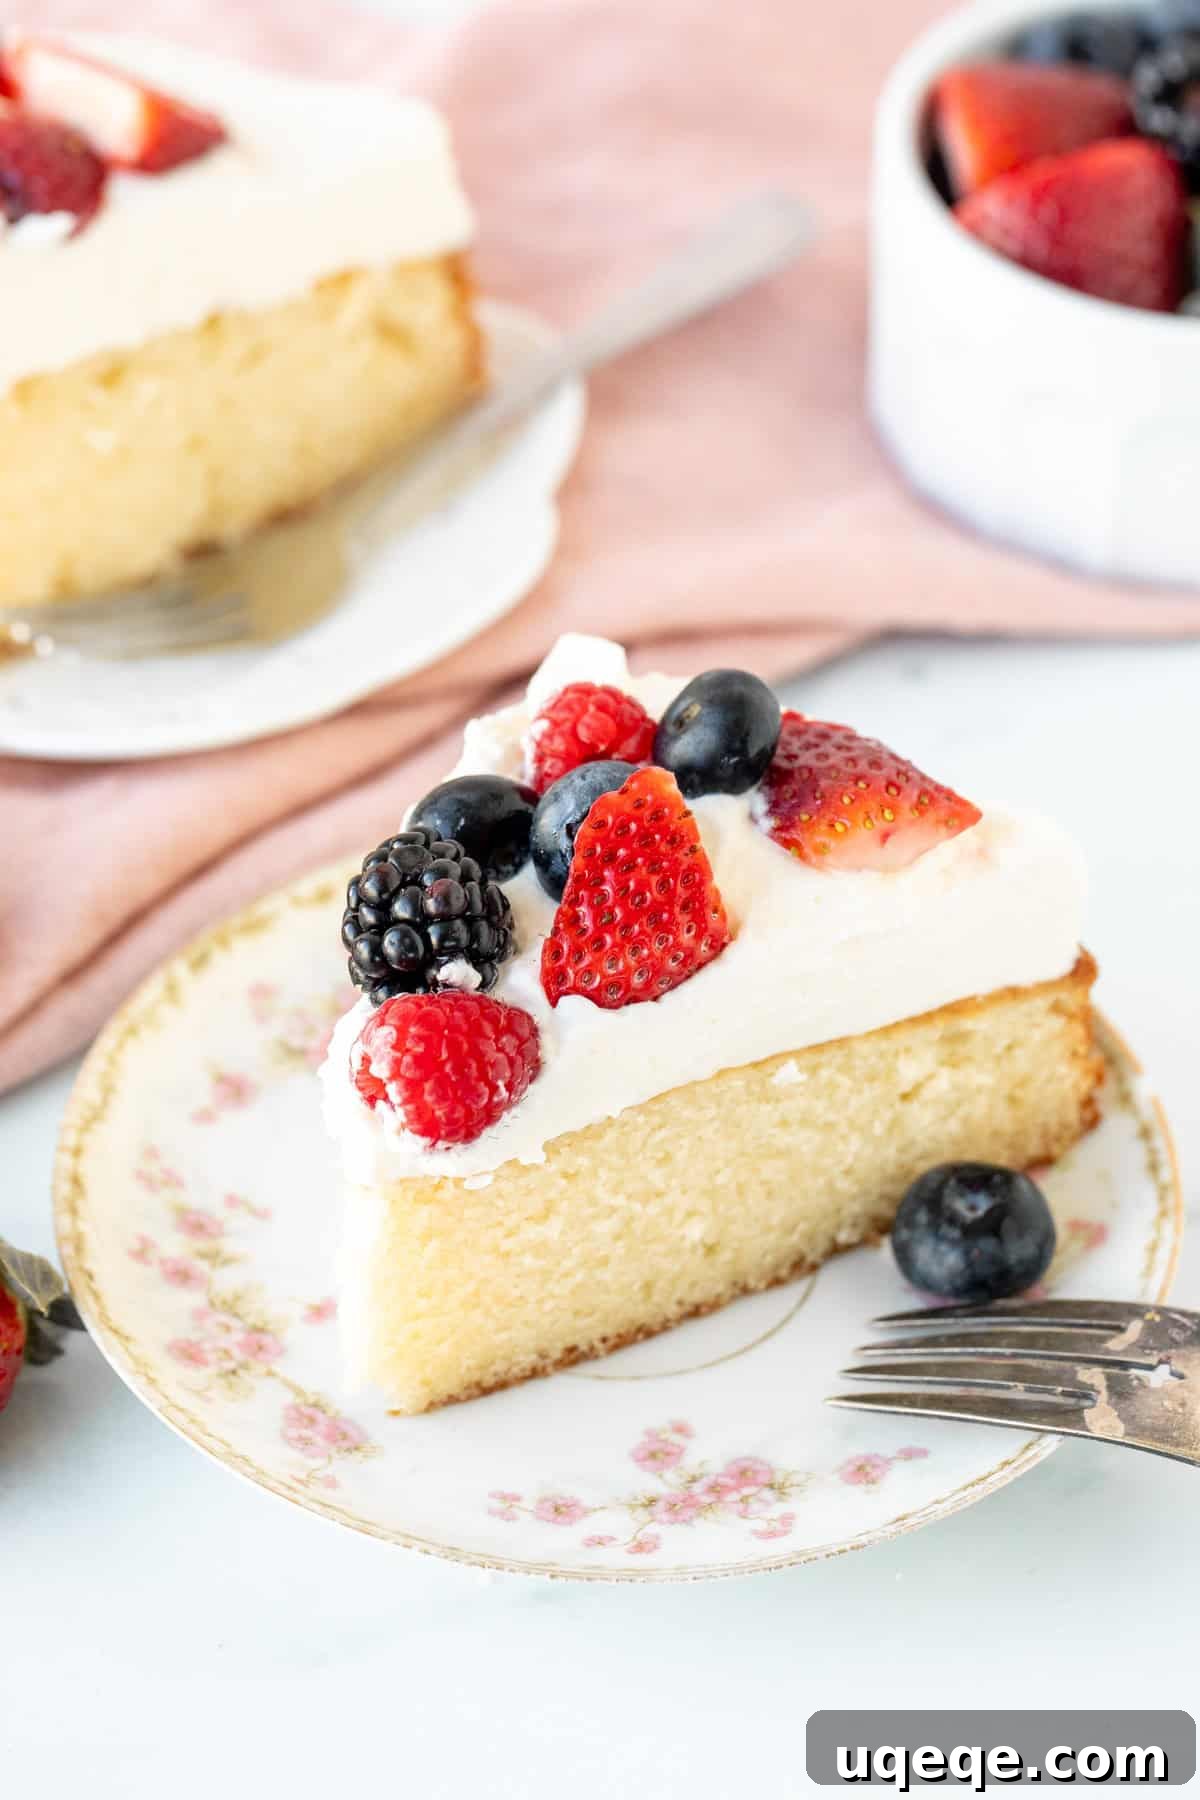
This magnificent berries and cream cake stands as a testament to simple elegance, making it the quintessential dessert for peak berry season. Its foundation is a wonderfully moist and tender vanilla cake, baked to golden perfection. This single-layer masterpiece is then generously piled high with a cloud-like swirl of fluffy, homemade whipped cream, and adorned with your favorite assortment of glistening fresh berries. The beauty of a single-layer cake extends beyond its charming appearance; it simplifies the baking process by eliminating the need for stacking multiple layers and significantly eases transport, making it an ideal choice for your next summer barbecue, picnic, or potluck gathering.
The harmonious blend of the cake’s delicate moisture, the ethereal lightness of the whipped cream, and the natural sweetness of sun-ripened berries creates a dessert that is utterly impossible to resist. Each bite offers a refreshing contrast of textures and flavors, culminating in a truly satisfying experience without being heavy.
Baking the Perfect Vanilla Cake Base
The foundation of our exquisite berries and cream cake is a beautifully moist and tender vanilla cake, specifically a white cake, achieved by using only egg whites. This careful selection ensures a delicate flavor profile that perfectly complements the fresh, vibrant notes of berries and the richness of whipped cream. Crafting this base requires attention to detail, but the results are a truly fluffy and flavorful crumb that will elevate your dessert experience.
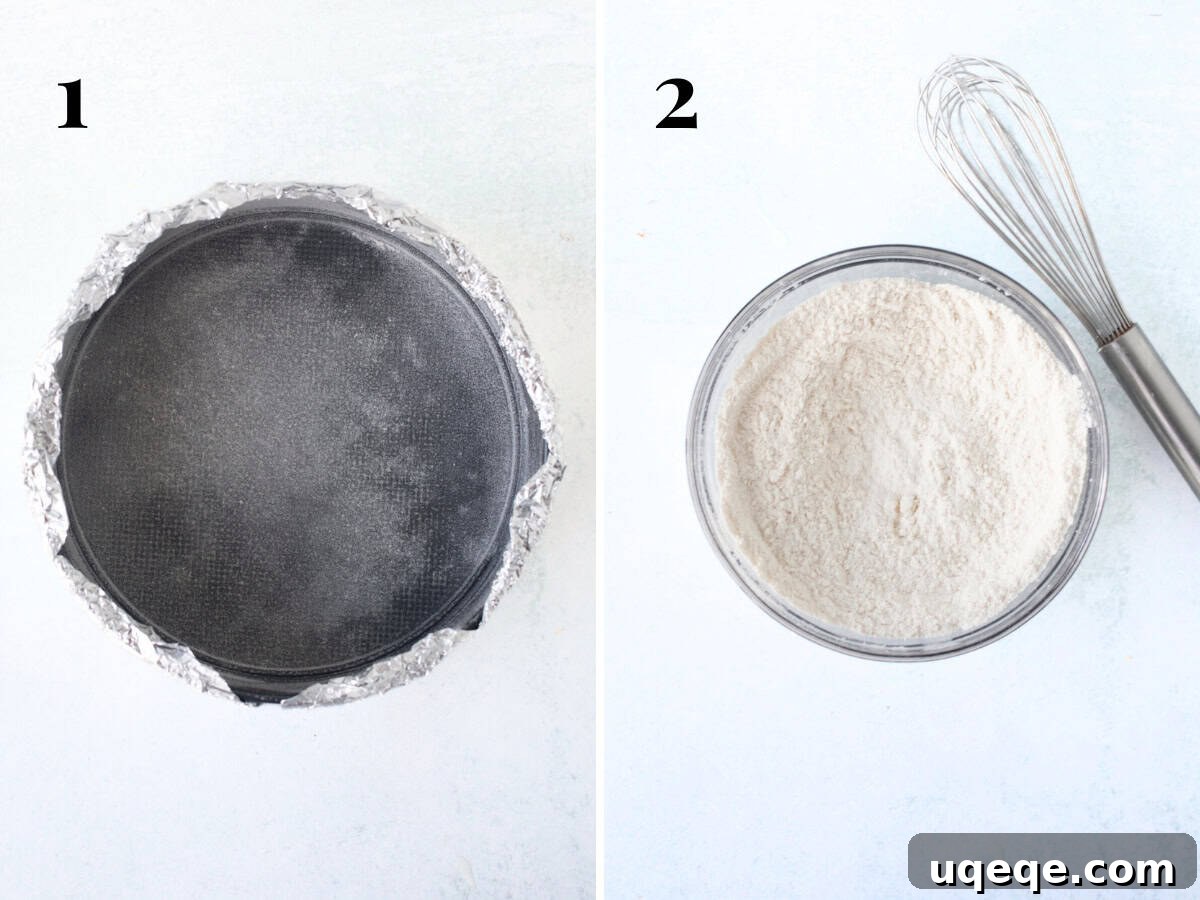
- To begin your baking journey, prepare your chosen pan and preheat your oven to 340°F (170°C). For a 9-inch springform pan, an essential step is to wrap its exterior with aluminum foil to prevent any potential leaks during baking. Following this, lightly grease and flour the bottom and sides of the pan thoroughly.
- Important Note: This recipe yields a generous amount of batter, which is too much for an 8-inch round pan. A 9-inch springform pan, or a standard 9-inch round cake pan with at least 2-inch high sides, is crucial for success. A 9-inch sandwich tin, typically with 1.5-inch sides, will be insufficient and may cause overflow. If you opt for a traditional cake pan, there’s no need for the foil wrap, as springform pans are more prone to leakage.
- Next, in a medium-sized bowl, meticulously sift together your dry ingredients: all-purpose flour, baking powder, and salt. Sifting ensures a lump-free mixture and even distribution of leavening agents. After sifting, whisk them together for about 10 seconds to ensure everything is thoroughly combined, then set aside.
- In a separate, larger mixing bowl, cream together the softened unsalted butter and granulated sugar. This vital step should be performed until the mixture is light, fluffy, and noticeably pale. Ensure no visible lumps of butter remain; while some sugar granules might still be present, the mixture should be smooth and airy. This process typically takes around 2 minutes with an electric mixer.
- Following the creaming of butter and sugar, incorporate the vanilla extract along with a small amount of vegetable or canola oil. The addition of just a touch of oil is a baker’s secret to enhancing the cake’s moisture and ensuring it stays tender for an extended period, preventing it from drying out too quickly.
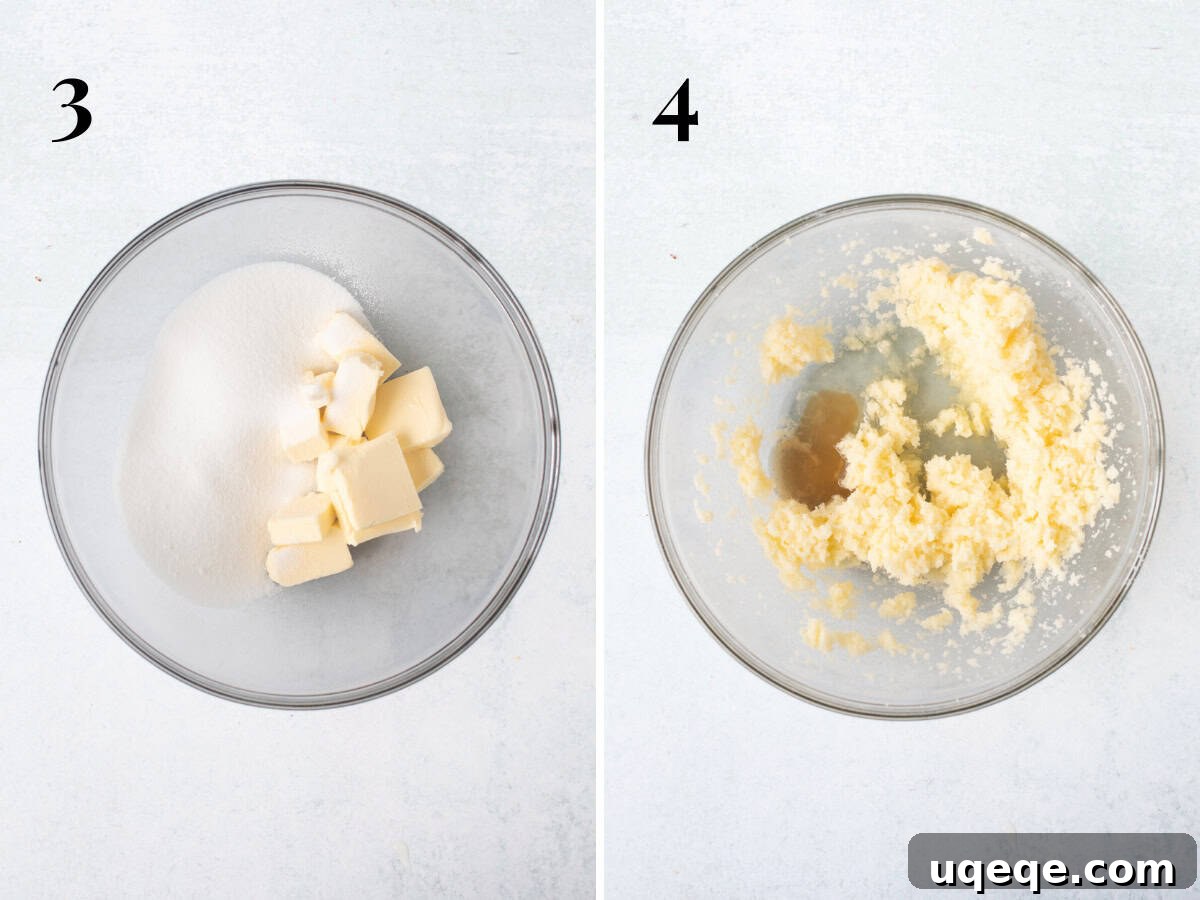
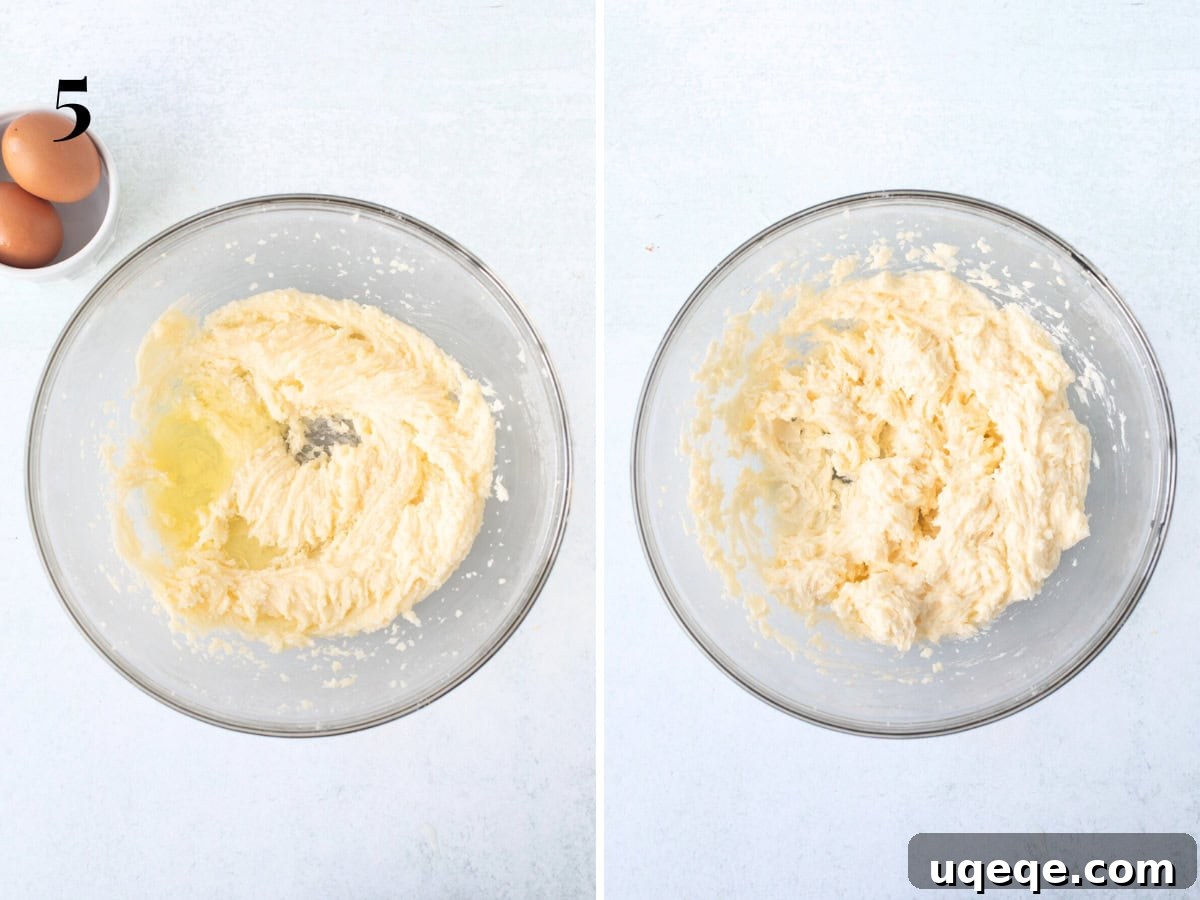
- Now, carefully beat in the egg whites, adding them one at a time. It is absolutely essential that your egg whites are at room temperature before you begin this step. Cold egg whites can cause the batter to become challenging to mix and may result in a curdled appearance, affecting the cake’s final texture. After each egg white addition, pause your mixer and diligently scrape down the sides and bottom of the bowl to ensure uniform mixing and prevent any hidden pockets of butter. Once all egg whites are incorporated, the batter should appear wonderfully fluffy and homogenous. The image below illustrates the desired consistency.
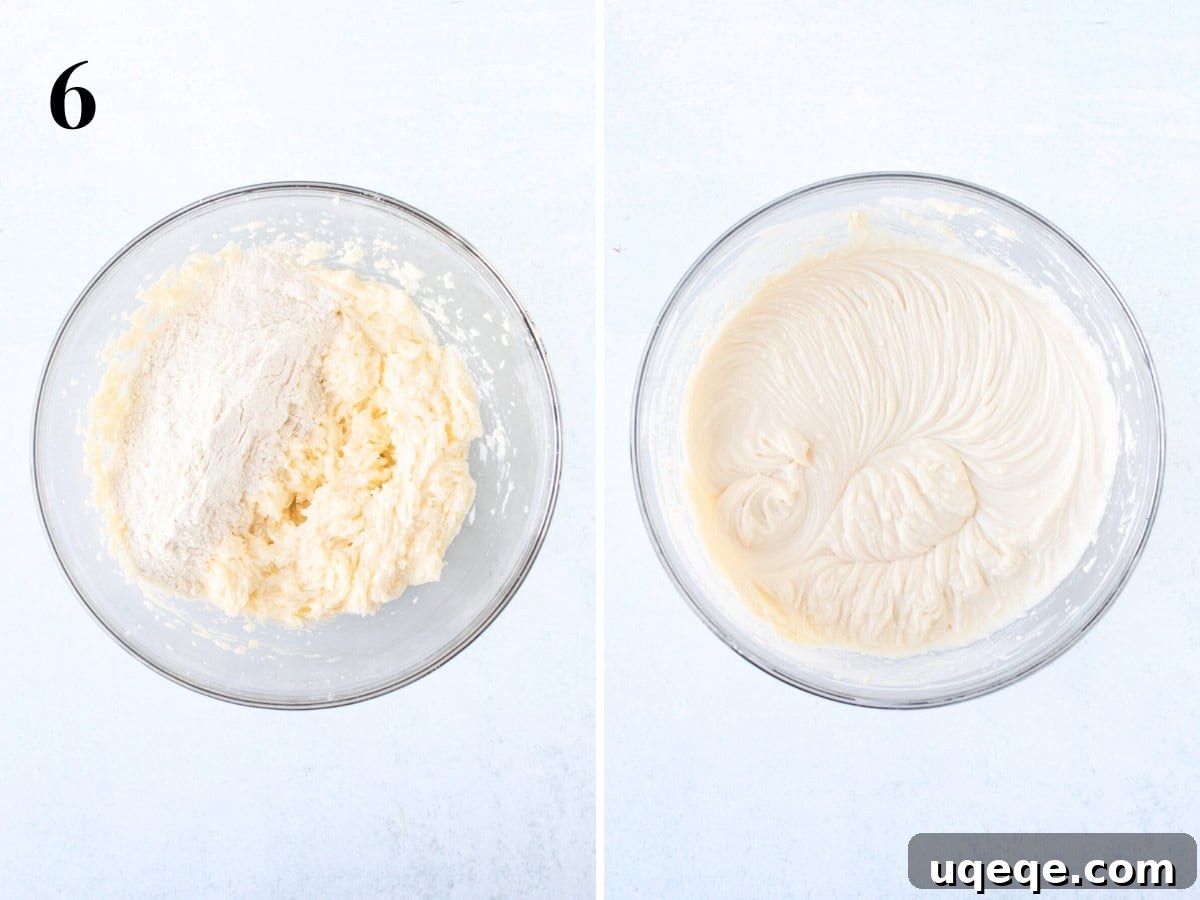
- Finally, alternate between adding the sifted dry ingredients and the room-temperature whole milk into the butter mixture. Begin by beating in approximately one-third of the dry ingredients, followed by about half of the milk. Repeat this process, finishing with the remaining dry ingredients. This alternating technique is crucial for developing a perfectly uniform cake batter and significantly reduces the risk of overmixing. Overmixing can overdevelop the gluten in the flour, leading to a tough, dry cake – a texture we aim to avoid at all costs for a truly moist vanilla cake.
- Pour the meticulously prepared batter into your greased and floured pan, gently smoothing the top with a spatula to ensure an even bake. Place the pan in the middle rack of your preheated oven. The cake will typically need to bake for about 45-50 minutes. You’ll know it’s perfectly done when an inserted toothpick or cake tester comes out clean, and the edges of the cake subtly begin to pull away from the sides of the pan. Keep an eye on it after 40 minutes to prevent overbaking.
Crafting the Irresistible Berries and Cream Topping
The true magic of this dessert comes alive with its fresh, vibrant topping. A generous layer of freshly whipped cream, enhanced with a hint of powdered sugar and vanilla, creates a luxurious pillow for an assortment of your favorite sweet berries. This light and airy topping perfectly complements the tender vanilla cake, ensuring every bite is a delightful fusion of textures and tastes.
When preparing the whipped cream, the quality of your ingredients makes all the difference. Look for whipping cream labeled with a milk fat (MF) content between 33-35%. This higher fat content is key to achieving a stable, fluffy cream. Beat the whipping cream until it forms medium peaks – meaning the cream holds its shape but the tip gently curls over. It’s crucial to stop whipping before the cream begins to curdle or separate. To ensure the best possible outcome for your homemade whipped cream, keep these essential tips in mind:
- Keep Everything Cold: For optimal results, ensure your whipping cream, mixing bowl, and whisk attachments are all thoroughly chilled. Place your bowl and beaters in the refrigerator or freezer for at least 10-15 minutes before you begin. Always take the cream directly from the fridge just before you’re ready to whip it; do not let it sit at room temperature.
- Troubleshooting Curdled Cream: If, by chance, your cream starts to look grainy or appears to be curdling, it’s a sign that you’ve over-whipped it. Don’t despair! This can often be remedied by gently folding in a small amount of extra, cold whipping cream, approximately 1 tablespoon at a time, using a rubber spatula or wooden spoon until it regains a smooth, luscious consistency.
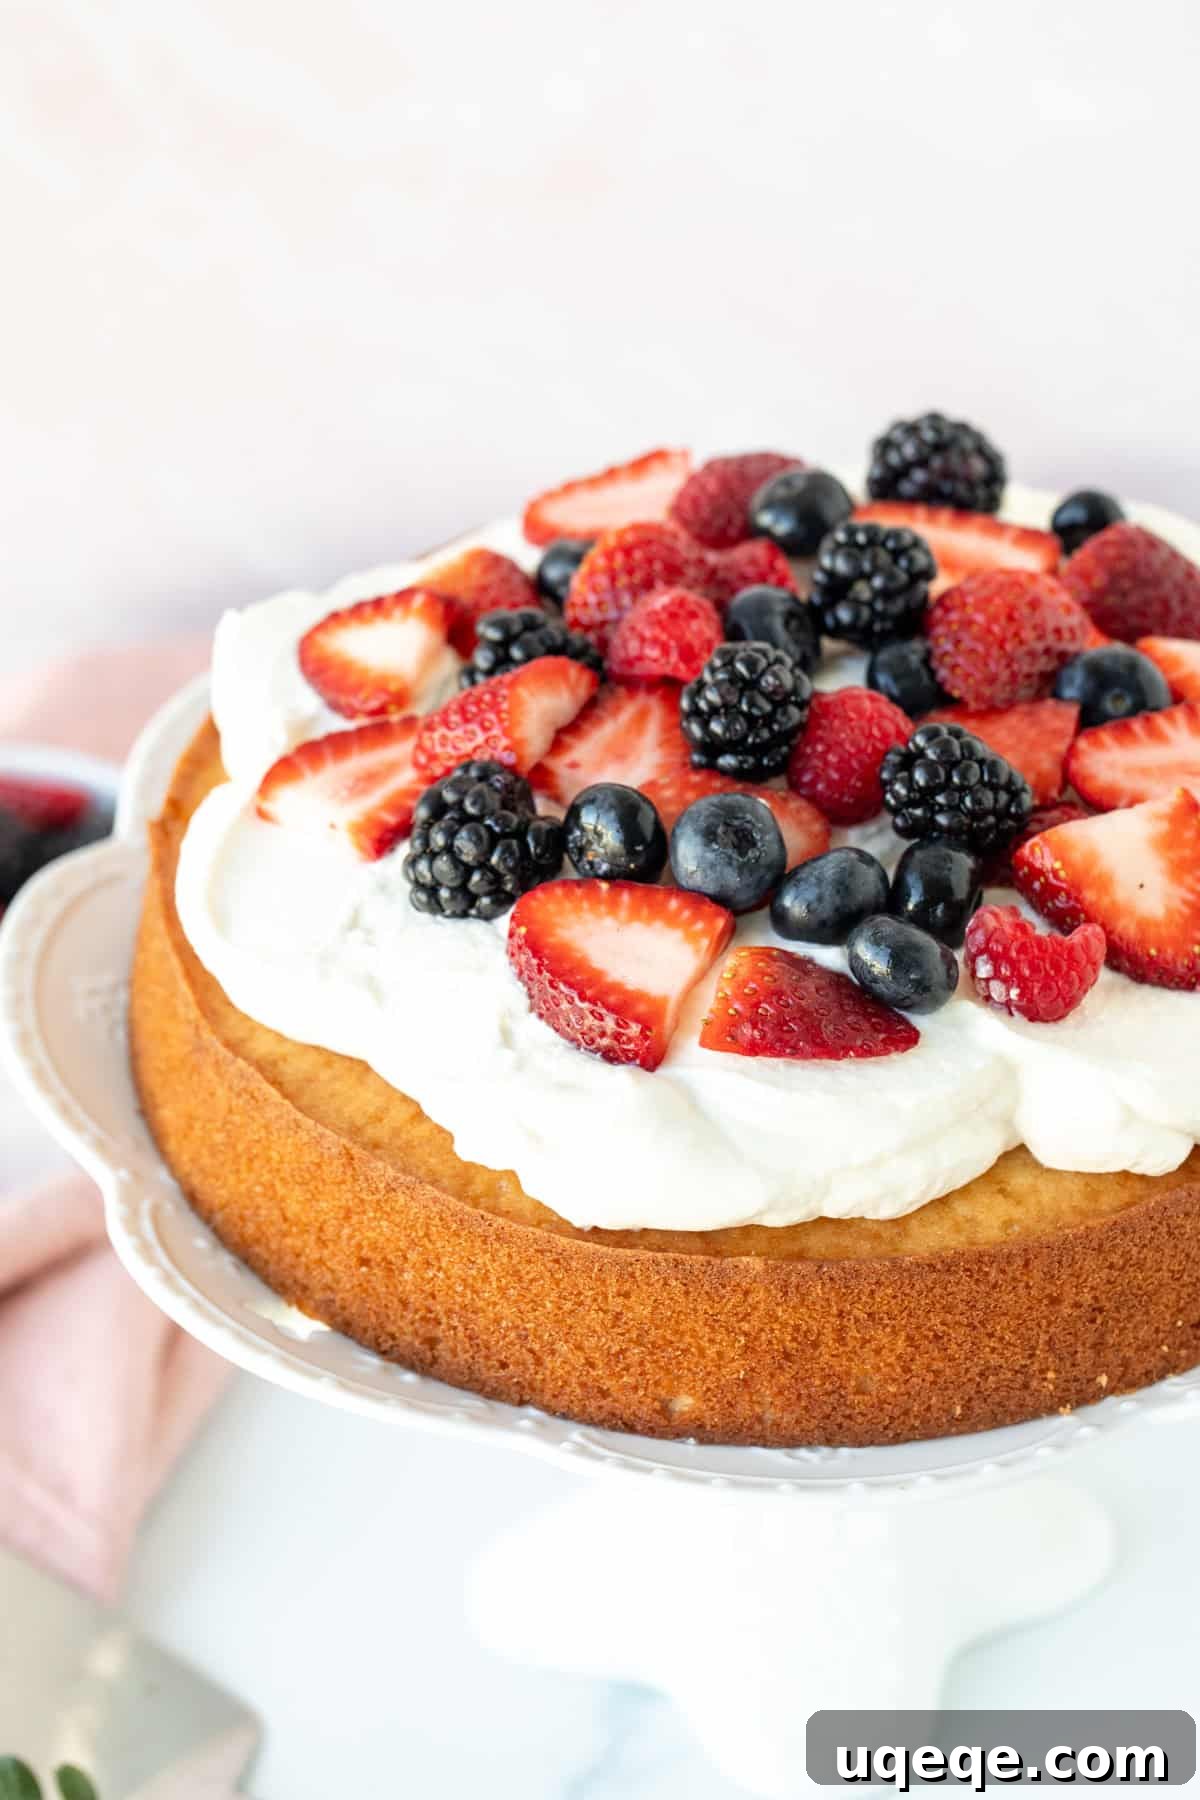
Once your cake has completely cooled – it should no longer feel warm to the touch – you can generously dollop or spread the freshly whipped cream over the top. This step is vital; applying cream to a warm cake will cause it to melt, resulting in a soggy rather than spectacular dessert. Finally, arrange your favorite fresh berries artfully over the whipped cream. A medley of different berries not only adds diverse flavors but also creates a visually stunning presentation that is sure to impress.
Make-Ahead and Storage Tips for Your Berries and Cream Cake
While this berries and cream cake is undeniably at its freshest when assembled just before serving, its components can be thoughtfully prepared in advance, allowing you to enjoy a stress-free dessert experience. Planning ahead ensures maximum freshness and convenience, especially when entertaining.
- Preparing in Advance (Up to 1 Day): You can bake the vanilla cake a day before you plan to serve it. Once baked, allow the cake to cool completely to room temperature. Then, wrap it tightly in plastic wrap to prevent it from drying out, and store it at room temperature overnight. Prepare the whipped cream separately and store it in an airtight container in the refrigerator until you are ready to assemble and serve. For the best flavor and texture, I recommend taking the cake out of the fridge about 30 minutes before serving, allowing it to gently come to room temperature before topping and slicing.
- Freezing for Longer Storage: This cake is also an excellent candidate for freezing, extending its shelf life significantly. Ensure the baked cake is fully cooled before freezing. Wrap it meticulously in several layers of plastic wrap, followed by a layer of aluminum foil, or place it inside a freezer-safe bag. It can be frozen for up to 2 months. To thaw, simply transfer the frozen cake to the refrigerator overnight. Once thawed, proceed with adding the freshly made whipped cream and berries.
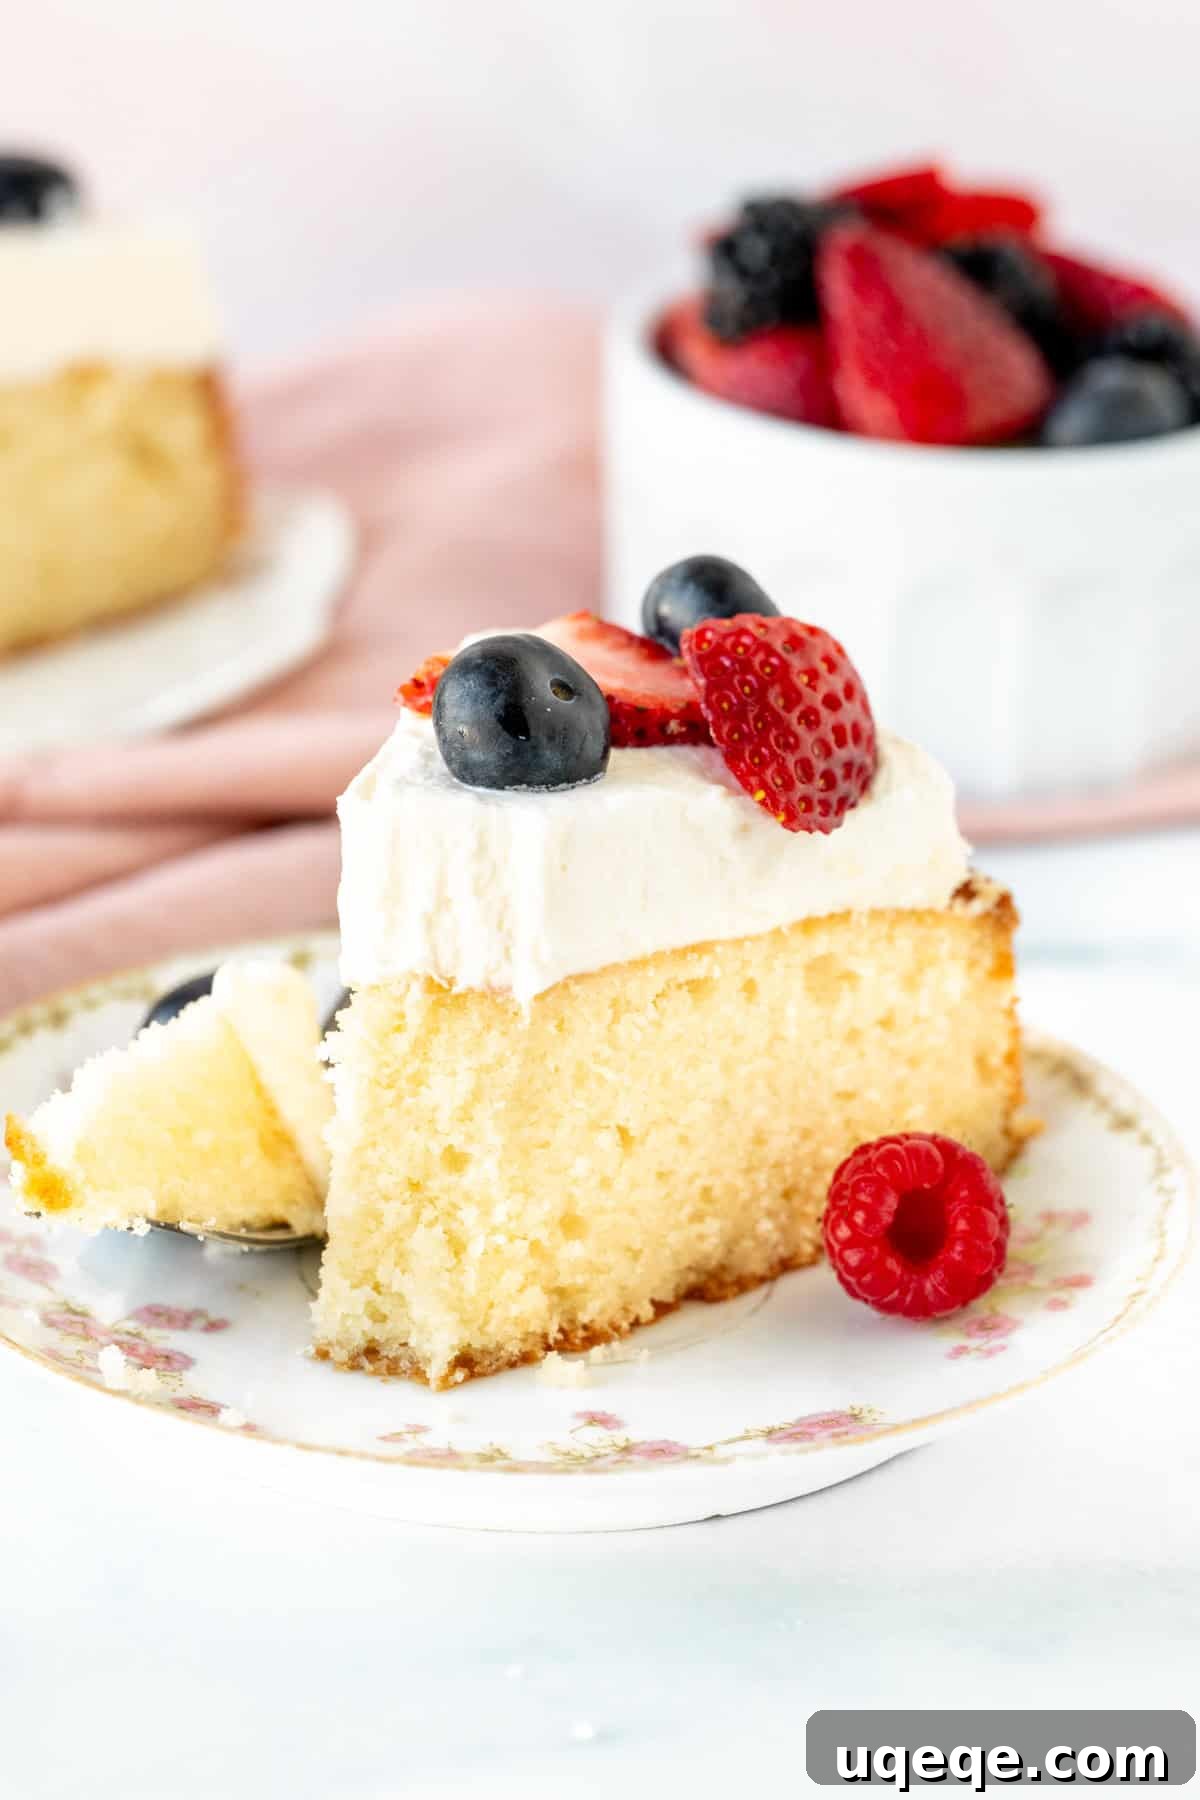
This exquisite berries and cream cake is truly a star for any summer occasion. If you’re eager to explore more vibrant berry-centric desserts that capture the essence of the season, be sure to try these other delightful recipes:
- Irresistible Strawberries and Cream Cupcakes
- Moist and Flavorful Blueberry Cake
- Refreshing Strawberry Lemonade Cupcakes
Ultimate Berries and Cream Cake Recipe
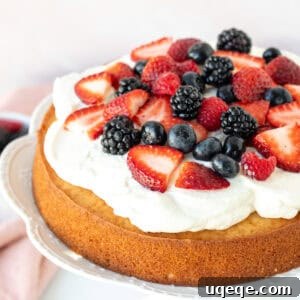
Berries and Cream Cake
By: Fiona Dowling
This Berries and Cream Cake, featuring a moist vanilla cake, lightly sweetened whipped cream, and fresh berries, is a delicious dessert that’s not too sweet and looks absolutely beautiful. It’s simple, elegant, and perfect for summer.
Prep Time: 45 mins | Cook Time: 45 mins | Total Time: 1 hr 30 mins
Servings: 10 slices
Equipment
- 9-inch (23 cm) springform pan or 9-inch cake pan with 2-inch sides
- Electric mixer (stand or hand-held)
- Mixing bowls
- Whisk
- Spatula
- Measuring cups and spoons
Ingredients
Vanilla Cake
- 2 cups all-purpose flour (250 grams)
- 2 teaspoons baking powder
- 1/4 teaspoon salt
- 3/4 cup unsalted butter (168 grams), softened but not melting
- 1 1/4 cups granulated sugar (250 grams)
- 2 teaspoons vanilla extract
- 1 tablespoon vegetable oil (15 ml), or canola oil
- 3 large egg whites, room temperature
- 1 cup whole milk (240 ml), room temperature
Whipped Cream
- 1 cup whipping cream (240 ml), cold, from the fridge (33-35% MF)
- 2 tablespoons powdered sugar
- 1/2 teaspoon vanilla extract
Berries
- 2 cups fresh berries (about 250 grams – mixed berries recommended)
Instructions
Vanilla Cake
- Preheat the oven to 340°F (170°C). If using a 9-inch (23 cm) springform pan, wrap its outside with aluminum foil. Lightly grease the bottom and sides, then dust with flour.
- In a medium bowl, sift together the flour, baking powder, and salt. Whisk for about 10 seconds to combine. Set aside.
- In a large bowl, beat together the butter and sugar until fluffy and no lumps of butter remain (about 2 minutes).
- Mix the vanilla extract and vegetable oil into the butter mixture.
- Beat the egg whites into the butter mixture one at a time. After each addition, scrape down the sides and bottom of the bowl.
- With the mixer on low speed, beat about 1/3 of the flour mixture into the butter mixture. Then beat in about 1/2 of the milk. Repeat this process until all the flour mixture and milk have been incorporated.
- Pour the batter into the prepared pan and smooth the top. Bake in the middle of the preheated oven for about 45-50 minutes, or until an inserted toothpick comes out clean and the sides start to pull away from the pan. Check the cake around 40 minutes. If the top browns too quickly, tent it with aluminum foil and continue baking.
- Cool the cake for at least 20 minutes in the pan. Then carefully release the outer ring of the springform or invert onto a wire rack to cool completely.
Whipped Cream
- Place a large bowl and the whisk attachment of your electric mixer in the fridge for at least 10 minutes (keep the cream in the fridge as well).
- Add the cold whipping cream, powdered sugar, and vanilla extract to the chilled bowl. Beat with the whisk attachment, starting on a medium-low speed and gradually increasing to medium speed. Whip until medium peaks form; the cream should be sturdy but not curdled.
- If your cream starts to curdle, gently fold in an extra tablespoon of cold whipping cream using a rubber spatula until smooth.
Serving
- Ensure the cake has fully cooled before transferring it to your desired serving plate or cake stand.
- Top the cooled cake generously with the freshly whipped cream.
- Decorate beautifully with your favorite fresh berries. Serve immediately and enjoy!
Notes
- Storage: Store any leftover Berries and Cream Cake in an airtight container in the fridge for up to 2-3 days.
- Nutrition: The provided nutrition details are an estimate only, based on one slice assuming the cake is divided into 10 uniform pieces, including whipped cream and berries.
Nutrition Facts
Calories: 448 kcal, Carbohydrates: 52g, Protein: 5g, Fat: 25g,
Saturated Fat: 15g, Polyunsaturated Fat: 2g, Monounsaturated Fat: 6g,
Trans Fat: 1g, Cholesterol: 66mg, Sodium: 94mg,
Potassium: 206mg, Fiber: 2g, Sugar: 31g,
Vitamin A: 829IU, Vitamin C: 1mg, Calcium: 92mg,
Iron: 1mg