
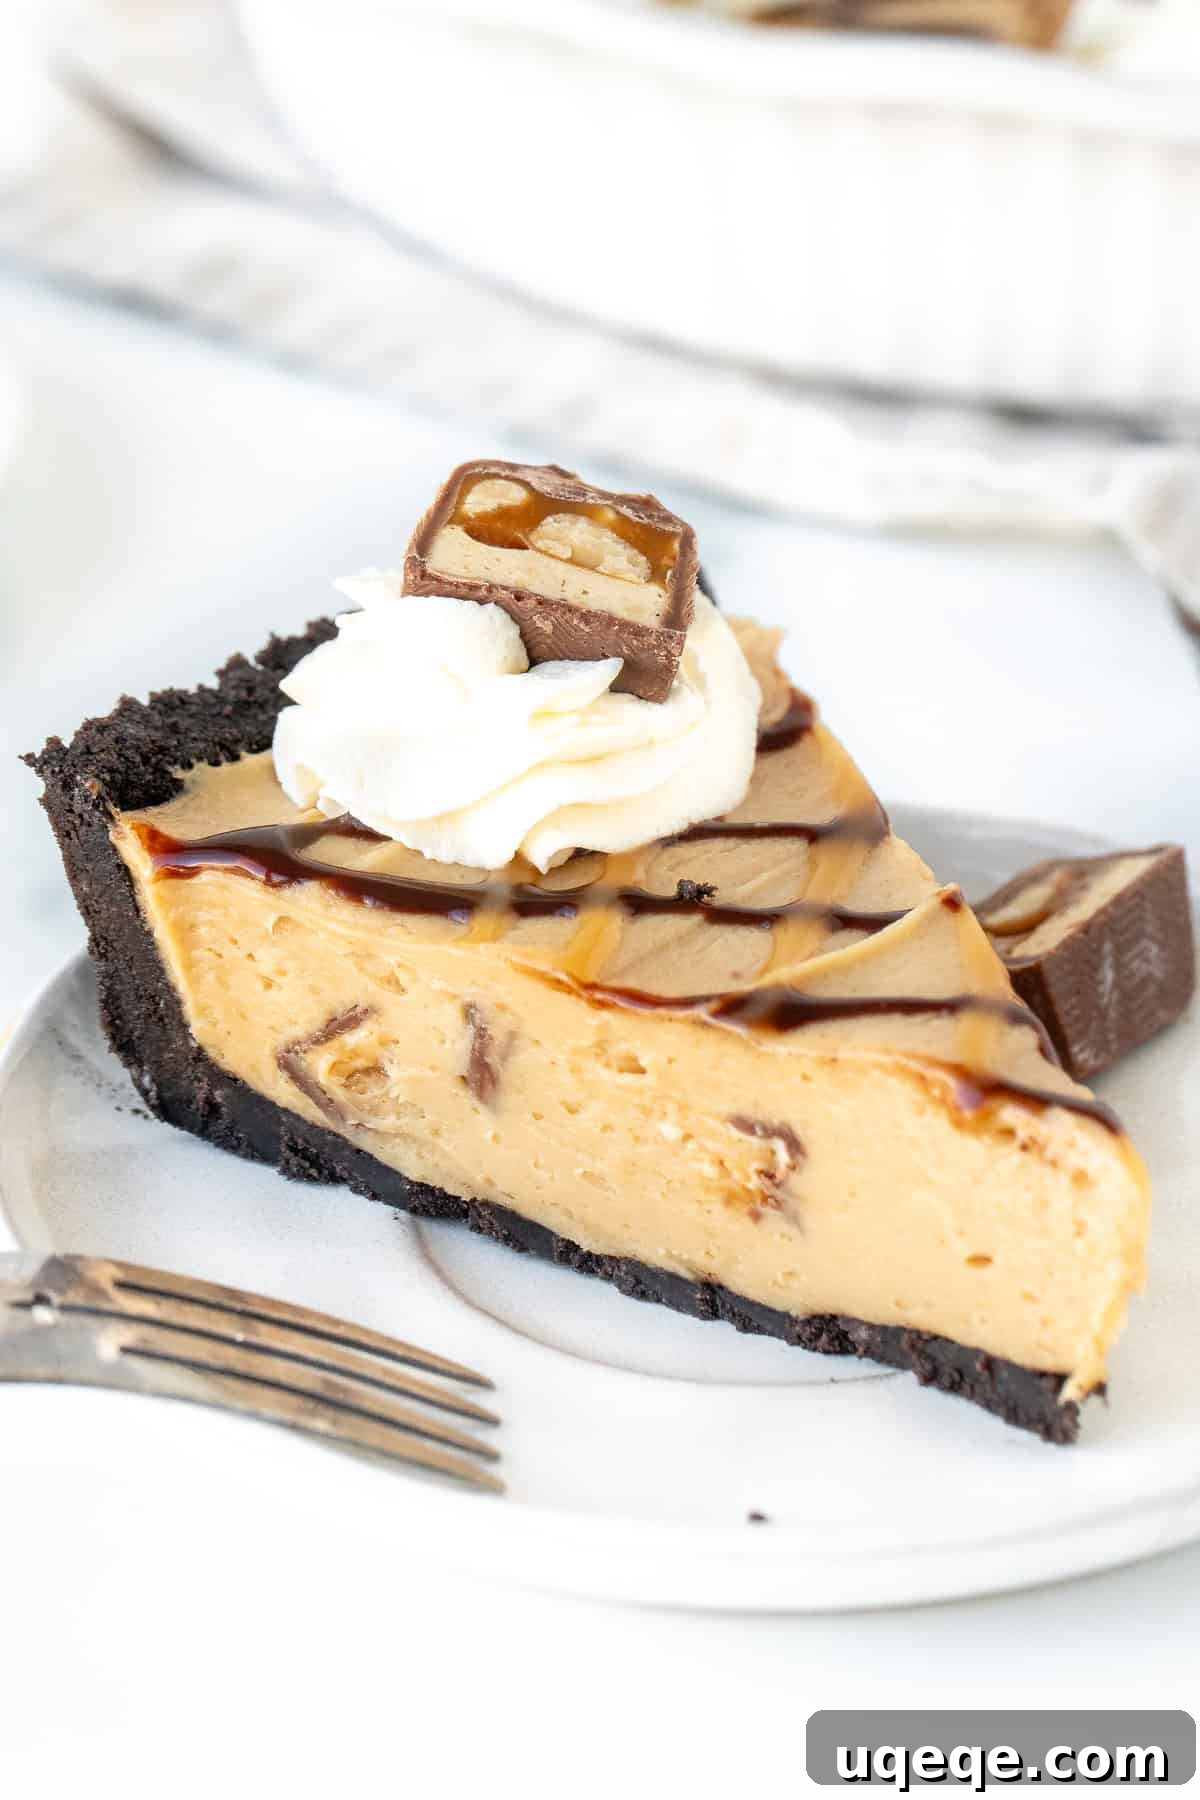
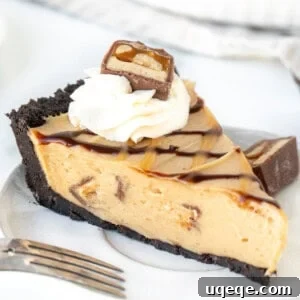
Welcome to the ultimate guide for crafting a truly irresistible dessert: the No-Bake Snickers Pie. Imagine a dessert that’s not only incredibly simple to prepare but also delivers a symphony of flavors and textures in every single bite. This pie boasts a delightfully crunchy Oreo cookie crust, a sumptuously smooth peanut butter and caramel filling, and is generously studded with chopped Snickers bars. It’s a dream come true for anyone who adores the classic candy bar and seeks a no-fuss, show-stopping treat. Forget heating up your kitchen; this cool and creamy pie is perfect year-round, especially when you need a crowd-pleasing dessert for potlucks, barbecues, or just a sweet craving.
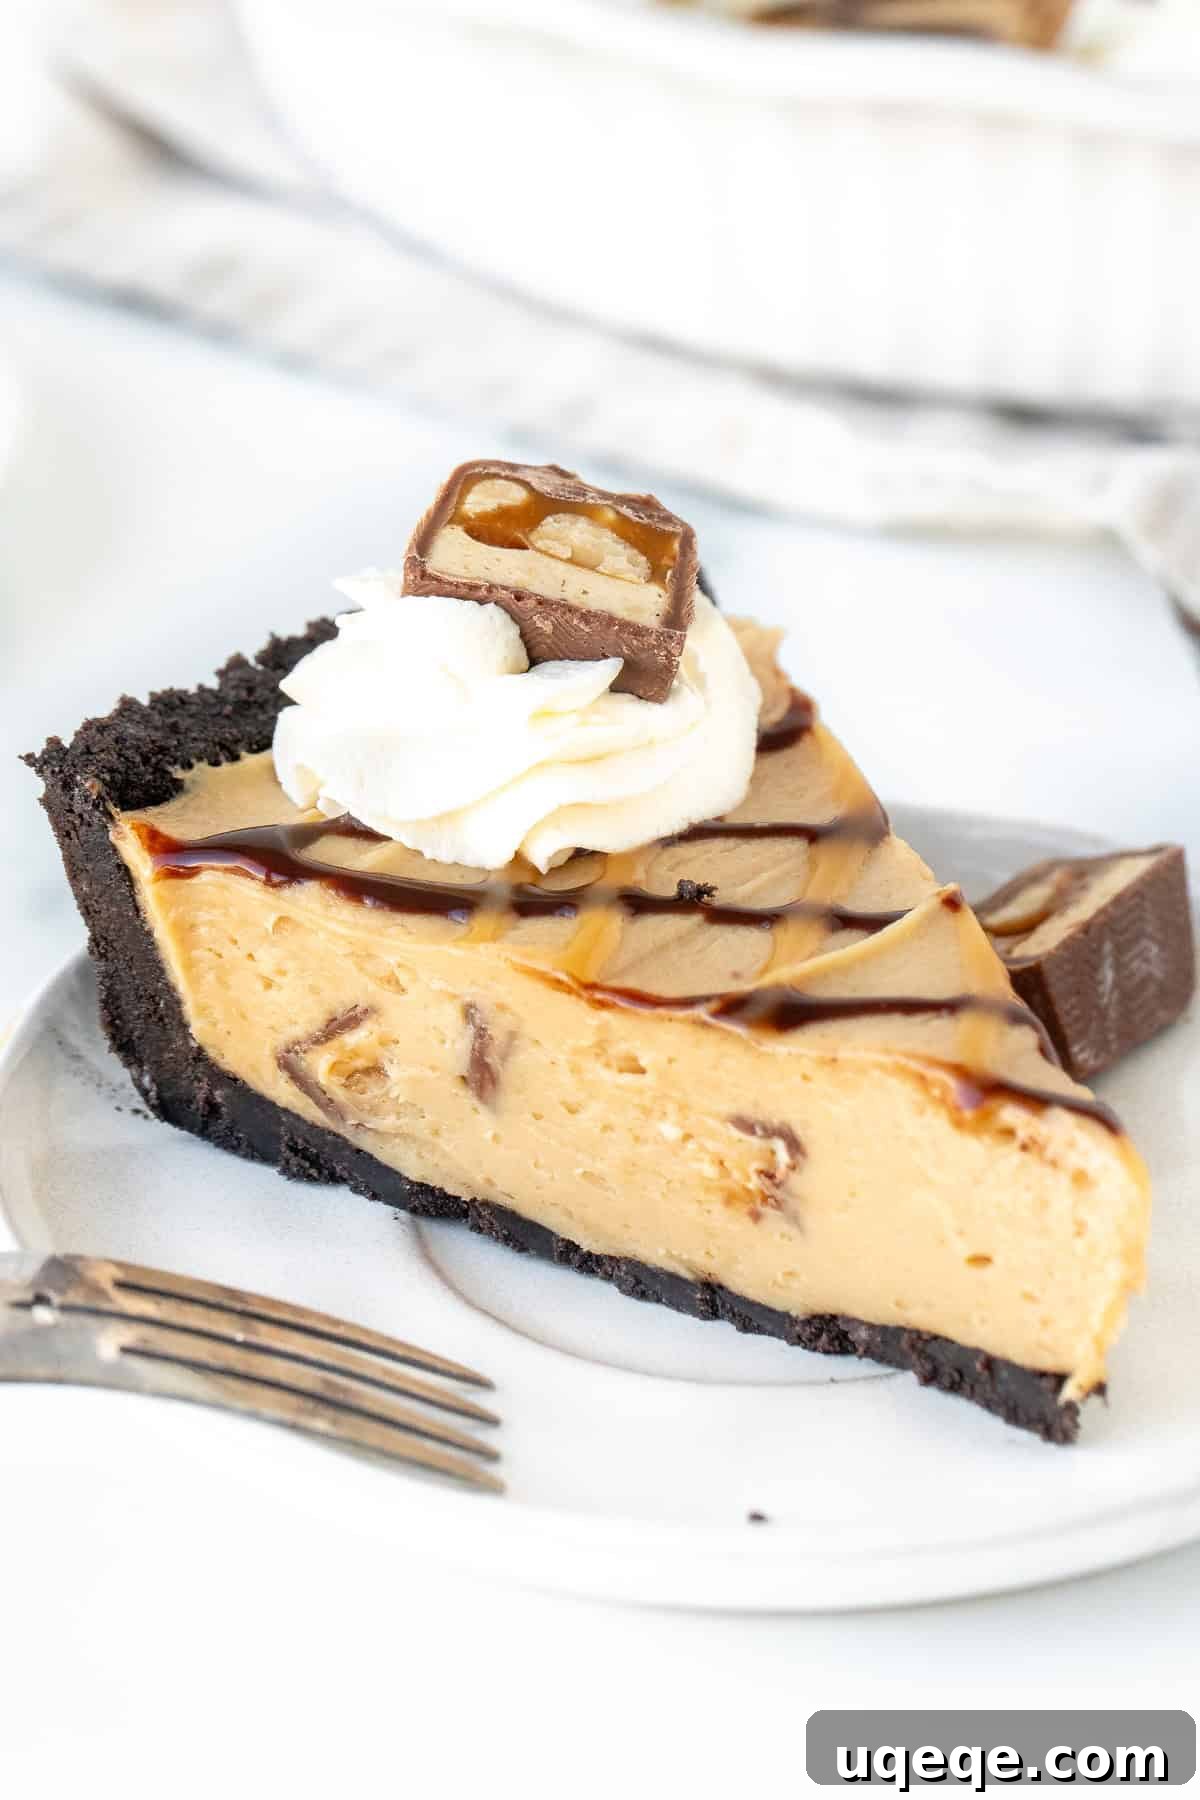
If you’ve been searching for an easy, no-bake, and utterly creamy dessert that requires zero oven time, your quest ends here. This Snickers bar pie is not just a seasonal favorite; it’s a timeless indulgence. While it shines as a perfect summer recipe for gatherings thanks to its refreshing no-bake nature, its appeal extends far beyond. There’s simply too much to adore about this exceptional Snickers dessert to reserve it only for warmer months.
Why This No-Bake Snickers Pie is a Must-Try
This isn’t just another pie; it’s a culinary experience designed to delight. Here’s why this No-Bake Snickers Pie will quickly become a cherished recipe in your repertoire:
- Irresistibly Crunchy Oreo Cookie Crust: The foundation of this pie is a buttery, chocolatey Oreo crust that provides the perfect contrast to the creamy filling.
- Velvety Smooth Peanut Butter & Caramel Filling: A rich, decadent filling that marries the classic flavors of peanut butter and luscious caramel, creating a truly harmonious blend.
- Abundant Snickers Chunks: Every forkful is guaranteed to deliver delightful bites of chopped Snickers bars, ensuring that iconic combination of chocolate, nougat, caramel, and peanuts.
- Decadent Topping Options: Elevate your pie with an extra drizzle of rich caramel and warm hot fudge or chocolate sauce for an unparalleled finish.
- Effortless No-Bake Goodness: Enjoy the luxury of a homemade pie without ever turning on your oven, making it ideal for busy days or hot weather.
- Crowd-Pleasing Perfection: This dessert is a guaranteed hit at any party, family dinner, or casual get-together, always leaving guests asking for the recipe.
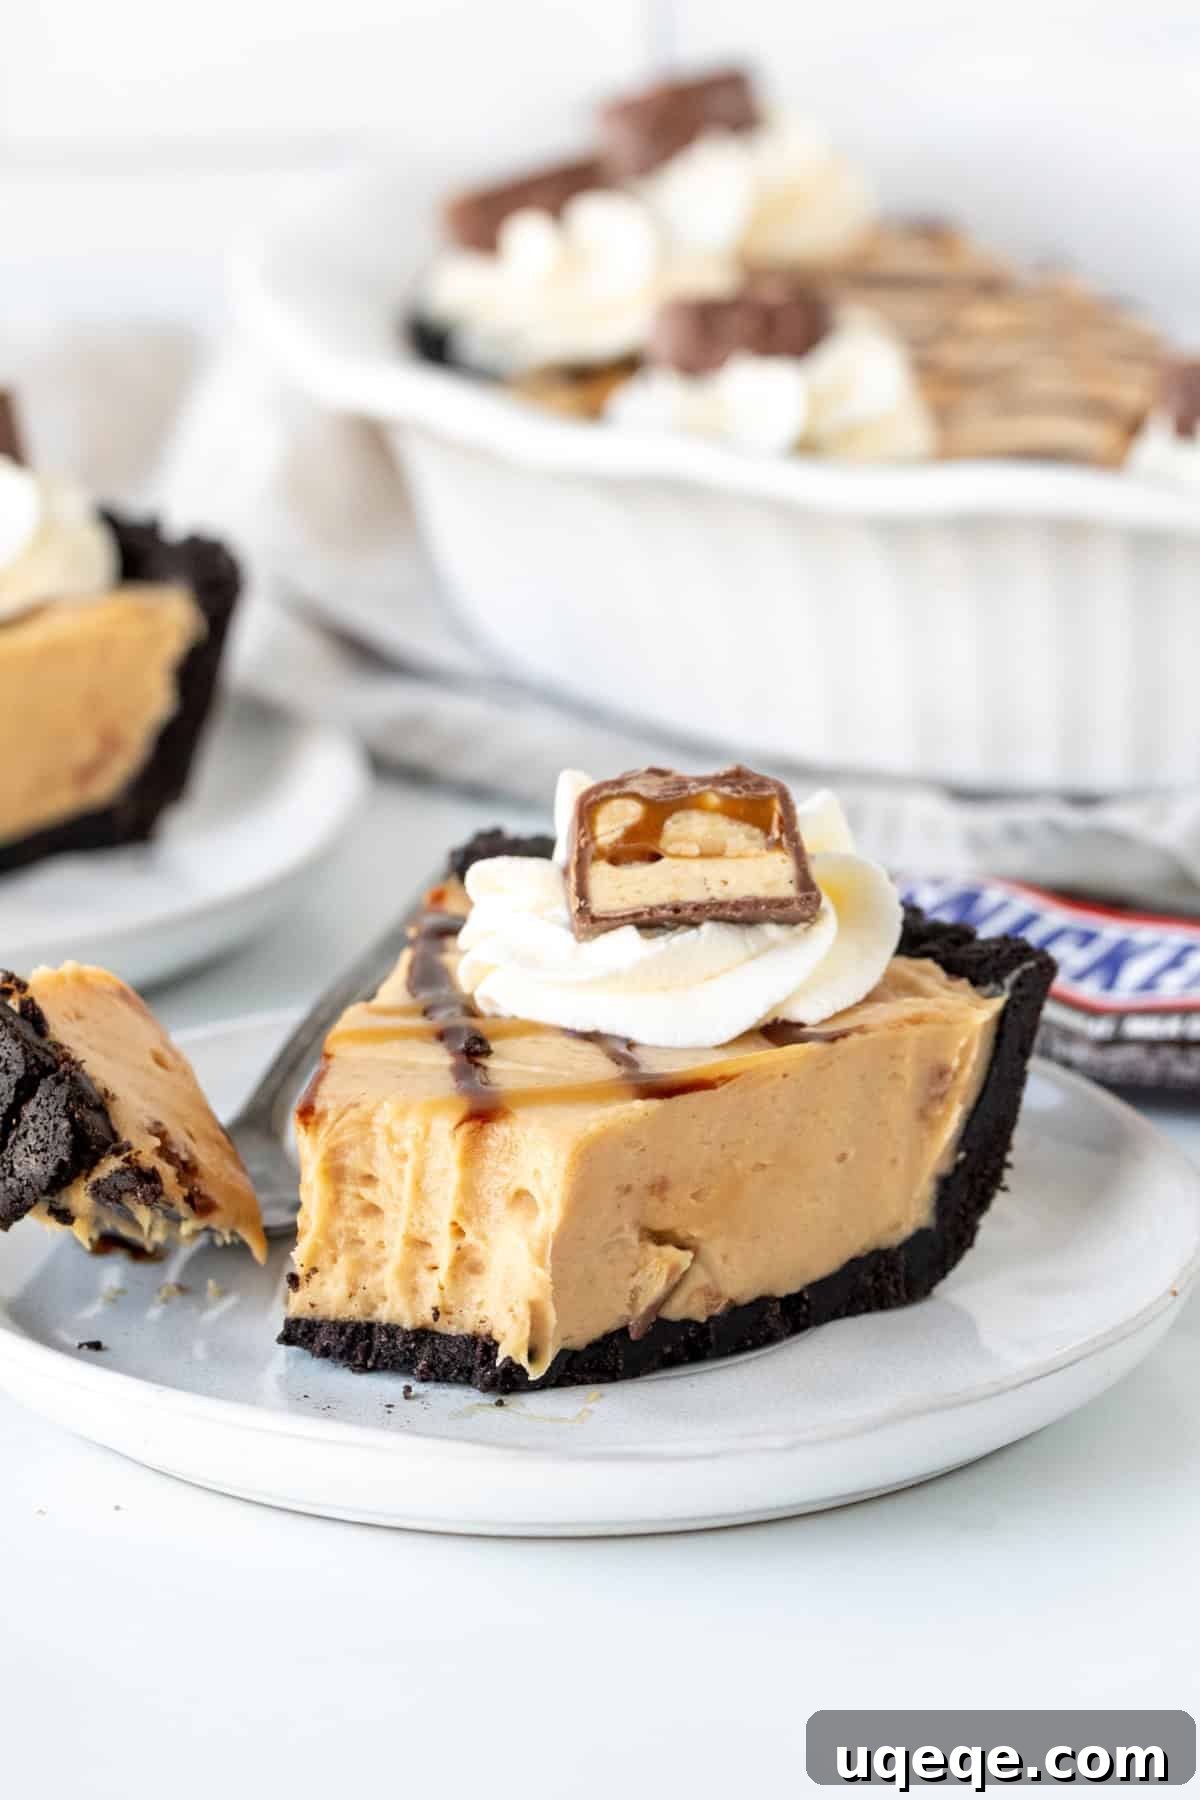
Crafting Your No-Bake Snickers Pie: Step-by-Step Guide
Making this magnificent No-Bake Snickers Pie is surprisingly straightforward. Below, you’ll find detailed step-by-step photos, along with invaluable tips and advice, to guide you through each stage of the process. If you prefer to jump straight to the concise recipe card without the extra guidance, feel free to scroll down.
The Perfect Oreo Cookie Crust
Every great pie starts with a stellar crust, and for this Snickers pie, a crunchy Oreo base is non-negotiable. You’ll begin by preparing this simple yet crucial component:
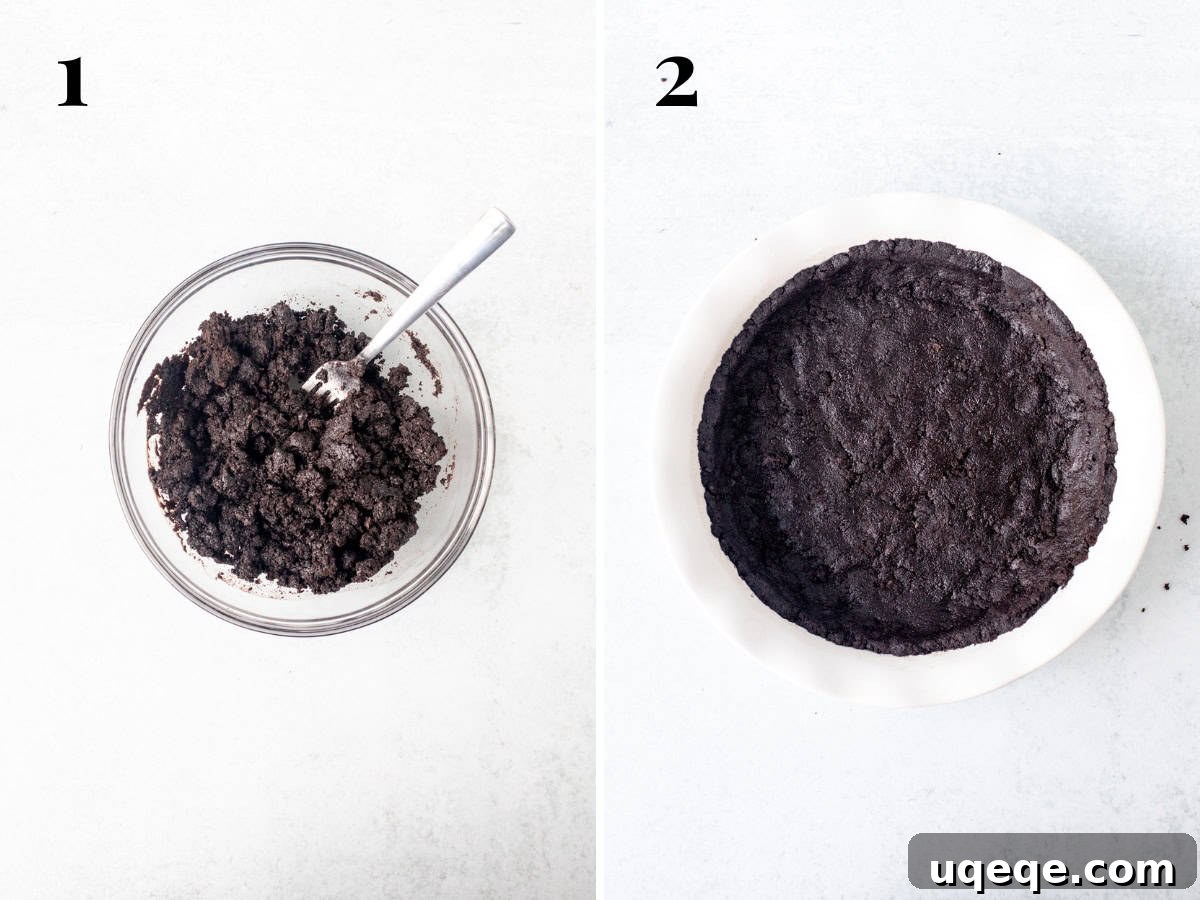
- Crush Your Oreos: Gather your Oreo cookies (wafers and creamy filling included!) and crush them into fine crumbs. You have a couple of options here: a food processor works wonders for quick, uniform crumbs, or for a more hands-on approach, place the cookies in a sturdy freezer bag and crush them with a rolling pin. Aim for a sand-like consistency.
- Mix with Melted Butter: Once your Oreos are perfectly crushed, combine them with melted unsalted butter. This acts as the binder, holding the crust together. Mix thoroughly until the crumbs are evenly moistened.
- Press into Your Pie Plate: Transfer the mixture to a 9-inch (23 cm) pie plate. Using the bottom of a glass or your fingers, firmly press the crumbs into the bottom and up the sides of the pan. This creates a compact and sturdy crust.
- Chill to Set: Pop your prepared crust into the refrigerator while you move on to making the luscious filling. This chilling time helps the butter solidify, ensuring a firm crust that won’t crumble when sliced.
Creating the Luscious Snickers Pie Filling
Now for the star of the show: the incredibly creamy and flavorful Snickers pie filling. This filling is rich and decadent, but without the tangy notes of a traditional cheesecake, offering a pure, unadulterated sweet experience.
- Cream Cheese & Powdered Sugar Base: In a large mixing bowl, beat together softened full-fat cream cheese and powdered sugar. Beat until the mixture is completely smooth, light, and airy, with no lumps remaining.
- Important Note on Cream Cheese: For the best results and proper setting, it is crucial to use full-fat, brick-style cream cheese. Cream cheese labeled “spreadable,” “low fat,” or that comes in a tub often contains too much water or stabilizers, which can prevent your pie from setting properly, leading to a runny filling.
- Incorporate Peanut Butter & Caramel: Next, beat in the peanut butter and caramel until thoroughly combined and smooth. Ensure you scrape down the sides of the bowl to integrate all ingredients evenly.
- Peanut Butter Pointers: The type of peanut butter makes a difference here. Avoid natural peanut butter where the oil tends to separate, as this can cause your pie filling to become oily or fail to set correctly. Opt for a classic, creamy (or crunchy, if you prefer extra texture) peanut butter. For caramel, a thick, store-bought caramel sauce works wonderfully.
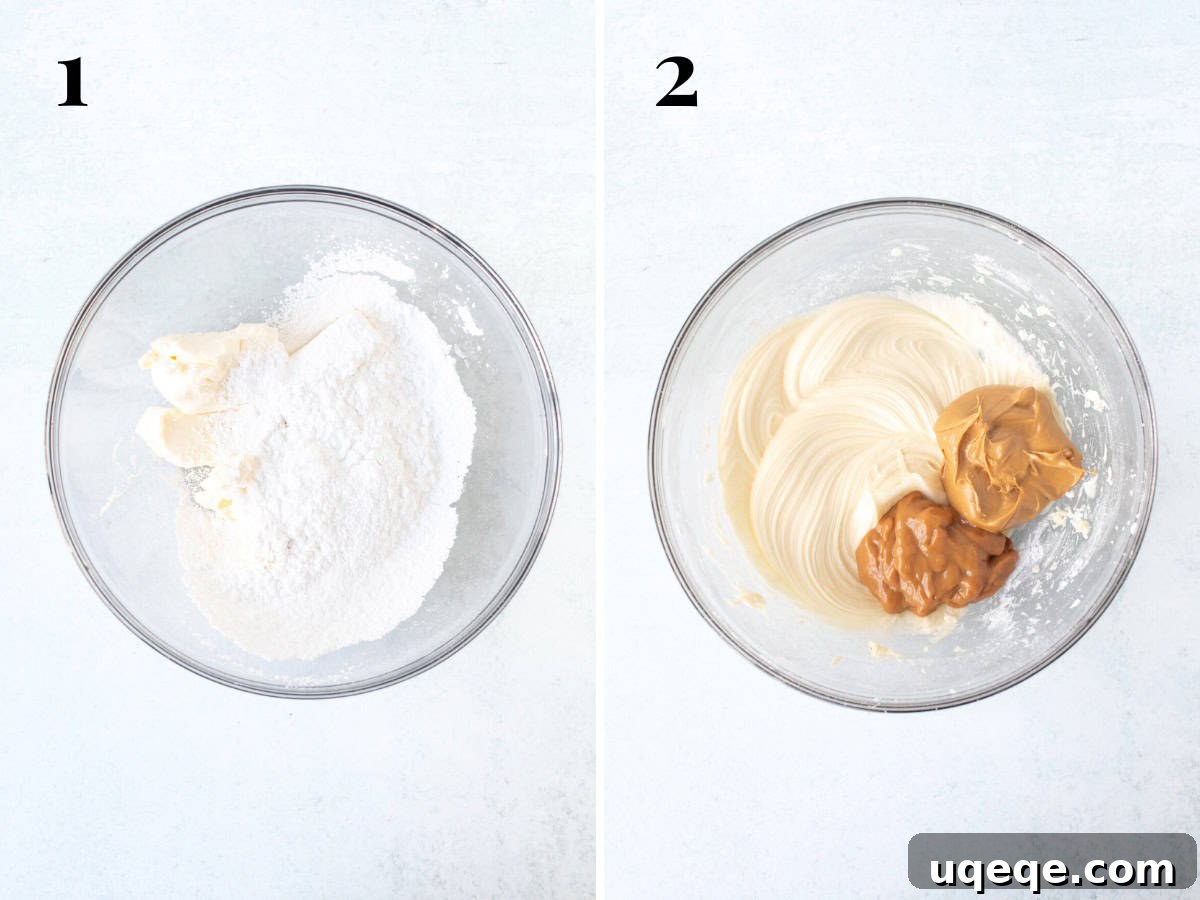
- Whip the Cream to Stiff Peaks: In a separate, chilled bowl, beat cold whipping cream (or heavy cream) with two additional tablespoons of powdered sugar until stiff peaks form. This means the whipped cream should be thick and hold its shape firmly. This step creates the essential airiness and lightness for the filling.
- Gently Fold in Whipped Cream: This is a delicate but crucial step! Carefully fold the freshly whipped cream into the peanut butter and caramel mixture using a rubber spatula. Use a gentle, lifting motion rather than stirring, to maintain the volume and airiness of the whipped cream. Continue folding until no streaks or clumps of whipped cream are visible, and the filling achieves a uniform, fluffy consistency.
- Whipped Topping Option: While homemade whipped cream offers unparalleled creaminess and flavor, you can substitute it with thawed whipped topping (like Cool Whip) for convenience. See the recipe notes below for specific substitution instructions.
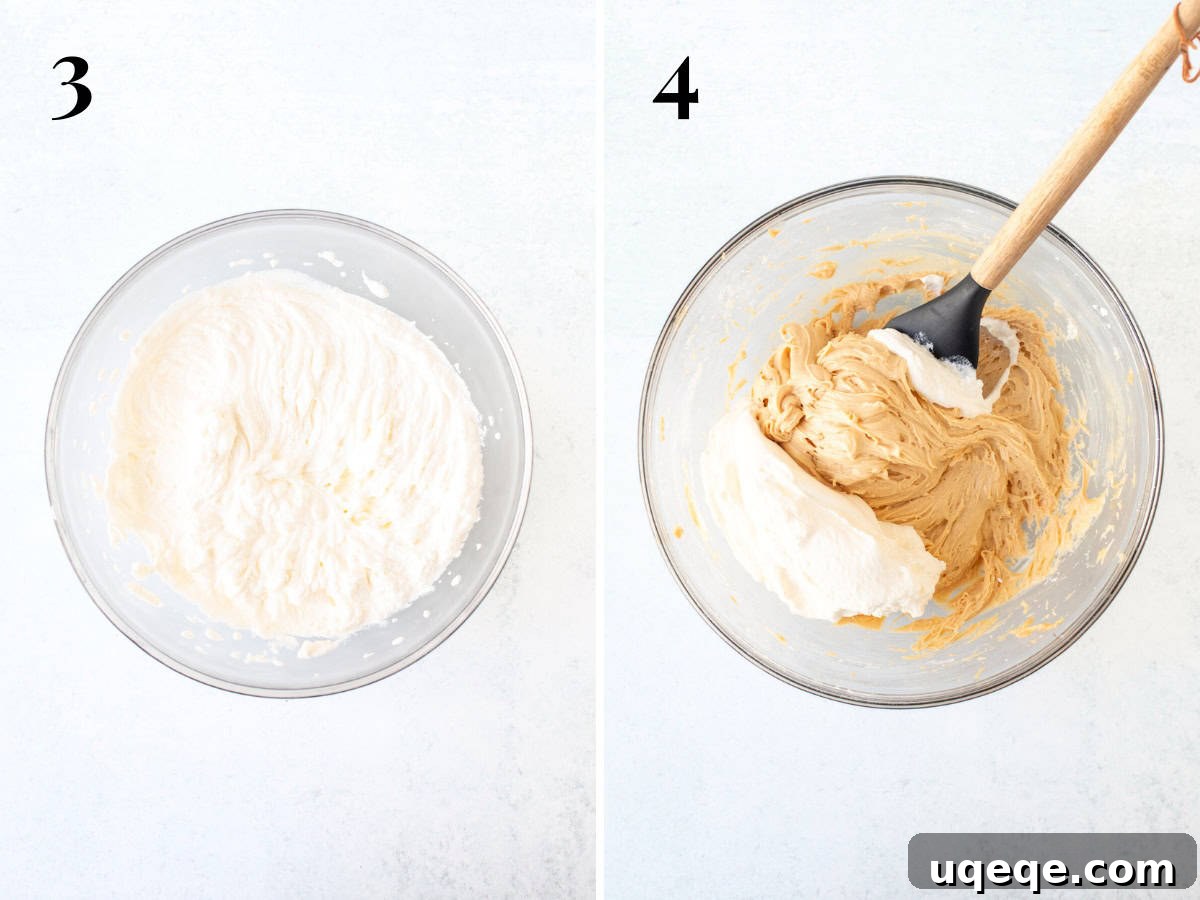
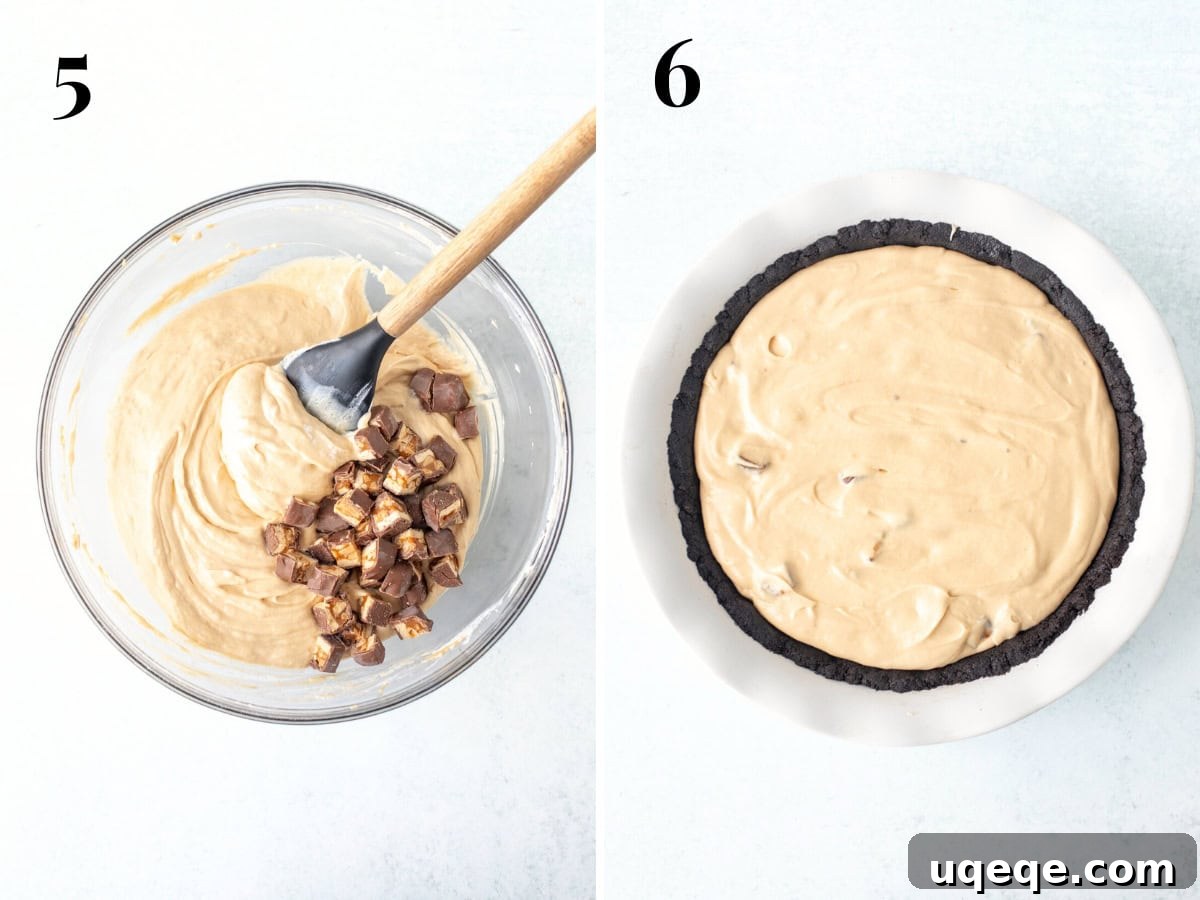
- Fold in Chopped Snickers: Now for the star candy! Gently fold the chopped Snickers bars into the prepared filling. We recommend using about 3/4 cup to 1 cup of chopped Snickers, which translates to roughly 3 regular-sized bars or 8-9 fun-sized bars. Chop the Snickers into relatively small, manageable pieces. This not only ensures even distribution throughout the pie but also makes slicing much easier later on.
- Assemble and Chill: Pour the delightful Snickers filling into your pre-chilled Oreo crust. Use your spatula to gently smooth the top, creating an even surface. Once assembled, cover the pie plate loosely with plastic wrap and return it to the refrigerator. Allow it to chill for at least 4 hours, or ideally, overnight, to ensure it sets perfectly. This crucial chilling period allows the flavors to meld and the pie to firm up, making for clean slices.
Topping and Serving Your Masterpiece
Once your No-Bake Snickers Pie has sufficiently chilled and set in the refrigerator, it’s time for the grand finale: topping and serving! This is where you can truly elevate the presentation and intensify the Snickers experience.
Before serving, generously drizzle extra caramel sauce over the top of the pie. This not only enhances the visual appeal but truly brings out that signature Snickers caramel flavor. A complementary drizzle of hot fudge or chocolate sauce adds another layer of indulgence. For an extra touch of decadence and a beautiful finish, add a dollop of fresh whipped cream and a sprinkle of additional chopped Snickers bars. Because when it comes to Snickers, more is always a good idea!
- Serving Tip: For the cleanest slices, use a sharp, thin knife (not a butter knife). Wipe the knife clean between each slice for a pristine presentation. Remember, the first slice can sometimes be a bit tricky, but subsequent slices will be much easier!
- Temperature Matters: Ensure the pie remains chilled until just before serving. Do not let it sit at room temperature for an extended period, as this can soften the filling and affect its texture.
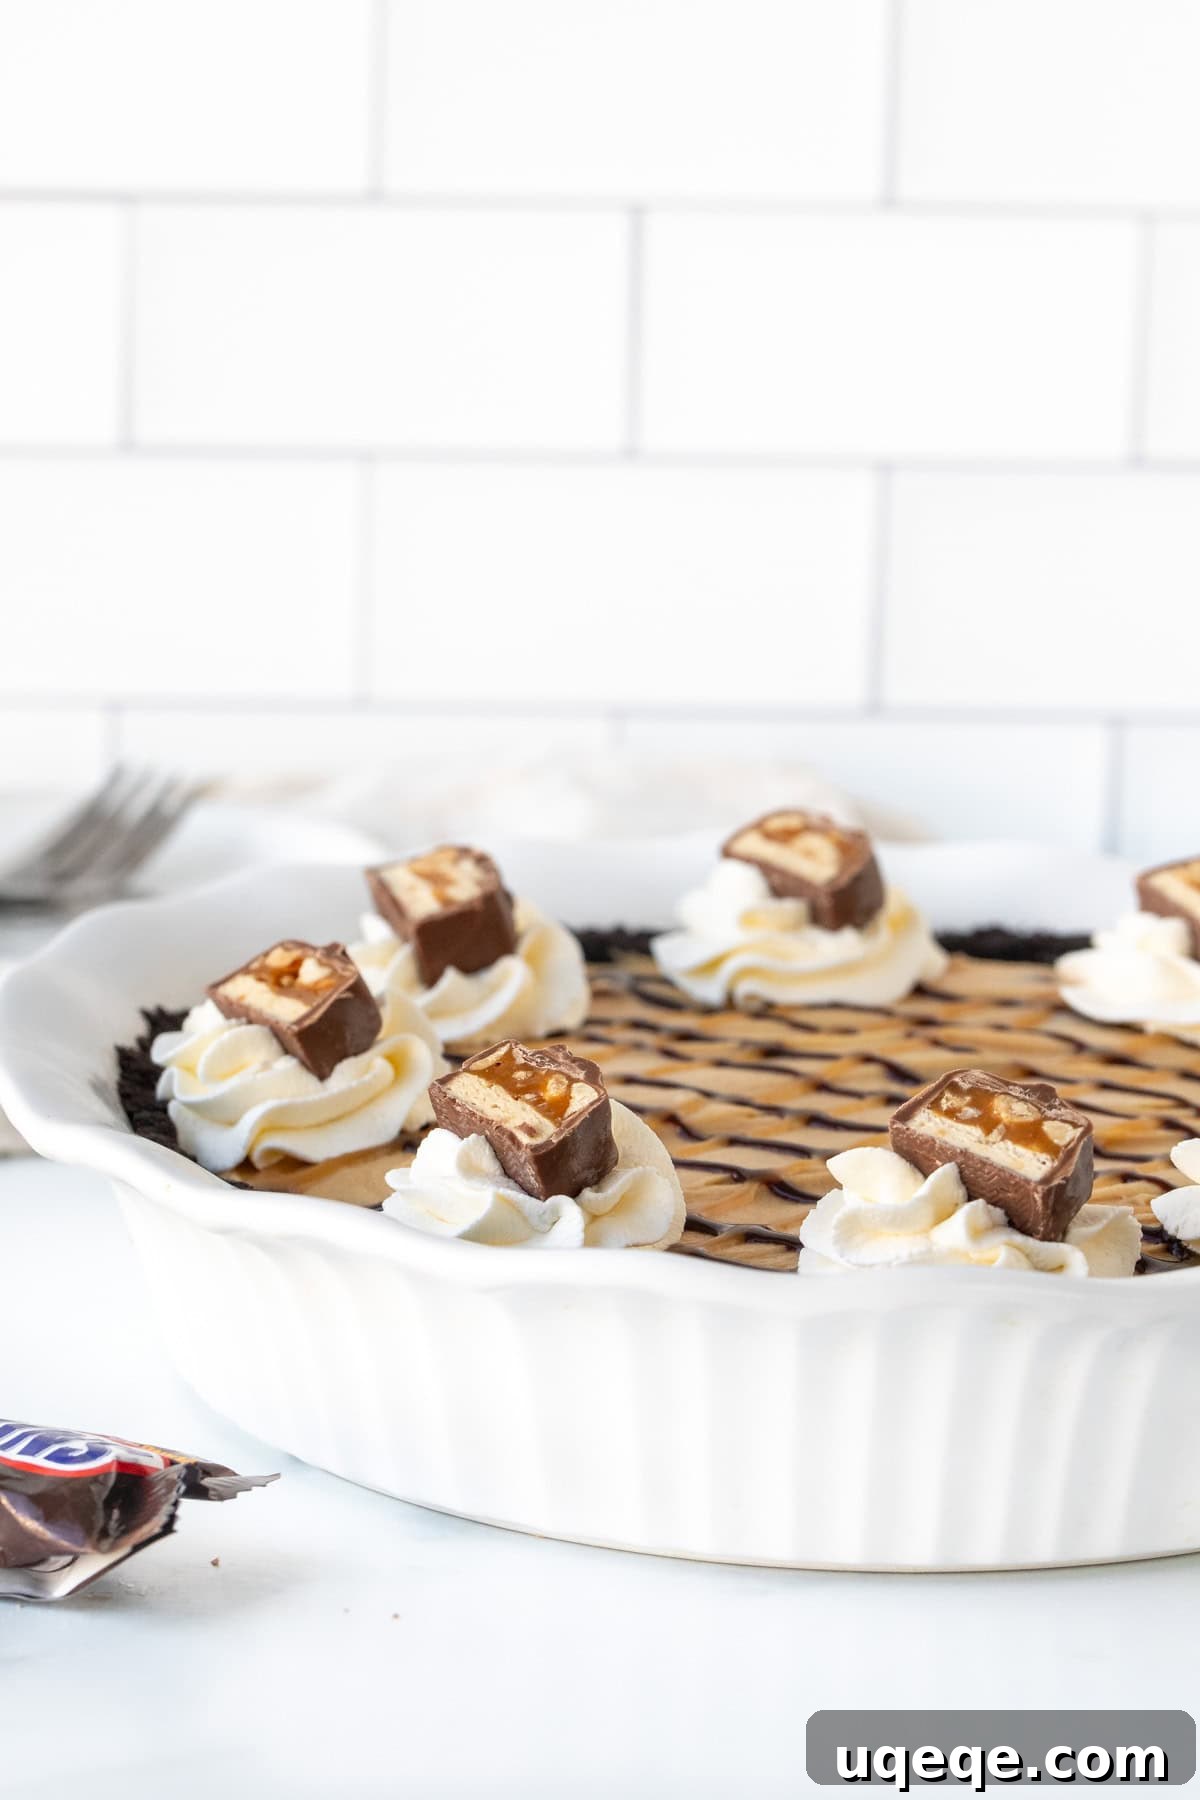
This No-Bake Snickers Pie is truly a triumph of creamy texture and rich flavor. The combination of a crunchy Oreo crust, a velvety peanut butter and caramel filling, and the delightful chewiness of Snickers bars creates an unforgettable dessert experience. It’s the perfect easy dessert for any occasion, proving that sometimes, the simplest recipes yield the most spectacular results. You simply can’t go wrong with this heavenly blend!
Explore More No-Bake Desserts
If you’ve fallen in love with the ease and deliciousness of no-bake pies, you’re in for a treat! Be sure to explore some of our other fantastic no-bake creations that are equally simple to make and incredibly satisfying:
- No Bake Strawberry Cream Cheese Pie
- Caramel Cream Pie
- Turtle Pie
- No Bake Key Lime Pie
No-Bake Snickers Pie Recipe Card
Snickers Pie
Fiona Dowling
30
4
10
slices
Rate Recipe
Print Recipe
Equipment
-
9-inch (23 cm) pie plate
Ingredients
Oreo Crust
- 25 Oreo cookies , wafers and filling
- 4 tablespoons unsalted butter (56 grams) , melted
Snickers Pie Filling
- 8 ounces full-fat cream cheese (227 grams), softened to room temperature
- 3/4 cup powdered sugar (83 grams)
- 2/3 cup peanut butter, smooth or crunchy – do not use natural
- 1/3 cup caramel, I recommend using a thick caramel
- 2/3 cup whipping cream (160 ml) , 33-35% MF, cold from the fridge
- 2 tablespoons powdered sugar
- 1 cup chopped Snickers, about 3 Snickers bars or 8-9 fun sized bars
Topping
- caramel sauce
- hot fudge sauce
- whipped cream
- Snickers bars
Instructions
Oreo Crust
-
Crush the Oreo cookies (wafers and filling) until they’re fine crumbs. You can either do this in short bursts in the food processor or by placing the cookies in a freezer bag and bashing with a rolling pin.
-
Mix the crushed cookies with the melted butter – either with a fork in a small bowl or by adding the butter to a food processor and doing a few pulses.
-
Add the crumbs to a lightly greased 9-inch pie plate. Press into the bottom and up the sides of the pan. Place in the fridge as you make the filling.
Snickers Pie Filling
-
In a large bowl, beat together the full-fat cream cheese (softened to room temperature) and 3/4 cup powdered sugar until smooth and creamy, ensuring no lumps remain.
-
Beat in the peanut butter (avoiding natural peanut butter) and thick caramel sauce until thoroughly combined. Scrape down the sides and bottom of the bowl to ensure a uniform mixture. Set aside.
-
In a separate medium bowl, beat the cold whipping cream (or heavy cream, 33-35% MF) and 2 tablespoons powdered sugar until stiff peaks form. The cream should be thick and hold its shape.
-
Gently fold the whipped cream into the cream cheese mixture using a rubber spatula. Use a light, lifting motion until no streaks or lumps of whipped cream are visible, and the filling is uniform.
-
Gently fold the chopped Snickers bars (about 1 cup) into the pie filling until evenly distributed.
-
Add the finished filling to the prepared Oreo crust and smooth the top with your spatula.
-
Cover the pie plate loosely and place it in the fridge to chill for a minimum of 4 hours, or ideally, overnight, to allow the pie to set completely.
Serving
-
When ready to serve, remove the pie from the fridge. Top with an extra drizzle of caramel sauce and hot fudge sauce. For an optional flourish, add more whipped cream and additional chopped Snickers bars. Important: Do not let the pie come to room temperature before serving to maintain its firm texture.
-
Slice the pie with a sharp, thin knife, ensuring you cut all the way through the crust. While the first slice may sometimes be a bit messy, subsequent slices are typically much easier and cleaner.
Notes
- Oreo Crust Variations: While our homemade Oreo crust is highly recommended, you can certainly use a pre-made Oreo or graham cracker crust for added convenience. If your pre-made crust is an 8-inch size, you might have a small amount of extra filling.
- Whipping Cream vs. Whipped Topping: This recipe calls for fresh whipping cream (33-35% MF), which you’ll beat into stiff peaks in step 3 of the filling instructions. If you prefer to use a thawed whipped topping (such as an 8 oz tub of Cool Whip), simply thaw it in the refrigerator beforehand. In this case, you can skip step 3 of the filling instructions (and omit the 2 tablespoons of powdered sugar) and gently fold the thawed whipped topping into the cream cheese mixture in step 4.
- Make-Ahead Convenience: This pie is an excellent candidate for making ahead! Since it requires at least 4 hours of chilling time to set properly, you can easily prepare the entire pie the day before you plan to serve it. Simply cover and chill it in the fridge overnight for a stress-free dessert option.
- Storage Guidelines: Store any leftover No-Bake Snickers Pie covered in the refrigerator. It will maintain its deliciousness and texture for up to 4 days.
- Freezing Recommendation: We do not recommend freezing this pie. Freezing tends to make the Oreo crust incredibly hard and difficult to cut through, diminishing the overall enjoyment of the dessert.
- Nutrition Information: The provided nutritional details are an estimate only. They are based on one slice of pie, without any additional toppings, assuming the pie is divided into 10 uniform pieces.
Nutrition
Calories:
560
kcal
,
Carbohydrates:
53
g
,
Protein:
9
g
,
Fat:
37
g
,
Saturated Fat:
16
g
,
Polyunsaturated Fat:
5
g
,
Monounsaturated Fat:
13
g
,
Trans Fat:
0.3
g
,
Cholesterol:
55
mg
,
Sodium:
322
mg
,
Potassium:
279
mg
,
Fiber:
2
g
,
Sugar:
38
g
,
Vitamin A:
706
IU
,
Vitamin C:
0.2
mg
,
Calcium:
73
mg
,
Iron:
4
mg
Like this recipe? Rate and comment below!