
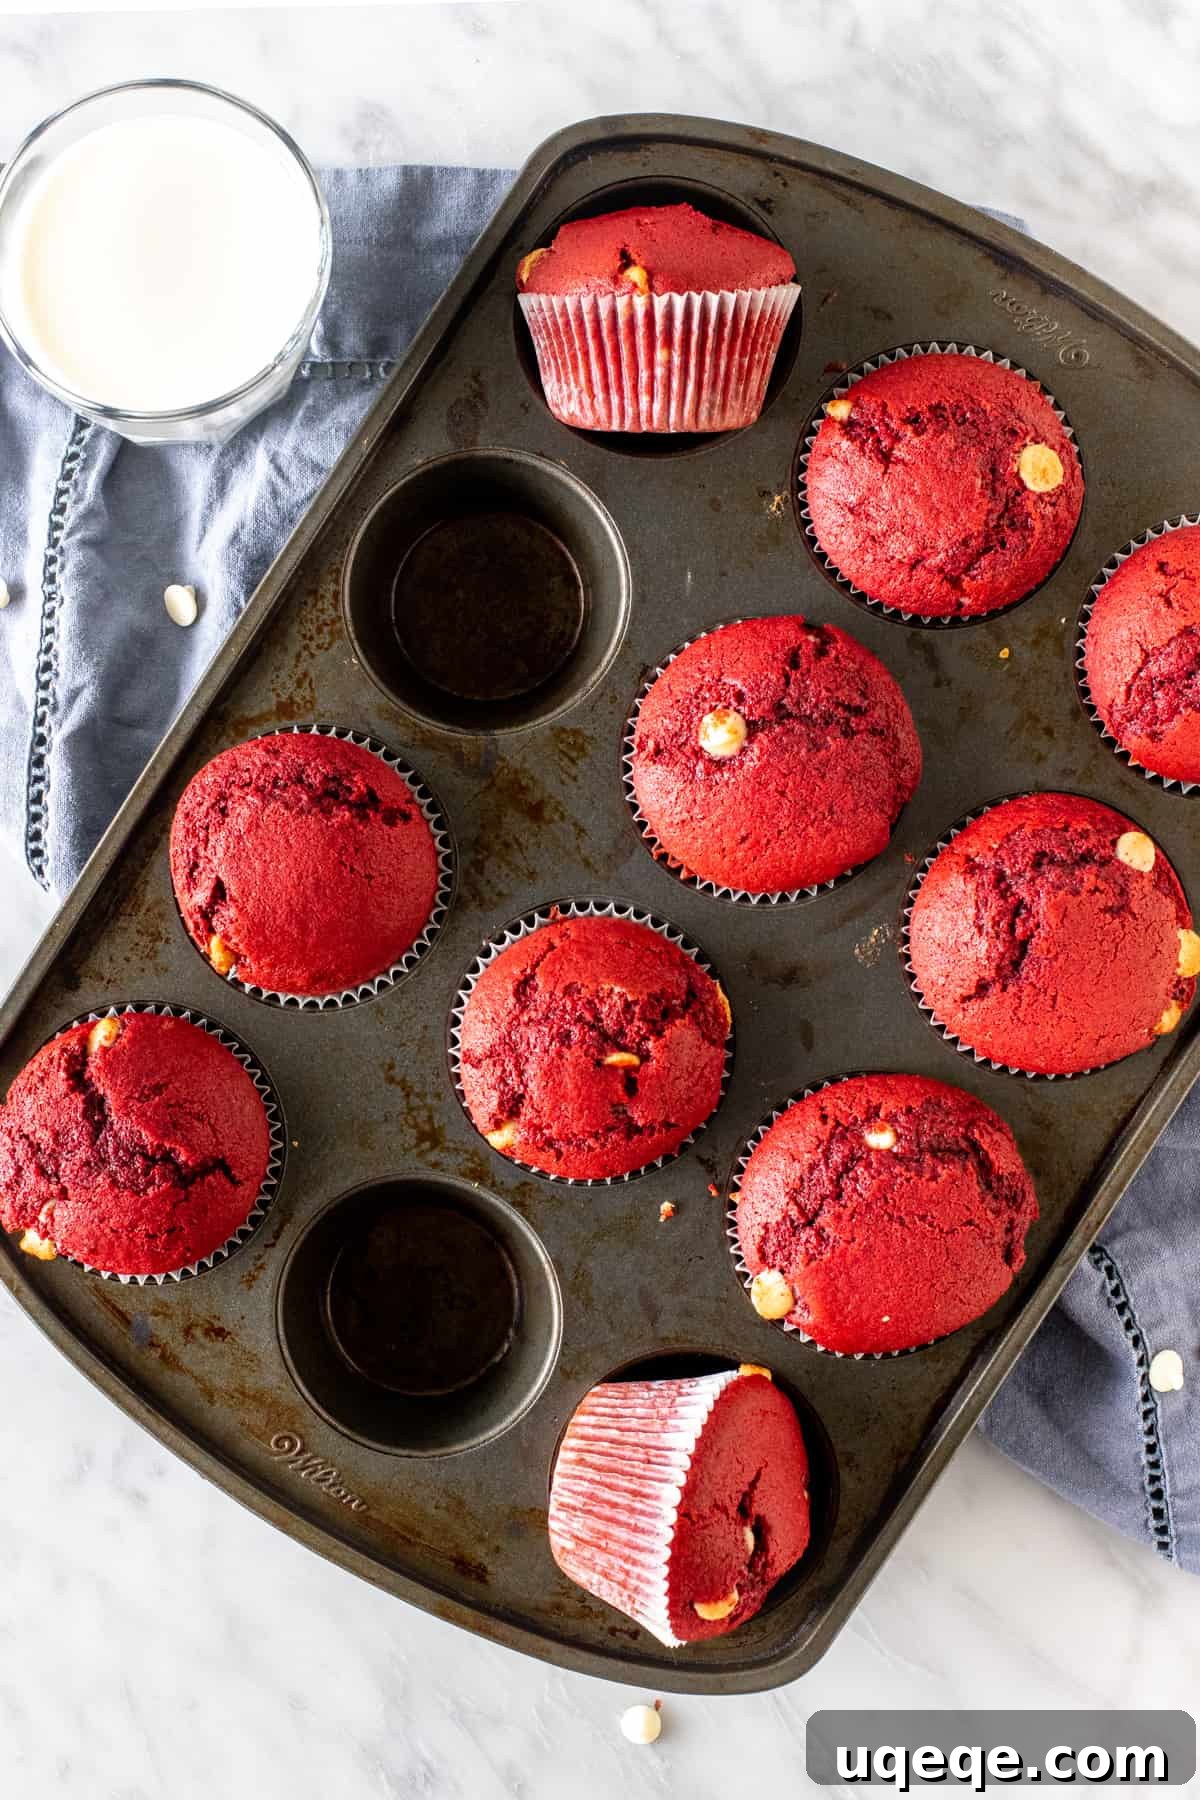
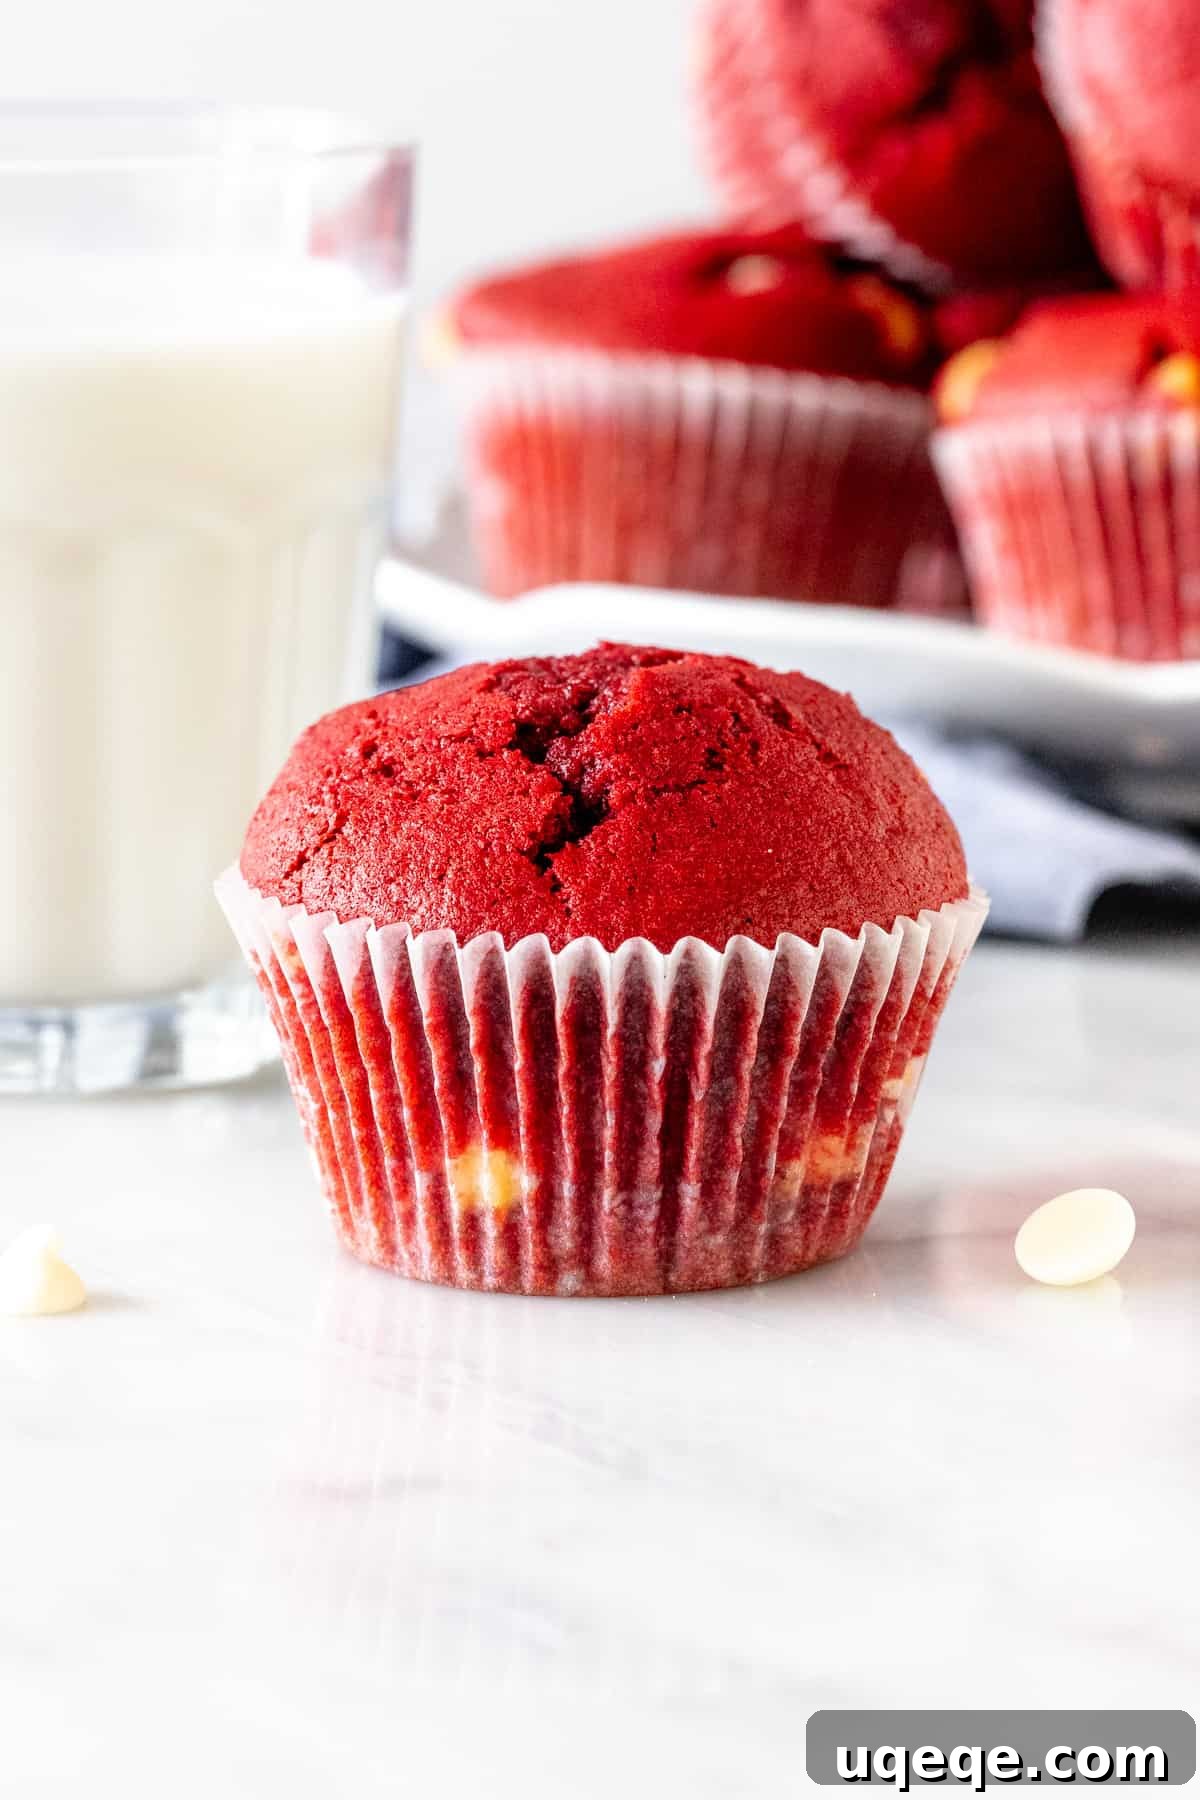
Indulge in the exquisite charm of these red velvet muffins – a delightful fusion of classic flavor and irresistible texture. Each bite offers a supremely moist crumb, imbued with that iconic red velvet tang, and generously studded with melty chocolate chips. Whether you’re planning a romantic Valentine’s Day breakfast, a special brunch, or simply craving a luxurious treat, these muffins are guaranteed to captivate anyone who adores the rich, nuanced taste of red velvet.
The Ultimate Red Velvet Muffins: Bakery-Style Perfection with Chocolate Chips
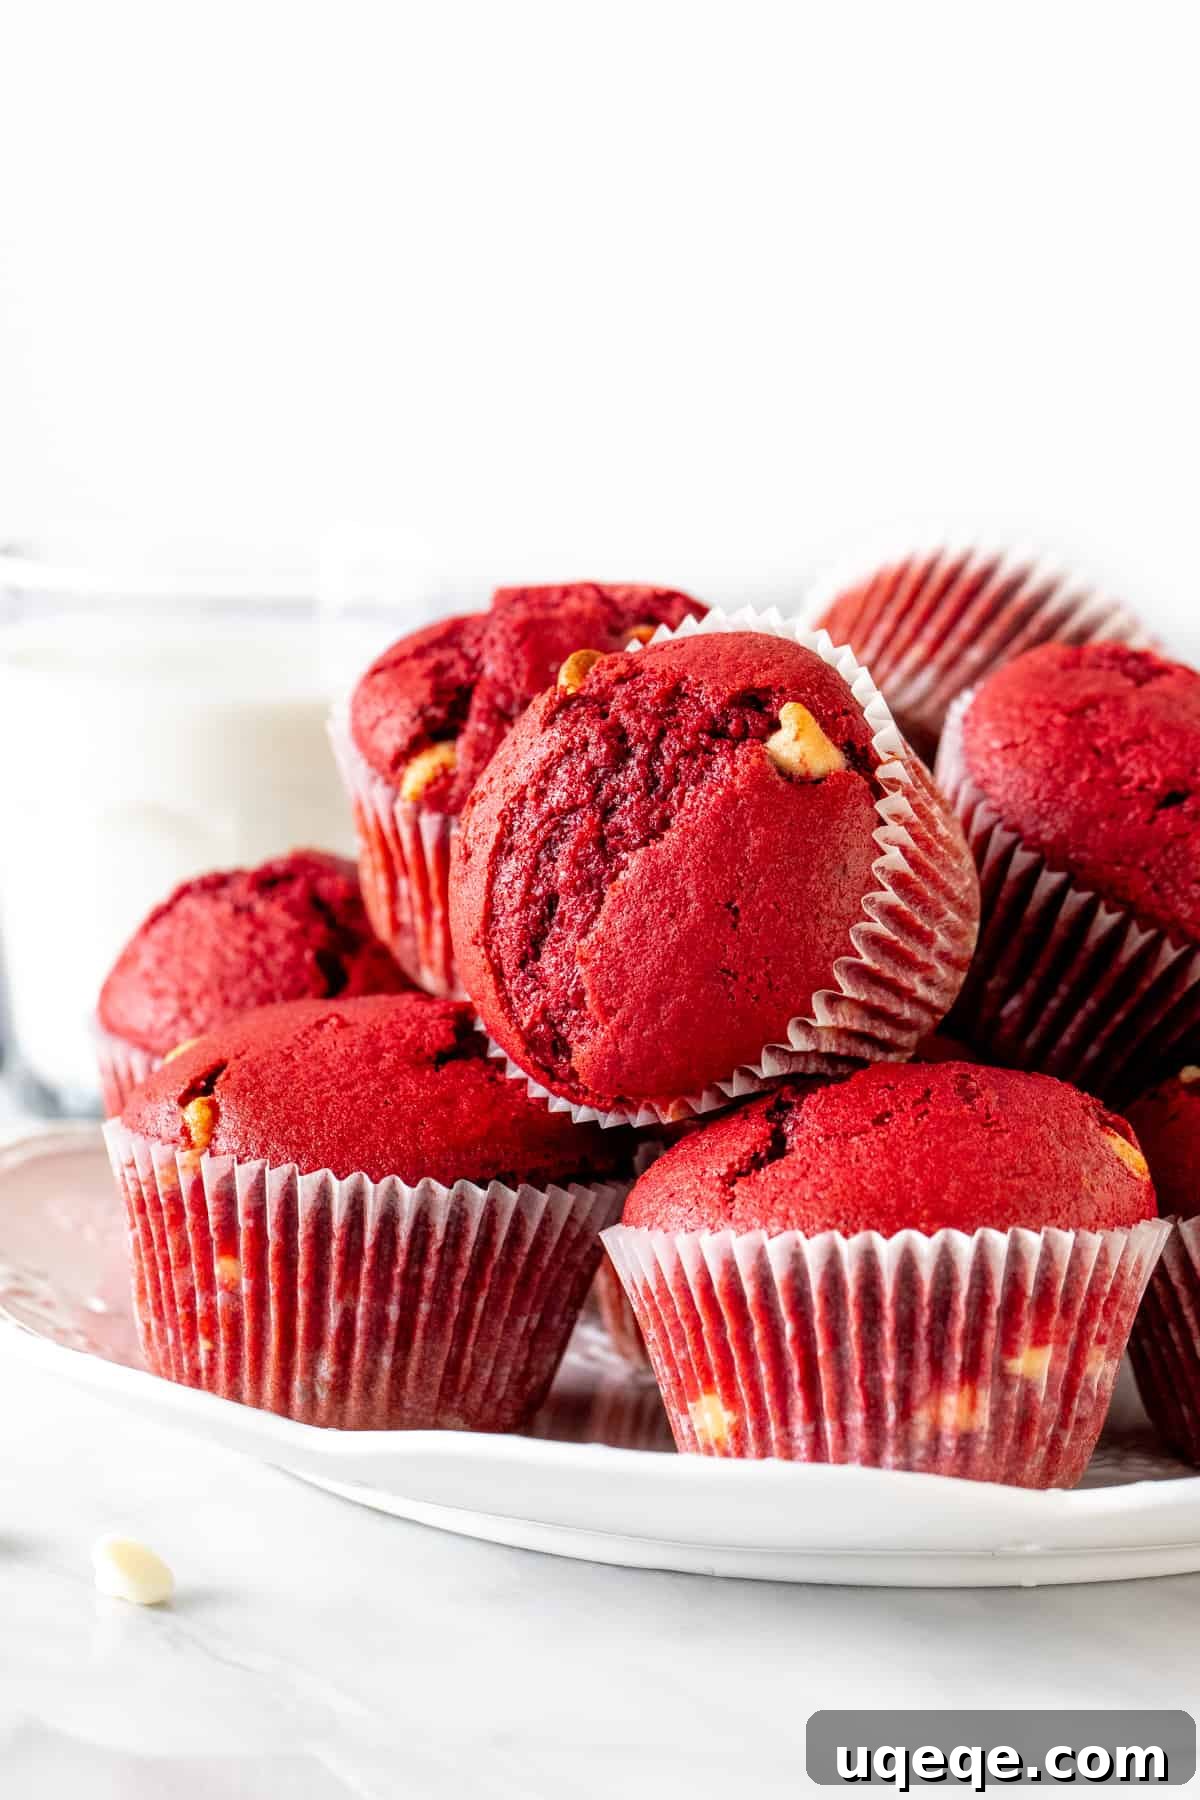
Step into the world of truly exceptional baked goods with this recipe for heavenly Red Velvet Muffins. Far beyond your average breakfast pastry, these muffins stand out with their gorgeous deep red hue, tender crumb, and the unmistakable, slightly tangy flavor that defines classic red velvet. While reminiscent of beloved red velvet cupcakes or a decadent slice of red velvet cake, these muffins strike a perfect balance, offering a slightly less sweet profile that makes them ideal for any time of day. Packed with your choice of luscious chocolate chips – whether classic semi-sweet or creamy white chocolate – they are an absolute dream, especially when savored warm from the oven, allowing the chocolate to melt into gooey pockets of bliss.
Unlocking the Signature Red Velvet Flavor and Texture
The magic of red velvet lies in a delicate interplay of specific ingredients that create its unique taste and incredibly tender texture. It’s a flavor profile that tantalizes with hints of cocoa, a subtle tang, and a supremely moist crumb. Understanding the role of each key component is essential to crafting red velvet muffins that truly shine.
Essential Ingredients for Authentic Red Velvet
Achieving the characteristic flavor and gorgeous deep color of red velvet isn’t just about dumping in food coloring. It’s a symphony of ingredients working in harmony:
- Just a Hint of Cocoa Powder: Unlike a rich chocolate muffin, red velvet aims for a flavor that sits beautifully between vanilla and chocolate. We use a minimal amount of cocoa powder – just enough to add depth without overpowering the other notes. For the purest red hue, natural cocoa powder is often preferred over Dutch-processed cocoa, as the latter can sometimes result in a darker, less vibrant red. Natural cocoa also brings a slight acidity that interacts perfectly with other ingredients.
- The Crucial Role of Buttermilk: Buttermilk is a non-negotiable ingredient in authentic red velvet. Its acidity reacts with the baking soda to create a light, airy texture and contributes significantly to the muffins’ exceptional tenderness. Beyond texture, buttermilk is key to that signature, subtle tanginess that defines red velvet, balancing the sweetness beautifully.
- Vinegar for Acidity and Lift: Adding a touch of distilled or white vinegar further boosts the acidity of the batter. This isn’t just for flavor; the vinegar works in tandem with the buttermilk and baking soda to create a powerful leavening reaction, ensuring your muffins rise beautifully and achieve those desirable domed tops. It enhances the tang and contributes to the overall delicate crumb structure.
- Vibrant Red Food Coloring: While the traditional red velvet color initially came from the reaction of natural cocoa with acidic ingredients, modern cocoa processing often prevents this. Therefore, red food coloring is now essential for achieving the iconic, visually stunning deep red. The amount you use is entirely up to your preference – whether you desire a subtle blush or an intensely vibrant crimson. Gel food coloring is often recommended for its concentrated color and minimal liquid addition.
You’ll also notice this recipe cleverly uses both melted butter and oil. This combination is a secret weapon for muffin perfection. The melted butter infuses the muffins with a rich, delicious flavor that oil alone cannot provide. Simultaneously, the vegetable or canola oil ensures that the muffins remain incredibly moist and tender for a longer period, preventing them from drying out quickly. It’s the best of both worlds!
Baking Red Velvet Muffins: A Step-by-Step Guide for Bakery-Style Perfection
Crafting these delectable red velvet muffins is surprisingly straightforward, requiring no special equipment beyond a couple of bowls and a whisk. This recipe is designed to be made entirely by hand, emphasizing gentle mixing for the most tender results. Follow these steps closely to achieve muffins that rival your favorite bakery’s finest.
Achieving Perfectly Domed Muffin Tops
One of the hallmarks of a truly exceptional muffin is a beautifully domed top, giving it that professional, bakery-style appeal. Our secret? A two-stage baking temperature. Initially, the muffins bake at a high temperature, creating a rapid burst of steam and causing them to rise quickly and set their tops. After just a few minutes, the oven temperature is reduced, allowing the muffins to bake through evenly without burning the exterior, resulting in a perfectly textured interior and a glorious dome. This technique is crucial for success, so be sure to follow the temperature changes precisely.
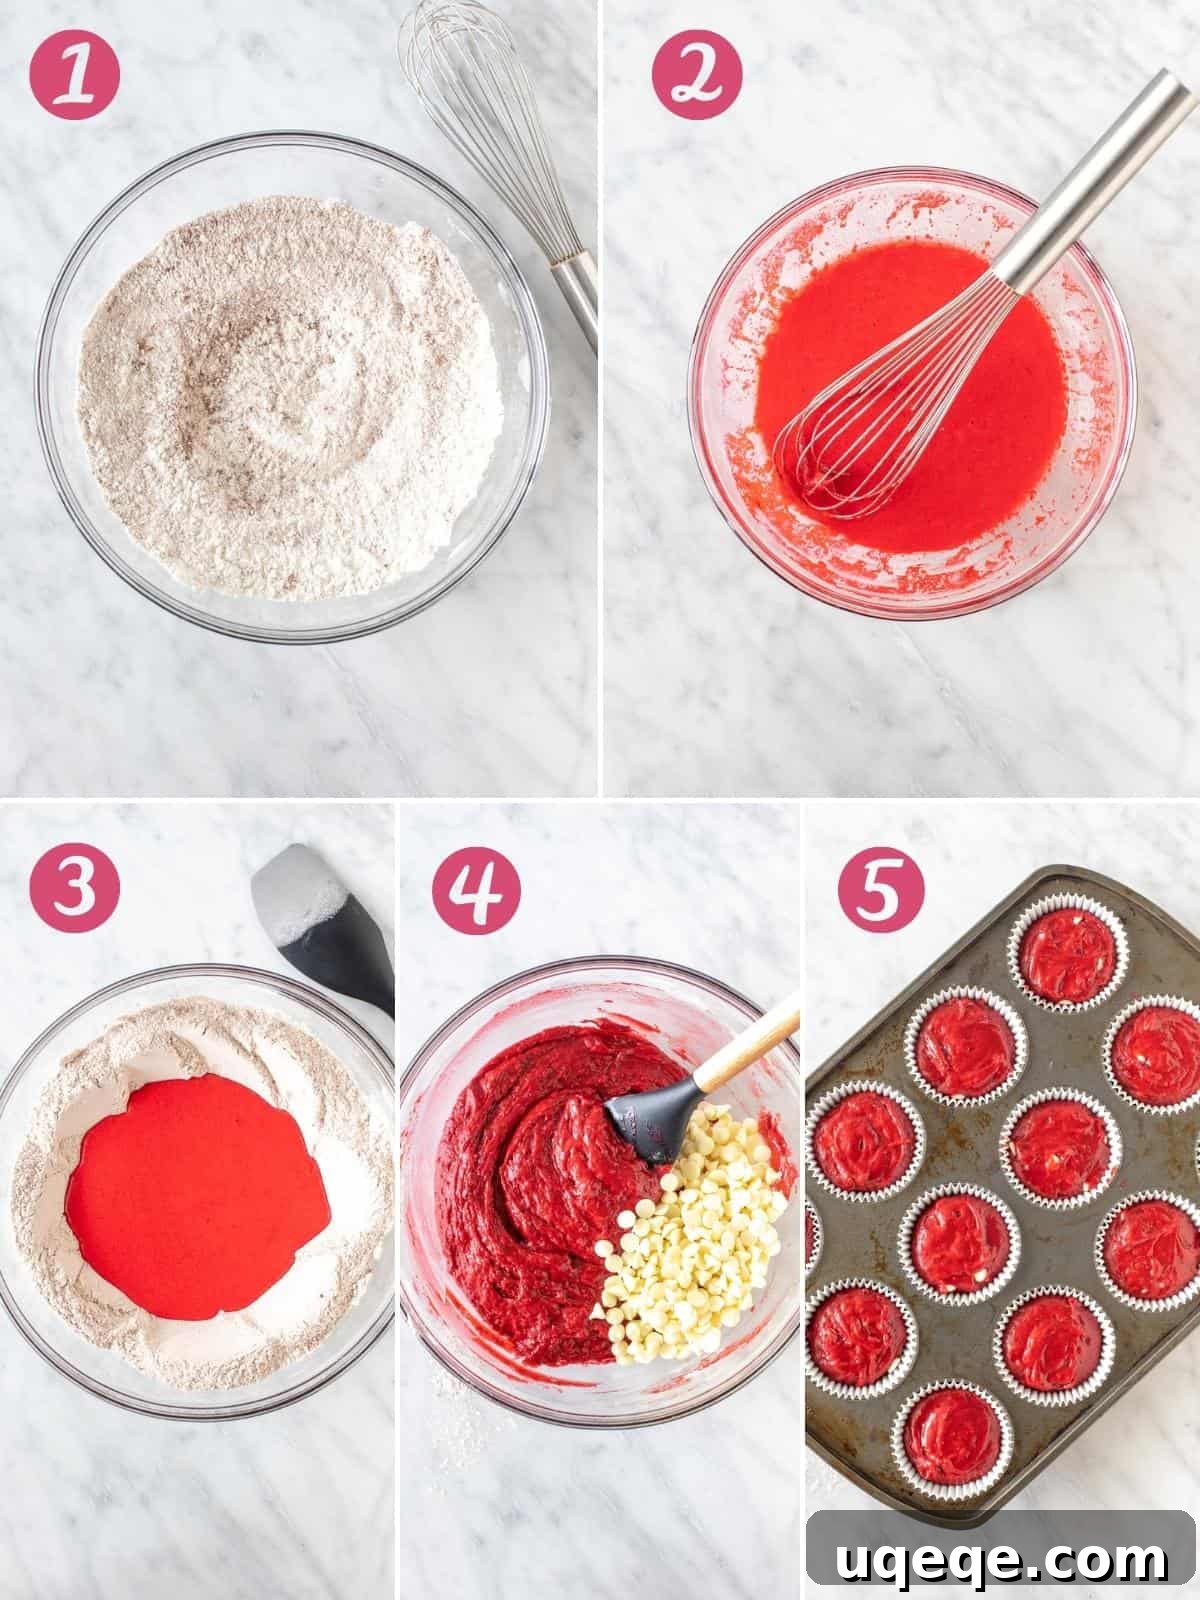
- Prepare Your Dry Ingredients: Begin by combining all your dry ingredients in a large mixing bowl: all-purpose flour, granulated sugar, natural cocoa powder, baking powder, baking soda, and salt. Whisk them thoroughly for about 30 seconds to 1 minute. This crucial step ensures that the leavening agents (baking powder and baking soda) and the cocoa powder are evenly distributed throughout the mixture, preventing pockets of unmixed ingredients and promoting an even rise.
- Combine Wet Ingredients for Vibrancy: In a separate, equally large bowl, whisk together the melted and cooled unsalted butter, vegetable or canola oil, room temperature large eggs, vanilla extract, distilled vinegar, red food coloring, and buttermilk. Whisk until all these liquid ingredients are smoothly integrated and the mixture takes on a beautifully vibrant, uniform red color. Using room temperature eggs ensures better emulsification and a smoother batter.
- Gently Marry Wet and Dry: Create a “well” or a small indentation in the center of your dry ingredients mixture. Pour the entire wet ingredient mixture into this well. Using a rubber spatula, carefully begin to fold the wet into the dry ingredients. The key here is gentle handling. Mix only until the flour streaks have just disappeared and the ingredients are mostly combined. It’s perfectly normal, and even desirable, for the batter to have a few small lumps.
- Fold in Your Favorite Chocolate Chips: Once the batter is almost combined, add your chocolate chips. Whether you choose classic white chocolate chips for a traditional red velvet look or opt for semi-sweet chocolate for a deeper contrast, gently fold them into the batter until they are evenly distributed. Be mindful not to overmix at this stage; overworking the batter develops gluten, which can lead to tough, dry muffins. Stop as soon as everything is incorporated.
- Fill Muffin Liners Evenly: Line a 12-cavity muffin tin with paper liners. Then, using an ice cream scoop or two spoons, evenly divide the muffin batter among the 12 prepared muffin papers. Don’t be shy – fill them quite full, as this helps achieve those signature domed tops.
- The Two-Temperature Bake: Place the muffin tin into your preheated 400°F (200°C) oven. Bake for exactly 5 minutes at this high temperature. Critically, *without opening the oven door*, reduce the oven temperature to 350°F (180°C). Continue baking for an additional 12-15 minutes, or until a wooden skewer or toothpick inserted into the center of a muffin comes out clean or with only a few moist crumbs attached.
- Cool and Enjoy Warm: Once baked, remove the muffin tin from the oven and allow the muffins to cool in the pan for at least 5 minutes. This helps them set and makes them easier to remove. After 5 minutes, transfer them to a wire rack to cool completely. While delicious at any temperature, these red velvet muffins are truly unparalleled when enjoyed warm from the oven, with their tender crumb and melted chocolate pockets.
Tips for Red Velvet Muffin Success and Customization
To ensure your red velvet muffins are nothing short of spectacular, keep these expert tips in mind. Plus, discover ways to personalize them to your liking!
- Measure Flour Accurately: Precision in baking is paramount, especially with flour. Too much flour is the quickest route to dry, dense muffins. The most accurate method is to measure flour by weight using a kitchen scale. If you’re measuring by volume, always whisk the flour in its container first, then spoon it lightly into your dry measuring cup and level off the top with a straight edge. Never scoop directly with the measuring cup, as this compacts the flour.
- Sugar Level Customization: The recipe as written uses 1 cup of granulated sugar, yielding muffins that are perfectly sweet for breakfast or a light treat. If you prefer a richer, more dessert-like muffin, feel free to increase the sugar to 1 1/4 cups. Taste preference is key here!
- Food Coloring Nuances: Gel food coloring tends to be more concentrated than liquid food coloring, meaning you’ll need less to achieve a vibrant hue. The amount specified (2 teaspoons) is for a very deep, rich red. If you prefer a lighter, more subtle color, start with 1 teaspoon and add more gradually until you reach your desired shade.
- Optimal Storage & Freezing: These muffins are undoubtedly at their peak when still warm from the oven. Any leftovers should be stored in an airtight container at room temperature for up to 3 days to maintain their moisture. For longer enjoyment, cooled muffins freeze beautifully for up to 2 months. Thaw them at room temperature, or for a quick warm treat, reheat gently in the microwave or a low oven.
- Serving Suggestions: While perfect on their own, consider serving these muffins with a dollop of cream cheese frosting (a classic red velvet pairing!), a sprinkle of powdered sugar, or alongside your morning coffee or tea. They make an excellent addition to any brunch spread or a delightful afternoon snack.
- Chocolate Chip Varieties: While white chocolate chips offer a lovely aesthetic contrast and creamy sweetness, feel free to experiment with other types. Dark chocolate chips will add a deeper, more intense chocolate flavor, while milk chocolate chips will provide a sweeter, milder option. You could even combine different types for a unique blend!
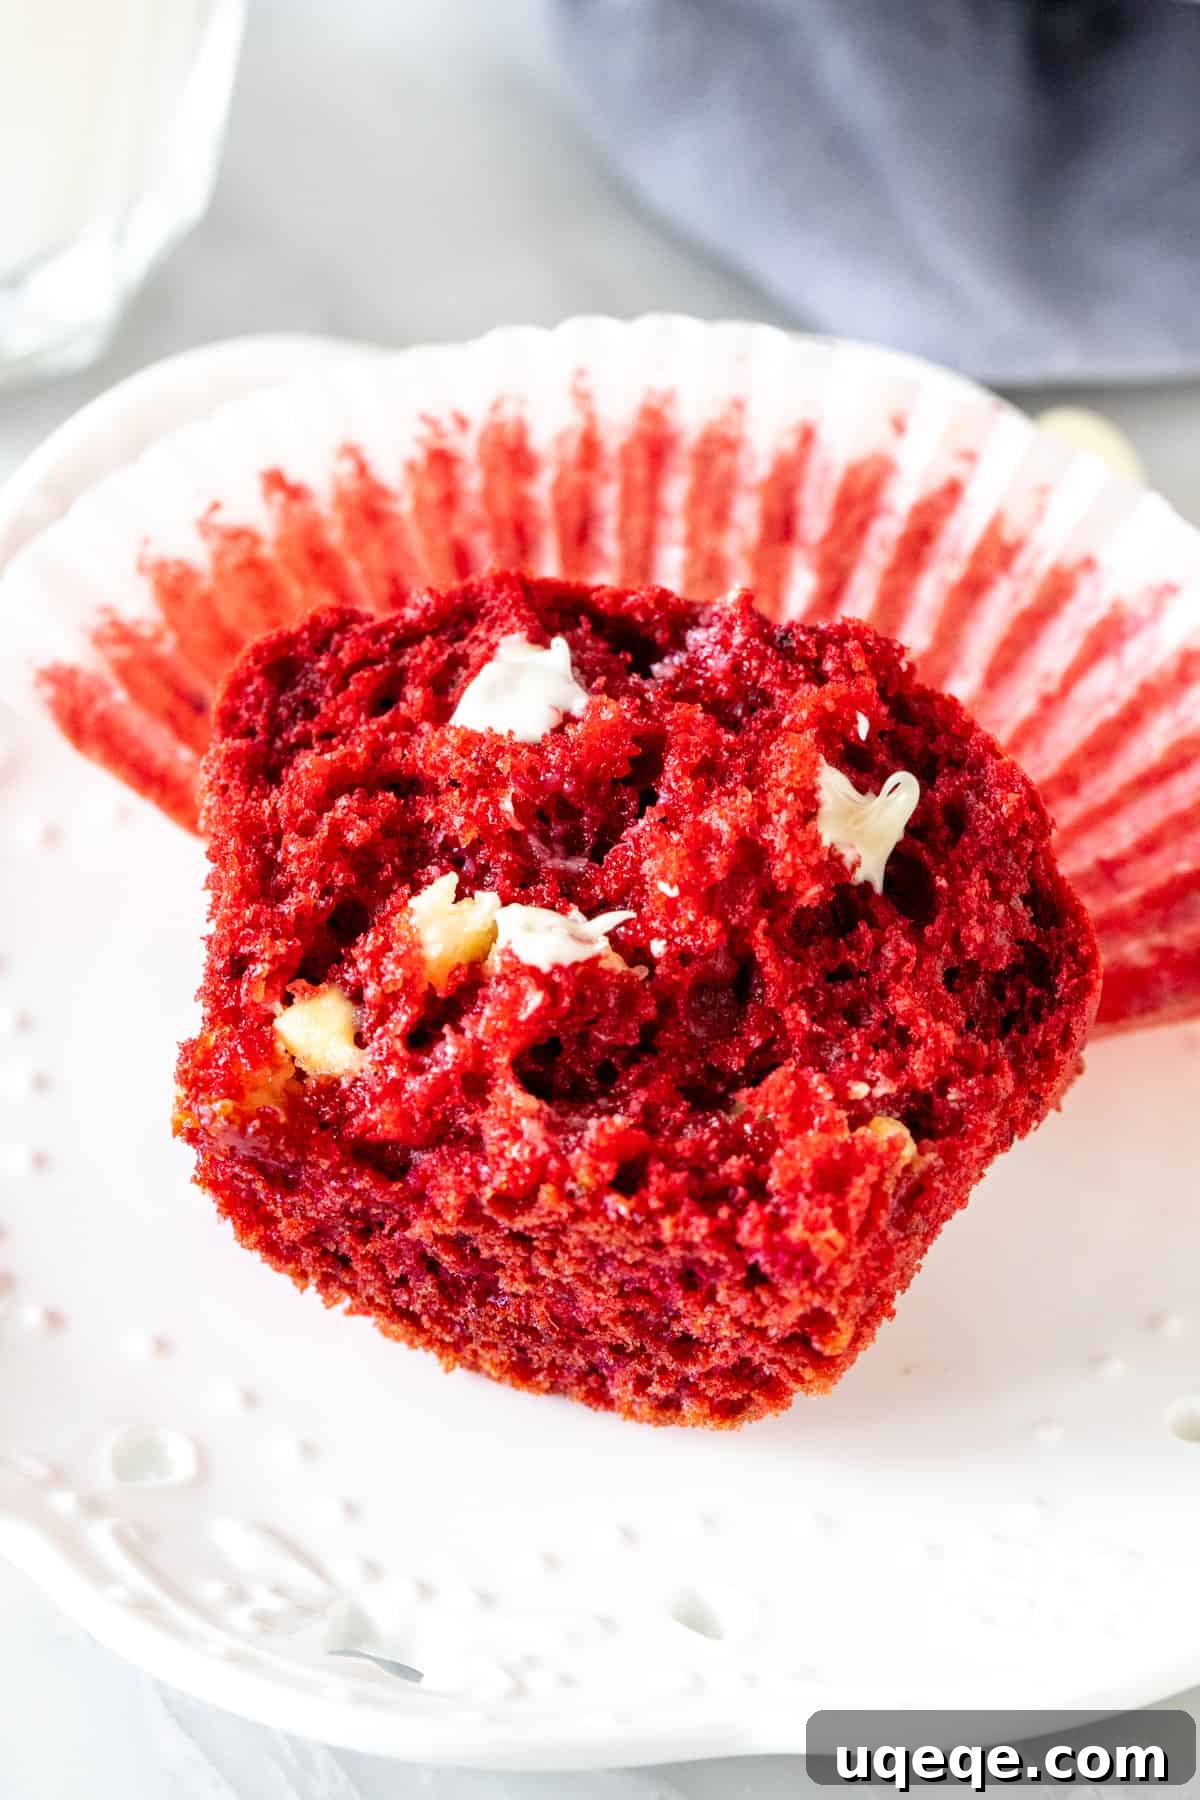
Red Velvet Muffins: The Recipe

Red Velvet Muffins
These red velvet muffins are super moist with the perfect red velvet flavor and tons of chocolate chips. They’re a delicious breakfast or treat for Valentine’s Day – or for anyone who loves red velvet!
Author: Fiona Dowling
Prep time: 15 mins
Cook time: 18 mins
Total time: 45 mins
Yields: 12 muffins
Equipment:
- 12-cavity muffin pan
- Muffin papers
- Large mixing bowls
- Whisk
- Rubber spatula
Ingredients:
- 2 1/4 cup all-purpose flour (281.25 grams)
- 1 cup granulated sugar (200 grams)
- 1 1/2 tablespoons natural cocoa powder
- 2 teaspoons baking powder
- 1/2 teaspoon baking soda
- 1/4 teaspoon salt
- 1/4 cup unsalted butter (56 grams), melted and cooled
- 1/4 cup vegetable oil (60 ml), or canola oil
- 2 large eggs, at room temperature
- 1 teaspoon vanilla extract
- 1 teaspoon distilled vinegar, or white vinegar
- 2 teaspoons red gel food coloring (adjust for desired vibrancy)
- 3/4 cup buttermilk (180 ml)
- 1 cup white chocolate chips (180 grams), or your favorite kind of chocolate chips
Instructions:
- Preparation: Preheat your oven to 400°F (200°C). Line a 12-cavity muffin tin with paper muffin liners.
- Combine Dry Ingredients: In a large mixing bowl, whisk together the all-purpose flour, granulated sugar, cocoa powder, baking powder, baking soda, and salt until thoroughly combined and lump-free.
- Mix Wet Ingredients: In a separate large bowl, whisk together the melted and cooled unsalted butter, vegetable oil, room temperature eggs, vanilla extract, distilled vinegar, red food coloring, and buttermilk. Whisk until the mixture is uniform in color and smooth.
- Combine Wet and Dry: Create a shallow well in the center of the dry ingredients. Pour the entire wet ingredient mixture into this well.
- Gently Fold: Using a rubber spatula, carefully fold the wet ingredients into the dry ingredients. Mix until the ingredients are just combined and no dry streaks of flour remain. A slightly lumpy batter is normal and desired. Avoid overmixing, as this can lead to tough muffins.
- Add Chocolate Chips: Gently fold the chocolate chips into the batter until they are evenly distributed. Again, mix minimally to prevent overworking the batter.
- Fill Muffin Tin: Spoon the batter evenly into the 12 prepared muffin papers, filling each cavity close to the top for beautifully domed muffins.
- Two-Stage Bake: Bake in the preheated 400°F (200°C) oven for 5 minutes. *Without opening the oven door*, reduce the oven temperature to 350°F (180°C) and continue baking for another 12-15 minutes, or until a wooden skewer or toothpick inserted into the center of a muffin comes out clean.
- Cool and Serve: Allow the muffins to cool in the muffin pan for at least 5 minutes before carefully transferring them to a wire rack to cool completely. For the ultimate enjoyment, serve them warm from the oven.
Notes:
- Flour Measurement: For the most consistent results and to prevent dry muffins, measure flour by weight using a kitchen scale (281.25 grams). If using measuring cups, spoon the flour into the cup and level it off; do not pack it down.
- Sugar Adjustment: If you prefer a sweeter muffin that leans more towards dessert, you can increase the granulated sugar to 1 1/4 cups. One cup provides a balanced sweetness ideal for breakfast.
- Food Coloring: The recipe suggests 2 teaspoons of gel food coloring for a rich, deep red. Adjust the quantity to achieve your preferred color intensity. Liquid food coloring can also be used, though you might need slightly more for the same vibrancy.
- Storage & Freezing: These muffins are best enjoyed warm and fresh. Store any leftover muffins in an airtight container at room temperature for up to 3 days. For longer storage, cooled muffins can be frozen for up to 2 months. Thaw at room temperature or gently reheat.
- Nutrition Information: The provided nutritional values are an estimate per muffin, calculated assuming the recipe yields 12 equally sized muffins.
Nutrition (per muffin, estimated):
Calories: 329kcal, Carbohydrates: 45g, Protein: 5g, Fat: 15g, Saturated Fat: 7g, Polyunsaturated Fat: 3g, Monounsaturated Fat: 4g, Trans Fat: 1g, Cholesterol: 46mg, Sodium: 137mg, Potassium: 179mg, Fiber: 1g, Sugar: 26g, Vitamin A: 192IU, Vitamin C: 1mg, Calcium: 86mg, Iron: 1mg
Explore More Delightful Muffin Recipes
If you’ve enjoyed these Red Velvet Muffins, you might love exploring other decadent muffin recipes from our collection:
- Bakery-Style Chocolate Chip Muffins
- Double Chocolate Muffins
- Cappuccino Chocolate Chip Muffins
- Blueberry Chocolate Chip Muffins
Frequently Asked Questions about Red Velvet Muffins
- What gives red velvet its unique flavor?
- Red velvet’s distinctive taste comes from a delicate balance of mild cocoa, a subtle tang from acidic ingredients like buttermilk and vinegar, and a hint of vanilla. The minimal cocoa creates a flavor profile that’s neither intensely chocolate nor simply vanilla, but rather a unique sweet-and-tangy experience that is truly unforgettable.
- Can I make these red velvet muffins without food coloring?
- Absolutely! While the vibrant red color is an iconic visual, it is purely cosmetic and does not affect the flavor. Omitting the food coloring will still yield delicious muffins with the classic red velvet taste and tender texture; they just won’t have the signature red hue. Some natural cocoa powders, when reacted with acidic ingredients, can impart a faint reddish-brown tint naturally.
- What is the purpose of the high-then-low oven temperature?
- This two-stage baking technique is a professional baker’s secret for achieving those coveted tall, domed muffin tops, similar to what you’d find in a high-end bakery. The initial high temperature creates a sudden burst of steam and a rapid rise, quickly setting the muffin tops. Then, reducing the temperature allows the muffins to cook through evenly without over-browning or burning the exterior, ensuring a perfect texture from top to bottom.
- Why is it important not to overmix the batter?
- Overmixing is a common pitfall that can lead to tough, chewy, and dry muffins. When you combine flour with liquid, gluten begins to develop. Excessive mixing overdevelops this gluten, resulting in a less tender crumb. For light, fluffy, and moist muffins, always mix only until the dry and wet ingredients are just combined, leaving a few small lumps, which is perfectly fine.
- Can I use regular milk instead of buttermilk?
- Buttermilk is a crucial component for both the unique flavor and incredibly tender texture of authentic red velvet. If you don’t have buttermilk on hand, you can easily create a homemade substitute: add 1 tablespoon of white vinegar or lemon juice to a liquid measuring cup, then fill the rest of the way to 3/4 cup with regular milk. Let it sit for 5-10 minutes until it slightly curdles before using it in the recipe.
- How can I make sure my chocolate chips don’t sink to the bottom?
- A common and effective trick to prevent chocolate chips (or other mix-ins) from sinking to the bottom of your muffins is to toss them with about a teaspoon of the dry flour mixture before folding them into the batter. This light coating helps them suspend more evenly throughout the batter as it bakes, ensuring you get chocolate in every bite!
Conclusion
These Red Velvet Muffins with Chocolate Chips are more than just a recipe; they are an invitation to experience baking joy and indulge in a truly special treat. With their striking color, delicate tang, and moist, chocolate-studded crumb, they promise to elevate any breakfast, brunch, or snack time into a memorable occasion. Master the simple techniques, embrace the key ingredients, and prepare to delight your senses with these bakery-worthy muffins. Happy baking!