
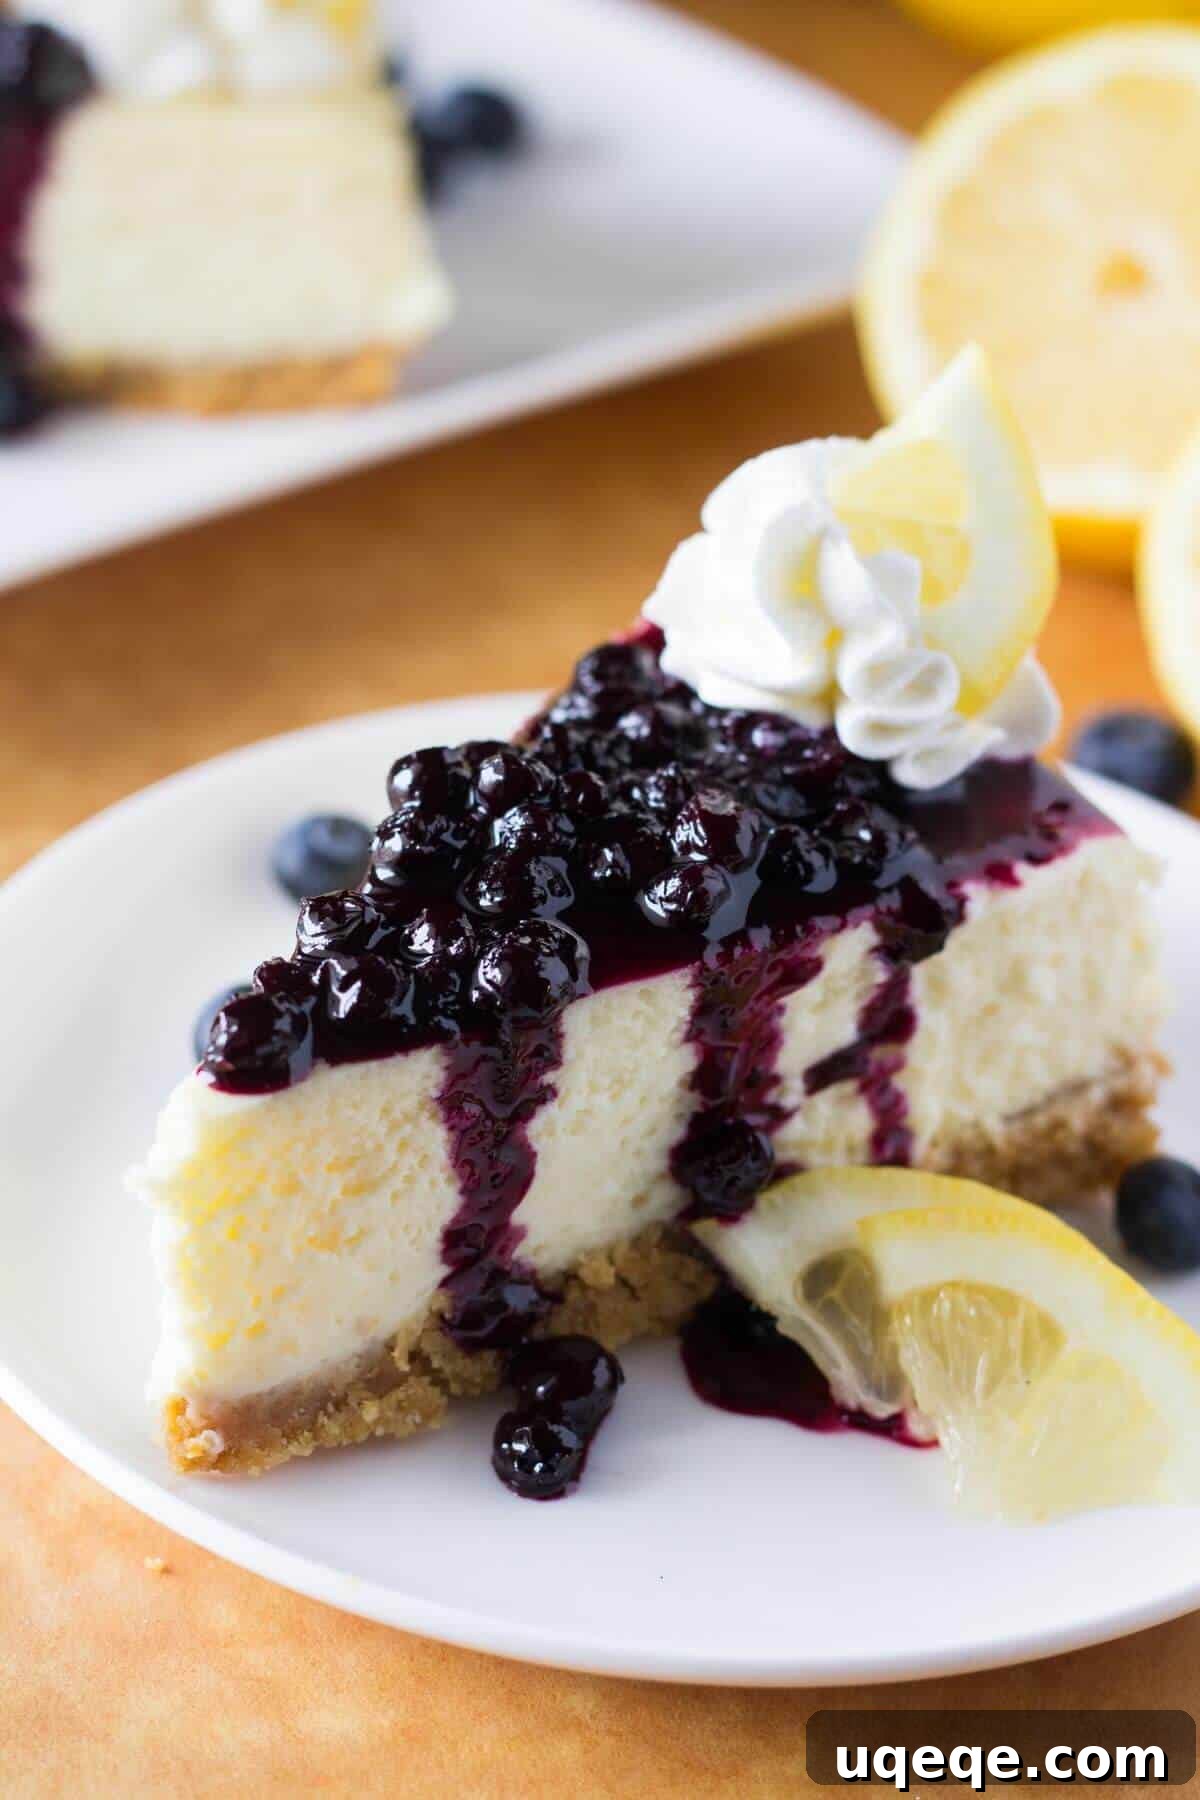
Welcome to your ultimate guide for mastering the art of homemade cheesecake! If you’ve ever dreamt of baking a perfectly creamy, delightfully tangy, and utterly decadent cheesecake, but felt intimidated by the process, you’ve come to the right place. This comprehensive resource is designed to demystify cheesecake making, turning what seems like a complex dessert into an achievable and incredibly rewarding culinary experience. Whether you’re a beginner venturing into your first cheesecake or an experienced baker looking to refine your technique and expand your recipe collection, this guide covers everything you need to know. Get ready to impress your friends, family, and most importantly, your taste buds, with a truly exceptional homemade cheesecake!
I wholeheartedly believe that few desserts can rival the sheer bliss of a well-made cheesecake. Its rich texture, balanced sweetness, and often subtle tang create an irresistible combination that leaves you craving more. From the classic New York style to rich chocolate variations, or even a quick and easy no-bake option, there’s a cheesecake for every occasion and every palate. While store-bought cheesecakes can be good, nothing compares to the fresh, vibrant flavors and melt-in-your-mouth texture of one made from scratch in your own kitchen.
Many home bakers find the idea of making cheesecake from scratch daunting, especially given the cost of ingredients and the desire for a flawless finish. The fear of cracks, a grainy texture, or an uneven bake can be off-putting. But I’m here to assure you that with the right tips, tricks, and a little bit of science, crafting a magnificent cheesecake is far easier than you might imagine. This guide will walk you through every step, from selecting the best ingredients to troubleshooting common issues, ensuring your homemade cheesecake is not just delicious, but absolutely perfect every single time. Let’s embark on this delightful baking journey together!
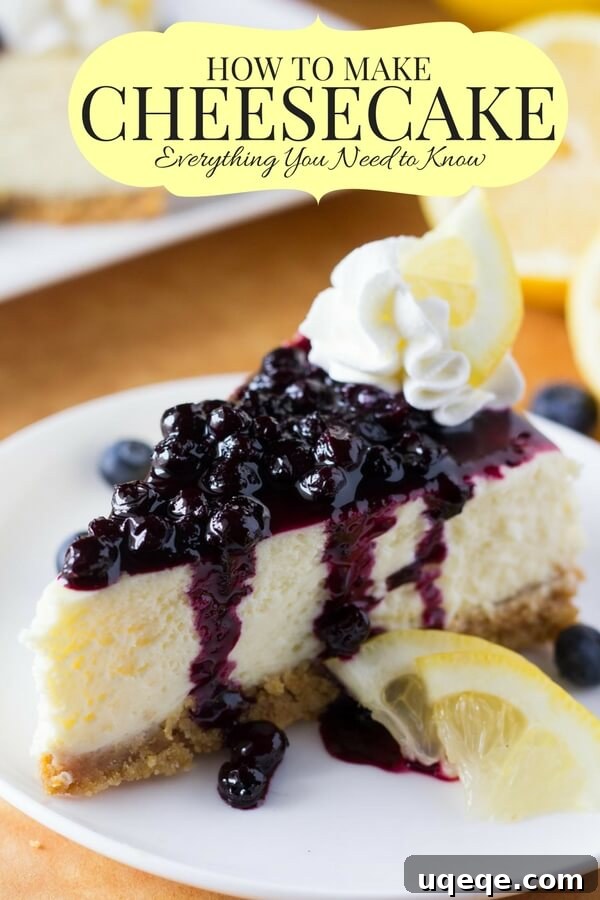
What Exactly is Cheesecake? A Delicious Definition
At its core, a cheesecake is a dense, rich dessert that falls into the cake category, despite its often custard-like texture. It primarily consists of a creamy filling made from cheese (most commonly cream cheese in the American tradition), eggs, sugar, and various flavorings. This luscious filling typically rests upon a delicious crust, though crustless versions do exist. Cheesecakes boast incredible versatility; they can be either baked to a firm, smooth consistency or simply chilled for a lighter, no-bake alternative.
While the concept of a cheese-based dessert is ancient and global, today we’ll primarily focus on American-style cheesecakes. These are renowned for their substantial cream cheese base, often baked, and their characteristic rich, dense, and exceptionally smooth texture. It’s worth noting that delightful cheesecake variations exist worldwide, from the airy Japanese soufflé cheesecake to the quark-based German ‘Käsekuchen,’ but for a comprehensive understanding, we’ll dive deep into the beloved American iteration. This focus allows us to explore the nuances of ingredients, techniques, and common challenges specific to this popular style, equipping you with the skills to create truly exceptional results.
A Brief History of Cheesecake: From Ancient Greece to Modern Day Delight
The history of cheesecake stretches back much further than most people realize, with its origins rooted in antiquity. Historians trace the earliest forms of cheesecake to ancient Greece, where it was believed to be served at the first Olympic Games in 776 BC to provide energy to athletes. The recipe typically involved mashed cheese, honey, and flour, baked into a simple cake. The Romans, upon conquering Greece, adopted this culinary delight and spread it throughout their empire, introducing it to various parts of Europe. They often added eggs and would sometimes serve it warm.
For centuries, cheesecake continued to evolve across the continent, with different regions incorporating local cheeses, spices, and preparation methods. However, the cheesecake as we largely know it today, characterized by its creamy texture, didn’t truly emerge until the invention of modern cream cheese. This pivotal moment occurred in 1872 when William Lawrence, a dairyman from Chester, New York, accidentally created cream cheese while attempting to replicate the French Neufchâtel cheese. It was an instant hit, offering a new level of richness and tang. Further refinement came in 1912 when James L. Kraft patented pasteurized cream cheese, making it more stable and widely available. This innovation paved the way for the “modern day” cheesecake, forever changing its texture and making it the iconic dessert we cherish today.
Essential Cheesecake Ingredients and Their Roles
Creating an incredible cheesecake starts with understanding the role each ingredient plays. Quality ingredients, often at room temperature, are key to achieving that smooth, luscious texture and rich flavor. Let’s break down the components of a classic American cheesecake.
The Crust: Foundation of Flavor and Texture
The crust provides a crucial base for your cheesecake, offering both textural contrast and complementary flavor. While graham cracker crumbs are the traditional choice, don’t hesitate to get creative:
- Graham Cracker Crumbs: The classic choice, offering a slightly sweet, subtly spiced base. Combine with melted butter and a touch of sugar.
- Oreo Cookie Crumbs: For a rich chocolate base, perfect for chocolate or peanut butter cheesecakes. No need for additional sugar, just melted butter.
- Crushed Sugar Cookies or Shortbread: Offers a buttery, delicate crust.
- Ginger Snaps: Adds a spicy kick, wonderful with pumpkin or apple cheesecakes.
- Pretzel Crumbs: For a unique sweet and salty dynamic, especially good with caramel or peanut butter fillings.
- Brownie Bottom: A decadent, fudgy base for truly indulgent cheesecakes.
Tip: The key to a great crust is pressing it firmly into the pan. This prevents crumbling when sliced. A flat-bottomed glass or your fingers work perfectly. You can pre-bake your crust for 8-10 minutes to make it extra crisp, or use it unbaked.
The Filling: The Heart of the Cheesecake
The creamy filling is where the magic truly happens. Each ingredient contributes to the signature taste and texture:
- Cream Cheese: This is the star! Always opt for full-fat, block cream cheese. Tub cream cheese often has a higher water content and stabilizers that can affect the texture. Ensure it’s softened to room temperature for a lump-free, smooth batter.
- Granulated Sugar: Provides sweetness and helps create a smooth texture. The sugar dissolves into the cream cheese, contributing to the filling’s creamy consistency.
- Eggs: Act as a binder and emulsifier, giving the cheesecake its structure and richness. Room temperature eggs blend more easily and incorporate less air.
- Flavorings: Pure vanilla extract is a must for classic cheesecakes. Other flavorings like lemon zest, almond extract, or liqueurs can be added to customize your creation.
- Sour Cream, Heavy Cream, or Greek Yogurt: These acidic dairy components are often added to enhance the cheesecake’s tang, making it less cloyingly sweet, and to contribute to an incredibly smooth, less grainy texture. They also add moisture, which can help prevent cracking.
- All-Purpose Flour or Cornstarch: A small amount (typically 1 tablespoon per 9-inch cheesecake) acts as an extra binding agent, offering a little insurance against cracks, especially in baked cheesecakes. It helps stabilize the structure of the custard.
Essential Equipment for Cheesecake Success
Having the right tools can make all the difference in your cheesecake baking journey. Here’s a list of essential equipment:
- Springform Pan: This is non-negotiable for baked cheesecakes. Its removable sides allow you to effortlessly release the delicate cheesecake without damaging it. A 9-inch pan is standard, but 8-inch or 10-inch pans are also common.
- Large Mixing Bowls: You’ll need at least two – one for the crust and one for the filling.
- Electric Mixer: A stand mixer with a paddle attachment or a hand-held electric mixer is essential for thoroughly creaming the ingredients and ensuring a smooth, lump-free batter.
- Rubber Spatula: Perfect for scraping down the sides of the bowl, ensuring all ingredients are incorporated without overmixing.
- Heavy-Duty Aluminum Foil: Absolutely crucial for creating a watertight seal around your springform pan when using the water bath method. Don’t skimp on quality or layers!
- Large Roasting Pan: Necessary for the water bath method; it needs to be large enough to comfortably hold your springform pan with some space around the edges.
- Measuring Cups and Spoons: For accurate ingredient measurements.
- Oven Thermometer: Highly recommended to ensure your oven is truly heating to the temperature you set, which is vital for consistent baking.
Cheesecake Baking Methods: Regular vs. Water Bath
When it comes to baking a cheesecake, you generally have two primary methods, each with its own advantages and considerations:
1. The Regular Baking Method
This method involves placing the springform pan directly onto the oven rack. It’s the simpler of the two in terms of prep work.
- Process: Prepare your crust and filling, pour into the springform pan, and bake directly in a preheated oven.
- Advantages: Less fuss, quicker setup, and often results in a crunchier crust since it’s exposed to direct heat.
- Considerations: Because the cheesecake is exposed to dry, direct heat, it’s more susceptible to drastic temperature changes. This can increase the risk of cracking, overbaking the edges, and potentially a slightly less silky texture. To mitigate this, a lower oven temperature (around 325°F or 160°C) is often recommended for a slower, more gentle bake.
2. The Water Bath Method (Bain-Marie)
The water bath method, also known as a bain-marie, is widely considered the gold standard for achieving the smoothest, creamiest, and crack-free cheesecakes. It involves baking the springform pan inside a larger pan filled with hot water.
- Process: The springform pan is wrapped thoroughly in heavy-duty aluminum foil, then placed inside a large roasting pan. Boiling water is poured into the roasting pan around the cheesecake, and the entire setup bakes in the oven.
- Advantages:
- Even Baking: The water acts as a buffer, insulating the cheesecake from direct, intense heat and creating a moist, steamy environment. This ensures the cheesecake bakes slowly and evenly from all sides, preventing the edges from cooking faster than the center.
- Prevents Cracks: The moist heat minimizes dramatic temperature fluctuations and prevents the cheesecake’s surface from drying out too quickly, significantly reducing the likelihood of unsightly cracks.
- Creamier Texture: The gentle, moist heat yields an incredibly silky, custard-like texture that melts in your mouth.
- Considerations: Requires more prep time (wrapping the pan, boiling water) and careful handling of hot water. However, the superior results often justify the extra effort.
How to Bake a Cheesecake in a Water Bath: Step-by-Step Perfection
The water bath method is your secret weapon for a perfectly smooth, crack-free cheesecake. Here’s how to execute it flawlessly:
- Prepare Your Pan: Before you even start making your cheesecake batter, wrap the outside of your springform pan thoroughly with heavy-duty aluminum foil. Use at least 3-4 layers, ensuring all seams are tightly crimped and that the foil extends well above the top edge of the pan. This creates a reliable barrier to prevent any water from seeping into your cheesecake.
- Boil Water: While preparing your batter, bring a kettle or pot of water to a rolling boil. You’ll need enough to fill the roasting pan with about 1 inch of water.
- Assemble the Water Bath: Once your cheesecake batter is poured into the prepared springform pan, place the foil-wrapped pan inside a larger roasting pan.
- Add Boiling Water: Carefully pour the boiling water into the roasting pan, around the springform pan. Fill it so the water comes about 1/2 to 1 inch up the sides of the springform pan. Be careful not to splash any water into the cheesecake itself.
- Bake: Gently transfer the entire roasting pan, with the cheesecake and water bath, into your preheated oven. Bake for the time specified in your recipe.
- Cool in Water Bath: Once the cheesecake is done baking (it should have a slight wobble in the center), turn off the oven. Leave the cheesecake in the water bath, inside the cooling oven, with the oven door propped open slightly, for at least 30-60 minutes. This gradual cooling prevents sudden temperature changes that can lead to cracks.
- Final Cooling: Once the water in the roasting pan has cooled to room temperature, carefully remove the springform pan from the water bath. Remove the foil and place the cheesecake on a wire rack to cool completely at room temperature before chilling.
Understanding and Preventing Cheesecake Cracks: Pro Tips for a Flawless Finish
The dreaded cheesecake crack is a common frustration for home bakers. It doesn’t affect the taste, but it can certainly detract from the aesthetic appeal. Understanding why cracks occur is the first step to preventing them. They primarily happen due to drastic temperature changes and overbaking, which cause the cheesecake to expand and contract too rapidly. The air incorporated into the batter also plays a significant role. By implementing a few key strategies, you can achieve a beautifully smooth, unblemished surface every time.
The Science Behind Cracks:
When cheesecake bakes, the eggs and dairy proteins set and expand. If too much air has been incorporated into the batter, or if the cheesecake bakes too quickly and then cools too rapidly, the outer edges set before the center. As the center continues to bake and then cools and contracts, the already-set outer edges can’t accommodate the change, leading to tears – the dreaded cracks. Overbaking also dries out the cheesecake, making it less elastic and more prone to cracking.
Your Essential Tips for the Perfect, Crack-Free Cheesecake:
- Use Room Temperature Ingredients: This is arguably the most crucial tip. Softened cream cheese, room temperature eggs, and other dairy blend together effortlessly and smoothly. Cold ingredients require more mixing to combine, which incorporates excess air into the batter. More air equals a higher chance of expansion and contraction during baking and cooling, leading to cracks.
- Add a Little Binder (Flour or Cornstarch): For baked cheesecakes, incorporating just a tablespoon of all-purpose flour or cornstarch (for a 9-inch cheesecake) can significantly help. These binders provide a little extra structure and flexibility to the batter, making it more resilient to the stresses of baking and cooling, thus reducing the likelihood of cracks.
- Don’t Overmix Your Batter, Especially After Adding Eggs: Overmixing is the enemy of a smooth, crack-free cheesecake. Once the cream cheese and sugar are well combined, add eggs one at a time, mixing on low speed just until they are incorporated. Beating vigorously, especially after the eggs are in, whips too much air into the batter, leading to an airy, soufflé-like rise in the oven that will inevitably fall and crack upon cooling.
- Employ the Water Bath Method: As discussed earlier, a water bath (bain-marie) is a game-changer. It provides a consistent, moist, and gentle baking environment, insulating the cheesecake from the oven’s harsh dry heat. This ensures an even bake, prevents the edges from drying out and setting too quickly, and significantly minimizes temperature fluctuations that cause cracking.
- Don’t Overbake: Overbaking is a primary cause of dry, cracked cheesecakes. A perfectly baked cheesecake should still have a slight “jiggle” or wobble in the very center (about a 1-2 inch circle) when gently shaken. The residual heat will continue to cook it as it cools. If the entire cheesecake is firm, it’s already overbaked.
- Cool the Cheesecake Slowly and Gradually: Rapid temperature changes are a crack’s best friend.
- In-Oven Cooling: Once baking is complete, turn off the oven and prop the door open slightly (about 2-3 inches). Let the cheesecake cool inside the oven for at least an hour, or even longer if using a water bath, allowing it to acclimate slowly to room temperature.
- Room Temperature Cooling: After oven cooling, remove the cheesecake and let it cool completely on a wire rack at room temperature. Do not rush it by placing it directly into the fridge while still warm.
- Run a Knife Around the Edge: This simple trick can be surprisingly effective. Once the cheesecake has cooled completely at room temperature, but before chilling, carefully run a thin knife or offset spatula around the inner edge of the springform pan. This helps to loosen the cheesecake from the sides, preventing it from sticking and tearing as it contracts during chilling.
- Chill Thoroughly: Once completely cooled at room temperature, transfer your cheesecake to the refrigerator. Chill for at least 6-8 hours, or preferably overnight. This final chilling period is essential for the cheesecake to fully set, develop its flavors, and achieve that firm yet creamy texture. Patience truly pays off here.
- Cut Yourself a Massive Slice: This is absolutely mandatory, a reward for your diligent efforts in achieving cheesecake perfection!
Storage and Serving Your Perfect Cheesecake
You’ve successfully baked a beautiful cheesecake – now how do you store and serve it to maintain its perfection?
Storage:
- Refrigeration: Leftover cheesecake should always be stored in an airtight container or tightly wrapped in plastic wrap in the refrigerator. It will keep well for 3-5 days.
- Freezing: Cheesecake freezes beautifully! For best results, freeze individual slices or the whole cheesecake (unadorned) on a baking sheet until firm. Then, wrap tightly in several layers of plastic wrap and a layer of aluminum foil. Frozen cheesecake can last for 1-2 months. Thaw overnight in the refrigerator before serving.
Serving:
- Temperature: Cheesecake is best served chilled, directly from the refrigerator. If you prefer a slightly softer texture, you can let it sit at room temperature for 15-20 minutes before serving.
- Clean Slices: For perfect, clean slices, use a sharp, thin-bladed knife. For extra neatness, run the knife under hot water and wipe it clean between each slice.
- Garnishes: Enhance your cheesecake with a variety of toppings: fresh berries, chocolate sauce, caramel, whipped cream, fruit compotes, or a dusting of cocoa powder.
Best Cheesecake Recipes to Inspire Your Next Bake
Now that you’re armed with all the knowledge and tips for baking the perfect cheesecake, it’s time to get inspired! This collection features some of my all-time favorite cheesecake recipes, categorized to help you find your next delicious project. From classic plain cheesecakes to indulgent chocolate creations, refreshing fruit variations, unique flavor combinations, and even quick no-bake options, there’s a recipe here for every craving and skill level.
Classic & Plain Cheesecakes
Every baker needs a reliable plain cheesecake recipe in their repertoire. These easily customizable and timeless classics are the perfect starting point if you’re new to cheesecake or simply appreciate the pure, unadulterated flavor of a perfectly executed cheesecake. They serve as a fantastic canvas for any topping you can imagine.
- Perfect New York Cheesecake from Life Made Simple
- The Best Vanilla Cheesecake from The Recipe Rebel
Indulgent Chocolate Cheesecakes
For many, chocolate and cheesecake are a match made in dessert heaven. Chocolate cheesecakes offer the best of both worlds – the rich intensity of chocolate combined with the creamy tang of cheesecake. Because chocolate can sometimes make the cheesecake layer more prone to drying out, I strongly recommend utilizing the water bath method when baking these recipes to ensure maximum moisture and silkiness.
- Chocolate Cheesecake
- Nutella Cheesecake from Baked by An Introvert
- White Chocolate Cheesecake
- Oreo Cheesecake Bars from Sugar Spun Run
- Chocolate Swirl Cheesecake from Buns in My Oven
- Layered Mocha Cheesecake from Marsha’s Baking Addiction
Fresh & Fruity Cheesecakes
Fruit cheesecakes offer a vibrant, often lighter alternative, perfect for brightening any meal or season. The natural sweetness and tartness of fruit beautifully complement the creamy cheesecake filling. Whether you prefer berries, citrus, or orchard fruits, these recipes bring a burst of fresh flavor.
- Mini Strawberry Cheesecakes from Love From the Oven
- Lemon Cheesecake with Blueberry Compote
- Caramel Apple Cheesecake from Cakes Cottage
Unique Cheesecake Flavors
For those who love to explore beyond the traditional, these unique cheesecake flavors offer delightful twists and exciting taste sensations. Because options are always a good thing, expanding your cheesecake repertoire with these creative combinations is sure to please any adventurous palate.
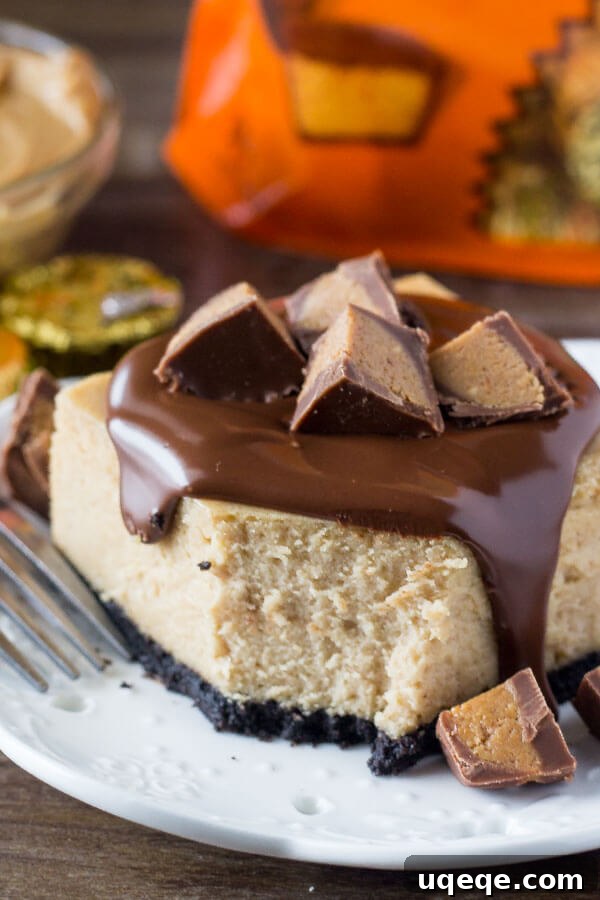
- Peanut Butter Cheesecake Bars
- Pecan Praline Cheesecake Bars from The Domestic Rebel
- Pumpkin Cheesecake
Effortless No-Bake Cheesecakes
If you’re short on time, looking to avoid turning on the oven, or simply prefer a lighter, often mousse-like texture, no-bake cheesecakes are your perfect solution. These recipes are incredibly easy to prepare and are ideal for warmer weather or when you need a quick yet impressive dessert. They set beautifully in the refrigerator, making them a fantastic make-ahead option.
- No Bake Peanut Butter Cheesecake
- No Bake Lemon Cheesecake from The Recipe Rebel
- No Bake Cherry Cheesecake Bars
- No Bake Strawberry Cheesecake Pie from Spend with Pennies
- Mini No Bake Raspberry Cheesecakes from Oh Sweet Basil
Cheesecake-Inspired Desserts
Sometimes you crave the incredible flavor of cheesecake but are looking for a format that’s a little different from the traditional cake. These cheesecake-inspired desserts capture all the creamy, tangy goodness you love in exciting new forms – from cupcakes to brownies and even ice cream. They’re perfect for satisfying a cheesecake craving with a creative twist!
- Strawberry Cheesecake Cupcakes from The Recipe Rebel
- Cheesecake Brownies
- No-Churn White Chocolate Raspberry Cheesecake Ice Cream from Garnish & Glaze
We hope this comprehensive guide empowers you to bake the cheesecake of your dreams! Which of these delicious cheesecake recipes will you try first?