
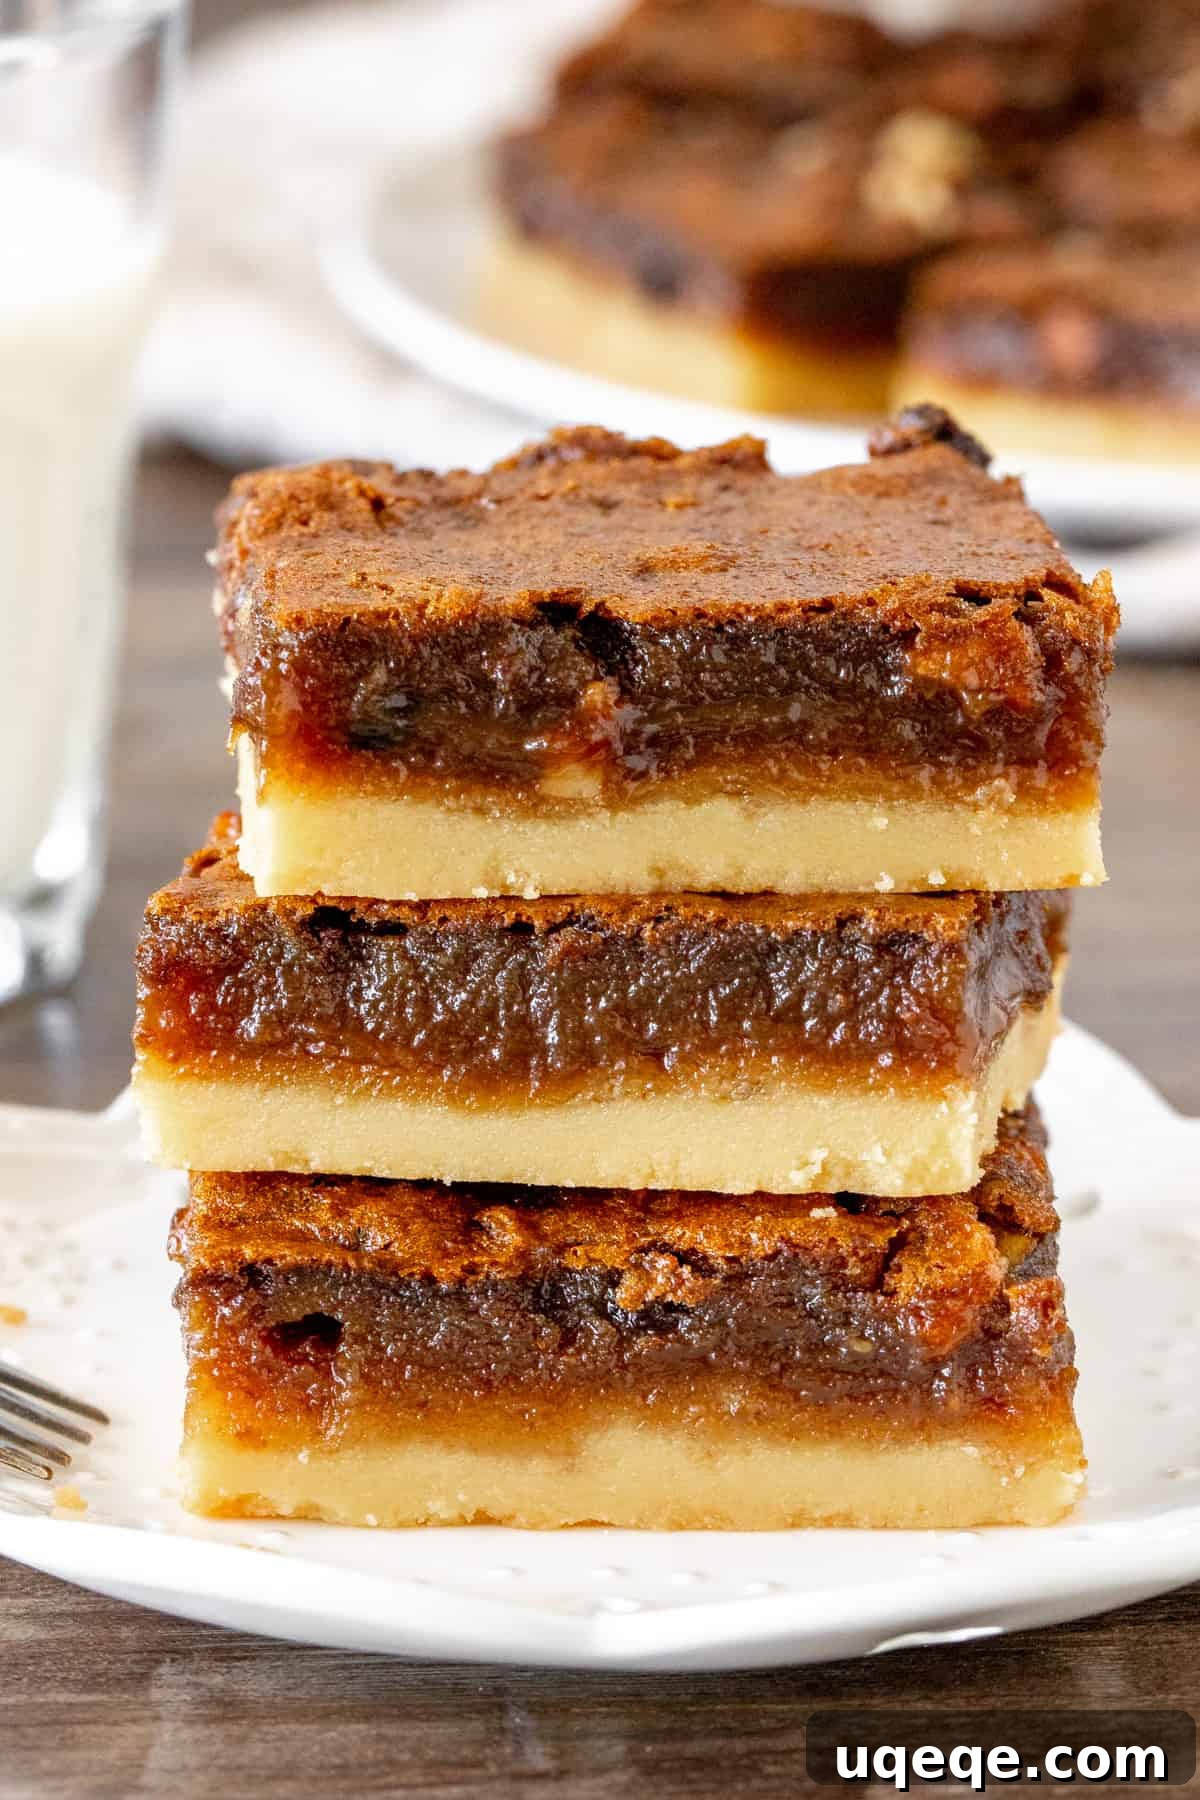
The Best Butter Tart Squares: Your Ultimate Guide to an Easy Canadian Classic
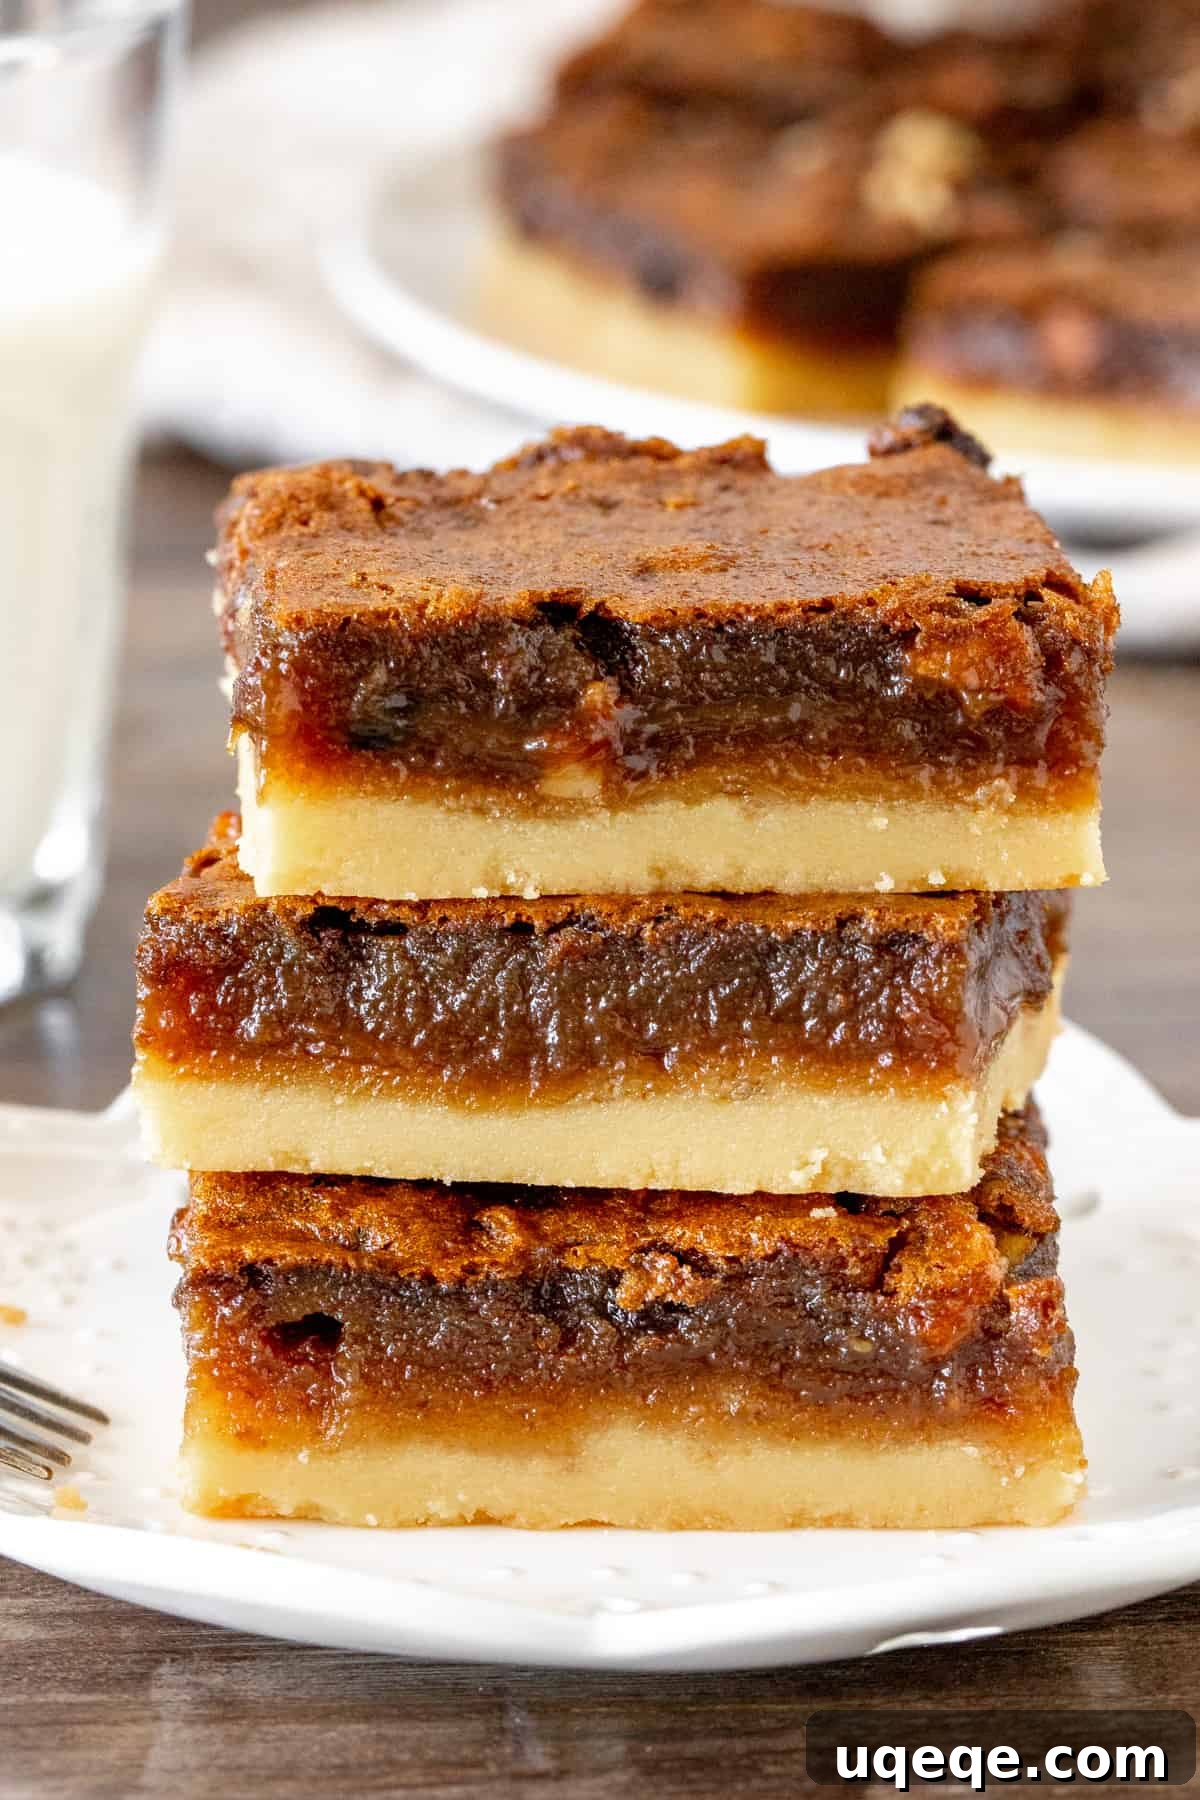
Experience the quintessential taste of Canada with these incredible Butter Tart Squares! This recipe delivers all the beloved flavors and textures of traditional butter tarts in a remarkably simplified, easy-to-make bar format. Imagine a tender, buttery shortbread crust providing the perfect foundation for a lusciously gooey brown sugar filling. You have the freedom to enjoy them plain, or enhance them with classic additions like plump raisins, tangy currants, or crunchy walnuts. This method is not only easier and quicker than fiddling with individual tart shells, but many argue it’s even more delicious, offering an ideal crust-to-filling ratio that satisfies every craving. Get ready to bake a truly delightful Canadian classic that’s perfect for any occasion!
A Beloved Canadian Classic, Simplified: Why Butter Tart Squares Are a Game Changer
For those outside of Canada, butter tarts are a cherished national treasure, a sweet pastry known for its unique, sticky filling that often draws comparisons to pecan pie, but with its own distinct, intensely sweet, and uniquely gooey character. Traditionally, these tarts feature a delicate pastry shell individually formed and filled, which can be a labor of love, requiring time and a certain level of baking finesse. While the effort is often worth it, the process can be daunting for many home bakers.
This is precisely why Butter Tart Squares have become such a celebrated variation. By transforming the iconic tart into a convenient bar, we eliminate the more challenging aspects of pastry work. There’s no rolling, cutting, or shaping individual tart shells. Instead, this recipe uses a single, press-in shortbread crust baked in a 9×13-inch pan, making the entire process significantly less time-consuming and much more approachable. The result is a dessert that captures the authentic taste and texture of a classic butter tart, but with unparalleled ease. Moreover, the bar format often yields a more substantial, satisfying portion, and for those who adore a buttery, crumbly crust, the ratio of crust to filling in these squares is often preferred over the thinner shells of traditional tarts. It’s the perfect shortcut to enjoying a deeply satisfying Canadian dessert without the fuss.
Crafting the Perfect Base: The Buttery Shortbread Crust
The foundation of these outstanding Butter Tart Squares is a simple yet incredibly flavorful shortbread crust. This robust base not only provides structural integrity for the rich, gooey filling but also contributes a wonderful buttery flavor and tender texture that perfectly complements the sweetness above. Unlike finicky traditional pastry, this shortbread crust is straightforward to prepare, making it ideal for bakers of all skill levels.
Essential Ingredients for a Flawless Shortbread Crust:
- Softened Unsalted Butter: The cornerstone of any good shortbread. Ensure your butter is truly at room temperature (soft enough to indent easily with your finger, but not melted) for optimal blending and a tender crumb.
- Powdered Sugar: Also known as confectioners’ sugar, it dissolves readily into the butter, creating a smooth mixture and contributing to the delicate, fine texture of the shortbread.
- All-Purpose Flour: Provides the necessary structure. Accurate measurement is key; too much flour can result in a dry, crumbly crust, while too little can make it too soft.
Steps to a Golden Foundation:
Preparing the crust begins by creaming together the softened butter and powdered sugar. This step is crucial for incorporating air, which helps achieve that signature light and tender shortbread texture. Continue beating until the mixture is visibly light and fluffy. Next, gradually incorporate the all-purpose flour. Mix just until the flour is combined and the mixture forms a thick, somewhat crumbly dough. It’s important to avoid over-mixing at this stage, as excessive working of the flour can develop gluten, leading to a tough rather than tender crust.
Once your dough is ready, press it firmly and evenly into the bottom of your prepared 9×13-inch baking pan. Using parchment paper with an overhang is highly recommended, as it makes lifting the baked squares out of the pan incredibly easy after cooling. The final, essential step for the crust is pre-baking, often referred to as “blind baking.” This ensures that the shortbread cooks through and becomes beautifully golden and set before the moist filling is added. Pre-bake until the top appears firm and has taken on a pale, golden hue. This initial bake prevents the crust from becoming soggy, guaranteeing a crisp, buttery base beneath your luscious butter tart filling. Remove the pan from the oven, but keep the oven turned on as it will be used for the next stage of baking.
The Signature Gooey Heart: Butter Tart Filling Secrets
The true essence of a butter tart lies within its signature filling – a sweet, amber, and irresistibly gooey layer that sets it apart from other desserts. For these Butter Tart Squares, achieving that perfect balance of gooeyness and structure is paramount, ensuring each slice holds together while still delivering that classic luscious texture. The filling can’t be too runny, or the squares will fall apart, but it must be wonderfully sticky and rich.
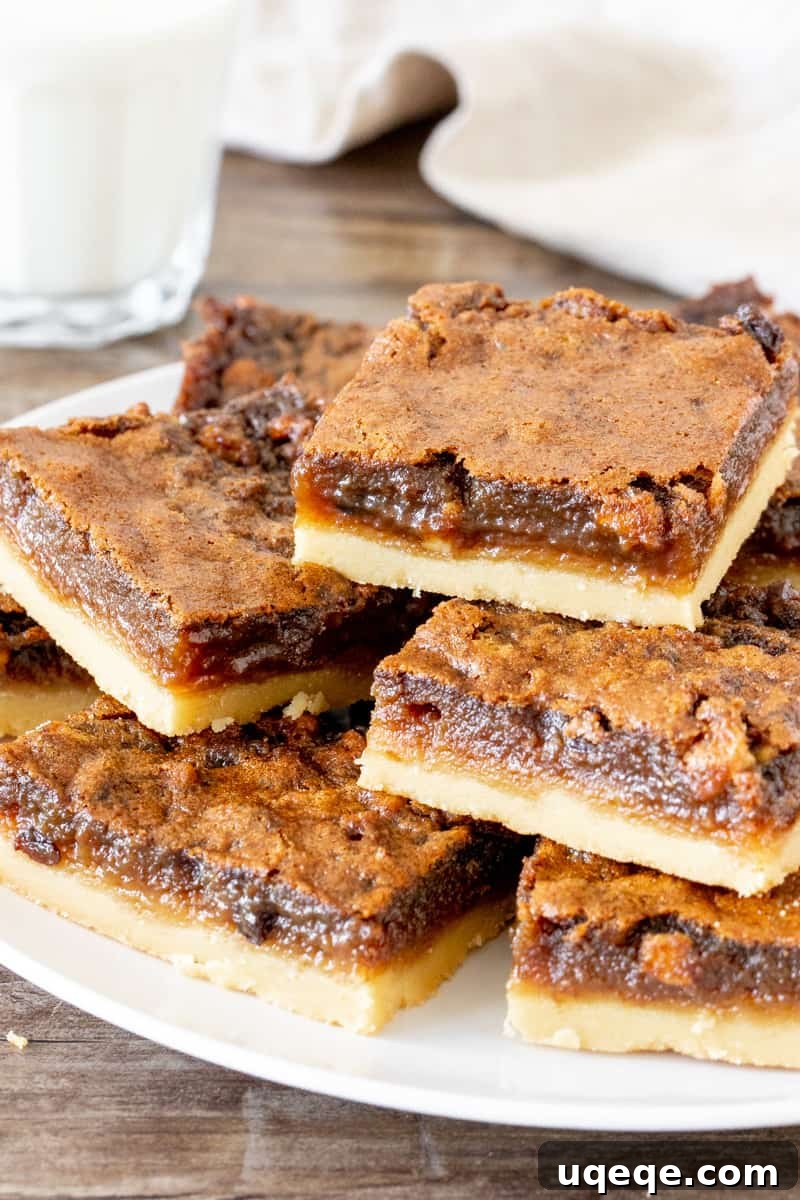
Key Ingredients for a Deliciously Gooey Filling:
- Softened Unsalted Butter: Just like in the crust, butter is vital for richness and a smooth mouthfeel in the filling.
- Brown Sugar (Light or Dark): This is the soul of the butter tart filling, imparting deep caramel notes and a signature warmth. You can use either light or dark brown sugar depending on your preference for intensity.
- All-Purpose Flour (Optional but Recommended): A small amount of flour acts as a gentle thickener. While traditional butter tarts sometimes omit flour for maximum gooiness, a couple of tablespoons here help the squares set more reliably, preventing them from being excessively runny and difficult to cut. For those desiring an extra-gooey, softer-set filling, it can be omitted, but be prepared for a slightly messier slice.
- Large Eggs: Eggs are crucial binders, providing structure to the filling as it bakes and contributing to its custard-like richness.
- Vanilla Extract: A splash of vanilla rounds out the sweet flavors and adds a comforting, aromatic quality to the filling.
- Dark Corn Syrup: This ingredient is essential for achieving the characteristic gooey and slightly chewy texture of butter tarts. It also helps prevent the sugar in the filling from crystallizing, ensuring a smooth, consistent consistency. While pure maple syrup can be used as an alternative for a distinct flavor, dark corn syrup is recommended for the most authentic texture and taste profile as intended by this recipe.
- White Vinegar: This might seem like an unusual addition to a sweet dessert, but white vinegar is the secret weapon that truly elevates butter tart filling. In the presence of so much sweetness (brown sugar, corn syrup), the vinegar acts as a crucial balancing agent. It cuts through the richness, adding a subtle tang that brightens the overall flavor and prevents the filling from tasting cloyingly sweet. This unexpected ingredient truly enhances the complexity and depth of the butter tart experience, so it is highly recommended not to omit it.
The Filling Process:
While your shortbread crust is undergoing its initial bake, you can efficiently prepare the irresistible filling. In a medium bowl, combine the softened butter, brown sugar, and the optional flour, beating them together until the mixture is uniform and smooth. This step creates a creamy base for the filling. Next, incorporate the large eggs and vanilla extract, ensuring they are thoroughly mixed in without over-beating. Finally, stir in the dark corn syrup and white vinegar. The mixture will be smooth, glossy, and pourable, ready to be poured over the pre-baked shortbread crust. This luscious liquid will then transform in the oven into the delightfully gooey heart of your Butter Tart Squares.
The Great Butter Tart Debate: To Add or Not to Add?
One of the most spirited discussions among aficionados of butter tarts revolves around what, if anything, should be mixed into the filling. Do you prefer your butter tarts in their purest form, or do you enjoy them enhanced with delightful inclusions? This long-standing debate is entirely a matter of personal preference, and the beauty of these Butter Tart Squares is that they offer complete customization to suit your taste!
- Plain: Many purists are staunch advocates for the “plain” butter tart, arguing that the rich, unadulterated gooey brown sugar filling is perfect exactly as it is. They believe its deep, caramel-like flavor should be enjoyed without any distractions, allowing the essence of the tart to shine through.
- Raisins: A very traditional and widely popular addition, plump raisins provide bursts of concentrated fruity sweetness and a wonderfully chewy texture that contrasts beautifully with the smooth filling. They soften and plump up during baking, adding moisture and depth.
- Currants: Often chosen for their slightly smaller size and a hint of tartness that can cut through the sweetness, currants offer a similar fruity element to raisins but with a more delicate presence. They provide a pleasant texture without dominating the experience.
- Chopped Walnuts: For those who appreciate a satisfying crunch and an earthy counterpoint to the sweetness, chopped walnuts are an excellent choice. They add a fantastic textural dimension and a subtle nutty flavor that pairs exceptionally well with the rich brown sugar filling. Pecans or other nuts can also be used.
I personally find a delightful middle ground to be the most appealing, opting for a combination of half a cup of currants and half a cup of chopped walnuts. This blend offers the best of both worlds: the bright, tart sweetness of the dried fruit combined with the satisfying crunch and earthy notes of the nuts, creating a multi-faceted flavor and texture profile in every bite. Feel absolutely free to experiment with your own preferred combination, use a single type of add-in, or, if you are a purist, simply leave them out for a classic plain butter tart square. When it comes to customizing this beloved Canadian treat, there is truly no wrong answer, only delicious possibilities!
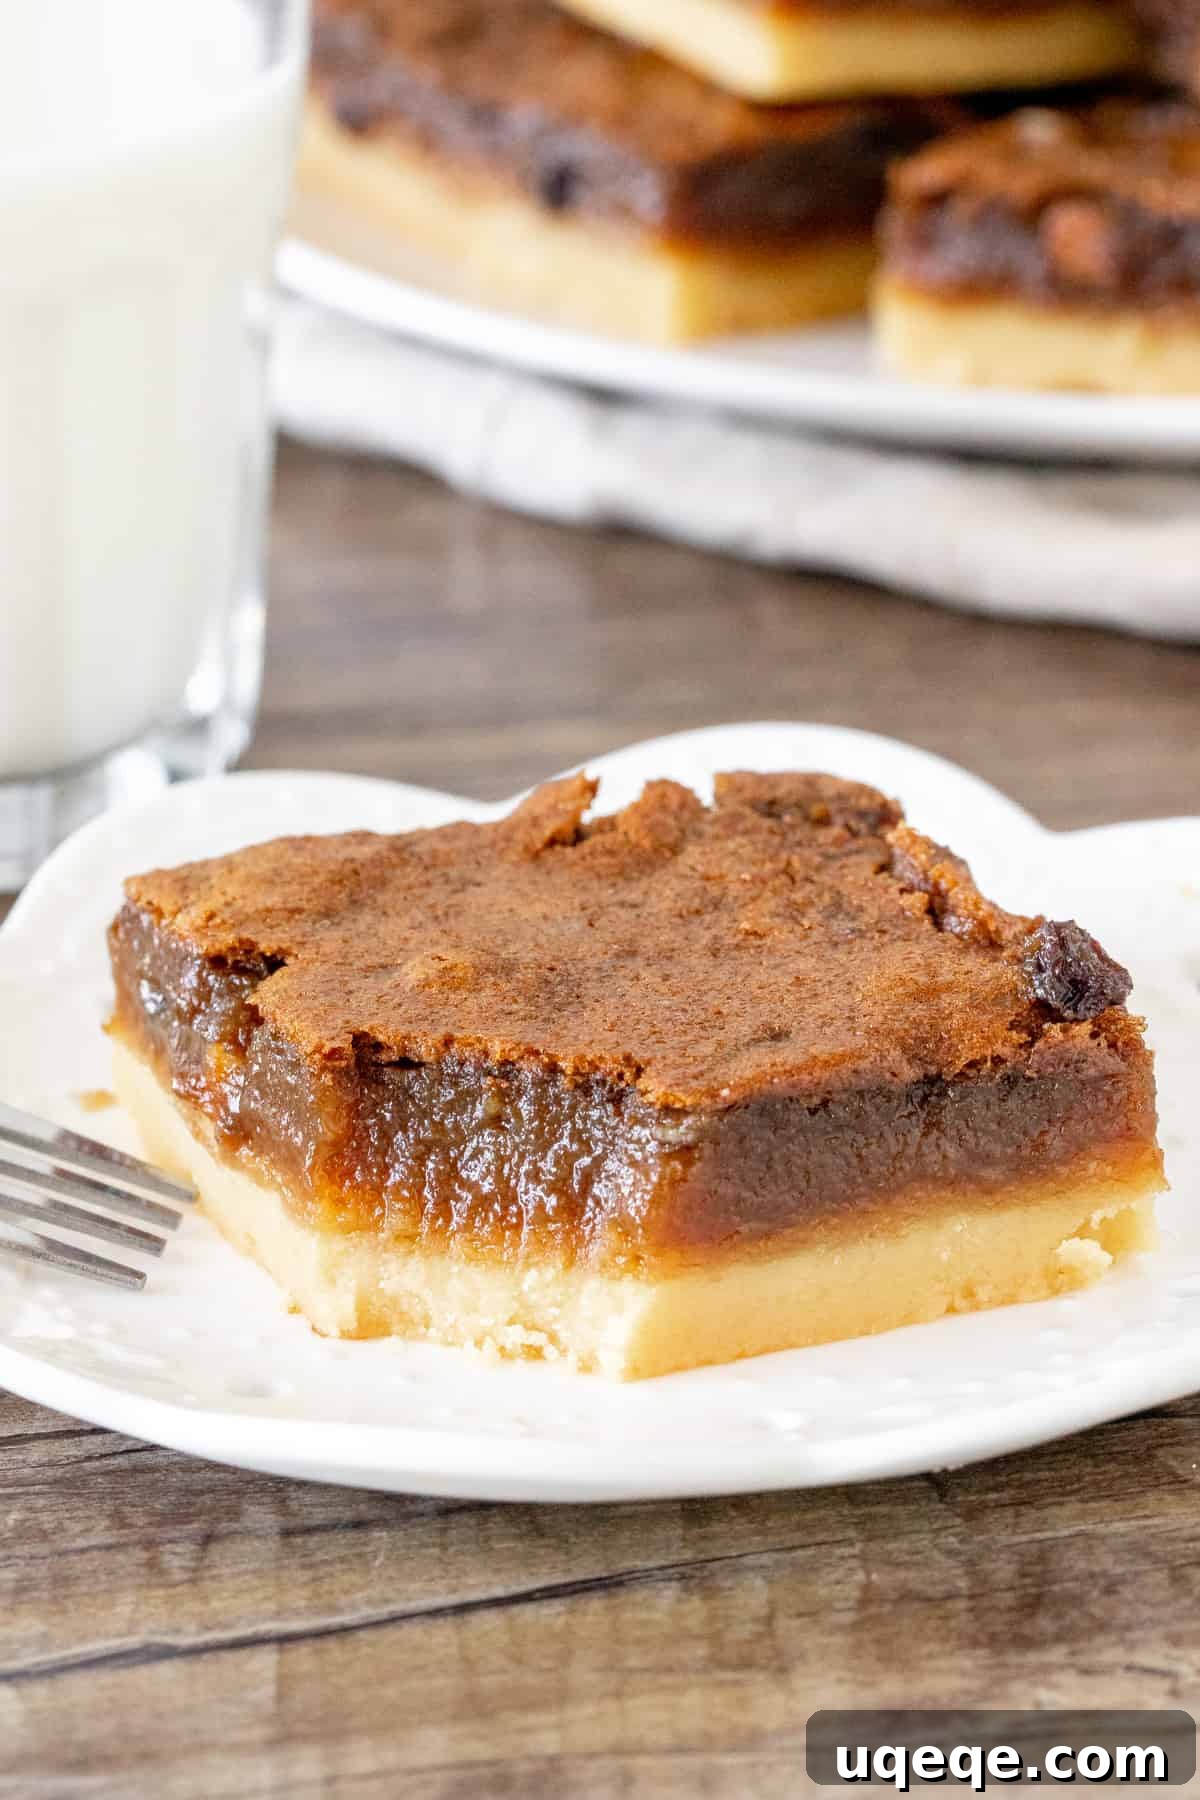
Baking for Perfection: Tips for Success
Once your buttery shortbread crust has been pre-baked to a pale golden hue and your luscious filling is prepared, the final stages of creating your Butter Tart Squares are wonderfully straightforward. Carefully pour the prepared filling mixture evenly over the warm, pre-baked crust in the pan. Distribute any optional add-ins (raisins, currants, walnuts) evenly across the top if you haven’t already stirred them into the filling. The bars will then bake until the filling achieves its perfect set.
Key Baking Indicators for a Perfectly Set Filling:
- Visual Cues: During baking, keep an eye on the surface of the filling. It should appear set, lightly puffed, and a beautiful golden brown color across the top.
- The Gentle Nudge Test: This is a crucial test for doneness. Carefully and gently nudge the baking pan. The filling should have a slight, uniform wobble, similar to a set custard or jelly, but should not appear liquidy or sloshing in the center. If it still looks very liquid, continue baking for a few more minutes, checking frequently. It’s important to avoid overbaking, as this can lead to a firmer, less gooey filling – and we’re aiming for that signature sticky texture!
The aroma that will fill your kitchen as these squares bake is utterly irresistible, a sure sign of the delicious treat to come. However, the greatest challenge often comes after they leave the oven: the waiting game! Patience is a true virtue when it comes to achieving perfectly sliced, mess-free Butter Tart Squares.
Cooling, Serving, and Storage Tips
While the aroma of freshly baked Butter Tart Squares is incredibly tempting, the most critical step after they come out of the oven is allowing them to cool completely. Resisting the urge to slice into them immediately is tough, but this cooling period is absolutely essential for the filling to fully set and firm up. This ensures you get clean, neat slices rather than a gooey, sticky mess. Even a minimum of 30 minutes cooling on a wire rack can make a noticeable difference, but for truly pristine cuts and maximum structural integrity, I highly recommend letting them cool for at least 4 hours, or ideally, chilling them in the refrigerator overnight.
Once the bars are thoroughly cooled and set, use the parchment paper overhang to carefully lift the entire slab of squares out of the pan. Transfer it to a cutting board. Using a sharp, clean knife (a warm knife can also help), slice the slab into your desired square or bar sizes. If the very edges of the squares appear a little too crispy or firm, feel free to trim them off for a more uniform presentation – though many enjoy the textural contrast these crispy edges provide!
Serving Suggestions:
How you prefer to eat your butter tarts is another delightful point of debate among Canadians! Some individuals love them warm, where the filling is decadently soft and gloriously flowing. Others, including myself, swear by eating them chilled directly from the refrigerator, which allows the filling to develop a firmer, intensely chewy, and deeply satisfying texture. I encourage you to try both ways to discover your personal favorite! These squares are fantastic served on their own, perhaps with a dusting of powdered sugar. For an extra touch of indulgence, they can be elevated with a dollop of fresh whipped cream or a scoop of premium vanilla bean ice cream. They are an absolute crowd-pleaser for any gathering, from casual family desserts to elegant holiday spreads, or simply as a comforting treat with your afternoon tea or coffee.
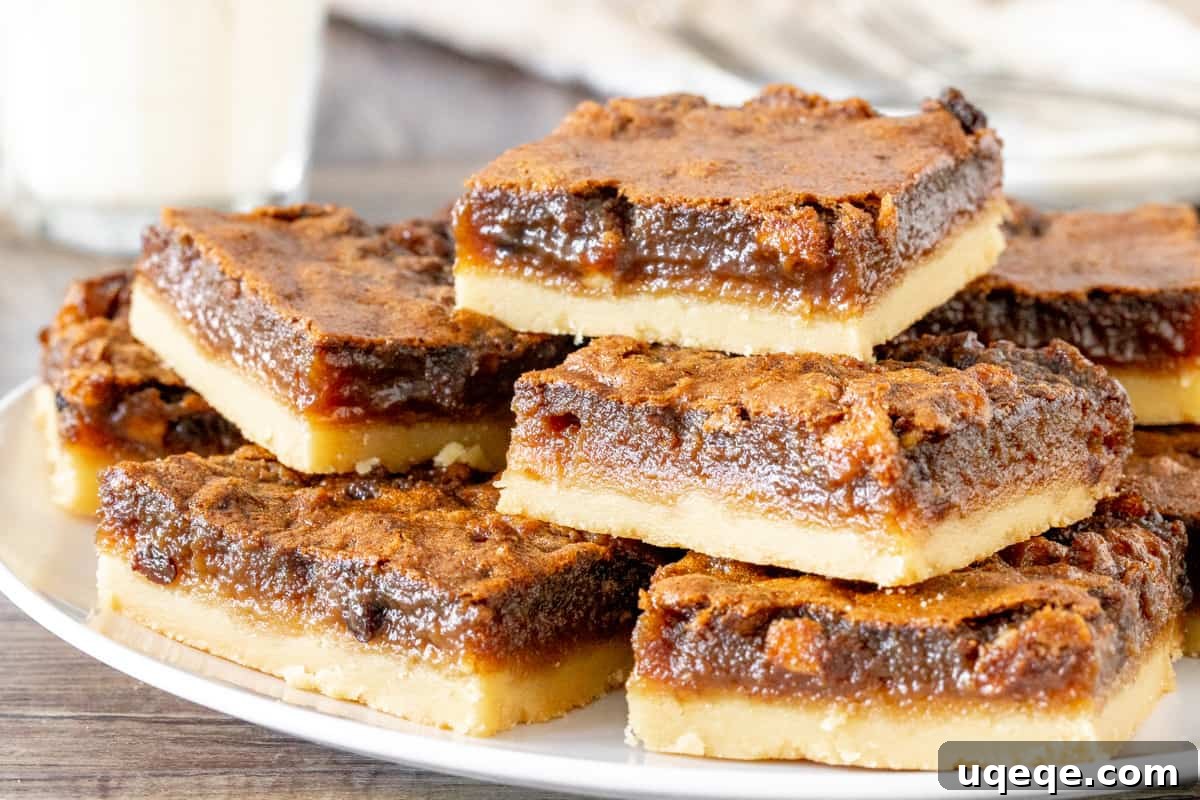
Storage and Freezing:
These delectable Butter Tart Squares are excellent make-ahead treats and store wonderfully. Any leftover bars should be stored in an airtight container in the refrigerator for up to 5 days, maintaining their freshness and texture. For longer preservation, these squares freeze exceptionally well, allowing you to enjoy them for weeks to come. To freeze, individually wrap each cooled square tightly in plastic wrap, then place them in a freezer-safe container or heavy-duty freezer bag. They can be frozen for up to 2 months. When you’re ready to enjoy them, simply thaw the desired number of squares overnight in the refrigerator. This makes them a perfect dessert to prepare in advance for entertaining or to keep on hand for a spontaneous sweet craving.
Explore More Beloved Canadian Desserts
Butter Tart Squares are just one magnificent example of the rich tradition of Canadian baking. If you’ve fallen in love with these gooey, buttery delights, you’ll surely enjoy exploring other iconic Canadian treats that are perfect for holiday celebrations, special occasions, or simply for a taste of comforting nostalgia. Expand your Canadian dessert repertoire with these other delightful recipes:
- Confetti Squares – Also famously known as Peanut Butter Marshmallow Squares, these vibrant, chewy, and incredibly easy no-bake bars are a childhood favorite across Canada.
- Nanaimo Bars – A legendary three-layered dessert originating from Nanaimo, British Columbia, featuring a dense chocolate crumb base, a creamy custard-flavored butter icing, and a rich chocolate ganache topping.
- Puffed Wheat Squares – A simple, old-fashioned, yet deeply satisfying chocolatey treat made with puffed wheat cereal, butter, sugar, and cocoa, quick to prepare and incredibly addictive.
- Date Squares – A wholesome and comforting bar dessert featuring a sweet, sticky date filling nestled between layers of buttery oat crumble.
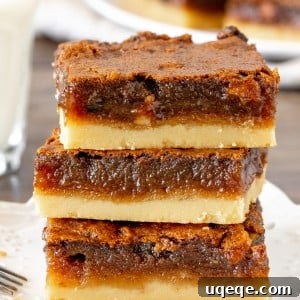
Butter Tart Squares
Fiona Dowling
15 minutes
45 minutes
1 hour
15 large bars
Rate Recipe
Print Recipe
Equipment
-
9×13 Inch Pan
Ingredients
Base Layer
- 1 cup unsalted butter , softened
- 1/2 cup powdered sugar
- 2 1/4 cup all-purpose flour
Butter Tart Filling
- 1/2 cup unsalted butter, softened
- 1 cup brown sugar, light or dark
- 2 tablespoons all-purpose flour*
- 4 large eggs
- 2 teaspoon vanilla extract
- 3/4 cup dark corn syrup*
- 2 tablespoons white vinegar*
- 1 cup raisins, currants or chopped walnuts – optional, I use 1/2 cup currants and 1/2 cup chopped walnuts
Instructions
Base Layer
-
Preheat the oven to 350°F (175°C). Line a 9×13 inch (23×33 cm) baking pan with parchment paper, leaving an overhang around the edges for easy removal later.
-
In a large bowl, using an electric mixer, beat the softened butter and powdered sugar until light and fluffy.
-
Gradually mix in the all-purpose flour until just combined. The mixture will be thick and crumbly. Be careful not to overmix.
-
Press the mixture evenly and firmly into the bottom of the prepared pan, forming a compact crust.
-
Bake in the preheated oven for 15-20 minutes, or until the top looks set and has a pale, golden color. Remove from the oven and leave the oven turned on.
Filling Layer
-
While the base layer is baking, prepare the butter tart filling.
-
In a separate medium bowl, beat the softened butter, brown sugar, and flour (if using) together until evenly combined and smooth.
-
Beat in the eggs one at a time, mixing until just combined after each addition. Stir in the vanilla extract.
-
Mix in the corn syrup and white vinegar until the filling is uniform and glossy. If using, gently stir in the optional raisins, currants, or chopped walnuts.
-
Carefully pour the filling mixture over the gently baked shortbread crust in the pan, spreading it evenly.
-
Bake in the preheated oven for 30-35 minutes, or until the top looks set and a gentle nudge of the pan shows the filling is no longer liquidy in the center, having a slight, uniform wobble.
-
Remove from the oven and cool completely on a wire rack before attempting to slice. This is crucial for clean cuts and to ensure the bars are fully set. Ideally, chill for at least 4 hours or overnight.
-
Once fully cooled, use the parchment paper overhang to lift the entire slab of bars out of the pan. Place on a cutting board and slice into 15 large squares (or 36 smaller, more reasonable-sized bars) using a sharp knife. If desired, trim any crispier edges for a neat presentation.
Notes
- For a truly gooier bar with a softer set, you can opt to leave out the 2 tablespoons of flour from the filling. Please note that this will result in a more delicate, possibly messier bar that may be harder to slice cleanly.
- While dark corn syrup is highly recommended for its texture-stabilizing properties (preventing crystallization) and classic flavor, pure maple syrup can be used as a substitute for a distinct maple-infused taste. However, the original recipe was developed with corn syrup in mind to achieve its authentic texture.
- The white vinegar is an integral ingredient that helps to cut through the intense sweetness of the filling and enhances its overall flavor profile. It is strongly advised not to omit it for the best taste.
- Customize your squares with your preferred mix-ins: plump raisins, slightly tart currants, or crunchy chopped walnuts. For a delightful balance of flavors and textures, a combination of 1/2 cup currants and 1/2 cup chopped walnuts is suggested.
- Patience is key to successful slicing! Allowing the bars to cool completely (ideally 4 hours or overnight in the refrigerator) before slicing is essential for neat, clean cuts and to prevent the gooey filling from spreading.
- Store any remaining Butter Tart Squares in an airtight container in the refrigerator for up to 5 days after slicing. For longer preservation, these bars can be frozen for up to 2 months. To enjoy, simply thaw them overnight in the refrigerator.
- The provided nutrition information is an estimate only. It is based on a serving size of 1 bar, assuming the recipe is made with 1 cup of raisins and sliced into 15 equal-sized squares. Nutritional values may vary based on ingredient brands, exact measurements, and chosen add-ins.
Nutrition
Carbohydrates: 54g,
Protein: 4g,
Fat: 14g,
Saturated Fat: 8g,
Cholesterol: 82mg,
Sodium: 55mg,
Potassium: 149mg,
Fiber: 1g,
Sugar: 32g,
Vitamin A: 450IU,
Vitamin C: 1mg,
Calcium: 32mg,
Iron: 2mg
Like this recipe? Rate and comment below!