
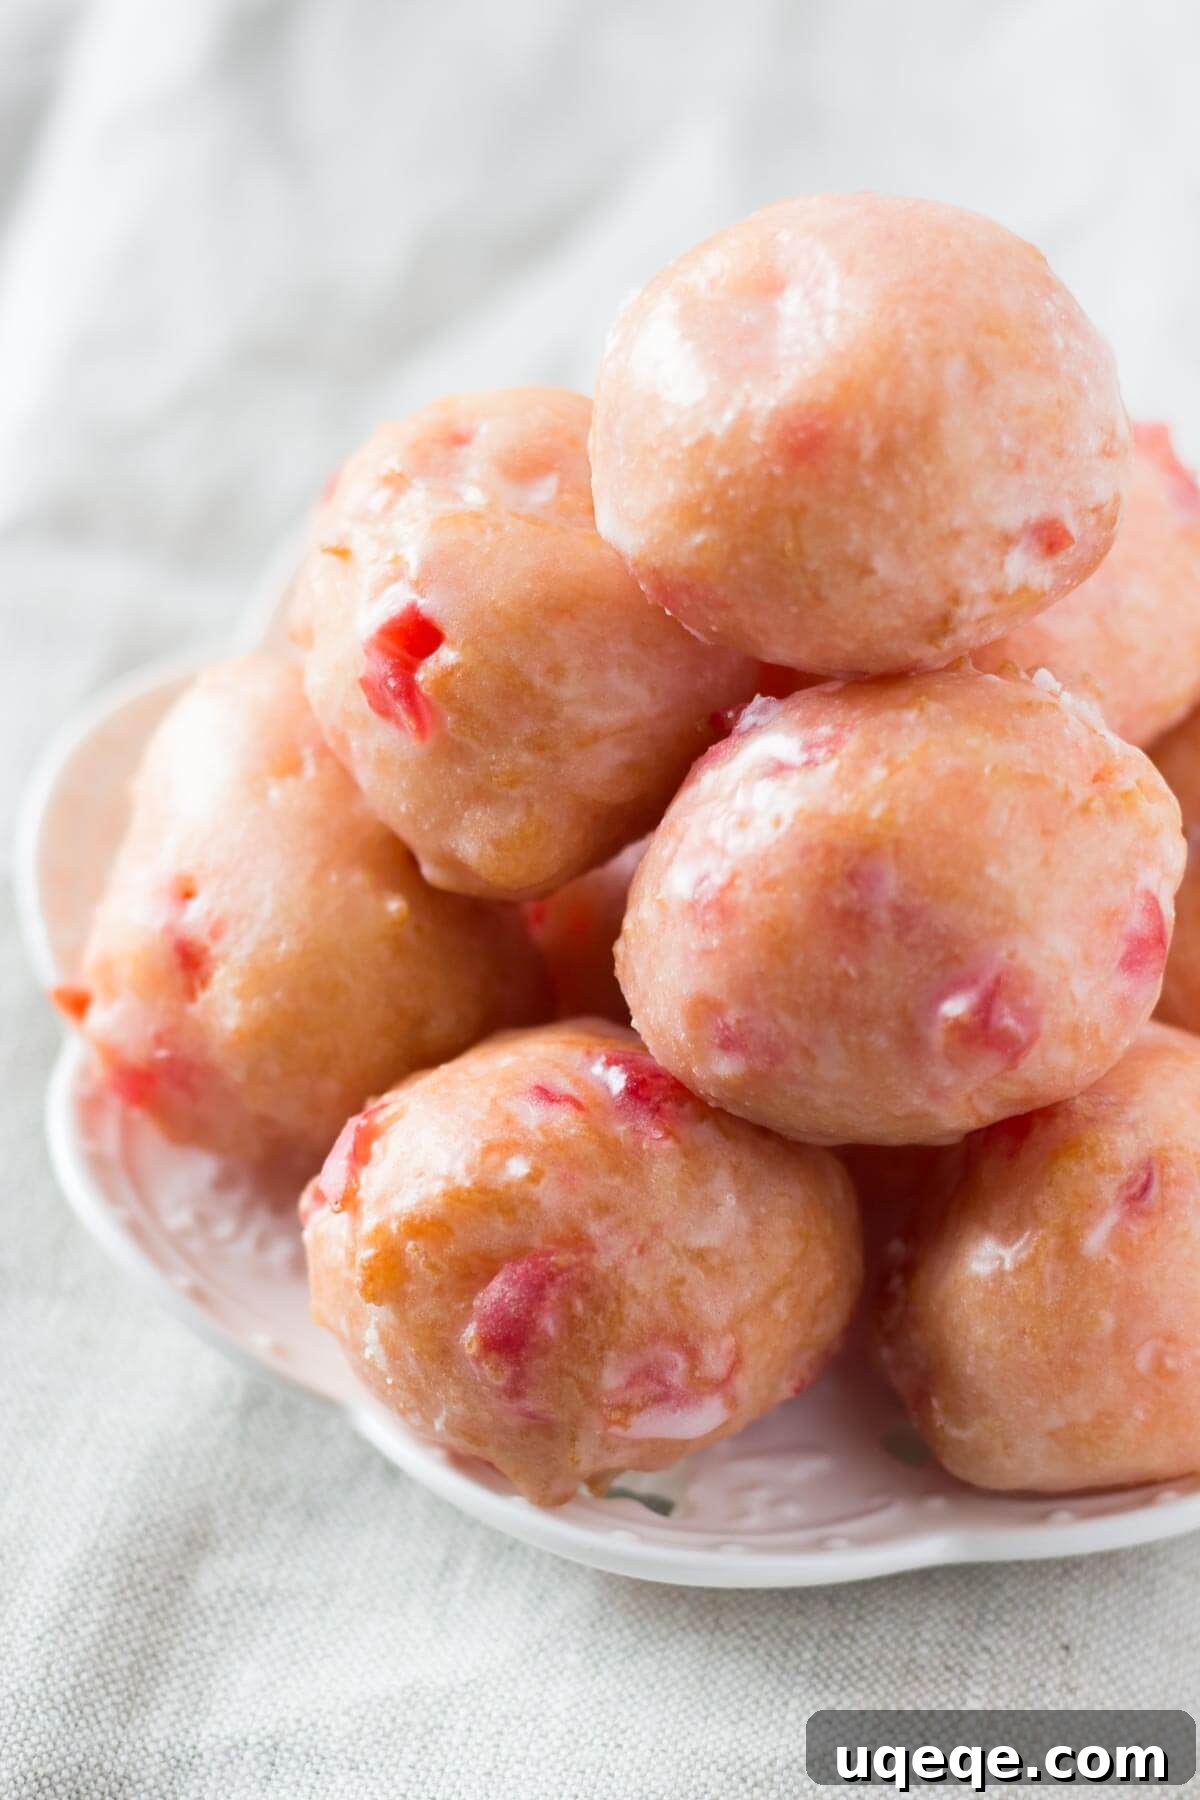
Perfect Cherry Doughnut Holes with a Sweet & Sticky Glaze – No need to visit the doughnut shop with these delicious morsels!
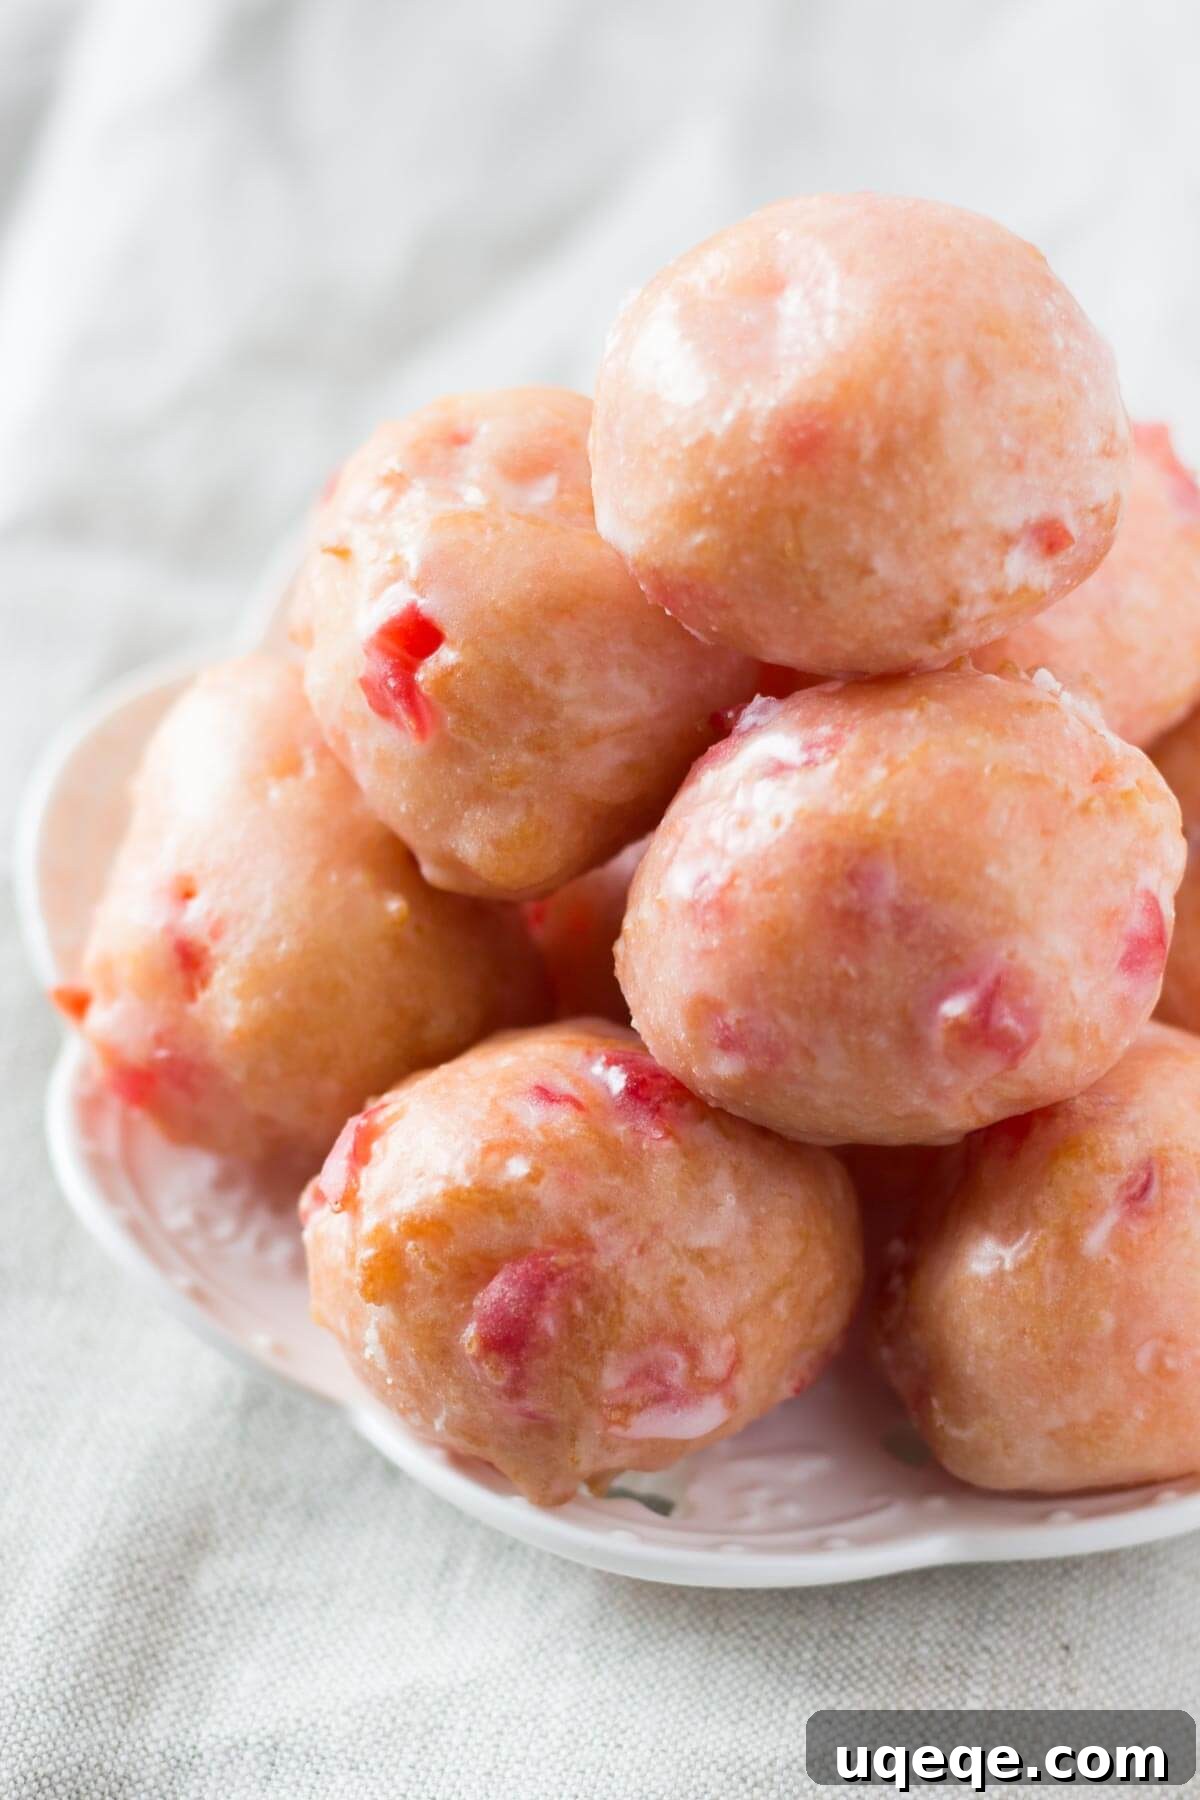
Homemade Cherry Doughnut Holes: Reclaiming a Beloved Sweet Treat
In life, we’re often advised to practice the art of letting go, to move past disappointments and embrace new beginnings. Yet, some things are just too good, too intrinsically tied to our happiness, to simply abandon. For me, that undeniable sentiment arose when my favorite local doughnut shop, without warning, decided to remove their incredible Cherry Doughnut Holes from their menu. The initial confusion—was it a seasonal change? A temporary shortage of maraschino cherries?—quickly morphed into a profound sense of loss once the sad reality set in: my bite-sized cherry happiness was officially discontinued.
But rather than lamenting the absence of this delightful treat, I embraced a new mission. If I couldn’t buy these perfect little spheres of joy, I would simply have to master the craft of making my own. This journey led to countless kitchen experiments, culminating in a recipe that not only replicates the nostalgic flavor and texture but arguably surpasses it. I’m thrilled to share with you the secret to creating these utterly irresistible homemade Cherry Doughnut Holes, ensuring that delicious cherry happiness is never more than a batch away.
The Allure of Our Glazed Cherry Doughnut Holes
These Glazed Cherry Doughnut Holes aren’t just a replacement for a lost favorite; they are a celebration of homemade goodness, ticking every box for what constitutes true breakfast bliss or a delightful dessert. Each tiny morsel is a testament to careful crafting, designed to deliver an unparalleled experience:
- Exquisite Cake Doughnut Texture: Experience the perfect balance of softness and a satisfyingly tender crumb that is characteristic of a well-made cake doughnut. These aren’t airy and chewy like yeast doughnuts, but wonderfully substantial and melt-in-your-mouth.
- Vibrant Cherry Flavor: Infused with the sweet and slightly tangy essence of maraschino cherries, every bite delivers a burst of fruity flavor that is both comforting and exhilarating.
- Appealing Golden Edges: Expertly deep-fried to a beautiful golden-brown, the exterior offers a delicate crispness that provides a delightful contrast to the soft interior, adding an extra dimension of texture.
- Naturally Pretty Pink Hue: The maraschino cherries and their syrup lend a charming, natural pink color to the doughnuts, making them as visually appealing as they are tasty. They’re simply delightful to behold.
- Irresistibly Drenched in Glaze: Each doughnut hole is generously coated in a sweet, sticky, and utterly addictive glaze, sealing in moisture and adding a final layer of sugary perfection that makes them truly unforgettable.
Surprisingly Simple: The Ease of Making Homemade Doughnuts
Many home bakers might shy away from the idea of making doughnuts from scratch, imagining a complex process involving specialized equipment and lengthy proofing times. However, this recipe for Cherry Doughnut Holes is designed for simplicity and accessibility, proving that bakery-quality treats are well within reach for anyone:
- No Electric Mixer Needed: You won’t need any fancy gadgets or an expensive stand mixer for this recipe. All the mixing can be done by hand with a simple whisk and a large wooden spoon or rubber spatula, making cleanup a breeze and the process truly hands-on.
- Yeast-Free for Rapid Results: These are classic cake doughnuts, meaning there’s no yeast involved. This is a game-changer, as it completely eliminates the need for any lengthy rising or proofing times. You can go from mixing your batter to enjoying freshly fried doughnuts in under an hour!
- The Secret to Fluffiness: Baking Powder: To ensure our doughnuts are light and airy rather than dense, we rely on a generous amount of baking powder. This powerful leavening agent reacts with the liquids in the batter, creating air bubbles that expand during frying, resulting in that wonderfully fluffy texture.
- Buttermilk: The Ultimate Tenderizer: The use of buttermilk is critical for achieving the softest, most tender crumb imaginable. Its natural acidity works wonders by gently tenderizing the gluten in the flour. This acidity also perfectly activates the baking powder, contributing to an incredibly moist and delicate doughnut. While 2% or whole milk can be substituted if absolutely necessary, buttermilk truly delivers the superior consistency and flavor that makes these doughnuts shine.
Crafting the Perfect Cherry Infusion: Flavor and Color
The signature cherry flavor and appealing pink color of these doughnut holes come from a thoughtful combination of ingredients, ensuring a consistent and delightful experience with every bite:
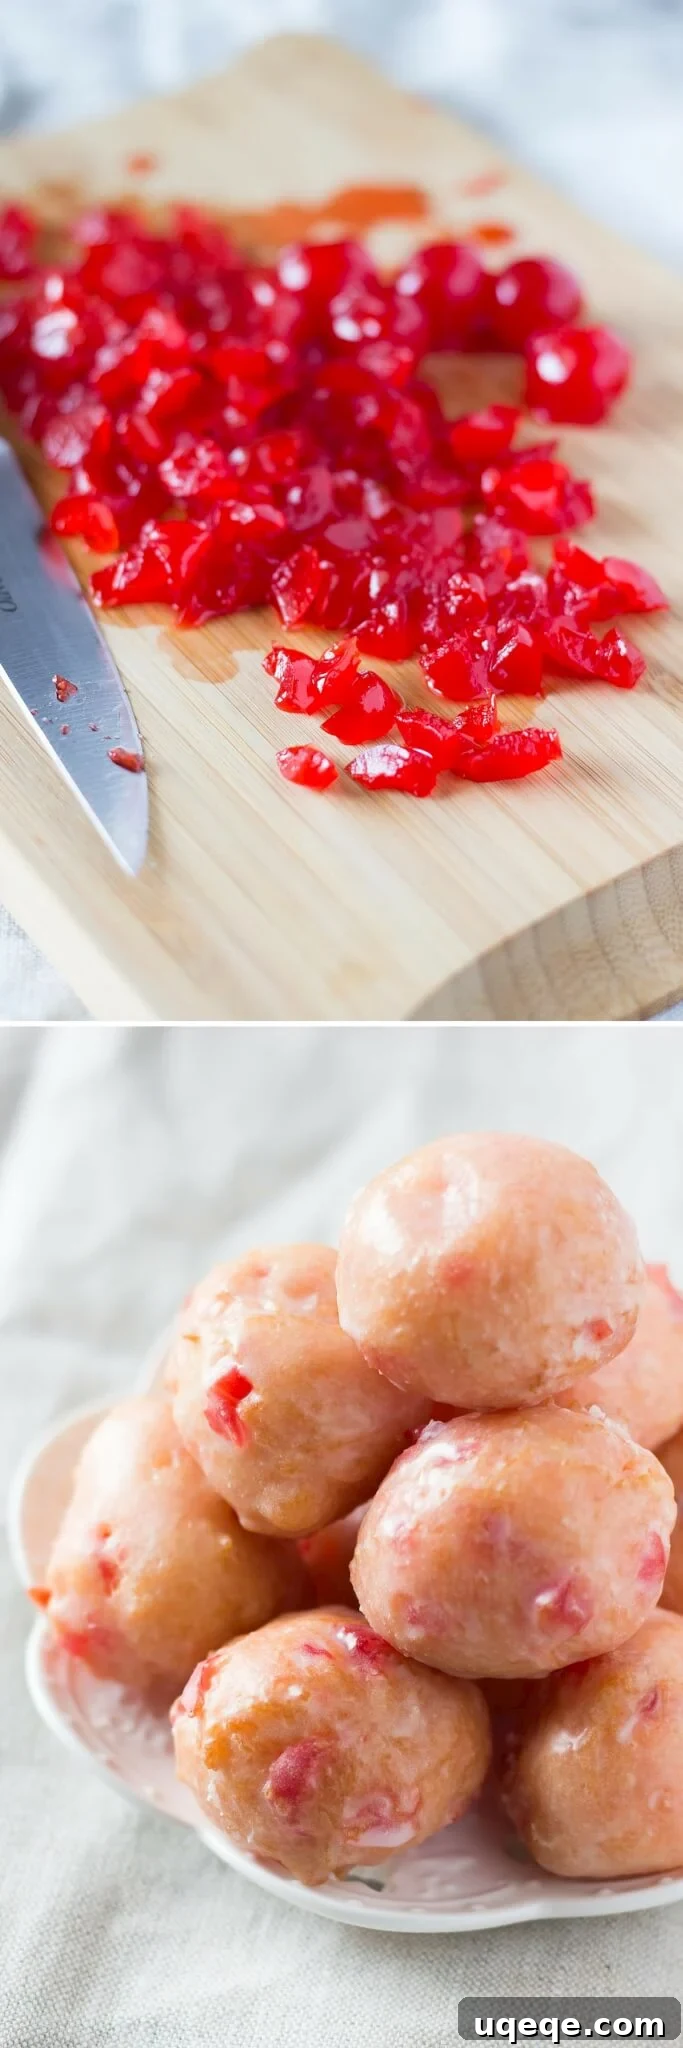
- Finely Chopped Maraschino Cherries: The foundation of our cherry flavor comes from incorporating maraschino cherries directly into the dough. The emphasis here is on “finely chopped.” Taking the time to mince the cherries into extremely small pieces is crucial. This not only ensures an even distribution of cherry flavor throughout the dough but also helps to create smoother edges on your doughnut holes after frying, contributing to their overall appealing aesthetic.
- Utilizing Cherry Syrup/Juice: Don’t discard that vibrant red syrup the maraschino cherries come in! Two tablespoons of this flavorful juice are added directly to the batter. This step significantly amplifies the sweet cherry taste and contributes to the natural, lovely pink hue of the doughnut holes, making them even more visually enticing.
- Optional Boost for Color: While the cherries and their syrup provide a beautiful natural pink, if you desire a more intensely vivid or pronounced pink color, you can certainly add a couple of drops of red food coloring to the batter. However, I’ve found that the natural ingredients provide a perfectly charming pink without any artificial enhancements.
The Art of Deep-Frying: Achieving Golden Perfection
The idea of deep-frying can sometimes seem daunting, but with proper preparation and attention to a few key details, it’s a straightforward process that leads to incredibly delicious results. Don’t let fear hold you back from these delightful homemade treats!
Essential Equipment for Safe and Successful Frying:
- Deep-Fry Thermometer: This is an absolute must-have for consistent and successful frying. Clip it securely to the inside of your pot, ensuring the tip is submerged in the oil but not touching the bottom. Maintaining the correct oil temperature is the single most important factor for perfectly cooked doughnuts that are golden outside and tender inside.
- Heavy-Bottom Saucepan or Dutch Oven: Choose a sturdy, heavy-bottomed pot. This type of cookware ensures even heat distribution and helps to prevent drastic temperature fluctuations, which are crucial for consistent frying. A Dutch oven is particularly excellent due to its superior heat retention.
- Slotted Spoon or Spider Skimmer: These tools are indispensable for safely placing the doughnut batter into the hot oil and, more importantly, for gently retrieving the perfectly fried doughnut holes.
- Paper Towels & Wire Rack: Line a baking sheet with several layers of paper towels, or place a wire rack over paper towels, for draining the excess oil from your freshly fried doughnuts.
The Deep-Frying Technique for Flawless Doughnut Holes:
- Prepare the Oil: Fill your chosen pot with at least 2 inches of oil. Crucially, leave at least 2 inches of space between the top of the oil and the rim of the pot. This safety measure prevents the hot oil from boiling over during frying.
- Achieve the Perfect Temperature: Heat the oil over medium-high heat until your deep-fry thermometer registers a steady 350°F (175°C). Maintaining this temperature is vital: too cool, and your doughnuts will absorb excessive oil, becoming greasy; too hot, and they’ll burn on the outside before cooking through in the center.
- Fry in Small Batches: Once the oil is at the correct temperature, carefully drop spoonfuls of the doughnut batter (each about 1-2 teaspoons in size) into the hot oil. Avoid the temptation to overcrowd the pot; frying 4-5 doughnut holes at a time is ideal. Overcrowding will cause the oil temperature to drop significantly, leading to uneven cooking and greasy doughnuts.
- Cook Evenly: Allow the doughnut holes to fry for approximately 2 minutes total, or until they achieve a beautiful golden-brown color on all sides. Use a fork or a slotted spoon to gently turn them over halfway through the frying process to ensure even cooking and browning. Watch them puff up beautifully as they cook!
- The Crucial Test Doughnut: After your very first batch, immediately remove one doughnut hole and carefully break it in half. This allows you to check if it’s cooked perfectly all the way through, with no raw dough in the center. Adjust your frying time for subsequent batches if necessary (e.g., if it seems slightly undercooked, add an extra 15-30 seconds per side). This small step guarantees perfection for the rest of your batch.
- Drain and Reheat: Using a slotted spoon, carefully remove the golden-brown doughnut holes from the hot oil and transfer them to your paper towel-lined surface to drain any excess oil. Allow the oil temperature to return to 350°F (175°C) before frying the next batch. Repeat this process with the remaining batter until all your delicious doughnut holes are fried.
The Sweet Grand Finale: A Drenching in Sticky Glaze
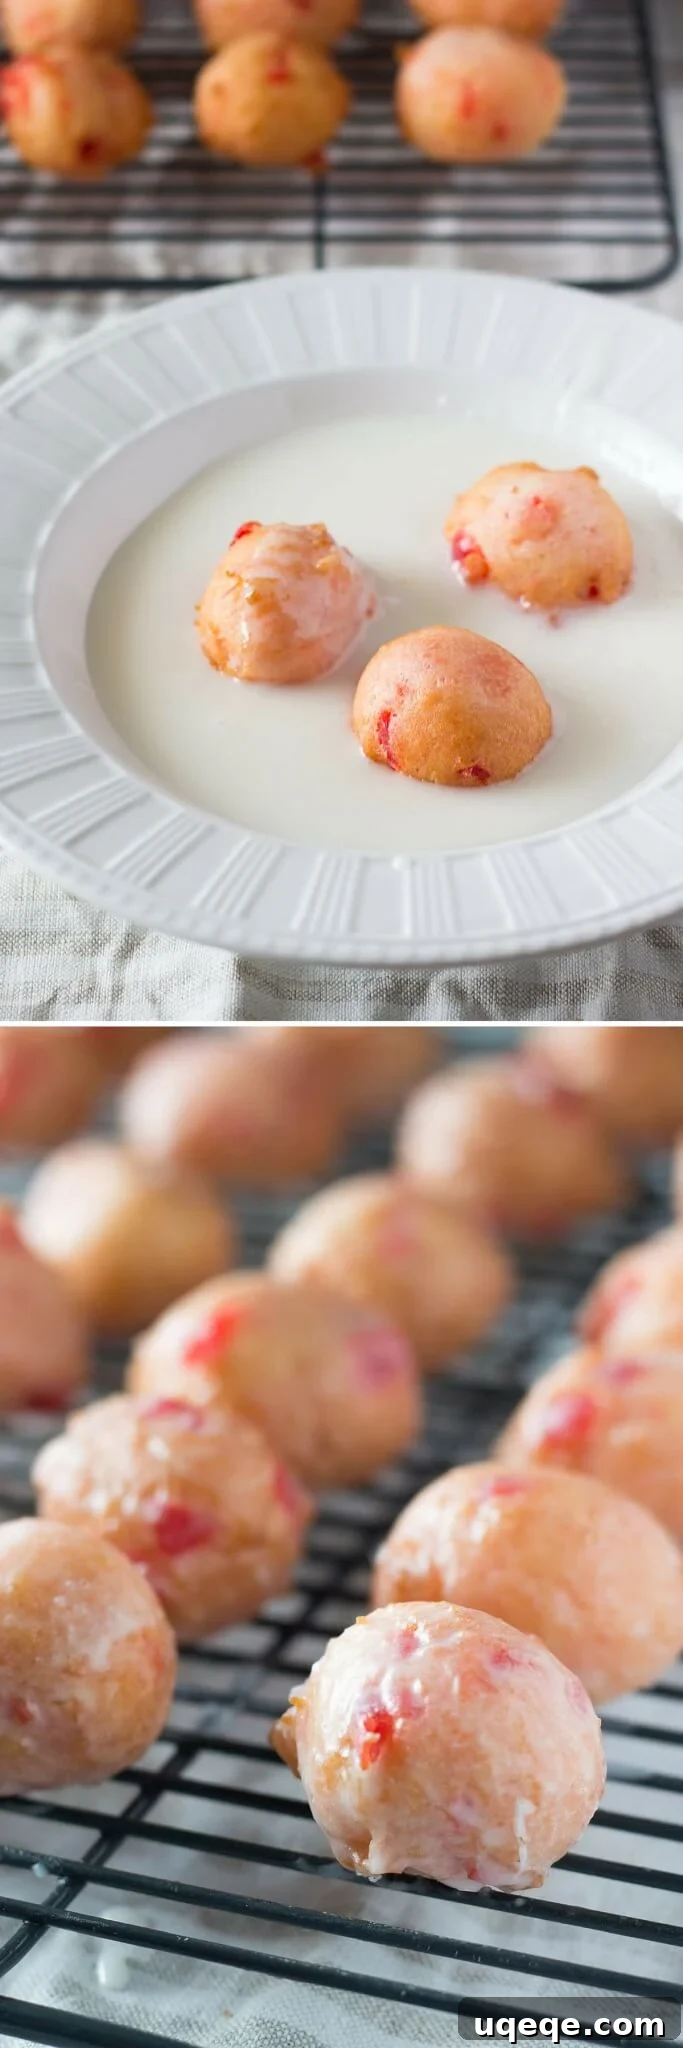
Once your homemade Cherry Doughnut Holes are perfectly fried and have had a moment to cool slightly—they should still be warm but not scalding hot—it’s time for the crowning touch: a lavish dip in the sweet, sticky glaze. This simple glaze is incredibly easy to prepare and transforms the doughnuts, adding an irresistible sheen and an extra layer of sugary delight that completes the experience. Gently immerse each doughnut hole into the prepared glaze, ensuring it’s thoroughly coated. Then, lift it out, allowing any excess glaze to drip back into the bowl before placing it on a wire rack. Let the glaze set for a few minutes. The result is a delightfully gooey, wonderfully flavorful treat that’s utterly impossible to resist and a true testament to the joy of homemade baking.
Homemade Cherry Doughnut Holes: The Recipe
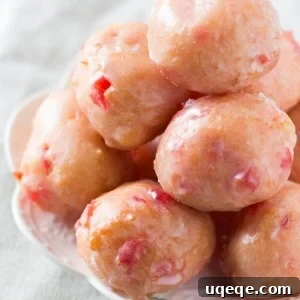
Cherry Doughnut Holes
Cherry Doughnut Holes made from scratch! Delicious cake doughnut texture, perfectly pink in color & dripped in sweet glaze. You NEED to make these!
Cook: 10 mins
Total: 55 mins
Yields: 36-48 doughnut holes
Rate Recipe
Print Recipe
Ingredients
For the Glaze
- 2 1/2 cups icing/confectioner’s/powdered sugar, sieved
- 1/4 cup to 1/3 cup half-and-half or heavy cream
For the Doughnuts
- 2 cups all-purpose flour
- 4 teaspoons baking powder
- 2 tablespoons granulated sugar
- 1/2 teaspoon salt
- 30 maraschino cherries, very finely chopped
- 1 large egg
- 1 cup plus 2 tablespoons buttermilk, room temperature
- 2 tablespoons juice/syrup from the maraschino cherries
- 1/4 cup melted butter, cooled to room temperature
- 4-5 cups oil for frying (amount will depend on the size of your saucepan)
Instructions
- **Prepare the Glaze:** In a medium bowl, whisk together the sieved powdered sugar and half-and-half (or heavy cream) until smooth and free of lumps. Adjust the consistency by adding more cream if too thick, or more sugar if too thin. Set aside.
- **Mix Dry Ingredients:** In a large mixing bowl, whisk together the all-purpose flour, baking powder, granulated sugar, and salt. Ensure these dry ingredients are well combined. Stir in the very finely chopped maraschino cherries, coating them lightly with the flour mixture to prevent them from sinking to the bottom.
- **Combine Wet Ingredients:** In a separate bowl, whisk the large egg until slightly frothy. Then, add the room temperature buttermilk and the 2 tablespoons of juice/syrup from the maraschino cherries. Whisk until everything is fully incorporated.
- **Combine Wet and Dry:** Pour the pink wet mixture into the dry flour and cherry mixture. Using a large wooden spoon or a rubber spatula, gently fold the ingredients together until just combined. Be careful not to overmix, as this can lead to tough doughnuts. Finally, stir in the cooled melted butter until no streaks remain. The batter will be thick.
- **Prepare for Frying:** Lay several layers of paper towels on a flat surface, such as a cookie tray or baking sheet, to drain the fried doughnuts. Clamp a deep-fry thermometer to the side of a heavy-bottomed saucepan or Dutch oven. Pour enough oil into the pot to reach a depth of at least 2 inches. Ensure there’s also at least 2 inches of space between the top of the oil and the rim of the pot for safety.
- **Heat Oil and Fry First Batch:** Heat the oil over medium-high heat until the thermometer reaches a steady 350°F (175°C). Once the temperature is stable, carefully drop spoonfuls of the doughnut batter (about 1-2 teaspoons each) into the hot oil. Work in small batches of 4-5 doughnut holes at a time to maintain oil temperature and avoid overcrowding.
- **Cook and Turn:** Fry the doughnut holes for approximately 2 minutes total, or until golden brown on all sides. Use a fork or slotted spoon to gently turn them over halfway through the frying process to ensure even cooking and browning.
- **Test for Doneness:** After the first batch is fried, remove one doughnut hole with a slotted spoon and immediately break it open. Check that it is cooked thoroughly in the center; there should be no raw dough. Adjust the frying time for subsequent batches if needed (e.g., if it’s undercooked, add another 15-30 seconds per side).
- **Drain and Continue:** Remove the remaining fried doughnut holes from the oil using a slotted spoon and place them on the paper towel-lined tray to drain excess oil. Allow the oil temperature to return to 350°F (175°C) before frying the next batch. Repeat the frying process with the remaining batter until all doughnut holes are cooked.
- **Glaze the Doughnuts:** Once the doughnut holes have cooled slightly (they should still be warm but not hot), gently dip each one into the prepared glaze, ensuring it’s fully coated. Lift it out, allowing any excess glaze to drip back into the bowl.
- **Set the Glaze:** Place the glazed doughnut holes on a wire rack, with paper towels or parchment paper underneath to catch any drips. Allow the glaze to set for a few minutes before serving.
Nutrition
Calories: 118kcal (per doughnut hole)
Tips for Success: Ensuring Perfect Doughnut Holes Every Time
- Temperature Control is Paramount: As emphasized, precise oil temperature (350°F/175°C) is the most critical factor. Invest in a good deep-fry thermometer.
- Don’t Overmix the Batter: Overmixing develops gluten, leading to tough doughnuts. Mix until just combined. A few lumps are okay.
- Room Temperature Ingredients: Ensure your egg and buttermilk are at room temperature. This helps them incorporate more smoothly into the batter and creates a more even texture.
- Work in Small Batches: Resist the urge to crowd the pot. Frying small batches (4-5 at a time) maintains oil temperature and allows for even cooking.
- Finely Chop Cherries: This prevents chunky, uneven doughnut holes and ensures even flavor distribution.
- Use Fresh Baking Powder: Baking powder loses its potency over time. Always ensure yours is fresh for optimal leavening and fluffy results.
- Glaze While Warm: Dipping the doughnut holes in the glaze while they are still warm (but not hot) allows the glaze to adhere better and create that perfect sticky coating.
Serving Suggestions & Storage
These homemade Cherry Doughnut Holes are best enjoyed fresh, ideally within a few hours of frying. They are absolutely heavenly when still slightly warm, with the glaze just set but still a little gooey. They make a fantastic addition to any breakfast or brunch spread, a delightful afternoon snack with coffee or tea, or a charming dessert for gatherings.
If you happen to have any leftovers (a rare occurrence!), store them in an airtight container at room temperature for up to 1-2 days. While they won’t have the same fresh-from-the-fryer crispness, their tender interior and sweet glaze will still be delicious. Avoid refrigerating, as this can dry them out. They generally do not freeze well due to the glaze.
And there you have it – your very own batch of irresistible, perfectly pink, and gloriously glazed Cherry Doughnut Holes. They are truly a labor of love that pays off in every sweet, tender bite. Whether for a special breakfast, a delightful brunch, or an afternoon pick-me-up, these homemade treats are guaranteed to bring smiles and satisfy that unique cherry doughnut craving. Why settle for store-bought when you can create this level of deliciousness right in your own kitchen? Happy baking, and enjoy every sweet moment!
If you’ve enjoyed making these delightful doughnut holes, please take a moment to rate and leave a comment below. Your feedback means the world!