
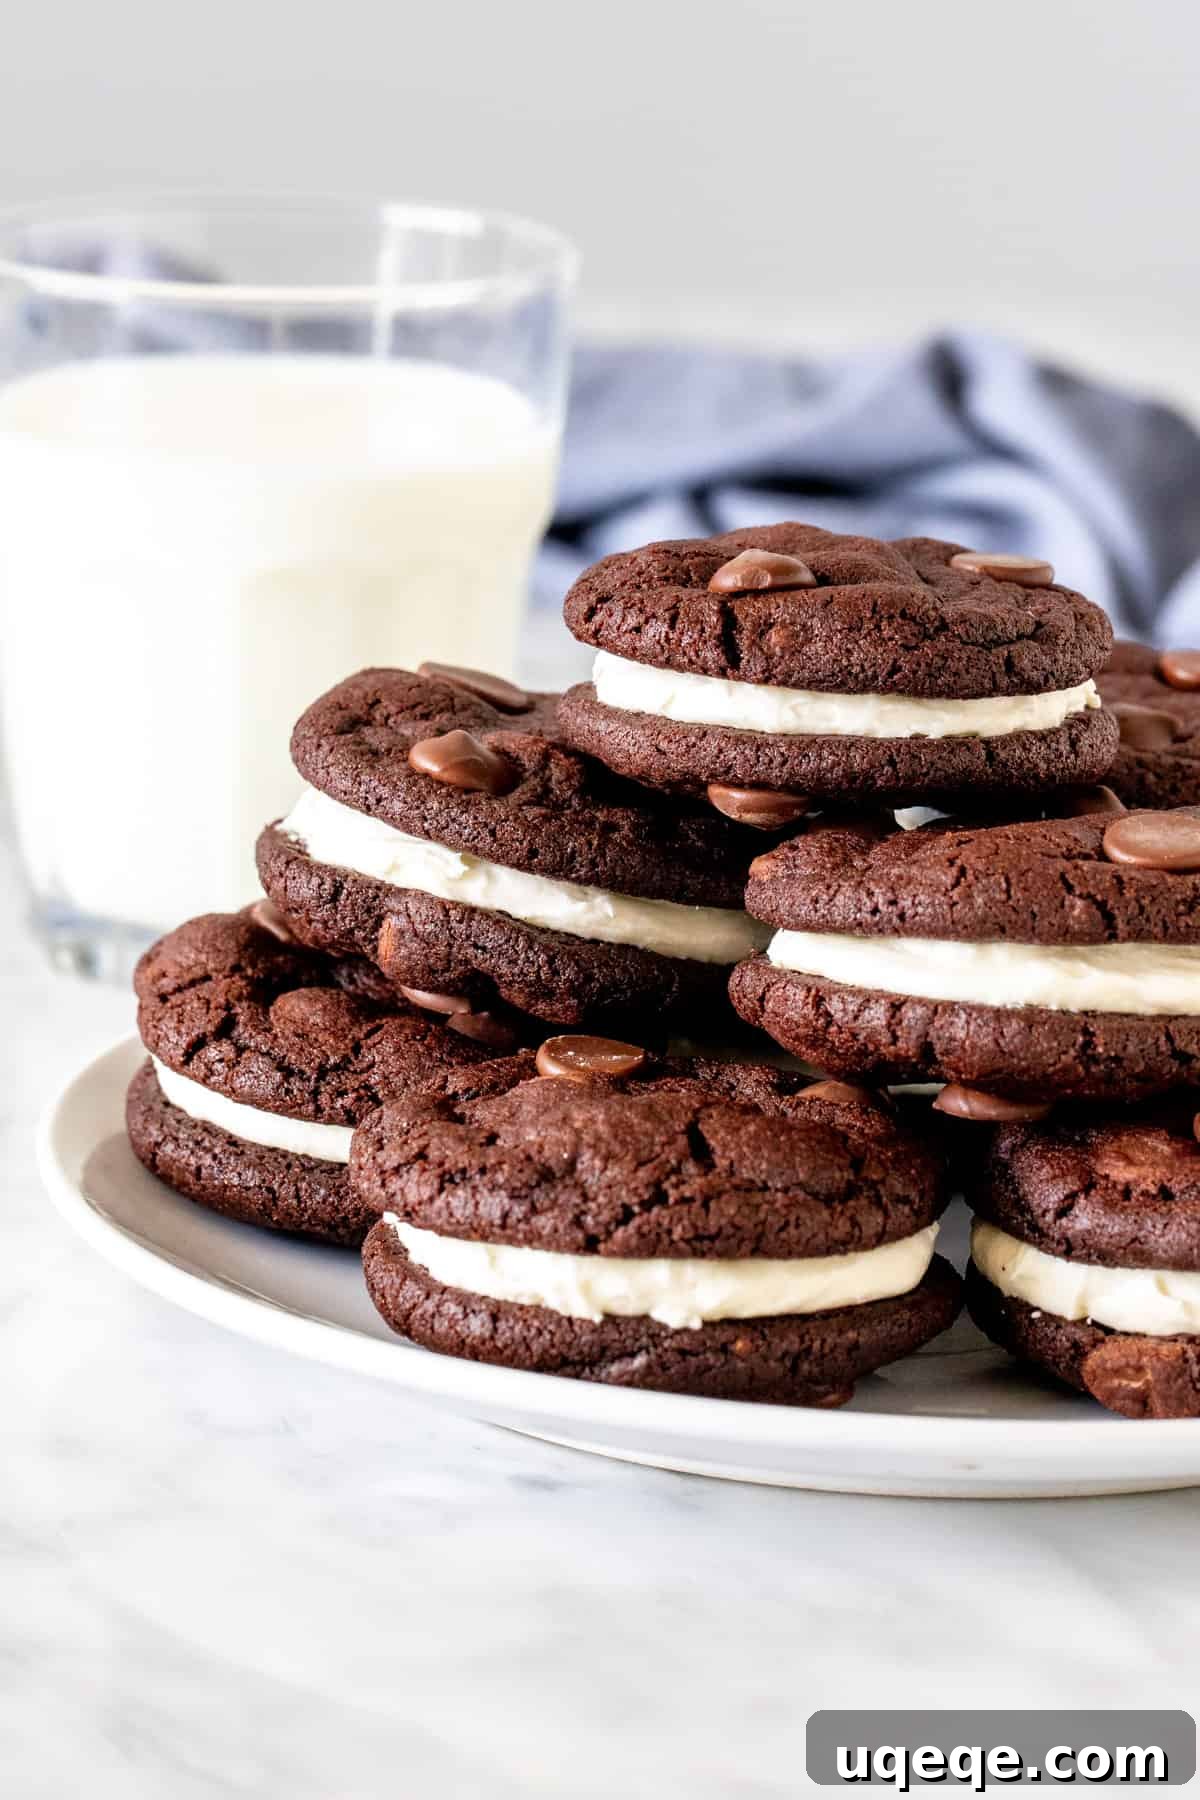
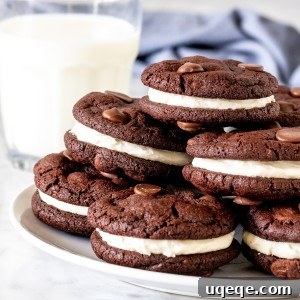
Indulge in the ultimate homemade treat: Chocolate Sandwich Cookies. Imagine two perfectly chewy, intensely fudgy double chocolate cookies hugging a luscious, sweet, and creamy frosting in the middle. These aren’t just cookies; they’re an experience, a truly decadent upgrade to your favorite store-bought sandwich cookie. Prepare yourself for a dessert that’s rich, satisfying, and utterly irresistible!
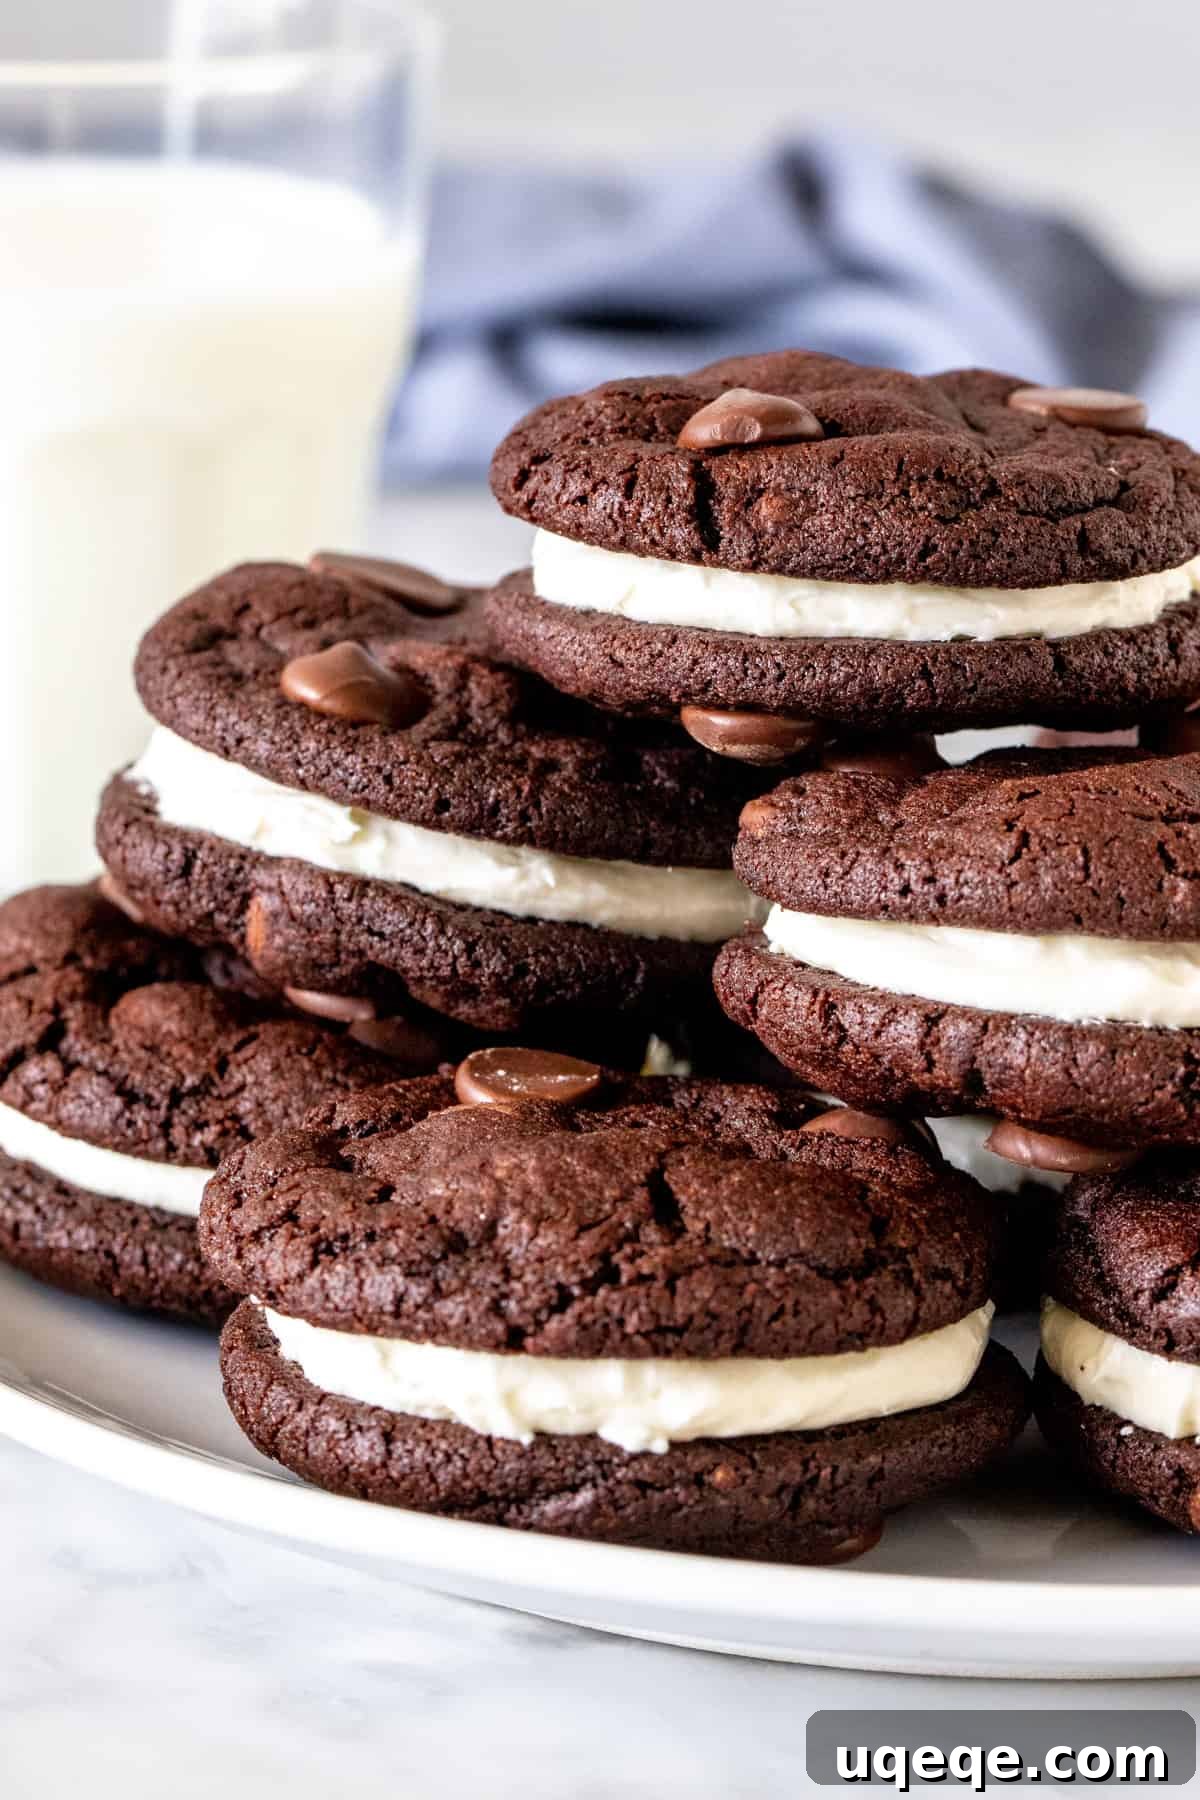
There’s a special kind of joy that comes from biting into a soft, luxurious double chocolate cookie. The deep cocoa flavor, the melt-in-your-mouth texture, and the irresistible sweetness make it a timeless classic. Building on this love, we’ve crafted the quintessential chocolate sandwich cookie recipe. These aren’t just any cookies; they are extraordinarily chewy, profoundly fudgy, and intensely rich, all brought together by a generous swirl of sweet, silky buttercream frosting. This recipe is designed to elevate your baking game and deliver a dessert that will earn rave reviews.
Ultimate Chocolate Sandwich Cookies: A Decadent Homemade Treat
For years, cookie enthusiasts have sought to replicate the magic of chocolate sandwich cookies at home. Many recipes claim to be “homemade Oreos,” but often fall short of delivering that truly elevated experience. Our recipe transcends the ordinary, offering a sophisticated and deeply satisfying version that outshines its mass-produced counterparts. While we appreciate the classic Oreo, these homemade chocolate sandwich cookies offer a depth of flavor and texture that truly sets them apart, appealing to a more discerning palate.
Beyond the Ordinary: Why Our Chocolate Sandwich Cookies Are Superior
What makes our chocolate sandwich cookies stand out? It’s all in the details, starting with the cookie itself. Unlike the dry, often crunchy chocolate wafers found in many commercial cookies, ours are crafted to be remarkably soft, delightfully chewy, and incredibly fudgy. This luxurious texture is achieved through a precise balance of ingredients, ensuring each bite melts in your mouth with an intense chocolate flavor.
We use high-quality cocoa powder to impart a deep, complex chocolate note, avoiding any artificial taste. The carefully measured amount of flour ensures the cookies maintain their softness without becoming cake-like. A key step in our process involves chilling the cookie dough in the refrigerator before baking. This crucial technique prevents the cookies from spreading too thin, resulting in thicker, chewier cookies that hold their shape beautifully. And because we believe you can never have too much chocolate, we incorporate chocolate chips into the dough for an added layer of richness and delightful texture. The combination of cocoa powder and chocolate chips creates a double chocolate dream that is simply irresistible.
The filling is equally important. We opt for a classic, homemade buttercream frosting that is wonderfully thick, velvety smooth, and far more decadent than the icing typically found in store-bought cookies. Its rich sweetness perfectly complements the deep chocolate of the cookies, creating a harmonious flavor profile. For those who crave even more chocolate, we suggest trying a rich chocolate buttercream frosting. Alternatively, a tangy and creamy cream cheese frosting also makes for a delicious pairing, adding a unique twist to this already stellar dessert.
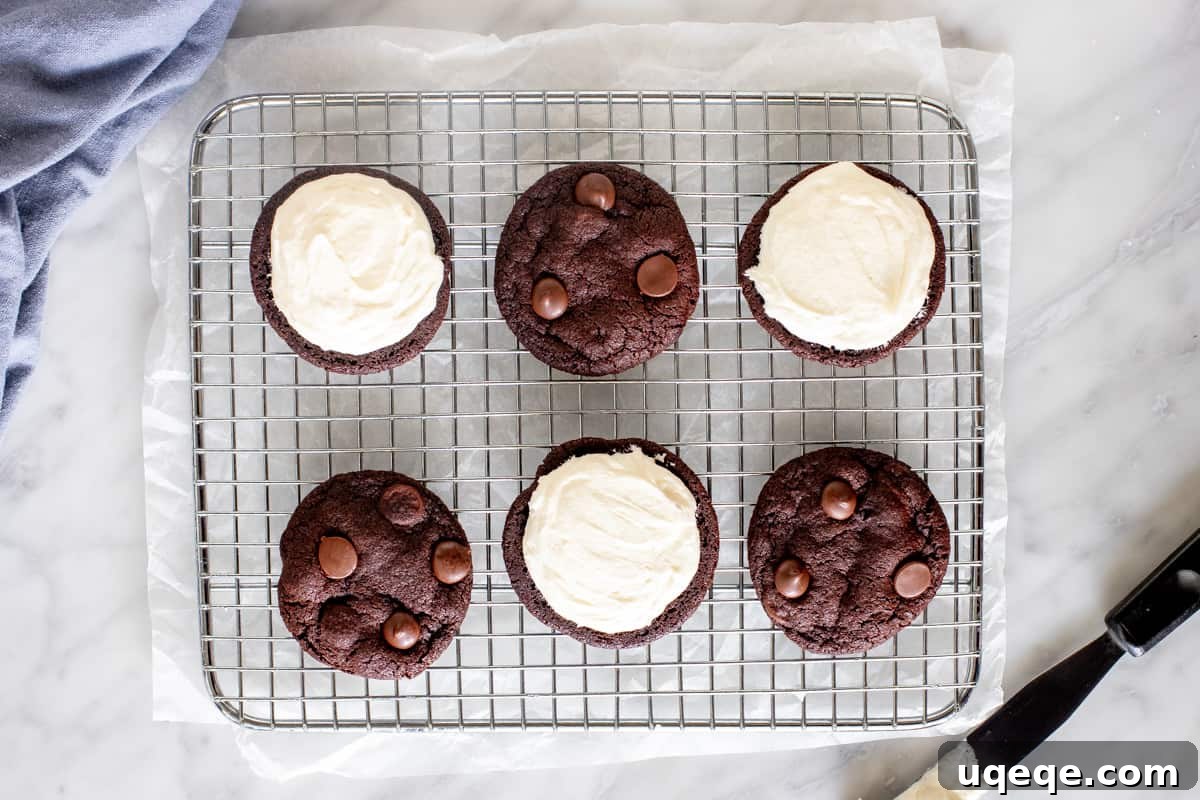
It’s important to reiterate that chilling the cookie dough is not optional for this recipe; it’s absolutely essential. Skipping this step can lead to cookies that spread excessively and lose their desired thick and chewy texture. This chilling period allows the fats to solidify, preventing premature spreading in the oven and locking in the moisture for that perfect fudgy consistency.
Expert Baking Tips & Troubleshooting for Perfect Sandwich Cookies
Crafting the perfect chocolate sandwich cookie is an art, but with a few expert tips and tricks, you’ll achieve professional-level results every time. Our recipe is closely related to our popular double chocolate cookie, with minor adjustments tailored specifically for sandwich cookie perfection. We make slightly smaller cookies, knowing you’ll pair two together, and slightly reduce the chocolate chips to ensure the combined richness with the frosting isn’t overwhelming.
-
The Importance of a Cookie Scoop
Whenever you’re making sandwich cookies, a cookie scoop is your best friend. This simple tool ensures that all your cookie dough balls are uniform in size. Uniformity is crucial for sandwiching, as it means your top and bottom cookies will match perfectly, creating a visually appealing and evenly filled treat. Beyond aesthetics, it also helps with even baking and keeps your hands clean and less sticky during the forming process.
-
Plan Ahead: Chilling is Key
This recipe truly benefits from planning. The cookie dough requires at least 3 hours of chilling, but it’s even better if you can prepare it the night before. This extended chill time allows the flavors to deepen and the dough to firm up, resulting in a superior texture and preventing excessive spreading during baking. On baking day, you’ll simply form the chilled dough into balls, bake, and then prepare your frosting. This approach breaks down the process, making it more enjoyable and less rushed.
-
Patience is a Virtue: Cool Completely
One of the most critical steps before frosting your cookies is to ensure they are *completely cooled*. Even slightly warm cookies will cause your beautiful buttercream frosting to melt, slide, or become a messy puddle. Allow your cookies to cool fully on a wire rack for at least 30 minutes to an hour, or until they are cool to the touch. This guarantees your frosting will set perfectly, creating a clean and delicious sandwich.
-
Freezing for Future Cravings
Did you know you can easily make these cookies ahead of time and freeze the dough? Simply form the cookie dough into balls as directed, then place them on a baking sheet and freeze until solid. Once frozen, transfer the dough balls to a freezer-safe bag or airtight container. They will keep beautifully for up to two months. When a craving strikes, you can bake them directly from frozen; just add an extra 1-2 minutes to the baking time to ensure they are cooked through.
-
Achieving the Perfect Chewy Texture
For that ideal chewy texture, avoid overbaking. The cookies should look just set on top, even if the centers still appear slightly soft. They will continue to firm up as they cool on the baking sheet. Removing them from the oven at the right moment is crucial for preventing dry, crumbly cookies and ensuring they retain their delightful chewiness.
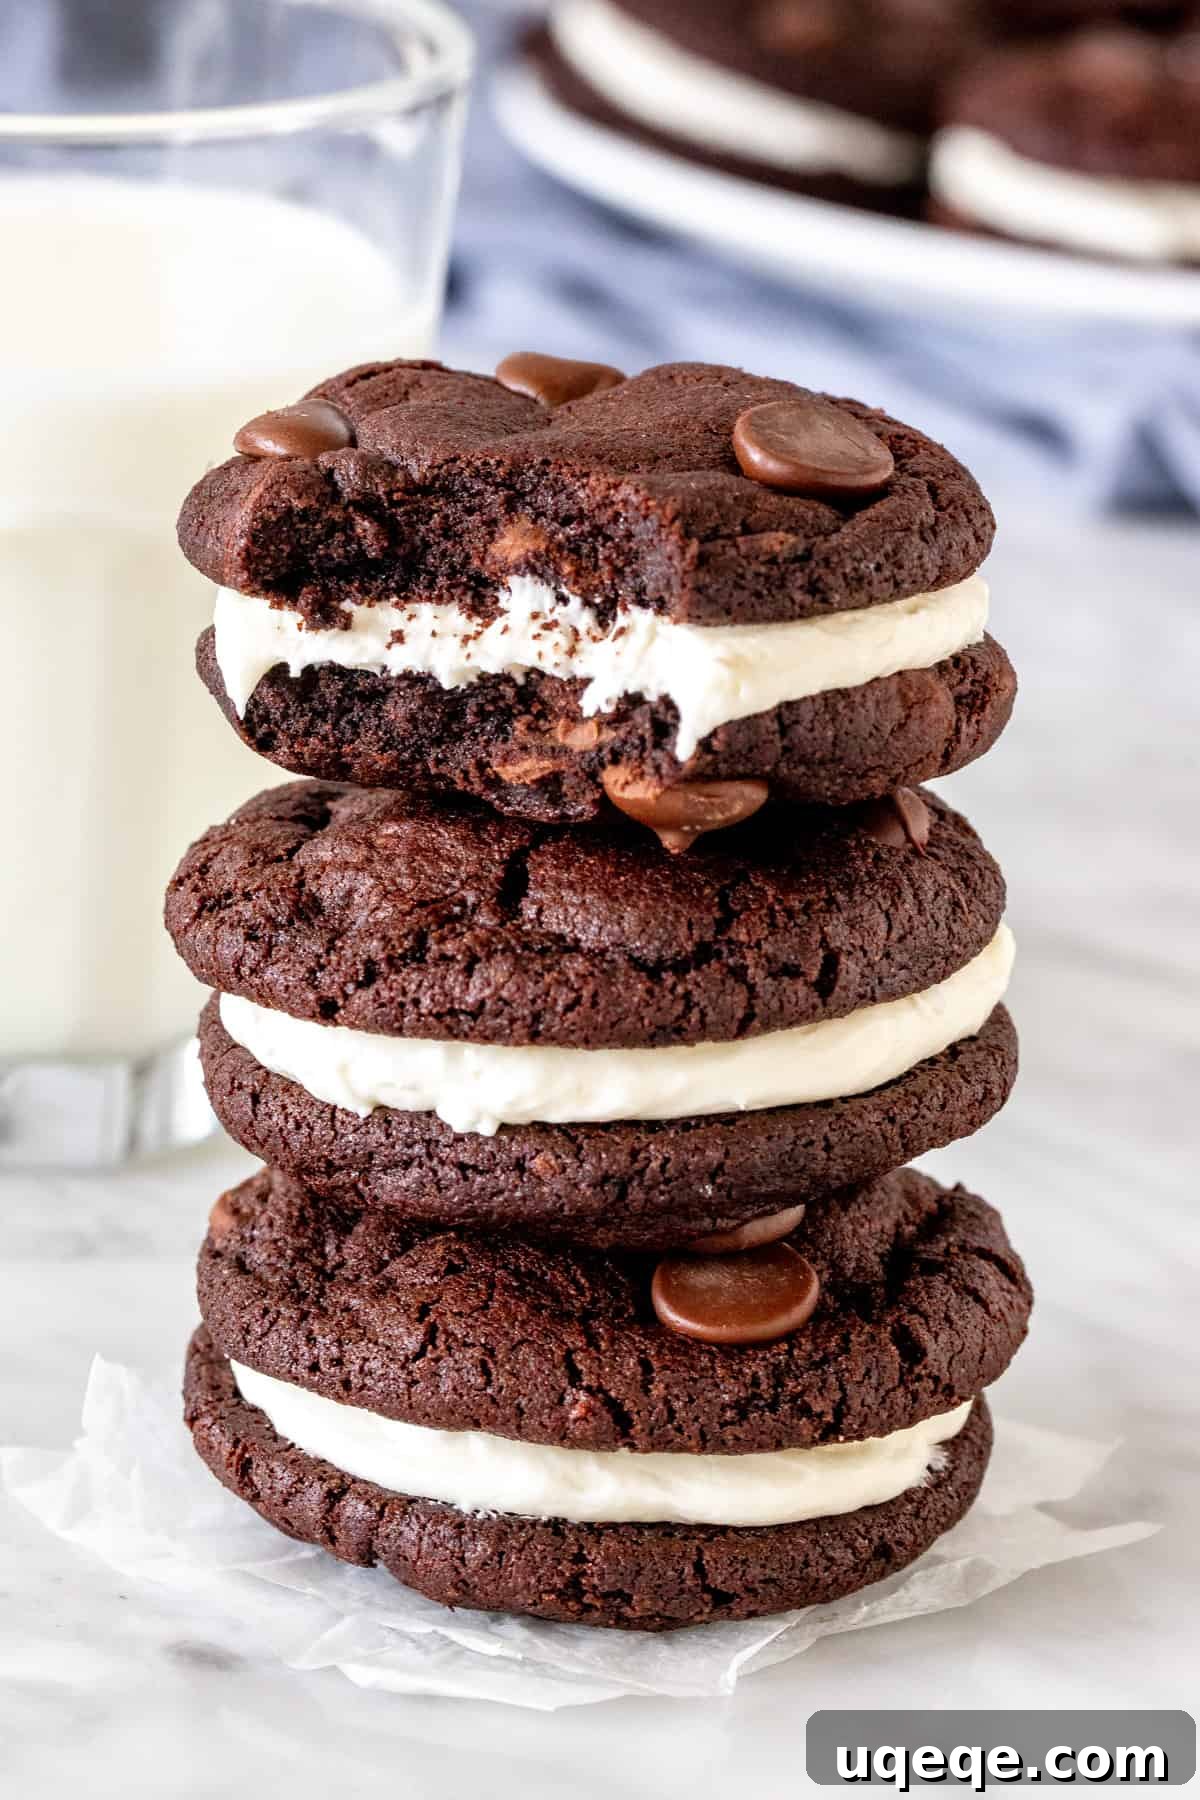
Explore More Delicious Sandwich Cookie Creations
If you’ve fallen in love with the magic of sandwich cookies, you’ll be thrilled to know there’s a whole world of delightful variations to explore. Each offers a unique flavor profile and a satisfying cookie experience. Be sure to try these other fan favorites from our collection:
- Ginger Cream Pies: A warming and spiced cookie with a rich, creamy filling, perfect for colder months.
- Red Velvet Sandwich Cookies: A vibrant, tender red velvet cookie paired with a classic cream cheese frosting.
- Peanut Butter Cookies with Chocolate Frosting: The timeless combination of peanut butter and chocolate, elevated into a delightful sandwich cookie.
Chocolate Sandwich Cookies Recipe
A highly-rated recipe, these chocolate sandwich cookies are truly next-level delicious. Featuring two chewy, fudgy double chocolate cookies with a sweet and creamy vanilla frosting in the middle, they are like an extra decadent, gourmet homemade Oreo cookie!
Prep time: 45 minutes | Cook time: 10 minutes | Chilling time: 3 hours | Total time: 3 hours 55 minutes
Yields: 15 sandwich cookies
Equipment
- Cookie Sheets
- Electric Mixer
- Cookie Scoop (recommended for uniform size)
- Wire Cooling Rack
Ingredients
For the Chocolate Cookies:
- 1 cup all-purpose flour
- ⅔ cup cocoa powder
- ½ teaspoon baking soda
- ¼ teaspoon salt
- 10 tablespoons unsalted butter, softened (not melted)
- ⅔ cup lightly packed brown sugar (light or dark)
- ⅓ cup white sugar
- 1 large egg
- 1 teaspoon vanilla extract
- ¾ cup chocolate chips (semi-sweet or dark recommended)
For the Vanilla Frosting:
- ½ cup unsalted butter, softened
- 1 ½ – 2 cups powdered sugar
- ¼ teaspoon salt
- 1-2 tablespoons cream or milk
Instructions
Part 1: Preparing the Chocolate Cookies
- In a medium bowl, whisk together the dry ingredients: flour, cocoa powder, baking soda, and salt. Set aside.
- In a large bowl, using an electric mixer, beat together the softened butter, brown sugar, and white sugar until the mixture is light, fluffy, and no longer lumpy.
- Add the egg and vanilla extract to the butter mixture, beating until well combined. Scrape down the sides of the bowl as needed.
- With the mixer on low speed, gradually add the dry flour mixture into the wet ingredients, about half at a time. To prevent flour from spraying, you can gently stir by hand a few times before turning on the mixer. Mix until just combined; the dough will be thick.
- Fold in the chocolate chips until evenly distributed throughout the dough.
- Cover the bowl tightly with plastic wrap and place it in the refrigerator to chill for at least 3 hours, or preferably overnight. This step is crucial for preventing the cookies from spreading too much during baking.
- When ready to bake, preheat your oven to 350°F (175°C). Line cookie sheets with parchment paper or silicone baking mats.
- Using a cookie scoop (approximately 1 tablespoon in size), form the chilled dough into balls, about 1 inch in diameter (roughly the size of a ping pong ball). Place the cookie dough balls about 2 inches apart on the prepared baking sheets. If the dough is too firm to scoop, let it sit at room temperature for 10-15 minutes to soften slightly.
- Bake one sheet at a time on the middle rack of the oven for 8-10 minutes, or until the tops of the cookies look just set. The edges should be slightly firm, but the centers may still appear a little soft.
- Allow the cookies to cool on the baking sheet for at least 10 minutes before carefully transferring them to a wire cooling rack to cool completely. This prevents breakage and allows them to firm up properly.
Part 2: Preparing the Vanilla Frosting
- In a large bowl, beat the softened butter with an electric mixer until it is light and fluffy, about 2-3 minutes.
- Gradually add 1 ½ cups of powdered sugar and the salt to the butter. Start beating on low speed until the sugar begins to incorporate, then increase to medium speed.
- Continue beating, and if needed, add the remaining powdered sugar gradually, along with 1-2 tablespoons of cream or milk, one tablespoon at a time. Beat until your desired sweetness and thickness are achieved. The frosting should be smooth and spreadable, yet firm enough to hold its shape between the cookies.
Part 3: Assembling the Sandwich Cookies
- Once the chocolate cookies are entirely cooled (this is very important!), spread about 1-2 tablespoons of vanilla frosting onto the flat bottom of one cookie.
- Place a second cooled chocolate cookie on top, pressing down gently to create a sandwich, ensuring the frosted sides are on the inside. Repeat with the remaining cookies and frosting.
- Serve immediately or store for later enjoyment.
Notes for Success
- Chilling the Dough: We cannot stress enough the importance of chilling the cookie dough. This step is mandatory to prevent the cookies from spreading too thin and ensures a thick, chewy texture.
- Thinner Cookies: If you prefer slightly thinner cookies for your sandwiches, gently press down on the cookie dough balls with the palm of your hand or the bottom of a glass before baking.
- Freezing Cookie Dough: Cookie dough balls can be frozen for up to 2 months. Bake from frozen at 350°F (175°C), adding 1-2 extra minutes to the baking time (approximately 9-11 minutes total).
- Leftover Frosting: Depending on how generously you frost your cookies, you might have a small amount of leftover frosting. It’s delicious on cupcakes or other baked goods!
- Storage: Store the finished chocolate sandwich cookies in an airtight container at room temperature for up to 2 days. If your kitchen is warm or you want to extend their freshness, storing them in the refrigerator for up to 1 week is recommended. Bring them to room temperature for optimal enjoyment.
- Nutrition Information: The nutrition facts provided are an estimate only and are based on one sandwich cookie, assuming the recipe yields 15 equal sandwiches and all frosting is used. Individual results may vary based on exact ingredients and portion sizes.
Nutrition (Estimated per 1 Sandwich Cookie)
Calories: 315 kcal, Carbohydrates: 41g, Protein: 3g, Fat: 17g, Saturated Fat: 11g, Cholesterol: 51mg, Sodium: 131mg, Potassium: 85mg, Fiber: 2g, Sugar: 31g, Vitamin A: 475IU, Calcium: 31mg, Iron: 1mg
Conclusion: Indulge in Your Homemade Masterpiece
There you have it – a comprehensive guide to crafting the most incredible chocolate sandwich cookies you’ll ever taste. From the rich, fudgy cookies to the luscious buttercream filling, every element of this recipe is designed to deliver a truly exceptional dessert experience. These cookies are perfect for sharing with loved ones, bringing to a potluck, or simply treating yourself to a moment of pure chocolate bliss. Don’t hesitate to dive into your kitchen and create these delightful treats. We’re confident that once you try these homemade beauties, you’ll never look back!
We absolutely love hearing from you! If you tried this recipe, please take a moment to rate it and leave a comment below. Your feedback helps us improve and inspires other bakers in our community. Happy baking!