
Ultimate Chocolate Mud Cake: Your Guide to a Decadent Delight
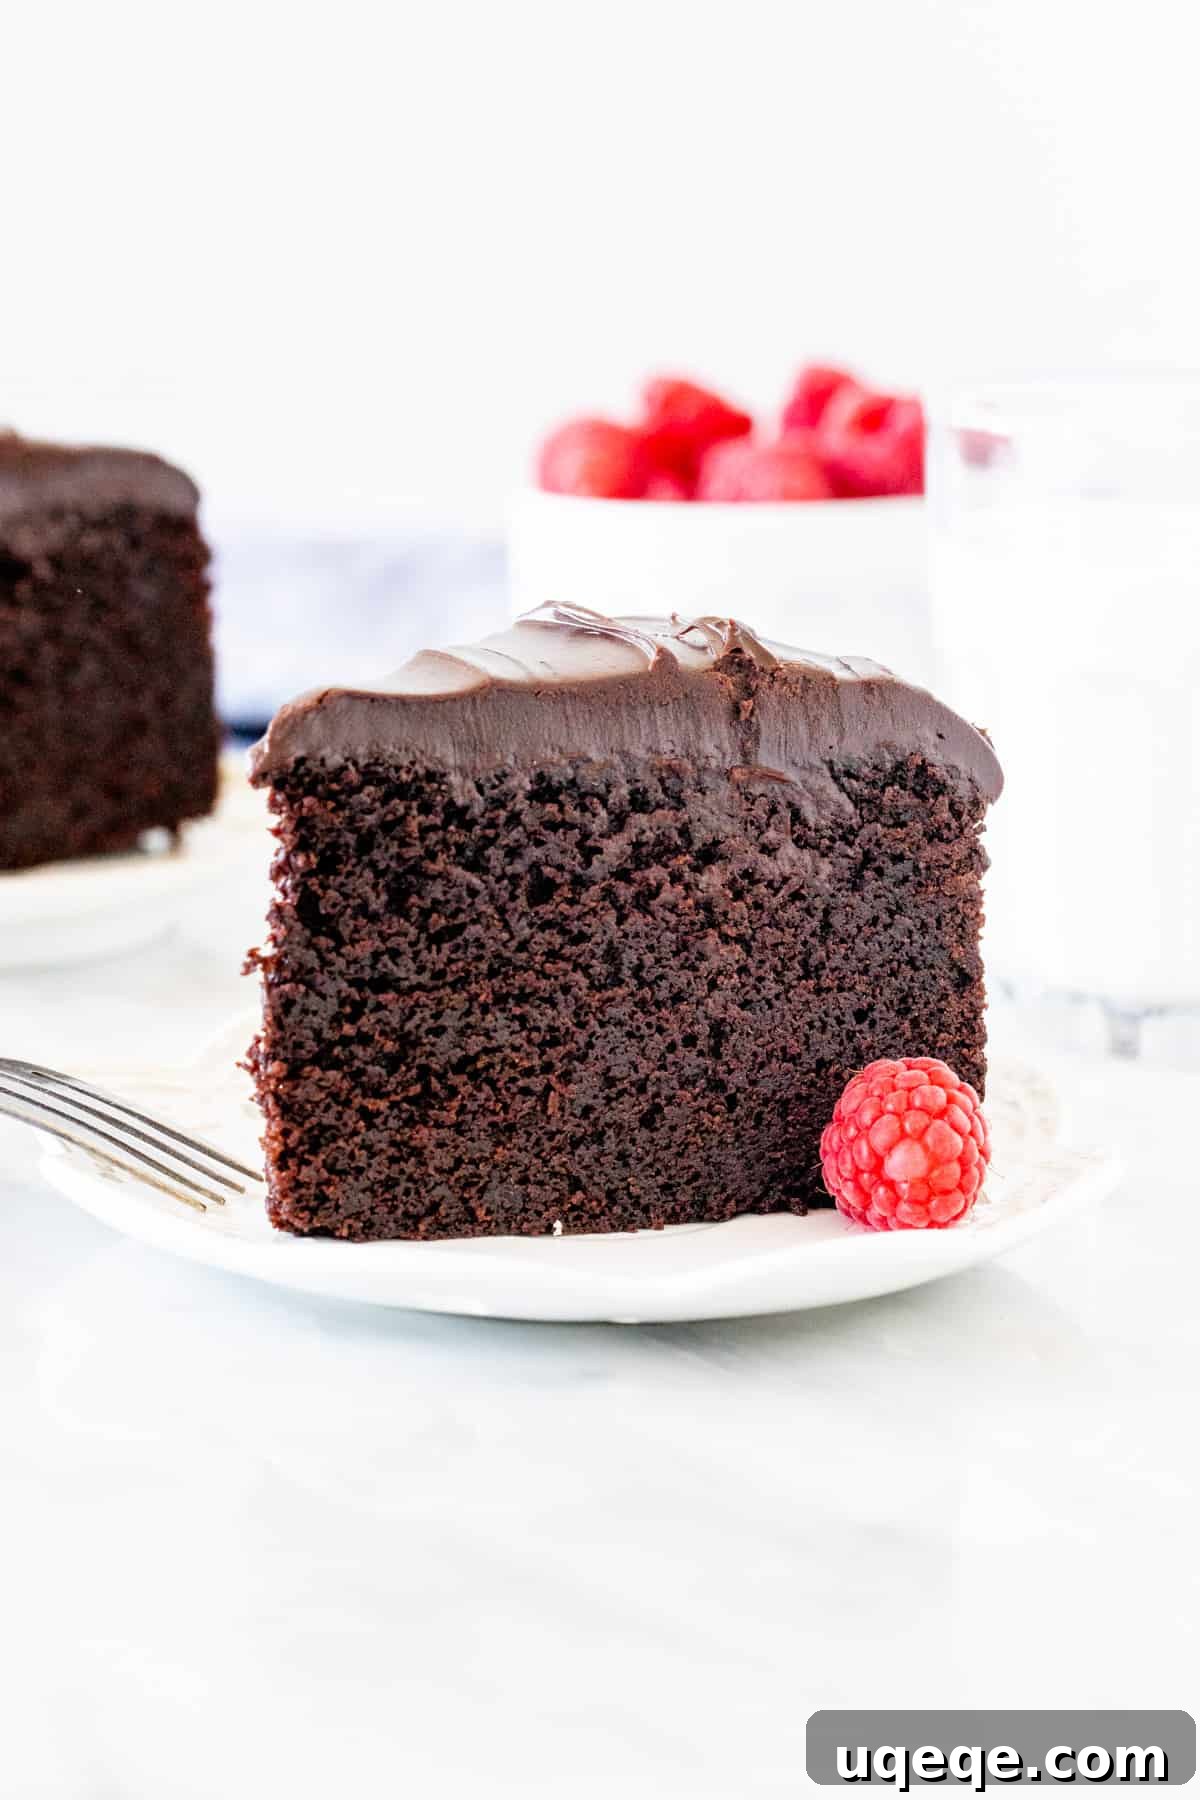
There are few desserts as satisfying as a truly rich, dense, and deeply chocolatey mud cake. This ultimate chocolate mud cake recipe delivers an unparalleled experience – it’s incredibly moist, wonderfully fudgy, and crowned with a thick, glossy layer of homemade chocolate ganache. While it boasts a sophisticated appeal, suggesting it might have been picked up from a gourmet bake shop, it’s surprisingly simple to prepare right in your own kitchen. Crafted with high-quality dark chocolate, this cake is an absolute dream for any true chocolate enthusiast, promising a luxurious treat with every single bite.
The Allure of the Perfect Chocolate Mud Cake
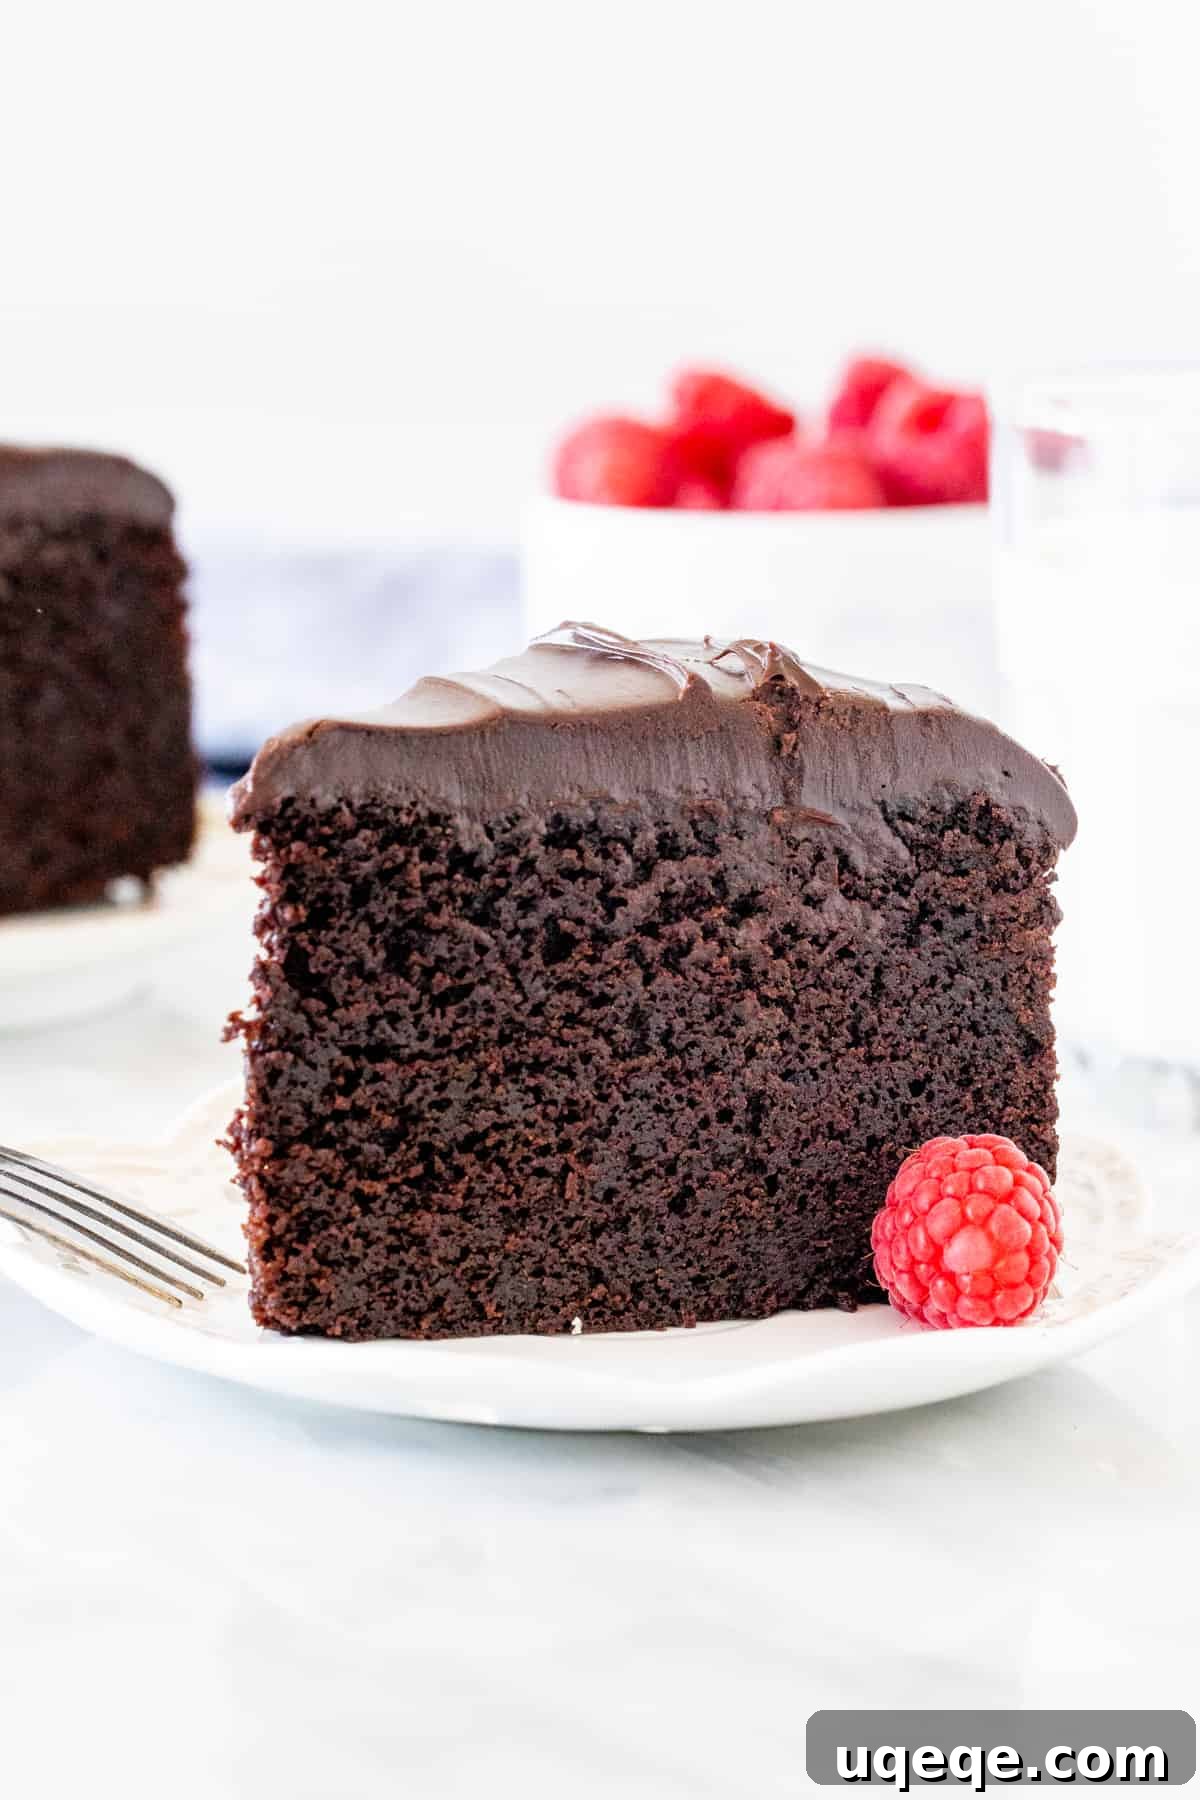
Imagine sinking your fork into a slice of cake that’s not just sweet, but profoundly chocolatey, with a texture so tender it practically melts in your mouth. This recipe achieves just that, requiring only a little more effort than using a basic cake mix, yet yielding results that are truly impressive. It’s the kind of cake that makes any occasion feel special, from a casual family gathering to an elegant dinner party. I initially designed this recipe as a single-layer masterpiece, allowing its impressive height and rich density to shine. However, for those who love layers, it can be easily adapted to create a stunning double-layer cake – simply follow the specific baking instructions provided further down.
My journey into perfecting the mud cake began after moving to Australia, where I quickly observed a widespread fondness for these rich chocolate creations. It seemed that mud cakes were almost a national obsession, a staple at supermarkets like Woolworths. And honestly, what’s not to adore about a mud cake? Its deep flavor and satisfying texture are universally appealing, making it a beloved dessert that truly stands out.
Understanding the True Chocolate Mud Cake
For my readers outside of Australia, it’s important to clarify what defines the type of chocolate mud cake we’re discussing here. This isn’t to be confused with a Mississippi mud pie or a lighter, airier chocolate sponge. A classic mud cake, as perfected in this recipe, is characterized by several key features:
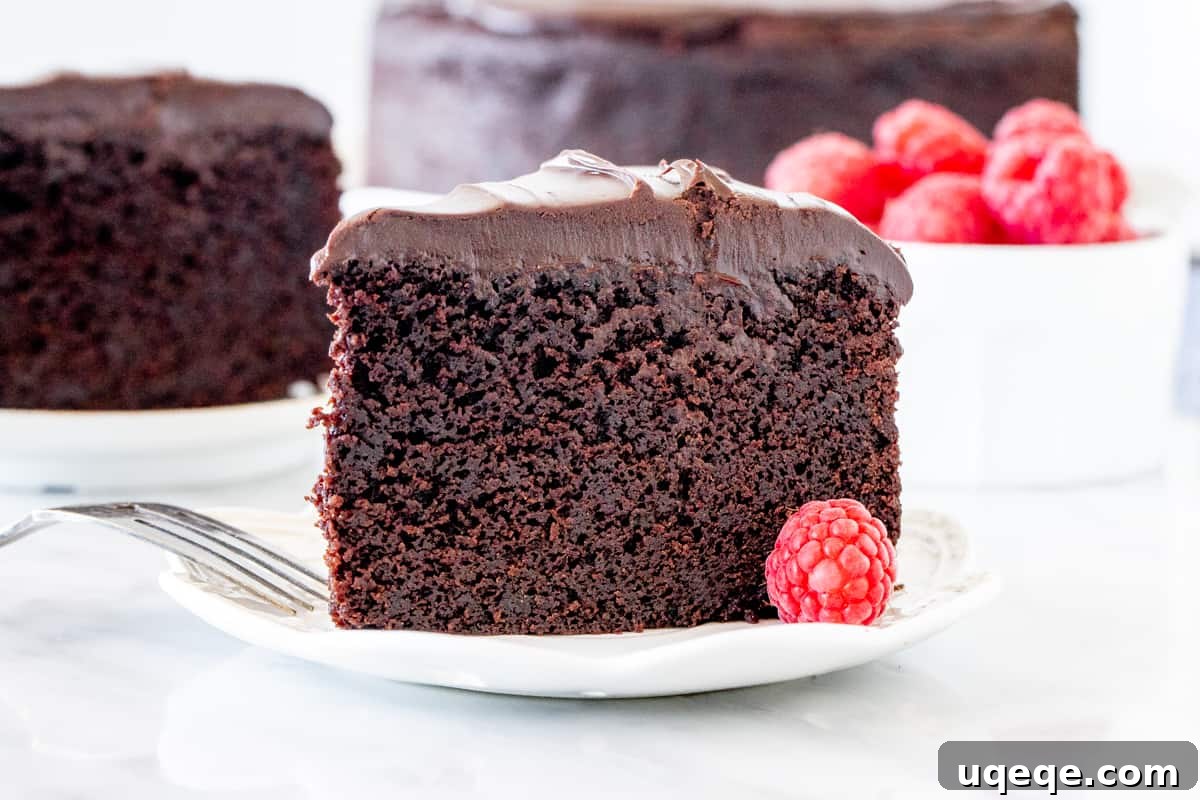
- Moist and Fudgy Texture: It’s incredibly moist, almost brownie-like, with a luxurious melt-in-your-mouth quality.
- Dense Cake Crumb: The cake has a tight, compact crumb, which contributes to its incredibly dense and decadent mouthfeel. This is distinctly different from cakes designed to be light and airy.
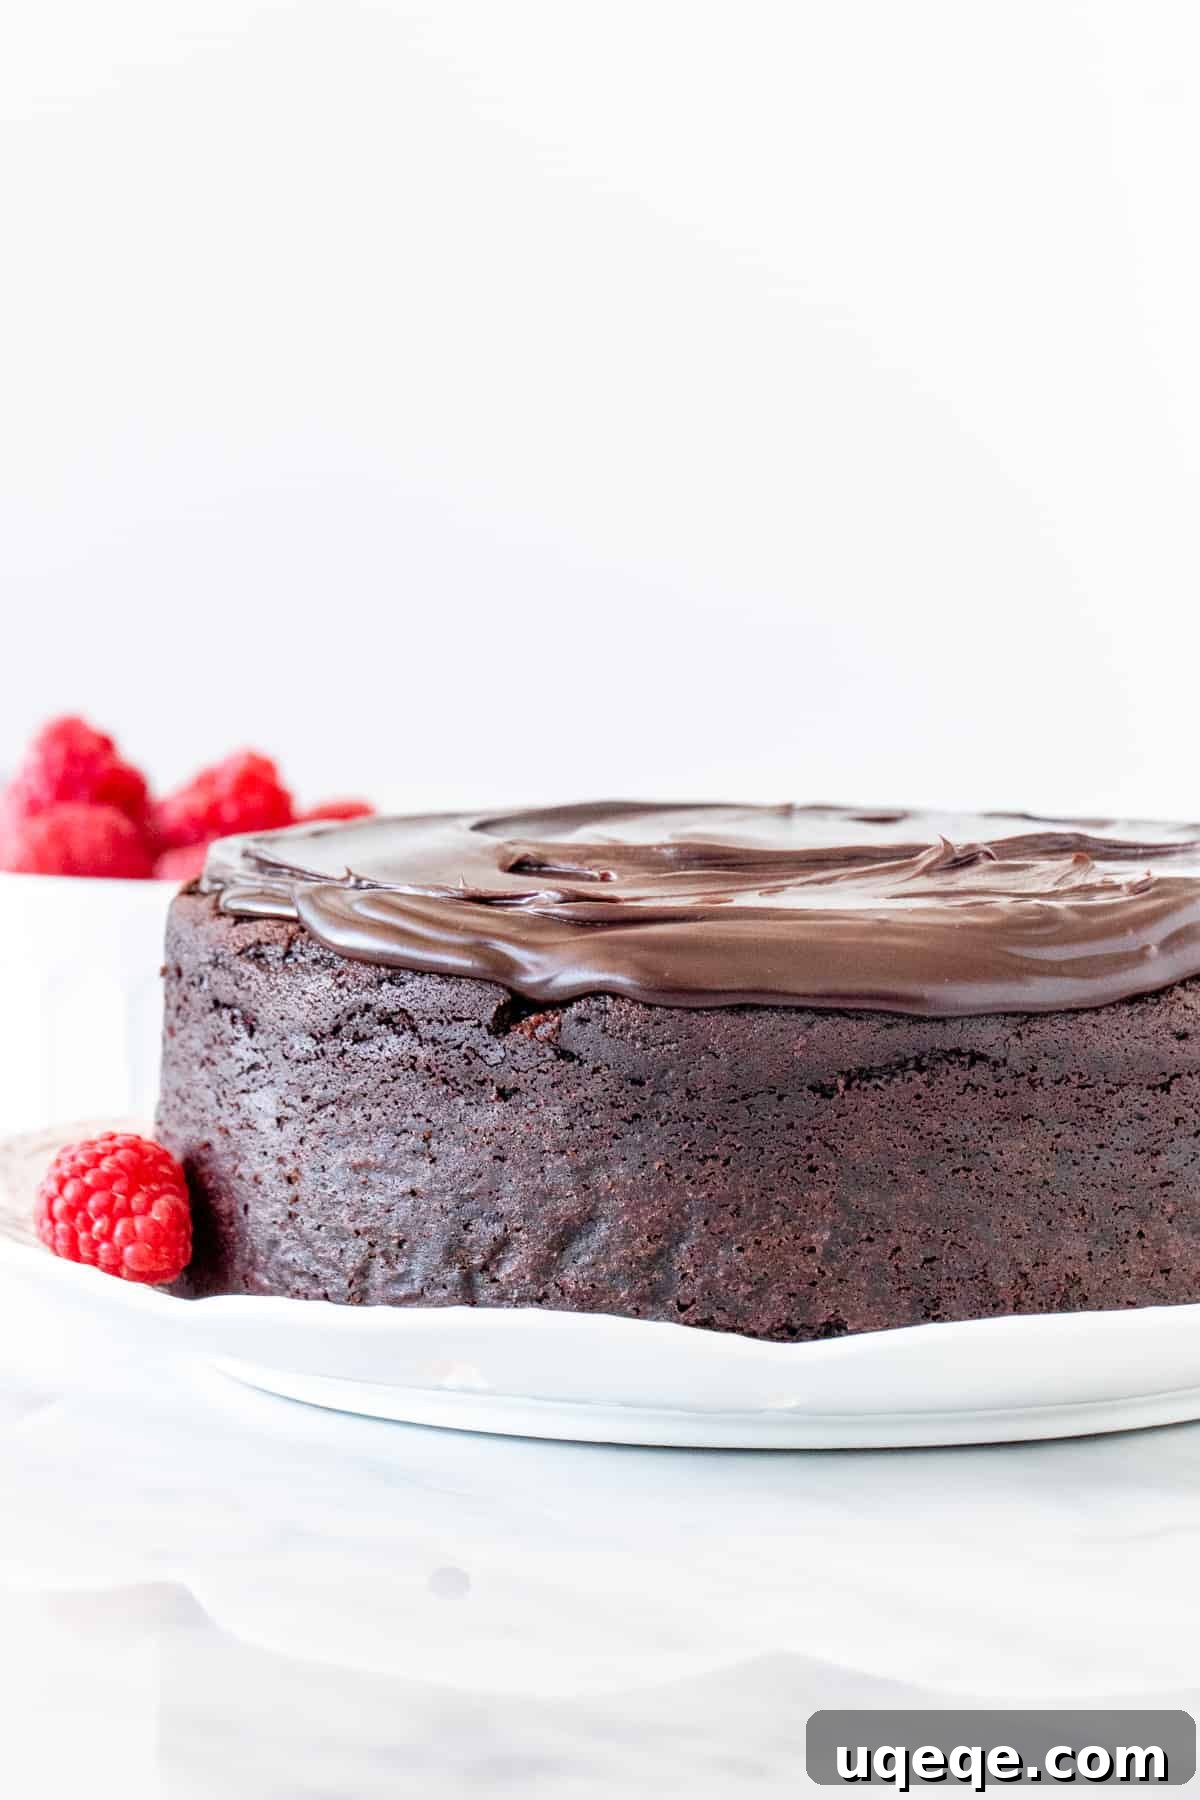
- Generous Single Layer: Typically, mud cakes are baked as a single, impressively tall layer, creating a substantial and grand presentation.
- Luscious Chocolate Ganache Topping: While chocolate frosting or leaving it plain are options, a thick, glossy chocolate ganache is the quintessential topping, providing a perfect counterpoint to the cake’s richness.
Our recipe achieves its deep, complex chocolate flavor through the strategic use of both high-quality dark chocolate and rich cocoa powder. This combination ensures a robust and authentic chocolate profile that isn’t overly sweet. A secret weapon for enhancing this chocolate depth is the addition of a little instant coffee powder (or instant espresso powder). Don’t worry, you won’t taste coffee in the finished cake; instead, it acts as a flavor amplifier, making the chocolate notes sing even louder and richer.
The secret to achieving the incredibly moist texture and extended shelf life of this mud cake lies in a simple yet powerful ingredient: sour cream. Its fat content adds richness, while its acidity reacts with the baking soda to create a wonderfully tender crumb, preventing the cake from drying out prematurely. This ensures your mud cake stays deliciously fresh and moist for days.
Chef’s Note: Be sure to grab your biggest mixing bowl for this recipe! The generous volume of batter requires ample space for proper mixing without spills.
Mastering the Bake: Pans, Temperatures, and Timings
Achieving the perfect chocolate mud cake requires patience, especially when it comes to baking. I typically bake my mud cake in a sturdy 20 cm (8-inch) round cake pan with generously tall 10 cm (4-inch) sides. The golden rule for baking mud cakes, or any exceptionally tall cake for that matter, is to employ a “low and slow” approach. This gentler baking method allows the dense batter to cook through evenly without drying out the edges or creating a domed top.
In my fan-forced oven, at 150°C (300°F in a convection oven, or 325°F in a traditional oven), my mud cake bakes for approximately 1 hour and 30 minutes. Baking times can vary based on your oven and pan size. If you opt for a slightly larger 23 cm (9-inch) tin, you can expect the bake time to be a bit shorter, typically around 1 hour to 1 hour and 15 minutes, as the batter will be spread thinner.
For a show-stopping double-layer cake: You have a couple of options. You can bake the entire batter in the same 20 cm (8-inch) pan with 10 cm (4-inch) sides, just as I do for a single layer. Once the cake is completely cooled, carefully slice it horizontally in half using a long serrated knife to create two even layers. Alternatively, for a simpler approach, you can divide the batter equally between two 20-cm (8-inch) tins with standard 5 cm (2-inch) sides. These shallower cakes will bake much faster, typically in about 30-40 minutes at the same temperature.
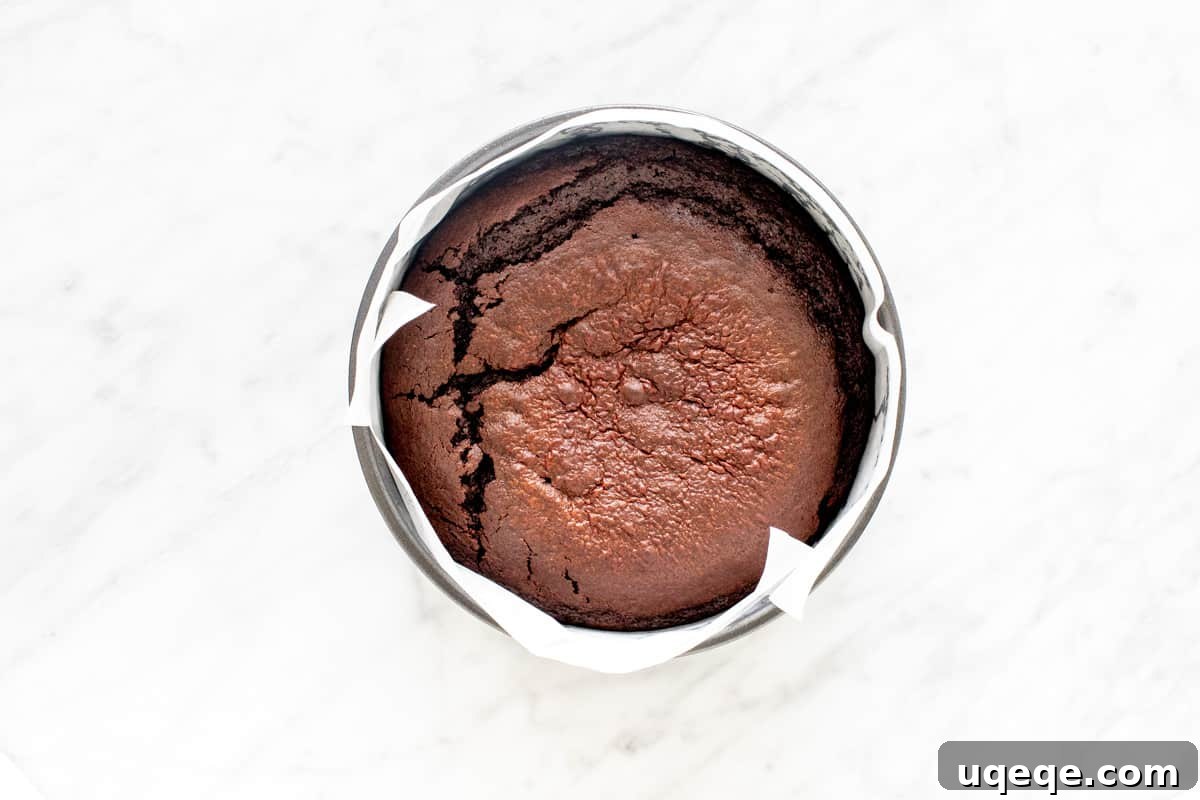
Pro Tip for Seamless Cake Release: I cannot stress enough the importance of using a loose-bottom cake pan for mud cakes. This design significantly simplifies the removal process. Furthermore, proper pan lining is absolutely essential for a dense cake like this. Begin by lining the bottom of the cake pan with a circle of baking paper. Then, cut a long strip of baking paper and line the sides of the pan, allowing it to extend slightly above the rim of the pan. Because mud cakes are exceptionally dense and rich, skipping these lining steps can make it incredibly challenging, if not impossible, to remove the cake cleanly from the pan without damaging its beautiful structure. The image below illustrates the baked cake in a properly lined pan, showing how easily it can be lifted.
Elevating Your Mud Cake: Serving and Decorating Ideas
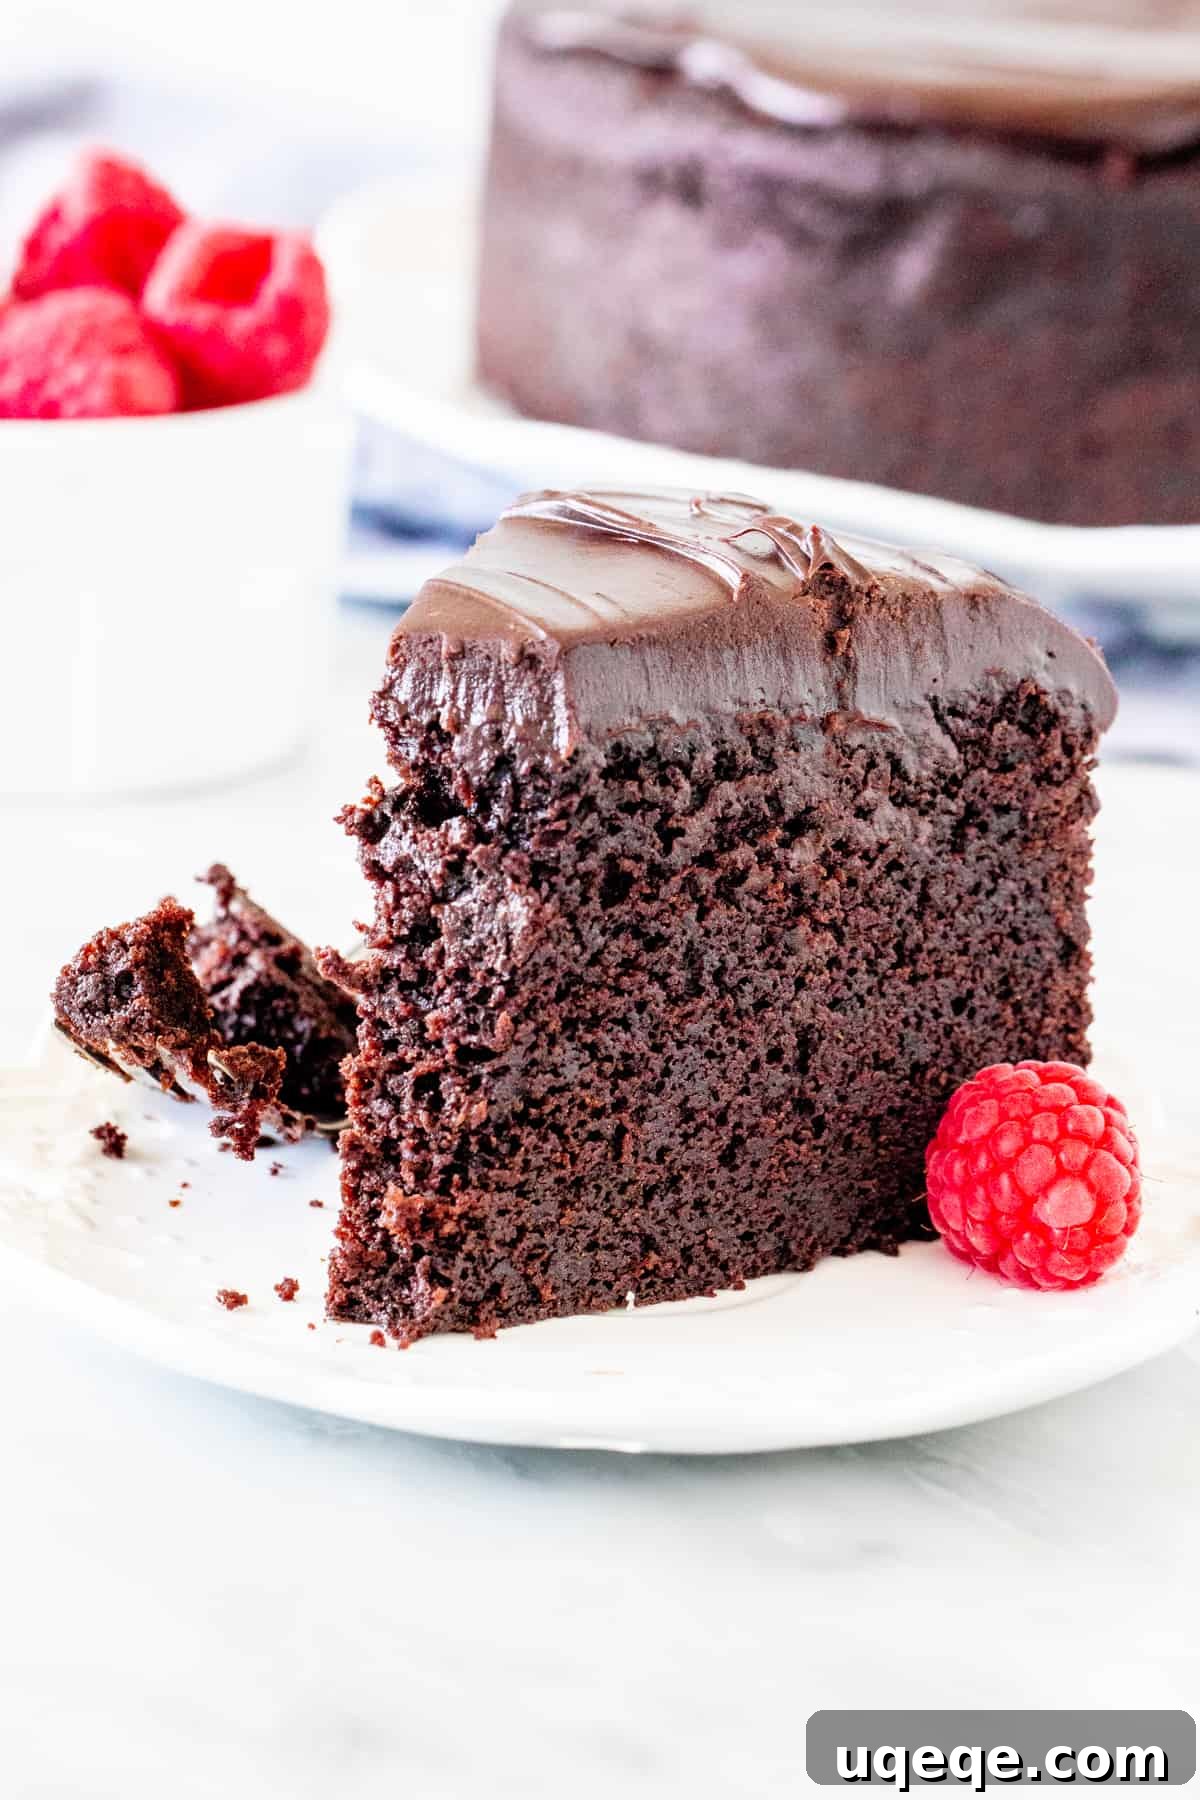
While the chocolate mud cake is a star on its own, the right topping and presentation can transform it into an unforgettable dessert. I typically finish my cake with a generous layer of velvety chocolate ganache, as detailed in the recipe instructions below. Given the inherent richness of the mud cake, I find ganache to be the ideal accompaniment – it’s less sweet than traditional frosting, allowing the deep chocolate flavor of the cake to truly shine. However, the beauty of this cake lies in its versatility, offering numerous delicious alternatives:
- Simple Elegance: For a less indulgent option, skip the ganache entirely. Once the cake has fully cooled, simply sift a delicate dusting of icing sugar over the top. Serve these elegant slices with a scoop of premium vanilla bean ice cream, a dollop of freshly whipped cream, or a vibrant medley of fresh berries to cut through the richness.
- Layered Ganache Dream: If you’re preparing a double-layer cake, elevate the experience by doubling the ganache recipe. Use one portion to create a rich filling between the two cake layers, then pour or spread the remaining ganache lavishly over the top. Leaving the sides bare creates a chic, rustic look that highlights the cake’s height and texture.
- Creamy Contrast: For a delightful textural contrast in a double-layer cake, spread a thick layer of lightly sweetened whipped cream between the cake layers. Then, top the entire creation with the classic chocolate ganache, offering a beautiful balance of creamy and fudgy.
- Ultimate Indulgence: Chocolate Buttercream: For those who crave supreme richness and sweetness, frosting the entire cake with chocolate buttercream is a magnificent choice. My go-to recipe for the perfect creamy, intensely chocolatey buttercream can be found here. For a single-layer cake, halve the buttercream recipe to frost just the top generously. If you’re tackling a double-layer cake and want to frost the middle, sides, and top, multiply the buttercream recipe by 1.5 to ensure you have plenty to work with for a smooth, impressive finish.
Decorating Tip: For a professional, flat surface perfect for frosting or ganache, use a long serrated knife to gently saw off any rounded top or “dome” from your fully cooled cake. This creates an even canvas. If you’re planning to leave the cake plain or simply dust it with sugar, this step is entirely optional.
A Note About Chocolate Ganache Consistency: The desired finish for your ganache depends on its temperature. If you prefer the dramatic effect of ganache dripping gracefully over the sides of your cake, pour the freshly made, warm ganache over the completely cooled cake immediately. For a thick, opulent layer that sits neatly on top, as pictured in many of the images, allow the ganache to cool and thicken slightly by chilling it in the fridge for approximately 20-30 minutes, stirring occasionally, before spreading it evenly over the cooled cake.
More Chocolate Cake Recipes to Love:
If you’ve fallen in love with the richness of this mud cake, you might enjoy exploring other chocolate masterpieces:
- Classic Chocolate Layer Cake: A delightful, traditional American-style birthday cake, perfect for celebrations with its light, fluffy layers and creamy frosting.
- Ultimate Double Chocolate Cupcakes: All the decadent flavor of a chocolate cake, perfectly portioned into adorable, portable cupcakes – ideal for parties or individual treats.
- Quick Chocolate Mug Cake: For those irresistible late-night cravings when you need a single-serving, warm chocolate treat in minutes.
Chocolate Mud Cake
Rated 4 out of 5 stars based on 3 votes.
By: Fiona Dowling
This decadent chocolate mud cake is incredibly moist and fudgy with a thick layer of chocolate ganache on top. It’s beautiful in its simplicity but is surprisingly simple to make. Made with dark chocolate – it’s the perfect cake for true chocolate lovers!
Prep Time: 40 mins
Cook Time: 1 hr 30 mins
Cooling Time: 4 hrs
Total Time: 6 hrs 10 mins
Servings: 10 pieces
Rate Recipe |
Print Recipe
Equipment
- 20 cm (8-inch) loose-bottom cake pan with 10 cm (4-inch) sides (see recipe notes for pan alternatives)
- Large saucepan
- Very large mixing bowl
- Separate mixing bowl
- Whisk (or electric mixer)
- Serrated knife (optional, for leveling)
- Heat-proof bowl (for ganache)
Ingredients
For the Chocolate Mud Cake:
- 3/4 cup (170 grams) unsalted butter
- 7 ounces (200 grams) dark chocolate, finely chopped
- 2 teaspoons instant coffee powder, or 1 teaspoon instant espresso powder
- 1 cup (240 ml) hot water
- 2 cups (250 grams) all-purpose flour (AKA plain flour)
- 1/3 cup (30 grams) cocoa powder
- 1 3/4 cup (350 grams) granulated sugar (AKA caster sugar)
- 1 teaspoon baking soda
- 1 teaspoon baking powder
- 1/2 teaspoon salt
- 2 large eggs
- 2 teaspoons vanilla extract
- 1 cup (240 ml) sour cream (from the tub, I used 18% MF)
For the Chocolate Ganache:
- 8 ounces (226 grams) dark chocolate, finely chopped (I used 50%)
- 3/4 cup (180 ml) whipping cream
Units: US Customary / Metric
Instructions
Chocolate Mud Cake:
- Preheat your oven to 150°C fan forced (300°F convection bake) or 160°C (325°F) in a conventional oven.
- Prepare your 20 cm (8-inch) loose-bottom cake pan with 10 cm (4-inch) sides: line the bottom with a circle of parchment paper, then line the sides with a strip of baking paper, allowing it to extend slightly above the pan rim.
- In a large saucepan over low heat, combine the butter, chopped dark chocolate, hot water, and instant coffee powder. Gently stir the mixture until everything is melted and smooth.
- Remove the saucepan from the heat and pour the chocolate mixture into your very large mixing bowl. Allow it to cool slightly, until it’s no longer very hot but can still be warm to the touch.
- In a separate medium bowl, whisk together the dry ingredients: all-purpose flour, cocoa powder, granulated sugar, baking soda, baking powder, and salt.
- Once the chocolate mixture has cooled a bit, whisk in the large eggs one at a time until fully incorporated. Then, stir in the sour cream and vanilla extract until the mixture is smooth and well combined.
- Gradually add the dry ingredients to the wet ingredients, stirring until just combined and smooth. Be careful not to overmix. An electric mixer can be used on low speed if preferred.
- Pour the prepared cake batter evenly into your lined cake pan.
- Bake in the preheated oven for approximately 75-90 minutes. To test for doneness, insert a toothpick into the center of the cake – it should come out clean or with a few moist crumbs attached. The top of the cake should feel firm when gently pressed with your finger, and the cake should not wobble if you gently nudge the pan.
- Allow the cake to cool in its pan for at least 30 minutes on a wire rack. This helps it firm up before handling. After 30 minutes, carefully remove the cake from the pan and transfer it to the wire rack to cool completely before decorating.
Chocolate Ganache & Decorating:
- Once the cake is fully cooled, you can optionally use a serrated knife to gently saw off any rounded top to create a flat surface for decorating.
- Finely chop the dark chocolate for the ganache and place it in a heat-proof bowl.
- Heat the whipping cream in a small saucepan or microwave until it is almost boiling, with small bubbles forming around the edges.
- Pour the hot cream over the finely chopped chocolate in the heat-proof bowl. Let it sit undisturbed for 3-5 minutes to allow the chocolate to melt. Then, whisk gently from the center outwards until the ganache is completely smooth and glossy. If any chocolate pieces remain, microwave on medium power (about 500 watts) for 15-30 seconds, then whisk again until smooth.
- For a “drip” effect: Pour the warm ganache immediately over the cooled cake and let it naturally drip down the sides. For a thick, spreadable layer: Allow the ganache to cool and thicken for about 20-30 minutes at room temperature (or briefly in the fridge, stirring occasionally), then spread it evenly over the top of the cooled cake with an offset spatula.
Notes
- This versatile recipe can also be baked in a larger 23 cm (9-inch) pan with standard 6 cm (2.5-inch) sides. If using this pan size, reduce the bake time to approximately 60-75 minutes at the same oven temperature.
- For the cake, I prefer using 70% dark chocolate to achieve a rich, deep flavor. I do not recommend using chocolate stronger than 70% as it may result in a cake that is too bitter for some palates. If you prefer a slightly sweeter cake, using 50% dark chocolate for the cake batter will work well. For the ganache, 50% dark chocolate is ideal for a balanced sweetness and smooth texture.
- To maintain its freshness, store your chocolate mud cake covered in an airtight container at room temperature for up to 3 days. For longer storage, it can be kept in the refrigerator for up to 5 days. Ensure it comes to room temperature before serving for the best texture and flavor.
- The provided nutrition information is an estimate only, calculated based on one slice of cake with ganache, assuming the cake is cut into 10 equal, generous pieces. Given the richness of this cake, you could easily get 12 slightly smaller, but still satisfying, slices from this recipe. Please note that nutritional values can vary depending on specific brands and ingredients used.
Nutrition
Calories: 733 kcal, Carbohydrates: 77g, Protein: 9g, Fat: 45g, Saturated Fat: 27g, Polyunsaturated Fat: 2g, Monounsaturated Fat: 13g, Trans Fat: 1g, Cholesterol: 111mg, Sodium: 277mg, Potassium: 488mg, Fiber: 6g, Sugar: 46g, Vitamin A: 902IU, Vitamin C: 1mg, Calcium: 103mg, Iron: 7mg
Like this recipe? We’d love to hear from you! Please rate and comment below to share your experience with this ultimate chocolate mud cake!