

Get ready to indulge in the most irresistible Mini Egg Chocolate Cookies you’ve ever tasted! These cookies aren’t just an Easter treat; they’re a celebration of rich chocolate, delightful chewiness, and that signature candy-coated crunch that only Cadbury Mini Eggs can provide. Imagine biting into a thick, fudgy chocolate cookie, studded with melty chocolate chips and bursts of colorful, crunchy Mini Eggs. Whether you’re planning your Easter baking repertoire or looking for a delicious way to use up those post-holiday candy stashes, this recipe is your golden ticket to cookie perfection.
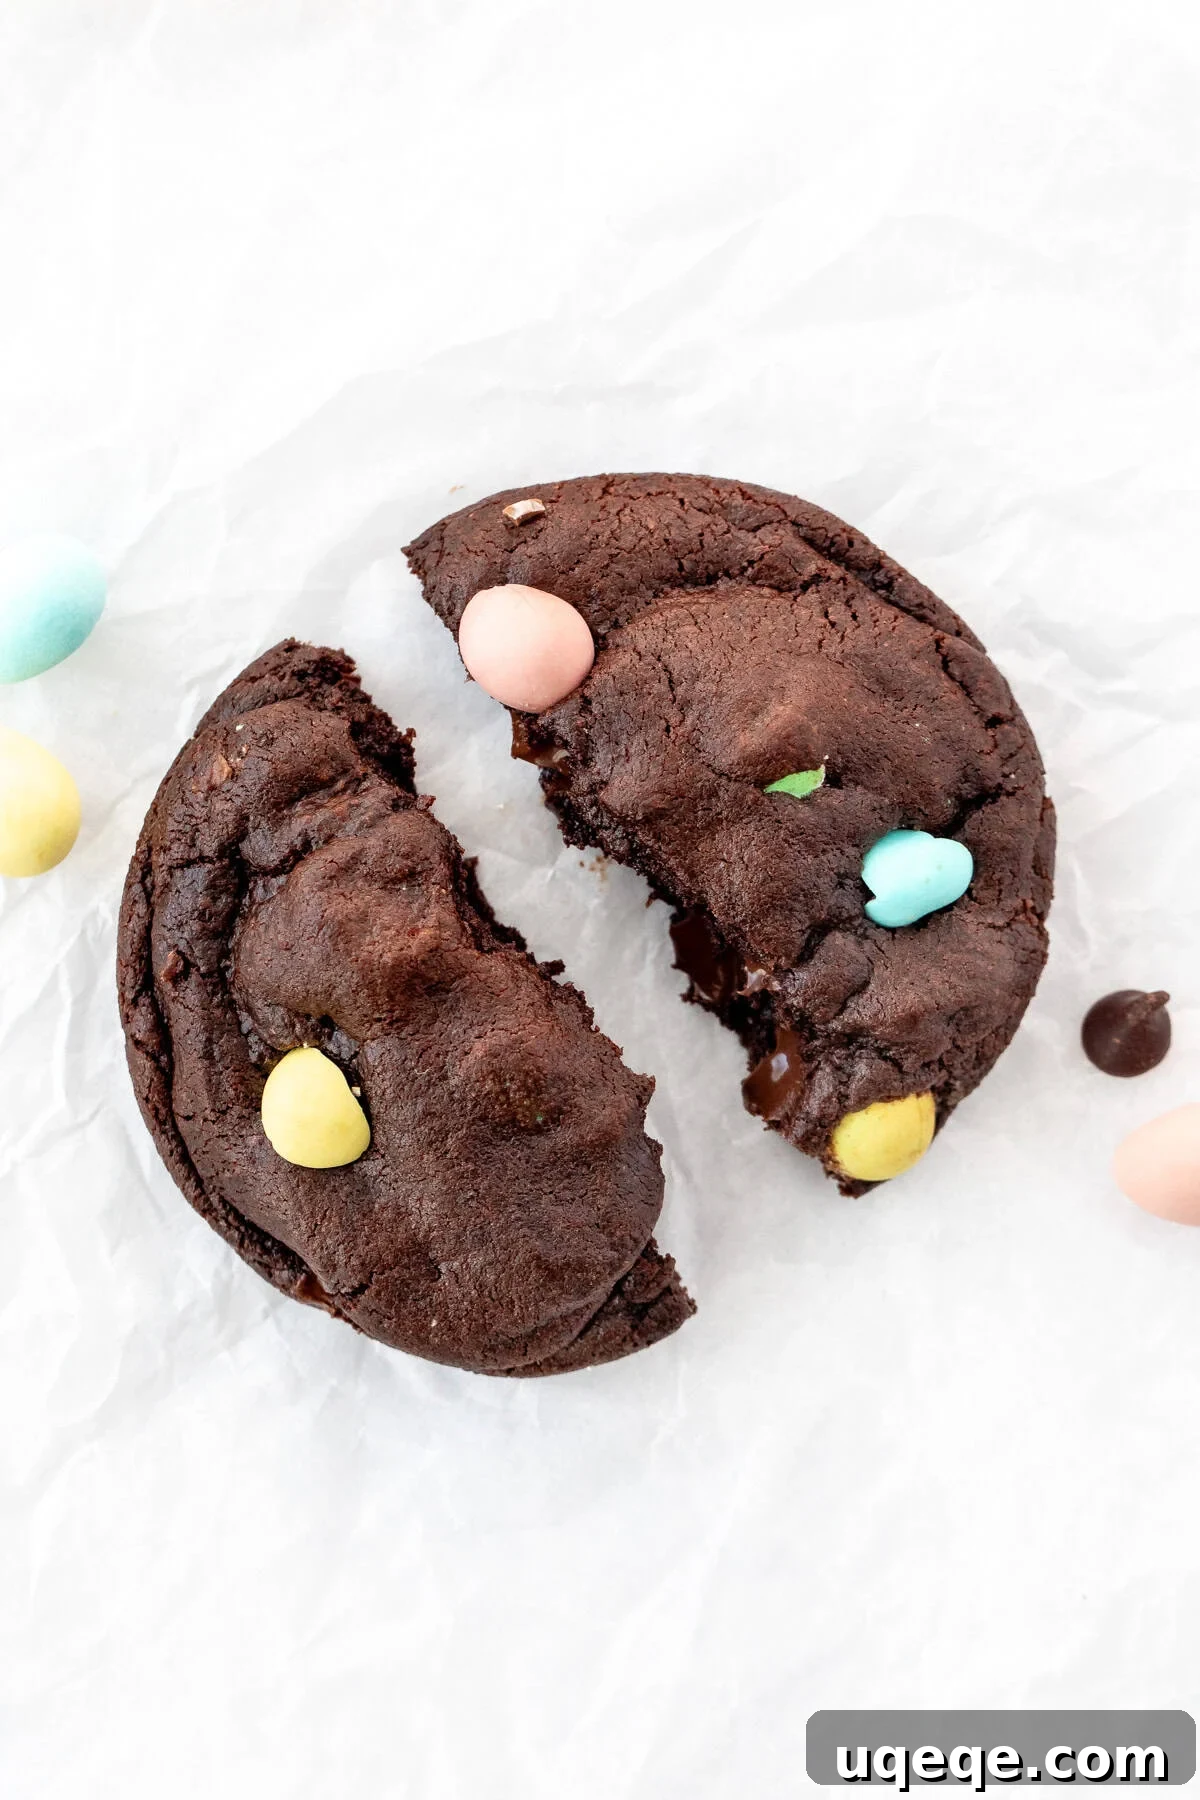
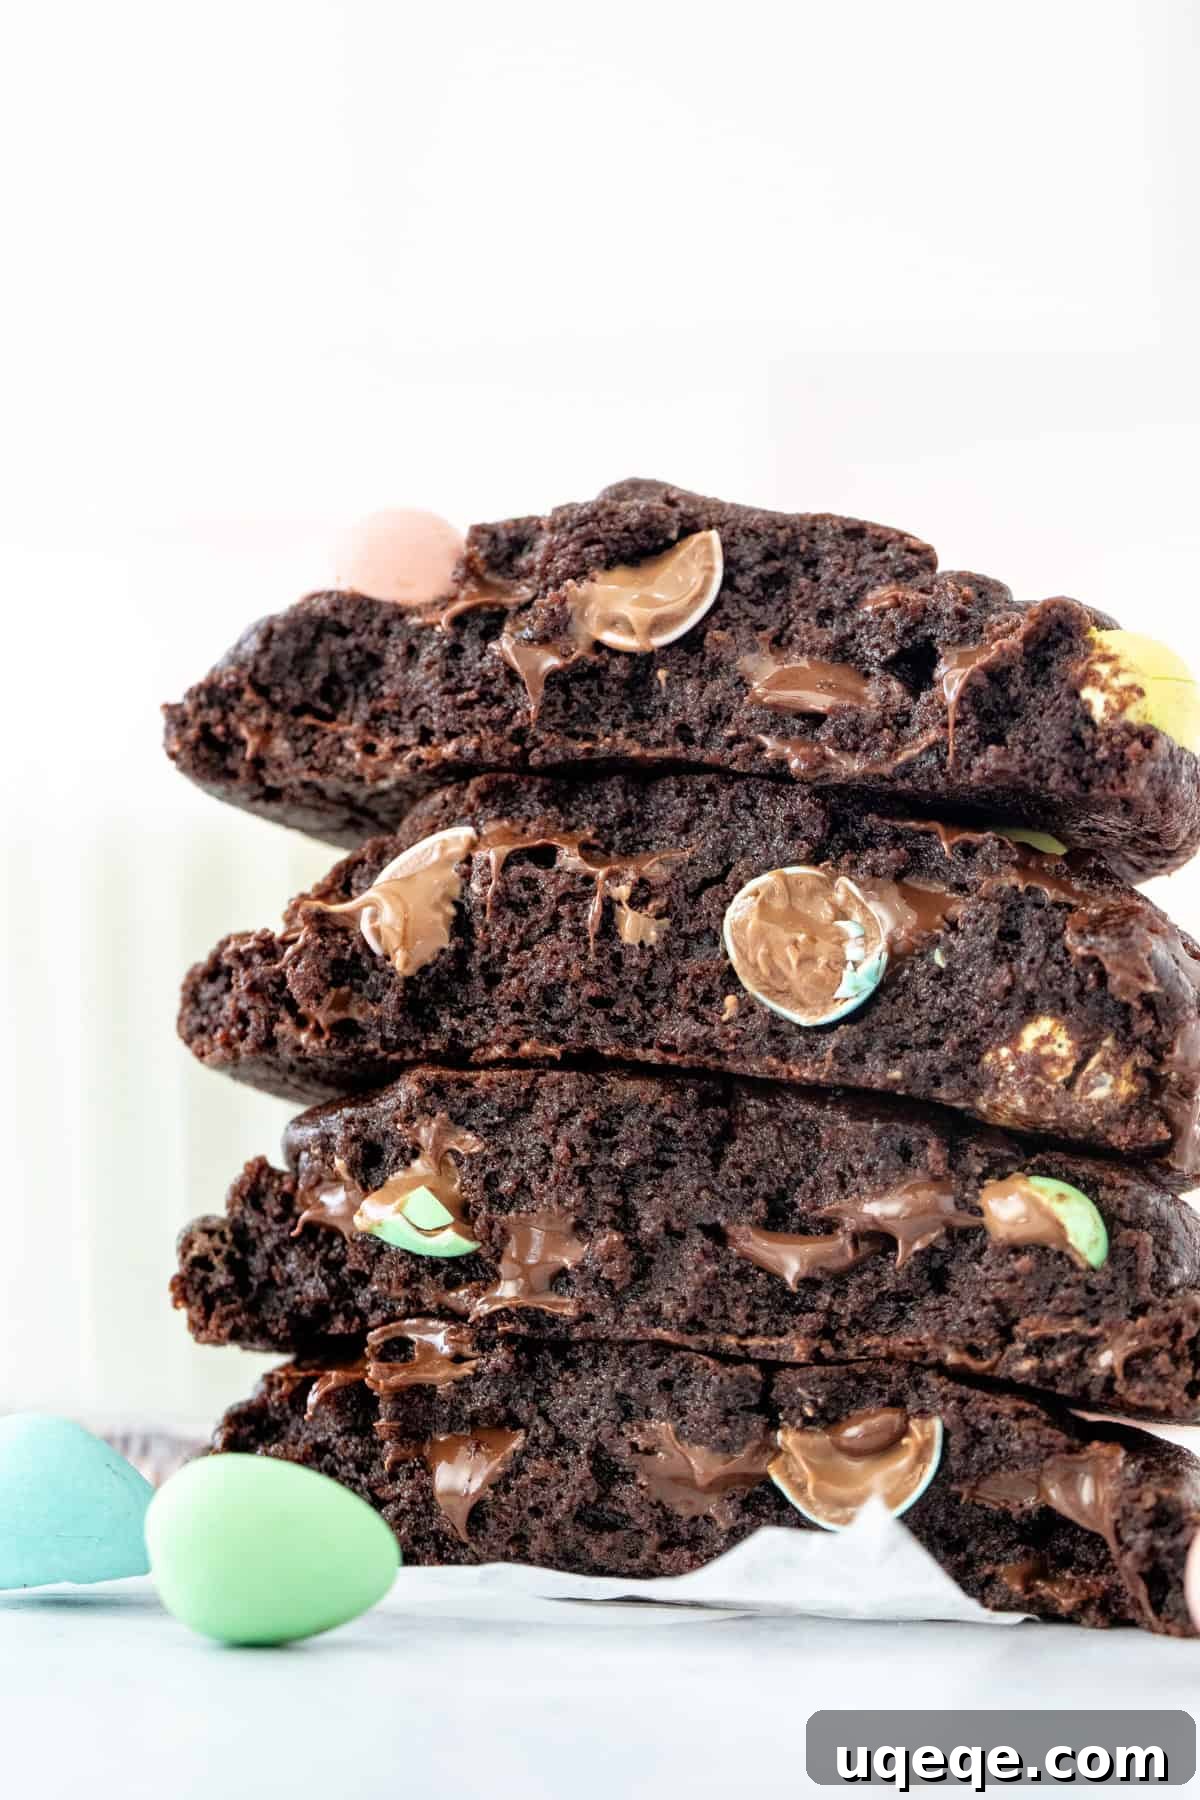
These exquisite Cadbury Mini Egg chocolate cookies are the decadent counterpart to our beloved Mini Egg chocolate chip cookie recipe. We’ve taken everything you love about classic chocolate cookies and elevated it with the festive charm and satisfying crunch of Mini Eggs. They are engineered to be incredibly thick, almost verging on a gooey brownie-like texture in the middle, while maintaining a wonderfully chewy edge. The candy coating of the Mini Eggs introduces an extra layer of texture – a delightful crunch that contrasts beautifully with the soft cookie. Plus, their vibrant pastel colors effortlessly make these cookies look extra festive, requiring no elaborate decorating efforts on your part. If your heart desires an extra rich and utterly satisfying cookie, these are an absolute must-make this Easter season.
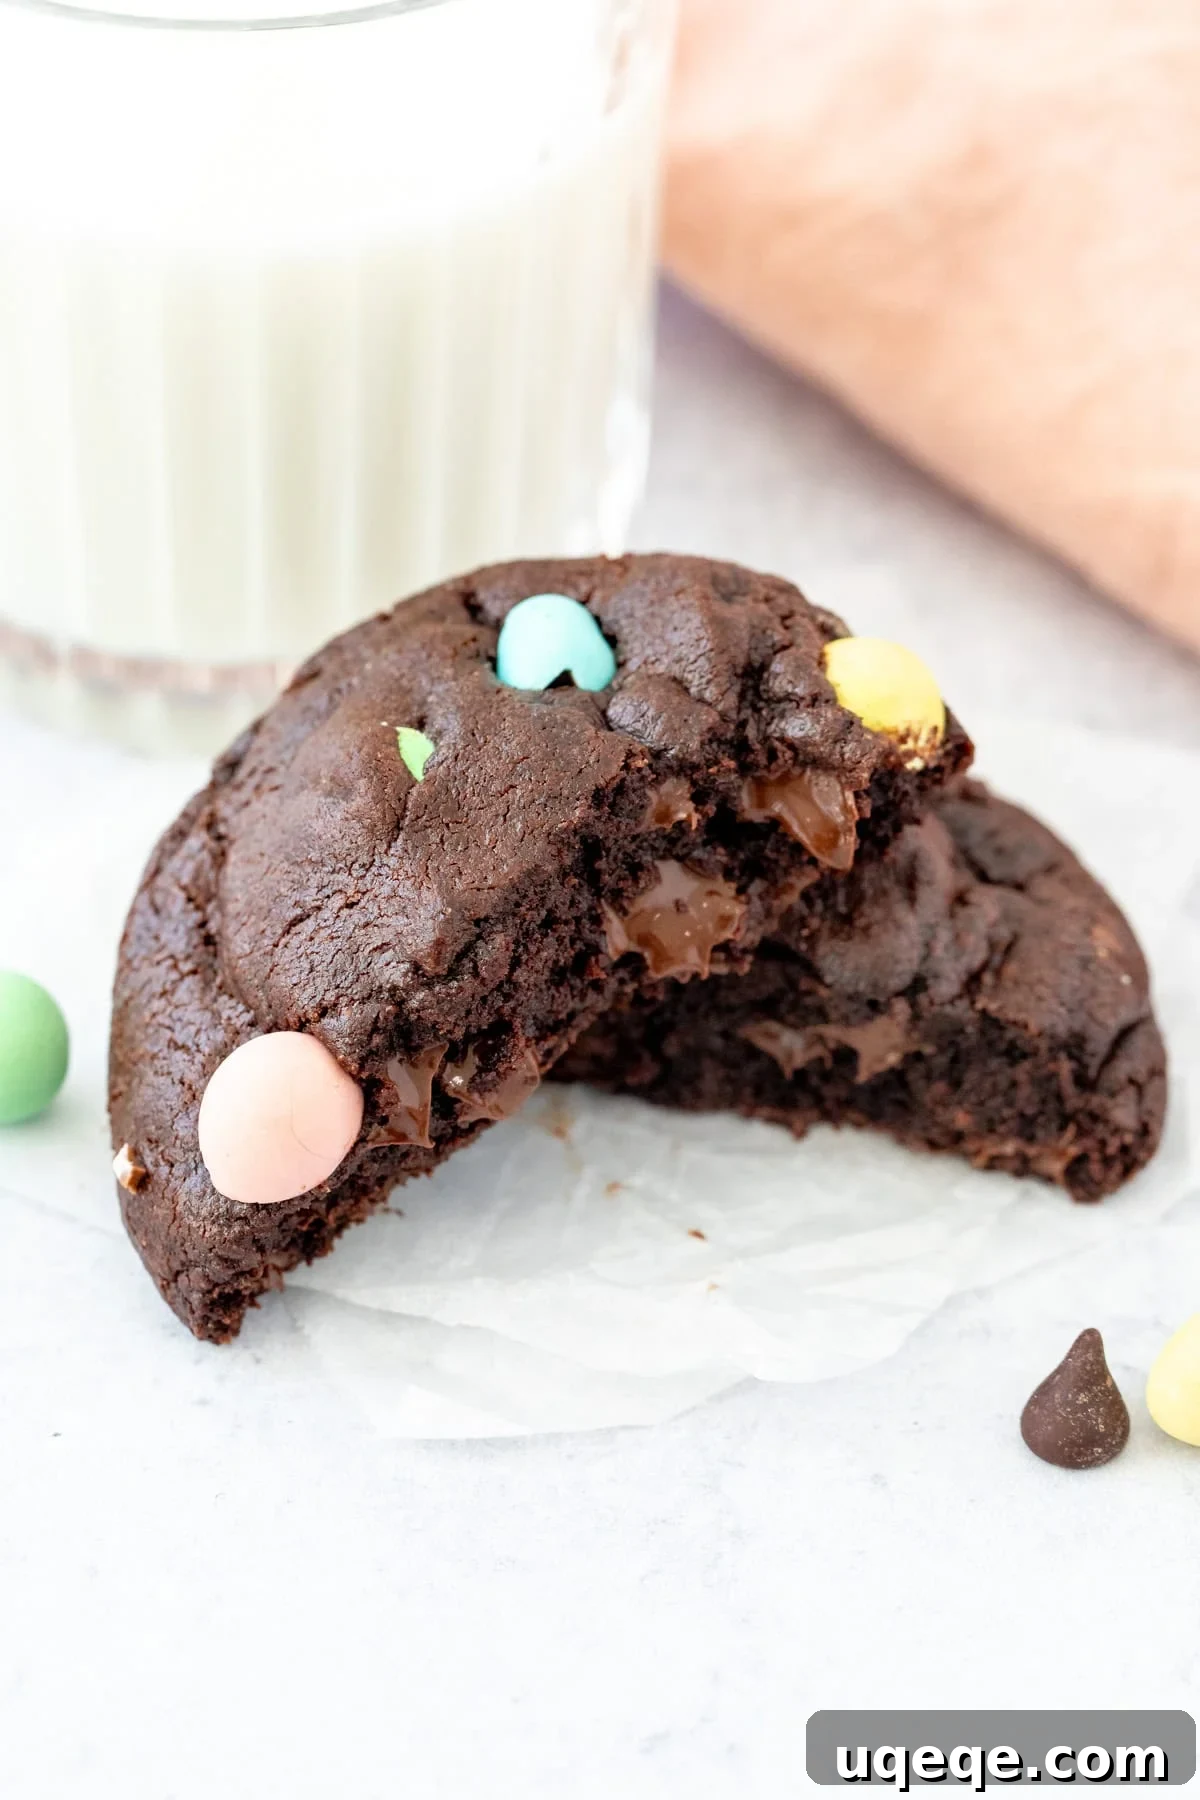
Beyond their stunning appearance, these cookies are a symphony of flavors. The deep cocoa notes blend seamlessly with the sweet, creamy chocolate of the Mini Eggs and chocolate chips, creating a multi-dimensional chocolate experience. They are perfect for sharing with family and friends, bringing to an Easter potluck, or simply enjoying with a cold glass of milk for a truly comforting indulgence. Prepare to fall in love with every bite!
Baking Perfect Mini Egg Chocolate Cookies: Expert Tips for Success
Achieving bakery-style perfection with your Mini Egg chocolate cookies is simpler than you think with these crucial tips. Follow these guidelines to ensure your cookies are thick, fudgy, and bursting with flavor every single time.
- Measure Flour with Precision: The amount of flour in your cookie dough is paramount to its final texture. Too much flour will result in dry, crumbly cookies that lack that coveted fudgy interior. To avoid this common pitfall, always whisk your all-purpose flour thoroughly before gently spooning it into a dry measuring cup. Level off the top with the back of a knife or a straight edge. For the most consistently accurate results, using a kitchen scale to measure flour by weight (as specified in grams in our recipe) is highly recommended. This eliminates variations that can occur with volume measurements.
- Embrace Dutch Process Cocoa for Richness: For a truly intense chocolate flavor and a stunningly dark, rich color, Dutch process cocoa is your secret weapon. Often labeled as “Specialty Dark” cocoa, it undergoes a process that reduces its acidity, resulting in a smoother, less bitter chocolate taste compared to natural cocoa. This enhances the depth of flavor in your cookies, making them taste even more luxurious and indulgent.
- Combine Chopped and Whole Mini Eggs: While the visual appeal of whole Mini Eggs is undeniable, relying solely on them can sometimes lead to oddly shaped or flattened cookies due to their irregular size and weight. To mitigate this and ensure beautifully uniform cookies, we recommend using a combination of chopped and whole Mini Eggs. Chop roughly half of your Mini Eggs into halves or quarters. This allows for a more even distribution throughout the dough, ensures every bite has candy crunch, and helps the cookies maintain their thick, uniform shape during baking. You can save some whole pieces for pressing on top after baking for maximum visual impact.
- Chilling the Dough is Non-Negotiable: This step is critical for achieving thick, chewy, bakery-style cookies that don’t spread excessively. Chilling allows the butter in the dough to firm up and the dry ingredients to fully hydrate. This prevents the cookies from flattening out too much in the hot oven, ensuring they maintain their structural integrity and rise beautifully. Aim for at least 3 hours of chilling, but overnight (up to 48 hours) is even better for developing deeper flavors and achieving the best texture. Patience truly pays off here!
- Master the Art of Perfectly Round Cookies: For that professional, picture-perfect look, employ this clever trick right when your cookies come out of the oven. While still warm on the baking sheet, take a large biscuit cutter, a very large mug, or a circular cookie cutter (anything larger than your cookie’s diameter). Place it around a warm cookie and gently swirl or trace a circular motion against the edges of the cookie. This subtle manipulation helps to gently “mold” the warm, pliable cookie into a perfectly round shape without disturbing its internal structure. Remember, you’re not cutting the cookie; you’re simply coaxing its edges into a beautiful circle.
- Elevate Presentation with Extra Toppings: For an extra special touch and to truly highlight the star ingredient, press a few additional chopped or whole Mini Eggs onto the tops of each warm cookie immediately after they come out of the oven. The warmth of the cookie will slightly soften the candy, helping it adhere, and ensuring every cookie looks as delicious as it tastes. This simple step adds a pop of color and an irresistible visual appeal.

Freezing & Make-Ahead Tips for Ultimate Convenience
These Mini Egg chocolate cookies are perfect for preparing in advance, making your holiday baking or spontaneous treat cravings much easier to manage. Here’s how to store them for maximum freshness and convenience:
- Refrigerating Dough: The prepared cookie dough can be stored, covered tightly in the mixing bowl, in the refrigerator for up to 48 hours. If the dough has been chilling overnight or for an extended period, it might be quite firm. We recommend allowing it to sit on the counter for 10-15 minutes before shaping into balls, as this will make it easier to work with.
- Freezing Dough Balls: For long-term storage and fresh-baked cookies on demand, portion the dough into balls as directed in the recipe. Place these dough balls on a baking sheet lined with parchment paper and freeze until solid (about 1-2 hours). Once frozen, transfer the solid dough balls to a freezer-safe bag or an airtight container. They can be stored in the freezer for up to 2 months. When you’re ready to bake, simply place the frozen dough balls on a lined baking sheet and bake from frozen, adding an extra 2-4 minutes to the baking time. There’s no need to thaw!
- Freezing Baked Cookies: If you’ve baked a large batch and want to save some for later, fully cooled cookies can also be frozen. Arrange them in a single layer in a freezer-safe bag or an airtight freezer container. For best results and to prevent sticking, place sheets of parchment paper or wax paper in between layers of cookies. This ensures they remain perfectly separated. When ready to enjoy, simply thaw the frozen baked cookies in the refrigerator for a few hours, or on the counter at room temperature. They will retain their delicious flavor and texture.
The Irresistible Magic of Mini Eggs
Cadbury Mini Eggs are more than just candy; they are a cherished symbol of spring and Easter for many. Their distinct candy-coated shell provides a delightful crunch, giving way to creamy, melt-in-your-mouth milk chocolate. When incorporated into cookies, they not only add a burst of vibrant pastel color but also introduce a unique texture that elevates the entire dessert experience. The contrast between the soft, fudgy cookie and the crisp shell of the Mini Egg is what makes these cookies truly special and highly addictive. It’s this playful texture and iconic flavor that sets our Mini Egg Chocolate Cookies apart, making them a festive favorite year after year.
More Easter Candy Treats to Explore
If you’re a fan of Easter candy and love incorporating it into your baking, you’re in for a treat! Here are some other delightful recipes featuring everyone’s favorite springtime candies:
- Mini Egg Brownies: Fudgy brownies loaded with colorful Mini Eggs.
- Mini Egg Chocolate Chip Cookies: A classic cookie with a festive twist.
- Easter Candy Cookie Cake: A giant cookie cake decorated with all your favorite Easter candies.
- Mini Egg Cheesecake: A creamy, no-bake dessert featuring Mini Eggs.
Frequently Asked Questions (FAQs)
Here are answers to some common questions you might have while baking these delicious cookies:
- Can I use natural cocoa powder instead of Dutch process? Yes, you can, but the cookies might have a slightly lighter color and a milder chocolate flavor. For the best results and deepest chocolate taste, Dutch process cocoa is highly recommended.
- What if I don’t have Mini Eggs? Can I use other candy? Absolutely! While Mini Eggs are traditional for Easter, you can substitute them with other candy-coated chocolates or even chopped chocolate bars. The texture and flavor will vary but still be delicious.
- My cookie dough is too sticky after chilling. What should I do? If your dough is too sticky, ensure it has chilled for the recommended time. If it’s still sticky, you can try lightly flouring your hands when forming the cookie balls. A cookie scoop also helps immensely with sticky dough.
- How do I know when the cookies are done baking? The cookies are done when the edges are set and lightly golden, but the centers still look slightly soft and puffed. They will continue to set as they cool on the baking sheet. Overbaking will lead to dry cookies.

Mini Egg Chocolate Cookies Recipe
Fiona Dowling
20 mins
12 mins
3 hrs
14 cookies
Rate Recipe
Print Recipe
Equipment
- Cookie Sheets
- Large Mixing Bowls
- Electric Mixer (stand or hand mixer)
- Parchment Paper or Silicone Baking Mats
- Cookie Scoop (optional, for uniform sizing)
- Kitchen Scale (optional, for precise ingredient measurement)
Ingredients
- 2¼ cups all-purpose flour (281 grams)
- 1 cup Dutch process cocoa powder (90 grams)
- 1½ teaspoons baking powder
- ½ teaspoon baking soda
- ½ teaspoon salt
- 1 cup unsalted butter (226 grams), softened but still cool to the touch
- 1 cup brown sugar (210 grams), light or dark, packed
- 1 cup granulated sugar (200 grams)
- 2 large eggs, at room temperature
- 2 teaspoons vanilla extract
- 1 cup Mini Eggs (about 160-180 grams), half chopped, plus more for decorating
- 1 cup chocolate chips (180 grams), semi-sweet or dark
Instructions
- In a large mixing bowl, thoroughly whisk together the all-purpose flour, Dutch process cocoa powder, baking powder, baking soda, and salt. Ensure there are no lumps in the cocoa for a smooth batter. Set aside.
- In a separate large bowl, using an electric mixer, cream together the softened unsalted butter, packed brown sugar, and granulated sugar. Beat on medium-high speed for 2-3 minutes until the mixture is light, fluffy, and pale in color. This process incorporates air, which is key for a tender cookie.
- Add the eggs one at a time to the butter mixture, beating well after each addition until fully incorporated. Stir in the vanilla extract until just combined.
- With the mixer on a low speed, gradually add the dry ingredients to the wet ingredients, usually about half at a time. Mix until just combined, being careful not to overmix. Turn off the mixer and use a rubber spatula to scrape down the sides and bottom of the bowl, ensuring all ingredients are fully incorporated and no pockets of unmixed butter or flour remain. The dough will be thick.
- Prepare the Mini Eggs: Chop approximately half of the Mini Eggs. You can do this with a sharp knife or by placing them in a freezer bag and gently crushing them with a rolling pin. The pieces don’t need to be uniformly fine; irregular chunks work perfectly.
- Fold in the chopped Mini Eggs and chocolate chips into the cookie dough until evenly distributed.
- Cover the bowl tightly with plastic wrap and refrigerate the cookie dough for at least 3 hours. For the best texture and flavor development, chilling overnight or up to 48 hours is highly recommended.
- When you’re ready to bake, preheat your oven to 375℉ (190℃). Line two large baking sheets with parchment paper or silicone baking mats.
- Scoop the cookie dough into uniform balls. For large, bakery-style cookies, use about ¼ to ⅓ cup of dough per cookie (approximately 3½ ounces or 100 grams each). This recipe typically yields 13-14 very large cookies. Place the cookie dough balls at least 2½ inches (about 6 cm) apart on the prepared baking sheets to allow for proper spreading.
- Bake one sheet at a time in the preheated oven for approximately 12-14 minutes, or until the edges are set and the tops look just barely firm. The centers may still appear slightly soft, which is perfect for a fudgy interior.
- Remove the baking sheet from the oven. Allow the cookies to cool on the baking sheet for 5-10 minutes before transferring to a wire rack.
- For perfectly round cookies, immediately after removing them from the oven (while they are still warm and pliable on the baking sheet), take a large biscuit cutter or a wide mug (larger than the cookie itself). Place it around each warm cookie and gently swirl it in a circular motion to lightly push the edges inward, molding the cookie into a perfectly round shape.
- Optionally, while the cookies are still warm, gently press a few extra chopped or whole Mini Eggs onto the top of each cookie for an enhanced visual appeal. Allow the cookies to cool completely on a wire rack before serving or storing.
Notes
- Cocoa Type: For the most profound chocolate flavor and rich, dark color, Dutch process cocoa powder is strongly recommended. It is less acidic than natural cocoa, resulting in a smoother taste.
- Candy Variations: While Cadbury Mini Eggs are the star, any variety of candy-coated Easter chocolates or similar small candies can be used as a substitute. Adjust quantities to your preference.
- Freezing Instructions: Cookie dough balls can be frozen for up to 2 months. Bake directly from frozen, adding an additional 2-4 minutes to the baking time. Baked and cooled cookies can also be frozen for later enjoyment; layer with parchment paper in an airtight container and thaw in the fridge.
- For Smaller Cookies: If you prefer smaller cookies, form the dough into balls using about 1½ to 2 tablespoons of dough each. Reduce the baking time to approximately 9-12 minutes, keeping a close eye on them to prevent overbaking.
- Nutrition Information: The provided nutritional details are an estimate only, calculated based on one cookie and assuming the recipe yields 14 very large, uniform cookies. This information may vary based on specific ingredients and preparation methods.
Nutrition
Carbohydrates: 67g,
Protein: 5g,
Fat: 22g,
Saturated Fat: 14g,
Polyunsaturated Fat: 1g,
Monounsaturated Fat: 4g,
Trans Fat: 1g,
Cholesterol: 64mg,
Sodium: 151mg,
Potassium: 231mg,
Fiber: 3g,
Sugar: 46g,
Vitamin A: 477IU,
Vitamin C: 0.1mg,
Calcium: 77mg,
Iron: 2mg
Enjoyed this recipe? Please rate it and leave a comment below!
Your feedback helps us create more delicious content.
Conclusion: Bake Your Way to Easter Joy!
These Mini Egg Chocolate Cookies are more than just a dessert; they are a delightful experience, bringing together the rich comfort of chocolate and the festive cheer of Easter. With their irresistible fudgy texture, generous chocolate chips, and crunchy candy eggs, they are destined to become a staple in your holiday baking traditions. Whether you’re whipping up a batch for an Easter gathering, a cozy family treat, or simply to savor the magic of Mini Eggs, this recipe promises satisfying results. Don’t hesitate to dive into your kitchen and create these wonderfully decadent cookies. Share the joy, savor every bite, and make your Easter celebrations extra sweet this year!