
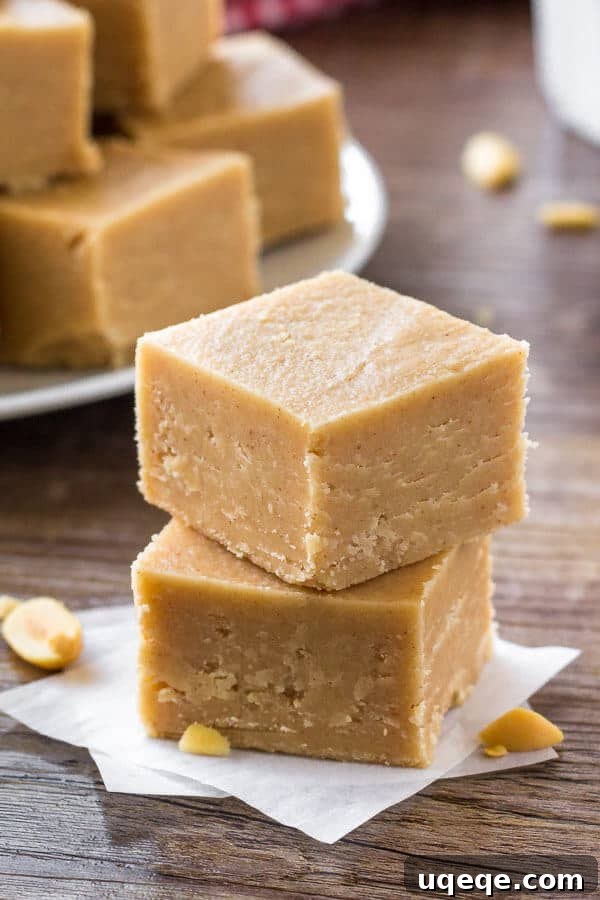
Are you searching for a dessert that’s incredibly simple to make yet delivers an irresistible, gourmet taste? Look no further than this amazing **Easy Microwave Peanut Butter Fudge**. It’s the kind of treat that melts in your mouth, offering a perfect balance of salty and sweet that will have everyone reaching for another piece. Forget complicated candy-making processes and intimidating sugar thermometers; this recipe is designed for effortless success, even for beginner bakers.
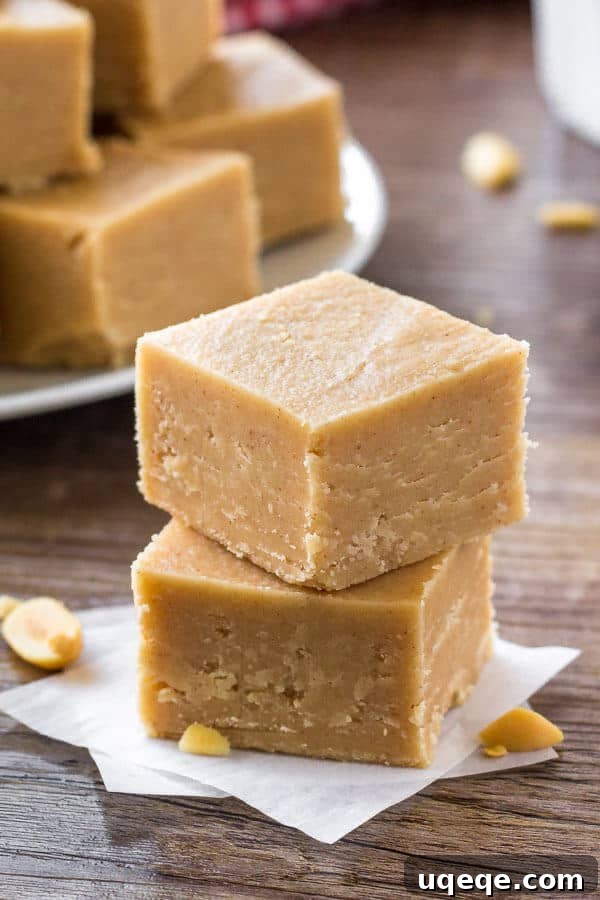
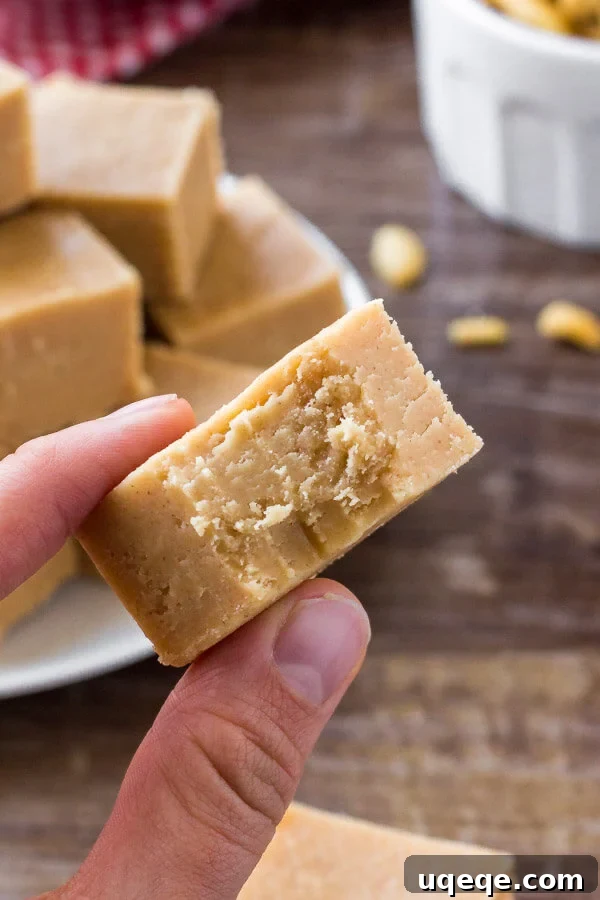
For anyone who adores the rich, nutty flavor of peanut butter, this fudge is an absolute must-try. It captures the essence of a classic peanut butter cup filling but elevates it with a slightly sweeter, firmer, and utterly addictive texture. Each bite is a journey into creamy delight, showcasing that iconic peanut butter taste in its purest, most decadent form. This isn’t just a dessert; it’s an experience that will satisfy your deepest cravings.
What makes this recipe truly revolutionary is its astonishing simplicity. Compared to traditional fudge, which often demands meticulous temperature control and lengthy cooking times, this microwave method is a game-changer. You need only five basic ingredients – butter, creamy peanut butter, powdered sugar, vanilla extract, and a pinch of salt – and the entire process takes mere minutes in your microwave. No more worrying about scorched sugar or the perfect “soft ball” stage; this is fudge made easy, truly 1000 times simpler than its stovetop counterparts.
For years, I’ve relied on this fail-proof recipe to whip up countless batches of fudge for holiday gatherings, casual parties, and even just for my personal sweet indulgence. The sheer ease of preparation, coupled with its undeniable deliciousness, makes it a perennial favorite. The holiday season is already busy enough; you shouldn’t have to stress over potential kitchen mishaps. This recipe guarantees a delightful outcome every time, allowing you to enjoy the process and the results without any fuss.
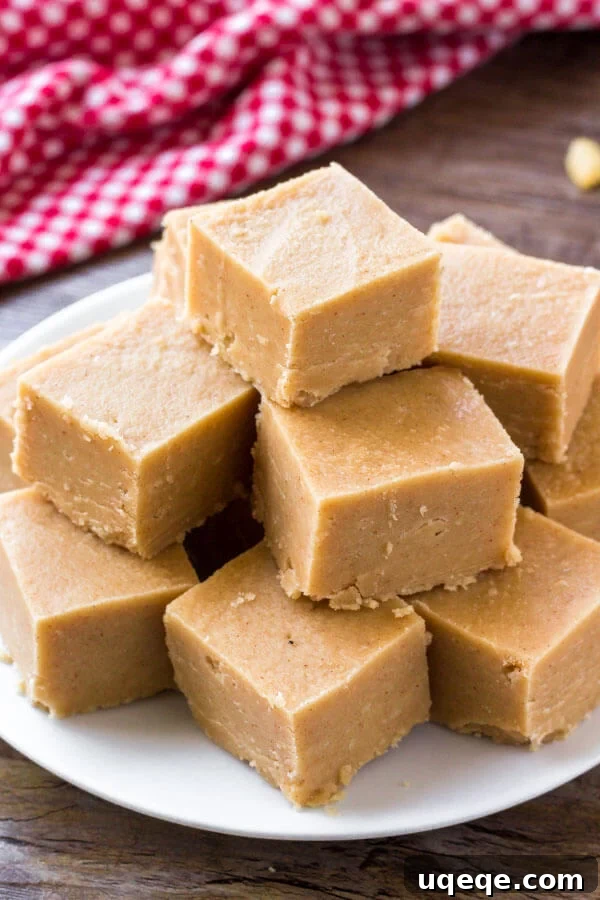
The Ultimate Easy Microwave Peanut Butter Fudge Recipe
This peanut butter fudge recipe stands out as one of the most stress-free confections you can create. It’s a testament to the fact that extraordinary desserts don’t always require extraordinary effort.
- It **comes together in literally minutes**, making it ideal for impromptu cravings or last-minute party preparations.
- It utilizes **only a handful of common pantry ingredients**, meaning you likely already have everything you need on hand.
- And most importantly, it’s **virtually fail-proof**. Say goodbye to the anxiety of scorched sugar or grainy fudge; this recipe consistently delivers smooth, creamy perfection.
Many people are intimidated by the idea of making candy, often associating it with bubbling sugar concoctions and the need for specialized equipment. However, this recipe proves that you absolutely can make delicious, homemade fudge without being a confectionery wizard. No candy thermometer is required, and there’s no complex boiling on the stove. This peanut butter fudge is a simple microwave marvel, ready for chilling in under 10 minutes. It’s the perfect entry point for anyone looking to dive into the world of homemade sweets without the usual headaches.
Why Microwave Fudge is a Game Changer
The microwave method for making fudge isn’t just a shortcut; it’s a superior technique for many home cooks. Traditional fudge-making can be a delicate dance of heating, stirring, and cooling, often fraught with pitfalls. The microwave simplifies this considerably:
- **No Candy Thermometer Needed:** This is perhaps the biggest relief. The precise temperature monitoring that often deters amateur candy makers is completely eliminated.
- **Reduced Risk of Burning:** Sugar cooked on the stovetop can easily burn if left unattended or heated too quickly. The controlled, shorter bursts in the microwave significantly reduce this risk.
- **Faster Preparation:** From start to finish, the active cooking time is dramatically cut down, making it perfect for busy schedules.
- **Consistent Results:** When followed correctly, the microwave method yields consistently smooth and creamy fudge, every single time.
- **Less Cleanup:** Fewer pots and pans mean less scrubbing, leaving you more time to enjoy your delicious creation.
Mastering Easy Peanut Butter Fudge: Step-by-Step
Creating this delightful fudge is incredibly straightforward. Let’s look at the essential ingredients and the simple steps involved.
Essential Ingredients You’ll Need:
The beauty of this recipe lies in its minimal ingredient list, making it accessible to almost anyone.
- **Peanut Butter:** Opt for a classic, creamy peanut butter (like Jif or Skippy) for the best results. We’ll discuss why natural varieties aren’t ideal shortly.
- **Butter:** Unsalted butter is preferred, allowing you to control the overall saltiness. It provides richness and helps with the fudge’s smooth texture.
- **Powdered Sugar (Confectioners’ Sugar):** This is key for the fudge’s melt-in-your-mouth texture. Sifting is highly recommended to prevent lumps.
- **Vanilla Extract:** A splash of pure vanilla extract enhances the overall flavor profile, adding warmth and depth to the peanut butter.
- **Salt:** Just a touch of salt brings out the sweetness and balances the richness of the peanut butter, making the fudge even more irresistible.
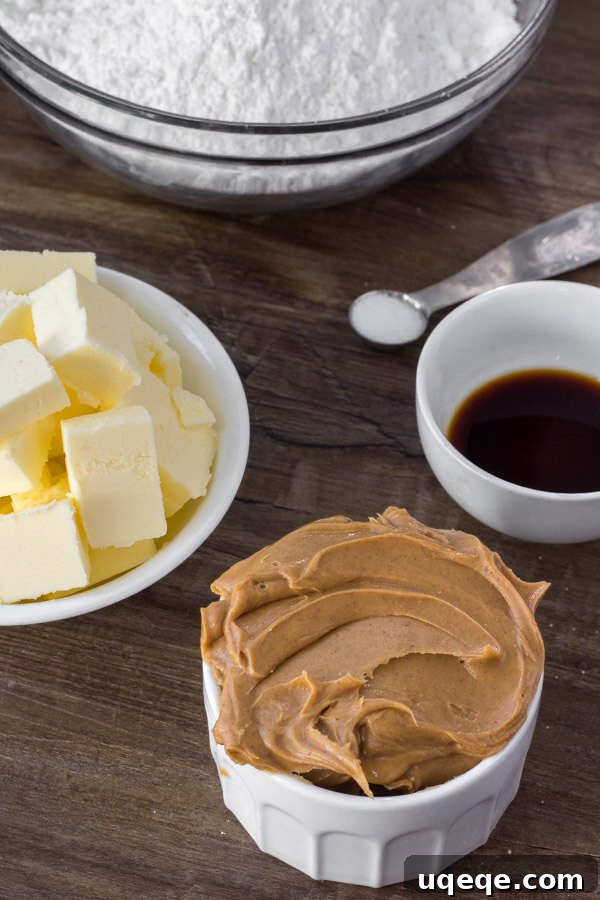
While vanilla and salt are highly recommended for optimal flavor balance, you could technically omit them if absolutely necessary, though the fudge’s depth would be slightly diminished.
The Simple Steps to Perfect Fudge:
- **Prepare Your Pan:** Start by lining an 8×8 or 9×9 inch square baking pan with parchment paper. Ensure the parchment paper hangs over the sides; this creates “handles” that will make lifting the firm fudge out of the pan incredibly easy later.
- **Melt the Base:** In a large, microwave-safe bowl, combine the butter and peanut butter. Place the bowl in the microwave and heat it in 1-minute intervals. After each minute, remove the bowl and stir thoroughly. Continue this process until both ingredients are fully melted and smoothly combined. Be careful not to overheat; you simply want them liquid and blended.
- **Flavor Enhancement:** Once the butter and peanut butter are melted and smooth, stir in the vanilla extract and salt. Mix well to ensure these flavor enhancers are evenly distributed throughout the mixture.
- **Incorporate the Sugar:** This is where the magic happens! Gradually add the sifted powdered sugar, one cup at a time, stirring vigorously after each addition. The mixture will progressively thicken and become quite dense and difficult to stir – this is normal and exactly what you want for perfectly fudgy consistency. A sturdy spoon or spatula will be your best friend here. Continue until all the powdered sugar is fully incorporated and you have a thick, cohesive “batter.”
- **Set the Fudge:** Quickly pour or spoon the thick fudge mixture into your prepared pan. Use the flat edge of a knife or a rubber spatula to smooth the top evenly. Don’t worry about achieving absolute perfection; a generally flat surface is sufficient.
- **Chill and Enjoy:** Cover the pan tightly with plastic wrap and refrigerate until the fudge is completely firm. This usually takes at least 1-2 hours, but for best results, let it chill longer, or even overnight. Once firm, use the parchment paper overhangs to lift the entire block of fudge out of the pan. Place it on a cutting board and cut it into small squares using a sharp knife.
Customize Your Fudge: Delicious Variations and Toppings
While this peanut butter fudge is phenomenal on its own, it also serves as a fantastic base for customization. Feel free to get creative with toppings and additions before the fudge sets:
- **Chocolate Lovers:** Sprinkle the top with mini chocolate chips, chopped milk chocolate, dark chocolate shavings, or even a drizzle of melted chocolate for an extra layer of decadence.
- **Nutty Enhancements:** For an added crunch and even more peanut flavor, scatter chopped roasted peanuts or other nuts like pecans or walnuts over the surface.
- **Candy Crush:** Crush some Reese’s Pieces or mini chocolate peanut butter cups and press them into the top for a fun, colorful, and extra-indulgent twist.
- **Seasonal Fun:** If you’re making fudge for a holiday, use festive sprinkles or even carefully cut the firm fudge into holiday shapes with cookie cutters before serving.
- **Layered Fudge:** For an impressive presentation, you could even create a layered fudge by pouring half the peanut butter fudge mixture, allowing it to partially set, then pouring a layer of chocolate fudge (using a similar easy recipe) on top, followed by the remaining peanut butter fudge.
Common Questions About Peanut Butter Fudge, Answered
Here are answers to some frequently asked questions to ensure your fudge-making experience is smooth and successful:
Can I use natural peanut butter?
I strongly advise against using natural peanut butter (the kind that separates with oil on top) for this recipe. Its different oil content and consistency mean it can separate during the melting process, leading to a greasy or crumbly fudge that won’t hold together properly. Stick to commercial, creamy peanut butter for reliable results.
Can I use crunchy peanut butter?
Absolutely! If you love a bit of texture in your fudge, crunchy peanut butter works wonderfully. Just be aware that the fudge won’t be as super smooth due to the chopped peanuts. For the best consistency when using crunchy peanut butter, I recommend adding an extra 1/4 cup of peanut butter to ensure the fudge sets well and retains its creamy base amidst the crunch.
Can I freeze fudge?
Yes, peanut butter fudge freezes exceptionally well, making it perfect for making ahead or enjoying later. To freeze, wrap the fudge tightly in plastic wrap, then place it in an airtight freezer-safe container or a heavy-duty freezer bag. It can be frozen for up to 2 months. When you’re ready to enjoy it, simply thaw the fudge in the refrigerator until it returns to its original creamy texture.
My fudge is too soft/crumbly, what happened?
If your fudge is too soft, it likely needed more chilling time or slightly more powdered sugar. If it’s crumbly, it might have too much powdered sugar or wasn’t stirred enough to fully incorporate. Next time, ensure accurate measurements and thorough mixing. A little extra melted butter or peanut butter can sometimes rescue crumbly fudge.
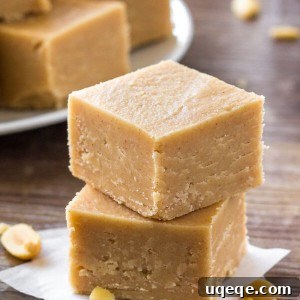
This peanut butter fudge truly checks all the boxes for an easy-to-make, crowd-pleasing dessert. It boasts a rich, unmistakable peanut butter flavor, an incredibly creamy texture, and the ultimate fudgy consistency that everyone craves. The hint of saltiness from the peanut butter beautifully cuts through the richness, ensuring that while the fudge is undeniably decadent, its flavor isn’t cloyingly sweet, a common complaint with some other fudge varieties. It’s perfectly balanced, making it a joy to eat.
Explore More Delicious Fudge Recipes
If you’ve fallen in love with the simplicity and deliciousness of homemade fudge, you’ll be thrilled to explore other varieties. Here are some additional favorites to add to your baking repertoire:
- Easy Fudge Recipe – for a classic, creamy chocolate fudge every time.
- Eggnog Fudge – a festive treat perfect for the holiday season.
- White Chocolate Peppermint Fudge – cool, refreshing, and beautifully holiday-themed.
- Chocolate Amaretto Fudge – a sophisticated twist for those who enjoy a hint of almond.
Peanut Butter Fudge
Fiona Dowling
10 minutes
1 hour
10 minutes
36 pieces
Rate Recipe
Print Recipe
Ingredients
- 1 cup unsalted butter
- 1 cup creamy peanut butter
- 1/4 teaspoon salt
- 2 teaspoons vanilla extract
- 4 cups powdered sugar, sifted
Instructions
-
1. Line an 8×8 or 9×9 inch pan with parchment paper, ensuring there’s an overhang on each side to easily lift the fudge later.
-
2. In a large microwave-safe bowl, combine the butter and peanut butter.
-
3. Microwave for 1-minute bursts, stirring well between each burst, until the butter and peanut butter are completely melted and smooth.
-
4. Stir in the salt and vanilla extract until well combined. Then, gradually add the powdered sugar, 1 cup at a time, stirring vigorously after each addition until fully incorporated. The mixture will become very thick.
-
5. Pour or spoon the thick fudge batter into your lined pan. Use the flat edge of a knife or a spatula to smooth the top surface evenly.
-
6. Wrap the pan tightly with plastic wrap and refrigerate until the fudge is firm, typically for at least 1-2 hours or until completely set. Once firm, use the parchment overhang to lift the fudge from the pan and cut it into small squares for serving.
Notes
**Fudge can be wrapped tightly and frozen for up to 2 months. Thaw in the refrigerator before serving.
Nutrition
Like this recipe? Rate and comment below!
Recipe adapted from Joy of Baking
This **Easy Microwave Peanut Butter Fudge** is more than just a recipe; it’s an invitation to rediscover the simple joys of homemade treats. Its smooth, creamy texture and rich, balanced peanut butter flavor make it a guaranteed hit for any occasion. Whether you’re a seasoned baker or a complete novice, this fail-proof method will empower you to create a dessert that tastes like it came from a gourmet candy shop, all from the comfort of your kitchen. So go ahead, whip up a batch, and prepare to delight your taste buds and impress your friends and family with this truly irresistible fudge. Happy baking!