
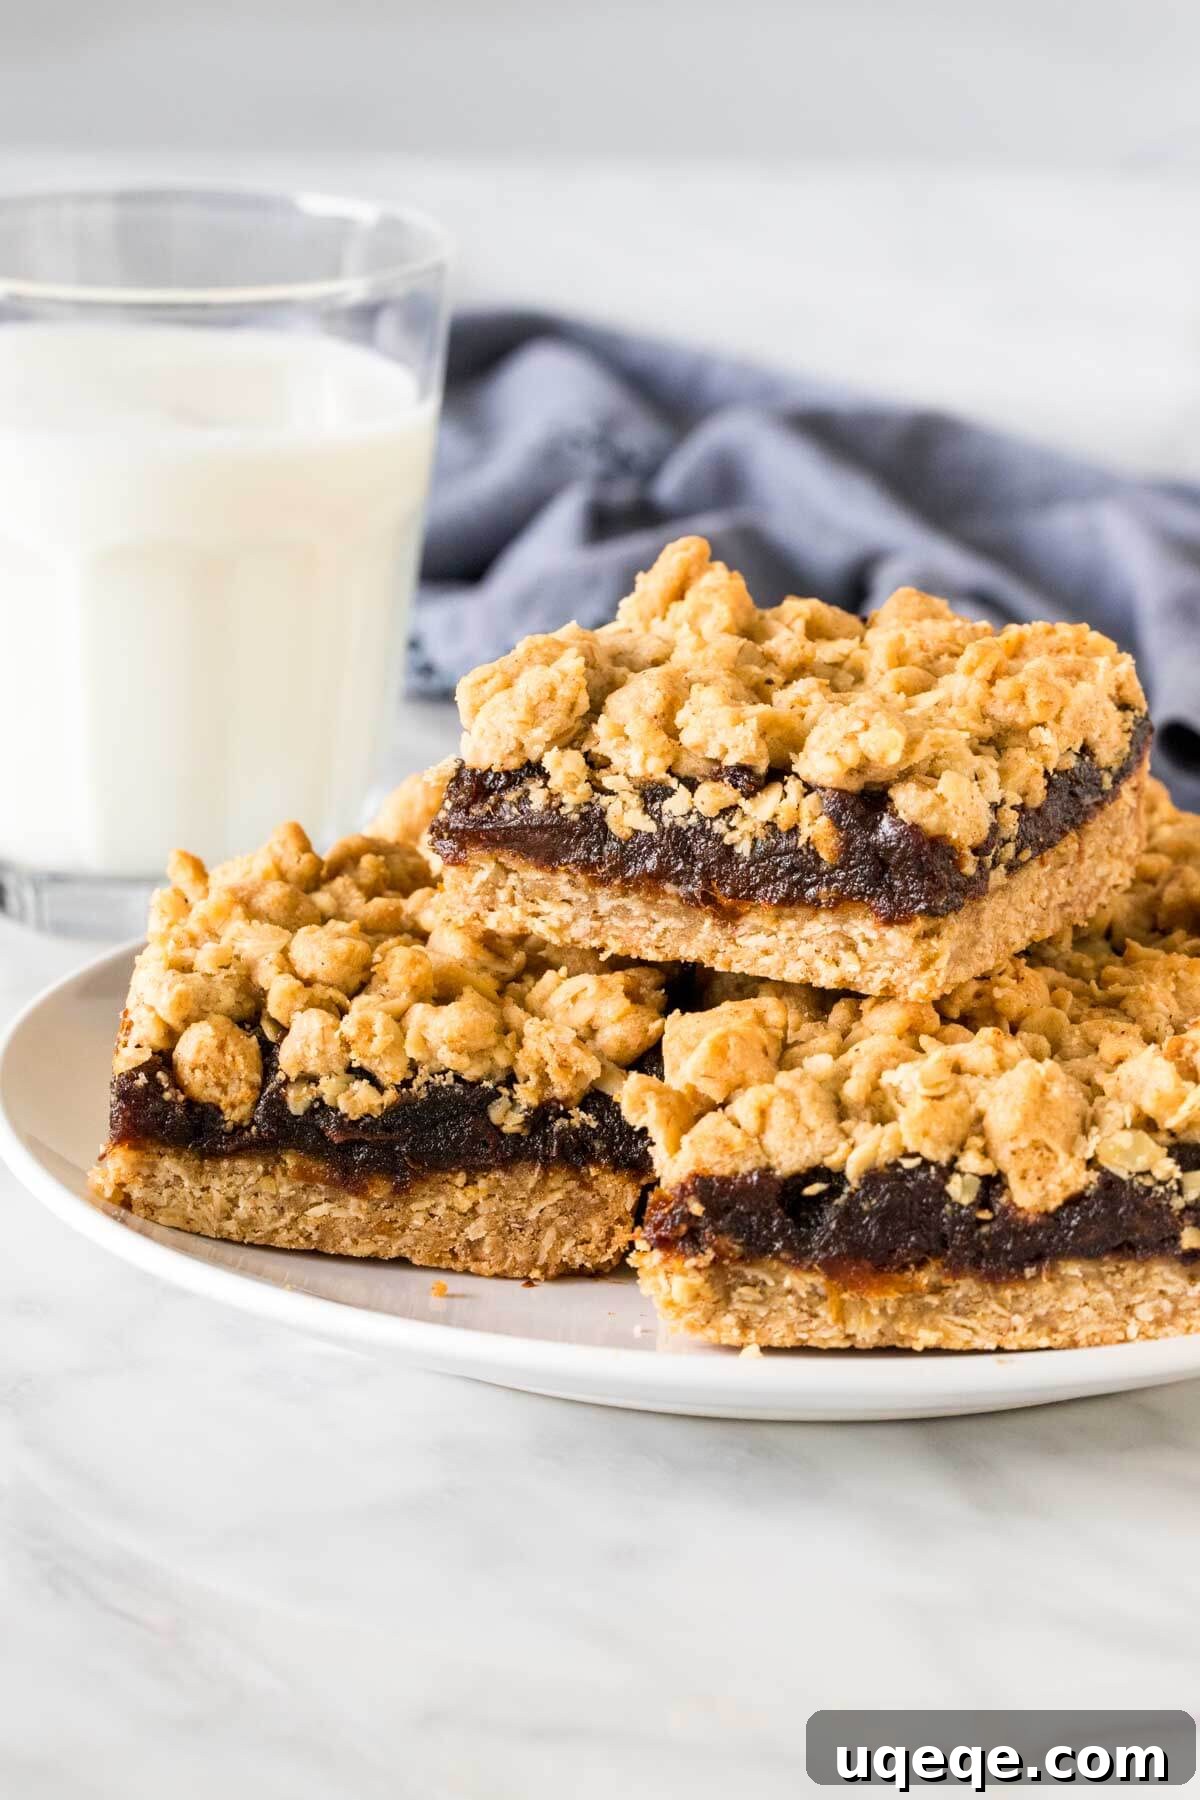
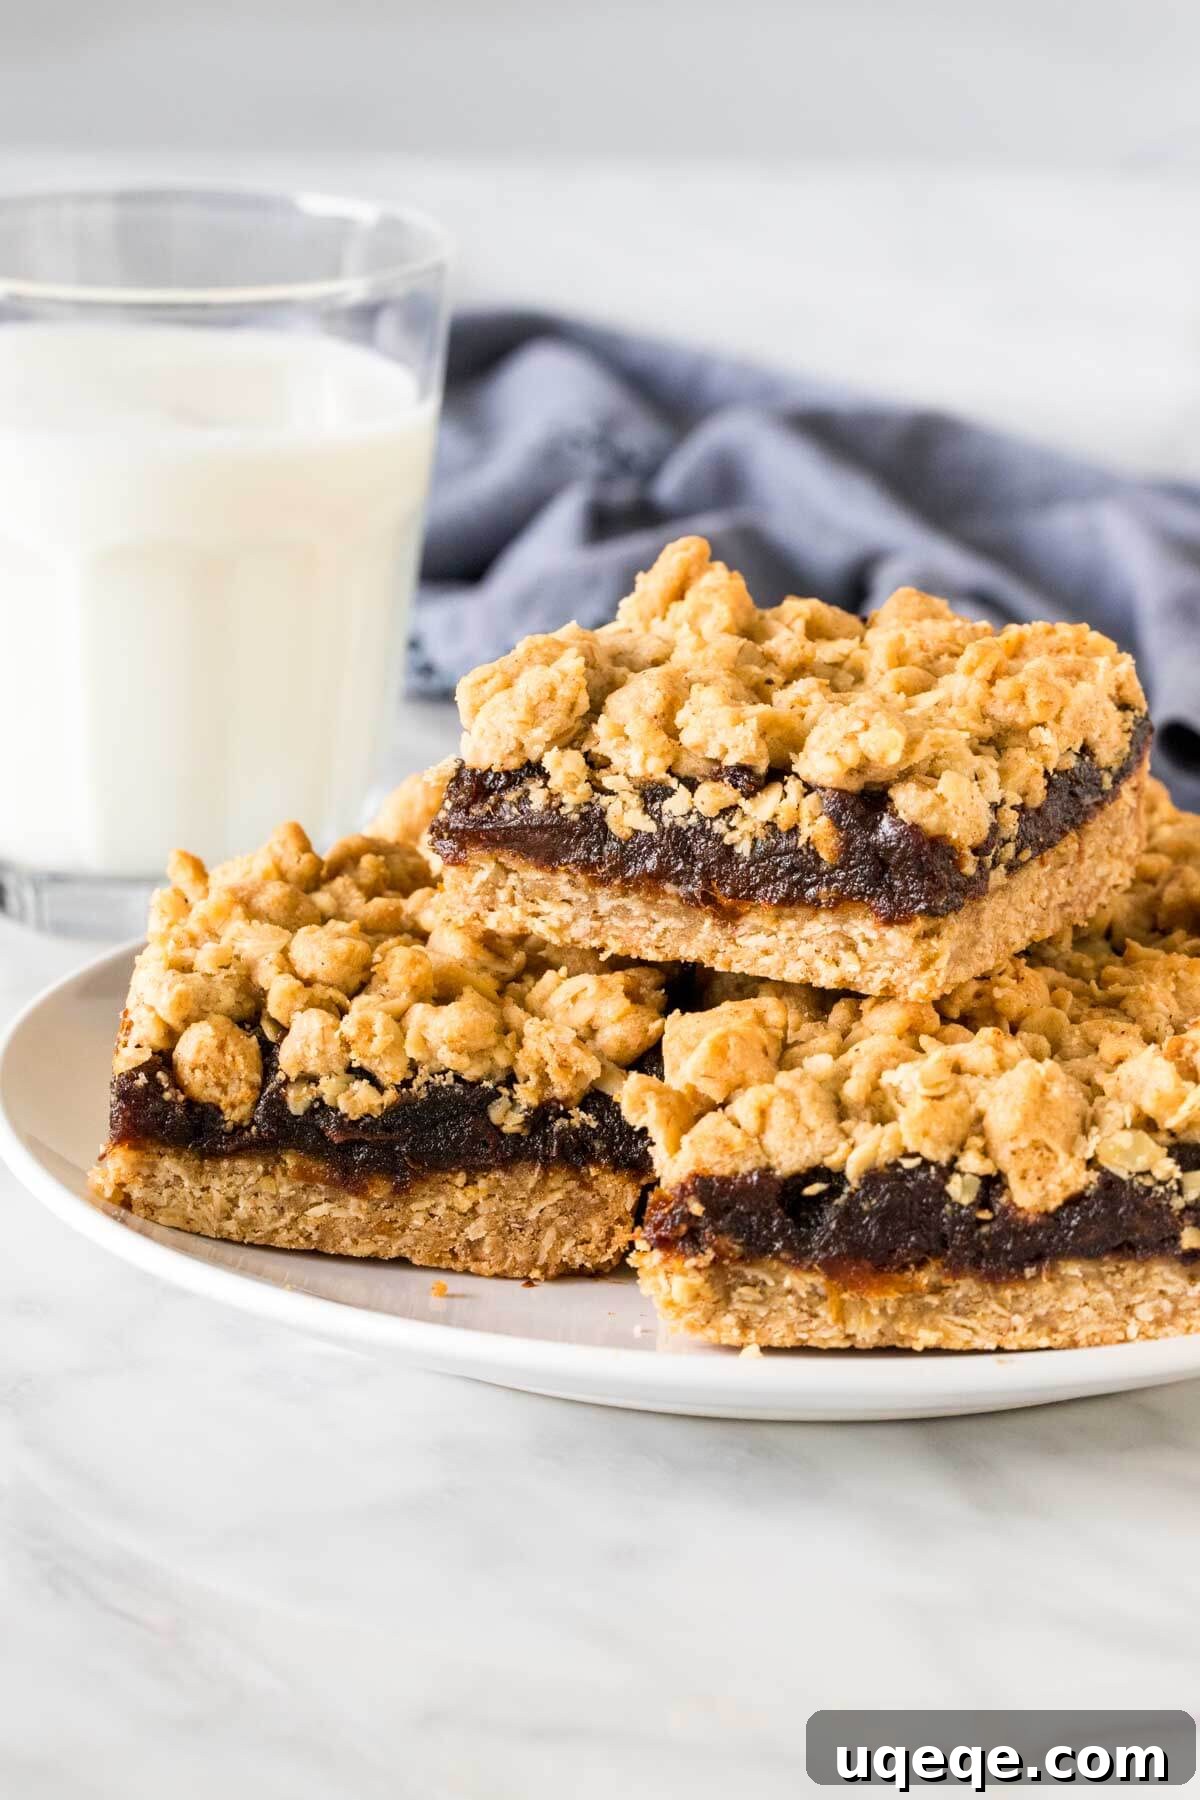
Classic Old-Fashioned Date Squares: A Timeless Dessert Tradition
Step back in time with a cherished classic that has graced countless dessert trays for generations: the old-fashioned date square. Known by many delightful names such as date bars, date crumbles, or even matrimonial bars, these delightful treats are universally loved for their irresistible combination of a rich, chewy date filling nestled between layers of buttery, crumbly oatmeal streusel. This recipe captures the essence of this beloved dessert, offering a perfect balance of textures and flavors that will transport you to simpler, sweeter times.
Our recipe ensures a generous and satisfying layer of sweet, succulent dates, which is essential for any truly great date square. But beyond just the quantity, achieving the perfect flavor profile is paramount. We introduce a secret ingredient – a hint of fresh orange juice – to the date filling. This not only enhances the natural sweetness of the dates but also provides a subtle acidity that helps to tenderize them beautifully, creating an unforgettably smooth and vibrant filling that truly sets this recipe apart.
Why These Date Squares Stand Out
What makes a date square truly exceptional? It’s all about harmony. This recipe achieves a masterful balance where every component plays its part to create a symphony of taste and texture. The perfect ratio of tender, fruit-rich filling to golden, crunchy crumble is carefully calibrated to ensure that each bite delivers the ultimate experience. No dry crumbles here – our oatmeal topping is buttery and robust, designed to complement rather than overpower the luscious date center.
The magic begins with the quality of your ingredients and how they are prepared. From selecting the right dates to crafting the ideal crumb mixture, every step is designed to maximize flavor and ensure a flawless outcome. These aren’t just any date squares; they are the kind that evoke warm memories, perfect for sharing with loved ones or enjoying with a quiet cup of tea. Their rustic charm and comforting taste make them a staple for holiday gatherings, cozy afternoons, or simply whenever you crave a nostalgic homemade treat.
Crafting the Irresistible Date Filling
The heart and soul of any date square lie in its filling. For the most superior results, we recommend using Medjool dates. These large, plump dates are known for their naturally soft texture and rich, caramel-like sweetness, which translates into an incredibly luxurious filling. However, if Medjool dates aren’t readily available, any high-quality pitted date will work wonderfully, just ensure they are fresh and pliable.
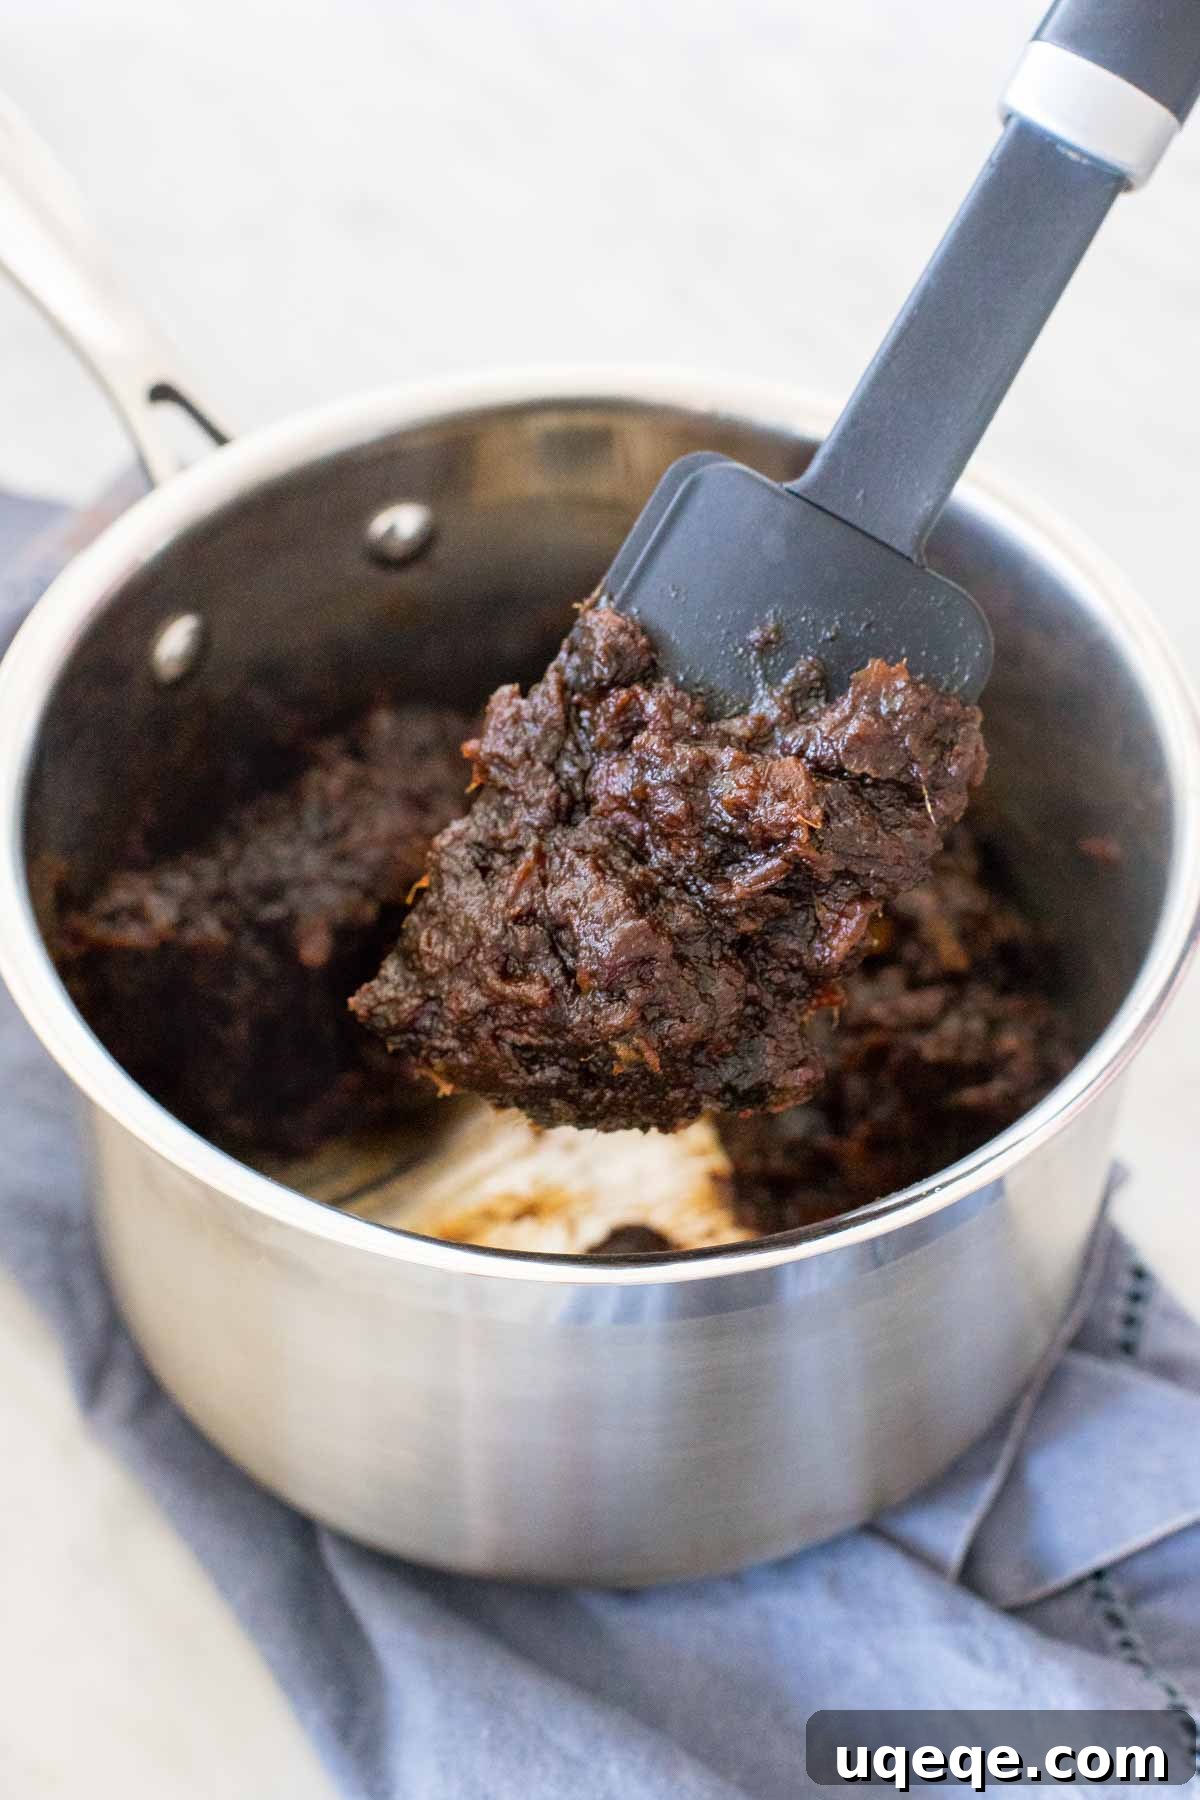
The preparation of the date mixture is a critical step that cannot be overlooked. Before they meet their buttery crumble counterparts, the dates must be simmered down. This gentle boiling process is vital for several reasons: it thoroughly softens the dates, ensuring a smooth, melt-in-your-mouth consistency, and it coaxes out their deepest, most concentrated flavors. Skipping this step often results in a filling with unpleasantly hard pieces of date skin, which detracts from the overall enjoyment. As the dates cook, they break down into a thick, jam-like consistency, ready to become the star of your squares. Once prepared, set the filling aside to cool slightly while you work on the crumble layers.
The Perfect Oatmeal Crumble: Base and Topping in One
The oatmeal crumble in this recipe serves a dual purpose, acting as both the sturdy, flavorful base and the delightfully textured topping. This clever design not only simplifies the baking process but also ensures continuity of flavor and texture throughout the entire square. Our crumble is enriched with brown sugar, which lends a deeper, more molasses-like sweetness and helps create a wonderfully moist and tender crumb. A hint of cinnamon is woven into the mixture, adding a warm, inviting spice that beautifully complements the sweetness of the dates.
Of course, real butter is non-negotiable for that signature rich, buttery flavor that makes these squares so addictive. When it comes to oats, we opt for quick oats in this recipe. While old-fashioned (rolled) oats can certainly be used, quick oats tend to produce a more uniform and cohesive crumble, resulting in a cleaner cut and a more consistent texture in the finished product. This doesn’t mean compromising on chewiness; it simply ensures a well-bound and satisfying crumble that holds its shape beautifully.
Assembling and Baking Your Masterpiece
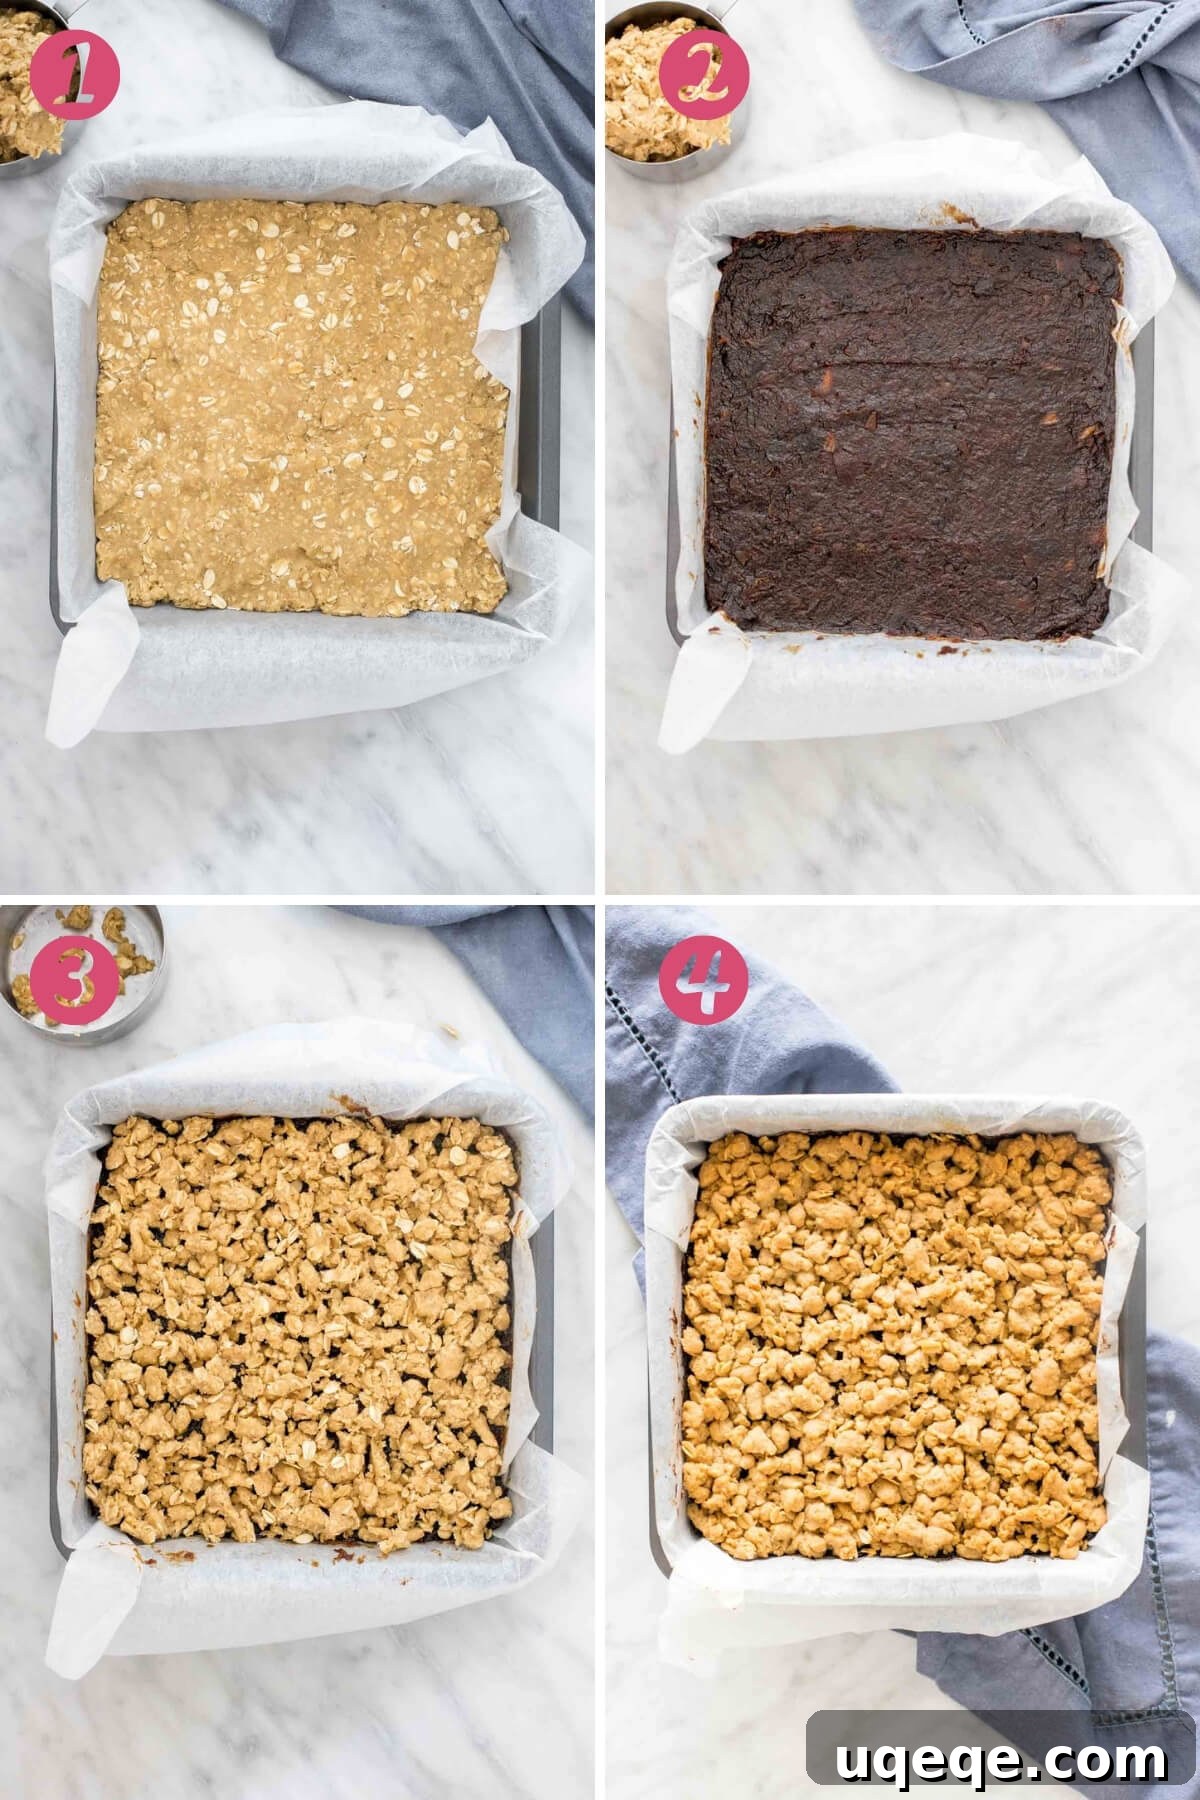
Bringing these delicious components together is a straightforward process that yields impressive results. First, you’ll prepare your pan. Lining an 8×8 inch baking pan with parchment paper, allowing for an overhang on the sides, is a crucial step. This “sling” makes it incredibly easy to lift the entire batch of cooled squares out of the pan, ensuring clean cuts and effortless serving.
Once your pan is ready, divide your oatmeal crumble. Reserve about 1 cup of the mixture for the topping later. The remaining crumble is then firmly pressed into an even layer at the bottom of your prepared pan, forming the delicious base. Next, carefully spread the cooled date filling evenly over this oatmeal base, ensuring it reaches all the way to the edges. Finally, generously sprinkle the reserved crumble mixture over the date layer, creating that iconic, golden-brown topping. The assembled squares then bake for approximately 50-60 minutes, or until the top is beautifully golden brown and the filling is bubbling slightly. The aroma filling your kitchen will be absolutely divine!
Should you prefer slightly thinner squares or need to accommodate a different pan size, this recipe is flexible. A 9×9 inch pan can be used; simply note that the baking time will be slightly shorter, typically around 40-50 minutes, as the layers will be thinner. Always keep an eye on the visual cues for doneness, as oven temperatures can vary.
Patience is a virtue when it comes to slicing date squares. It’s imperative that the bars cool completely, which can take approximately 4 hours, or even longer if left at room temperature. This extended cooling period allows the date filling to fully set, ensuring that when you slice them, you achieve beautifully clean, defined squares rather than a messy, crumbling result. Once thoroughly cooled, simply use the parchment paper overhang to lift the entire slab onto a cutting board, then slice with a sharp knife into your desired portions. This method makes the whole process so much easier and more enjoyable!
Tips for Date Square Perfection
- Choosing Dates: While Medjool dates are recommended for their superior flavor and texture, any pitted, dried dates will work. Just ensure they are fresh and not overly dry. If your dates feel a bit hard, a quick soak in warm water for 10-15 minutes before boiling can help.
- Oat Selection: Quick oats provide a finer, more uniform crumble, which we prefer for easier slicing and a neater appearance. However, old-fashioned (rolled) oats can be used for a chewier, more rustic crumble. Avoid instant or steel-cut oats, as they won’t yield the correct texture for this recipe.
- The Right Pan: A metal baking pan is generally recommended as it conducts heat more efficiently and consistently than glass or ceramic, which can alter baking times. If using a glass or ceramic pan, you may need to adjust your baking time slightly.
- Don’t Overmix the Crumble: When combining the wet and dry ingredients for the crumble, mix just until combined. Overmixing can develop the gluten in the flour, leading to a tougher, less crumbly texture.
- Cooling is Key: We cannot stress enough the importance of letting your date squares cool completely. This is the single most important tip for achieving neat, professional-looking slices.
Make-Ahead and Freezing for Convenience
One of the many wonderful qualities of date squares is how well they store, making them an excellent make-ahead dessert for busy schedules or upcoming events. Once fully cooled, store your date squares in an airtight container at room temperature for up to 3-4 days. If you prefer them to last a little longer or live in a warmer climate, they can be kept in the refrigerator for up to a week.
For even greater convenience, these delectable bars freeze beautifully. Simply ensure they are completely cooled before freezing. Arrange them in a single layer in an airtight freezer-safe container, or stack them with parchment paper in between layers to prevent sticking. They can be frozen for up to 2 months. When you’re ready to enjoy them, simply thaw them overnight in the refrigerator. This makes them perfect for preparing batches ahead of holidays or having a sweet treat readily available for unexpected guests.
A Dessert That Transcends Time
These old-fashioned date bars truly stand apart from other date recipes you might encounter. They boast a gloriously crumbly oatmeal topping, a wonderfully sweet and chewy date filling, and a depth of flavor that is simply unmatched. There’s a reason they’ve remained a beloved retro dessert for so long. Whether it’s for a traditional church tea, a festive Christmas party, or simply a cozy evening at home, a dainty tray feels incomplete without the comforting presence of these classic date squares. Their enduring appeal lies in their simplicity, their wholesome ingredients, and the pure joy they bring with every bite. Indulge in a piece of culinary history and create new cherished memories with this timeless recipe.
And for more delicious old-fashioned desserts that evoke a sense of nostalgia, be sure to explore these other delightful treats:
- Puffed Wheat Squares
- Confetti Squares
- Whipped Shortbread Cookies
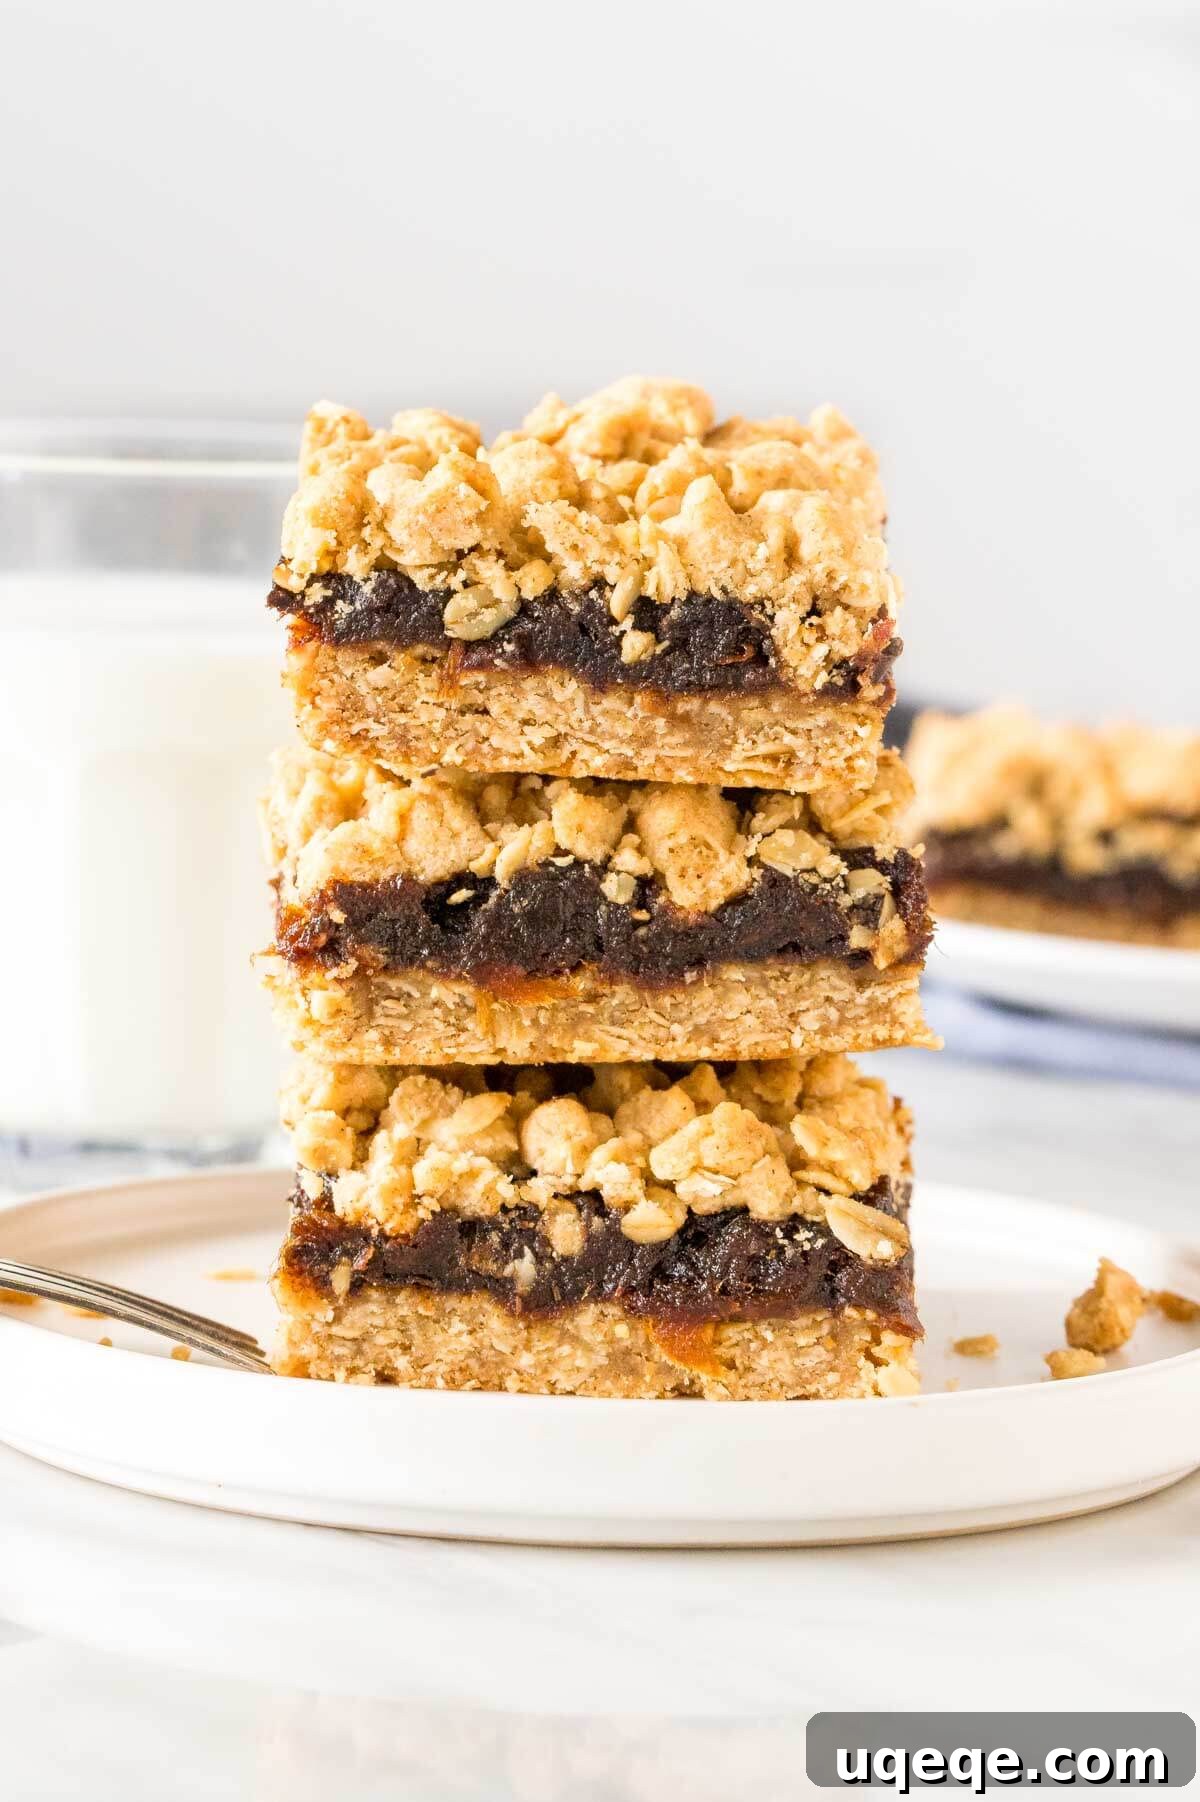
Date Squares Recipe
By: Fiona Dowling
Old-fashioned date squares feature a delicious oatmeal crumble and a chewy date filling. This recipe offers the perfect balance of crumble and filling, with a hint of cinnamon and an ideal texture.
Prep Time: 20 mins
Cook Time: 50 mins
Total Time: 1 hr 10 mins
Servings: 16 bars
Equipment
- 8×8 inch pan
- Saucepan
- Medium bowl
- Large bowl
- Electric mixer (optional, for crumble)
- Parchment paper
- Wire rack
- Sharp knife
Ingredients
Date Filling
- 3 cups pitted Medjool dates (about 400 grams)
- 3/4 cup water
- 1/4 cup orange juice
- 1 tablespoon brown sugar
Oatmeal Crumble (for the base and topping)
- 1 1/2 cups quick oats
- 1 cup all-purpose flour
- 1/2 teaspoon cinnamon
- 1/2 teaspoon baking powder
- 1/4 teaspoon salt
- 3/4 cup unsalted butter, softened (but not melted)
- 1 cup brown sugar
Instructions
- Preparation: Preheat the oven to 350°F (180°C) and position an oven rack in the center. Line an 8×8 inch (20×20 cm) pan with parchment paper, ensuring there is an overhang around the edges for easy removal.
- Make the Date Layer:
- Chop the pitted dates into smaller pieces; they don’t need to be perfectly uniform.
- In a saucepan, combine the chopped dates, water, orange juice, and 1 tablespoon of brown sugar. Place over low-medium heat.
- Gently stir the mixture as the dates simmer and begin to soften. Continue to cook until the dates are soft enough to be easily mashed with a fork and the mixture is thick and jam-like. Remove from heat and allow to cool while preparing the crumble.
- Prepare the Oatmeal Crumble:
- In a medium bowl, whisk together the quick oats, all-purpose flour, 1/2 teaspoon cinnamon, baking powder, and salt. Set aside.
- In a large bowl, using an electric mixer or by hand, beat together the softened butter and 1 cup of brown sugar until the mixture is light, creamy, and free of lumps.
- Gradually add the dry oat mixture to the butter mixture. Mix gently on low speed (or by hand) until just combined and a crumbly texture forms. Be careful not to overmix.
- Assemble & Bake:
- Reserve about 1 cup of the oatmeal crumble for the topping. Press the remaining crumble mixture firmly into an even layer at the bottom of the prepared pan.
- Evenly spread the cooled date filling over the pressed oatmeal base, ensuring it reaches the edges of the pan.
- Generously sprinkle the reserved oatmeal crumble over the date filling.
- Bake in the preheated oven for 50-60 minutes, or until the top is golden brown and the filling is bubbly.
- Remove from the oven and place the pan on a wire rack to cool completely. This will take about 4 hours. The cooling step is crucial for the filling to set and for clean slices.
- Once completely cooled, use the parchment paper overhang to lift the entire slab of date squares out of the pan and onto a cutting board. Slice with a sharp knife into 16 equal bars.
Notes
- A 9×9 inch pan can be used, but the bars will be slightly thinner, and the bake time will reduce to approximately 40-50 minutes. Baking times are based on a metal pan; glass or ceramic pans may require slight adjustments.
- Medjool dates are preferred for their superior flavor and soft texture, but any pitted, dried dates will yield delicious results.
- Quick oats are recommended for a uniform crumble, but old-fashioned (large flake) oats can also be used for a chewier texture. Do not use instant oats or steel-cut oats.
- Store date squares in an airtight container at room temperature for 3-4 days, or in the refrigerator for up to one week. For longer storage, freeze cooled bars in an airtight container for up to 2 months; thaw overnight in the refrigerator before serving.
- Nutrition information is an estimate only, based on 1 bar when the pan is sliced into 16 equal pieces.
Nutrition
Calories: 266kcal, Carbohydrates: 46g, Protein: 2g, Fat: 9g, Saturated Fat: 6g, Cholesterol: 23mg, Sodium: 43mg, Potassium: 268mg, Fiber: 3g, Sugar: 33g, Vitamin A: 315IU, Vitamin C: 2mg, Calcium: 42mg, Iron: 1mg