
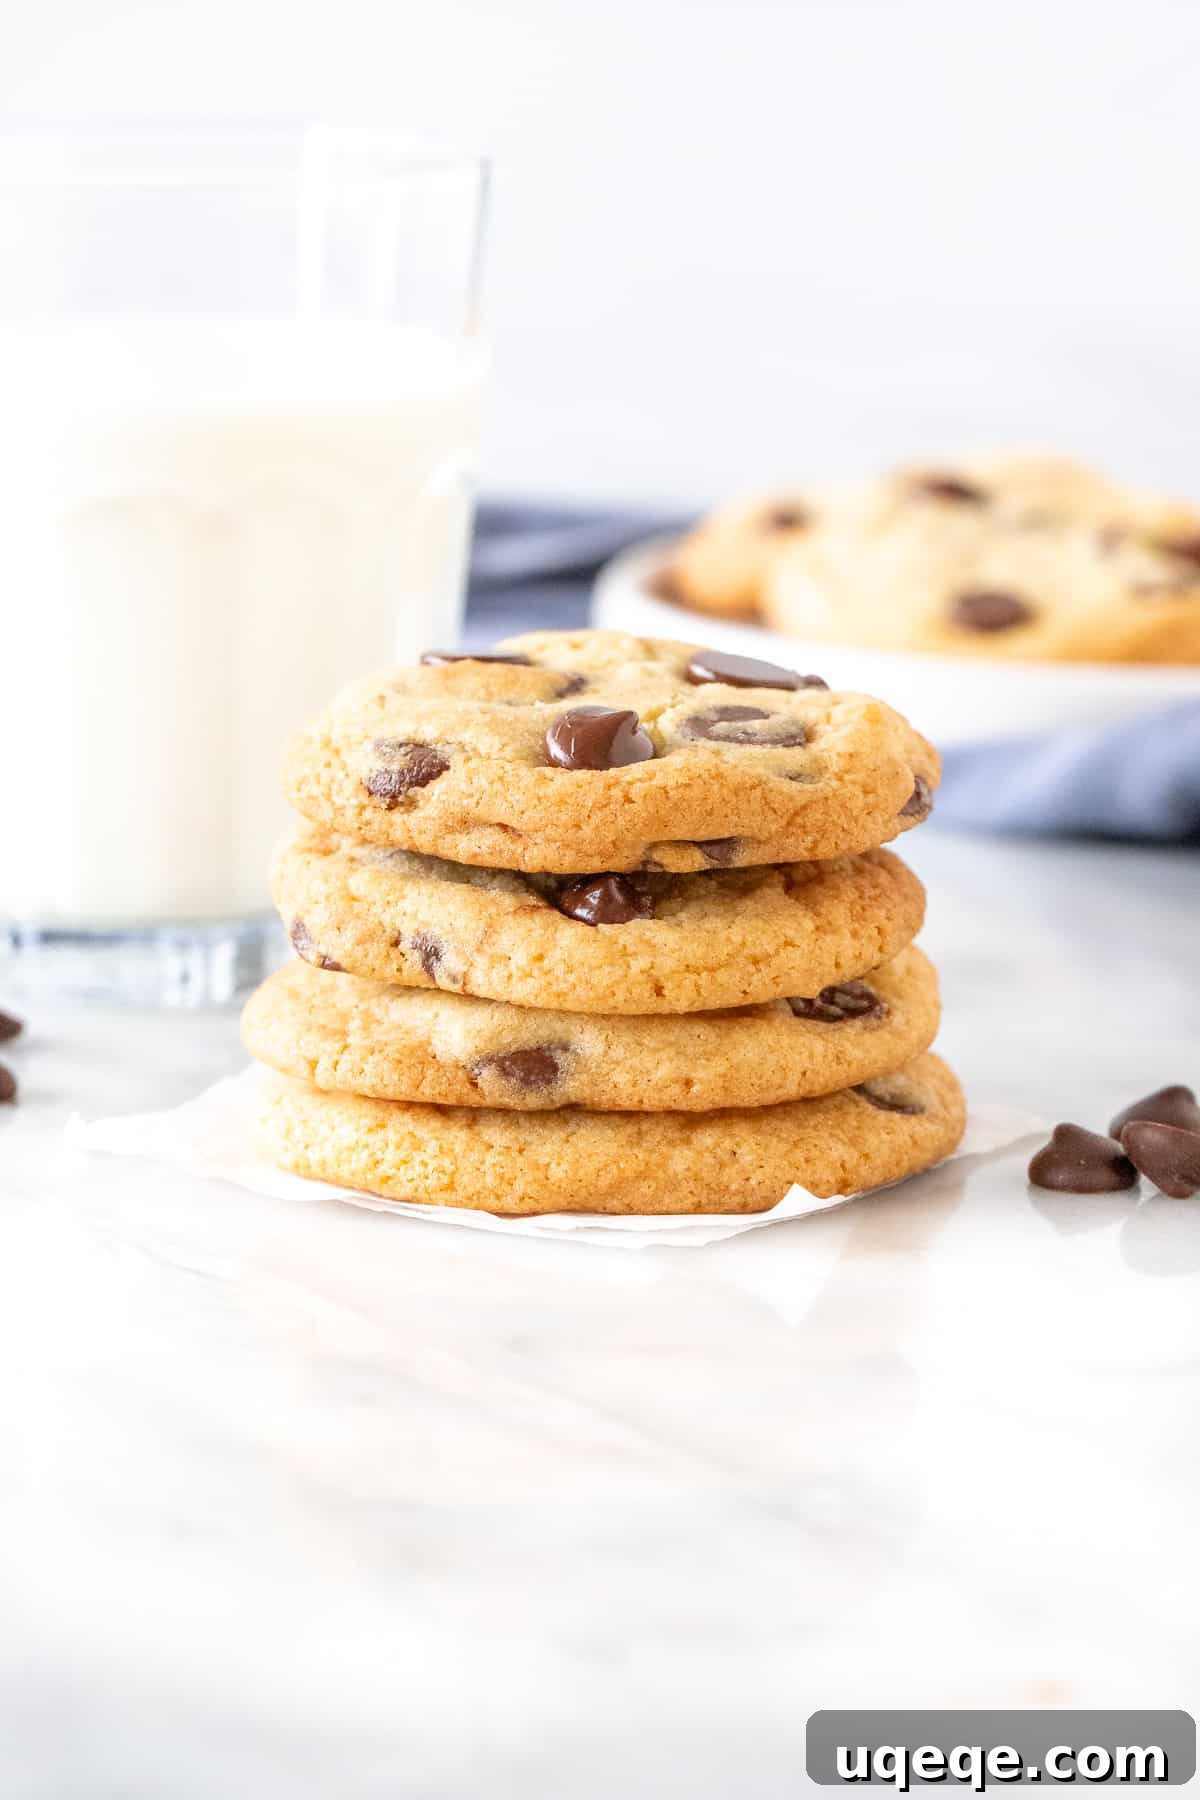
Craving warm, freshly baked chocolate chip cookies but just realized you’re out of brown sugar? Don’t let that stop your cookie dreams! This incredible recipe delivers perfectly soft and chewy chocolate chip cookies using only white granulated sugar. Quick, easy, and with no chilling required, these cookies are your new go-to for satisfying that irresistible cookie craving in a pinch.
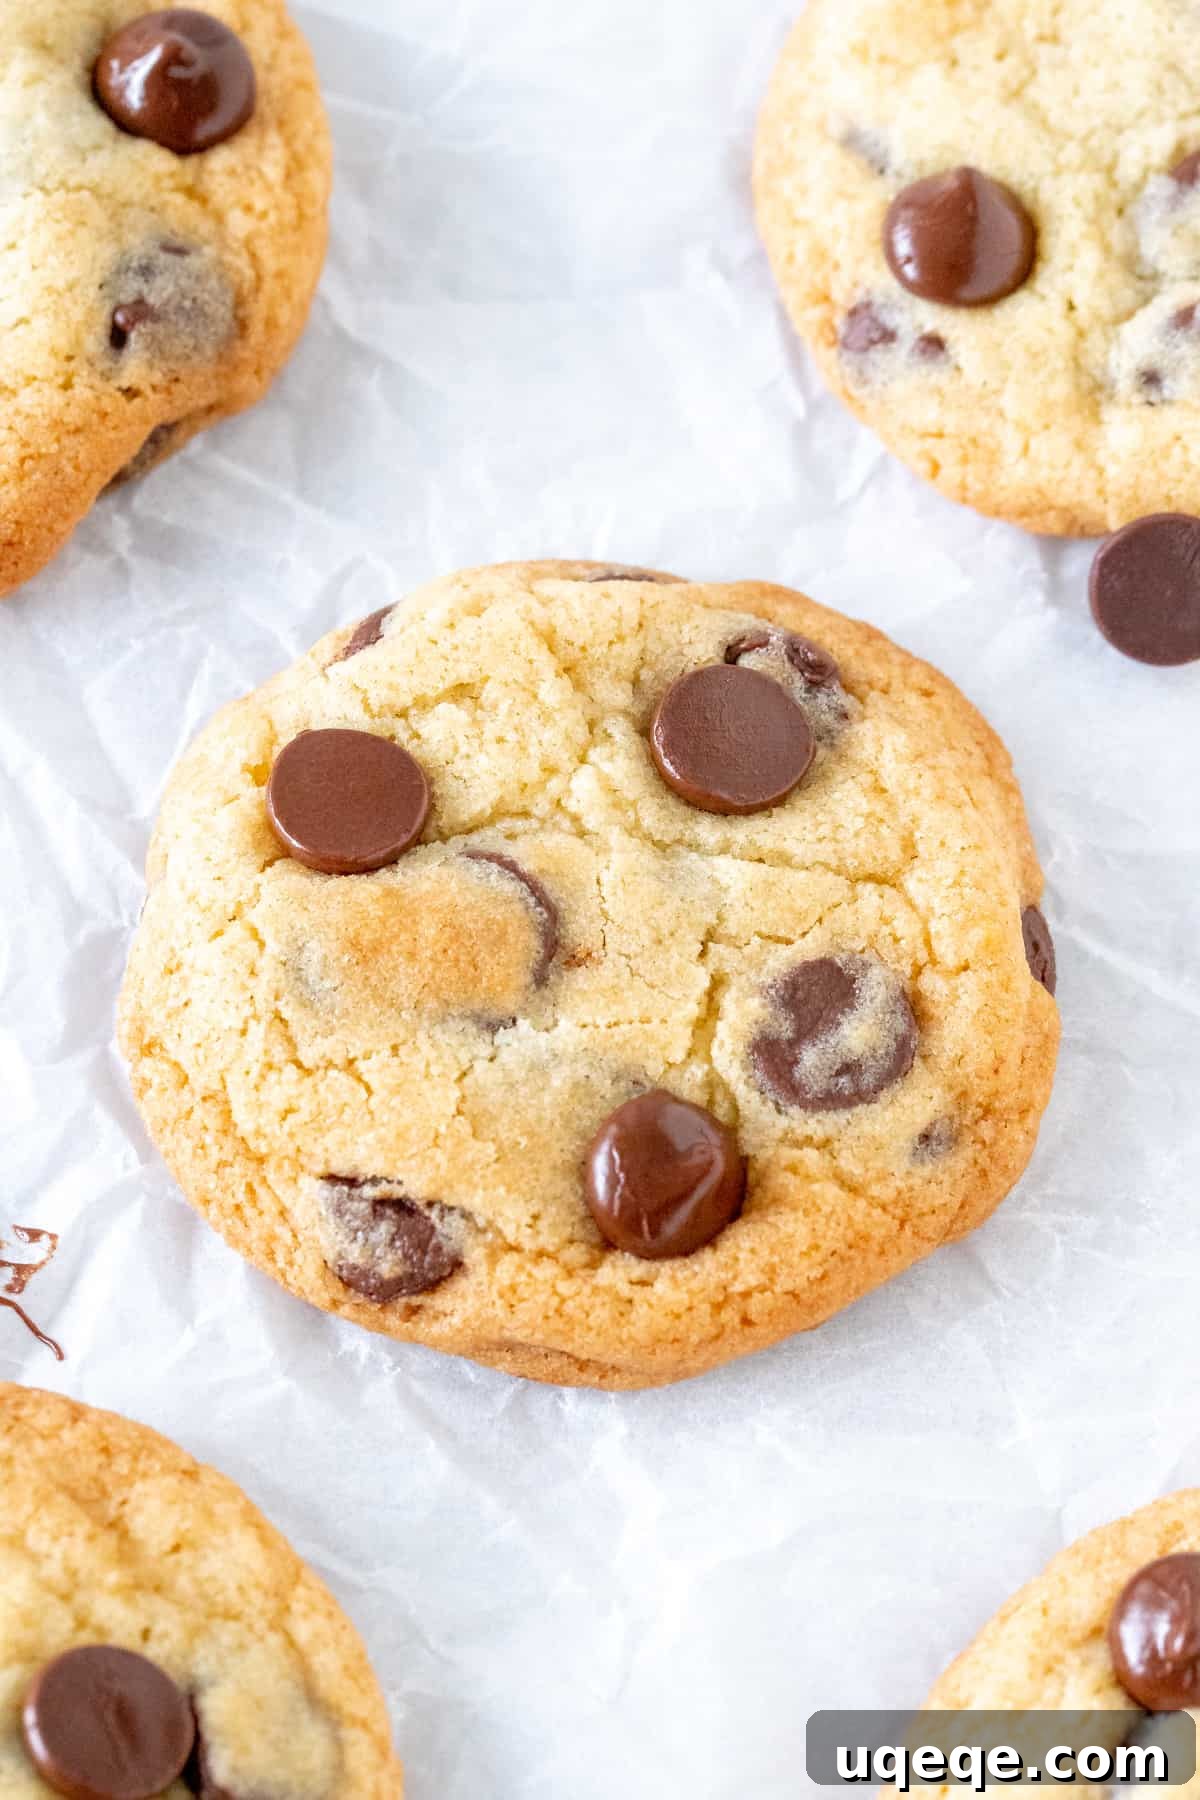
The Best Soft & Chewy Chocolate Chip Cookies Without Brown Sugar
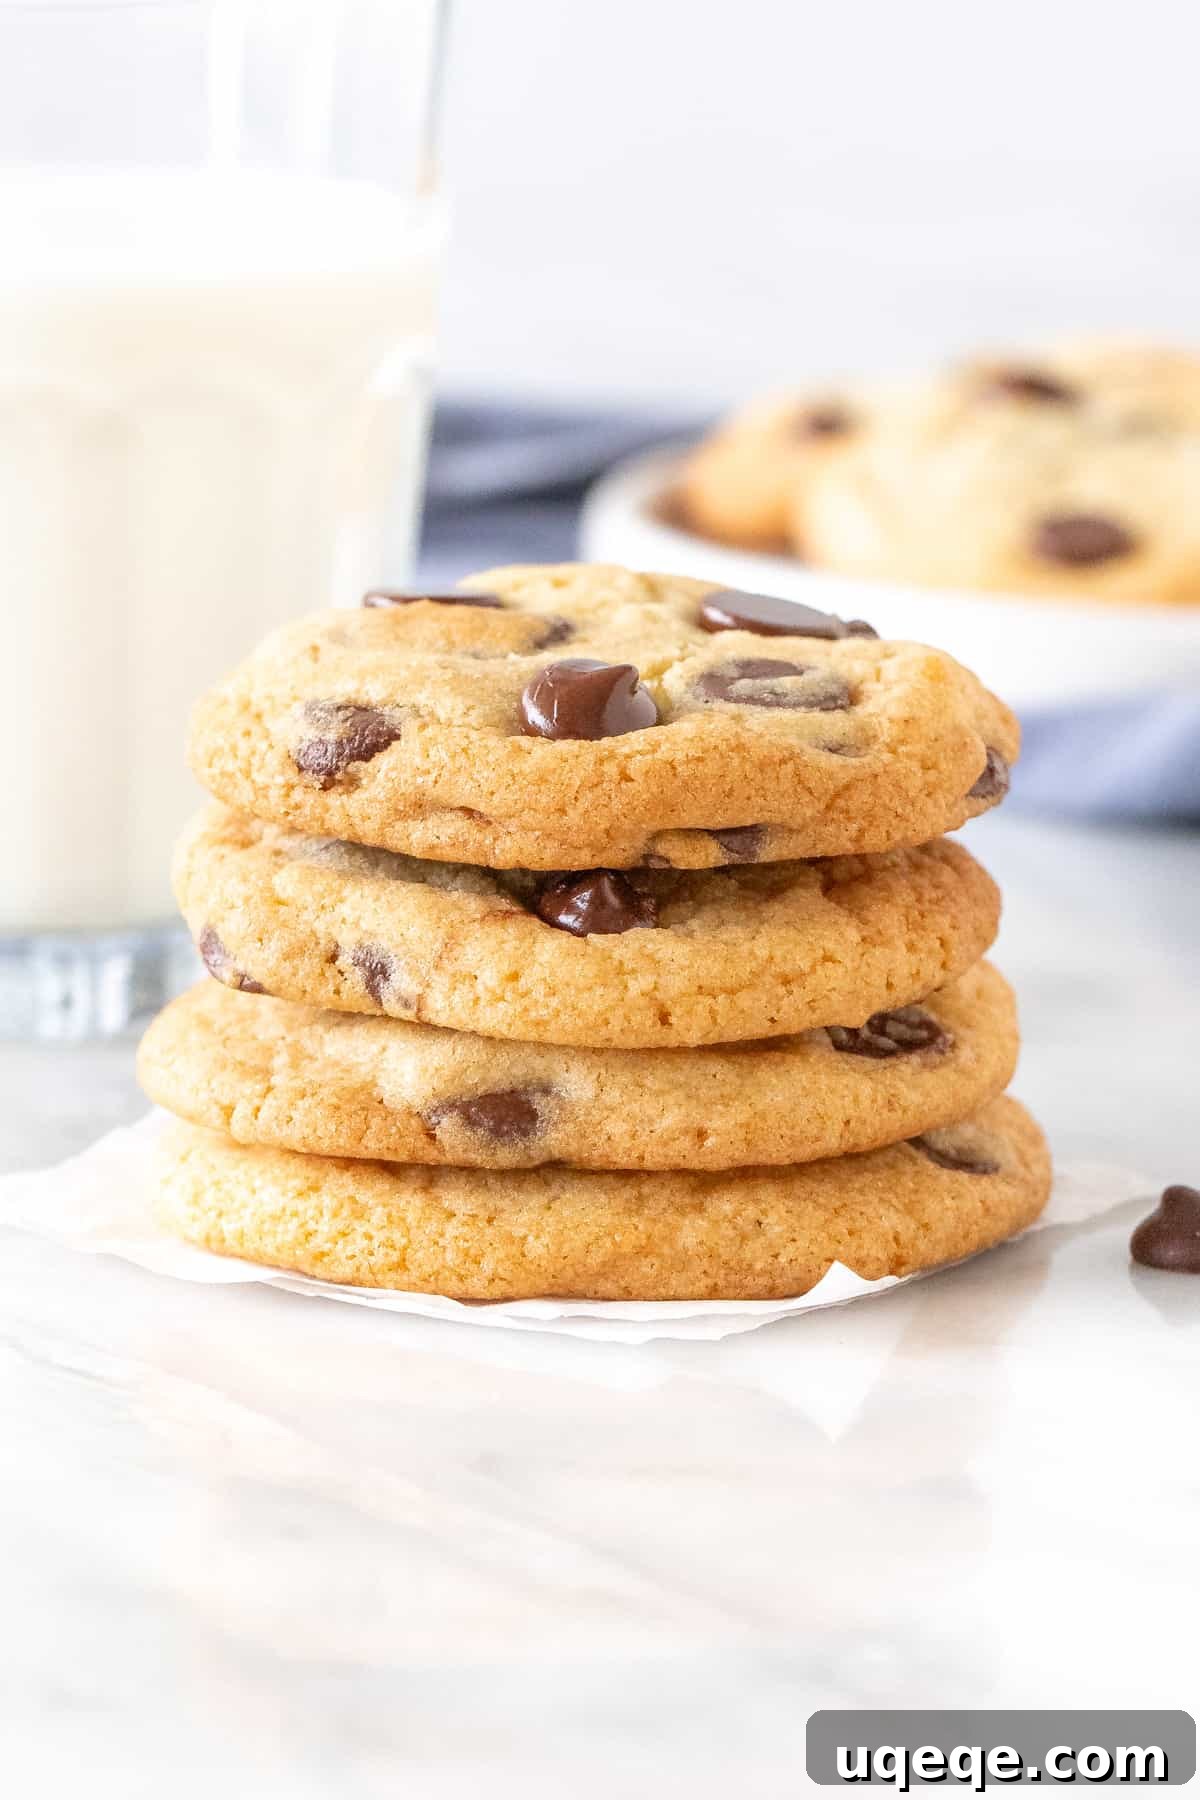
It’s a predicament every home baker eventually faces: you’re all set to bake a batch of classic chocolate chip cookies, you’ve gathered your ingredients, and then, you discover an empty brown sugar bag. For many, this might mean a cancelled baking session, but what if there was a simple, equally delicious solution? This recipe for chocolate chip cookies made without brown sugar is specifically crafted for those very moments. It’s more than just a substitute; it’s a meticulously developed method that ensures your cookies are every bit as delightful as their traditional counterparts, boasting a wonderfully soft interior, a satisfying chew, and just the right amount of crispness around the edges.
Our aim with this recipe was to provide a reliable and effortless way to enjoy homemade cookies, even when your pantry supplies are limited. Requiring just 8 basic ingredients and best of all, absolutely no chilling of the dough, these cookies are incredibly fast to prepare. They are perfect for unexpected guests, a last-minute dessert craving, or simply when you need a quick and comforting treat. You might be pleasantly surprised at the depth of flavor and ideal chewiness achieved using only granulated white sugar, thanks to a few clever adjustments in the ingredient ratios and preparation method.
Understanding Brown Sugar’s Unique Role in Cookie Baking
Before we delve into crafting the perfect chocolate chip cookies without brown sugar, let’s explore why it’s so frequently called for in traditional cookie recipes. Brown sugar is essentially granulated white sugar with molasses added back into it. This molasses is the magical component that imparts brown sugar’s distinctive flavor, which translates into a subtle, almost caramel-like undertone in baked goods. Beyond its taste contribution, brown sugar also plays a significant role in the texture and color of cookies:
- Rich Flavor Profile: The molasses within brown sugar provides a deeper, more complex, and slightly earthy sweetness compared to the clean, crisp sweetness of white sugar. This adds a layer of richness that’s often missed when omitted.
- Essential Moisture Content: Crucially, brown sugar contains more moisture than its white counterpart. This higher moisture content is vital for creating cookies that remain soft, tender, and wonderfully chewy long after baking.
- Golden Color and Spread: The natural brown hue of molasses contributes to a more golden-brown color in the baked cookies. It also influences how much the cookies spread during baking, often encouraging a wider, thinner profile.
Given these unique characteristics, simply swapping white sugar for brown sugar in any recipe often leads to a drier, crisper, and less flavorful cookie. Many home bakers often ask if they can make this direct substitution, and while it’s possible, the results are rarely ideal. This is precisely why we’ve carefully developed this specific recipe, adjusting other ingredients to compensate for the absence of brown sugar, ensuring that you still achieve that coveted soft and chewy cookie experience.
The Smart Adjustments for Soft & Chewy Cookies with Only White Sugar
To successfully bake delicious cookies without brown sugar, we’ve implemented a couple of strategic tweaks to the classic chocolate chip cookie formula. These adjustments ensure that even with just granulated sugar, your cookies will achieve that desirable soft and chewy texture along with a rich flavor. Here’s how we do it:
- Increased Vanilla Extract: Vanilla is a powerful flavor enhancer and aromatic agent. By slightly increasing the amount of vanilla extract in this recipe, we introduce a deeper, more comforting flavor profile that helps to fill the void left by brown sugar’s complex molasses notes. This boost in vanilla ensures your cookies are anything but bland.
- Carefully Balanced Flour Ratio: All-purpose flour is the structural backbone of any cookie. In this recipe, the amount of flour has been precisely adjusted to create a dough that yields a chewy cookie, even without the extra moisture from brown sugar. This careful balance helps the cookies hold their shape while maintaining a soft and pliable interior, mimicking the structural benefits that brown sugar often provides.
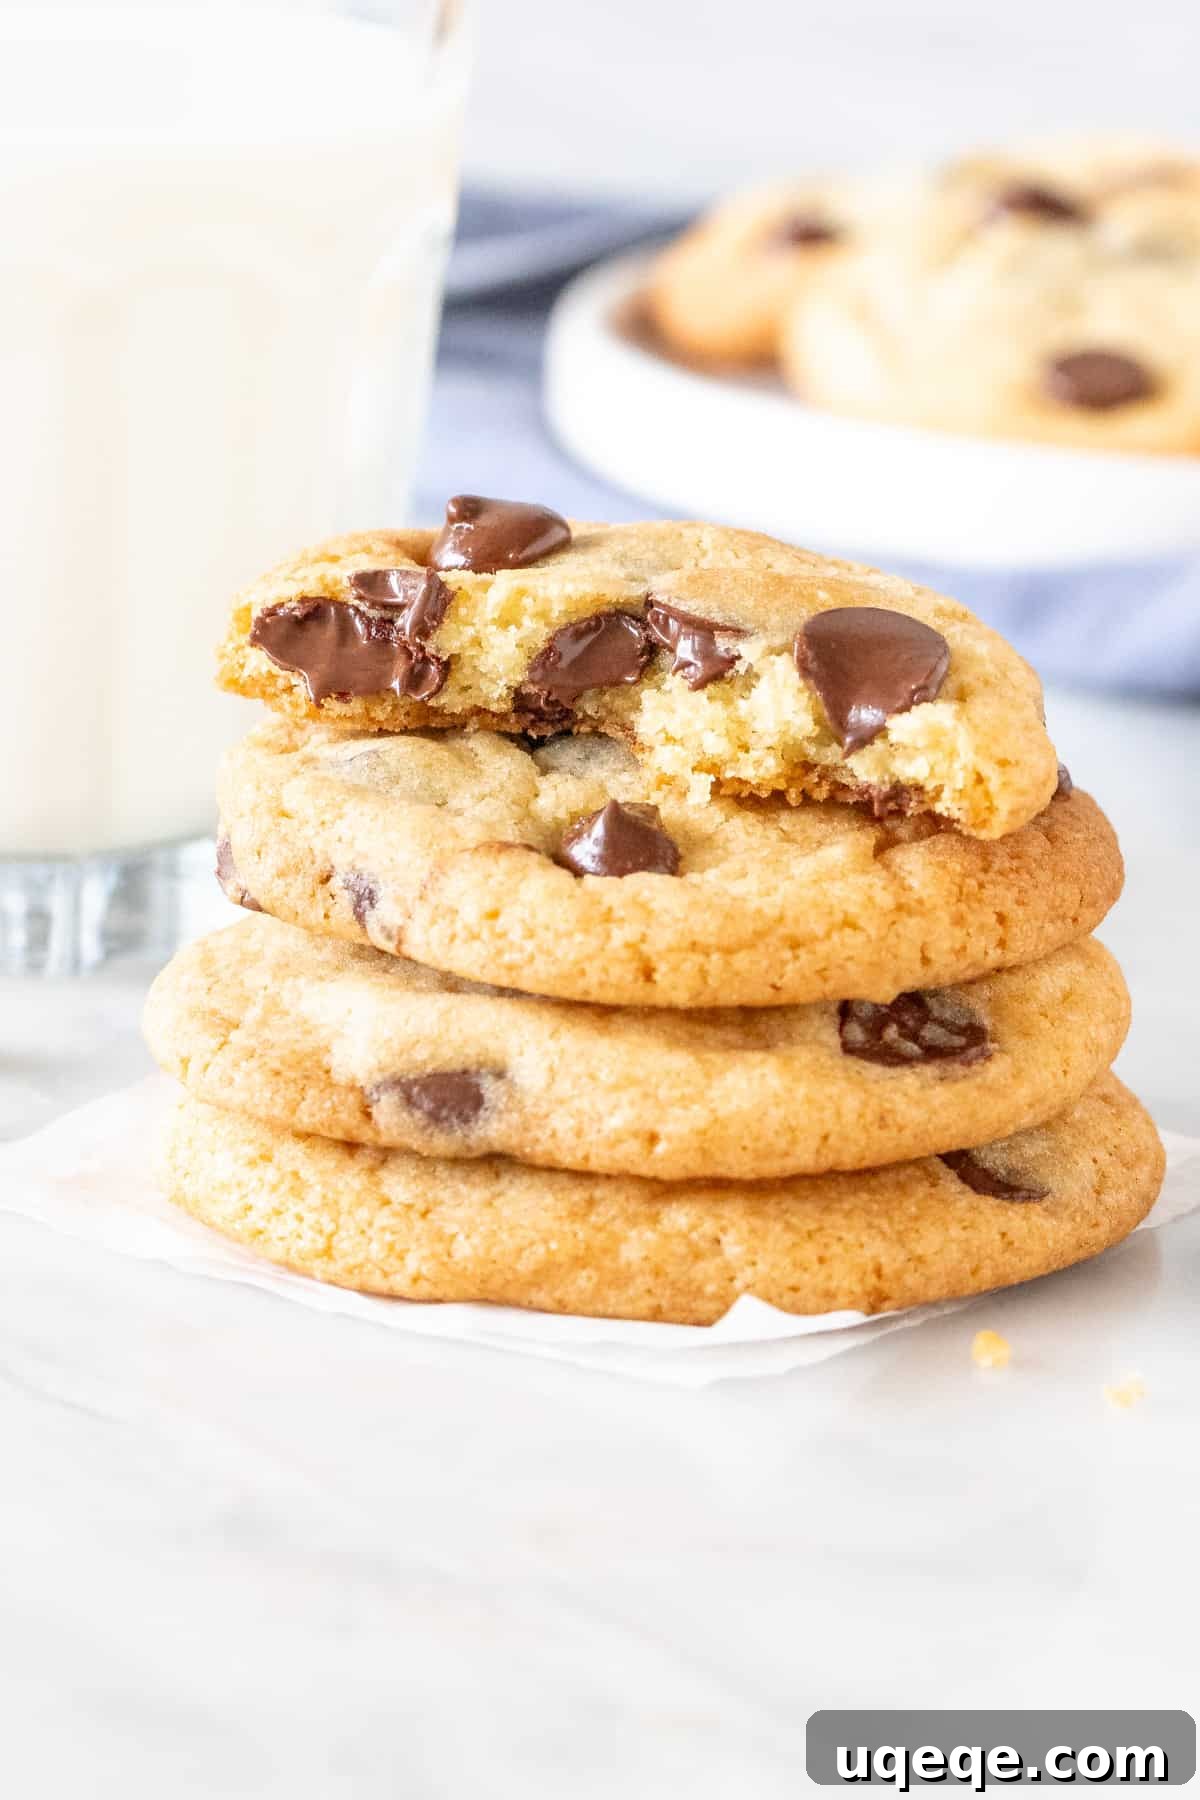
One visual difference you’ll notice with these cookies is their slightly paler appearance compared to traditional chocolate chip cookies made with brown sugar. This is entirely normal and expected, as the darker molasses in brown sugar is what typically lends that deeper golden-brown hue. However, rest assured, this lighter color does not detract from their incredible taste or texture. You’re still going to bite into a wonderfully soft, chewy, and flavorful cookie!
Key Ingredients Explained for Perfect No-Brown Sugar Cookies
This recipe relies on a handful of common pantry staples. Understanding the function of each ingredient can help you achieve the best possible results and even troubleshoot common baking issues.
- Unsalted Butter (Softened, not melted): Butter is fundamental for both flavor and texture. Using unsalted butter allows you to control the total salt content in the recipe. The “softened” state is critical; it should be pliable enough to leave an indentation when gently pressed but not oily or melted. This texture is ideal for creaming, which incorporates air into the dough, leading to lighter, fluffier cookies.
- Granulated Sugar: As our sole sweetener in this recipe, granulated sugar provides clean sweetness and contributes to the cookies’ structure, helping create those slightly crisp edges while maintaining a soft, tender center.
- Large Egg: The egg acts as a powerful emulsifier and binder, bringing all the ingredients together. It also adds richness, moisture, and aids in leavening, contributing to the overall structure and tenderness of the cookies.
- Vanilla Extract: We’ve intentionally boosted the vanilla content here to compensate for the flavor complexity usually provided by brown sugar’s molasses. Use a high-quality pure vanilla extract for the most impactful and aromatic flavor.
- All-Purpose Flour: This forms the primary structure of our cookies. Accurate measurement is crucial for the perfect texture. For best results, spoon the flour into your measuring cup and level it off with a straight edge, or better yet, use a kitchen scale for precise weight measurement.
- Baking Soda: This chemical leavening agent reacts with acidic ingredients (even trace amounts in chocolate or butter) and moisture to produce carbon dioxide gas, which helps the cookies spread and rise, giving them a soft and airy interior.
- Salt: A small amount of salt is essential. It balances the sweetness of the sugar, enhances all the other flavors in the cookie, and prevents them from tasting overly sweet or bland.
- Chocolate Chips: The iconic star of chocolate chip cookies! We recommend using good quality semi-sweet chocolate chips for a balanced flavor that isn’t overly sweet. Dividing the chips (3/4 cup for mixing in, 1/4 cup for topping) ensures beautiful, appealing cookies with visible pockets of melted chocolate.
Crafting Your Perfect Batch: Detailed Step-by-Step Instructions
Making these no-brown sugar chocolate chip cookies is a straightforward and enjoyable process. Follow these detailed steps closely to guarantee a batch of delightfully soft and chewy treats:
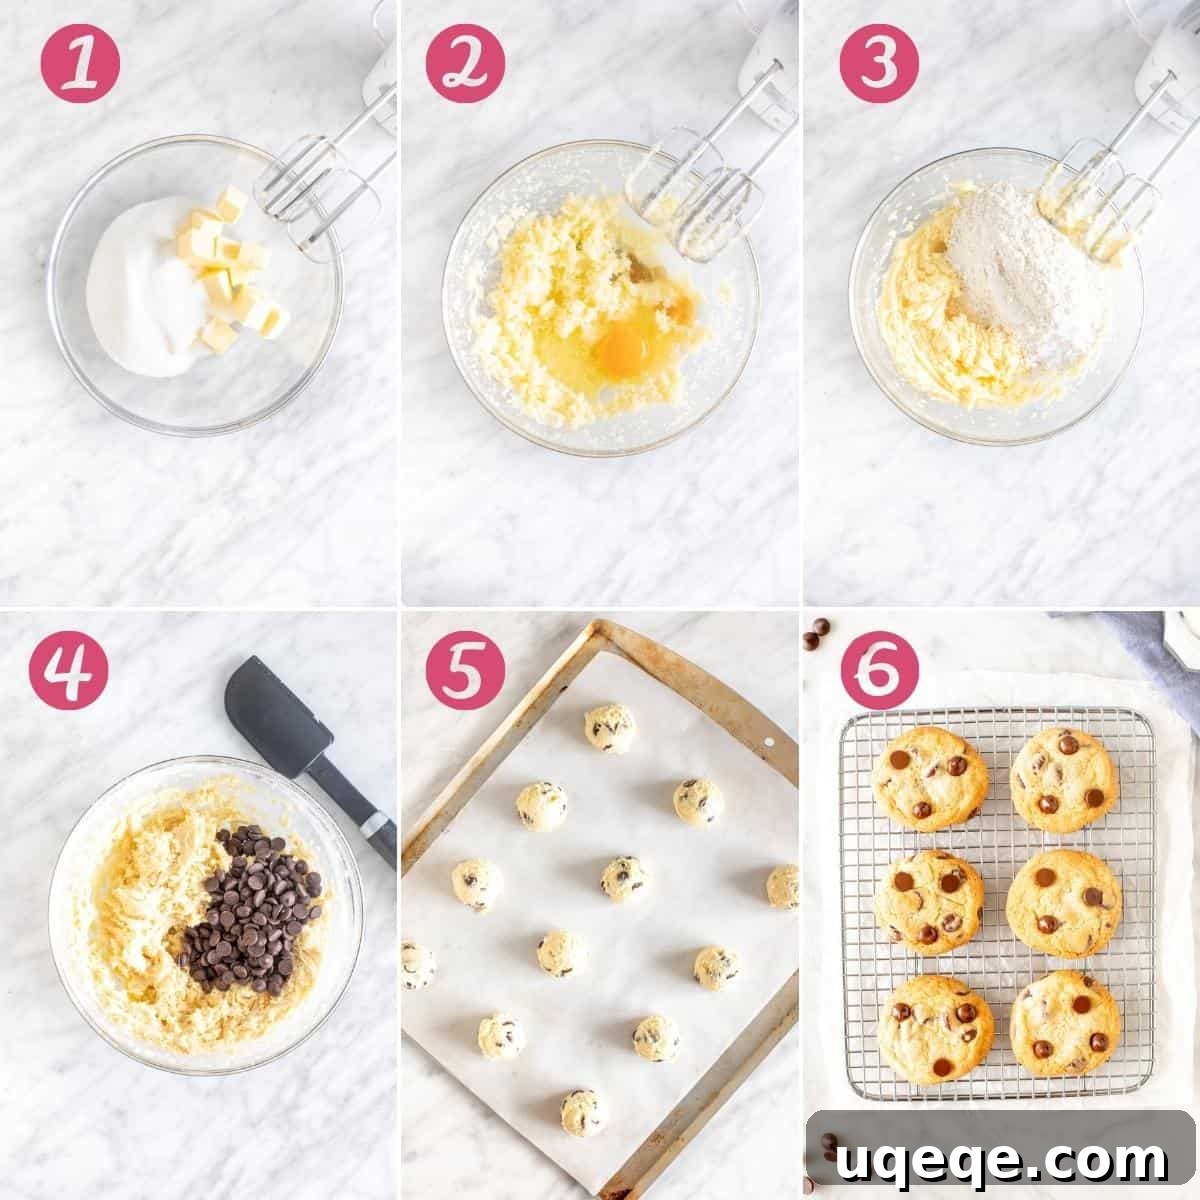
- Preheat Oven and Prepare Baking Sheets: Start by preheating your oven to the precise temperature of 350°F (180°C). Accurate oven temperature is vital for even baking and proper cookie spread. While the oven preheats, line your cookie sheets with either parchment paper or silicone baking mats. This prevents the cookies from sticking and ensures easy removal and cleanup.
- Cream Butter and Granulated Sugar: In a large mixing bowl, combine your softened unsalted butter and granulated sugar. Using an electric mixer (handheld or stand mixer), beat these two ingredients together on medium speed for about 2 to 3 minutes. Continue beating until the mixture becomes light, fluffy, and visibly paler in color. This crucial creaming step incorporates air into the butter, which is essential for achieving a light and tender cookie texture.
- Incorporate Egg and Vanilla Extract: Add the large egg and the measured vanilla extract to the creamed butter and sugar. Continue beating on medium speed until all ingredients are thoroughly combined and the mixture appears smooth. Remember to pause and scrape down the sides of the bowl with a rubber spatula to ensure no unmixed ingredients are left behind.
- Gradually Add Dry Ingredients: Reduce your mixer speed to low. Carefully add the all-purpose flour, baking soda, and salt to the wet mixture. To prevent a “flour cloud,” you can stir the dry ingredients together briefly in a separate bowl before adding, or gently pulse your mixer a few times when you first start. Mix just until the flour streaks have almost disappeared. It’s important not to overmix the dough at this stage, as overmixing can develop gluten, resulting in tougher cookies.
- Fold in the Chocolate Chips: Remove the bowl from the mixer. With a sturdy spoon or spatula, gently fold in 3/4 cup of the chocolate chips. Be careful not to overmix here either. The remaining 1/4 cup of chocolate chips will be reserved for adorning the cookies after baking.
- Form and Space Dough Balls: Using a cookie scoop (preferably one that holds 1 to 1 1/2 tablespoons of dough) is highly recommended for creating uniform cookie sizes, which ensures consistent baking. Roll the scooped dough gently between your palms to form neat balls. Each ball should be approximately the size of a ping-pong ball to a golf ball. Place these dough balls about 2 inches apart on your prepared cookie sheets to allow ample room for them to spread during baking without merging.
- Bake to Perfection: Place one cookie sheet at a time into the center rack of your preheated oven. Bake for approximately 9-11 minutes. Pay close attention to visual cues: the cookies are typically done when their edges appear lightly set and slightly golden, while their centers still look a little soft and slightly underbaked. Remember, these cookies won’t achieve the deep golden-brown color of traditional brown sugar cookies, so focus on the edges.
- The Signature Finishing Touch and Cooling: As soon as you remove the cookies from the oven, while they are still warm and soft, gently press a few of the reserved 1/4 cup chocolate chips onto the top of each cookie. This creates that appealing, professional “bakery-style” finish. Allow the cookies to cool on the baking sheets for a minimum of 10 minutes – this critical step allows them to firm up and set, preventing them from breaking apart when moved. After 10 minutes, carefully transfer them to a wire rack to cool completely.
Expert Baking Tips for Flawless Cookies Every Time
Even with a straightforward recipe, a few insider tips can elevate your home baking from good to truly extraordinary. Keep these points in mind for consistently perfect cookies:
- Precision in Flour Measurement is Key: In baking, accuracy is paramount, especially with flour. If you’re not using a kitchen scale (which provides the most precise results), ensure you “fluff” your flour by stirring it in its container first. Then, lightly spoon it into your dry measuring cup until overflowing, and finally, level it off with a straight edge like a knife. Never scoop directly from the bag with the measuring cup, as this compacts the flour, leading to an excess amount and potentially dry, dense cookies.
- The Goldilocks Zone for Butter: Your butter should be “softened,” meaning it’s cool to the touch but pliable enough to leave an indentation when gently pressed. If your butter is too cold, it won’t cream properly with the sugar, resulting in a dense cookie. If it’s too warm or melted, your cookies may spread excessively and become greasy. Plan ahead and take your butter out of the fridge about 30-60 minutes before you begin baking.
- Avoid the Pitfall of Overmixing: Once you add the dry ingredients (flour, baking soda, salt) to the wet mixture, mix only until the ingredients are just combined and no streaks of flour remain. Overmixing vigorously or for too long develops the gluten in the flour, which can lead to tough, rubbery cookies instead of the desired soft and tender ones.
- Understand Your Oven’s Personality: Oven temperatures can vary significantly from one appliance to another. If your cookies consistently brown too quickly, burn at the edges, or remain underbaked, consider investing in an inexpensive oven thermometer to verify your oven’s true temperature. Additionally, baking one sheet of cookies at a time on the middle rack ensures the most even heat distribution and consistent results.
- Experiment with Chocolate Varieties: While semi-sweet chocolate chips are a timeless choice, don’t hesitate to personalize your cookies! Try using milk chocolate for a sweeter profile, dark chocolate for a richer, more intense flavor, or even a blend of different chocolate types. Chocolate chunks also melt beautifully and provide delightful pockets of gooey goodness.
Storage and Freezing Tips for Extended Cookie Enjoyment
One of the many joys of homemade cookies is their versatility for storage, allowing you to enjoy them days or even months later. These chocolate chip cookies without brown sugar are excellent candidates for making ahead or preserving for future indulgence.
Storing Cookies at Room Temperature
Once your freshly baked cookies have completely cooled to room temperature, transfer them to an airtight container. They will retain their delightful softness and chewiness for up to 4 days. To help maintain their moisture and prevent them from drying out, a clever trick is to place a half slice of plain white bread or a small tortilla in the container with the cookies. The cookies will absorb moisture from the bread, keeping them soft and fresh longer. Just remember to replace the bread every day or two.
Freezing Cookie Dough for Future Baking
If you love the idea of warm, freshly baked cookies on a whim, freezing the dough is an absolutely brilliant option. Prepare the cookie dough as directed in the recipe. Then, scoop the dough into individual balls, exactly as you would for baking. Place these dough balls onto a baking sheet lined with parchment paper and freeze them until they are completely solid (this usually takes about 1-2 hours). Once frozen firm, transfer the solid dough balls to a freezer-safe zip-top bag or an airtight container, ensuring they are well sealed to prevent freezer burn. They can be stored in the freezer for up to 2-3 months. When you’re ready for a treat, simply place the desired number of frozen dough balls on a lined baking sheet and bake as usual, adding an extra 1-2 minutes to the standard baking time to account for their frozen state.
Freezing Baked Cookies
Baked and completely cooled cookies can also be frozen successfully. To do this, arrange the cooled cookies in a single layer inside an airtight, freezer-safe container. If you need to stack them, place a piece of parchment paper between each layer to prevent them from sticking together. They will maintain their quality in the freezer for up to 3 months. To enjoy, simply thaw them at room temperature for an hour or two, or warm them gently in the microwave for 10-20 seconds for that wonderful “just baked” warmth and softness.
Frequently Asked Questions About No-Brown Sugar Cookies
Here are some common questions bakers have when making chocolate chip cookies without brown sugar:
- Can I use only shortening instead of butter? While shortening can be used, it will significantly alter the flavor and texture. Butter provides a rich, complex taste and contributes to a more desirable chew. Cookies made with shortening tend to be softer but may lack the depth of flavor butter provides. For the best results in this recipe, stick to butter.
- My cookies spread too much and are very flat! What went wrong? Several factors can contribute to excessive spreading. The most common culprits are butter that was too soft or melted, an inaccurate measurement resulting in too little flour, or an oven that isn’t hot enough (leading to slow baking and more spread). Ensure your butter is perfectly softened, measure your flour precisely (preferably by weight), and confirm your oven is fully preheated to the correct temperature.
- Can I add nuts or other mix-ins to this recipe? Absolutely! This recipe is very adaptable. Feel free to incorporate up to 1/2 cup of chopped nuts (such as walnuts or pecans), dried cranberries, or even white chocolate chips along with (or in place of) the regular chocolate chips. Adjust the total quantity of mix-ins to your preference to keep the dough balanced.
- How can I make these cookies even chewier? For an exceptionally chewy cookie, try slightly underbaking them by about 1 minute from the recommended time. When they come out of the oven, their centers should look very soft and still a bit gooey. Let them cool completely on the baking sheet; this allows them to finish setting up and develop an even chewier texture without becoming dry.
- Do I need to adjust for high altitude baking? High-altitude baking often requires adjustments to flour, sugar, liquid, and leavening agents. Since this recipe is already adjusted for standard conditions, if you live at a high altitude (above 3,500 feet), you might need to slightly reduce baking soda, increase flour, or decrease sugar. Consult a high-altitude baking guide for specific recommendations relevant to your elevation.
Beyond the Basics: More Chocolate Chip Cookie Adventures
Now that you’ve mastered the art of making delicious chocolate chip cookies without brown sugar, why not broaden your baking horizons? The world of chocolate chip cookies is wonderfully diverse, with countless variations to explore. If you’re looking to expand your cookie repertoire and try new exciting flavors and textures, here are a few more irresistible recipes that are worth a bake:
- Coconut Chocolate Chip Cookies
- Giant Chocolate Chip Cookie for One
- Pudding Chocolate Chip Cookies
- Thin & Crispy Chocolate Chip Cookies
Chocolate Chip Cookies without Brown Sugar
Fiona Dowling
15 mins
10 mins
35 mins
22 cookies
Rate Recipe
Print Recipe
Equipment
-
Cookie Sheets
Ingredients
- 1/2 cup unsalted butter (112 grams) , softened, but not melted
- 1 cup granulated sugar (200 grams)
- 1 large egg
- 1 1/2 teaspoons vanilla extract
- 1 2/3 cups all-purpose flour (208 grams)
- 1/2 teaspoon baking soda
- 1/4 teaspoon salt
- 1 cup chocolate chips (180 grams) , divided into 3/4 cup and 1/4 cup
Instructions
-
Preheat the oven to 350F (180C). Line cookie sheets with parchment paper or baking mats.
-
In a large bowl, beat the butter and sugar until fluffy.
-
Mix in the egg and vanilla extract.
-
With the mixer on a low speed, mix in the flour, baking soda and salt.
-
Stir in 3/4 cup chocolate chips (you’ll save the remaining 1/4 cup for dotting on top of the cookies).
-
Form the dough into balls with about 1 – 1 1/2 tablespoons of dough each. They’ll be in between the size of a ping pong ball and a golf ball. Place the balls 2 inches apart on the lined cookie sheets.
-
Bake 1 sheet at a time in the preheated oven for about 9-11 minutes or until the tops look set. Note that when they’re done baking they won’t be quite as golden brown as other chocolate chip cookies, because they don’t have the brown sugar.
-
Remove from the oven and place a few extra chocolate chips from the reserved 1/4 cup on top of each cookie. Cool on the cookie sheets for 10 minutes, then transfer to a cooling rack to continue cooling.
Notes
- Butter: Using salted butter is ok. If using salted butter, omit the salt from the recipe.
- Measuring Flour: If using cup measurements (instead of a scale) be sure to whisk the flour first. Then spoon into dry measuring cups and level off the top.
- Storage: Store cooled cookies in an airtight container at room temperature for up to 4 days. Baked and cooled cookies can be frozen in an airtight container for up to 3 months.
- Doubling the Recipe: To double the recipe, you’ll need:
- 1 cup unsalted butter
- 2 cups granulated sugar
- 2 large eggs
- 1 tablespoon vanilla extract
- 3 1/3 cups all-purpose flour
- 1 teaspoon baking soda
- 1/2 teaspoon salt
- 2 cups chocolate chips – divided into 1 1/2 cups and 1/2 cup for dotting on top of each cookie
- Nutrition: Details provided are an estimate only and based on 1 cookie, assuming the recipe yields 22 equal-sized cookies.
Nutrition
Calories: 155kcal, Carbohydrates: 22g, Protein: 2g, Fat: 7g, Saturated Fat: 4g, Polyunsaturated Fat: 1g, Monounsaturated Fat: 1g, Trans Fat: 1g, Cholesterol: 29mg, Sodium: 64mg, Potassium: 18mg, Fiber: 1g, Sugar: 14g, Vitamin A: 172IU, Vitamin C: 1mg, Calcium: 15mg, Iron: 1mg
Like this recipe? Rate and comment below!