
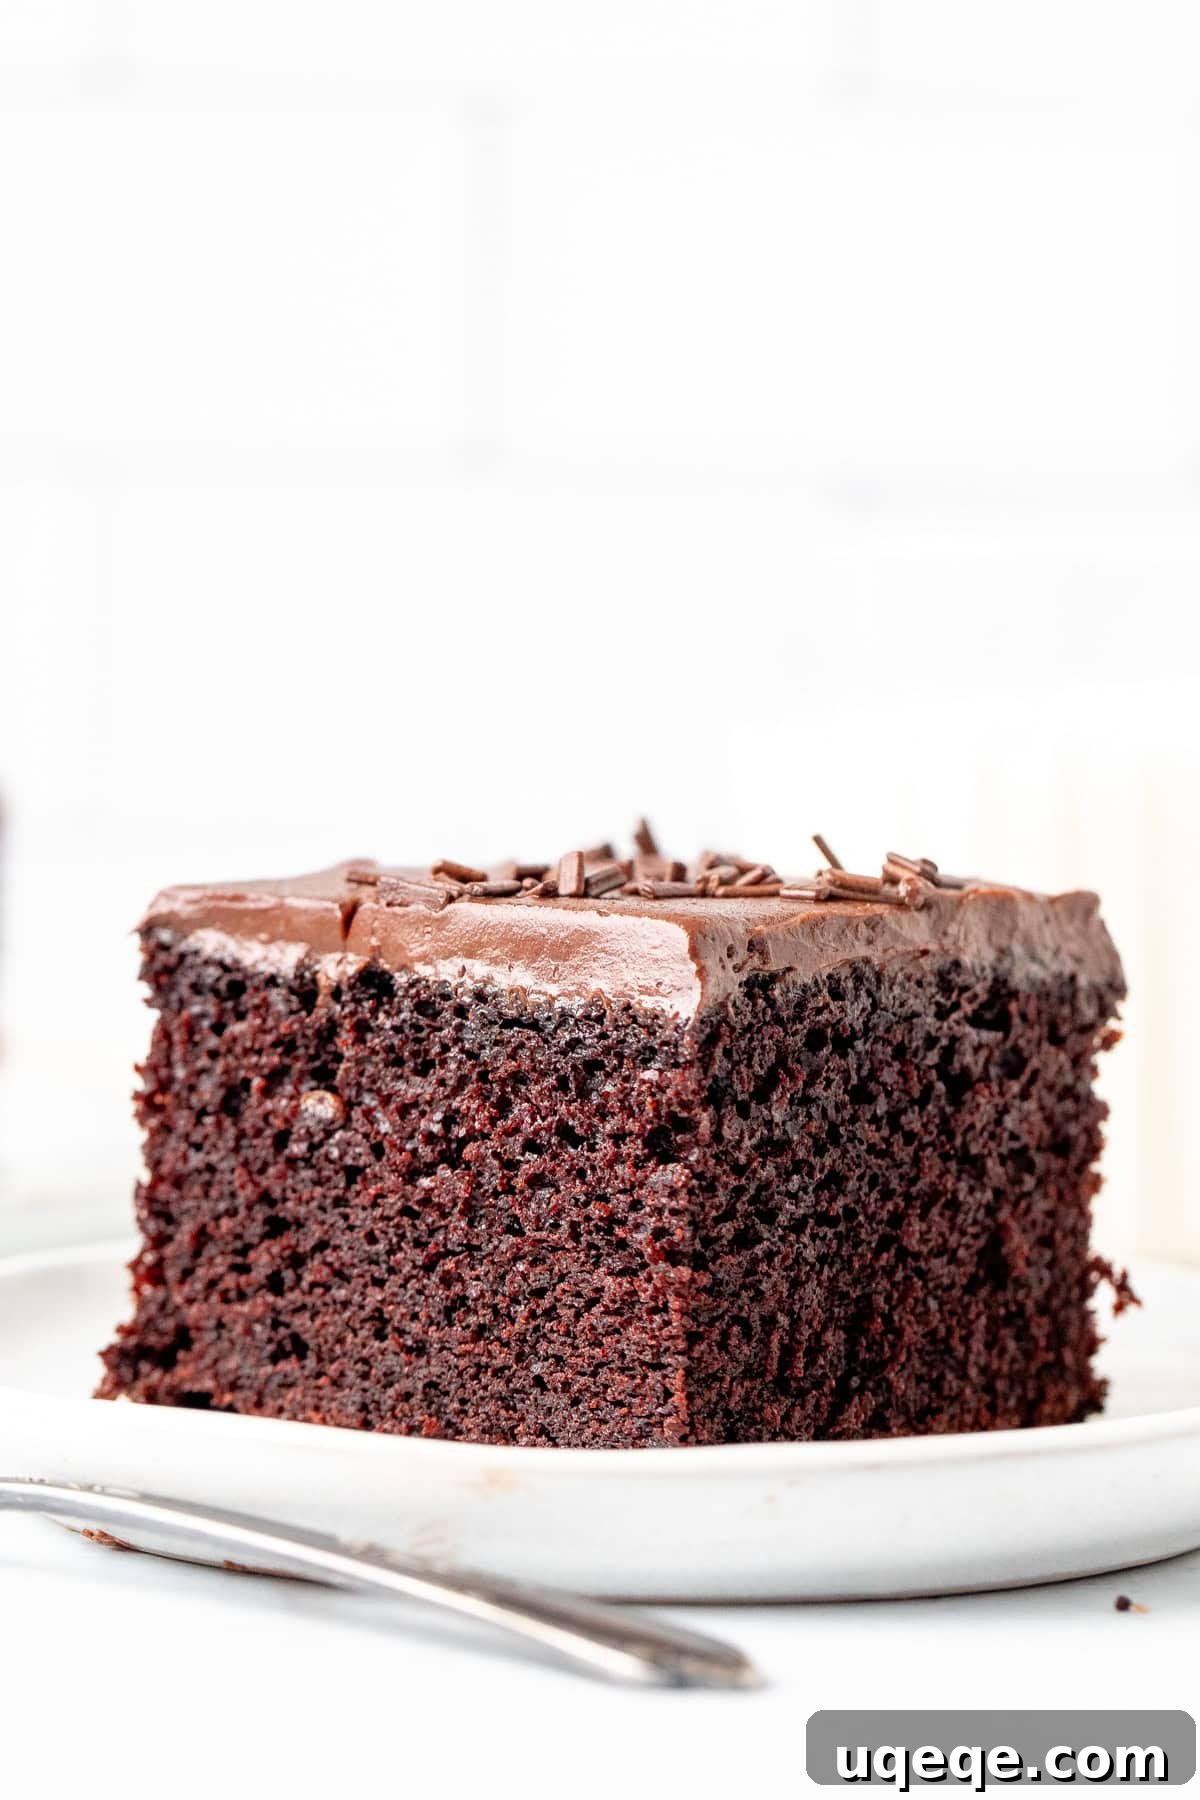
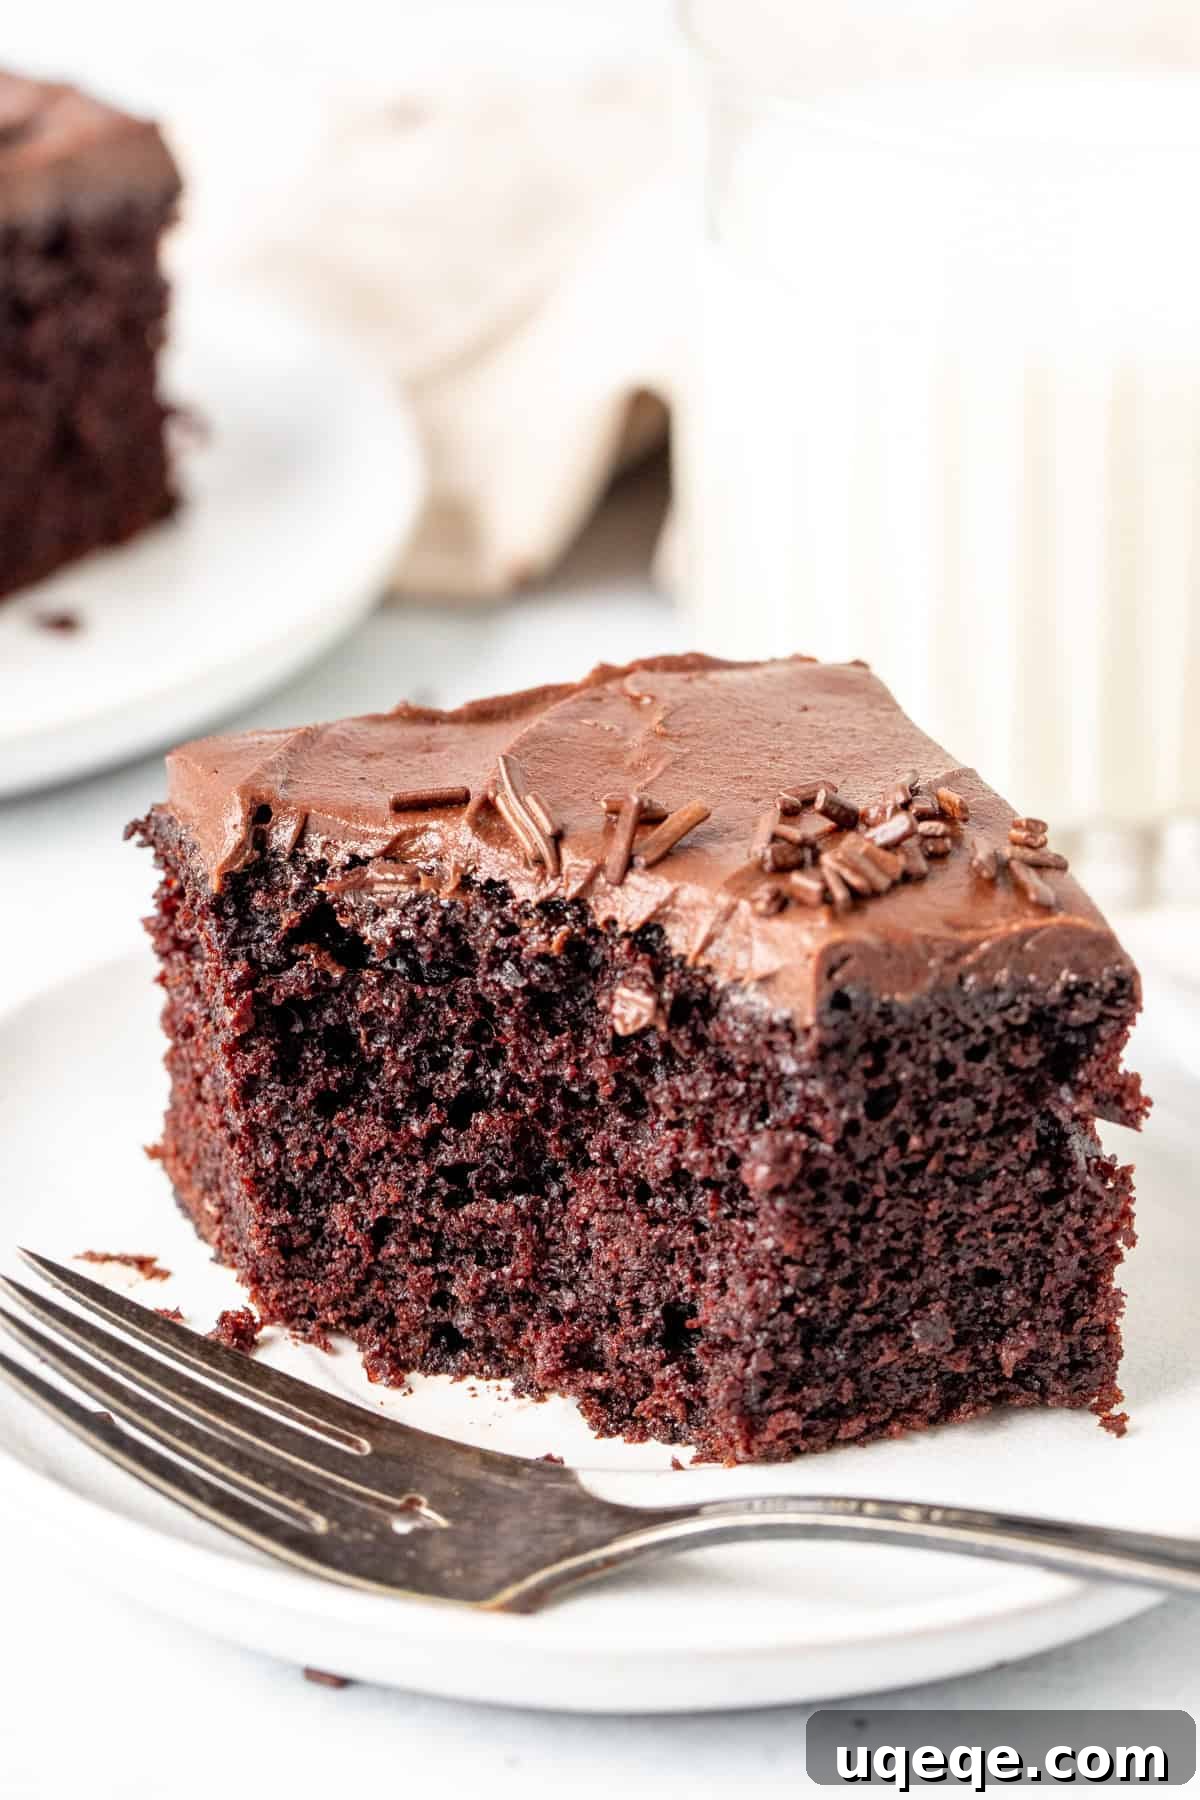
Welcome to your new favorite chocolate cake recipe! This incredible easy chocolate sheet cake is everything you could wish for in a homemade dessert: wonderfully moist, deeply fudgy, and packed with rich chocolate flavor. Forget the box mixes; this recipe, crafted with simple, everyday pantry ingredients, delivers a superior taste and texture that will have everyone asking for seconds. Baked conveniently in a 9×13 inch pan, it’s the perfect size for birthdays, family gatherings, potlucks, or simply satisfying that irresistible chocolate craving.
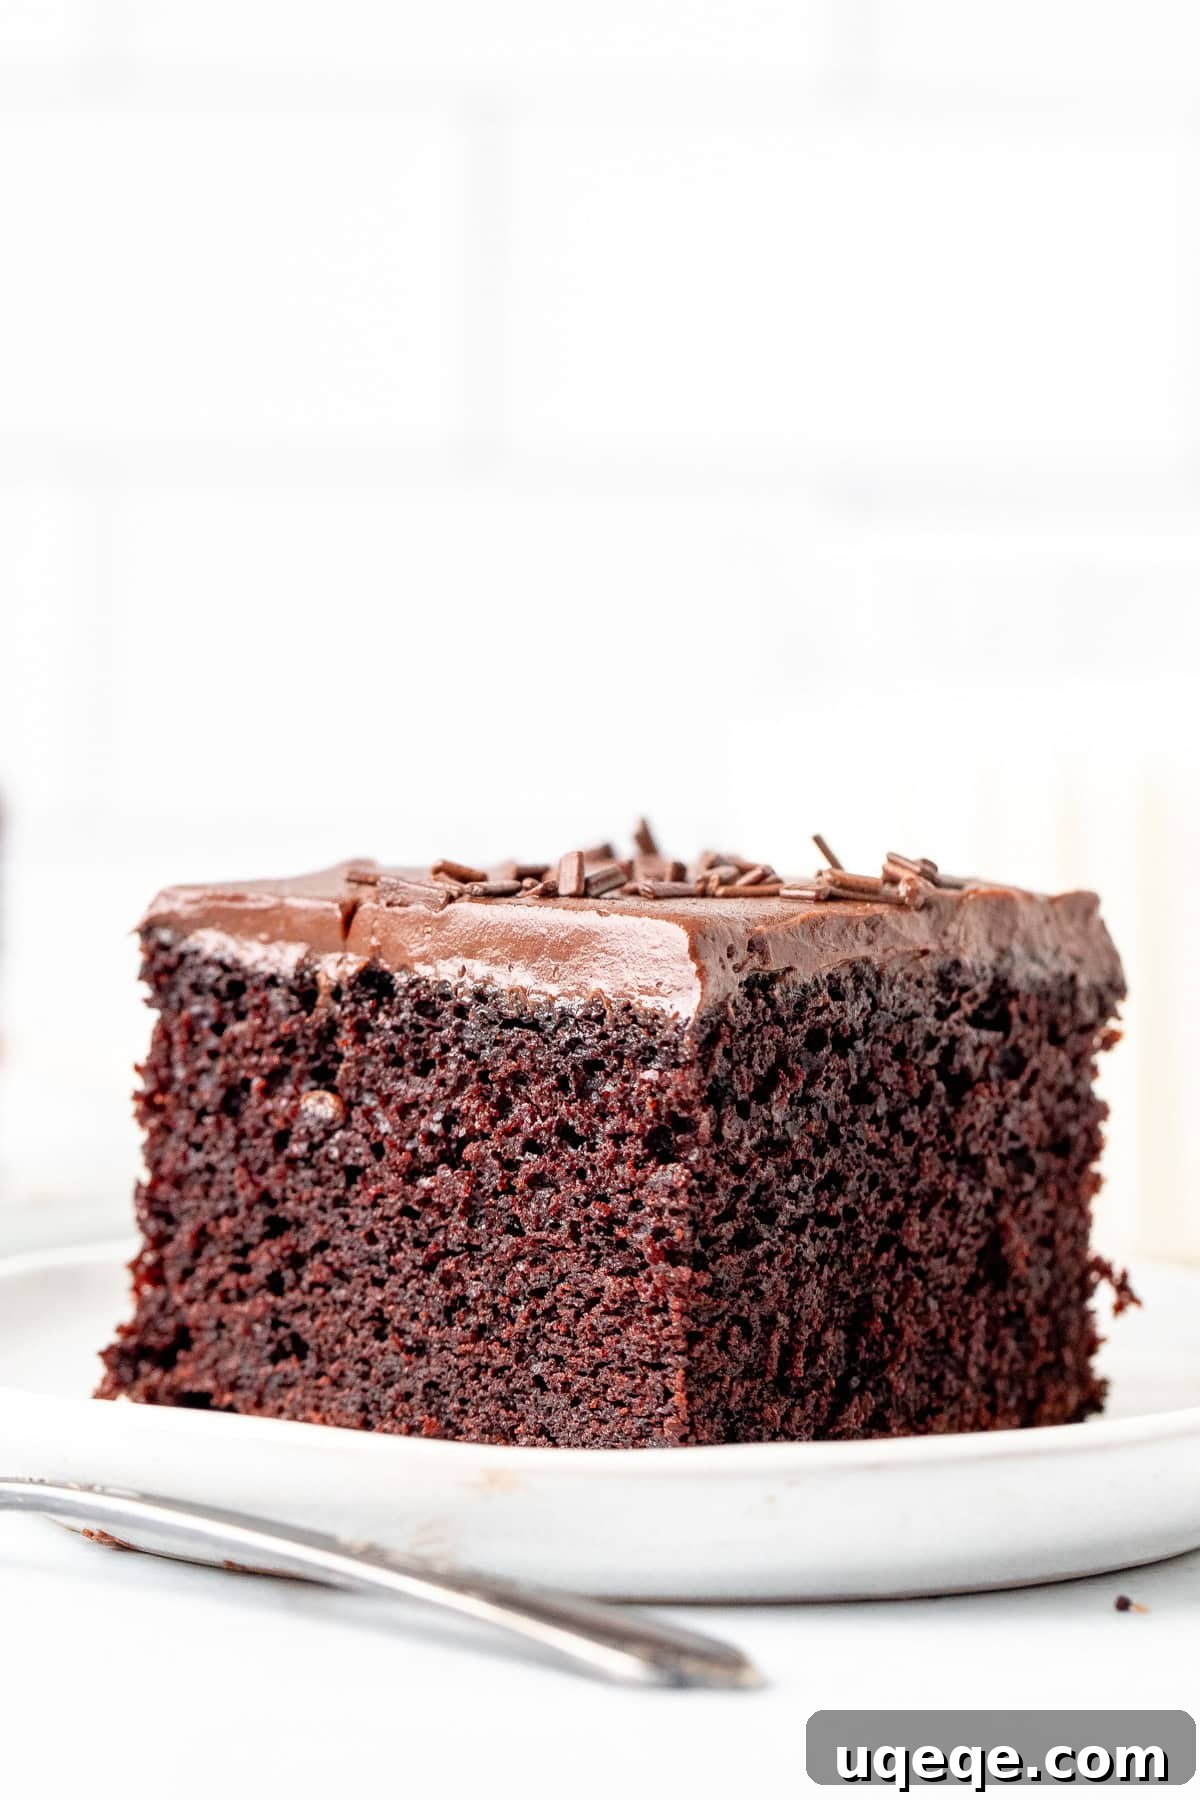
*This recipe was thoughtfully updated on August 20, 2024, to include enhanced tips, a slightly refined ingredient list for even better results, and fresh new photos to inspire your baking journey.*
Why This Chocolate Sheet Cake Will Become Your Go-To Recipe
Every baker, whether novice or experienced, needs a reliable, foolproof chocolate cake recipe in their repertoire. This chocolate sheet cake is exactly that. It strikes the perfect balance with a robust chocolate flavor that’s decadent without being overwhelmingly rich, ensuring it’s a crowd-pleaser for all ages. What truly sets this cake apart is its remarkable texture: it’s incredibly moist and wonderfully fudgy, promising to stay fresh and delicious for up to four days at room temperature. Its simplicity is another huge advantage; you won’t need any fancy ingredients or complex techniques, just common pantry staples like flour, cocoa powder, milk, and oil. This means you can likely whip up this delightful dessert without an extra trip to the grocery store!
While we highly recommend topping this cake with a thick, luscious layer of our homemade chocolate buttercream for a double dose of chocolaty goodness, its versatility knows no bounds. Feel free to experiment with other delightful frostings such as creamy vanilla frosting, a rich peanut butter frosting, or even a fun and flavorful Oreo frosting. The cake itself is a star, making it a fantastic base for whatever topping your heart desires.
Mastering the Perfect Chocolate Sheet Cake: Step-by-Step Guide
Creating this magnificent chocolate cake is surprisingly straightforward, with the batter coming together in under 10 minutes. The key lies in understanding the role of each ingredient and following a few simple steps. Here’s a detailed breakdown to ensure your cake turns out perfectly every time.
- Prepare Your Oven and Pan: Begin by preheating your oven to 350°F (180°C). For chocolate cakes, I always recommend a specific pan preparation method: lightly grease your 9×13 inch pan and then dust it with cocoa powder instead of flour. This prevents any white residue on your dark cake. If you intend to invert the cake for serving or freezing, line the pan with parchment paper, leaving an overhang on the sides for easy removal. This makes lifting the cake out a breeze once it’s cooled.
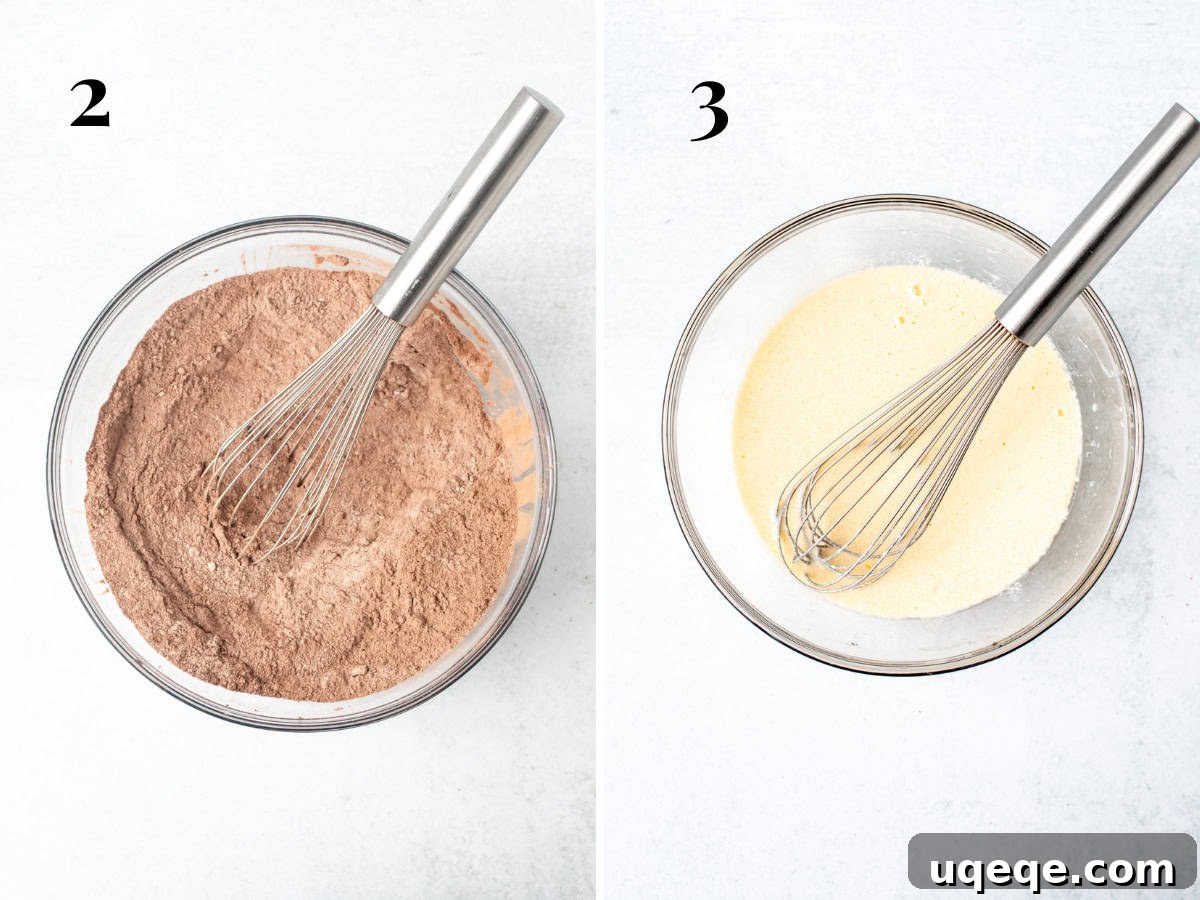
- Combine Dry Ingredients: In a large mixing bowl, whisk together all your dry ingredients: all-purpose flour, granulated sugar, cocoa powder, baking soda, baking powder, and salt. It’s crucial to ensure your cocoa powder is not lumpy; if it is, be sure to sift it first for a smooth, even batter. This step ensures that the leavening agents and flavor are evenly distributed.
- Whisk Wet Ingredients: In a separate large bowl, whisk together the wet ingredients: vegetable oil, milk (whole milk is best for richness, but 2% works well too), sour cream, eggs, and vanilla extract. The sour cream is vital for adding incredible moisture and tenderness to the cake; if you don’t have sour cream, plain Greek yogurt is an excellent substitute, just be sure it’s unflavored. Ensure all cold ingredients, especially eggs, milk, and sour cream, are at room temperature. This helps them emulsify better and creates a smoother batter, leading to a more evenly baked cake.
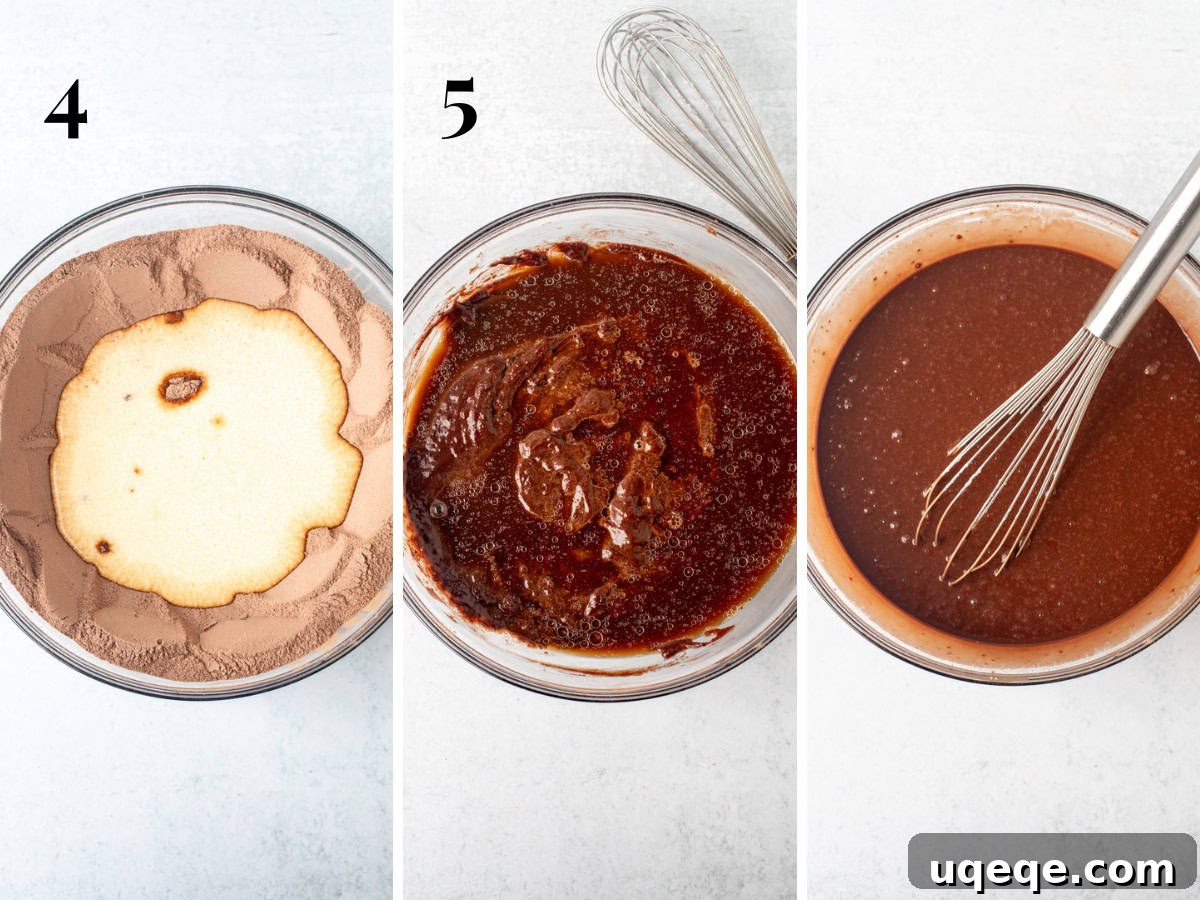
- Combine Wet and Dry: Create a well in the center of your dry ingredients. Pour the wet ingredients into this well. Start by gently stirring with a rubber spatula to incorporate some of the dry ingredients into the wet. Then, switch to a whisk and mix carefully until the batter is about 75% combined, being mindful not to overmix. Overmixing can develop the gluten in the flour too much, leading to a tough, dry cake.
- Introduce Hot Coffee: This is where the magic happens! Once your batter is mostly combined, pour in the hot coffee (or boiling water, if preferred). Whisk vigorously until the batter is completely smooth, and you see no remaining lumps or streaks of dry ingredients. The hot coffee doesn’t necessarily make the cake taste like coffee; instead, it’s a secret ingredient that helps the cocoa powder “bloom.” This process enhances the cocoa’s natural flavor, bringing out a deeper, richer chocolate taste in your finished cake.
- Bake to Perfection: Pour the smooth batter into your prepared 9×13 inch pan. Transfer it to the preheated oven and bake for approximately 35-40 minutes. The cake is ready when the top appears set and a toothpick inserted into the center comes out clean or with a few moist crumbs attached. It should never have any gooey, wet batter clinging to it. Start checking around the 30-minute mark, as oven temperatures can vary. Avoid opening the oven door too frequently during the baking process to prevent the cake from sinking. Once baked, allow the cake to cool completely on a wire rack before frosting. This is crucial for the frosting to set properly without melting.
The Perfect Companion: Creamy Chocolate Frosting
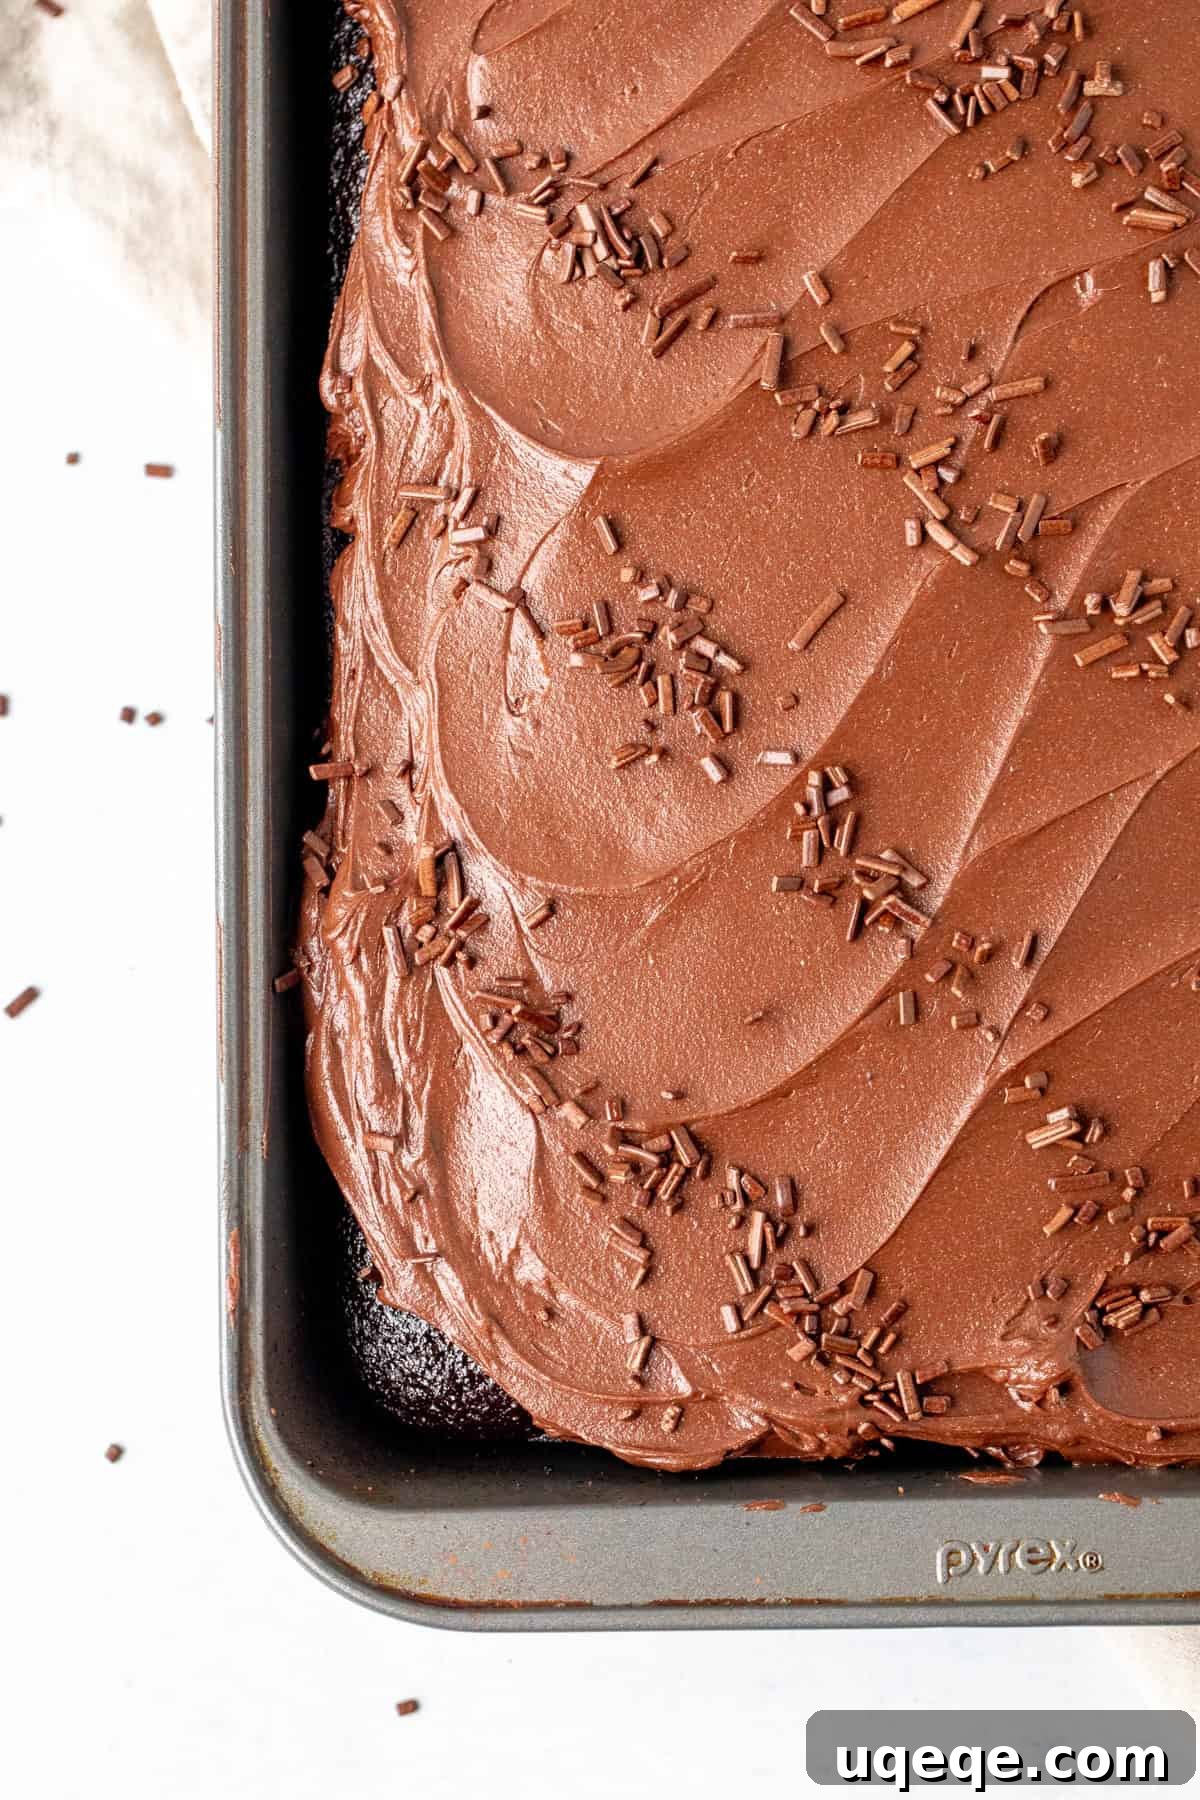
No chocolate cake is complete without a velvety smooth chocolate frosting, and this recipe delivers. Our simple buttercream is made with softened unsalted butter, sifted powdered sugar, rich cocoa powder, a splash of cream or milk, a hint of vanilla extract, and a pinch of salt to balance the sweetness and deepen the flavor. It’s fluffy, intensely chocolatey, and everything you could ever desire in a frosting.
To make the frosting, start by beating the room temperature butter until it’s light and creamy. Then, gradually add the sifted powdered sugar and cocoa powder, starting on a low speed to prevent a “sugar cloud” and increasing to medium until well combined. Incorporate the vanilla extract and salt. Finally, beat in the whipping cream (or milk) one tablespoon at a time until you achieve your desired consistency – thick enough to spread, yet light and airy. Remember, consistency is key, so adjust the liquid as needed.
Even though the chocolate sheet cake itself is incredibly delicious and stands alone as a treat, the frosting elevates it to a celebratory dessert. If you’re short on time, or simply not a big fan of frosting, don’t worry! This versatile cake is equally delightful topped with a scoop of vanilla ice cream and a drizzle of chocolate sauce, or a dollop of fresh whipped cream and a handful of juicy berries. The options are limitless, catering to every preference.
Freezing Instructions: Preserve Your Deliciousness
One of the many benefits of a sheet cake is how beautifully it freezes, allowing you to prepare it ahead of time or save leftovers for a future treat. Freezing unfrosted cake yields the best results, maintaining its moist texture. Here’s how to do it:
- Cool Completely: Ensure your chocolate sheet cake has cooled *fully* to room temperature. Attempting to freeze a warm cake will result in condensation and potential freezer burn.
- Prepare for Wrapping: If you baked the cake with parchment paper overhang, carefully use it to lift the cake out of the pan. Otherwise, gently invert the pan so the cake lands on a sturdy, flat surface like a large cutting board, a cookie sheet, or a piece of cardboard.
- Initial Wrap (Plastic): Wrap the entire cake tightly in several layers of plastic wrap. The goal is to create an airtight seal that prevents any air from reaching the cake, which is the primary cause of freezer burn. Ensure every inch of the cake is covered.
- Second Wrap (Foil): For an extra layer of protection, wrap the plastic-wrapped cake tightly in aluminum foil. This dual-layer method provides maximum defense against moisture loss and odor absorption from the freezer.
- Freeze: Place the well-wrapped cake on a flat surface in your freezer. It can be frozen for up to 3 months. For best quality, consume within 1-2 months.
- Thawing and Decorating: When you’re ready to enjoy, transfer the frozen cake (still wrapped) to the refrigerator and let it thaw overnight. Once thawed, unwrap and bring it to room temperature for about 30 minutes before decorating with your desired frosting. While frosted cakes can technically be frozen, the texture of the frosting can sometimes change upon thawing, which is why we recommend freezing unfrosted cake.
Serving Suggestions and Yield
A classic 9×13 inch sheet cake is incredibly efficient for feeding a crowd. Depending on how you slice it, it can generously serve a significant number of people. For average-sized portions, you can typically get 18 medium pieces (roughly 2×3 inches each). If you’re serving at a party where guests might prefer smaller bites, you can easily cut it into about 29 smaller pieces (approximately 2×2 inches). This makes it an ideal dessert for any gathering, big or small.
Looking for more fantastic 9×13 inch sheet cake recipes? Explore these other beloved classics that are just as easy and delicious:
- Easy Red Velvet Cake: A vibrant, velvety cake perfect for any celebration.
- Moist Carrot Cake: Spiced to perfection with a delectable cream cheese frosting.
- Banana Cake: A delightful way to use ripe bananas, yielding a wonderfully tender cake.
The Ultimate Chocolate Sheet Cake
By: Fiona Dowling
This chocolate sheet cake is an easy recipe made with everyday ingredients. It’s incredibly moist and fudgy with the perfect chocolate flavor.
Cook: 35 mins
Cooling: 30 mins
Total: 1 hr 30 mins
Servings: 18 slices
Rating: 4.6 out of 5 stars (based on 9 votes)
Rate Recipe |
Print Recipe
Equipment
- 9×13 inch (23 x 33 cm) baking pan*
- Large mixing bowls
- Whisk
- Rubber spatula
Ingredients
Chocolate Sheet Cake
- 2 cups all-purpose flour (250 grams)
- 1/2 cup cocoa powder (45 grams)
- 2 cups granulated sugar (400 grams), use 1 3/4 cup for a slightly less sweet cake
- 2 teaspoons baking soda
- 1/2 teaspoon baking powder
- 1/4 teaspoon salt
- 1/2 cup vegetable oil (120 ml)
- 2 large eggs (room temperature)
- 2 teaspoons vanilla extract
- 1/2 cup milk (120 ml), whole milk is best, 2% works too, room temperature
- 1/2 cup sour cream (120 ml), or plain Greek yogurt, room temperature
- 3/4 cup freshly brewed hot coffee (180 ml), or boiling water
Chocolate Frosting
- 3/4 cup unsalted butter (168 grams), softened
- 3-4 cups powdered sugar (330-440 grams), sifted
- 1/2 cup cocoa powder (45 grams), sifted
- 1 teaspoon vanilla extract
- 1/4 teaspoon salt
- 4-5 tablespoons whipping cream (60-75 ml), or milk
Instructions
Chocolate Sheet Cake
- Preheat the oven to 350°F (180°C).
- Grease a 9×13 inch pan and dust generously with cocoa powder. Alternatively, line the pan with parchment paper, ensuring an overhang around the edges for easy removal.
- In a large bowl, whisk together the flour, cocoa powder (sift if lumpy), sugar, baking soda, baking powder, and salt.
- In a separate large bowl, whisk together the oil, vanilla extract, room temperature eggs, milk, and sour cream (or Greek yogurt).
- Make a well in the middle of the dry ingredients and pour the wet mixture into it. Carefully mix by hand with a rubber spatula, then use a whisk, until about 75% combined. Avoid overmixing.
- Pour in the hot coffee. Vigorously whisk until the batter is smooth, and no lumps or streaks of dry ingredients remain – about 1 minute. The hot coffee helps bloom the cocoa, intensifying the chocolate flavor.
- Pour the batter into the prepared pan and bake for approximately 35-40 minutes. The cake is done when a toothpick inserted into the center comes out clean or with a few moist crumbs. Begin checking around 30 minutes. Let the cake cool completely on a wire rack before frosting.
Chocolate Frosting
- In a large bowl, using an electric mixer, beat the softened butter until light and creamy.
- Gradually sift in 2 cups of the powdered sugar along with the sifted cocoa powder, vanilla extract, and salt. Start the mixer on low speed, then gradually increase to medium until the ingredients are well combined and fluffy.
- Continue to beat in the remaining powdered sugar, about 1/2 cup at a time, alternating with 1-2 tablespoons of whipping cream (or milk), until the frosting reaches your desired consistency and sweetness. It should be light, airy, and spreadable.
- Ensure the cake has fully cooled before frosting. Spread the buttercream evenly over the cake with a flat edge knife or offset spatula. Optionally, decorate with sprinkles for a festive touch.
Notes
- Cocoa Powder: For the richest, deepest chocolate flavor and color, use Dutch-processed cocoa powder (sometimes labeled “Dark” or “Specialty Dark”).
- Room Temperature Ingredients: Always ensure your eggs, milk, and sour cream are at room temperature. This helps them incorporate smoothly into the batter, leading to a more consistent and tender cake texture.
- Sour Cream Substitute: If sour cream is unavailable, plain Greek yogurt is an excellent 1:1 substitute. Do not use flavored yogurt, as it will alter the cake’s taste.
- Hot Coffee Alternative: If you prefer not to use coffee, an equal amount of boiling water can be used instead. The hot liquid helps to “bloom” the cocoa powder, intensifying its flavor without imparting a coffee taste.
- Storage: An unfrosted cake can be covered and stored at room temperature overnight. A frosted cake can be kept at room temperature for up to 8 hours, then covered and stored in the refrigerator for up to 4 days. For optimal enjoyment, let refrigerated cake sit at room temperature for about 30 minutes before serving to soften the frosting and cake.
- Nutrition: The nutritional information provided is an estimate based on 1 slice of cake with frosting, assuming the recipe yields 18 uniform pieces. Individual results may vary.
Nutrition (Estimated per slice with frosting)
Calories: 363 kcal, Carbohydrates: 54g, Protein: 4g, Fat: 17g, Saturated Fat: 7g, Polyunsaturated Fat: 4g, Monounsaturated Fat: 4g, Trans Fat: 0.4g, Cholesterol: 46mg, Sodium: 233mg, Potassium: 127mg, Fiber: 2g, Sugar: 40g, Vitamin A: 323IU, Vitamin C: 0.1mg, Calcium: 33mg, Iron: 1mg
Like this recipe? We’d love to hear from you! Rate and comment below to share your experience!