
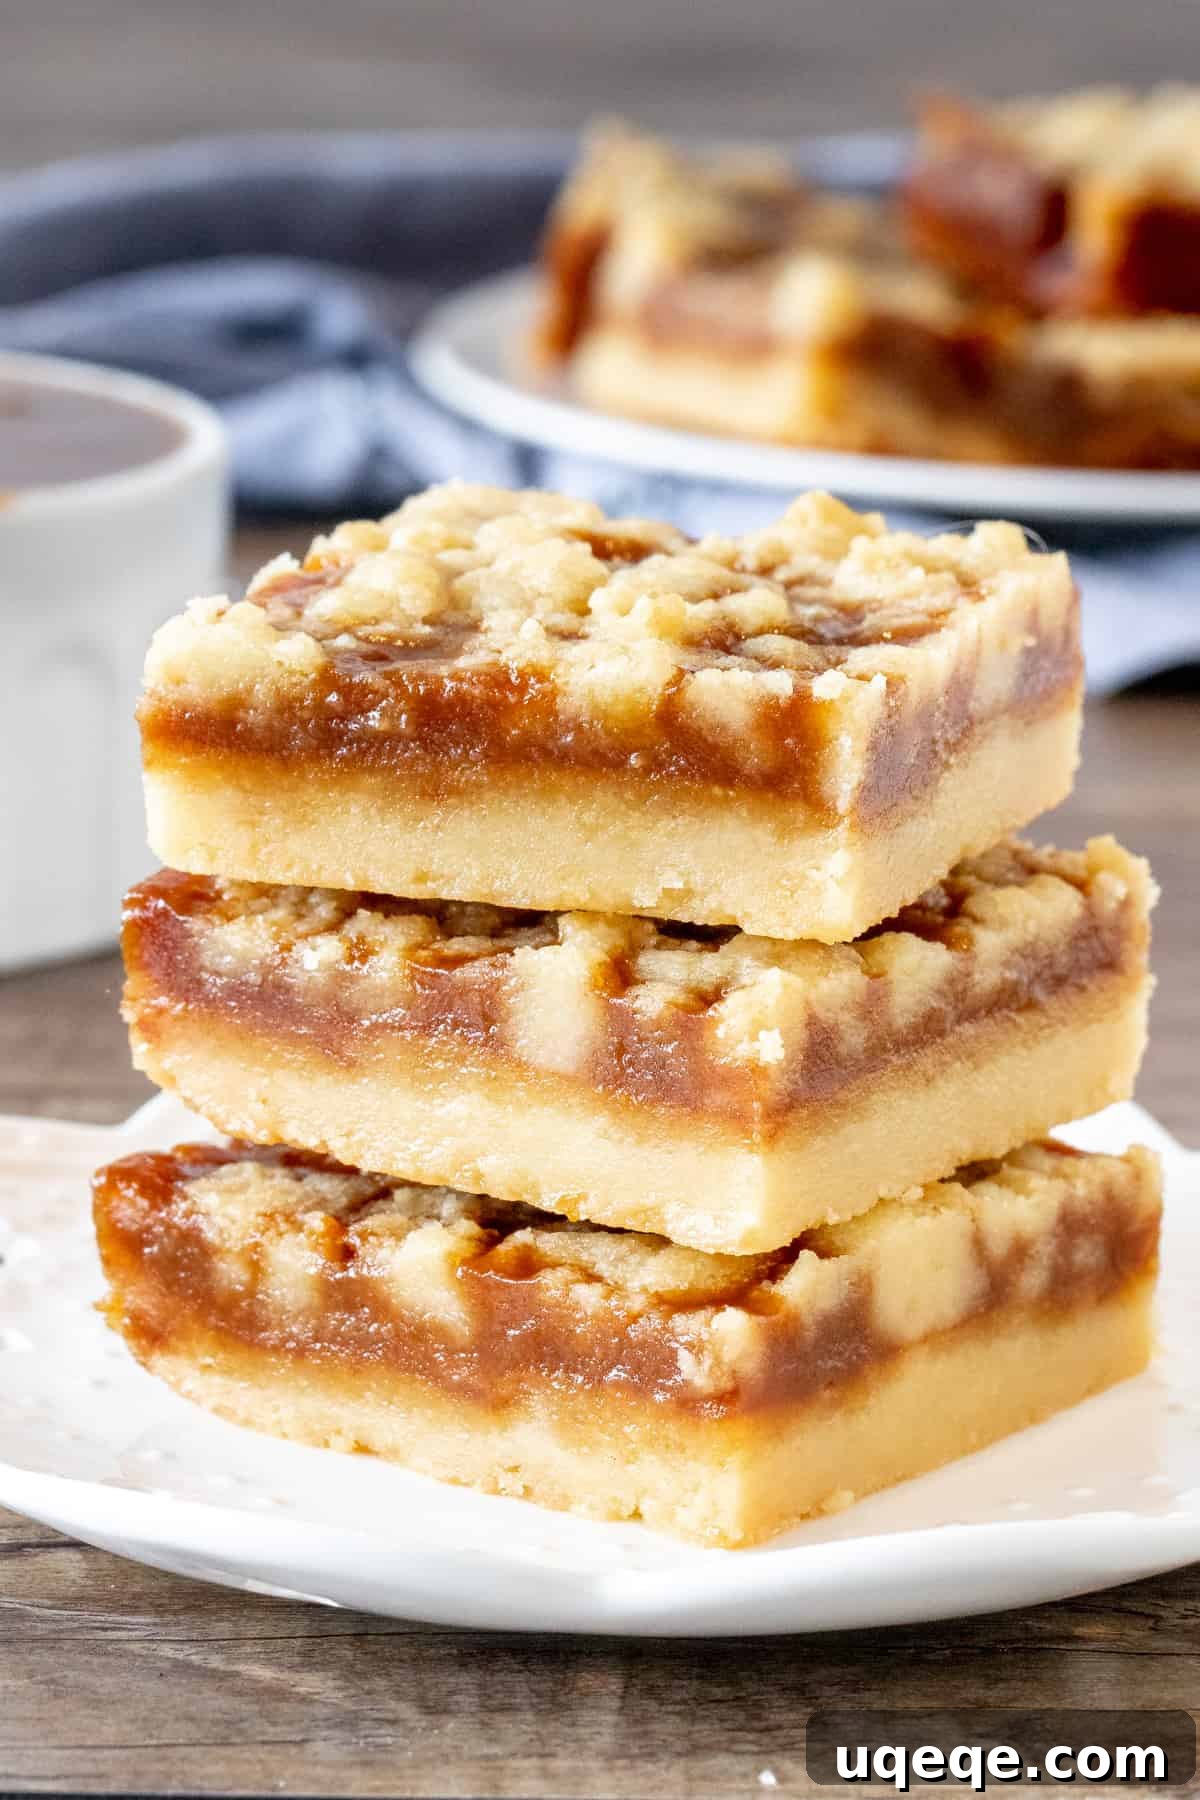
Prepare to be captivated by these exquisite caramel crumb bars, a symphony of rich flavors and luxurious textures. Imagine a perfectly buttery shortbread base, generously layered with luscious, gooey salted caramel, all crowned with a irresistible crumb topping. If your heart sings for caramel, adores the crisp tenderness of shortbread, or simply craves something wonderfully sweet and delightfully messy in the best way possible, then this is the ultimate recipe you’ve been searching for. These bars are not just a dessert; they’re an experience, perfect for sharing, gifting, or savoring all to yourself.
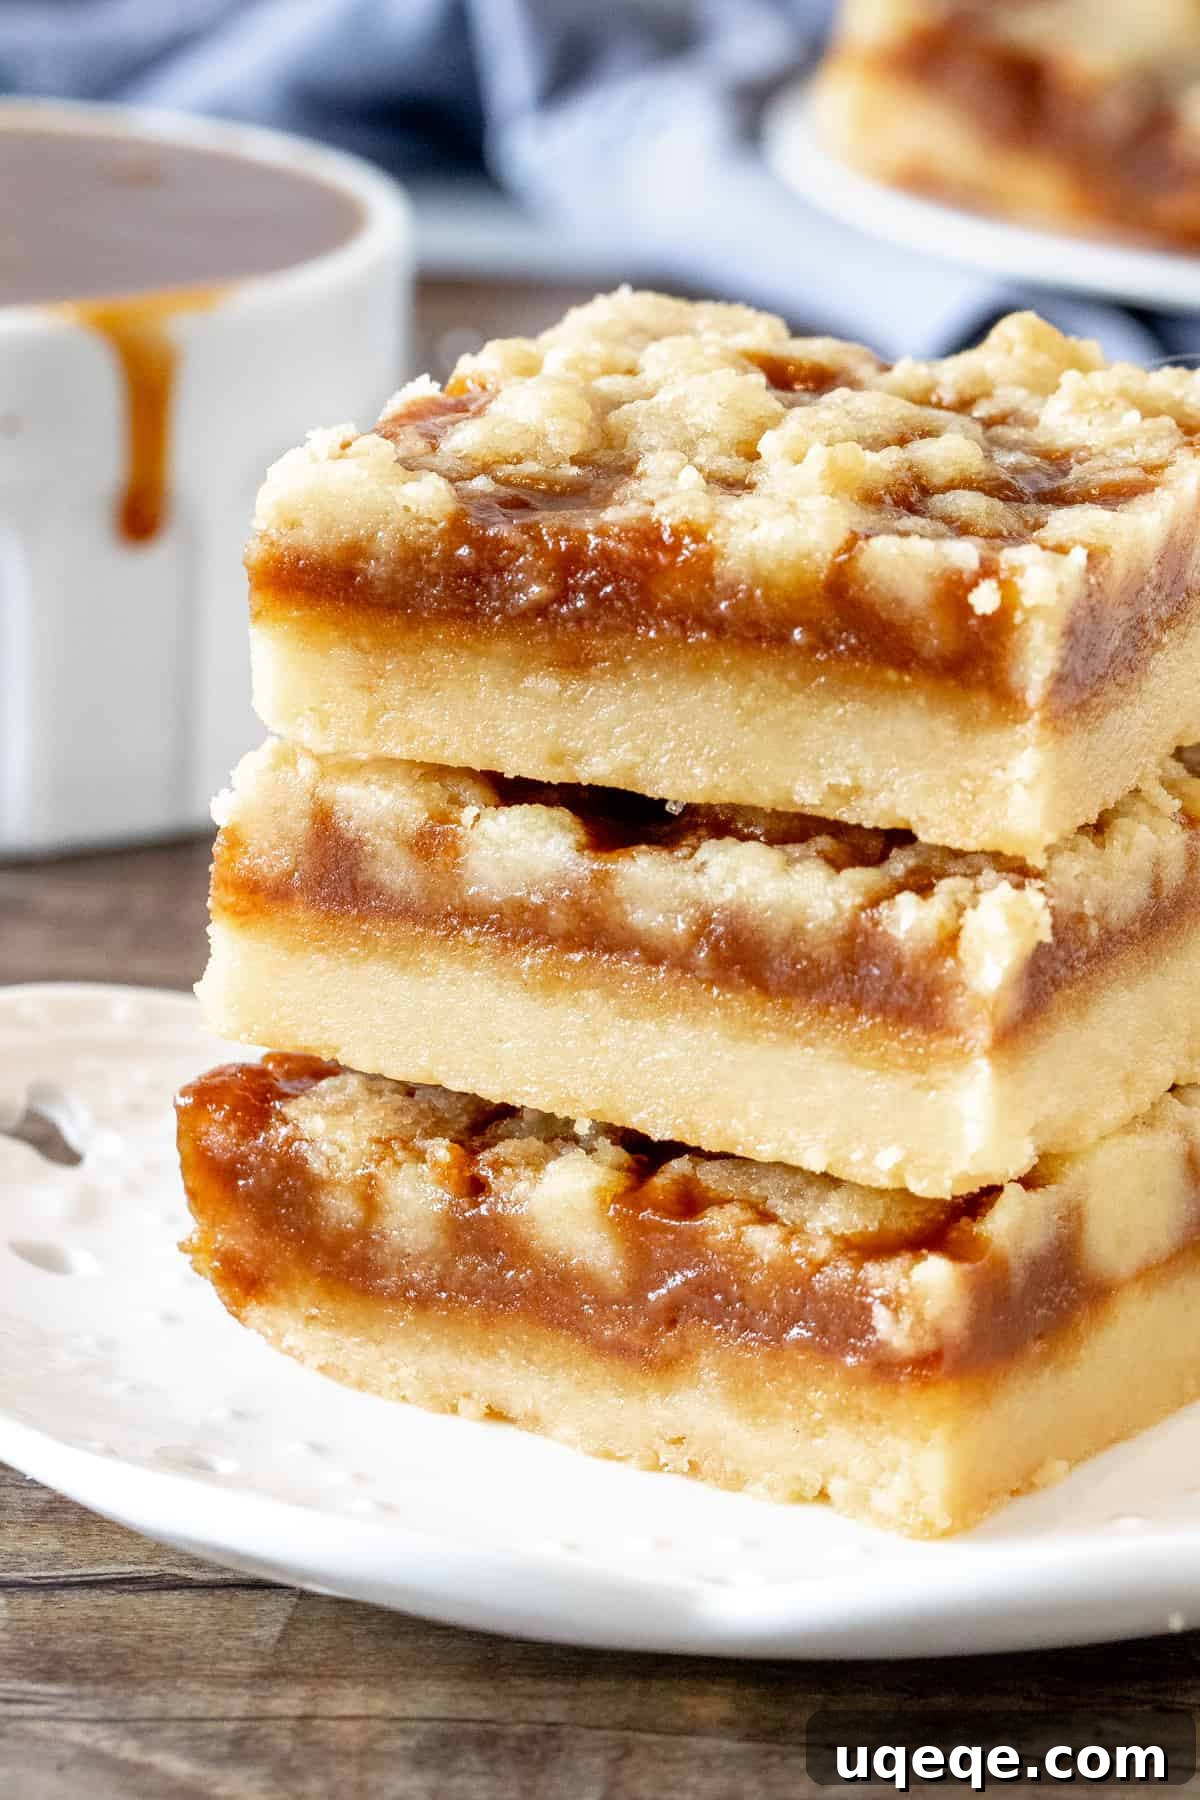
Ultimate Salted Caramel Crumb Bars: A Decadent Shortbread Delight
There’s an undeniable magic in the combination of buttery shortbread and sweet, flowing caramel, especially when a hint of salt elevates every bite. These caramel crumb bars embody that magic, offering a truly decadent treat that’s surprisingly straightforward to make. They are rich, tender, and undeniably satisfying, making them a superb choice for special occasions, holiday celebrations, or simply when you need a comforting dessert on a cozy evening. You can cut them into generous squares for a show-stopping dessert or into smaller bites to add a touch of elegance to a cookie platter or a potluck spread. Their robust flavor profile ensures they’re a hit any time of year.
The Perfect Combination: Buttery Shortbread and Gooey Caramel
The genius of this recipe lies in its simplicity and the thoughtful balance of its components. The shortbread dough serves a dual purpose, forming both the sturdy, buttery base and the delightful, crumbly topping. This ingenious approach streamlines the baking process while ensuring a cohesive flavor and texture throughout the bar. The base is designed to be firm enough to provide a stable foundation for the thick caramel layer, preventing any dreaded sogginess, yet remaining tender and melt-in-your-mouth. Crucially, its sweetness is carefully moderated to perfectly offset the richness of the caramel, creating a harmonious balance that prevents the bars from being overwhelmingly sweet.
To begin, a little more than half of this versatile dough is gently pressed into the bottom of your baking pan. This foundational layer then undergoes a crucial initial bake, allowing it to firm up and achieve that characteristic golden hue and tender crumb before the caramel is introduced. The remaining dough, reserved for the topping, gets a special enhancement: a touch of extra brown sugar. This addition not only deepens its flavor but also promotes that distinctively crumbly texture we all adore. Once the caramel layer is spread, these delightful crumbles are sprinkled over the top, creating a rustic, inviting finish before the bars return to the oven to complete their transformation into golden, bubbling perfection.
Crafting the Irresistible Salted Caramel Layer
The heart of these crumb bars is, of course, the caramel. For this recipe, you have the flexibility to choose between crafting your own homemade salted caramel sauce or opting for a high-quality store-bought version. If you choose the latter, the key is to select a caramel that is thick and rich, typically found in a jar rather than a squeeze tube. A thinner caramel might seep too readily into the shortbread, compromising the integrity of your bars.
My included recipe for homemade salted caramel sauce yields approximately 1 cup, providing a generous amount to ensure you have enough for the bars (which require about 2/3 cup) with a little extra left over. This homemade caramel offers unparalleled depth of flavor and the perfect consistency, allowing you to control the crucial element of saltiness. A good hint of salt is paramount; it acts as a counterbalance to the caramel’s sweetness, preventing the bars from becoming cloyingly rich and instead creating a sophisticated flavor profile that keeps you coming back for more.
Expert Baking Tips for Flawless Caramel Crumb Bars
Achieving bakery-worthy caramel crumb bars is entirely within reach with a few essential tips. These insights will help you navigate the baking process with confidence, ensuring each layer is perfect and the final result is nothing short of spectacular:
- Pre-bake the Shortbread Base: This step is non-negotiable. You absolutely must bake the shortbread base on its own first. Skipping this crucial step will result in a raw, underdeveloped bottom layer that lacks the desired tender-crisp texture. Bake it for about 20-25 minutes, or until the top appears set and begins to take on a delicate golden-brown hue around the edges. This initial bake ensures a perfectly cooked foundation for your bars.
- Allow the Base to Cool: Patience is a virtue in baking, especially here. After its initial bake, allow the shortbread base to cool for at least 20 to 30 minutes before you even think about adding the caramel layer. This is absolutely critical! If the base is still warm, the caramel’s heat can cause it to melt and seep directly into the shortbread, leading to a soggy, undesirable texture. A properly cooled base provides a stable, impermeable surface for the caramel.
- Embrace the Salt: The “salted” in salted caramel is not just for show; it’s a vital flavor enhancer. Ensure your caramel, whether homemade or store-bought, has a pronounced hint of salt. Without it, the inherent sweetness of the caramel, combined with the shortbread, can become overpowering. The salt cuts through the richness, creating a beautifully balanced and more complex flavor profile that tantalizes the taste buds.
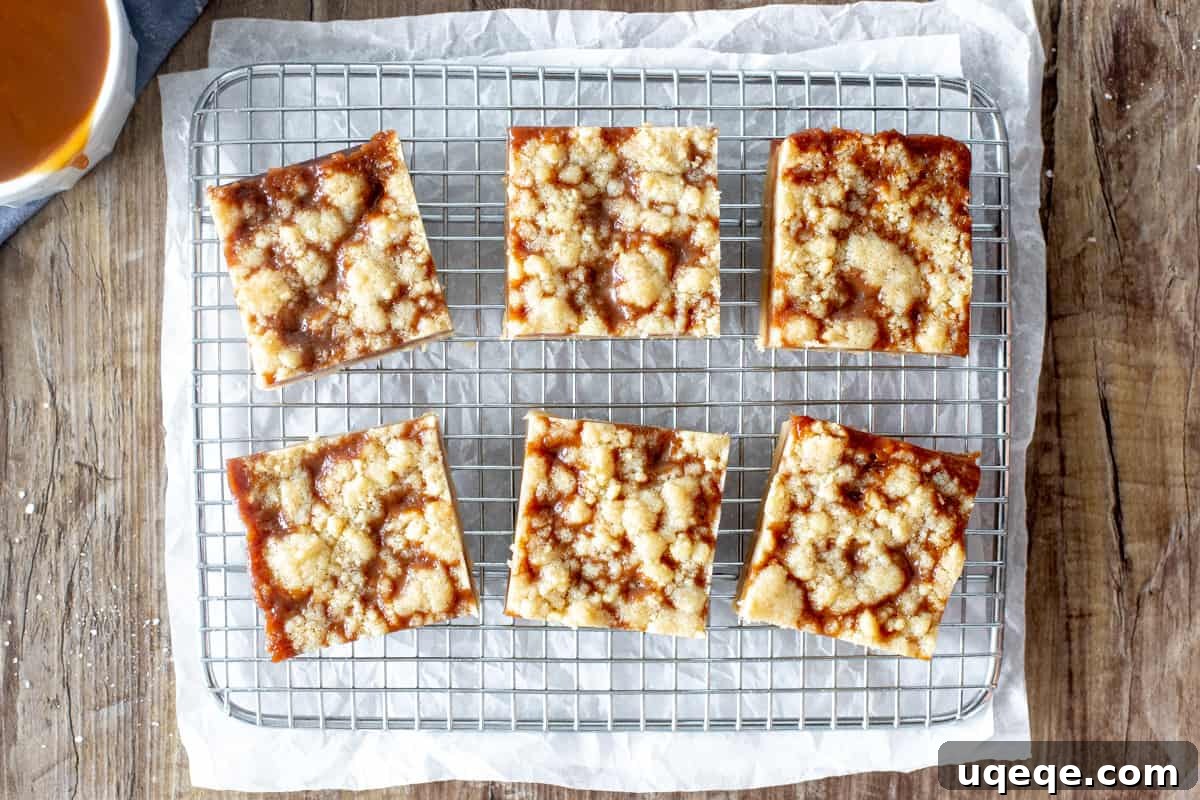
- Cool Completely Before Slicing: This might be the hardest tip to follow, but it’s arguably the most important for clean, beautiful bars. The caramel needs ample time to set and firm up once out of the oven. Your bars will require at least 2-3 hours to cool completely, and often even longer at room temperature. For quicker results, you can transfer them to the refrigerator once they’ve cooled slightly. Attempting to cut the bars while they are still warm will inevitably lead to a gooey, messy situation where the caramel oozes out and the layers refuse to hold their shape. A sharp knife is also essential for clean cuts once fully cooled.
Customizing Your Caramel Crumb Bars
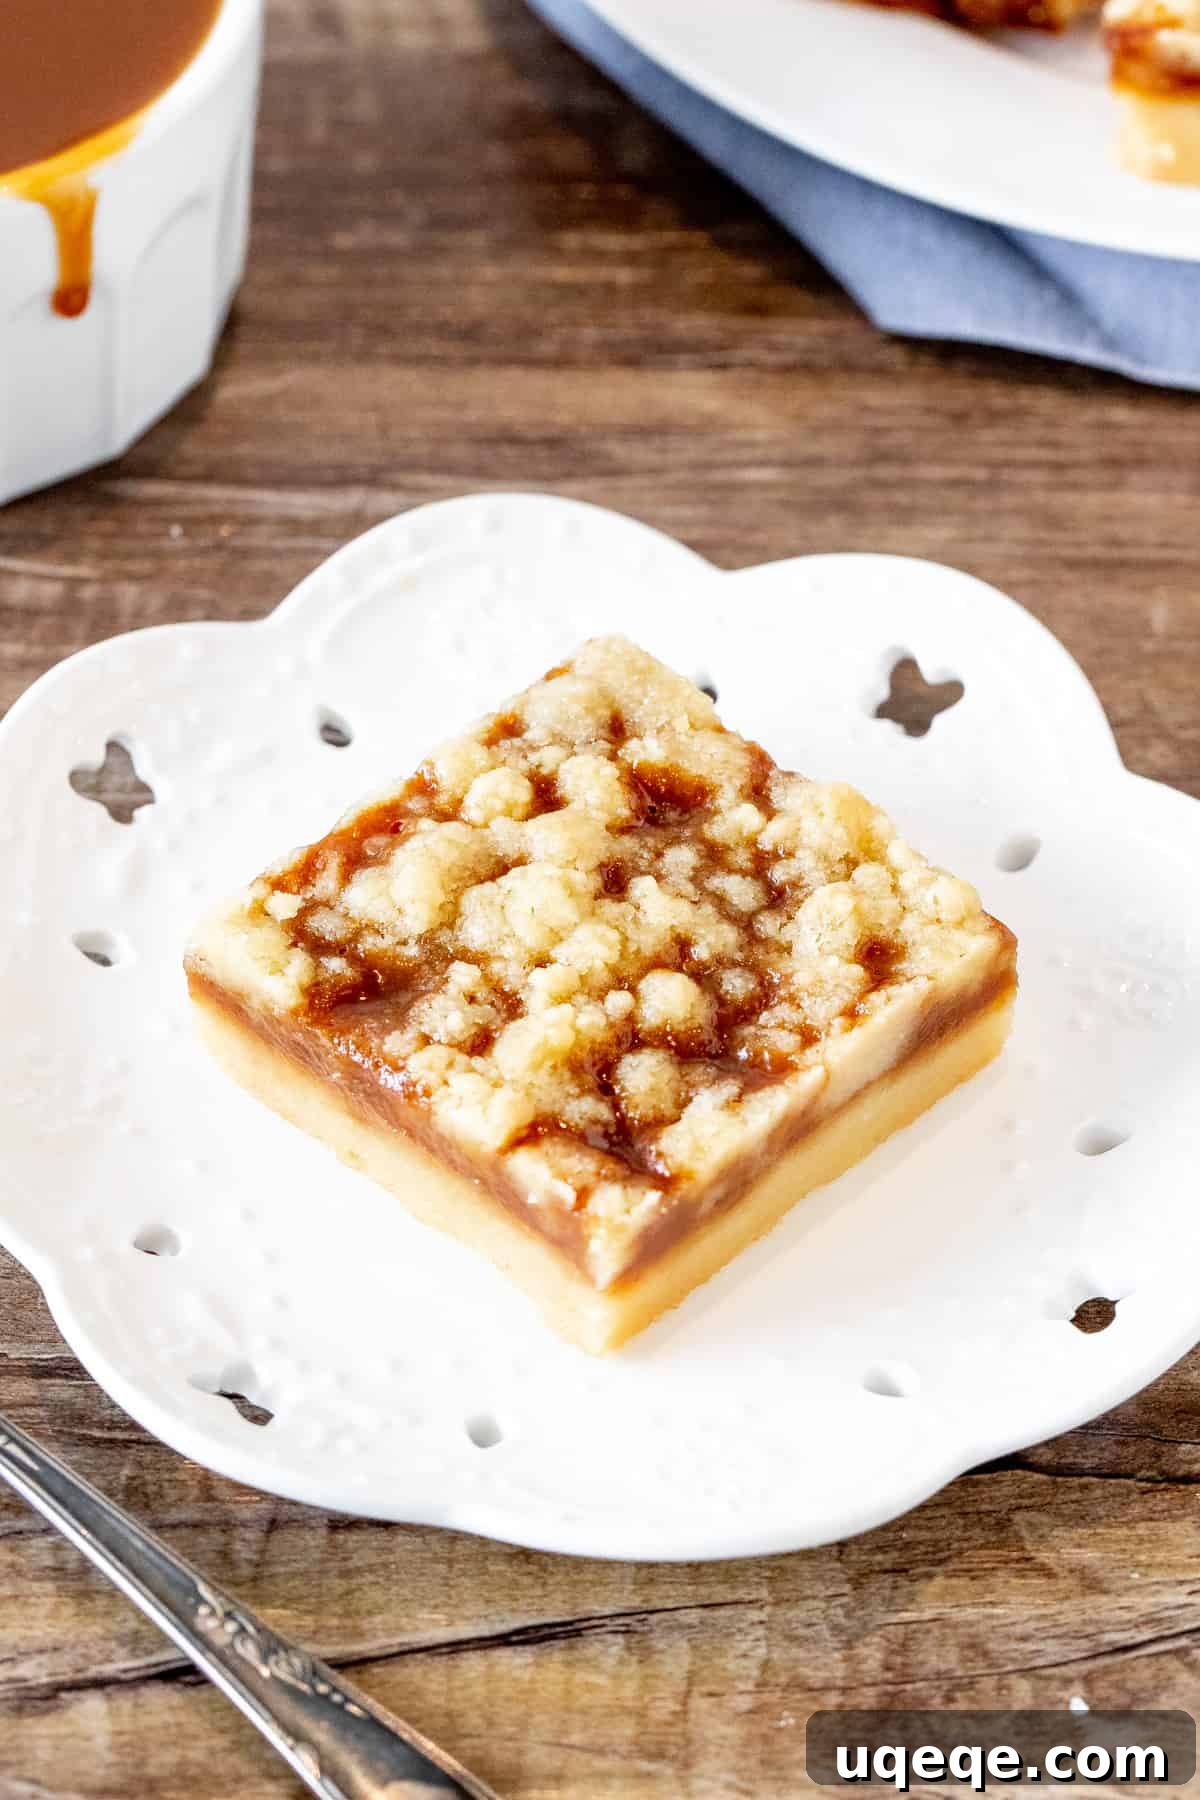
While these caramel crumb bars are spectacular on their own, don’t hesitate to personalize them! A sprinkle of flaky sea salt on top after baking can add an extra layer of visual appeal and flavor. For a textural contrast, consider adding chopped nuts like pecans or walnuts to the crumb topping or even to the shortbread base. A drizzle of melted chocolate over the cooled bars would also be a luxurious touch. For a spiced twist, a pinch of cinnamon or nutmeg in the shortbread dough could add a warming aroma, perfect for autumn or holiday baking. The possibilities are endless, allowing you to adapt this recipe to your unique preferences.
Serving Suggestions and Perfect Pairings
These caramel crumb bars are incredibly versatile when it comes to serving. Enjoy them simply as a standalone treat with a cup of coffee or tea. For an elevated dessert experience, warm them slightly and serve with a scoop of vanilla bean ice cream, allowing the caramel to melt just a little, creating a delightful sauce. They make fantastic additions to holiday dessert tables, potlucks, or as edible gifts for friends and family. Their robust structure also makes them perfect for packing in lunchboxes or taking on picnics. No matter how you choose to serve them, they are guaranteed to bring smiles.
Explore More Caramel Creations
If these tantalizing caramel crumb bars have ignited your passion for all things caramel, you’ll be thrilled to discover more delightful recipes that celebrate this golden confection. Be sure to try these other irresistible caramel treats:
- Caramel Cheesecake – an unbelievably creamy cheesecake featuring rich caramel both swirled into the batter and generously drizzled on top, a true showstopper.
- Chocolate Cupcakes with Caramel Frosting – the classic combination of moist chocolate cupcakes topped with a luscious, buttery caramel frosting.
- Caramel Fudge – a soft, melt-in-your-mouth fudge recipe, perfect for those with a serious sweet tooth and a love for intense caramel flavor.
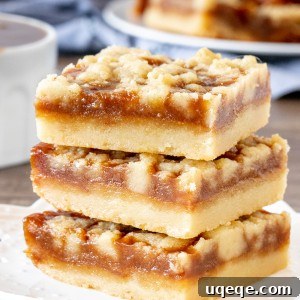
Caramel Crumb Bars
Rate Recipe
Print Recipe
Want to save this recipe and get new recipes every week? Sign up for our email newsletter!
Equipment
-
8×8 inch baking tin (20×20 cm)
Ingredients
Salted Caramel Sauce (or use your own)
- 1 cup granulated sugar (200 grams)
- 6 tablespoons unsalted butter (84 grams) , cut into pieces
- 1/2 cup heavy cream (120 ml)
- 1/2 teaspoon coarse salt
Shortbread Base and Crumb Topping
- 3/4 cup unsalted butter (168 grams), melted
- 3/4 cup granulated sugar (150 grams)
- 1 3/4 cups all-purpose flour (219 grams)
- 3 tablespoons cornstarch (22.5 grams) , AKA cornflour in Australia
- 1/4 teaspoon salt
- 2 tablespoons brown sugar , I used light
Caramel Layer
- 2/3 cup salted caramel sauce (160 ml)
Instructions
Caramel Sauce
-
Add the sugar to a medium saucepan over medium heat.
-
Stir the sugar occasionally using a rubber spatula. It will first form clumps and then melt into an amber-colored liquid. Continue stirring until all lumps are dissolved and the sugar is a smooth, rich amber.
-
Once there are no more lumps, carefully add in the butter, piece by piece, and stir continuously. Be cautious as the mixture will bubble up vigorously. Continue stirring until the butter is mostly incorporated.
-
When the butter is mostly combined and no large pools remain, reduce the heat to low. Slowly pour in the heavy cream while whisking constantly until the mixture becomes smooth, uniform, and beautifully emulsified.
-
Remove the saucepan from the heat and stir in the coarse salt. Let the caramel cool completely to room temperature before using, as it will thicken considerably.
Caramel Crumb Bars
-
Preheat your oven to 325F (160C) degrees. Prepare an 8×8 inch (20×20 cm) baking pan by lining it with parchment paper, ensuring there’s a generous overhang on two sides to easily lift the bars later.
-
In a medium-sized mixing bowl, whisk together the melted unsalted butter and the granulated sugar until well combined. (Remember, the brown sugar is for the topping later).
-
Add the all-purpose flour, cornstarch (or cornflour), and salt to the wet ingredients. Stir gently with a spatula or your hands until the ingredients are just combined and no dry lumps of flour remain. The dough will be thick and will have a somewhat crumbly texture.
-
Take a little more than half of the prepared dough and firmly press it evenly into the bottom of your lined baking pan. Ensure it forms a compact, uniform layer. Place the remaining dough in the refrigerator to keep it cool while the base bakes.
-
Bake the shortbread base in the preheated oven for approximately 20-25 minutes. It should look set and the edges should just begin to turn a light golden brown. Leave the oven on after removing the base.
-
Remove the pan from the oven and allow the base to cool for a minimum of 20-30 minutes. This cooling period is absolutely essential to prevent the caramel from seeping into the shortbread and making it soggy.
-
Once the base has sufficiently cooled, evenly spread 2/3 cup of your salted caramel sauce over the top. If you prepared the homemade caramel using the recipe provided, you will have a small amount of delicious leftover caramel.
-
Retrieve the reserved dough from the fridge. Mix in the 2 tablespoons of brown sugar until it’s fully incorporated. This additional brown sugar will enhance the crumbly texture and flavor of the topping.
-
Generously crumble the brown sugar-infused dough over the caramel layer. Aim for a variety of crumble sizes; I personally prefer larger crumbles as they tend to hold their shape better and prevent excessive absorption into the caramel during baking. It’s perfectly fine if some caramel peeks through.
-
Return the pan to the oven (which should still be at 325F/160C) and bake for another 25-30 minutes. The bars are ready when the crumb topping is golden brown and no longer appears doughy. You’ll notice the caramel gently bubbling around the edges, which is a normal and desirable sign.
-
Carefully remove the pan from the oven. It is absolutely essential to cool the bars fully in the pan before attempting to slice them. This will take at least 3 hours at room temperature. To expedite the cooling process, you can transfer the pan to the refrigerator once it has cooled enough to handle.
-
Once completely cooled and set, use the parchment paper overhang to lift the entire slab of bars out of the pan and place it on a sturdy cutting board. Slice the bars into desired pieces using a sharp, non-serrated knife for the cleanest cuts.
Notes
- Caramel Sauce: If you use the provided recipe for salted caramel sauce, it will yield slightly over 1 cup. You will have a small amount of luscious caramel leftover. Store any unused caramel in an airtight container in the refrigerator for up to 3 weeks. When using store-bought caramel, prioritize a thick, jarred variety with a good, balanced hint of salt to achieve the best results for these bars.
- Storage: These delightful caramel crumb bars will maintain their freshness and deliciousness for up to 5 days when stored in an airtight container. While they are fine at room temperature, I personally prefer to store them in the refrigerator, as it helps the caramel stay firm and makes for a wonderfully chewy texture. For longer storage, the bars can be frozen for up to 2 months. Thaw them thoroughly in the refrigerator before enjoying to restore their perfect consistency.
- Nutrition: The nutritional information provided is an estimate only. It is based on a single bar, assuming the entire pan is cut into 12 equal pieces. Please note that actual values may vary depending on ingredients used and precise portioning.
Nutrition
Carbohydrates: 38g,
Protein: 2g,
Fat: 12g,
Saturated Fat: 7g,
Polyunsaturated Fat: 1g,
Monounsaturated Fat: 3g,
Trans Fat: 1g,
Cholesterol: 31mg,
Sodium: 95mg,
Potassium: 36mg,
Fiber: 1g,
Sugar: 14g,
Vitamin A: 366IU,
Vitamin C: 1mg,
Calcium: 15mg,
Iron: 1mg
Enjoy these truly spectacular Salted Caramel Crumb Bars! We’d love to hear your thoughts and see your creations. Don’t forget to rate and comment below once you’ve tried the recipe!