
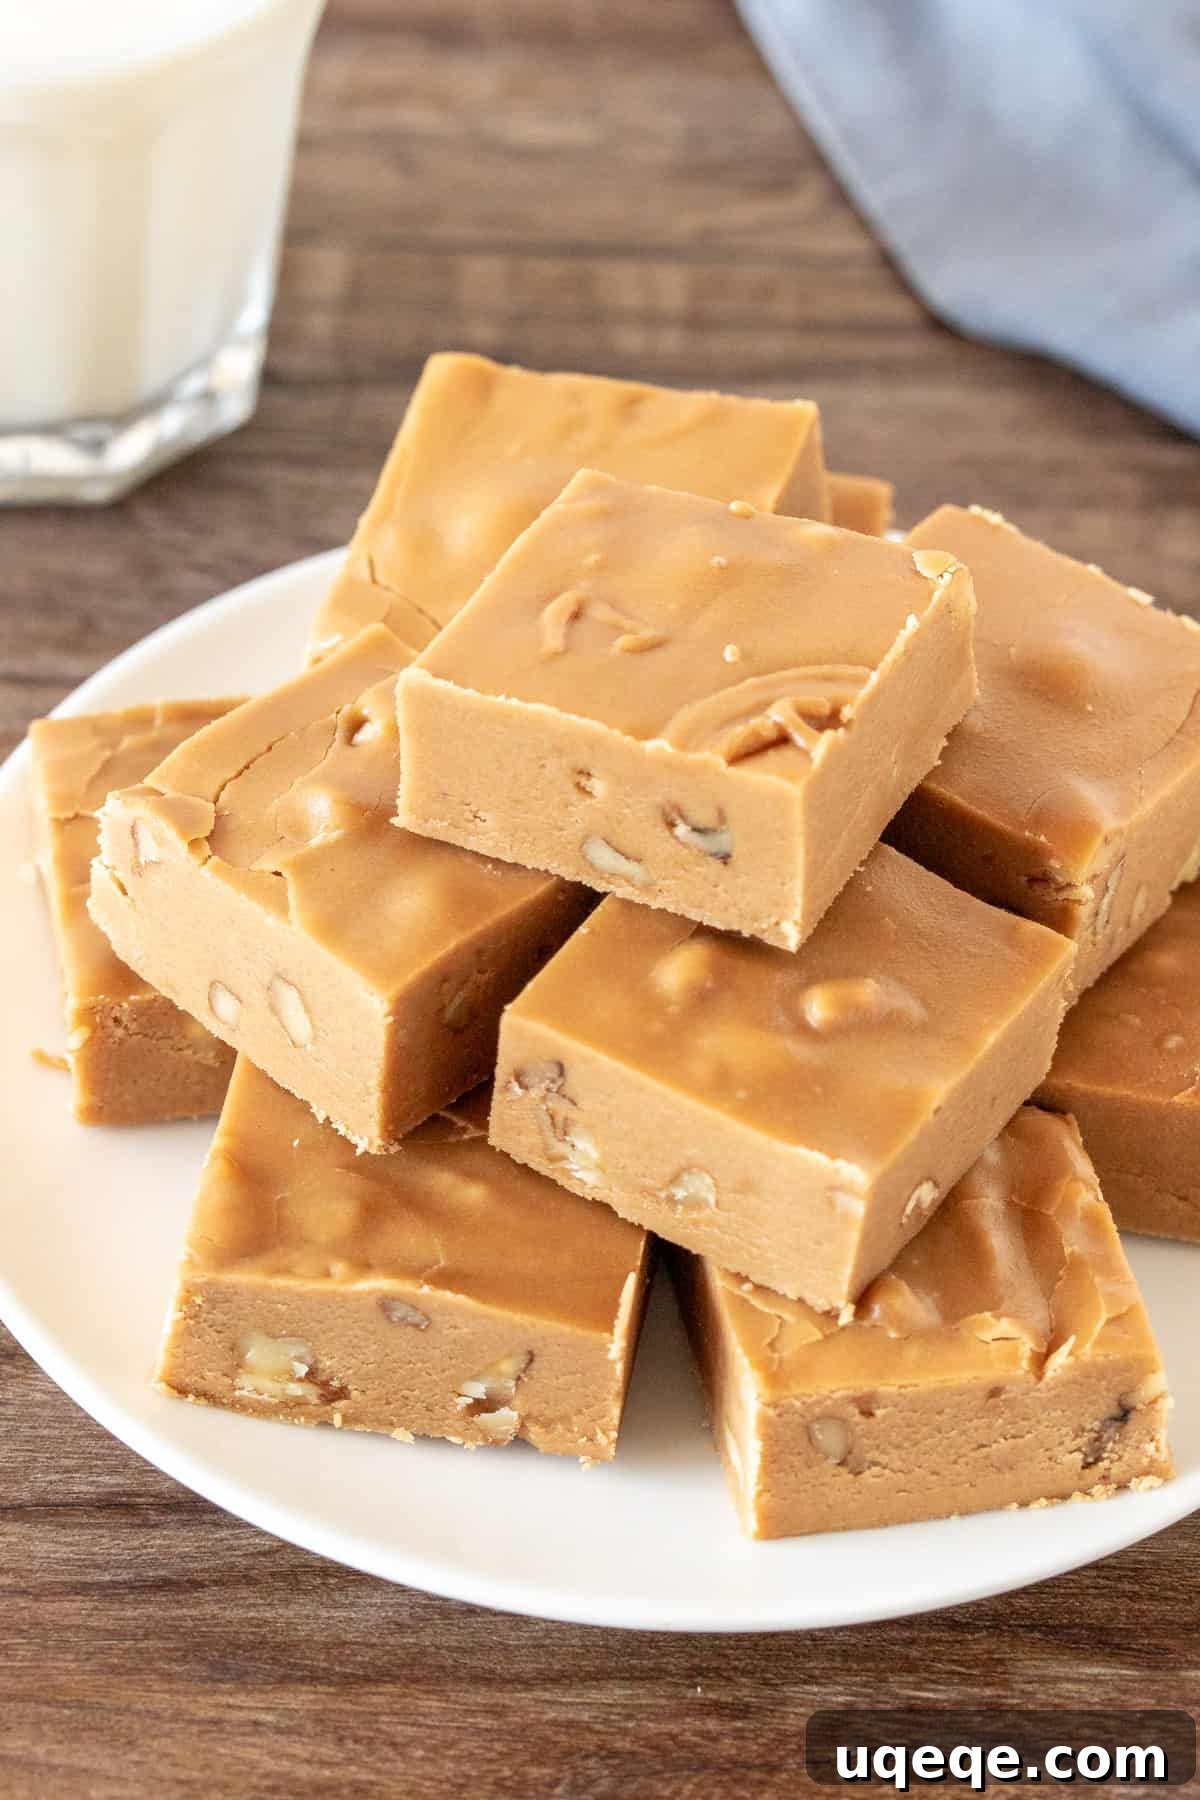
Irresistible Old-Fashioned Brown Sugar Fudge: A Timeless Butterscotch Treat
Step into a world of nostalgic flavors with our classic, old-fashioned brown sugar fudge recipe. Crafted with just a few simple ingredients, this delightful confectionery boasts an unparalleled butterscotch flavor that is exquisitely sweet, incredibly creamy, and utterly addicting. It’s not just a dessert; it’s a delicious gesture, making it the perfect homemade gift for any occasion.
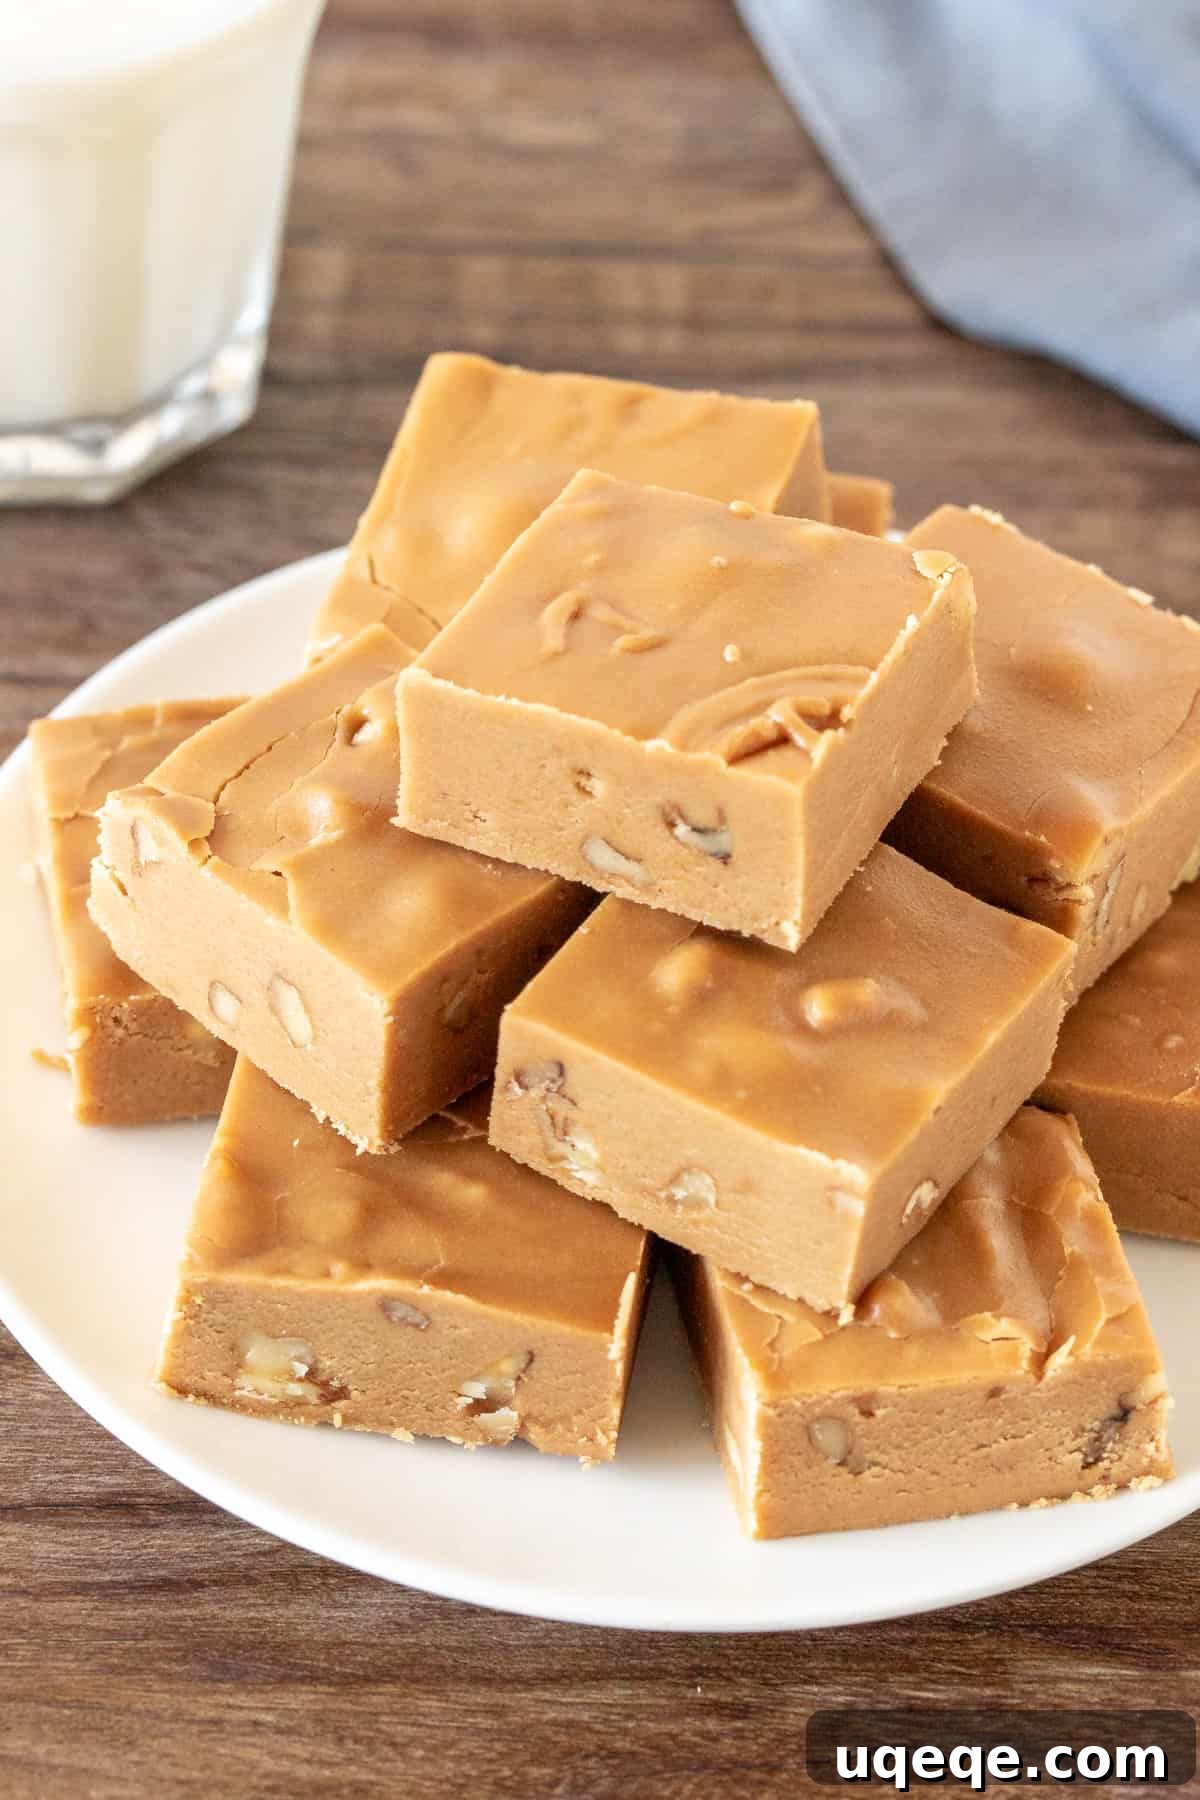
In a culinary landscape often dominated by quick fixes, many fudge recipes lean on shortcuts like sweetened condensed milk or marshmallow cream. While convenient, they often miss the depth and authentic texture of traditional fudge. If you yearn for the genuine taste of fudge made the time-honored way, then this brown sugar fudge recipe is precisely what you need. Its profound sweetness and rich, complex brown sugar butterscotch flavor are truly captivating. Each small piece offers an intense burst of flavor, proving that some things are worth savoring.
For those who appreciate a textural contrast and a slight counterpoint to the sweetness, I highly recommend incorporating toasted walnuts or pecans. Their earthy crunch adds another layer of sophistication to this already perfect treat, though leaving them out for a pure, unadulterated creamy experience is equally delightful. The choice is entirely yours, allowing you to customize this classic to your preference.
Mastering the Art of Brown Sugar Fudge
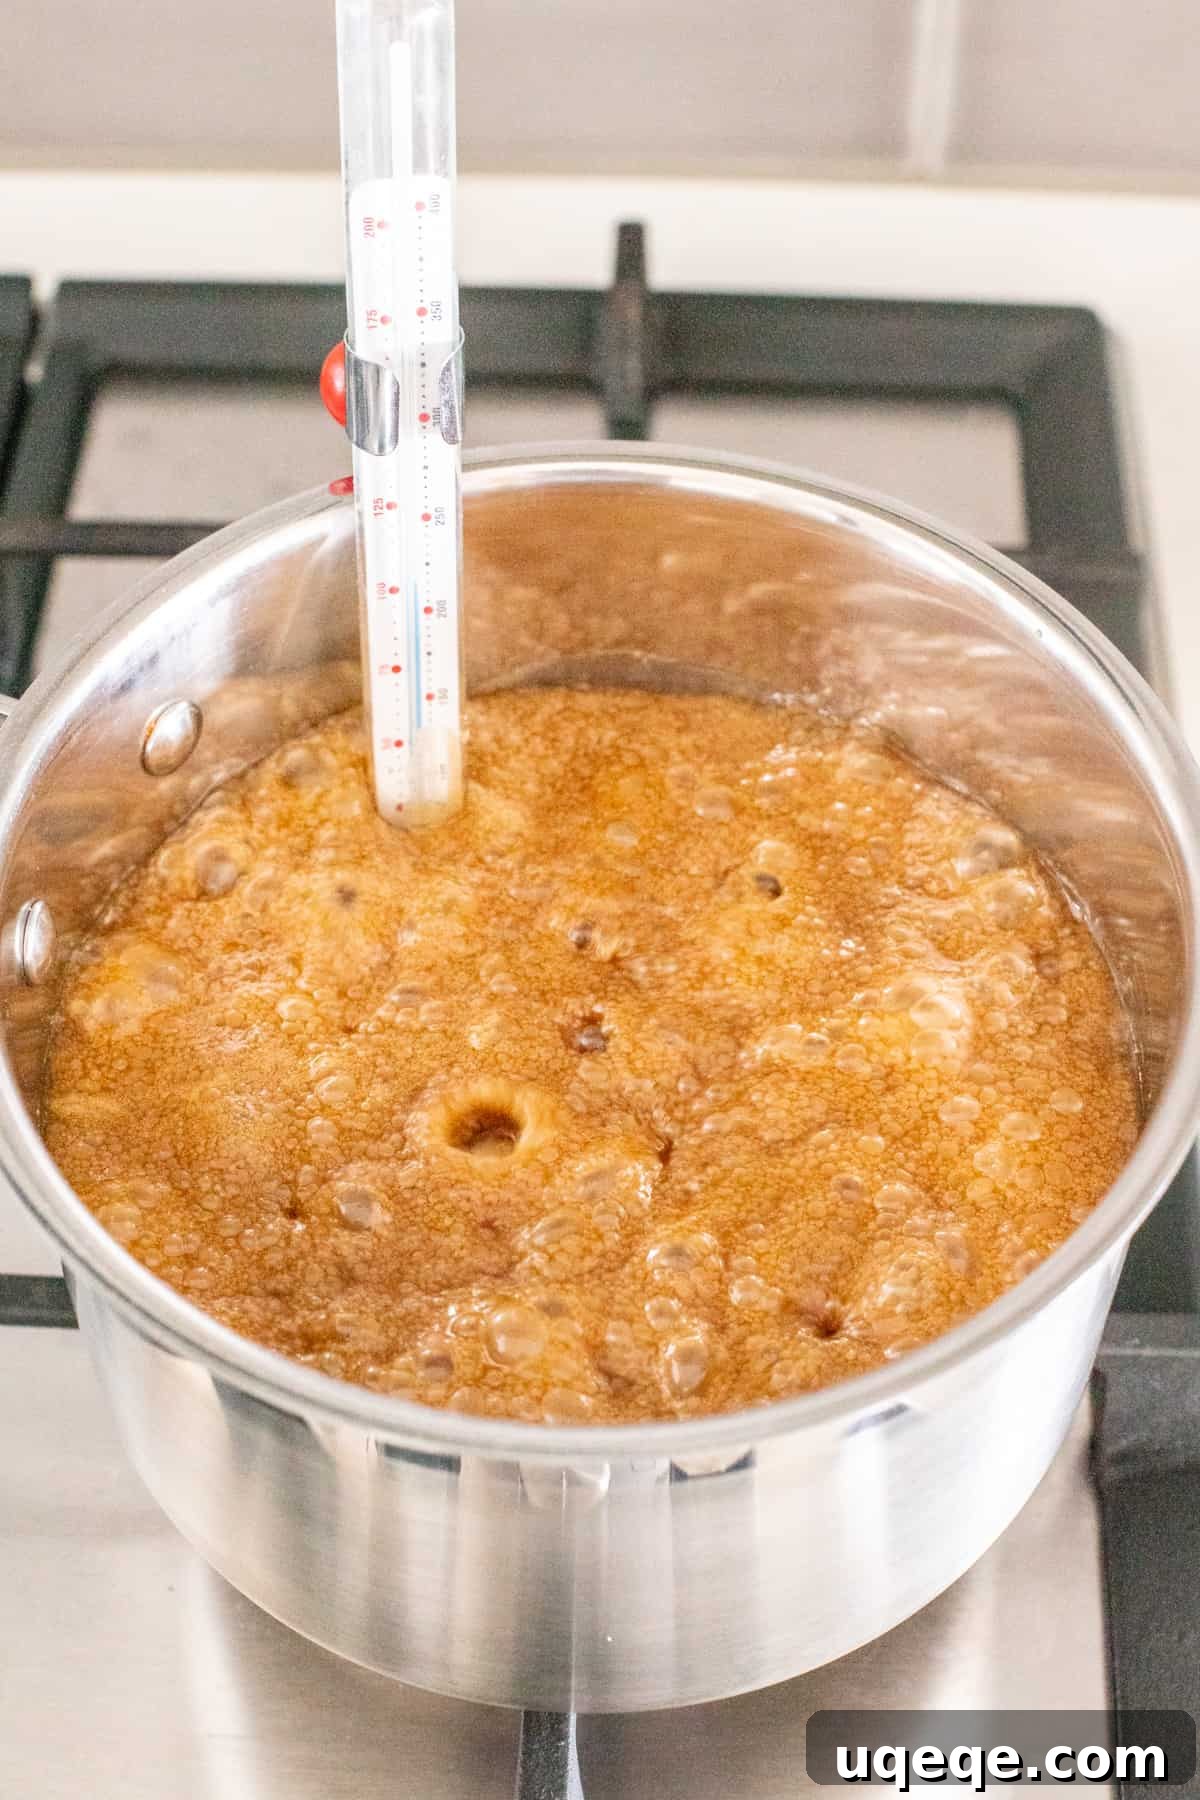
Crafting this luscious brown sugar fudge involves a straightforward, yet precise, cooking method centered around boiling a mixture of essential ingredients. You’ll combine brown sugar, white sugar, evaporated milk, and butter in a large, heavy-bottomed pot. The use of a heavy pot is crucial to ensure even heat distribution and prevent scorching, which can ruin the delicate sugar mixture. Initially, you’ll gently stir these ingredients as they melt together over low heat. This gentle stirring is not only vital for dissolving the sugars completely but also for preventing them from burning and crystallizing on the bottom of the pan. Once everything is well combined and dissolved, increase the heat slightly and bring the mixture to a rolling boil, continuing to cook for approximately 15 minutes or until it reaches the critical “soft-ball” stage.
The transition from a glossy liquid to a soft, pliable fudge happens after the boiling process. Once your sugar mixture has reached the precise “soft-ball” stage, immediately remove the pan from the heat. At this point, you’ll stir in the aromatic vanilla extract and a pinch of salt. Vanilla adds warmth and depth to the butterscotch notes, while salt balances the sweetness and enhances all the flavors. The mixture must then cool undisturbed to a lukewarm temperature. This cooling phase is critical as it allows the sugar crystals to form in a controlled manner, essential for that smooth, creamy fudge texture. Finally, the cooled mixture is beaten vigorously with an electric mixer for about 5 minutes, or until its glossy appearance gives way to a duller, more opaque finish, signaling that it’s properly crystallized. Fold in your optional toasted nuts, then spoon the mixture evenly into your prepared pan, and let it set to perfection.
Understanding the Soft-Ball Stage: The Secret to Perfect Fudge
For anyone delving into the wonderful world of homemade candy making, terms like “soft-ball” or “hard-crack” stages are fundamental. These specific stages refer to the exact temperature the boiling sugar mixture must reach to achieve a particular consistency, directly impacting the final texture of your candy. The “soft-ball” stage is, as its name suggests, ideal for producing softer candies, such as this delightful brown sugar fudge, as well as caramels or pralines. Conversely, the “hard-crack” stage is reserved for much firmer, brittle confections like peanut brittle, toffee, or lollipops.
The definitive “soft-ball” stage is achieved when your boiling sugar mixture reaches precisely 240°F (116°C) on a reliable candy thermometer. Investing in a good quality candy thermometer is perhaps the most crucial piece of equipment for consistent results in candy making. Ensure the thermometer is properly calibrated and that its bulb is submerged in the mixture without touching the bottom of the pan to get an accurate reading. Alternatively, if you don’t have a candy thermometer readily available, you can employ the traditional ice water test. Keep a glass of ice-cold water on hand next to your stove. When you believe the mixture is close to the soft-ball stage, carefully drop a small teaspoon of the boiling sugar into the ice water. If it has reached the correct stage, you should be able to gather the cooled sugar into a soft, slightly squishy ball between your fingers. If it disintegrates, it needs to boil longer. If it’s too firm, you’ve gone past the soft-ball stage. This tactile test is an invaluable skill for any home confectioner and a rewarding way to connect with traditional cooking methods.
Storing, Freezing, and Make-Ahead Tips for Your Brown Sugar Fudge
Proper storage is key to maintaining the delightful texture and flavor of your homemade brown sugar fudge. Once it’s fully set and sliced, fudge will keep beautifully in an airtight container at room temperature for up to 1 week. Placing parchment paper between layers of fudge can prevent pieces from sticking together, especially if your kitchen tends to be on the warmer side. However, if you find your fudge is a little softer than desired – a common occurrence if it hasn’t boiled for quite long enough or if humidity is high – then I highly recommend storing it in the refrigerator. In an airtight container in the fridge, your fudge will remain fresh and firm for up to 2 weeks, providing a longer window to enjoy this sweet indulgence.
Fudge also freezes exceptionally well, making it an ideal make-ahead treat for holidays or unexpected guests. To freeze, first ensure your fudge is completely cool and sliced. For optimal freshness and to prevent freezer burn, wrap the entire block of fudge (or individual pieces) tightly in aluminum foil, then place it inside a freezer-safe container or heavy-duty freezer bag. Properly wrapped fudge can be stored in the freezer for up to 3 months. When you’re ready to enjoy it, simply thaw the fudge in the refrigerator overnight. This slow thawing process helps preserve its creamy texture. If you plan to freeze multiple layers of fudge, always place a piece of parchment paper between each layer to prevent them from freezing together, allowing for easy separation when thawed.
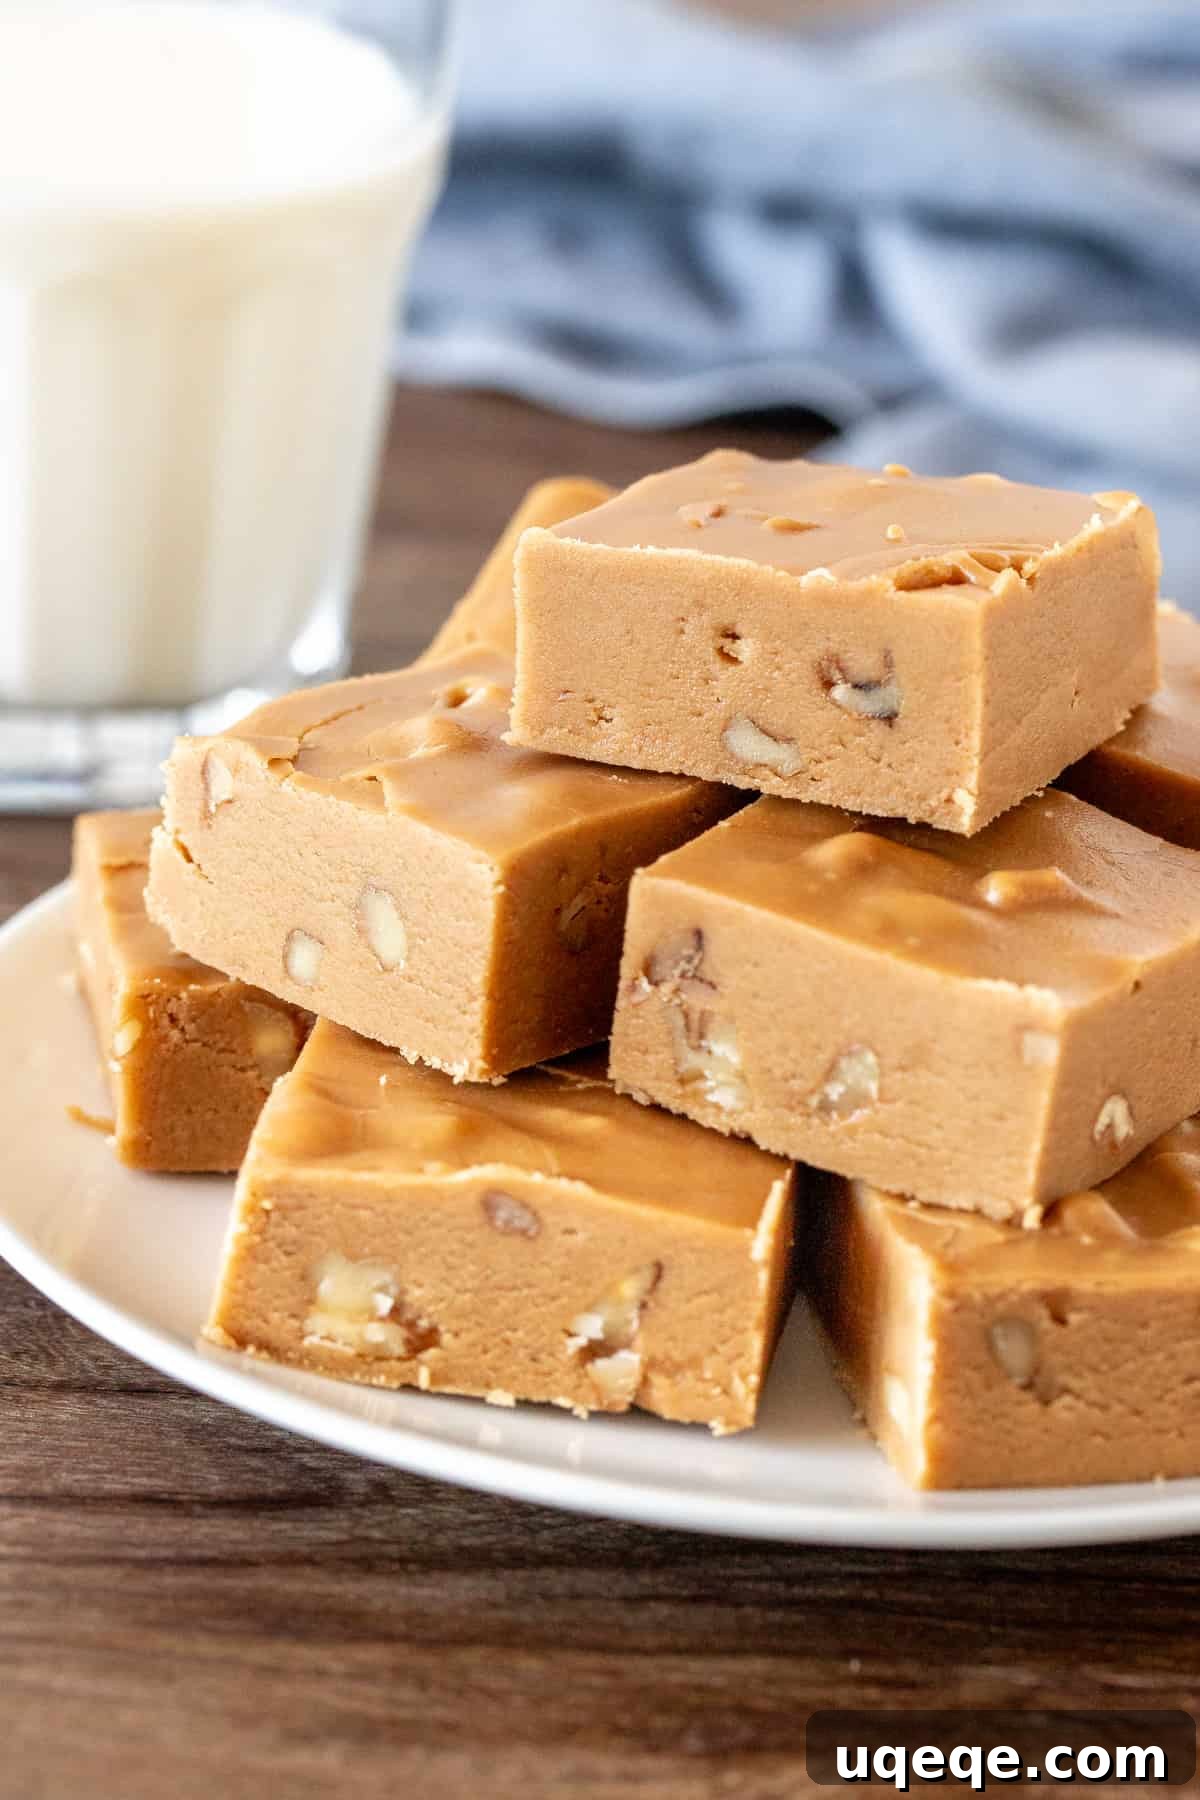
Sweet, wonderfully creamy, and undeniably perfect for anyone with a serious sweet tooth, this old-fashioned brown sugar fudge is more than just a recipe; it’s a journey back to simple, pure flavors. It’s an easy-to-follow recipe that yields impressive results, making it an excellent choice for holiday baking, special gifts, or simply a comforting treat on a cozy evening. Elevate your dessert platter by pairing it with some rich chocolate fudge or a batch of savory peanut butter fudge for a truly irresistible spread. This classic candy is guaranteed to bring smiles and satisfy cravings, proving that sometimes, the simplest traditions are the most delicious.
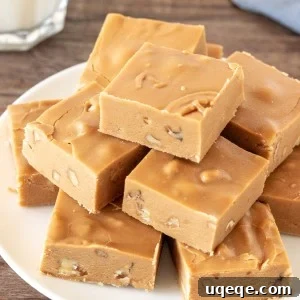
Brown Sugar Fudge
Equipment
-
candy thermometer
Ingredients
- 1 cup chopped walnuts*
- 2 cups brown sugar
- 1 cup white sugar
- 1 cup evaporated milk*
- 2 tablespoons unsalted butter
- 1 teaspoon vanilla extract
- 1/2 teaspoon salt
Instructions
Toasting the Walnuts
-
Preheat the oven to 350F degrees. Add the walnuts to a cookie sheet in an even layer and bake for 8-10 minutes until they’re a slightly darker brown color (AKA toasted).
Making the Fudge
-
Lightly grease an 8×8 inch baking pan and line with parchment paper, leaving an overhang around the edges.
-
Clamp a candy thermometer to the outside of a large, heavy bottom saucepan.
-
Add the brown sugar, white sugar, evaporated milk and unsalted butter to the saucepan. Melt over low heat while gently stirring to avoid burning.
-
Adjust the heat to medium and bring to a boil – stir occasionally. Boil the mixture until it reaches 240F (116C) degrees on the candy thermometer. This typically takes me over 15 minutes.
-
Remove the pan from the heat and stir in the vanilla extract and salt. Let it cool until its lukewarm.
-
Beat with an electric mixer for 5 minutes until it’s no longer glossy.
-
Stir in the nuts.
-
Spoon the fudge into the pan and smooth the top. Let the pan sit for the fudge to set (about 2-4 hours).
-
When ready to slice, lift the fudge out of the pan using the overhang around the edges and place on a cutting board. Slice using a sharp knife and store in the fridge.
Notes
- Feel free to use walnuts or pecans, or leave them out.
- Make sure to use evaporated milk, and not sweetened condensed milk.
- Store fudge in an airtight container at room temperature for up to 1 week, or in the fridge for 2 weeks.
- Nutrition information is an estimate only and based on 1 piece, assuming the pan is sliced into 36 equal pieces.
Nutrition
Carbohydrates: 19g,
Protein: 1g,
Fat: 3g,
Saturated Fat: 1g,
Cholesterol: 4mg,
Sodium: 43mg,
Potassium: 52mg,
Fiber: 1g,
Sugar: 18g,
Vitamin A: 36IU,
Vitamin C: 1mg,
Calcium: 32mg,
Iron: 1mg