
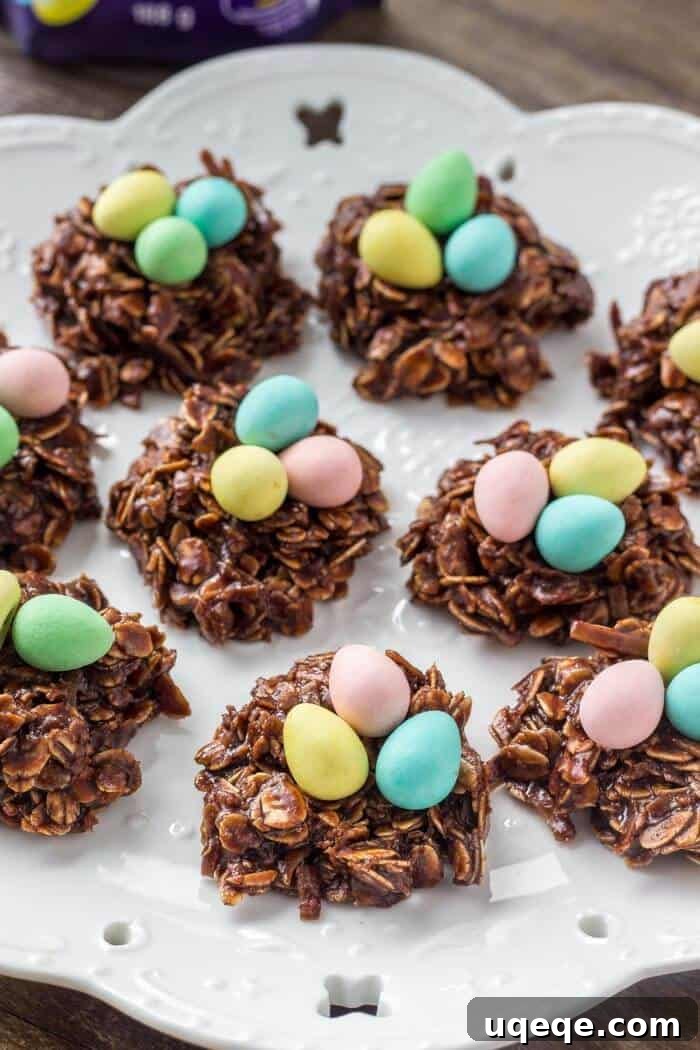
Looking for a delightful, fuss-free treat that captures the magic of Easter? These No-Bake Easter Nest Cookies are the perfect answer! Simple to make, incredibly delicious, and utterly adorable, they’re guaranteed to be a hit with both kids and adults.
Easy No-Bake Easter Nest Cookies: Your Go-To Holiday Recipe
Easter is a time for celebration, family, and, of course, delicious treats. While traditional baking can be wonderful, sometimes you need a recipe that’s quick, easy, and doesn’t require turning on the oven. That’s where these charming Easter Nest Cookies come in! Made with a rich chocolate oatmeal base and adorned with colorful mini eggs, they beautifully mimic real birds’ nests, bringing a touch of springtime whimsy to your holiday table. This no-bake recipe is not only incredibly simple, making it perfect for busy schedules, but also a fantastic activity for getting children involved in the kitchen.
Imagine soft, chewy cookies bursting with chocolatey goodness, topped with vibrant candy eggs – it’s a visual and culinary delight! This recipe requires minimal ingredients and steps, proving that you don’t need to be a pastry chef to create memorable holiday desserts. Whether you’re preparing for an Easter brunch, a family gathering, or just looking for a fun project, these Easter nest cookies are an absolute must-try. They’re quick enough to whip up last minute, yet impressive enough to make a lasting impression.

Why These No-Bake Easter Nest Cookies Are Simply Perfect
These aren’t just any cookies; they’re a symbol of springtime joy and effortless holiday baking. Here’s why this recipe deserves a prime spot in your Easter repertoire:
- Effortlessly Easy: No oven required! This makes them ideal for hot days, busy kitchens, or when you just want a straightforward dessert without the fuss of baking.
- Kid-Friendly Fun: The process is simple enough for young children to help with stirring, shaping, and, of course, placing the “eggs.” It’s a wonderful way to create lasting holiday memories together.
- Adorable & Festive: The finished cookies are incredibly cute and perfectly embody the spirit of Easter. They make a fantastic centerpiece for dessert platters or a thoughtful gift.
- Quick to Prepare: From start to finish, you can have a batch of these delightful treats ready in under an hour, including cooling time.
- Deliciously Irresistible: The combination of rich chocolate, wholesome oatmeal, and sweet coconut creates a satisfying texture and flavor that everyone will love.
- Customizable: While mini chocolate eggs are classic, you can easily swap them for jelly beans, M&Ms, or other small candies to personalize your nests.
Ingredients You’ll Need for Your Easter Nest Cookies
Gathering your ingredients is the first step to creating these delightful treats. You’ll likely have most of these pantry staples on hand already!
For the Chocolate Oatmeal Base:
- 1/2 cup (113g) Unsalted Butter: Or margarine for a dairy-free option. This forms the rich base.
- 1/2 cup (100g) Granulated Sugar: Provides sweetness and helps with the texture.
- 1/4 cup (25g) Unsweetened Cocoa Powder: For that irresistible chocolate flavor. Choose a good quality cocoa for best results.
- 1/4 cup (60ml) Milk: Any milk works – whole milk, skim milk, or even a non-dairy alternative like almond or oat milk.
- 1 teaspoon Vanilla Extract: Enhances all the flavors.
- 1 3/4 cups (160g) Quick Oats or Old-Fashioned Rolled Oats: Quick oats will give a slightly smoother texture, while old-fashioned oats provide a chewier bite. Avoid steel-cut oats, as they will be too hard and crunchy for this recipe.
- 1 cup (85g) Shredded Sweetened Coconut: Adds a lovely texture and tropical hint that complements the chocolate beautifully.
For the Nests:
- Mini Chocolate Eggs: Such as Cadbury Mini Eggs or similar brands. These are the classic topping!
- Jelly Beans or other small candies: A great alternative if you prefer, or to add more variety.
Step-by-Step Instructions: Crafting Your Easy Easter Nests
Making these no-bake cookies is incredibly straightforward. Follow these simple steps for perfect Easter nest cookies every time:
- Prepare Your Workspace: Line a large baking sheet (or two smaller ones) with parchment paper or wax paper. This will prevent sticking and make cleanup a breeze. Have your mini eggs or candies ready.
- Combine Wet Ingredients: In a medium saucepan, combine the butter, granulated sugar, cocoa powder, and milk. Place the saucepan over medium heat.
- Bring to a Gentle Boil: Stir the mixture continuously until the butter is melted and the sugar has dissolved. Bring it to a gentle, rolling boil. Once it reaches a boil, continue stirring for exactly 1 minute. This step is crucial for the consistency of your cookies, ensuring they set properly.
- Remove from Heat and Add Flavor: Take the saucepan off the heat. Stir in the vanilla extract.
- Incorporate Dry Ingredients: Immediately add the quick oats (or old-fashioned oats) and shredded coconut to the hot mixture. Stir well with a wooden spoon or spatula until all the dry ingredients are fully coated and evenly distributed. The mixture will be thick.
- Shape the Nests: Drop the “dough” by tablespoonfuls onto your prepared baking sheets. Leave a little space between each dollop.
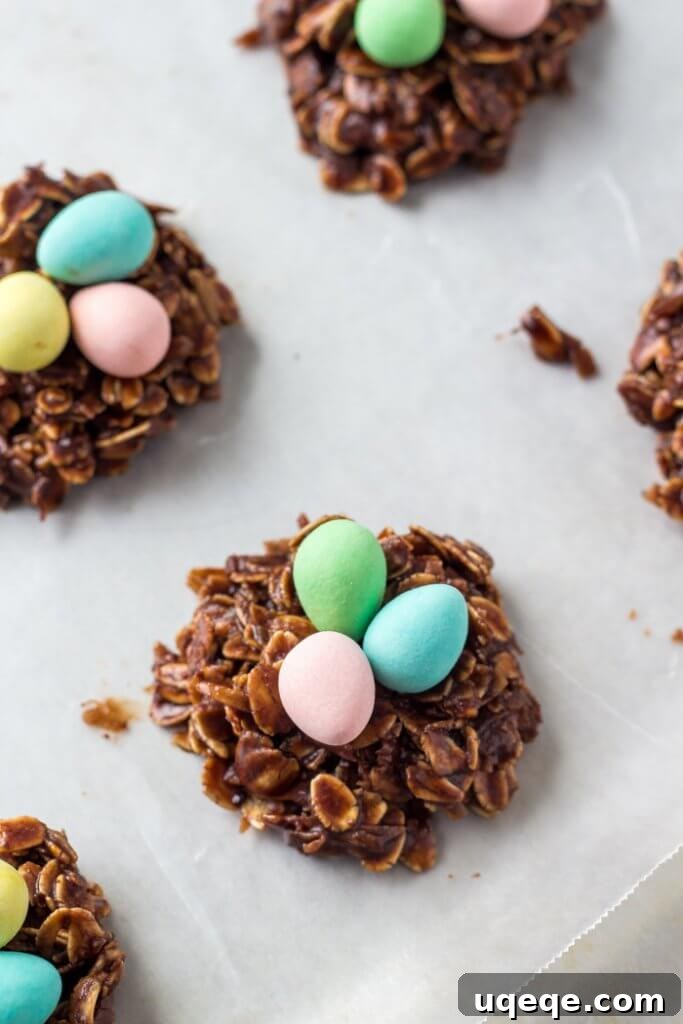
- Create the Indentation: While the cookies are still warm and soft, use your thumb or the back of a small spoon to gently press an indentation into the center of each cookie, creating a “nest” shape.
- Add the “Eggs”: Immediately place 2-3 mini chocolate eggs (or jelly beans/candies) into the center of each indentation. The warmth of the cookies will help them stick slightly.
- Cool and Set: Allow the Easter nest cookies to cool completely at room temperature or, for faster setting, place the baking sheets in the refrigerator for about 15-20 minutes. They will firm up as they cool.
- Serve and Enjoy: Once fully set, carefully peel the cookies off the parchment paper and arrange them on a serving platter. Share your adorable, delicious Easter treats!
Tips for Perfect Easter Nest Cookies
Even though this is a simple recipe, a few tips can help you achieve the best results:
- Don’t Over-Boil: Boiling for exactly 1 minute is key. Boiling for too long can make your cookies dry and crumbly, while boiling for too short a time might prevent them from setting properly.
- Work Quickly: Once the oats and coconut are added, the mixture will start to set relatively fast. Have your baking sheets and toppings ready to go.
- Even Sizing: Use a cookie scoop or a measuring tablespoon for consistent cookie sizes, which will help them set evenly and look more uniform.
- Shaping Perfection: If you find the dough too hot to handle immediately, let it cool for just 2-3 minutes. You can then gently shape the nests with your fingers for a more defined look, as shown in the original image. Wetting your fingers slightly can also help prevent sticking.
- Quality Ingredients: While simple, using good quality cocoa powder and fresh oats will elevate the flavor of your cookies significantly.
- Storage: Store the cooled cookies in an airtight container at room temperature for up to 3-4 days, or in the refrigerator for up to a week. They tend to firm up a bit more in the fridge.
- Prevent Sticking: Parchment paper is your best friend here. It ensures easy removal without any sticky situations.
Creative Variations & Customizations
While the classic chocolate oatmeal nest with mini eggs is beloved, feel free to get creative with your Easter treats!
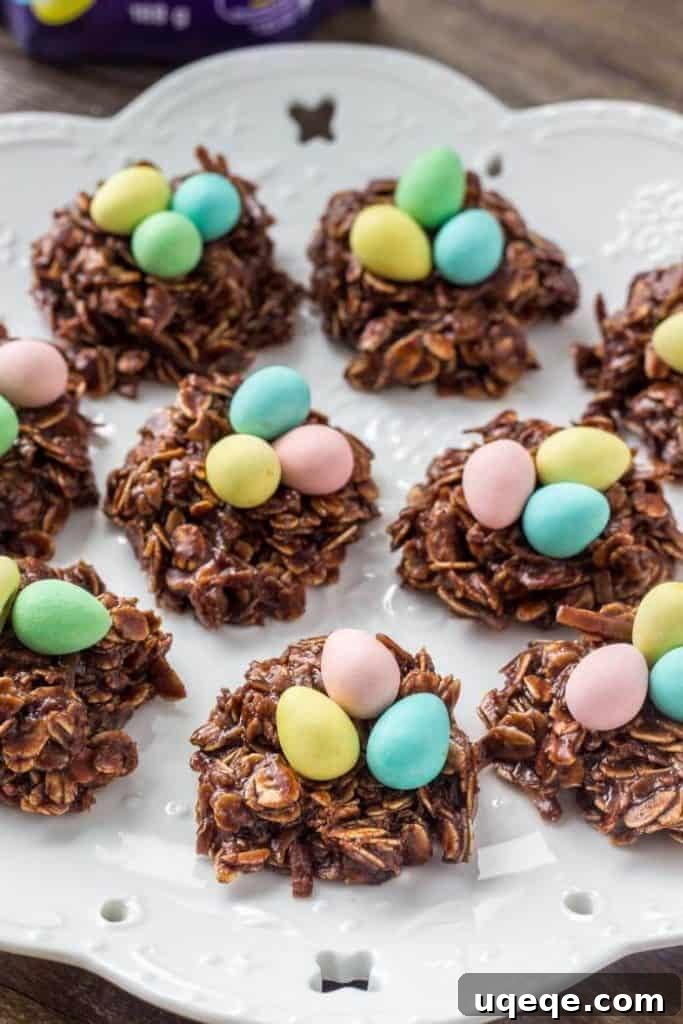
- Different “Eggs”: Don’t limit yourself to mini chocolate eggs. Try pastel-colored jelly beans, small gumdrops, M&M’s, or even small sugared almonds for an elegant touch.
- Flavor Boost: Add a pinch of cinnamon or a tiny amount of instant espresso powder to the chocolate mixture for a deeper, more complex flavor profile. A few drops of almond extract alongside the vanilla can also be delightful.
- Nutty Nests: For those who enjoy nuts, stir in 1/2 cup of finely chopped pecans or walnuts along with the oats and coconut for added crunch and flavor. (Be mindful of allergies!)
- White Chocolate Drizzle: Once the nests are completely set, melt some white chocolate chips and drizzle them over the cookies for an extra layer of sweetness and visual appeal.
- Coconut-Free Option: If you’re not a fan of coconut, you can omit it. The texture will be slightly different, but still delicious. You might consider adding an extra 1/4 cup of oats or finely chopped nuts to compensate for the lost volume.
- Gluten-Free Version: Ensure you use certified gluten-free rolled oats to make these cookies suitable for those with gluten sensitivities.
Frequently Asked Questions About Easter Nest Cookies
Here are some common questions about making and storing these delightful no-bake treats:
Can I make these Easter nest cookies ahead of time?
Absolutely! These cookies are perfect for making in advance. They hold up well for several days when stored properly, which is ideal for holiday prep. Make them 1-2 days before your event for freshest taste.
How long do Easter nest cookies last?
When stored in an airtight container at room temperature, they will stay fresh for 3-4 days. If kept in the refrigerator, they can last up to a week. Refrigeration can make them a bit firmer.
What’s the best type of oats to use?
Quick oats (instant oats) or old-fashioned rolled oats both work well. Quick oats will give a slightly softer, more uniform texture, while old-fashioned oats will result in a chewier cookie. Avoid steel-cut oats, as they are too hard and won’t soften enough in this no-bake recipe.
Can I freeze these no-bake cookies?
Yes, you can! Once fully set, place the cookies in a single layer on a baking sheet and freeze until solid. Then transfer them to an airtight freezer-safe container or bag, separating layers with parchment paper. They can be frozen for up to 2-3 months. Thaw at room temperature before serving.
My cookies didn’t set, what went wrong?
The most common reason for cookies not setting is not boiling the wet mixture long enough. It’s crucial to bring it to a full rolling boil and continue boiling for exactly 1 minute. Also, ensure you allow them enough time to cool completely, as they firm up significantly during this process.
Are these cookies gluten-free?
They can be, if you use certified gluten-free oats. Oats are naturally gluten-free, but they are often processed in facilities that also handle wheat, leading to cross-contamination. Look for labels that specifically state “gluten-free oats.”
Celebrate Easter with These Charming Treats!
These Easy No-Bake Easter Nest Cookies are more than just a dessert; they’re a symbol of springtime joy, simple pleasures, and precious family moments. With their adorable appearance and irresistible chocolate oatmeal flavor, they’re sure to become a beloved tradition in your household for years to come. Whether you’re a seasoned baker or a kitchen novice, this recipe offers a foolproof way to add a festive and delicious touch to your Easter celebrations.
So, gather your ingredients, enlist your little helpers, and get ready to create some magic. Happy Easter and happy “baking”!