
Irresistibly Thick & Chewy Lemon White Chocolate Chip Cookies
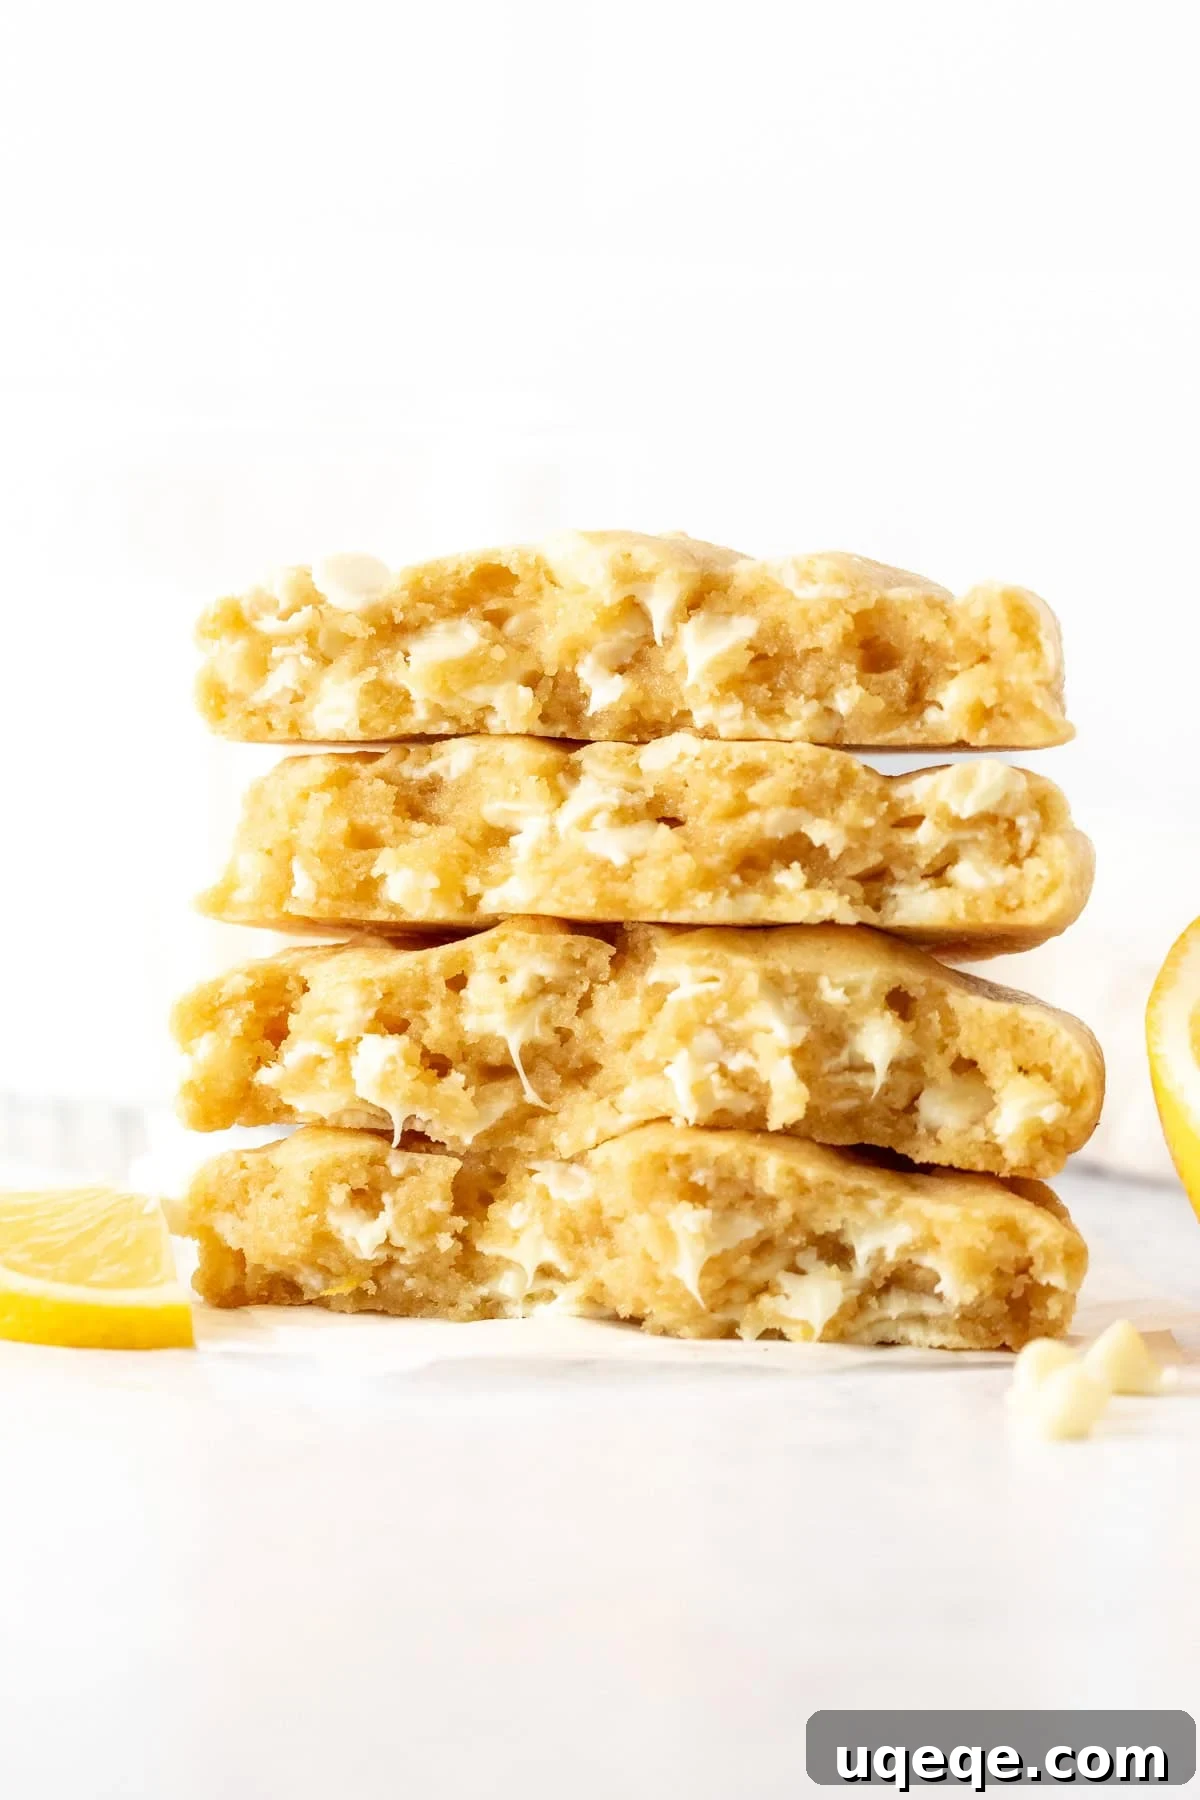
Indulge in these magnificent Lemon White Chocolate Chip Cookies, a true bakery-style delight. Each cookie is generously sized, exceptionally thick, and boasts a wonderfully chewy texture with a hint of gooeyness in the center. The vibrant, zesty flavor of fresh lemon is perfectly balanced by an abundance of creamy white chocolate chips, creating a harmonious taste that’s simply divine. Inspired by the famous Levain Bakery cookies in New York City, this recipe promises an unforgettable baking experience and results that will impress even the most discerning cookie connoisseur. If you crave an extra-thick cookie that delivers on both flavor and texture, your search ends here.
Why These Lemon White Chocolate Chip Cookies Will Become Your New Favorite

From Fiona, the Recipe Creator:
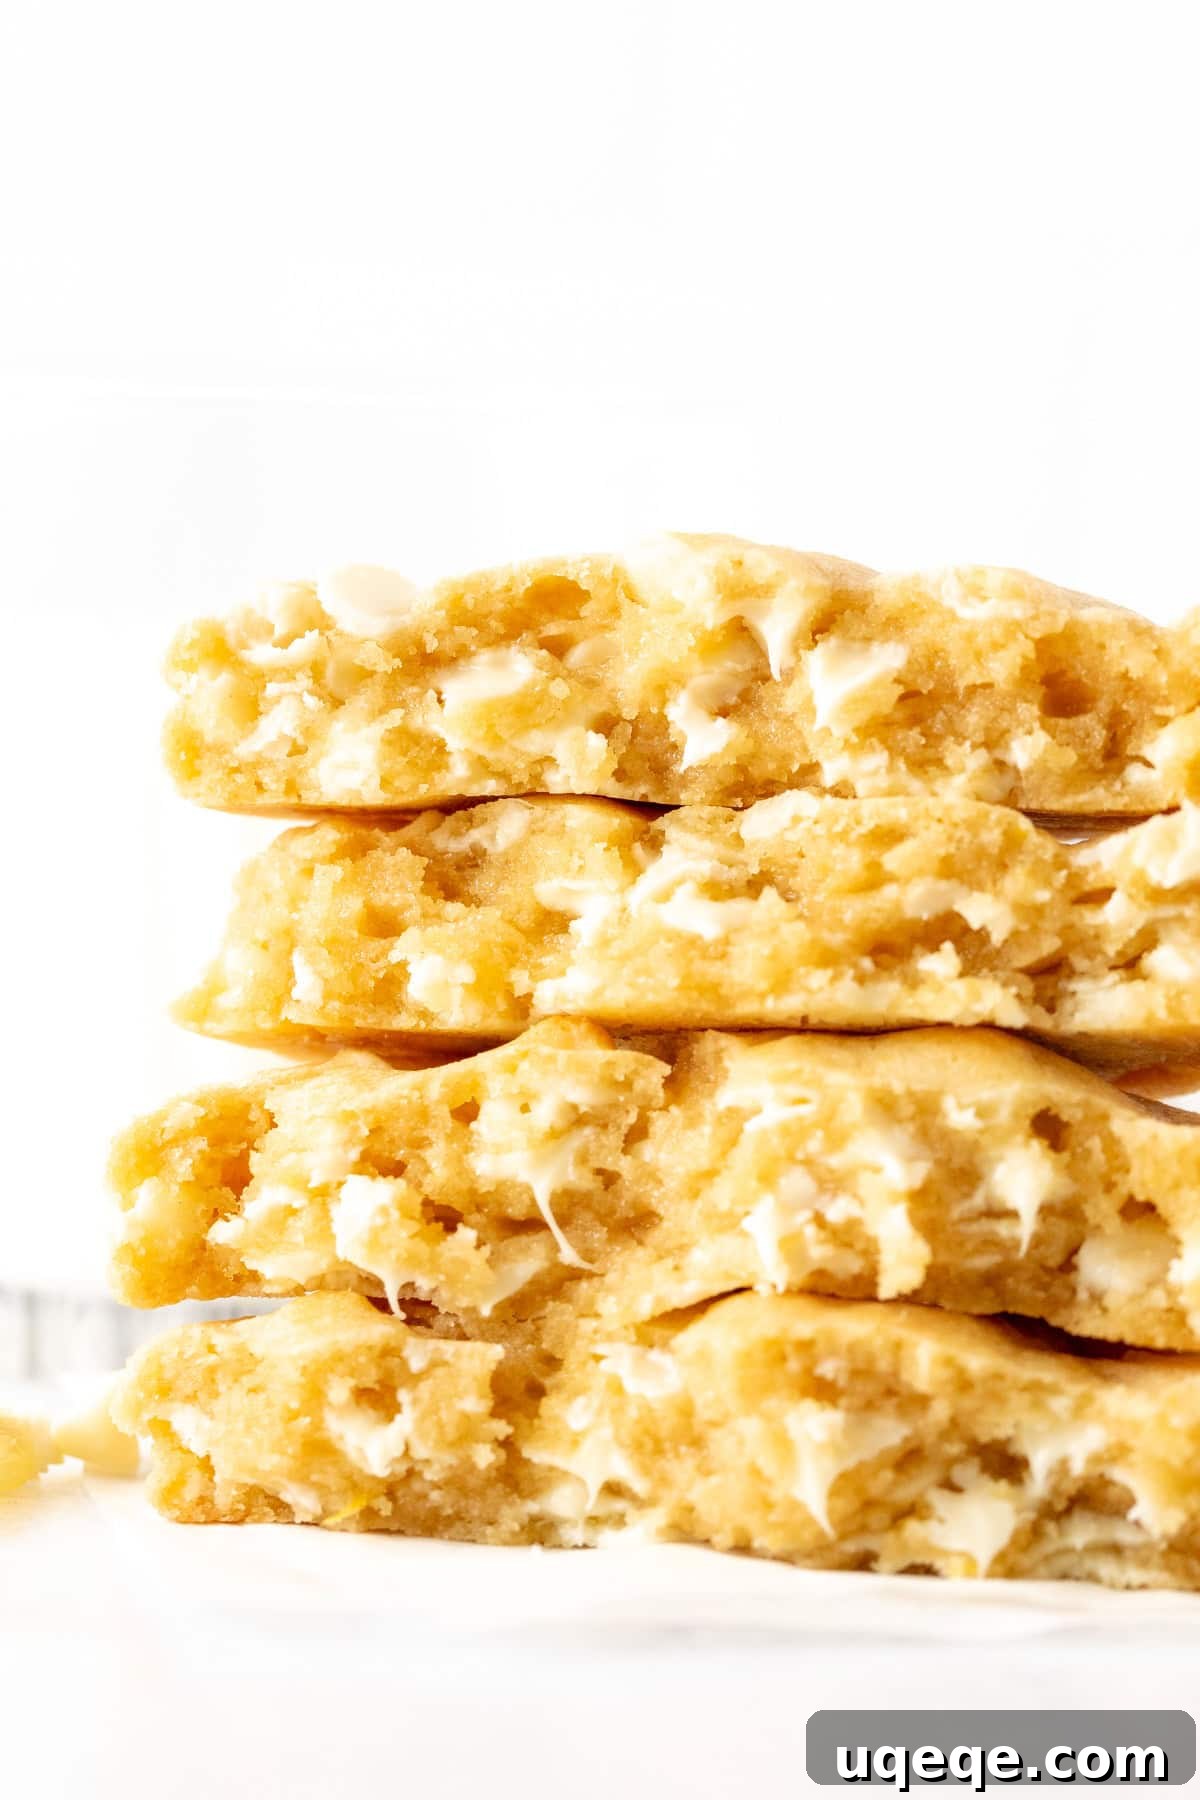
I envisioned creating a cookie recipe that perfectly encapsulates the fresh, joyful essence of spring, and these Lemon White Chocolate Chip Cookies are the delicious realization of that vision. Lately, my baking obsession has centered around crafting incredibly thick, almost gooey, bakery-style cookies – the kind that truly stand out. This recipe hits all those marks, delivering an unparalleled texture that’s both satisfyingly substantial and delightfully soft.
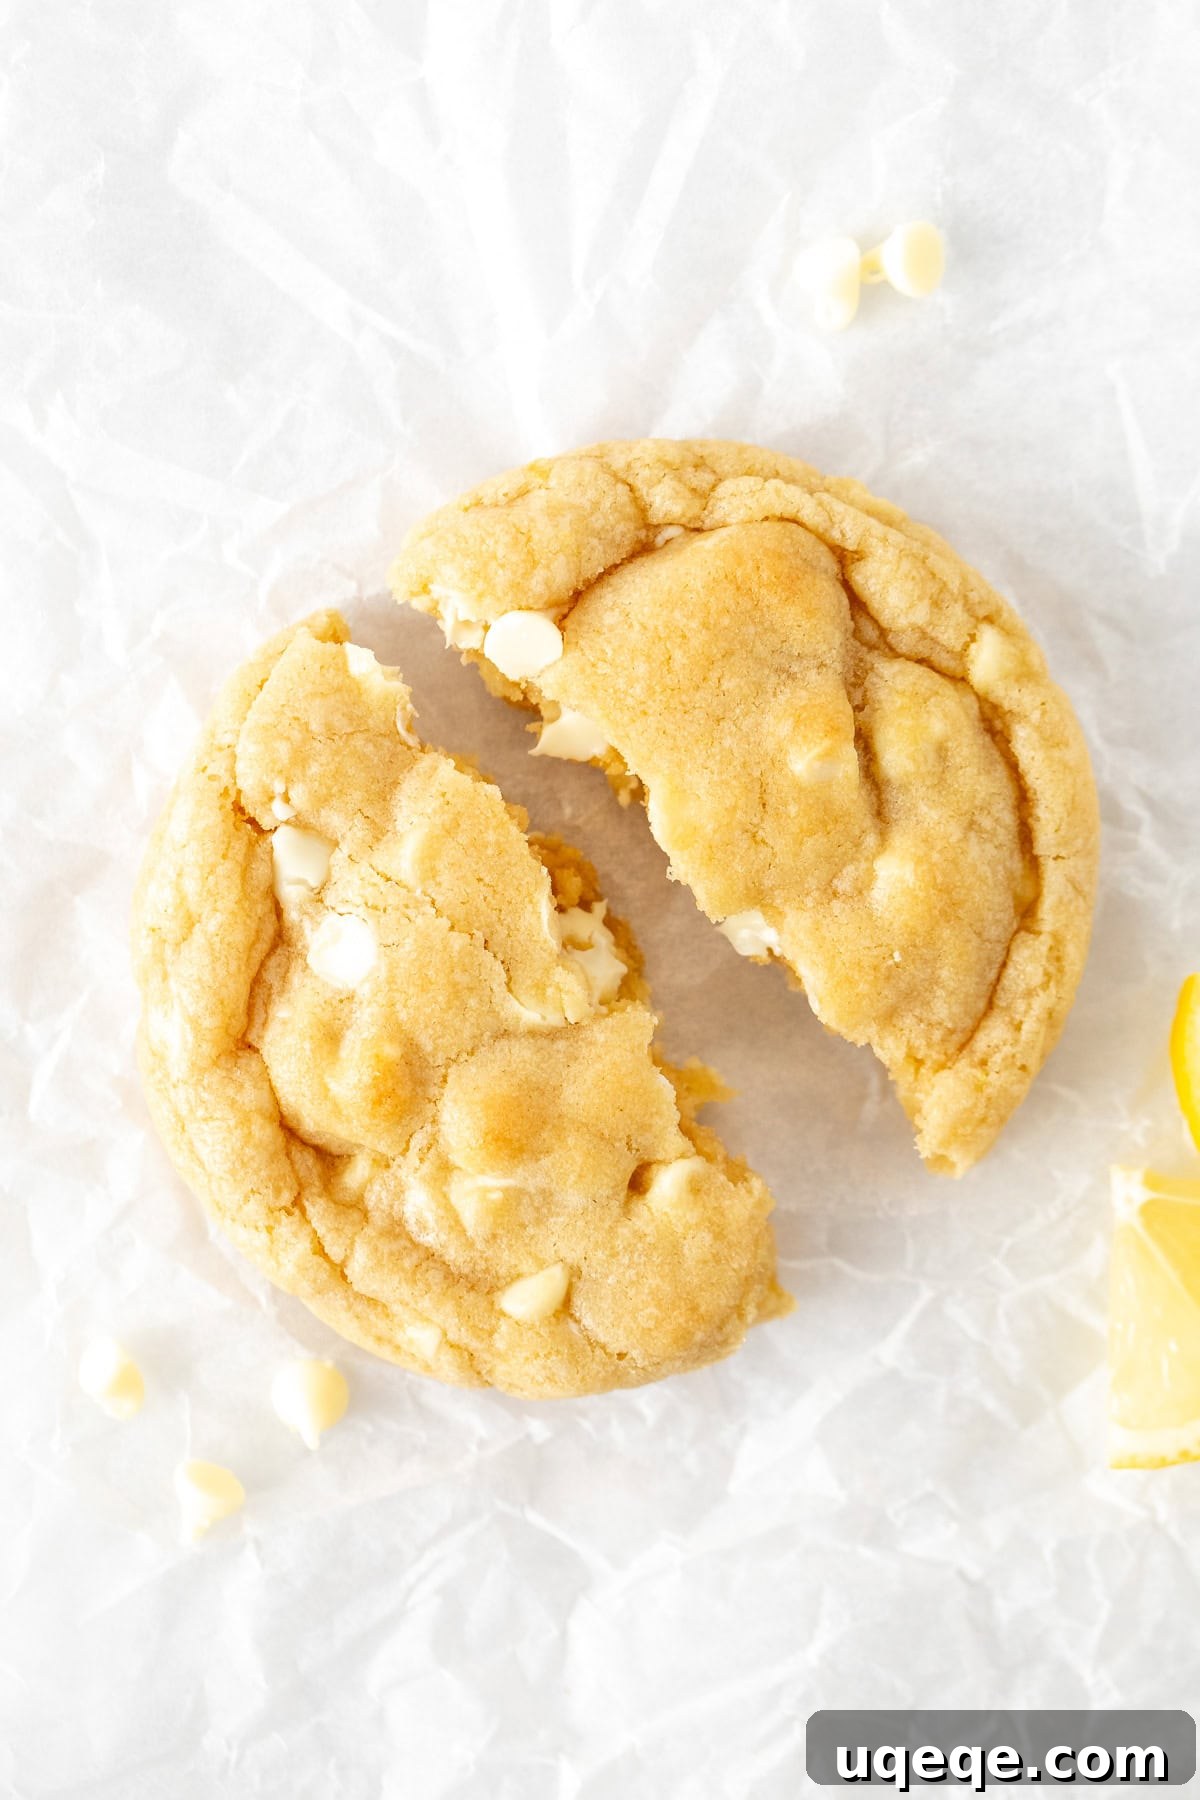
Each bite offers a bright, cheerful hint of lemon that tastes like pure sunshine, without ever veering into overly sour territory. This lively citrus note creates an exquisite harmony with the rich, creamy sweetness of the white chocolate chips. The result is a cookie that boasts slightly crispy edges, a wonderfully thick body, and a tender, almost melt-in-your-mouth interior. While these cookies are designed to be impressively large for that authentic bakery feel, I’ve also included clear instructions in the recipe card for making smaller, equally delicious versions, if that’s more your style.
Lemon, to me, is the quintessential flavor for springtime – it’s invigorating, refreshing, and universally loved. Whether you’re searching for a delightful homemade gift for a loved one or an effortlessly elegant dessert to grace your table, these lemon white chocolate chip cookies are an absolute must-add to your baking repertoire. Prepare to fall in love with their vibrant flavor and irresistible texture!
Achieving the Perfect Lemon Cookie Flavor Profile
The secret to the bright, balanced lemon flavor in these cookies lies in a thoughtful combination of ingredients: both fresh lemon zest and high-quality lemon extract. This dual approach ensures a truly vibrant and “sunshine-y” taste that is delightfully aromatic without being overwhelmingly sour. We intentionally use lemon extract over lemon juice for a very specific reason:
Lemon extract provides a highly concentrated burst of lemon flavor without introducing excess liquid into the cookie dough. Cookies, by nature, are meticulously balanced in their moisture content to achieve that desirable chewy, tender texture. Adding too much liquid, such as lemon juice, can disrupt this balance, leading to a cookie that’s less chewy and more akin to the softer, cakier texture of a muffin top. While lemon juice certainly has its place in baking, it’s not ideal for achieving the specific texture we’re aiming for in these thick, bakery-style cookies.
However, if lemon extract isn’t available, you can substitute it with fresh lemon juice. Just be aware that you might need a slightly larger quantity of juice to achieve a noticeable lemon flavor, and the final cookie texture may be slightly softer than with extract. For the most intense and authentic lemon experience in these cookies, the combination of zest and extract is truly the way to go.
Essential Baking Notes for Flawless Lemon White Chocolate Chip Cookies
To ensure your cookies turn out perfectly thick, chewy, and full of flavor every time, pay close attention to these critical tips:
- Use Cold Butter for Optimal Texture: This isn’t just a suggestion; it’s a golden rule for bakery-style cookies. Cold butter, cut into cubes, helps create those coveted slightly crispy edges while maintaining an irresistibly gooey and soft center. When creamed with sugar, cold butter creates pockets of air that expand during baking, contributing to the cookie’s lift and texture.
- Measure Flour with Precision: Accurate flour measurement is paramount in baking, especially for cookies. Always begin by whisking your flour thoroughly to aerate it and eliminate any clumps. Then, gently spoon the whisked flour into your dry measuring cups, leveling off the top with a straight edge (like a knife or spatula). For the most consistently accurate results, a kitchen scale is your best friend – aim for 375 grams or 13.2 ounces for 3 cups of all-purpose flour.
- Don’t Skip the Cornstarch: Cornstarch is a secret weapon in many cookie recipes, and it’s absolutely key here. It plays a vital role in tenderizing the dough, resulting in a wonderfully soft, almost delicate interior texture. It also helps to prevent the cookies from spreading too much, ensuring they remain thick and substantial.
- Locating Lemon Extract: You’ll typically find lemon extract in the baking aisle of your grocery store, usually nestled right alongside the vanilla extract and other flavorings. Ensure you pick up a good quality extract for the best lemon punch!
- Chill the Dough for Superior Results: Patience is a virtue when it comes to these cookies! Chilling the dough for at least 2 hours (or up to 48 hours) is crucial for several reasons. It allows the butter to solidify, preventing excessive spreading in the oven and contributing to the thick, robust shape. More importantly, chilling gives the flour time to fully hydrate, resulting in a more tender cookie, and allows the flavors (especially the lemon) to meld and intensify, leading to a richer, more complex taste.
- Bake at 375°F (190°C) for Perfect Browning: Baking at a slightly higher temperature, 375°F (190°C), ensures that the cookies achieve a beautiful golden exterior with slightly crispier edges, while the interior remains wonderfully chewy and almost gooey. This rapid heat helps to set the edges quickly, preventing them from spreading too thin.
- Mold Cookies into Perfect Circles (The Bakery Trick): For that polished, professional bakery look, here’s a simple trick. Immediately after removing the cookies from the oven, while they are still warm and pliable, take a large biscuit cutter, a wide mug, or a sturdy cup that is slightly larger than your baked cookies. Place the cutter around each cookie and gently swirl or trace a circular motion against its sides. This simple technique coaxes any slightly irregular edges into a perfectly round shape without compressing or damaging the cookie. Remember, you’re not cutting them; you’re just gently shaping them.
Recipe Tip: Choose Your White Chocolate Wisely
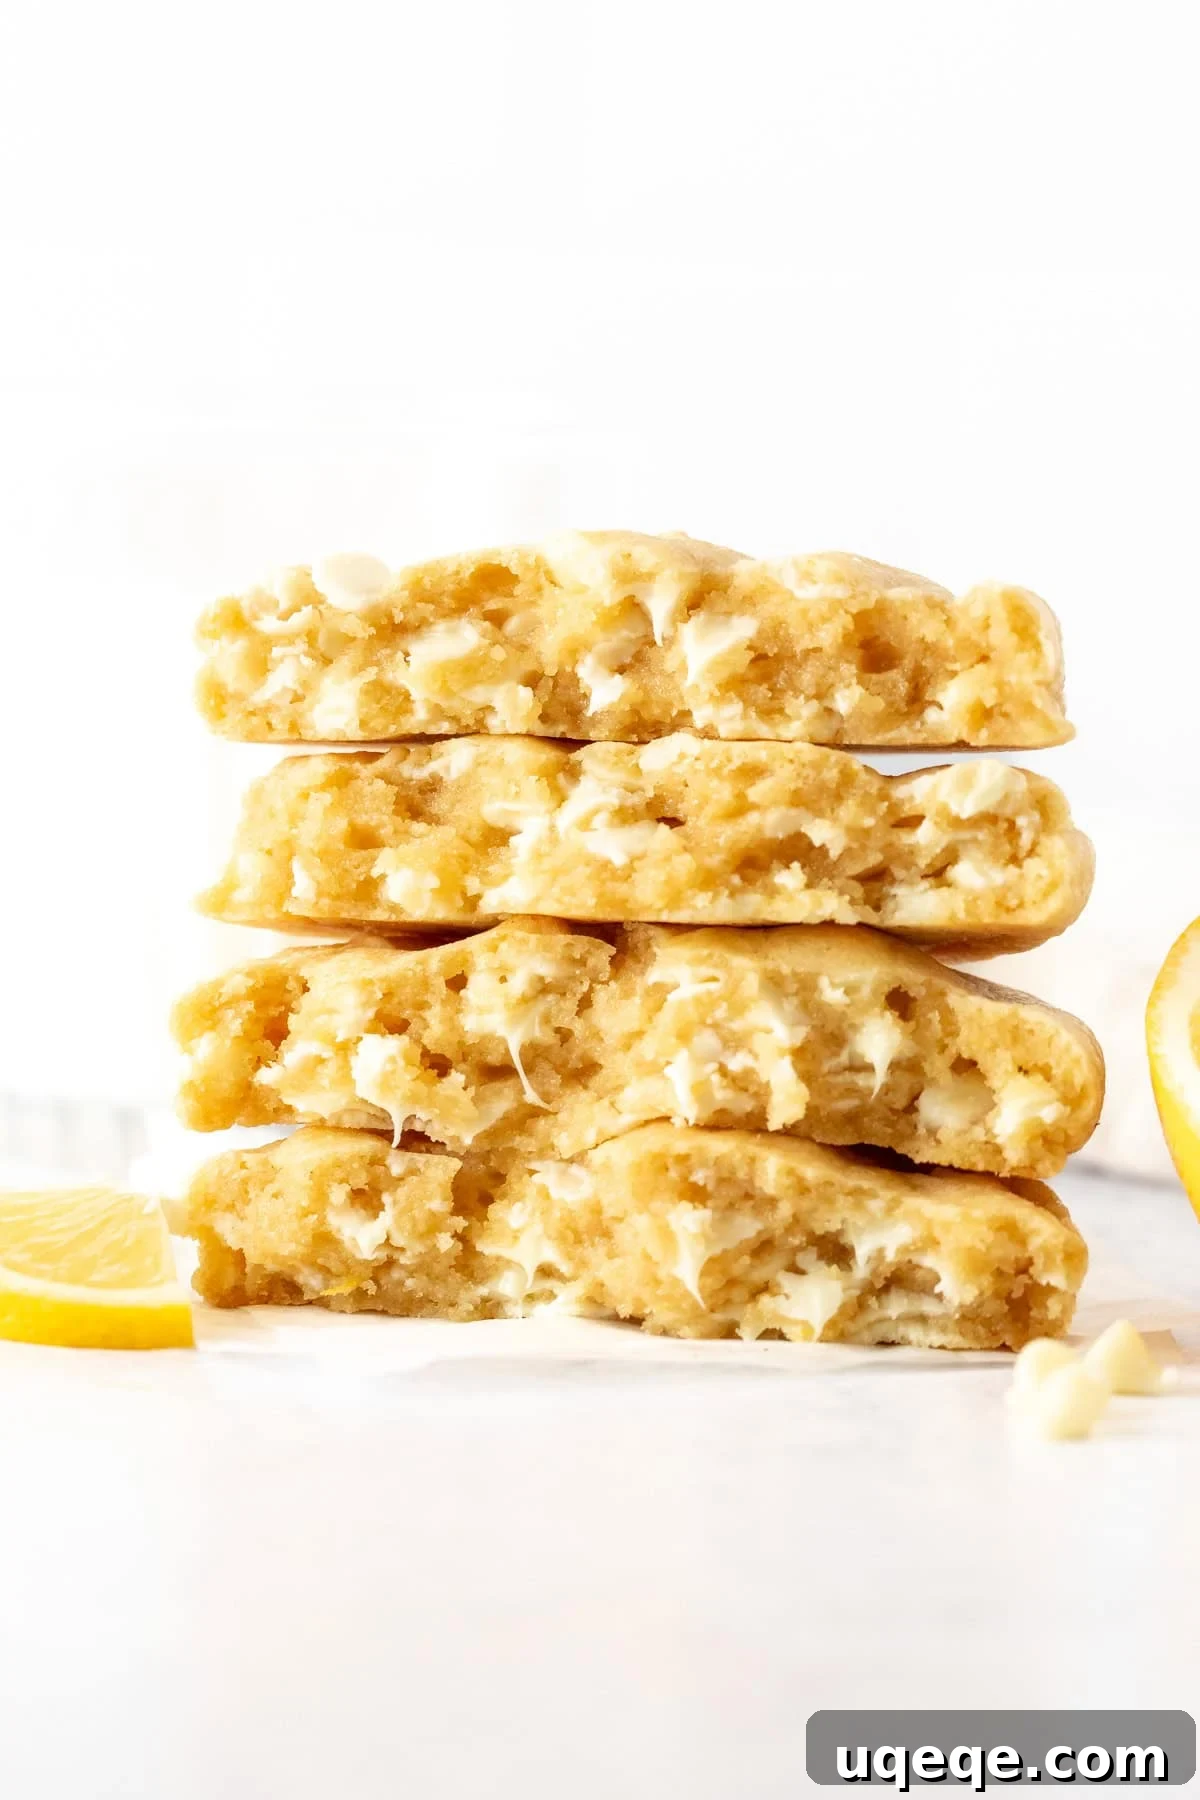
For the absolute best flavor and melt-in-your-mouth creaminess in your cookies, it’s essential to purchase *real* white chocolate chips. Be vigilant when selecting them at the store. Many brands offer “white chips” or “white creme” products, which are often made with vegetable oils and lack the rich, buttery cocoa butter content found in genuine white chocolate. These imitations will not provide the same luxurious creamy flavor or texture, potentially compromising the overall taste of your exquisite cookies. Always check the ingredient label to ensure you’re getting authentic white chocolate for an unparalleled baking experience.
More Zesty Lemon Treats to Try:
If you’re a true lemon lover, don’t stop at these cookies! Explore more bright and delicious lemon recipes from our collection:
- Lemon Blondies – often affectionately known as “lemonies,” these are a chewy, citrusy twist on a classic.
- Classic Lemon Bars – a timeless dessert featuring a buttery shortbread crust and a tangy, smooth lemon filling.
- Elegant Lemon Layer Cake – perfect for celebrations, this cake is light, fluffy, and bursting with lemon flavor.
- Lemon Poppy Seed Cake – a delightful combination of moist cake, crunchy poppy seeds, and bright lemon.

Lemon White Chocolate Chip Cookies
Fiona Dowling
20 minutes
13 minutes
2 hours
3 hours
14
large cookies
Rate Recipe
Print Recipe
Want to save this recipe for later? Bookmark this page or pin it to your favorite Pinterest board!
Equipment
-
Cookie Sheets
-
Parchment Paper or Silicone Baking Mats
-
Large Mixing Bowls
-
Electric Mixer (Stand or Handheld)
-
Whisk
-
Rubber Spatula
-
Kitchen Scale (optional, but recommended for accuracy)
-
Large Biscuit Cutter or Round Mug (for shaping)
Ingredients
-
3
cups
all-purpose flour (375 grams),
measured correctly (see notes) -
1/4
cup
cornstarch (32 grams),
known as cornflour in the UK -
1
teaspoon
baking powder -
1/2
teaspoon
baking soda -
1/2
teaspoon
salt -
1
cup
unsalted butter (226 grams),
cold and cut into cubes -
1
cup
granulated sugar (200 grams) -
3/4
cup
brown sugar (158 grams),
light brown sugar is preferred for its milder molasses flavor -
2
tablespoons
lemon zest -
2
large
eggs -
1
teaspoon
vanilla extract -
2
teaspoons
lemon extract -
2
cups
white chocolate chips (about 360 grams)
Instructions
-
In a large mixing bowl, sift together the all-purpose flour, cornstarch, baking powder, baking soda, and salt. Sifting helps to aerate the dry ingredients and ensures there are no lumps, leading to a smoother cookie dough. Whisk these ingredients together thoroughly to combine them evenly, then set this bowl aside.
-
In a separate, generously sized bowl, using an electric mixer, beat together the cold cubed butter, granulated sugar, brown sugar, and fresh lemon zest. Continue beating until the mixture is light, fluffy, and well combined, ensuring there are absolutely no visible lumps of butter or brown sugar remaining. This creaming process incorporates air, which contributes to the cookies’ texture.
-
Add the two large eggs, vanilla extract, and lemon extract to the butter and sugar mixture. Beat until just combined. Be careful not to overmix at this stage. Turn off the mixer and use a rubber spatula to scrape down the sides and bottom of the bowl thoroughly. This ensures all ingredients are fully incorporated and no pockets of unmixed butter or sugar remain.
-
Gradually add the reserved dry flour mixture to the wet ingredients, about half at a time. Start the mixer on a low speed to prevent flour from flying everywhere. Mix only until just combined; the dough will be quite thick and dense. Once the dry ingredients are mostly incorporated, turn off the mixer. Gently squeeze a small amount of dough between your fingers. If it feels overly sticky and leaves a lot of residue, beat in one additional tablespoon of flour, adding just enough to achieve a soft, pliable, and slightly less sticky dough. Finally, fold in the white chocolate chips until evenly distributed throughout the dough.
-
Cover the bowl tightly with plastic wrap and refrigerate the cookie dough for a minimum of 2 hours. For enhanced flavor development and even thicker cookies, you can chill the dough for up to 48 hours. Do not skip this crucial chilling step, as it significantly impacts the final texture and spread of your cookies.
-
When you are ready to bake, preheat your oven to 375°F (190°C). Prepare your cookie sheets by lining them with parchment paper or silicone baking mats. This prevents sticking and promotes even baking.
-
Form the chilled dough into large balls. For bakery-style cookies, use approximately 1/4 cup to 1/3 cup of dough per cookie. For consistent sizing, I highly recommend using a kitchen scale; each of my large cookies weighed about 3.5 ounces (100 grams). This recipe yields approximately 14 large cookies. Place the cookie dough balls at least 2.5 inches (about 6 cm) apart on the prepared cookie sheets to allow for proper spreading.
-
Bake one cookie sheet at a time, positioning it in the middle rack of your preheated oven. The cookies will typically require about 12-14 minutes of baking time. They are ready when their tops look set, the edges begin to turn a light golden brown, and the centers are still slightly soft. While the first tray bakes, keep any remaining unbaked cookie dough balls refrigerated to maintain their cold temperature and prevent premature spreading.
-
Once baked, remove the cookies from the oven. For that coveted perfectly round, bakery-quality shape, immediately after baking, take a large biscuit cutter (or a wide-rimmed cup/mug that is larger than your cookies). Place it around each hot cookie and gently swirl it in a circular motion, pushing the edges inwards. This lightly molds each cookie into an ideal round shape. Remember, you’re not cutting the cookie, merely shaping its soft sides. Allow the cookies to cool completely on the cookie sheet before transferring them to a wire rack or serving. This allows them to fully set and firm up.
Notes
- Measuring Flour Accurately: Precision in flour measurement is crucial for the perfect cookie texture. Always start by thoroughly whisking your all-purpose flour to aerate it and remove any clumps. Then, spoon the whisked flour gently into your dry measuring cup and level off the top with a straight edge. For the most accurate results, we highly recommend using a kitchen scale. For this recipe, 3 cups of all-purpose flour should ideally weigh 375 grams (approximately 13.2 ounces).
- Freezing Cookie Dough for Later: These cookies are excellent for make-ahead baking! You can easily freeze the prepared cookie dough balls. Once scooped and shaped, place them on a parchment-lined baking sheet and freeze until solid (about 1-2 hours). Transfer the frozen dough balls to a freezer-safe bag, ensuring you squeeze out as much excess air as possible to prevent freezer burn. They can be stored in the freezer for up to 2 months. When you’re ready to bake, there’s no need to thaw them first; simply bake from frozen as directed in the recipe, adding an extra 2-3 minutes to the baking time if needed.
- Storage Instructions: To keep your Lemon White Chocolate Chip Cookies fresh and delicious, store them in an airtight container at room temperature. They will maintain their quality for up to 4 days. While they are delightful on subsequent days, fresh-from-the-oven cookies always offer the best texture and flavor experience. You can also slightly warm them in the microwave for a few seconds to regain some of their gooeyness.
- Nutrition Disclaimer: The nutritional information provided in this recipe is an estimate only. It is calculated based on one cookie, assuming the recipe yields 14 uniform cookies of the specified size. Actual nutritional values may vary depending on exact ingredient brands, preparation methods, and serving sizes. This information is intended for general guidance only.
Nutrition
Calories:
473
kcal
,
Carbohydrates:
64
g
,
Protein:
5
g
,
Fat:
22
g
,
Saturated Fat:
14
g
,
Polyunsaturated Fat:
1
g
,
Monounsaturated Fat:
6
g
,
Trans Fat:
1
g
,
Cholesterol:
67
mg
,
Sodium:
162
mg
,
Potassium:
163
mg
,
Fiber:
1
g
,
Sugar:
41
g
,
Vitamin A:
452
IU
,
Vitamin C:
1
mg
,
Calcium:
87
mg
,
Iron:
2
mg
Love this recipe?
Don’t forget to rate it and share your thoughts in the comments below! Your feedback helps us and other bakers.