
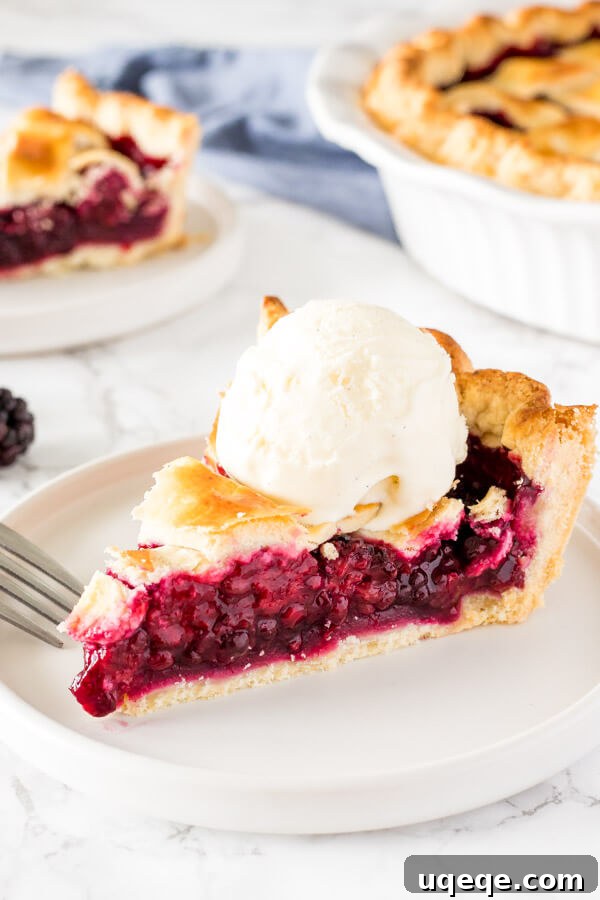
Indulge in the irresistible charm of a homemade blackberry pie, crafted from scratch to celebrate the bounty of fresh, seasonal berries. This isn’t just any pie; it’s a culinary masterpiece featuring a perfectly flaky, golden pastry and a luscious, vibrant blackberry filling that’s sweet, juicy, and never runny. Served warm with a generous scoop of vanilla ice cream, this recipe promises pure pie perfection, converting even the most devoted apple or blueberry enthusiasts.
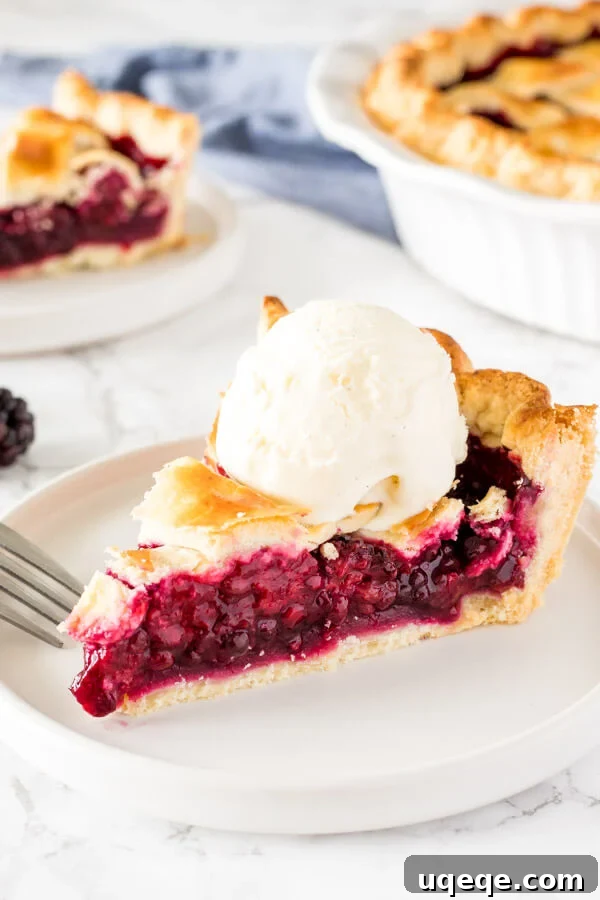
Homemade Blackberry Pie: A Taste of Seasonal Perfection
While apple and blueberry pies often steal the spotlight in the world of fruit desserts, there’s a compelling argument to be made for the humble, yet magnificent, blackberry pie. One bite of this delightful creation, and you’ll understand its understated elegance and profound flavor. The star of the show, fresh blackberries, burst with a unique balance of sweetness and tartness, making them an unparalleled choice for a truly exceptional pie. When encased in a rich, buttery, and unmistakably flaky pie crust, the result is nothing short of extraordinary.
Our recipe for homemade blackberry pie is designed to achieve the ideal texture: a filling that is incredibly juicy and full of berry flavor, without being excessively liquid or “soupy.” This balance is key to a truly satisfying pie-eating experience, ensuring every slice holds its form beautifully, allowing you to savor the contrasting textures of tender fruit and crisp pastry.
Why Blackberries Make the Best Pie
Blackberries, with their deep purple hue and complex flavor profile, bring a rustic sophistication to any dessert. Unlike some other berries that can become overly sweet or tart when baked, blackberries maintain their distinct character, offering a delightful interplay of sugary notes and a subtle tang. They are also packed with antioxidants and vitamins, making this indulgence feel a little more wholesome.
Their seasonal availability in late summer makes blackberry pie a cherished treat, a perfect way to capture the essence of warmer days. However, the beauty of this recipe lies in its versatility: it performs just as wonderfully with high-quality frozen blackberries, allowing you to enjoy this delectable dessert any time of the year. This flexibility means you’re never far from a slice of this comforting, fruit-filled pastry, whether it’s the peak of berry season or a chilly winter evening.
Crafting the Perfect Blackberry Pie Filling
The heart of any fruit pie is its filling, and for our blackberry pie, we aim for a balance of vibrant fruit flavor, appropriate sweetness, and a consistently delightful texture. The ingredients for our signature non-runny filling are straightforward, focusing on enhancing the natural qualities of the blackberries:
- 5 cups fresh or frozen blackberries: The star ingredient, offering juicy sweetness and a slight tartness.
- 3/4 cup white granulated sugar: To complement the berries’ natural sweetness. Adjust to your preference based on the ripeness of your fruit.
- 1/4 cup cornstarch: Our secret weapon for a perfectly set, non-runny filling. (Use 2 extra tablespoons if using frozen berries due to higher moisture content).
- 1 tablespoon lemon zest: Adds a bright, aromatic lift that awakens the fruit flavors.
- 1-2 tablespoons fresh lemon juice: Balances the sweetness and enhances the berries’ natural acidity.
- 1 teaspoon ground cinnamon: A subtle hint of warmth that perfectly complements the rich berry flavors, adding a comforting, rustic touch.
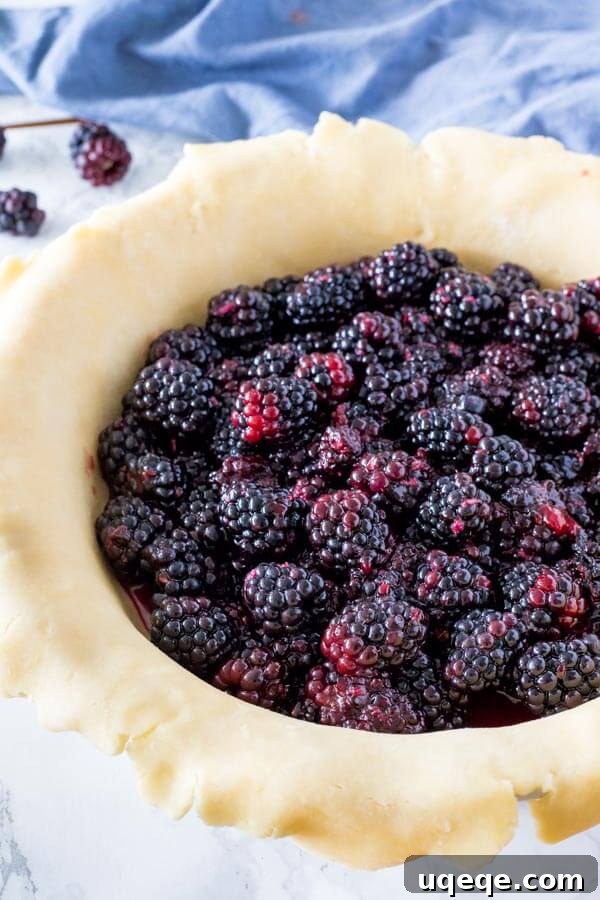
These ingredients work in harmony to create a filling that is bursting with flavor. The lemon zest and juice are crucial not only for brightening the overall taste but also for enhancing the berries’ inherent sweetness. A touch of cinnamon lends a cozy, inviting aroma and a classic, homey feel that makes this pie even more irresistible.
Preventing a Runny Pie: The Science of Thickening
One of the most common challenges in fruit pie making is preventing a watery, soupy filling. This typically occurs when there’s an excess of liquid in the berry mixture. Our recipe employs cornstarch as the thickening agent, and for good reason.
While some recipes might call for flour or tapioca, cornstarch is superior because it boasts twice the thickening power of flour. This means you achieve a beautifully thick, glossy filling with less product, ensuring that your pie tastes purely of fruit, without any starchy aftertaste. Cornstarch creates a clear, vibrant gel that allows the natural color of the blackberries to shine through.
Another crucial tip for a perfectly set pie is to be mindful when transferring the filling to the pie crust. After mixing the berries with the sugar and cornstarch, a small amount of liquid may accumulate at the bottom of the bowl. It is essential to drain or carefully spoon the berries into the crust, leaving this excess liquid behind. This simple step can significantly impact the final texture of your pie, preventing a soggy bottom crust and ensuring a firm, yet wonderfully juicy, filling.
Using Fresh vs. Frozen Blackberries
This recipe is incredibly adaptable, working splendidly with both fresh and frozen blackberries. If you’re fortunate enough to have fresh, in-season berries, they will provide the most vibrant flavor. However, don’t hesitate to use frozen berries when fresh ones are unavailable or out of season.
If opting for frozen berries, a small but important preparatory step is required: thaw the berries completely before mixing them with the other filling ingredients. Once thawed, thoroughly drain any excess water that has accumulated, and for best results, gently blot them dry with a paper towel. Frozen berries tend to release more liquid upon thawing, so this extra step ensures your pie filling remains perfectly thick and delicious.
The Foundation: A Flaky Blackberry Pie Crust
A truly exceptional pie demands an equally exceptional crust. For this blackberry pie, you’ll need a recipe that yields a double crust—one for the base and one for the top. While our recipe includes a meticulously crafted, tried-and-true pie crust, feel free to use your favorite homemade recipe or even a high-quality store-bought pie dough (ensure it’s raw dough, not a pre-baked shell). The secret to a perfect crust lies in cold ingredients, minimal handling, and proper chilling, which are all detailed in our comprehensive recipe below.
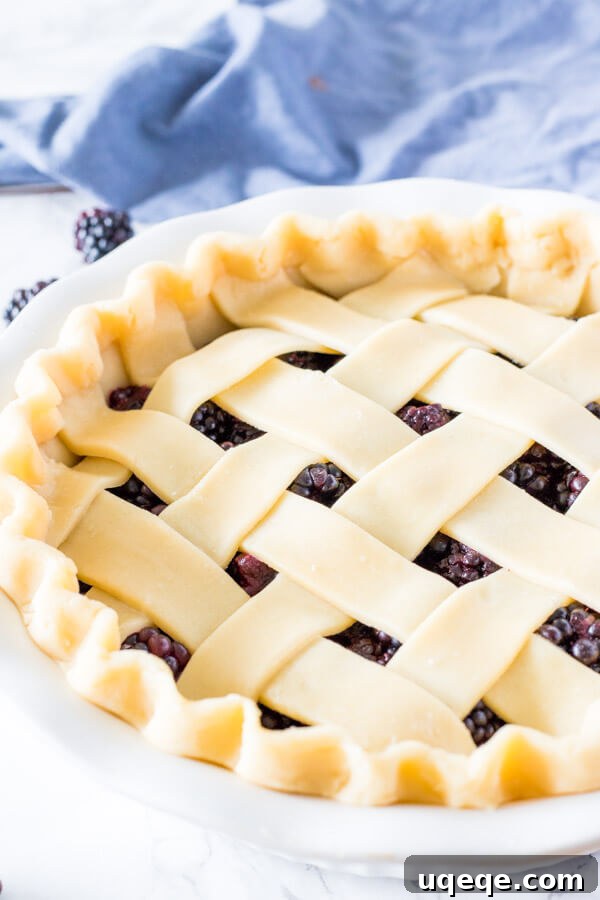
For the top crust, you have creative freedom. A beautiful lattice design, as pictured, not only looks impressive but also allows steam to escape, preventing a soggy top crust and ensuring even baking. Alternatively, you can cover the entire pie with a rolled-out disc of dough, remembering to cut several slits into the top to vent steam. These vents are crucial for a perfectly baked pie, preventing blowouts and ensuring a crisp, golden-brown crust.
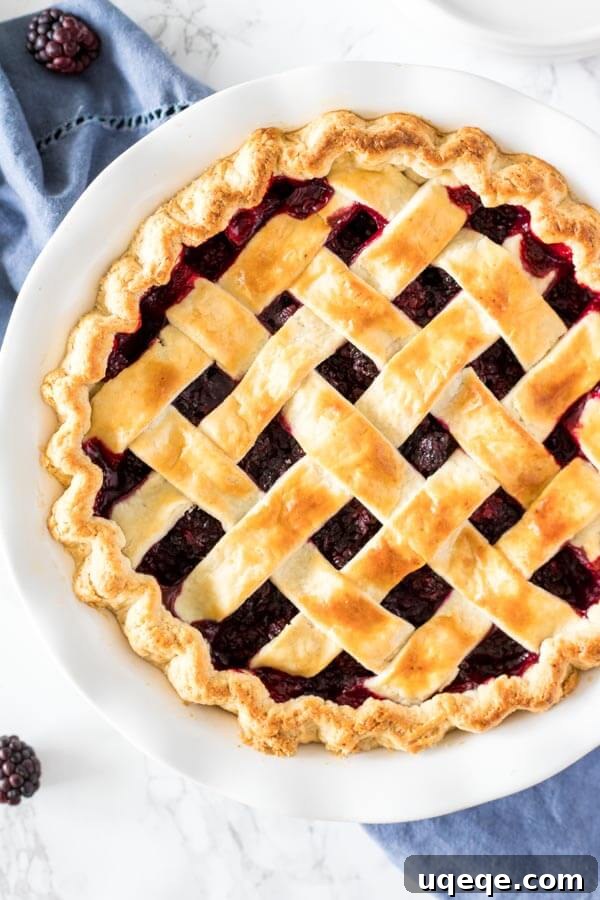
This homemade blackberry pie stands out for its perfect balance: juicy, sweet, and bursting with berries, all while maintaining a beautifully set consistency. Whether you make it during the peak of fresh blackberry season or satisfy a craving with frozen berries any time of year, this recipe is a guaranteed crowd-pleaser. Just make it, and experience the pure joy of a perfectly executed fruit pie.
Serving and Storing Your Blackberry Pie
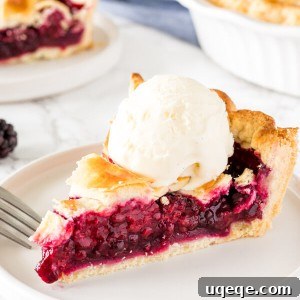
While this blackberry pie is delicious on its own, a warm slice paired with a scoop of premium vanilla bean ice cream is a classic combination that elevates the experience to new heights. The cold, creamy ice cream provides a delightful contrast to the warm, fruity filling and flaky crust. Other serving suggestions include a dollop of freshly whipped cream, a drizzle of crème anglaise, or even a sprinkle of toasted almonds for added texture.
For best results and to ensure the filling fully sets, allow your baked pie to cool completely for at least 3 hours before slicing and serving. This patience is rewarded with perfectly firm slices and intense flavor. Leftover pie can be stored, covered, in the refrigerator for up to 3-4 days. To reheat, simply warm individual slices in the microwave or a low oven until gently warmed through.
More Irresistible Pie Recipes
If you’ve fallen in love with the art of pie making, we encourage you to explore more of our favorite recipes:
- Classic Strawberry Pie
- Zesty No-Bake Key Lime Pie
- Creamy Strawberry Cream Cheese Pie
- Decadent No-Bake Peanut Butter Pie
- Rich No-Bake Chocolate Pie
Classic Homemade Blackberry Pie
By: Fiona Dowling
This sweet, juicy blackberry pie is made entirely from scratch, offering the perfect dessert when fresh berries are in season. It’s equally delicious with frozen berries! Featuring a buttery, flaky pastry and best served with a scoop of vanilla ice cream, it’s the ultimate blackberry pie experience.
Rate Recipe
Ingredients
Pie Crust (Yields a double crust; or use your favorite recipe/store-bought dough)
- 2 1/2 cups all-purpose flour
- 1 teaspoon sugar
- 1 teaspoon salt
- 1/2 cup unsalted butter, cold and cut into small pieces
- 1/2 cup shortening, cold
- 6-8 tablespoons ice water
Blackberry Pie Filling
- 5 cups blackberries (fresh or frozen*)
- 3/4 cup granulated sugar
- 1/4 cup cornstarch (use 2 extra tablespoons if using frozen berries)
- 1 tablespoon lemon zest
- 2 tablespoons fresh lemon juice
- 1 teaspoon cinnamon
Egg Wash
- 1 large egg
- 2 teaspoons milk
Instructions
Pie Crust Preparation
- In a medium bowl, whisk together the flour, sugar, and salt.
- Cut the cold butter and shortening into small pieces.
- Using a pastry blender, two forks, or your fingertips, cut the butter and shortening into the flour mixture until the mixture resembles coarse crumbs with some pea-sized pieces of fat remaining.
- Gradually add the ice water, 1 tablespoon at a time, gently stirring with a rubber spatula until the mixture just begins to form a cohesive dough. Avoid overworking the dough.
- Form the dough into a ball, ensuring all flour from the bottom of the bowl is incorporated.
- Divide the dough in half, then flatten each half into a round disc, about 1/2 to 1 inch thick.
- Wrap each disc tightly in plastic wrap and refrigerate for at least 3 hours, or up to 4 days, to allow the gluten to relax and the fat to firm up. This is crucial for a flaky crust.
Blackberry Pie Filling Preparation
- In a large bowl, combine the blackberries (if frozen, ensure they are thawed and well-drained), cornstarch, sugar, lemon zest, lemon juice, and cinnamon.
- Stir gently until the blackberries are evenly coated with the sugar and cornstarch mixture.
Assemble and Bake the Pie
- Preheat your oven to 400°F (200°C).
- Remove the chilled pie dough from the refrigerator and let it warm up slightly at room temperature for 10-15 minutes, making it easier to roll.
- On a very well-floured surface, use a floured rolling pin to roll out one disc of pie dough into a circle approximately 12 inches (30 cm) in diameter.
- Carefully roll the dough onto your rolling pin, then unroll it over a 9-inch pie plate. Gently press it into the bottom and sides of the plate.
- Using a slotted spoon, carefully spoon the blackberry pie filling into the prepared pie crust. Ensure you do NOT add any excess liquid that may have collected at the bottom of the mixing bowl.
- Roll out the second disc of pie dough on your floured surface.
- If making a double crust: Carefully transfer this dough to cover the top of the pie. Trim any excess crust from the edges, fold the edges over, and crimp them decoratively with your fingers or a fork. Cut an X-shape or several slits in the center of the top crust to allow steam to escape during baking.
- If making a lattice-topped pie: After rolling out the second disc, use a pizza cutter or sharp knife to cut it into strips about 1/2 to 3/4 inch thick. Lay 4-5 strips vertically across the pie, then weave another 4-5 strips horizontally, alternating over and under the vertical strips, to create a lattice pattern. Trim the excess dough from the edges, then fold the bottom crust edges over the lattice strips and crimp to seal.
- In a small bowl, whisk together the egg and milk to create an egg wash. Lightly brush the egg wash over the top crust of the pie. This will give it a beautiful golden sheen.
- Bake the pie in the preheated oven for 20 minutes at 400°F (200°C). Then, reduce the oven temperature to 375°F (190°C) and continue baking for an additional 30-40 minutes, or until the crust is golden brown and the filling is bubbling. If the crust begins to brown too quickly, loosely tent the pie with aluminum foil.
- Once baked, transfer the pie to a wire rack and allow it to cool completely for at least 3 hours before slicing and serving. This resting time is essential for the filling to properly set.
Notes
*Fresh or frozen berries can be used. If using frozen berries, thaw them thoroughly first. Then, drain any excess liquid and gently blot them dry with a paper towel to prevent a watery filling.
Store any leftover pie, covered, in the refrigerator for up to 3-4 days. For optimal texture, allow the pie to come closer to room temperature before serving, or gently reheat individual slices.