
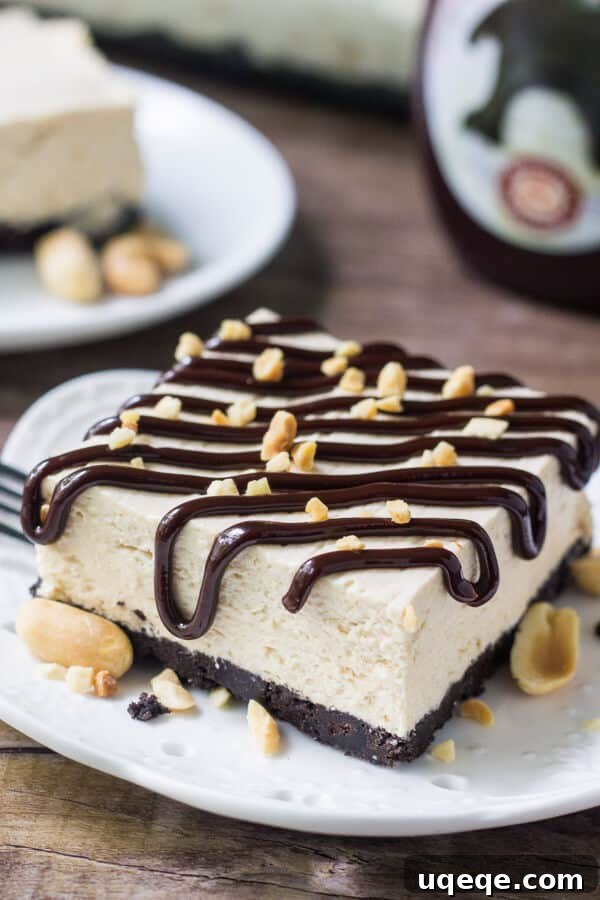
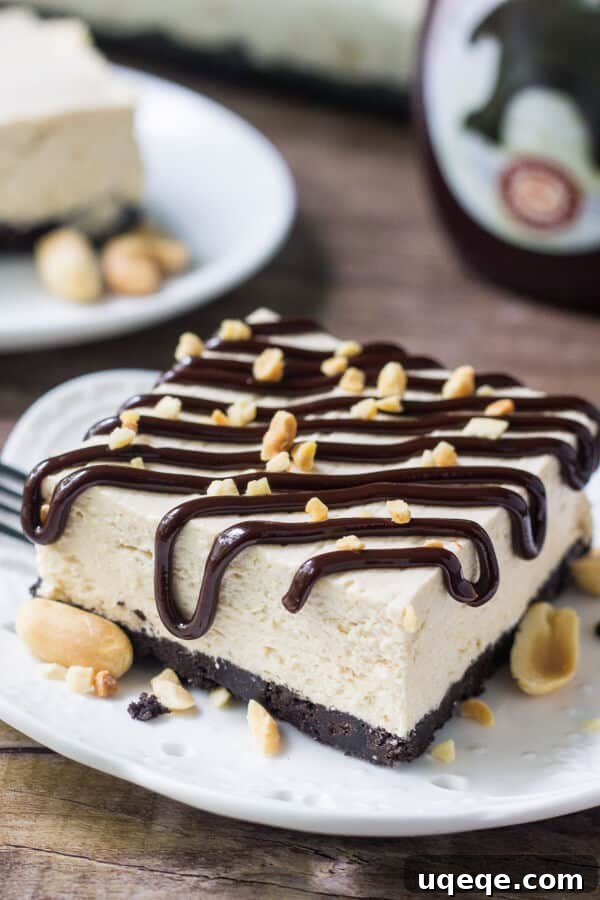
Indulge in the Ultimate No-Bake Peanut Butter Drumstick Ice Cream Cake
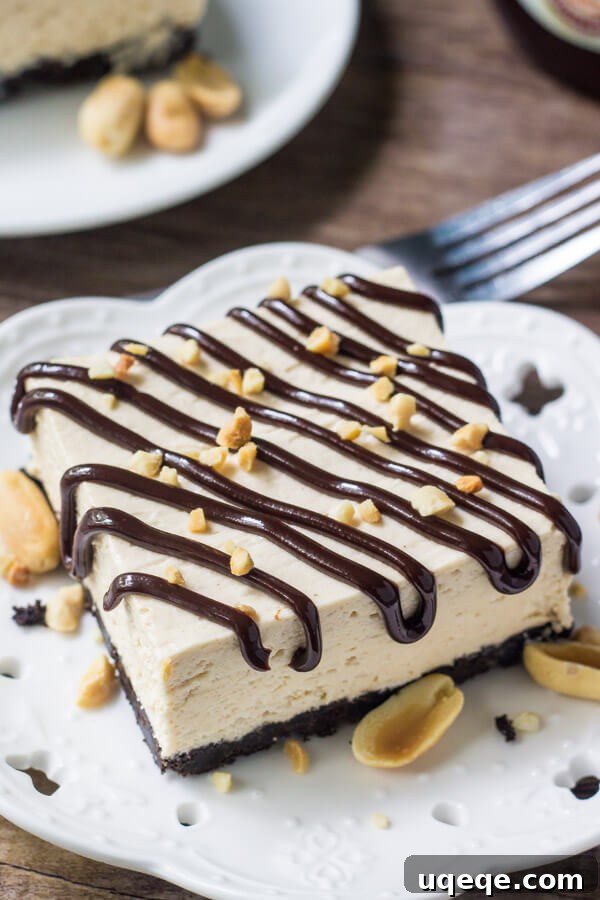
Have you ever experienced the magic of a homemade Drumstick Cake? This incredible dessert is a glorious fusion of all the beloved flavors found in a classic drumstick ice cream cone, masterfully transformed into a convenient cake format. Imagine creamy peanut butter ice cream, rich chocolate sauce, and crunchy peanuts, all in a delightful cake that won’t melt all over your hands or risk being dropped. It’s the perfect solution for savoring those iconic flavors without the usual mess.
Essentially, this recipe delivers a homemade peanut butter soft-serve ice cream experience, elegantly presented on a delicious crust and crowned with decadent chocolate sauce and a generous scattering of chopped peanuts. It’s a dream come true for anyone who adores the combination of peanut butter and chocolate, especially when served cold.
The Perfect Summer Treat: Why Drumstick Cake Will Be Your New Favorite
My first delightful encounter with Drumstick Cake happened years ago at a summer BBQ, courtesy of Jay’s grandmother. From that moment, I was captivated by its creamy peanut butter ice cream, the warmth of the hot fudge, and the satisfying crunch of the peanuts. It truly is the quintessential summer dessert. If you’re a fan of Dairy Queen’s Peanut Buster Parfaits, the classic Drumstick ice cream cone, or any type of ice cream cake (and honestly, who isn’t?), then this no-bake recipe is an absolute must-try for your next gathering or simply for a sweet treat at home.
While some variations of “drumstick cake” might lean towards a baked cheesecake style, our recipe today focuses on an egg-free, no-bake ice cream cake. This ensures a cold, creamy, and utterly dreamy dessert that is ideal for warm weather days. It brings all the nostalgic joy of a frozen treat with the elegance and shareability of a cake, making it an instant crowd-pleaser for any occasion.
Crafting Your Own Drumstick Cake: A Step-by-Step Guide
Making this drumstick cake is surprisingly simple and requires minimal effort, yielding maximum deliciousness. Here’s how we bring together these incredible flavors:
1. The Foundation: A Delicious Cookie Crust
For the base of this frozen masterpiece, I highly recommend an Oreo cookie crust. After all, more chocolate is always a good idea! The rich, dark chocolate of the Oreos pairs perfectly with the creamy peanut butter filling. However, if you prefer, you can easily substitute with graham cracker crumbs for a classic touch or Nilla wafers for a milder, sweeter flavor. Whichever you choose, the crust provides that essential crunchy contrast to the smooth ice cream layer, mimicking the cone of a traditional drumstick.
2. The Heart of the Cake: Creamy Peanut Butter Ice Cream Layer
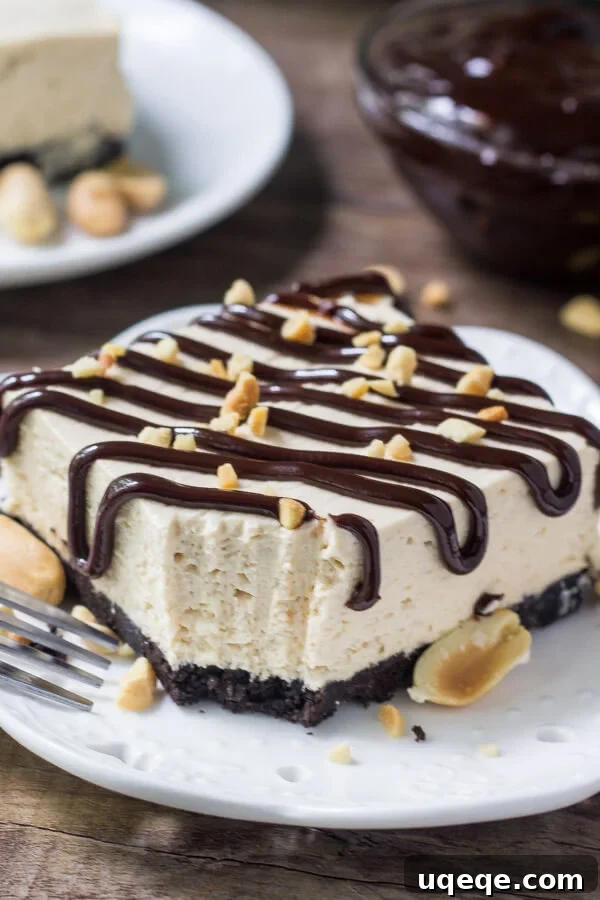
The star of the show is undeniably the rich and fluffy peanut butter ice cream layer. This isn’t just regular ice cream; it’s a homemade concoction crafted from a delightful blend of softened cream cheese, granulated sugar, smooth peanut butter (non-natural works best here for texture and stability), and whipped topping. The process is straightforward: first, the cream cheese, sugar, and peanut butter are beaten together until light and airy. This creates a wonderfully smooth and sweet peanut butter base. Then, the whipped topping is gently folded in, contributing to the cake’s signature light, airy, and soft-serve-like texture. This mixture is then spread evenly over your prepared crust, creating a thick, irresistible layer.
3. Chilling to Perfection: The Waiting Game
Once assembled, the cake needs time to chill and firm up in the freezer. This crucial step allows all the layers to set properly, transforming the creamy mixture into a scoopable, yet sliceable, ice cream cake. The beauty of this recipe is its speed; you can prepare the entire cake in less than 10 minutes of active prep time. This means you’ll spend less time making it than you would driving to the store to buy a pre-made ice cream cake, offering ultimate convenience for a homemade treat.
4. The Finishing Touch: Toppings Galore
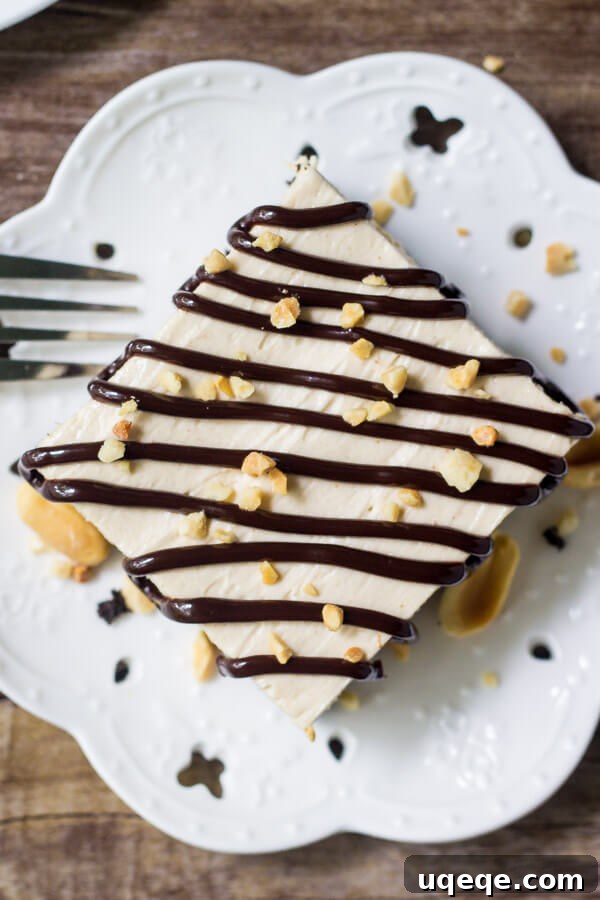
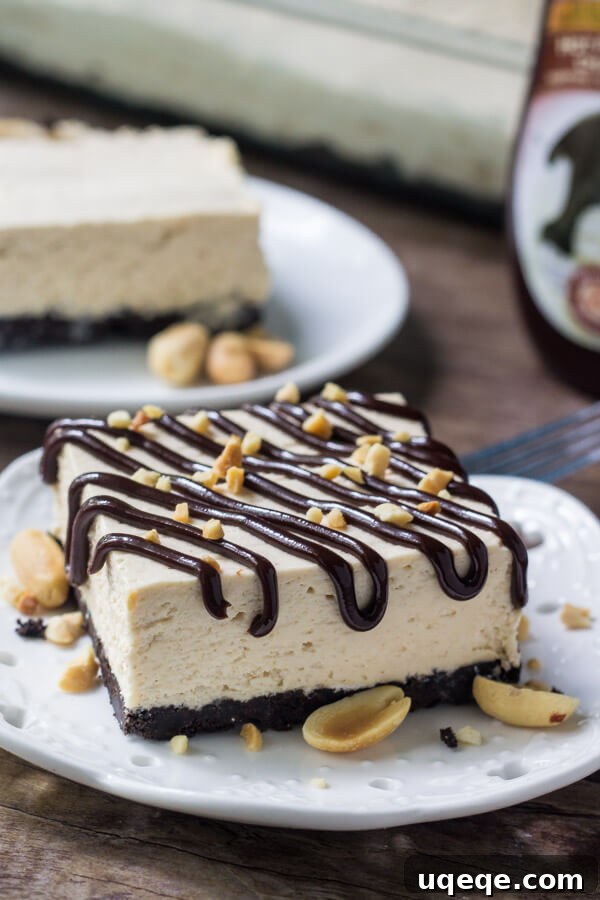
Once the cake has sufficiently chilled and is ready to serve, the fun truly begins with the toppings. I love to finish each slice with a generous drizzle of warm hot fudge sauce and a sprinkle of crunchy chopped peanuts. These toppings are non-negotiable for capturing the authentic drumstick experience. For an extra touch of indulgence, adding a few chocolate chips is always a fantastic idea, enhancing the chocolatey goodness and visual appeal.
The resulting cake is wonderfully creamy, intensely peanut buttery, and has a delightful fluffiness that distinguishes it from plain ice cream. It truly feels like a gourmet homemade peanut butter soft serve, and I think you’ll agree – it’s a completely irresistible combination that will leave everyone craving another slice.
Tips for Success and Delicious Variations
To ensure your Drumstick Cake turns out perfectly every time, here are some helpful tips and ideas for customizing it:
- Peanut Butter Choice: For the best texture and stability in the ice cream layer, it’s recommended to use a conventional, processed peanut butter (like Jif or Skippy) rather than natural peanut butter, which can separate and impact the final consistency.
- Chill Time is Key: Don’t rush the chilling process. Allowing the cake to freeze for at least 4 hours (or ideally overnight) ensures it’s firm enough to slice cleanly and maintain its shape.
- Serving Temperature: For easier slicing, let the cake sit out at room temperature for 5-10 minutes before cutting into individual pieces. This slightly softens the ice cream layer.
- Crust Alternatives: Beyond Oreos, graham cracker crumbs offer a classic, slightly spiced flavor, while Nilla wafers provide a vanilla-infused sweetness. You can also experiment with other chocolate cookies or even pretzels for a salty-sweet twist.
- Nutty Variations: While peanuts are traditional, consider topping your cake with other chopped nuts like almonds, walnuts, or pecans for a different crunch and flavor profile.
- Extra Indulgence: Swirl some caramel sauce into the peanut butter layer, or add miniature peanut butter cups to the filling for an even richer experience.
- Make Ahead: This cake is perfect for making in advance! It can be stored in the freezer for up to two weeks, making it an ideal stress-free dessert for parties and events.
- Dairy-Free Option: With a few substitutions, you can easily make this cake dairy-free. Use dairy-free cream cheese, a plant-based whipped topping (like coconut whip or almond-based whipped cream), and ensure your Oreos and fudge sauce are dairy-free.
Upon researching, I’ve noticed that “Drumstick Cake” isn’t as widely known in all regions, leading me to believe it might be a cherished regional recipe. Have you ever had the pleasure of making or tasting it before? Either way, if your heart sings for peanut butter and the nostalgic crunch of a Drumstick ice cream cone, you absolutely must try this drumstick cake. It’s incredibly easy to prepare and packed with an undeniable amount of peanut butter deliciousness that promises to delight your taste buds.
Drumstick Cake
By: Fiona Dowling
Drumstick cake is an easy, homemade, no-bake peanut butter ice cream cake with all the flavor of drumstick ice cream cones. With an Oreo crust, fudge sauce & peanuts – if you love buster bars you definitely need to try this!
Prep: 10 mins | Total: 5 mins (active time) | Servings: 15 pieces
Ingredients
Oreo Cookie Crust
- 2 1/4 cup Oreo crumbs
- 6 tablespoons unsalted butter, melted
Peanut Butter Layer
- 16 oz cream cheese, softened (500 g)
- 1 cup granulated sugar
- 1 cup peanut butter, not natural
- 4 cup whipped topping, thawed
- hot fudge sauce (for topping)
- chopped peanuts (for topping)
Instructions
- In a medium bowl, stir together the Oreo crumbs and melted butter.
- Press the mixture firmly into the bottom of a lightly greased 9×13 inch pan. Place the pan in the freezer while you prepare the peanut butter layer.
- In a large bowl, beat together the softened cream cheese and granulated sugar until the mixture is very soft and smooth. Then, beat in the peanut butter until well combined.
- Turn off the mixer and gently fold in the thawed whipped topping until the entire mixture is evenly combined and no streaks remain.
- Carefully spread the peanut butter mixture over the Oreo crust, smoothing the top with a spatula. Place the cake in the freezer for at least 4 hours to chill thoroughly and harden.
- When you are ready to serve, allow the cake to warm up slightly at room temperature for 5-10 minutes to make it easier to cut. Slice into individual pieces and top each serving with hot fudge sauce and chopped peanuts. Enjoy!
Nutrition
Calories: 417kcal
What are some of your favorite summertime frozen treats? I’m always on the lookout for new inspirations, like these delightful Strawberries & Cream Popsicles from What Molly Made, or these unique Almond Butter Cookie Ice Cream Sandwiches from The Wooden Skillet. There’s nothing quite like a refreshing dessert to beat the heat!