
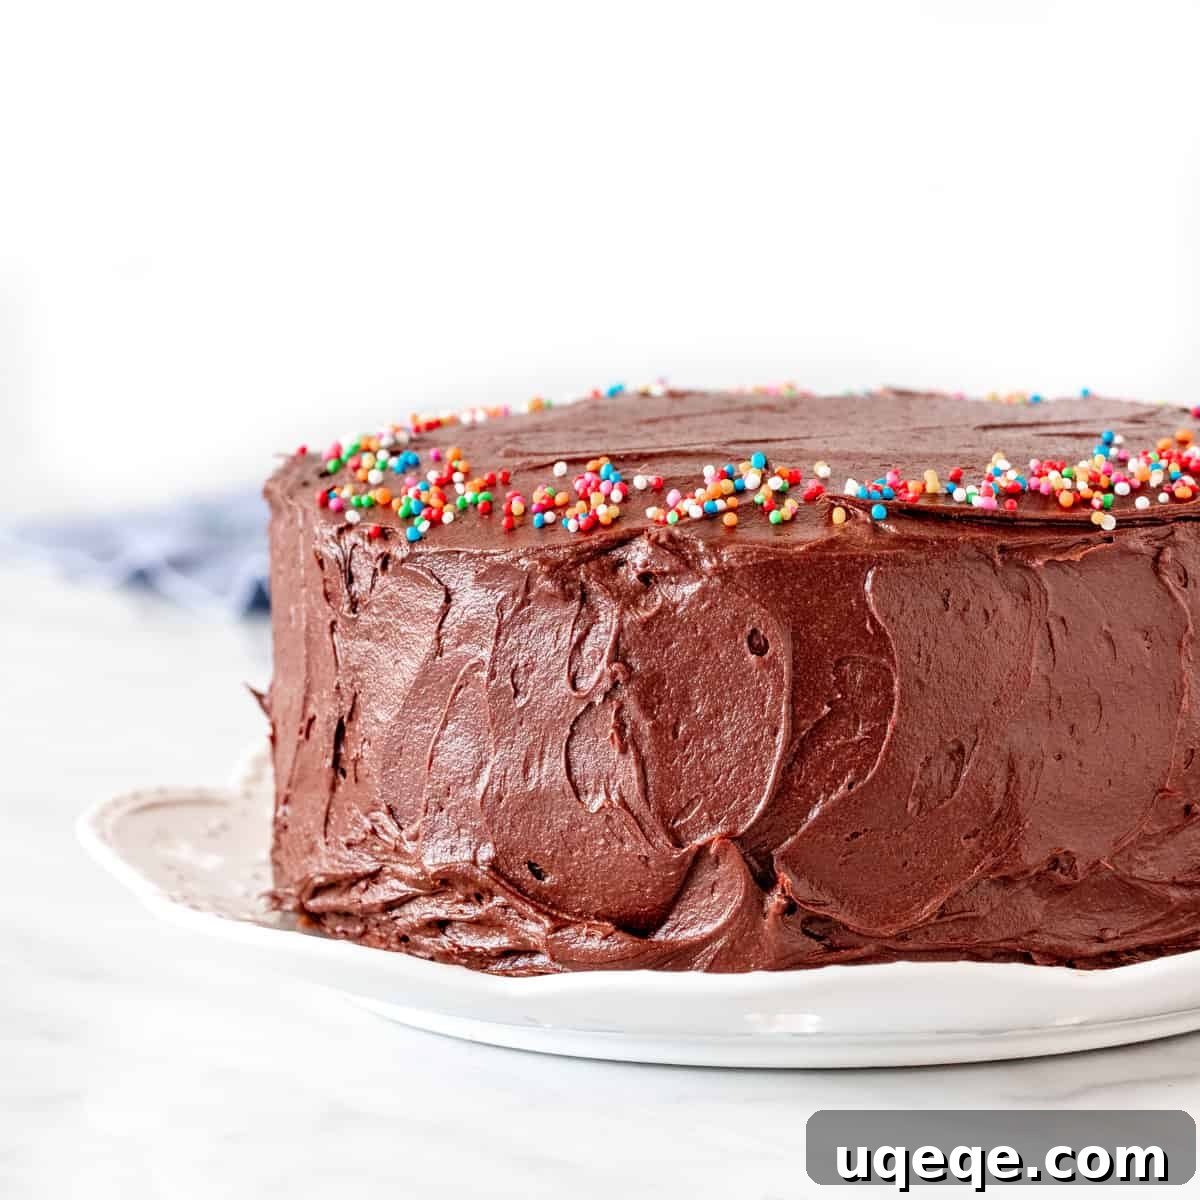
The Ultimate Classic Yellow Birthday Cake with Rich Chocolate Frosting
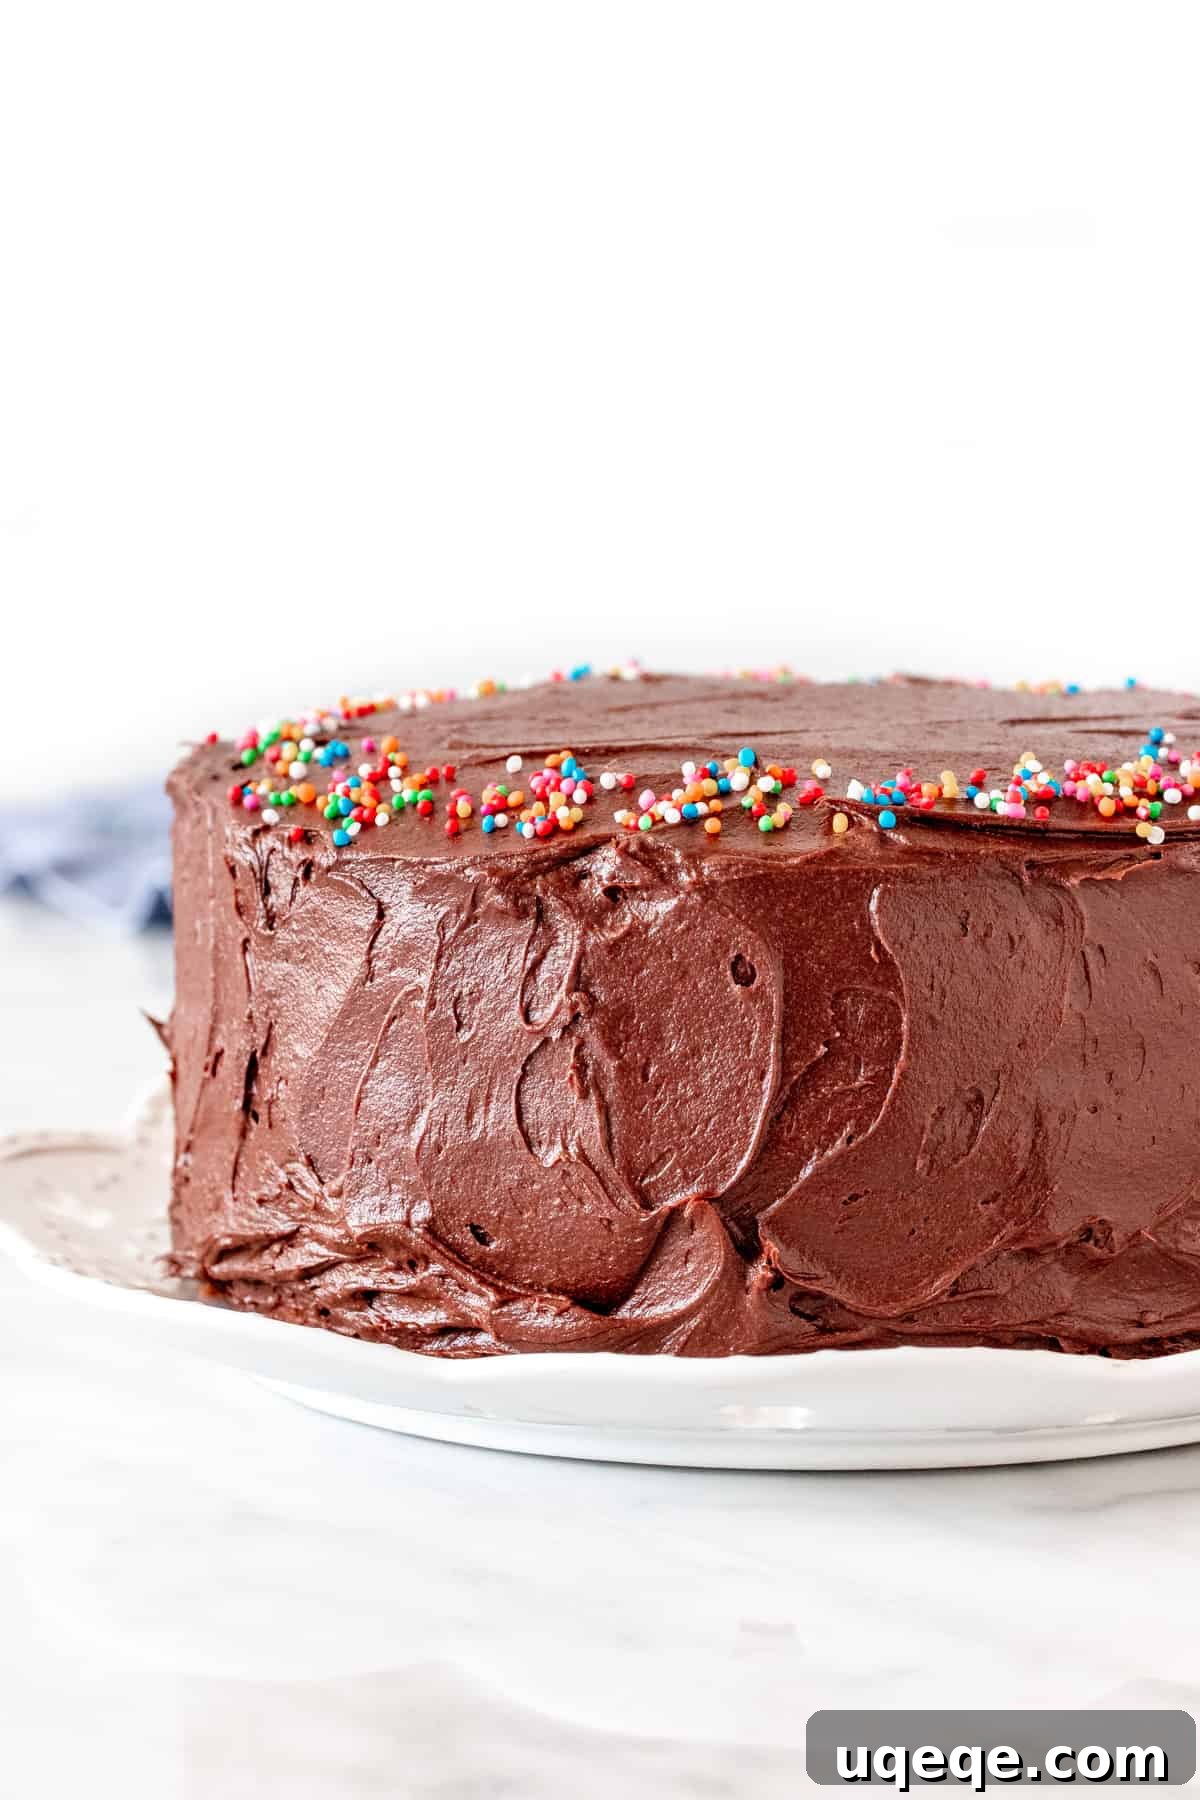
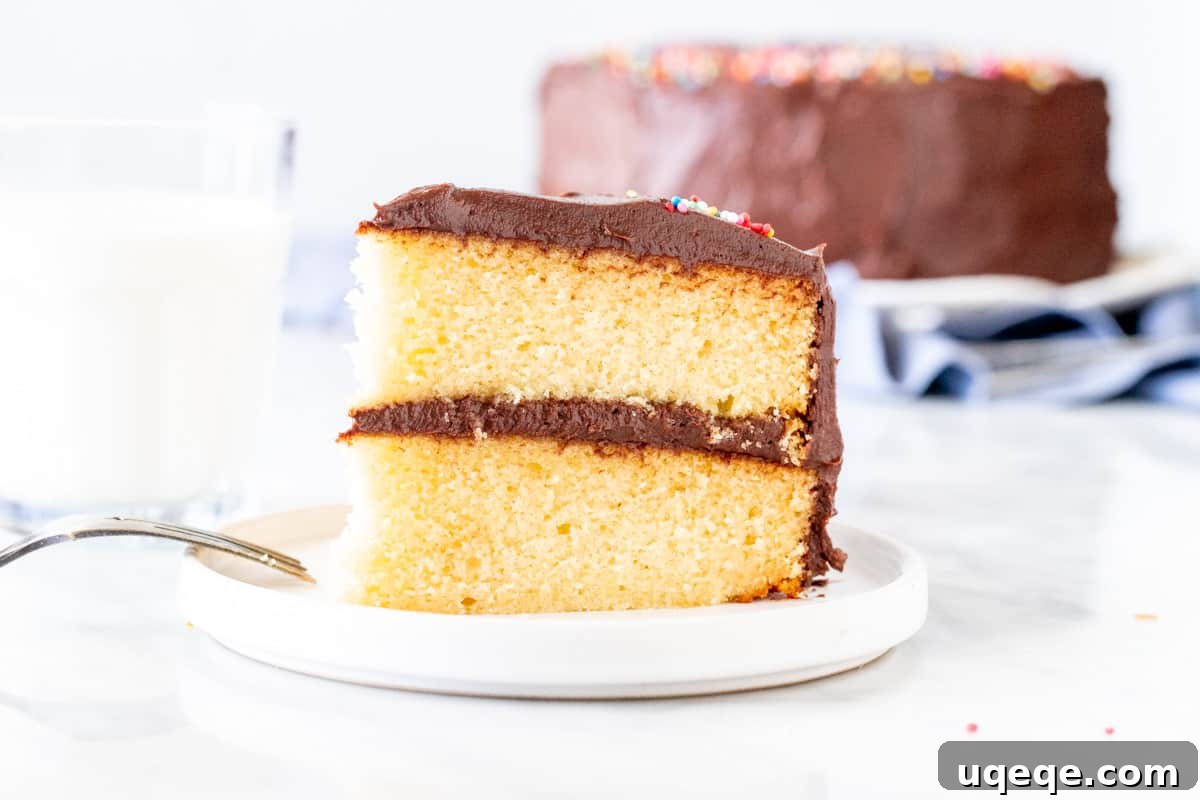
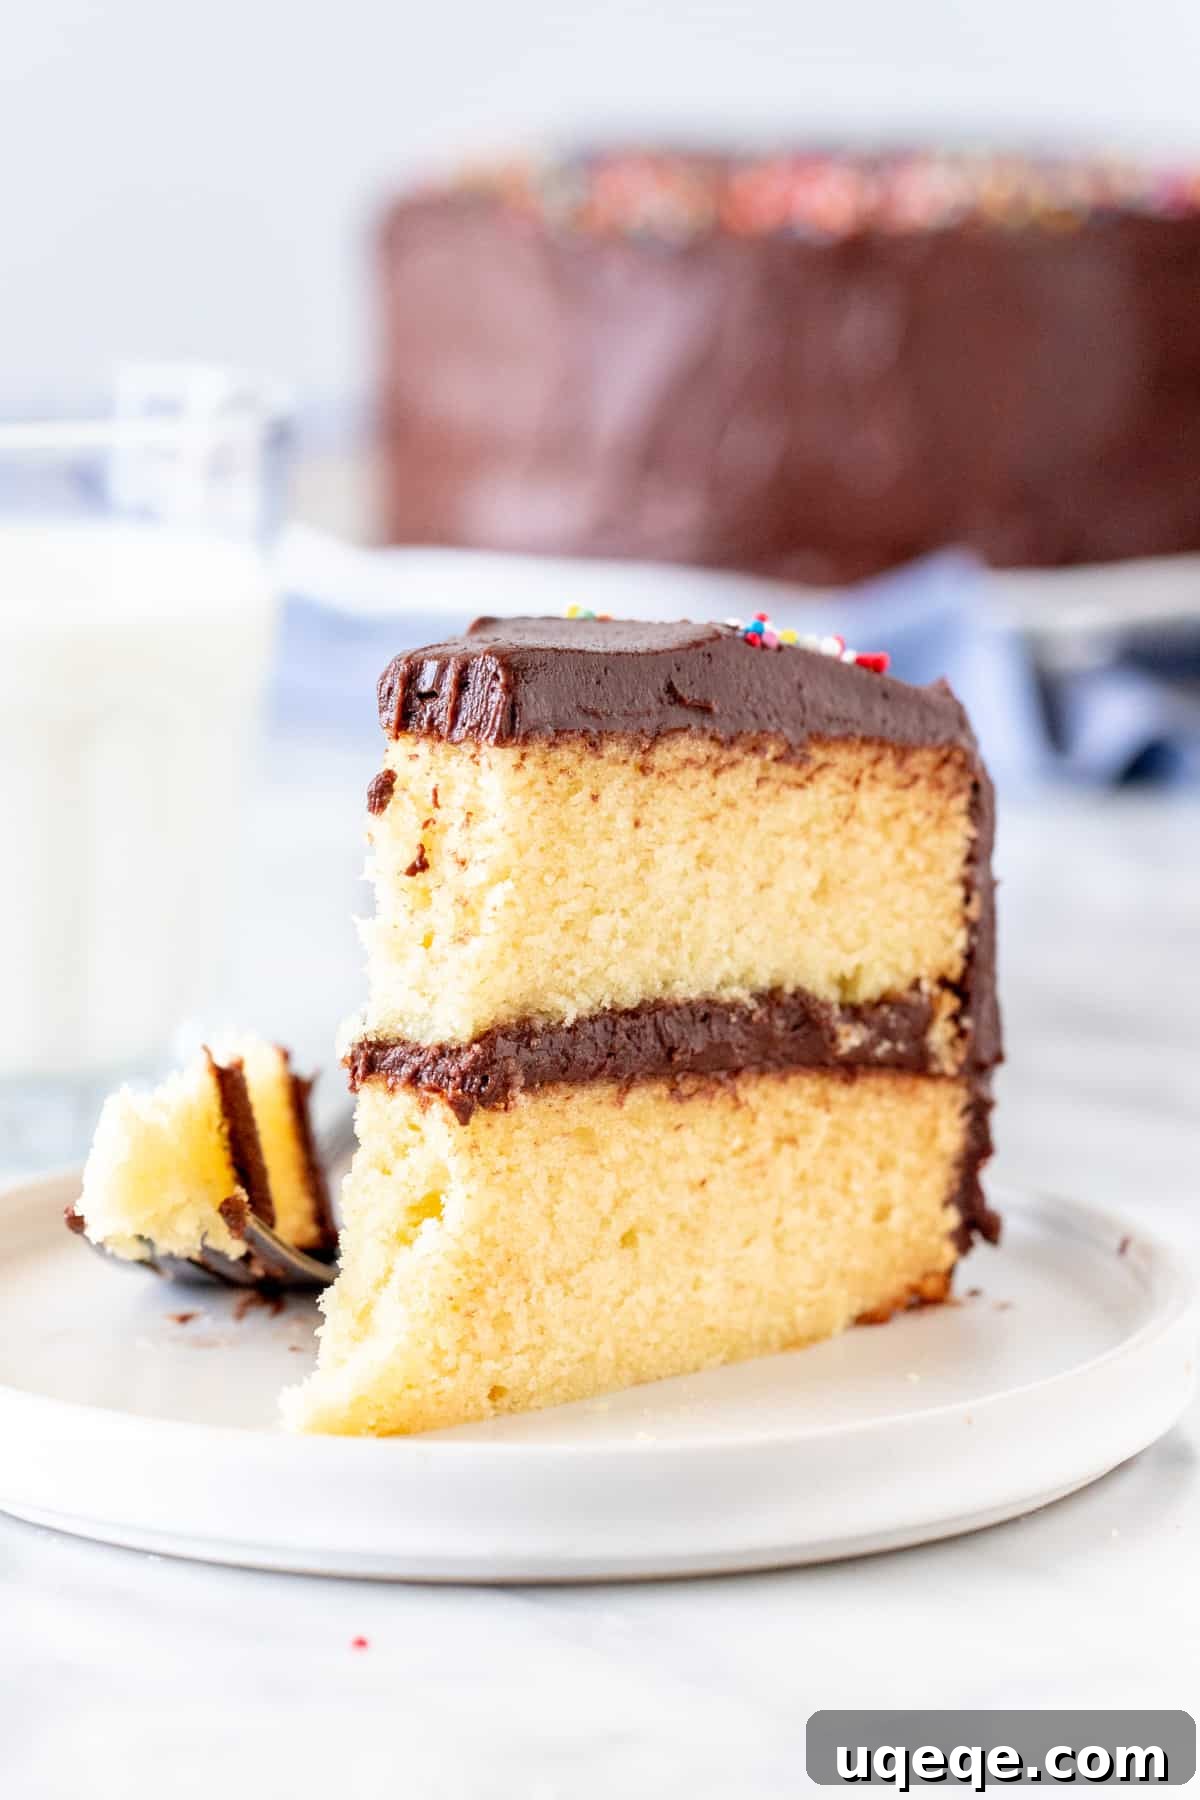
Every celebration deserves a show-stopping cake, and this **classic yellow birthday cake with rich chocolate frosting** is truly the only recipe you’ll ever need. Imagine a cake that’s both nostalgic and exquisitely delicious, delivering a moist, tender crumb and a beautiful golden hue. It’s perfectly balanced—not overly sweet—and crowned with generous swirls of creamy, dreamy chocolate frosting. This recipe effortlessly rivals any bakery creation, yet it’s designed to be simple and foolproof, making it accessible even for the most novice baker.
This isn’t just a dessert; it’s a centerpiece for cherished memories. It’s the perfect addition to your baking repertoire, promising a cake that’s even better than the beloved birthday cakes of your childhood. Whether it’s for a grand birthday bash or a simple Sunday evening treat, a slice of this cake is pure joy, especially when served alongside a scoop of your favorite ice cream.
The Science Behind the Perfect Ingredients for Your Yellow Cake
Crafting the perfect yellow cake isn’t just about mixing ingredients; it’s about understanding their purpose. Every item in this recipe has been meticulously selected and tested through countless trials, occasional baking mishaps, and even a few “kitchen meltdowns,” to ensure the best possible outcome. For this reason, we strongly advise against making any substitutions, as doing so may alter the delicate balance and desired texture of your cake.
- 2 3/4 cups All-Purpose Flour (Plain Flour): We chose all-purpose flour specifically because it’s a pantry staple for most home bakers, eliminating the need to purchase specialized cake flour. While cake flour yields a slightly finer crumb, all-purpose flour, when measured correctly, creates a wonderfully tender cake that holds up beautifully. Never use self-rising flour, as it contains leavening agents that will disrupt the carefully balanced ratio in this recipe.
- 1 1/2 Teaspoons Baking Powder + 1/2 Teaspoon Baking Soda: This precise combination provides the ideal lift and tender structure. Baking powder reacts when wet and with heat, while baking soda requires an acid (like sour cream in this recipe) to activate. Using both ensures a consistent rise without the metallic aftertaste that can occur from using too much of a single leavening agent.
- 1/2 Teaspoon Salt: A crucial ingredient often overlooked! Salt doesn’t just add flavor; it balances the sweetness of the cake, enhancing the vanilla notes and preventing it from tasting flat. We always recommend using unsalted butter so you have complete control over the total salt content.
- 3/4 cup Unsalted Butter: Butter is the backbone of any great vanilla cake, contributing immense flavor and richness. It helps create that classic buttery taste and contributes to a tender crumb. Unlike margarine, shortening, or oil, butter solidifies when chilled, providing structure and allowing for cleaner slices. Substitutions are not recommended here for optimal flavor and texture.
- 1 3/4 cups Granulated Sugar: This amount was carefully determined to achieve the perfect level of sweetness, ensuring the cake isn’t cloyingly sweet but still feels indulgent. Sugar also plays a vital role in moisture retention and caramelization, contributing to the cake’s golden color and tender texture.
- 1 Tablespoon Vanilla Extract: Yes, you read that correctly – a full tablespoon! High-quality vanilla extract is essential for that signature, irresistible vanilla flavor in a yellow cake. It elevates the other ingredients and provides aromatic depth.
- 2 Tablespoons Oil (Vegetable or Canola): While butter provides flavor, a touch of neutral-flavored oil (like vegetable or canola) ensures your cake stays moist and tender for longer. Oil remains liquid at room temperature, contributing to a consistently soft crumb, even a few days after baking. It’s the secret to a cake that doesn’t dry out quickly.
- 4 Large Eggs: Eggs are critical for both structure and moisture. The yolks contribute to the cake’s rich yellow color and add richness, while the whites provide structure and help the cake rise. Using large, room-temperature eggs is crucial for proper emulsification within the batter.
- 1/2 cup Sour Cream and 2/3 cup Whole Milk: These dairy ingredients are moisture powerhouses. Sour cream, with its higher fat content and acidity, yields an incredibly tender and moist crumb, activating the baking soda for a beautiful rise. Whole milk adds liquid and fat, further contributing to the cake’s richness and tender texture. For the best results, avoid low-fat or dairy-free alternatives.
Essential Baking Tips for a Flawless Birthday Cake
Achieving bakery-quality results at home is easier than you think when you follow these critical baking tips. These steps are designed to prevent common issues and ensure your yellow cake is perfectly moist and tender every time.
- Room Temperature Ingredients Are Key: This is arguably the most important tip! Your butter, eggs, sour cream, and milk should all be at room temperature before you start. Cold ingredients don’t emulsify properly with creamed butter and sugar, leading to a lumpy batter and a denser, less uniform cake texture. Take butter out 15-30 minutes beforehand and cut it into small cubes to speed softening. For eggs and dairy, remove them from the fridge at least 30 minutes prior to baking.
- Measure Flour Correctly: Incorrect flour measurement is the most common cause of a dry, tough, or flavorless cake. Never scoop flour directly from the bag with your measuring cup, as this compacts it, leading to too much flour. Instead, first whisk the flour in its container to aerate it. Then, spoon the flour into your dry measuring cup until it overflows slightly, and use a straight edge (like the back of a knife) to level off the excess. For ultimate precision, use a kitchen scale: 2 3/4 cups of all-purpose flour weighs approximately 344 grams or 12.1 ounces.
- Avoid Overmixing the Batter: Once you add the dry ingredients to the wet, mix *just* until everything is combined. Overmixing develops the gluten in the flour, which can lead to a tough, chewy cake rather than a tender, delicate one. A few small streaks of flour are better than an overmixed batter.
- Bake on the Middle Rack: For even heat distribution and consistent baking, place both cake pans on the middle rack of your oven. If your oven tends to have hot spots, you might gently rotate the pans halfway through baking (but try to avoid opening the oven door too frequently).
- Prepare Your Pans Thoughtfully: Line the bottoms of your 8-inch round cake pans with parchment paper circles. This prevents sticking and makes removal much easier. For the sides, lightly grease and flour them, or use a commercial cake release spray. This ensures your beautiful cake layers slide out effortlessly.
Assembling Your Masterpiece: A Guide to Layer Cake Success
Don’t be intimidated by the idea of assembling a layer cake! With a few simple techniques, you can achieve a professional-looking finish. The most important rule? Ensure your cake layers are completely cooled before you even think about frosting them. Warm cake will melt your frosting, leading to a sliding, messy disaster.
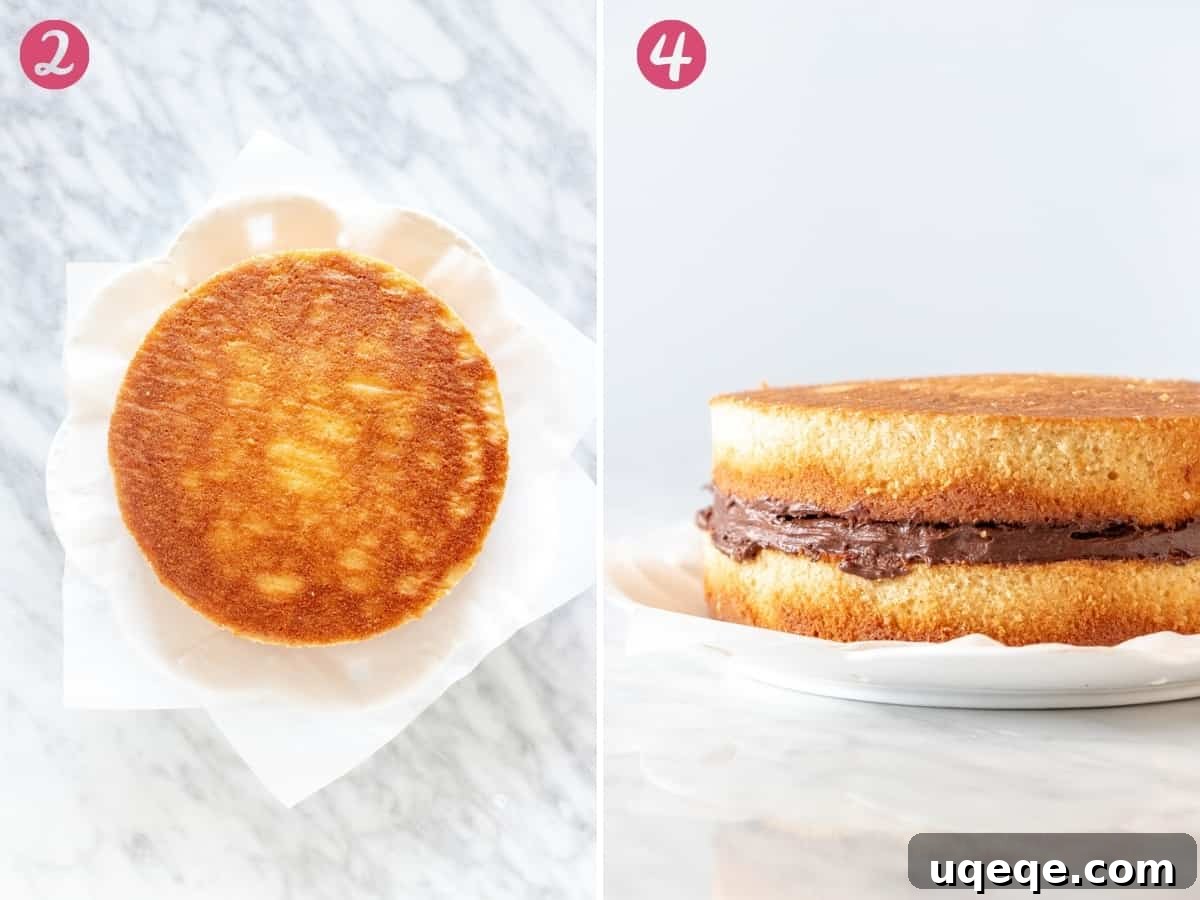
- Leveling the Cake: If your baked cake layers have domed tops, use a long, serrated knife to gently slice off the rounded portion, creating a flat surface. This “leveling” ensures your cake layers stack neatly and evenly. If the edges are slightly angled, a careful trim can also straighten them for a perfect perpendicular stack.
- Prepare Your Work Surface: To keep your cake stand or serving plate spotless, arrange a few strips of parchment paper or wax paper around the edges. Position them so they slightly tuck under where your cake will sit, covering the exposed areas of the plate. This acts as a barrier, catching any stray frosting and allowing for a clean reveal at the end.
- First Layer & Frosting: Carefully place one cooled cake layer on your prepared cake stand, ensuring the flat, bottom side faces upwards. This provides a stable, even base. Evenly spread about one-third of your creamy chocolate frosting over the top of this layer, aiming for a thickness of about 1/4 to 1/3 inch.
- Second Layer & Frosting: Gently place the second cooled cake layer directly on top of the frosted first layer. Again, orient it with its flat, bottom side facing upwards to create another even surface for frosting.
- The Crumb Coat (Optional but Recommended): Now, frost the sides of the cake with about one-third of the remaining frosting. If you notice cake crumbs mixing into your frosting (a common occurrence, especially with tender cakes), pause. Apply a very thin layer of frosting all around the sides and top—this is called a “crumb coat.” This thin layer traps any loose crumbs. Let it firm up in the refrigerator for 15-20 minutes, then proceed with your final, thicker layer of frosting. This technique ensures a smooth, crumb-free outer layer.
- Final Frosting Touches: Use the remaining frosting to generously cover the top of the cake, extending it to meet the frosted sides. Smooth the top and sides as desired, or create beautiful swirls and peaks using an offset spatula or the back of a spoon for an artisanal touch.
- The Grand Reveal: Once your cake is beautifully frosted, gently wiggle out the strips of parchment or wax paper from underneath the cake. You’ll be left with a perfectly clean cake stand and a stunning, professionally finished dessert!
Frequently Asked Questions About Baking Your Birthday Cake
What’s the Difference Between Yellow Cake and White Cake?
Both yellow cake and white cake are classic vanilla-flavored cakes, but their primary distinction lies in their use of eggs. Yellow cake is traditionally made with whole eggs, including the yolks. This gives it its characteristic golden color, a slightly richer flavor, and a denser, moister crumb due to the fat from the egg yolks. White cake, on the other hand, is made exclusively with egg whites, resulting in a bright white interior and a typically lighter, more delicate texture. While both are delicious, yellow cake offers a comforting richness that many associate with classic birthday celebrations.
What Pan Sizes Can I Use for This Recipe?
This recipe is specifically developed for two 8-inch round cake pans with high sides (at least 2 inches deep), which yields a beautifully tall cake with an excellent cake-to-frosting ratio. However, you can adapt the recipe for other pan sizes with adjustments to baking time:
- Three 8-inch (20 cm) Round Sandwich Tins: Bake for approximately 25 minutes at 350°F (180°C). This will create three thinner layers.
- Two 9-inch (23 cm) Round Cake Tins: Bake for about 25-27 minutes at 350°F (180°C). The layers will be slightly thinner and wider.
- Three 6-inch (15.25 cm) Round Cake Tins: Expect a bake time of around 30-35 minutes at 350°F (180°C). These will be charmingly tall, smaller cakes.
- One 9×13 inch (23×33 cm) Rectangular Cake Tin: Bake for 35-40 minutes at 350°F (180°C). For this size, consider halving the chocolate frosting recipe, as you’ll only need to cover one large surface.
- For Cupcakes: While adaptable, for the best cupcake results, we recommend using a dedicated yellow cupcake recipe that is specifically formulated for smaller portions and baking times.
How Long Will Birthday Cake Keep for?
For optimal freshness and flavor, this yellow cake is best enjoyed on the day it’s baked and assembled, or the following day. However, thanks to the addition of oil and sour cream, it remains delightfully moist and tender for several days.
- Unfrosted Cake Layers: If you’re baking ahead, unfrosted cake layers can be stored in an airtight container at room temperature for up to 3 days, or in the refrigerator for up to 4 days.
- Frosted Cake: Once frosted, the cake should be stored in the refrigerator, covered loosely or in an airtight cake carrier, for up to 4 days. It’s important to remember that butter-based frosting will firm up when cold. For the best eating experience, remove the cake from the refrigerator about 30 minutes before serving, allowing it to come closer to room temperature for a perfectly soft cake and creamy frosting.
Can I Freeze This Cake?
Absolutely! Freezing is an excellent way to prepare cake layers in advance. Unfrosted cake layers can be individually wrapped tightly in plastic wrap, then placed in a large freezer bag or an airtight freezer-safe container. They can be frozen for up to 2 months. When you’re ready to assemble, thaw the wrapped layers overnight in the refrigerator. Before frosting, bring them to room temperature. Important: Do not thaw cake layers at room temperature directly from the freezer, as this can lead to a soggy or gummy texture.
More Delicious Cake Recipes to Explore
If you loved this classic birthday cake, you might enjoy trying some of our other delightful cake creations:
- Indulgent Double Chocolate Layer Cake
- Our Signature Super Moist Carrot Cake
- Effortless Easy Red Velvet Cake
- Perfect White Cake with Smooth Vanilla Frosting
Classic Birthday Cake
By: Fiona Dowling
This classic birthday cake is the only recipe you need for a truly unforgettable celebration. It features a moist, tender vanilla cake with a beautiful golden yellow color, perfectly complemented by swirls of creamy chocolate frosting. This recipe delivers a taste that surpasses any bakery, yet is simple enough for even a beginner baker to master with confidence.
Prep: 1 hr |
Cook: 30 mins |
Cooling: 45 mins |
Total: 2 hrs 15 mins |
Servings: 14 pieces (or 12 large pieces)
Equipment
- Two 8-inch round cake pans (with high sides – about 2 inches)
- Parchment paper
Ingredients
Cake
- 2 3/4 cups all-purpose flour* (measured properly – see recipe notes)
- 1 1/2 teaspoons baking powder
- 1/2 teaspoon baking soda
- 1/2 teaspoon salt
- 3/4 cup unsalted butter*, softened to room temperature, but not melty
- 1 3/4 cups granulated sugar
- 2 tablespoons vegetable oil, or canola oil
- 1 tablespoon vanilla extract
- 4 large eggs*, room temperature
- 1/2 cup sour cream*, room temperature
- 2/3 cup whole milk*, room temperature
Chocolate Frosting
- 1 1/4 cups unsalted butter, softened to room temperature (2 and 1/2 sticks)
- 3-4 cups powdered sugar, sifted
- 3/4 cup cocoa powder, sifted
- 1 teaspoon vanilla extract
- 1/2 teaspoon salt
- 3-4 tablespoons whipping cream, or milk
Instructions
Baking the Cake
- Preheat your oven to 350°F (180°C). If you have a convection oven, set the temperature to 325°F (160°C); some convection ovens adjust automatically.
- Prepare two 8-inch round cake pans (with sides at least 1.5 inches high). Line the bottom of each pan with a circle of parchment paper. Lightly grease the sides of the pans and then dust with flour, tapping out any excess. Alternatively, you can use a cake pan release spray. (See recipe notes for additional pan sizes.)
- In a medium bowl, sift together the all-purpose flour, baking powder, baking soda, and salt. Whisk these dry ingredients together thoroughly for about 5-10 seconds to ensure even distribution. Set this bowl aside.
- In a large mixing bowl (using a stand mixer with a paddle attachment or a hand mixer), beat the softened butter and granulated sugar together on medium-high speed until the mixture is light, fluffy, and pale in color, typically 2-3 minutes. Stop the mixer and use a rubber spatula to scrape down the sides and bottom of the bowl, ensuring everything is well combined.
- Add the vegetable or canola oil and the generous tablespoon of vanilla extract to the butter mixture. Beat again on medium speed until fully incorporated.
- Incorporate the large eggs one at a time, beating well after each addition. After adding each egg, remember to stop the mixer and scrape down the sides of the bowl to ensure a uniform batter.
- With the mixer set to low speed, gradually add about one-third of the dry flour mixture to the wet ingredients. Mix just until combined, then add the sour cream and mix until smooth.
- Turn off the mixer and scrape down the sides of the bowl again. With the mixer on low speed, add another one-third of the flour mixture, followed by the whole milk. Mix until just combined. Scrape the bowl once more. Finally, add the remaining flour mixture and beat on low speed only until everything is just combined. Be careful not to overmix, as this can lead to a tough cake.
- Divide the cake batter evenly between your two prepared pans. You can weigh the pans to ensure exact portions for uniform cakes. Gently drop each cake pan onto the counter from about 1 inch high once or twice to release any trapped air bubbles.
- Bake in the preheated oven on the middle rack for approximately 30 minutes, or until a wooden toothpick inserted into the center of a cake comes out clean or with only a few moist crumbs attached.
- Allow the cakes to cool in their pans for 10-15 minutes. Then, carefully invert them onto a wire cooling rack to cool completely out of the pans. It is crucial for the cakes to be 100% cooled before frosting.
Chocolate Frosting
- In a large bowl, beat the softened unsalted butter until it is smooth, light, and fluffy (about 2-3 minutes).
- With the mixer on low speed, gradually beat in 2 cups of the sifted powdered sugar until combined.
- Add the sifted cocoa powder, vanilla extract, and salt to the bowl. Beat on low speed until these ingredients are fully incorporated and the frosting begins to look uniform.
- Gradually add the remaining powdered sugar, about 1/2 cup at a time, alternating with 1 tablespoon of whipping cream (or milk). Continue beating until your desired sweetness and thickness are achieved. The frosting should be thick enough to hold its shape but spreadable, slightly thinner than peanut butter consistency.
Assembling the Cake
- Ensure your cake layers are completely cooled before starting assembly. If your cakes have domed tops, use a serrated knife to gently slice off the rounded part of each layer, creating a flat surface for stacking.
- To keep your cake plate clean, arrange 3-4 strips of wax paper or parchment paper around the edges of your cake stand or serving plate. Place one cooled cake layer on the stand, with its flat bottom side facing down. The paper strips should extend slightly under the cake and cover the exposed areas of the plate.
- Spread approximately one-third of the chocolate frosting evenly over the top of the first cake layer. Aim for a thickness of about 1/4 to 1/3 inch.
- Carefully place the second cake layer directly on top of the frosted layer, again with its flat bottom side facing down.
- Frost the sides of the cake with about one-third of the remaining frosting. If you notice cake crumbs getting into the frosting, apply a very thin layer first (this is called a “crumb coat”) to trap the crumbs. Chill the cake for 15-20 minutes to let the crumb coat firm up, then apply the rest of the frosting to the sides.
- Finally, use the remaining frosting to cover the top of the cake, blending it smoothly with the sides. You can create decorative swirls or patterns with an offset spatula. Once satisfied with the frosting, very gently pull the parchment or wax paper strips out from under the cake, leaving a clean presentation.
Notes
- For Different Cake Pan Sizes:
- Three 8-inch (20 cm) Round Sandwich Tins: Bake time will be around 25 minutes at 350°F (180°C).
- Two 9-inch (23 cm) Round Cake Tins: Bake time will be around 25-27 minutes at 350°F (180°C).
- Three 6-inch (15.25 cm) Round Cake Tins: Bake time will be about 30-35 minutes at 350°F (180°C).
- One 9×13 inch (23×33 cm) Rectangular Cake Tin: Bake time will be 35-40 minutes at 350°F (180°C). For this size, you may want to divide the frosting recipe in half.
- For Cupcakes: We recommend using a dedicated yellow cupcake recipe for optimal results.
- Measuring Flour Properly: It is crucial for a moist cake! Always whisk your flour in its container first to aerate it. Then, spoon it into your dry measuring cups and level off the top with a straight edge. For precision, use a kitchen scale: 2 3/4 cups of all-purpose flour weighs approximately 344 grams or 12.1 ounces.
- Butter Temperature: Your unsalted butter should be softened to a cool room temperature—meaning it’s pliable but not greasy, shiny, or melty. When you gently press your finger into it, it should leave a slight indentation. To achieve this, take the butter out of the fridge about 15-30 minutes before starting and cut it into small cubes.
- Other Room Temperature Ingredients: Similarly, your eggs, sour cream, and whole milk should also be at room temperature before you begin. Remove them from the fridge about 30 minutes before you start mixing to ensure proper emulsification and a smooth batter.
- Cake Storage & Make-Ahead Tips: This cake is at its absolute best when served the same day it’s made or the following day. However, it will remain deliciously moist and tender for approximately 3-4 days.
- Unfrosted Cake: Store unfrosted cake layers in an airtight container at room temperature for up to 3 days, or in the refrigerator for up to 4 days.
- Frosted Cake: Store frosted cake, covered or in an airtight cake carrier, in the fridge for up to 4 days. Remember that butter-based frosting will firm up when cold. For the best texture, remove the cake from the fridge about 30 minutes prior to serving to allow it to warm up to room temperature.
- Freezing Cake Layers: Unfrosted cake layers can be individually wrapped tightly in plastic wrap, then placed in a freezer-safe bag or container and frozen for up to 2 months. Thaw frozen cake layers overnight in the refrigerator. Before frosting and serving, bring them to room temperature. Avoid thawing cake at room temperature directly from the freezer, as this can make your cake soggy or gummy.
- Nutrition Information: The nutrition information provided is an estimate only, based on 1 slice of cake with frosting, assuming the cake is sliced into 14 equal-sized pieces and all the frosting is used.
Nutrition
Calories: 605kcal, Carbohydrates: 73g, Protein: 6g, Fat: 34g, Saturated Fat: 21g, Trans Fat: 1g, Cholesterol: 133mg, Sodium: 244mg, Potassium: 199mg, Fiber: 2g, Sugar: 51g, Vitamin A: 1004IU, Vitamin C: 1mg, Calcium: 69mg, Iron: 2mg