
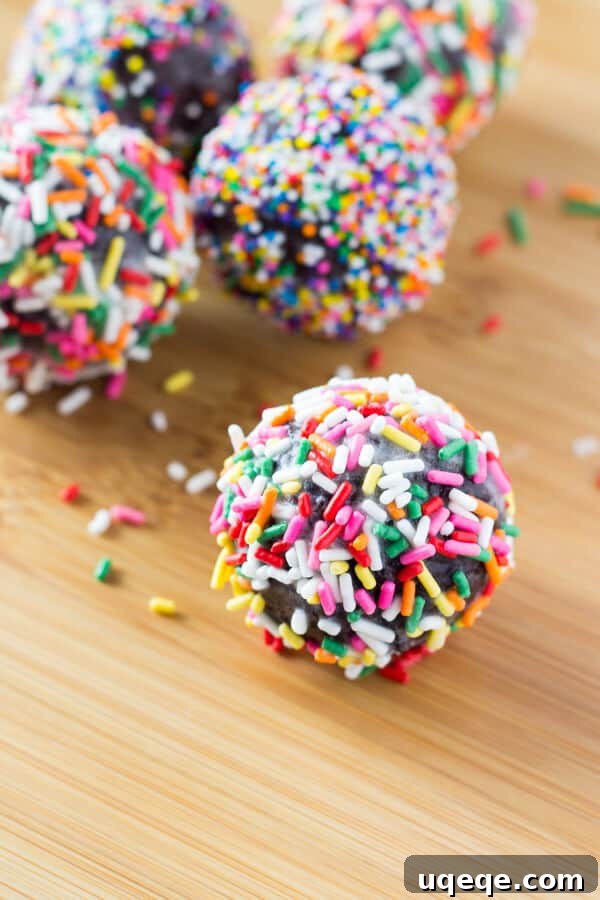
Indulge in the magic of homemade baking with these perfectly fudgy Chocolate Doughnut Holes, generously dipped in a sweet, velvety vanilla glaze.

Irresistible Fudgy Chocolate Doughnut Holes with Sweet Vanilla Glaze
Oh, hello there, fellow dessert enthusiasts and doughnut lovers! Are you ready to embark on a delightful culinary adventure that promises pure, bite-sized chocolate doughnut happiness? The answer, of course, is always a resounding YES! Today, I’m thrilled to share with you a cherished recipe for creating your very own batch of these incredible chocolate doughnut holes right in your kitchen. But before we dive into the delicious details, let’s warm our hearts with a little story about family, tradition, and the enduring love for a simple, sweet treat.
A Taste of Nostalgia: Family, Doughnuts, and Canadian Summers
My culinary journey often intertwines with cherished memories, and this recipe for chocolate doughnut holes is no exception. You see, my Mum hails from the beautiful landscapes of Scotland, making our little family the sole representatives living “across the pond.” Growing up, every few summers brought immense joy as relatives from Britain would visit, eager to experience the wonders of Canada. We’d proudly introduce them to all the joys our country had to offer – from two weeks of glorious sunshine and endless prairie highways to the quintessential Canadian experience of making S’mores over a crackling campfire (and, of course, the occasional battle with Canadian mosquitoes – you know, the highlights!).
It was during these memorable visits that a truly Canadian tradition took root: introducing our Scottish cousins to the beloved Tim Hortons and, specifically, their famous doughnut holes, affectionately known as Timbits. There was nothing quite like the simple pleasure of teenage girls giggling together, listening to the latest Brit-pop tunes, and sharing a diverse selection of Timbits. For our friends south of the 49th parallel, these delightful morsels might be better known as “Munchkins.” These moments weren’t just about the food; they were about connection, laughter, and creating lasting memories over a shared love for these miniature doughnuts.
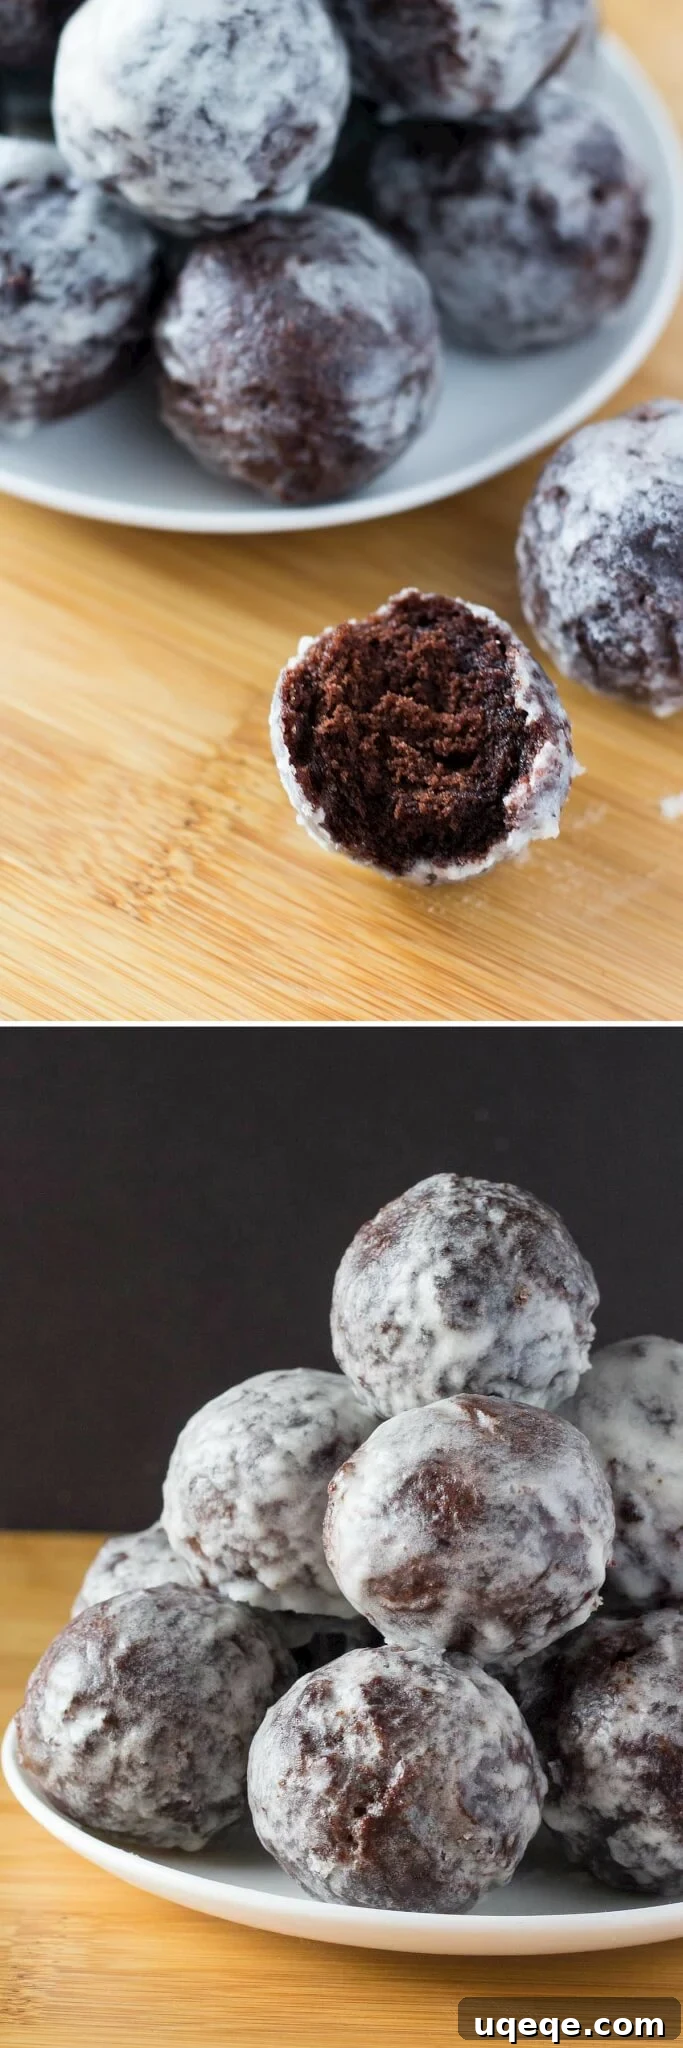
Naturally, as I often find myself reminiscing about those past summers and my dear relatives in the UK, I was inspired to recreate that joy in my own kitchen. I decided to make my very own chocolate doughnut holes, aiming for nothing less than the real deal. And let me tell you, these aren’t just any doughnut holes. We’re talking about a truly authentic experience: a rich, fudgy chocolate flavor, a perfectly tender cake texture, deep-fried to golden perfection, and then generously dipped in a deliciously sweet vanilla glaze. These are the kind of doughnut holes that are perfectly moist, wonderfully fluffy, intensely chocolatey, and, in every single way, utterly perfect. Seriously, you’ll find yourself reaching for at least a dozen without even realizing it. They are that good.
Why Homemade Doughnut Holes Are Simply the Best
While the convenience of a doughnut shop is undeniable, nothing quite compares to the warmth, freshness, and customizable joy of homemade doughnut holes. When you make them yourself, you control every ingredient, ensuring the highest quality and the freshest possible taste. The aroma of frying doughnuts and simmering glaze filling your kitchen is an experience in itself, promising a treat that is unparalleled. These homemade chocolate doughnut holes offer a superior depth of flavor and a wonderfully tender texture that store-bought versions often lack. Plus, the satisfaction of creating such a delightful treat from scratch is incredibly rewarding. You’re not just making a dessert; you’re crafting a memory, just like those cherished summer days with family.
Essential Tips for Flawless Fudgy Chocolate Doughnut Holes
Now, while the idea of making deep-fried chocolate doughnut holes might seem a little daunting, I assure you it’s quite straightforward and nothing to be afraid of! Since these are cake doughnuts, there’s no fussing with yeast or complicated rising times. The batter comes together in a flash. However, to ensure your success in creating the most delicious, fluffy, and fudgy doughnut holes, I want to draw your attention to a few key points:
- Room Temperature Ingredients Are a Must: Before you even think about starting, make sure all your ingredients – especially the butter, eggs, and buttermilk – are at room temperature. This isn’t just a suggestion; it’s a crucial step. Room temperature ingredients emulsify much more easily, meaning they combine smoothly and evenly. This leads to a uniform batter texture, which in turn ensures your doughnut holes cook perfectly and have that desired moist, tender crumb.
- Buttermilk for Unrivaled Tenderness: Using real buttermilk is strongly recommended for this recipe. While it’s possible to create a buttermilk substitute (usually by adding a tablespoon of lemon juice or white vinegar to regular milk and letting it sit for a few minutes), genuine buttermilk provides the best results. Its acidity reacts with the baking soda, creating a lighter, more tender doughnut with a subtle tang that perfectly balances the rich chocolate flavor. It’s the secret to that irresistible moistness.
- Chilling the Dough for Easier Handling: After you’ve prepared your rich chocolate batter, you’ll wrap it in clingfilm and let it chill in the refrigerator for at least 30 minutes. This step is a game-changer. Chilling the dough makes it significantly firmer and less sticky, transforming it into a much more manageable consistency. This makes the process of forming the dough into perfect bite-sized balls much easier and less messy, preventing it from sticking excessively to your hands or scoop.
- Mastering the Doughnut Hole Formation: When it comes to shaping the doughnut holes, your fingers will inevitably get a little messy – and that’s perfectly fine! For the best and most consistent results, I highly recommend using a small cookie scoop (about 2 teaspoons to 1 tablespoon in size). To make the rolling process even smoother and prevent excessive sticking, apply a tiny amount of oil to your hands before you begin. This small trick will save you a lot of hassle and help you create beautifully uniform spheres.
- Safety First When Frying: This is perhaps the most important tip. Please, please be extremely careful when working with hot oil! Safety in the kitchen is paramount, and I don’t want anyone getting hurt. Always use a heavy-bottomed saucepan or Dutch oven, ensuring there are at least two inches of space between the top of the oil and the rim of the pot to prevent boil-overs. Use a deep-fry thermometer to accurately monitor the oil temperature, as consistent temperature is key to evenly cooked doughnuts. Never overcrowd the pot, and always use a slotted spoon or spider to gently place and remove the doughnut holes from the hot oil. Keep children and pets away from the cooking area.
The Sweet Finish: Vanilla Glaze and Fun Variations
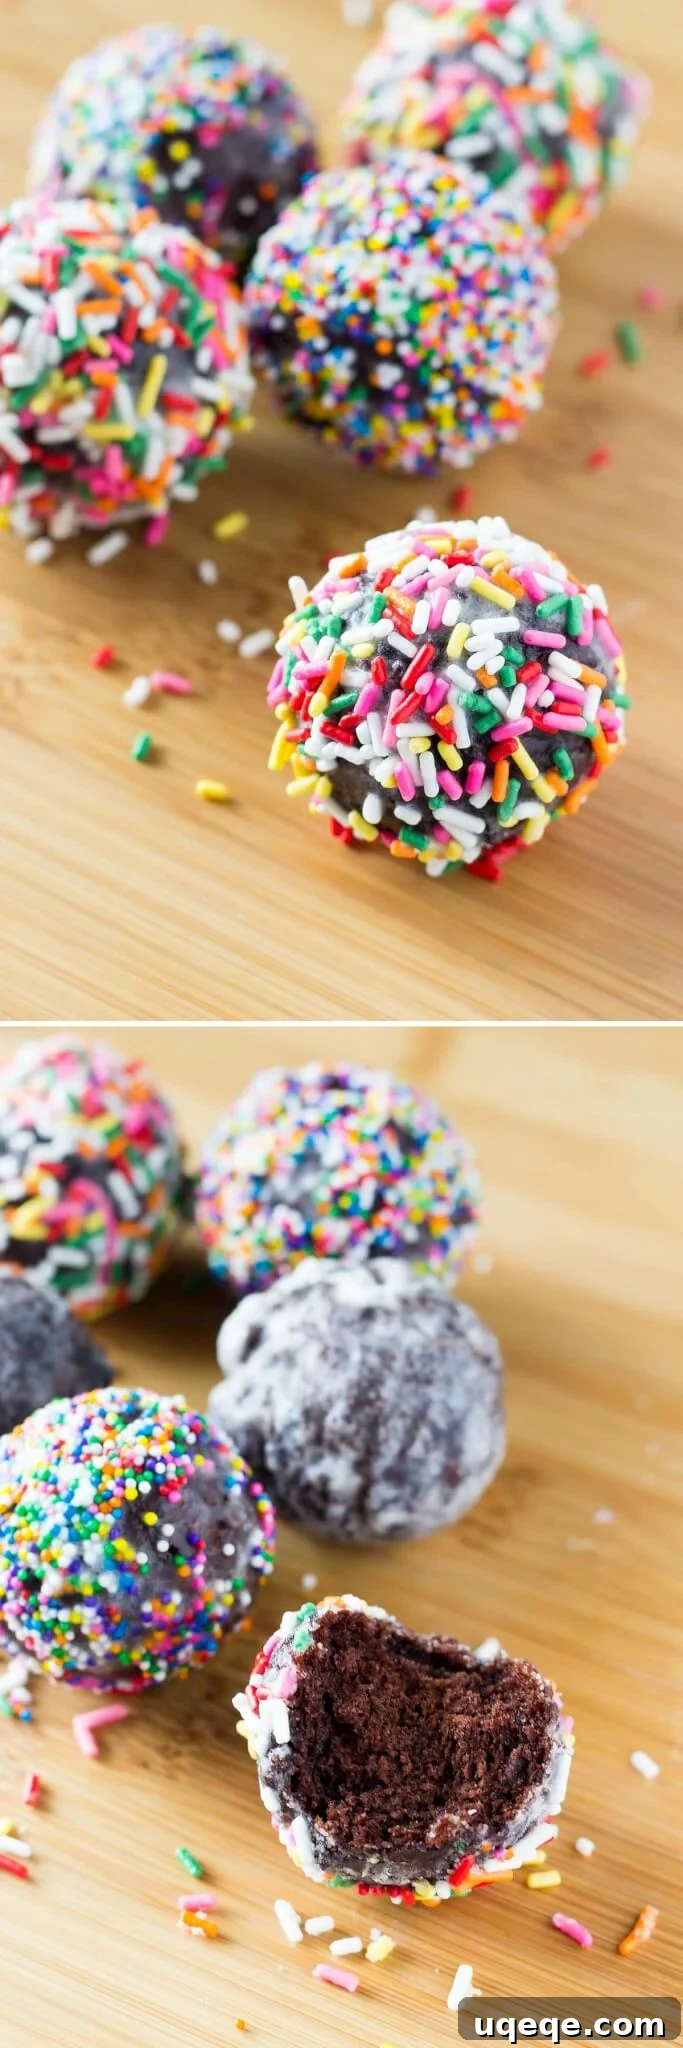
Once your chocolate doughnut holes are beautifully deep-fried and have cooled slightly, they are ready for their glorious dip in sweet vanilla glaze. This glaze is incredibly simple to make yet adds an essential layer of sweetness and shine, elevating these treats to an irresistible level. The smooth, glistening coating perfectly complements the rich, fudgy chocolate interior. For a touch of extra pizzazz and celebratory flair, I love to roll some of my little doughnut friends in colorful sprinkles – but this is entirely optional and totally up to your preference! Whether adorned with sprinkles or left in their pristine glazed state, your chocolate doughnut-loving self will be in pure bliss. You can also experiment with other glazes, such as a chocolate glaze for double chocolate decadence, or a simple dusting of powdered sugar or cinnamon sugar for a different flavor profile.
Seriously chocolatey, perfectly fluffy, deliciously deep-fried, and beautifully glazed… with this recipe, you simply can’t go wrong. Get ready to impress yourself and everyone you share these with!
The Ultimate Chocolate Doughnut Holes Recipe

Chocolate Doughnut Holes
By: Fiona Dowling
Perfectly fudgy Chocolate Doughnut Holes dipped in sweet vanilla glaze! Fluffy, oh so moist & so much better than the doughnut shop!
Prep: 40 mins | Cook: 2 mins | Total: 1 hr 30 mins
Servings: 24 doughnut holes
Pin Recipe | Rate Recipe | Print Recipe
Ingredients
For the Doughnuts
- 1 cup all-purpose flour
- 1/2 cup cocoa powder (dutch-process preferred)
- 1 teaspoon baking powder
- 1/4 teaspoon baking soda
- 1/4 teaspoon salt
- 2 and 1/2 tablespoons unsalted butter, melted
- 1/4 cup granulated sugar
- 1/4 cup packed brown sugar
- 1 and 1/2 teaspoons vanilla extract
- 1 large egg, room temperature
- 1/3 cup buttermilk, room temperature
- Oil for frying (such as vegetable, canola, or peanut oil)
For the Glaze
- 2 cups icing sugar (powdered sugar)
- 1/4 to 1/3 cup heavy cream or half and half
- 1/2 teaspoon vanilla extract
Instructions
- Prepare the Doughnut Batter: In a large bowl, whisk together the dry ingredients: all-purpose flour, cocoa powder, baking powder, baking soda, and salt. Set aside. In a separate medium-sized bowl, whisk together the wet ingredients: melted unsalted butter, granulated sugar, packed brown sugar, large egg, and vanilla extract until well combined. Gradually add the room temperature buttermilk into the wet ingredients and whisk until everything is thoroughly incorporated.
- Combine Wet and Dry: Pour the wet ingredient mixture into the bowl with the dry flour mixture. Using a large wooden spoon or a rubber spatula, gently fold the ingredients together until just combined and evenly mixed. Be careful not to overmix, as this can lead to tough doughnuts. The resulting batter will be notably thick.
- Chill the Dough: Spoon the thick doughnut batter onto a large piece of clingfilm (plastic wrap). Form it into a flat disk shape, then wrap it tightly in the clingfilm. Refrigerate the dough for a minimum of 30 minutes. This chilling period is crucial for firming up the dough, making it much easier to handle and shape.
- Form the Doughnut Holes: Once the dough has chilled, remove it from the fridge. Using a small cookie scoop (approximately 2 teaspoons to 1 tablespoon in size) and your fingers, gently form the dough into small, round balls. If the dough begins to stick excessively to your hands, lightly oil your palms with a couple of drops of cooking oil. This recipe should yield approximately 24 delicious doughnut holes.
- Prepare for Frying: Before you begin frying, line a counter space with several layers of paper towels, then place a wire cooling rack directly over them. This setup will allow excess oil to drain from the fried doughnuts. Next, attach a deep-fry thermometer to the side of a heavy-bottomed saucepan or a Dutch oven. Pour at least 2 inches of frying oil into the pan, ensuring there’s at least 2 inches of space between the oil level and the top rim of the pot for safety. Heat the oil over medium-high heat until it reaches a consistent temperature of 350°F (175°C). Maintaining this temperature is vital for even cooking.
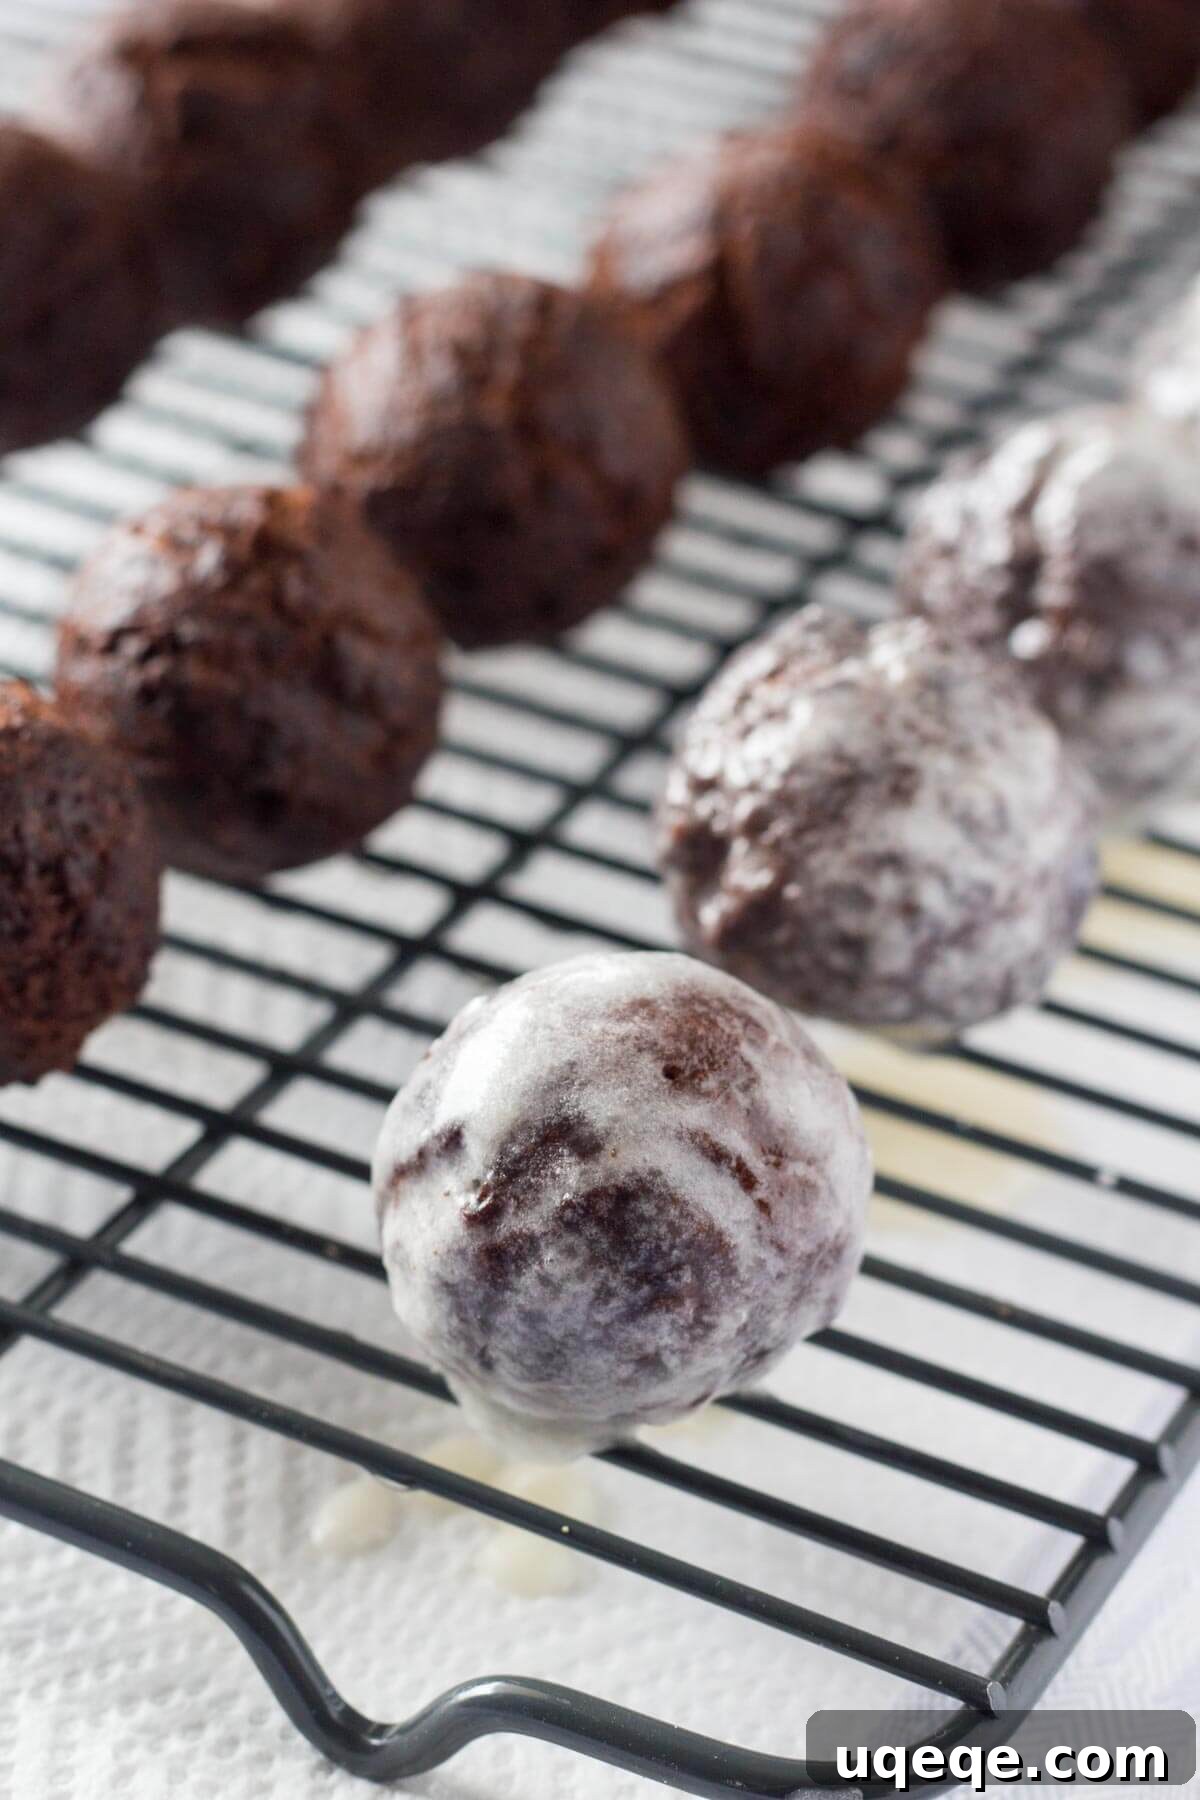
- Fry the Doughnut Holes: Carefully place 4-5 dough balls into the hot oil at a time, being careful not to overcrowd the pan. Frying in small batches ensures the oil temperature doesn’t drop too much. Fry the doughnut holes for about 2-3 minutes, using a slotted spoon or spider to gently turn them over halfway through to ensure even browning. Once golden brown and cooked through, remove the doughnut holes from the hot oil and place them on the prepared wire rack to cool and drain. It’s a good practice to break open your very first doughnut hole to confirm it’s cooked all the way through; adjust your frying time accordingly for subsequent batches if needed.
- Repeat Frying Process: Allow the oil temperature to return to 350°F (175°C) before adding the next batch of doughnut holes. Repeat the frying process with the remaining dough balls until all are cooked.
- Prepare and Glaze: While the doughnut holes cool slightly, prepare the vanilla glaze. In a medium bowl, whisk together the powdered sugar, heavy cream (start with 1/4 cup and add more gradually until you reach desired consistency), and vanilla extract until smooth. Once the doughnut holes are cool enough to handle but still slightly warm, dip each one into the glaze, ensuring it’s fully coated. Place the glazed doughnut holes back on the wire rack to allow the excess glaze to drip off and set. Optionally, while the glaze is still slightly sticky, shower the doughnuts with your favorite sprinkles or roll them for a fun, festive touch.
Nutrition
Calories: 113 kcal (per doughnut hole)
We hope you love these delightful chocolate doughnut holes as much as we do! They are a perfect treat for any occasion, from a cozy breakfast to a festive dessert. Don’t hesitate to experiment with different glazes or toppings to make them uniquely yours. Enjoy the process of creating these sweet, fudgy bites, and savor every single moment of chocolatey bliss!