
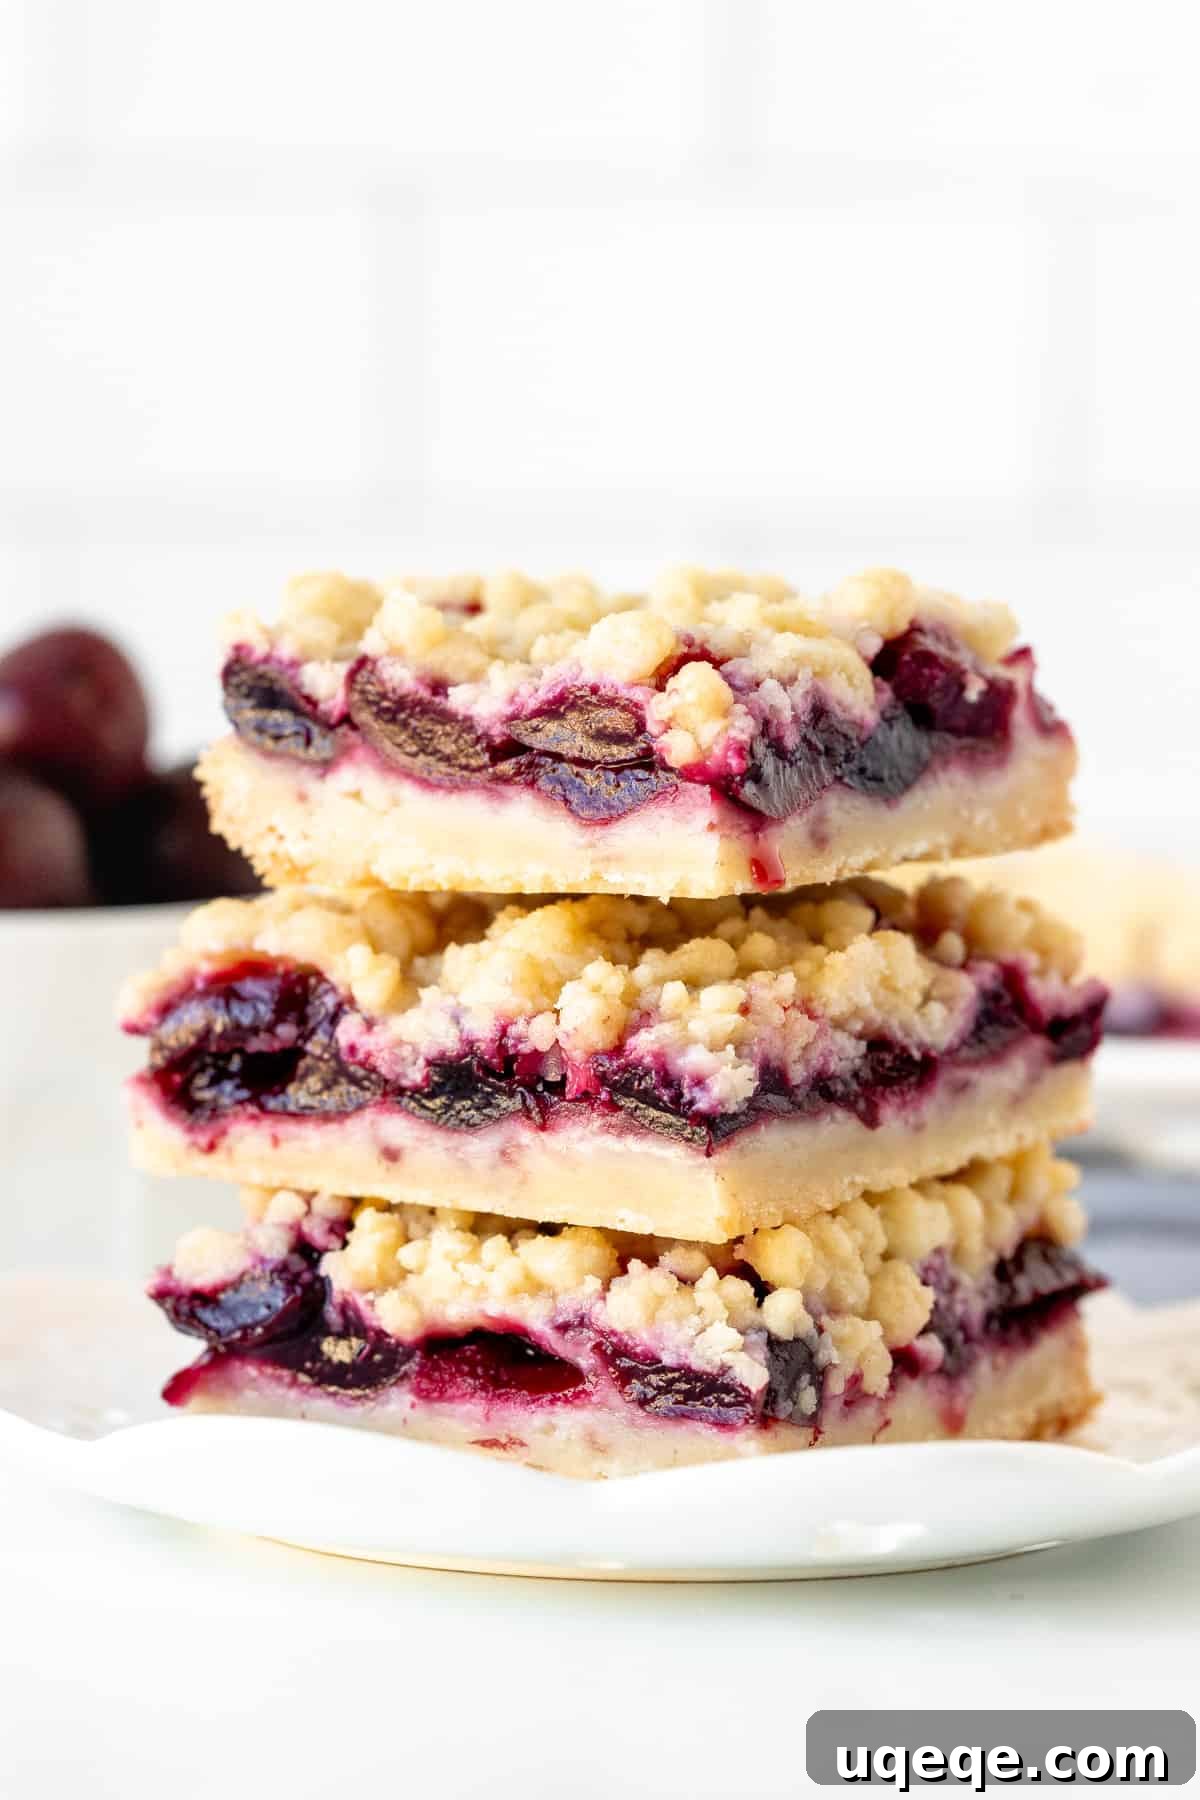
Easy & Delicious Cherry Crumb Bars: The Ultimate Summer Treat
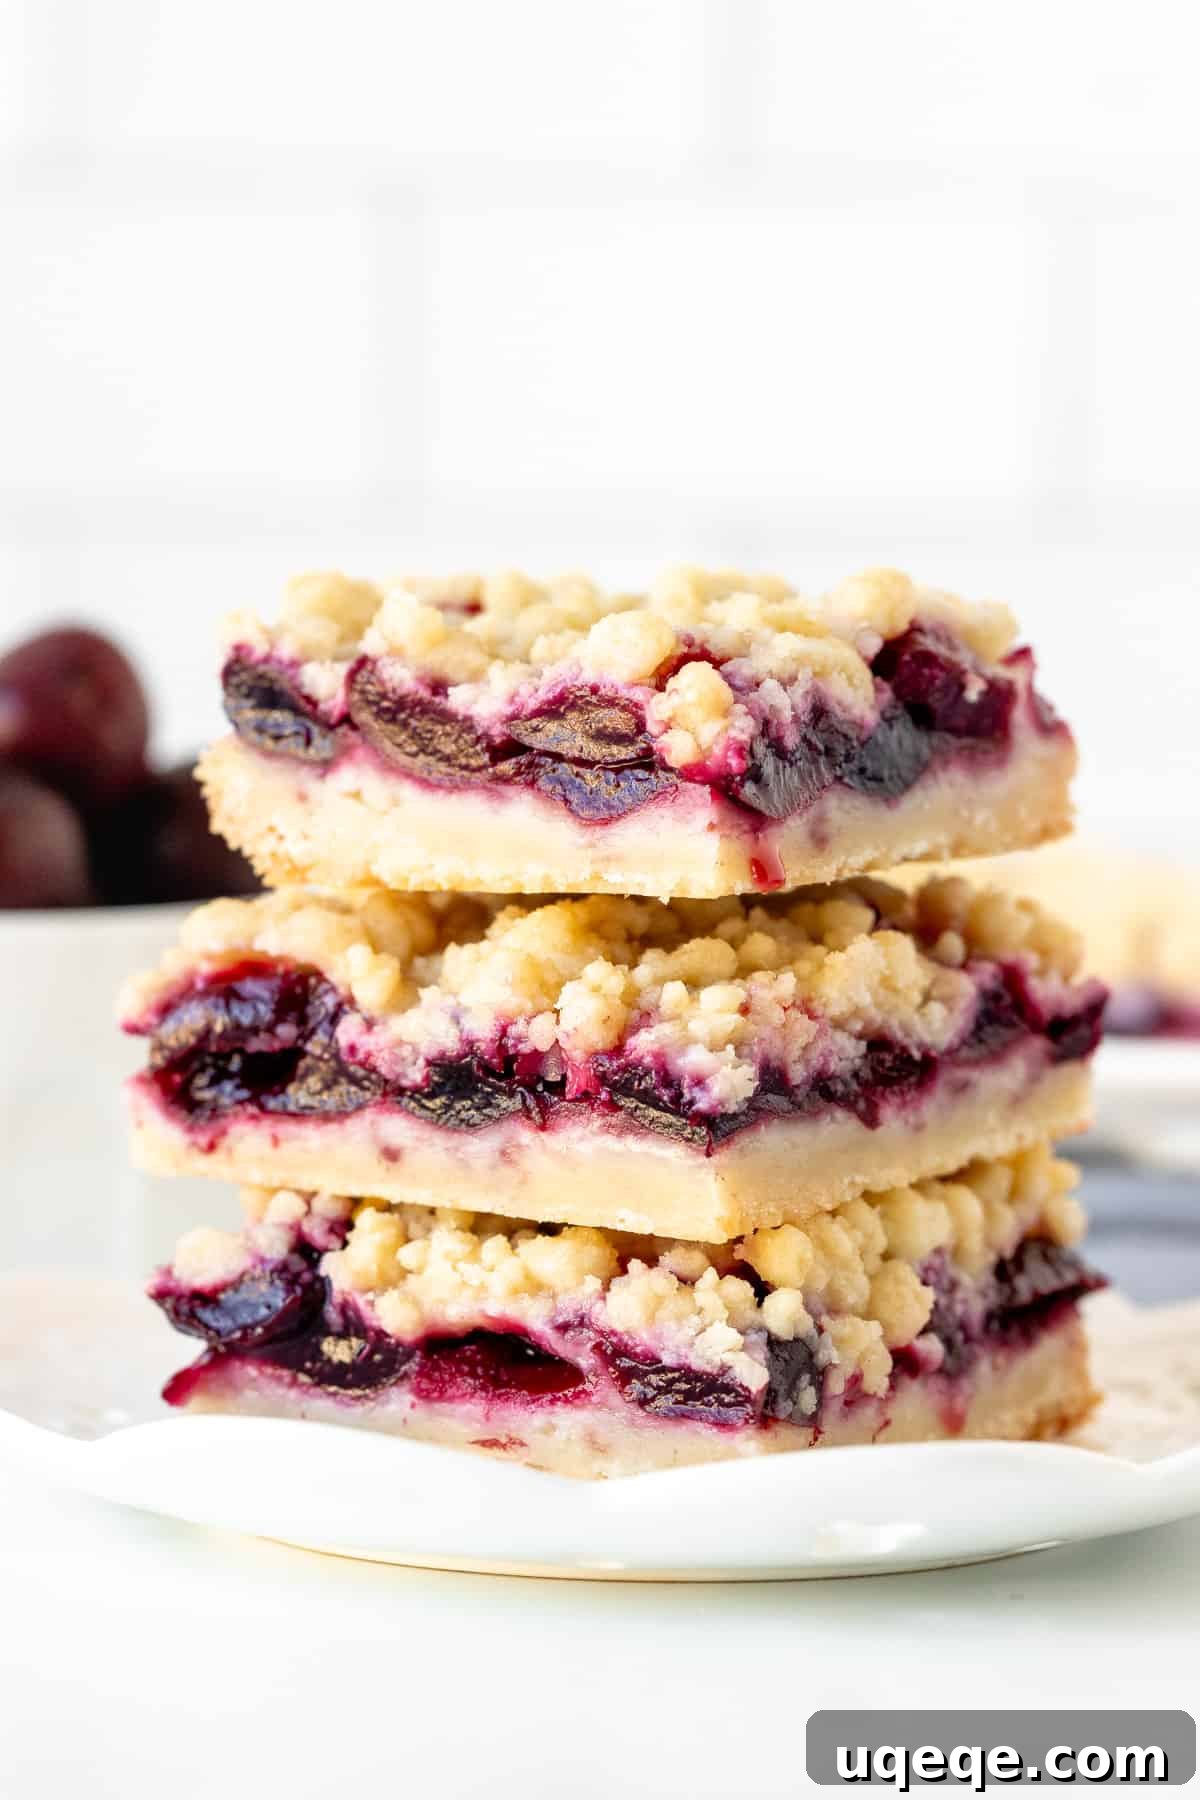
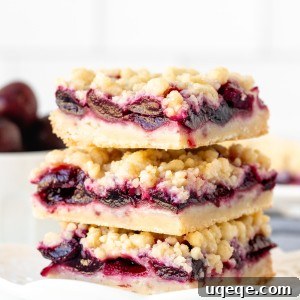
As cherry season graces us with its vibrant bounty, there’s no better way to celebrate than with a batch of irresistible Cherry Crumb Bars. These delightful dessert bars are a true testament to simple baking perfection, combining a rich, buttery shortbread crust with a luscious, sweet cherry filling, all crowned with a golden, crumbly topping. What makes this recipe truly special is its ingenious design: the shortbread base gracefully doubles as the crumb topping, streamlining your baking process and delivering consistent flavor in every bite. Whether you’re a seasoned baker or just starting out, you’ll find these bars surprisingly easy to assemble, yielding a spectacular treat that’s far more portable and less fuss than a traditional cherry pie or crisp.
Imagine sinking your teeth into a perfectly balanced dessert: the tender snap of the shortbread, the burst of sweet, juicy cherries, and the satisfying crunch of the crumb. These bars are not just a dessert; they’re a versatile indulgence. Enjoy them chilled straight from the fridge for a refreshing summer bite, pair them with your morning coffee for a sophisticated breakfast pastry, or serve them warm with a scoop of vanilla bean ice cream for an ultimate after-dinner delight. They’re the quintessential bake for picnics, potlucks, or simply savoring the fleeting beauty of fresh cherry season. Get ready to bake a new family favorite!
Crafting Perfect Cherry Crumb Bars: A Detailed Step-by-Step Guide
Ready to bake? Follow these detailed instructions and helpful tips to create your own batch of incredible cherry crumb bars. We’ll walk through each stage, ensuring a successful and delicious outcome.
Preparing the Irresistible Cherry Filling
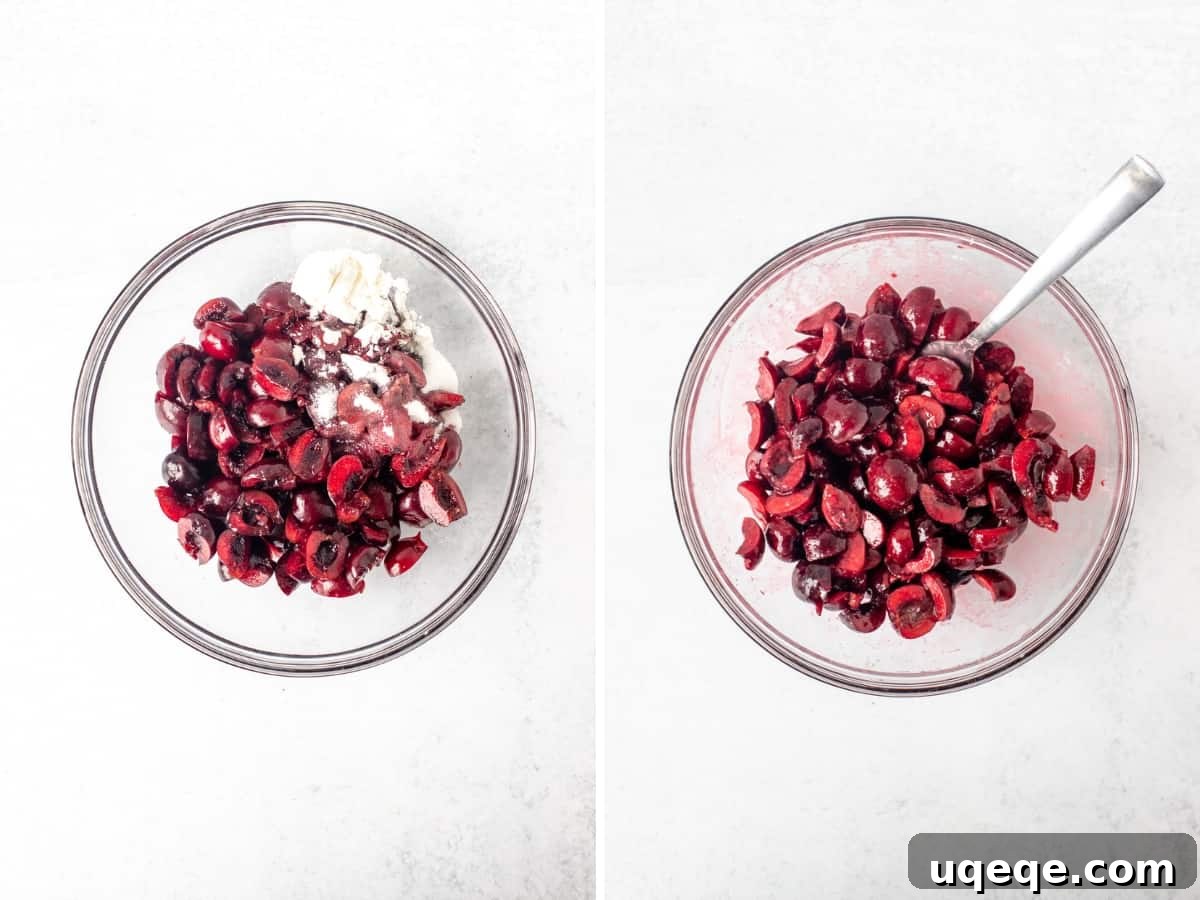
The heart of these bars lies in their bright, flavorful cherry filling. To begin, gather your fresh cherries. You’ll need about 2 cups of pitted and chopped cherries. A cherry pitter is highly recommended to make this task effortless and mess-free. Once pitted, chop your cherries into halves and quarters, aiming for a little over 1 pound (approximately 450 grams) of fruit. This ensures a delightful mix of cherry pieces in every bite.
In a medium bowl, gently toss the chopped cherries with 1 tablespoon of granulated sugar, 2 tablespoons of cornstarch, and 1 tablespoon of fresh lemon juice. The cornstarch acts as a thickening agent, ensuring your filling sets beautifully without being overly runny, while the lemon juice brightens the natural sweetness of the cherries and helps them release their delicious juices. Set this vibrant mixture aside while you prepare the shortbread.
Pro Tip: Mastering Cherry Preparation
Using a good quality cherry pitter will significantly speed up your prep time and keep your kitchen cleaner. When measuring, always pit and chop the cherries first before measuring by volume (cups) to get an accurate amount. A mix of halves and quarters provides varied texture in the final bar. For the best flavor, choose ripe, firm, dark red sweet cherries when in season.
Creating the Buttery Shortbread Base and Crumb Topping
The genius of this recipe lies in its dual-purpose dough! For the rich shortbread base and the delightful crumb topping, you’ll start by whisking together the dry ingredients in a large bowl: 1 ¾ cups all-purpose flour, ⅔ cup granulated sugar, 3 tablespoons cornstarch, and ¼ teaspoon salt. The cornstarch here contributes to the tender, melt-in-your-mouth texture of the shortbread.
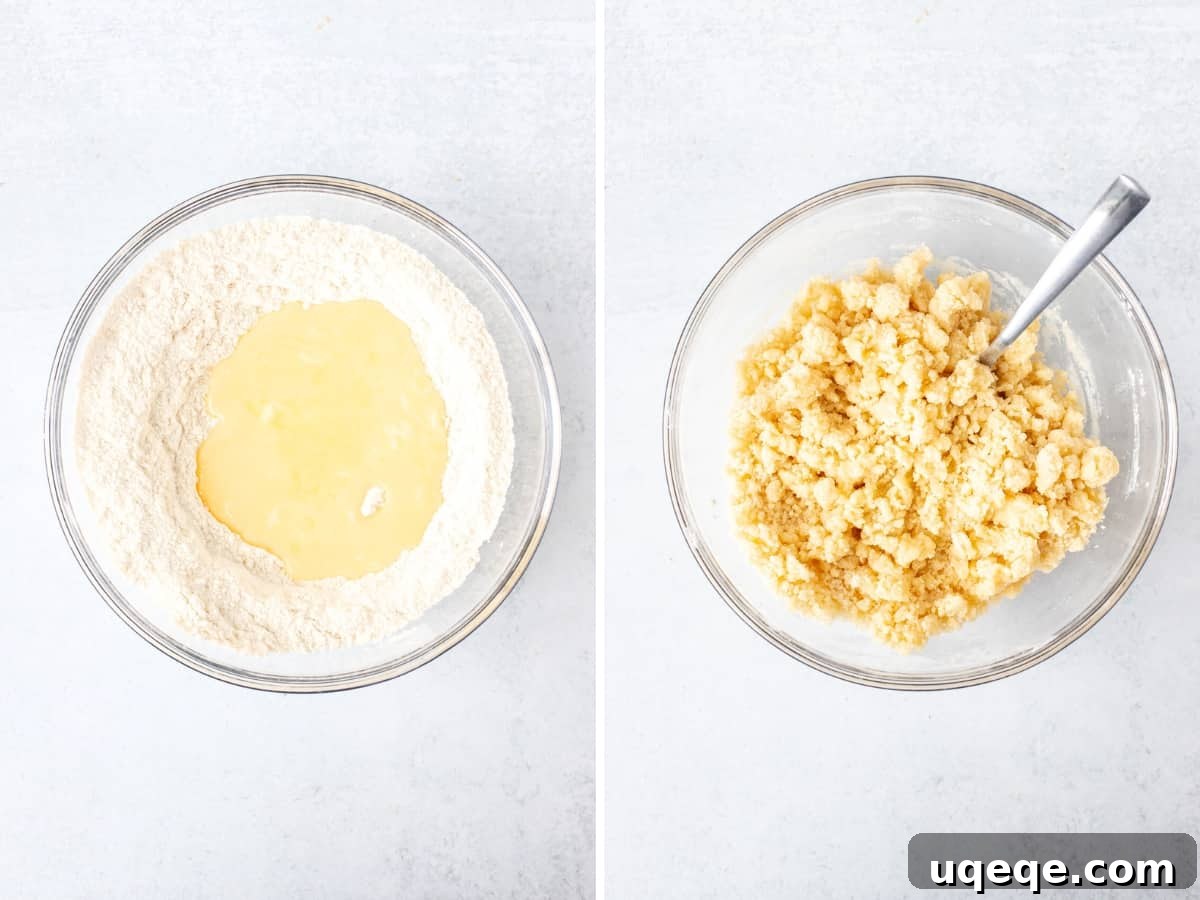
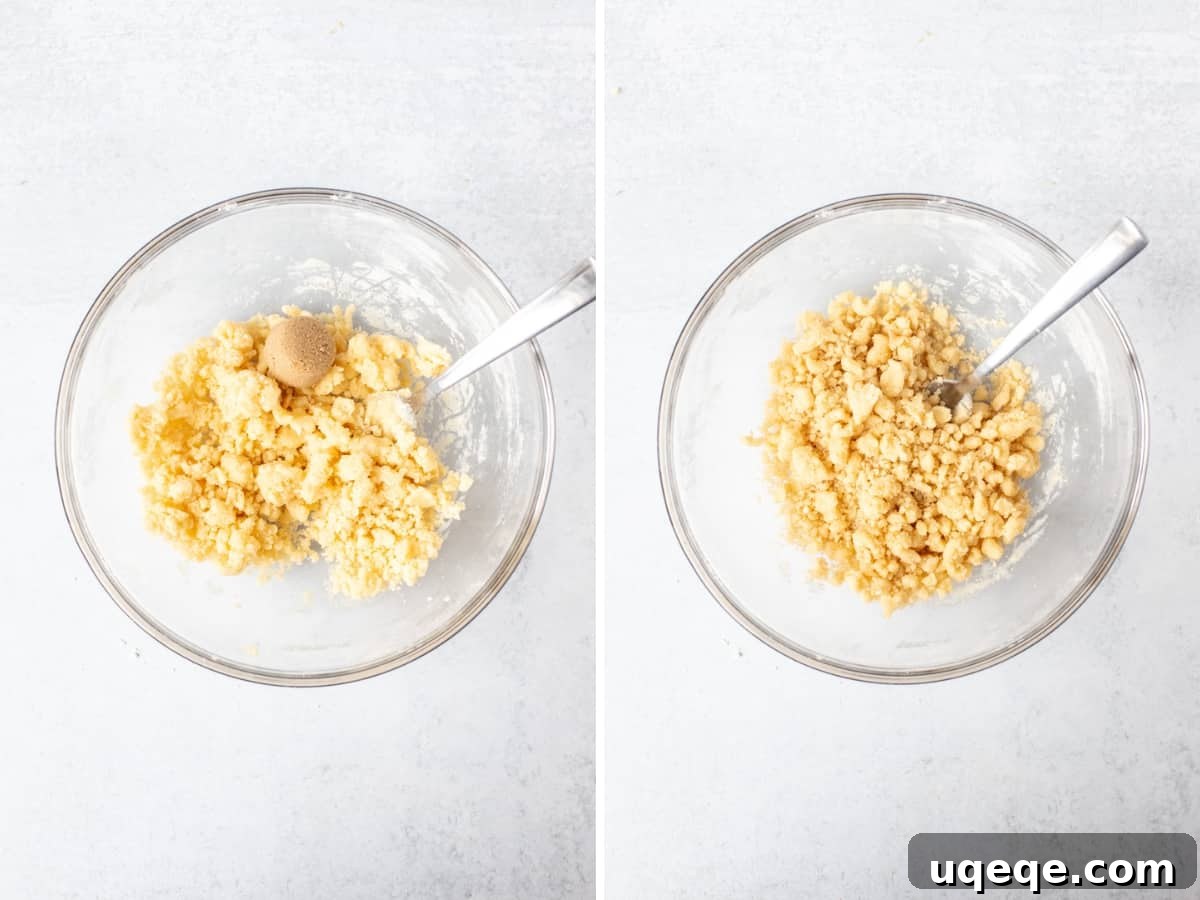
Next, gently stir in ¾ cup of melted unsalted butter. Use a fork or a sturdy whisk to combine until the mixture is beautifully dry and crumbly – this is exactly the texture you’re looking for! Resist the urge to overmix; you want those lovely crumbs to form.
Expert Tip: Melting Butter for Perfect Crumbs
When melting butter, especially in a microwave, proceed with caution. Heat it slowly and at a reduced power setting to prevent it from bubbling over. For optimal results, melt the butter only about three-quarters of the way, then remove it from the heat and whisk until completely smooth. The residual heat will melt any remaining solid butter without overheating it. This technique helps maintain the butter’s milky yellow color and ensures the perfect consistency for your crumb mixture, contributing to a superior texture in the finished bars.
Assembling and Baking Your Crumb Bars
Now it’s time to bring everything together! First, preheat your oven to 325°F (170°C). Line an 8×8 inch (20×20 cm) baking pan with parchment paper, leaving a slight overhang on the sides. This thoughtful step makes lifting the cooled bars out of the pan incredibly easy for clean slicing. Note: A 9×9 inch pan might make your bars a bit too thin due to insufficient batter for the shortbread layers.
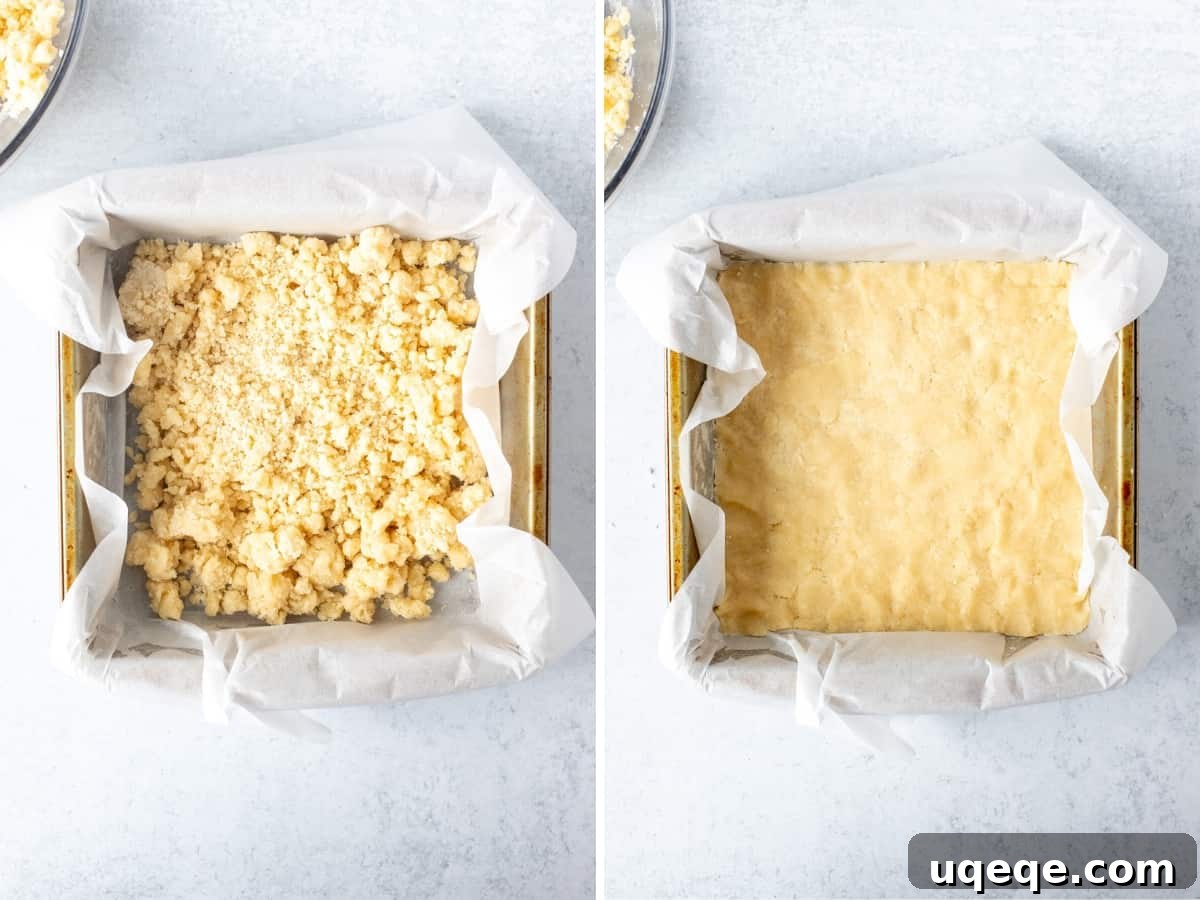
Take a little over half of your prepared shortbread mixture and press it firmly and evenly into the bottom of your parchment-lined pan. This forms the delicious base layer. Bake this shortbread crust on its own for about 15-20 minutes, or until it looks lightly set and slightly golden. While the base is baking, take the remaining shortbread mixture you set aside earlier and stir in 1 tablespoon of brown sugar. This small addition creates a beautifully crunchy and slightly more golden crumb topping, adding another layer of texture and flavor.
Once the base is pre-baked, carefully remove the pan from the oven (keeping the oven on). Spoon the cherry filling evenly over the warm shortbread layer. If there’s excess juice pooling at the bottom of your cherry bowl, it’s best to leave it behind to prevent a soggy base. Finally, sprinkle the brown sugar-enhanced crumb topping generously over the cherry layer. You can adjust the size of your crumbles – whether you prefer smaller, finer crumbs or larger, chunkier clusters – to your liking. Don’t worry if some of the vibrant cherries peek through; it adds to their rustic charm!
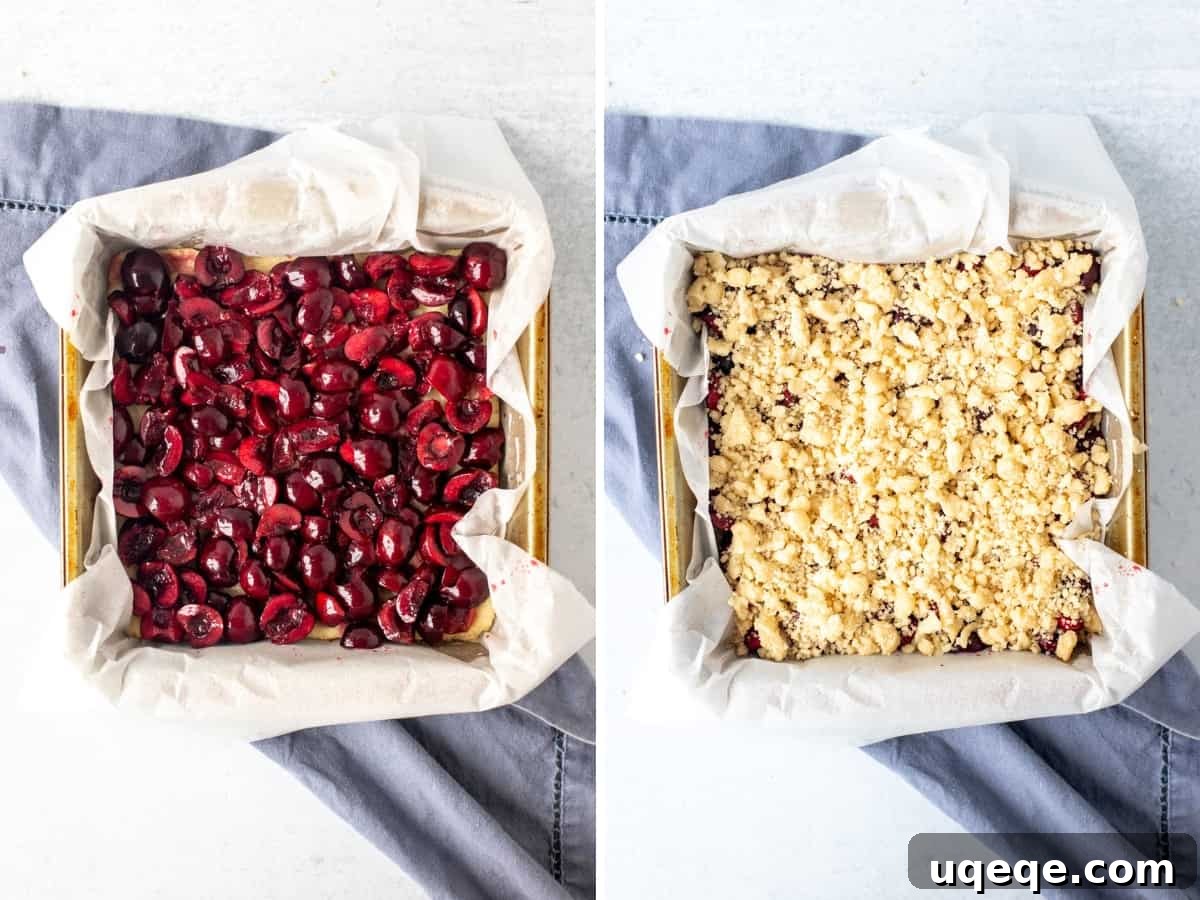
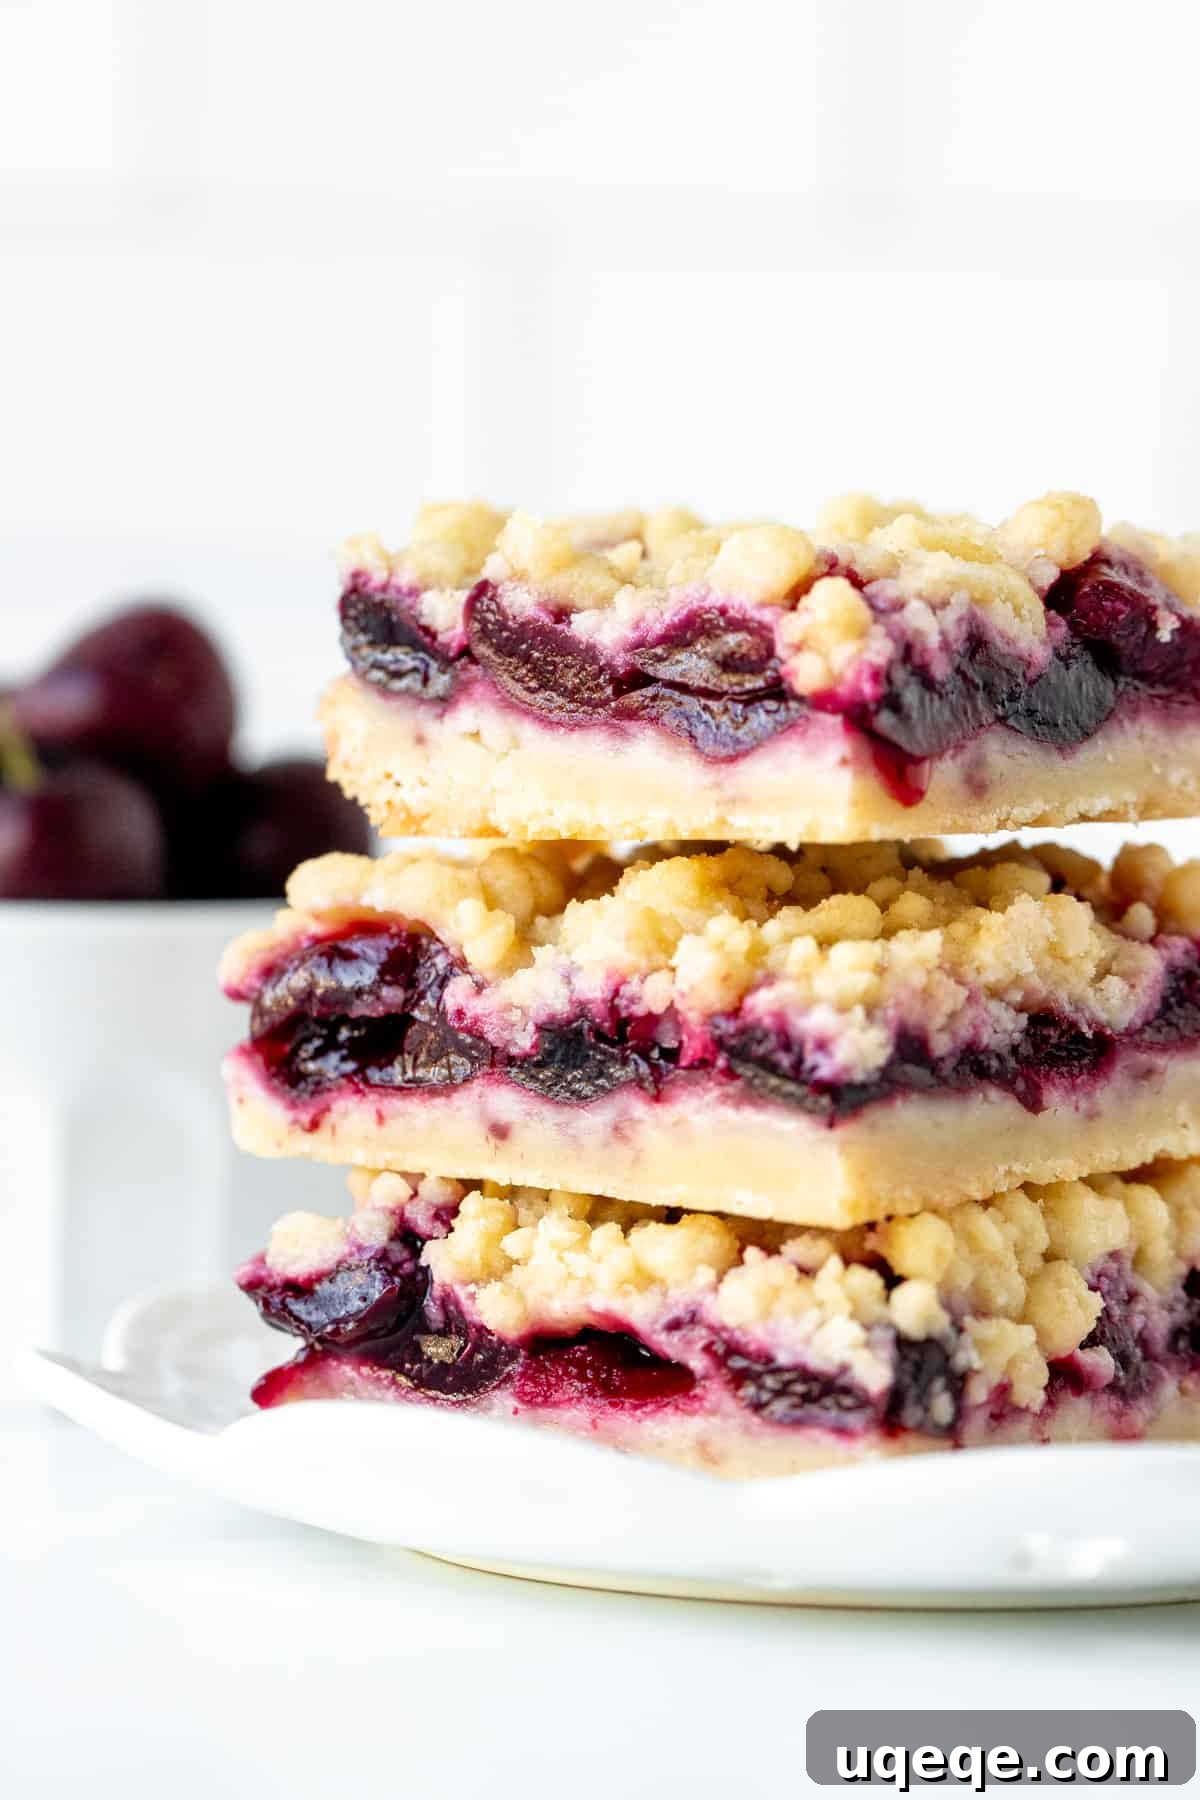
Return the pan to the preheated oven and bake for an additional 25 minutes, or until the crumb topping is a beautiful light golden yellow, and you can see the cherry filling bubbling enticingly around the edges. This bubbling indicates the filling is perfectly set and warm. The most crucial step after baking is patience! Allow the cherry crumb bars to cool completely at room temperature, which can take 3-4 hours. This essential cooling period allows the cherry filling to firm up properly, ensuring clean, perfect slices every time. Once thoroughly cooled, lift the bars out using the parchment paper overhang, place on a cutting board, and slice into generous portions with a sharp knife.
Elevate Your Crumb Bars: Tips and Variations
Using Sour Cherries for a Zesty Twist
If you prefer a delightful tartness in your dessert, sour cherries are an excellent alternative to sweet cherries. When using sour cherries, I recommend increasing the granulated sugar in the cherry filling to 3 tablespoons (instead of 1 tablespoon). This adjustment helps balance the cherries’ natural acidity, creating a wonderful sweet-tart contrast that pairs exquisitely with the buttery shortbread crust. The resulting bars will still offer a lovely tangy punch, but with enough sweetness to be incredibly satisfying.
Perfect Pairings and Serving Suggestions
These cherry crumb bars are incredibly versatile. Beyond enjoying them as a standalone treat, consider serving them:
- Warm with a scoop of premium vanilla ice cream or a dollop of freshly whipped cream.
- Alongside a robust cup of coffee or a delicate tea for an afternoon treat.
- As a vibrant addition to a brunch spread or dessert buffet.
Their sturdy nature also makes them ideal for packing into lunchboxes or taking to picnics and potlucks, traveling much better than a traditional fruit pie or crumble.
The Ultimate Cherry Crumb Bars Recipe
These homemade Cherry Crumb Bars are truly a standout during cherry season, offering all the delightful flavors of a cherry pie but in an easier, more convenient bar format. The combination of rich, buttery shortbread and juicy, sweet cherry filling is simply irresistible.
Cherry Crumb Bars
By: Fiona Dowling
These easy cherry crumb bars feature a buttery shortbread base, a sweet and juicy fresh cherry middle, and a delightful crumb topping. The shortbread base cleverly doubles as the crumb topping, making these incredibly simple to prepare. The delicious cherry filling truly allows the fresh, sweet cherries to shine, with an option to use tart sour cherries if you prefer a zesty twist!
Prep Time: 20 mins | Cook Time: 45 mins | Total Time: 1 hr 5 mins
Yields: 9 large bars
Pin Recipe |
Rate Recipe |
Print Recipe
Equipment
- 8×8 inch (20×20 cm) baking pan (Note: There is not quite enough batter to use a 9×9 inch / 23×23 cm pan)
Ingredients
Cherry Layer
- 2 cups pitted cherries (measure after pitting & slicing in half or quarters)
- 1 tablespoon granulated sugar (use 3 tablespoons if using sour cherries for a balanced tartness)
- 2 tablespoons cornstarch (16 grams) (also known as cornflour in Australia and the UK)
- 1 tablespoon lemon juice (freshly squeezed for best flavor)
Shortbread Base & Crumb Topping
- ¾ cup unsalted butter (168 grams), melted
- 1 ¾ cups all-purpose flour (219 grams)
- ⅔ cup granulated sugar (133 grams)
- 3 tablespoons cornstarch (24 grams) (also known as cornflour in Australia and the UK)
- ¼ teaspoon salt
- 1 tablespoon brown sugar (for the crumb topping)
Instructions
- Preheat your oven to 325°F (170°C).
- Line an 8×8 inch (20×20 cm) pan with parchment paper, allowing an overhang around the edges for easy removal.
- Ensure all your cherries are pitted (a cherry pitter makes this quick work) and slice each cherry into halves or quarters.
- In a medium bowl, combine the ingredients for the cherry filling: pitted cherries, 1 tablespoon granulated sugar (adjust to 3 tbsp for sour cherries), 2 tablespoons cornstarch, and fresh lemon juice. Toss gently to coat the cherries evenly and set aside.
- In a separate large bowl, whisk together the dry ingredients for the shortbread layer: 1 ¾ cups all-purpose flour, ⅔ cup granulated sugar, 3 tablespoons cornstarch, and ¼ teaspoon salt. Remember to leave out the 1 tablespoon of brown sugar for now; it will be used later for the topping.
- Pour the melted butter into the flour mixture. Stir or whisk with a fork until the mixture becomes dry and crumbly. This is the perfect consistency for both the base and topping.
- Press a little more than half of this crumbly shortbread mixture firmly and evenly into the bottom of your prepared pan.
- Bake the shortbread base in the preheated oven for 15-20 minutes, or until it appears set and lightly golden. Remove from the oven, but keep the oven turned on.
- To the remaining shortbread mixture in the bowl, stir in the 1 tablespoon of brown sugar. This will create a slightly crispier and more golden crumb topping.
- Carefully spoon the prepared cherry mixture over the warm, baked shortbread base, spreading it into an even layer. If there’s excessive liquid at the bottom of your cherry bowl, avoid adding it to prevent the base from becoming soggy.
- Evenly crumble the brown sugar-enhanced shortbread mixture over the cherry layer. It’s perfectly fine if some of the vibrant cherries are visible.
- Place the pan back into the preheated oven and bake for an additional 25 minutes, or until the crumb topping is golden yellow and you observe the cherry juices bubbling around the edges.
- Allow the bars to cool completely at room temperature, which will take approximately 3-4 hours. This step is critical for the cherry layer to set properly, ensuring clean slices.
- Once fully cooled, use the parchment paper overhang to lift the entire slab of bars out of the pan and place it on a cutting board. Use a sharp knife to slice into 9 equal large bars, making sure to cut all the way through the shortbread base.
Notes
- Cherries: For the best results, use fresh cherries. Frozen cherries can significantly increase baking time and may lead to a soggy shortbread base. Approximately 1 lb (450 grams) of fresh cherries yields the 2 cups needed.
- Nutrition: The provided nutritional details are an estimate only and are based on a single bar, assuming the pan is sliced into 9 equal pieces.
- Storage: Store your cooled cherry crumb bars in an airtight container in the refrigerator for up to 4 days to maintain their freshness and texture.
Nutrition Facts (per serving)
Calories: 328kcal, Carbohydrates: 45g, Protein: 3g, Fat: 16g, Saturated Fat: 10g, Polyunsaturated Fat: 1g, Monounsaturated Fat: 4g, Trans Fat: 1g, Cholesterol: 41mg, Sodium: 68mg, Potassium: 103mg, Fiber: 1g, Sugar: 21g, Vitamin A: 492IU, Vitamin C: 3mg, Calcium: 14mg, Iron: 1mg
Enjoyed this recipe?
We hope you love these irresistible cherry crumb bars as much as we do! Your feedback helps us grow. Please take a moment to rate and leave a comment below with your thoughts and experience.
More Delicious Cherry Desserts to Explore
If you’ve fallen in love with baking with cherries, you’re in for a treat! Here are some other fantastic cherry-inspired desserts that are sure to delight your taste buds:
- Black Forest Brownies
- Cherry Almond Pie Bars
- Fresh Cherry Crisp
- Cherry Cobbler