
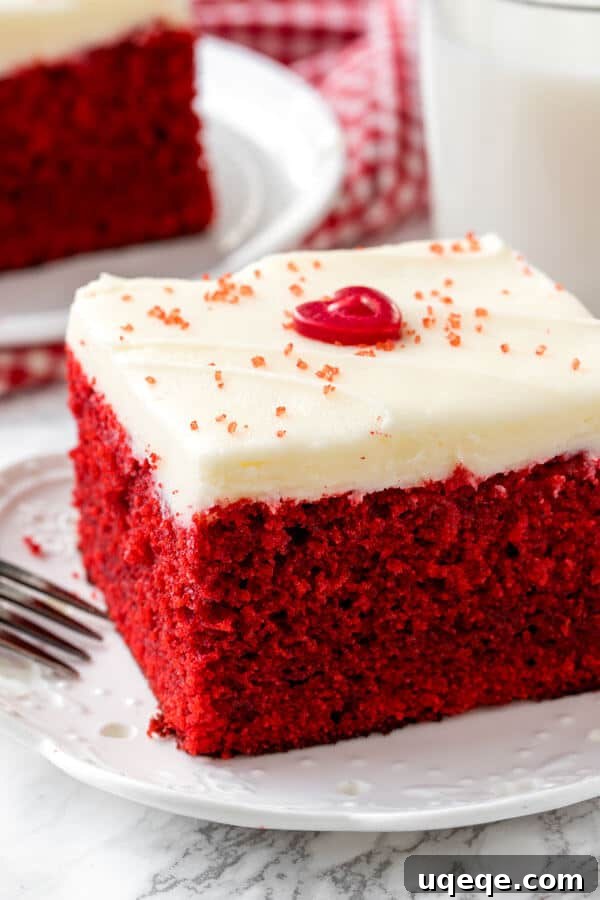
This easy red velvet cake is fluffy, incredibly moist, topped with a luscious cream cheese frosting, and boasts the most stunning vibrant red color. It delivers that signature red velvet flavor profile – a delightful balance of tanginess from buttermilk and a hint of rich milk chocolate. Simple to prepare and undeniably delicious, this is truly the ultimate red velvet cake recipe you’ve been searching for. 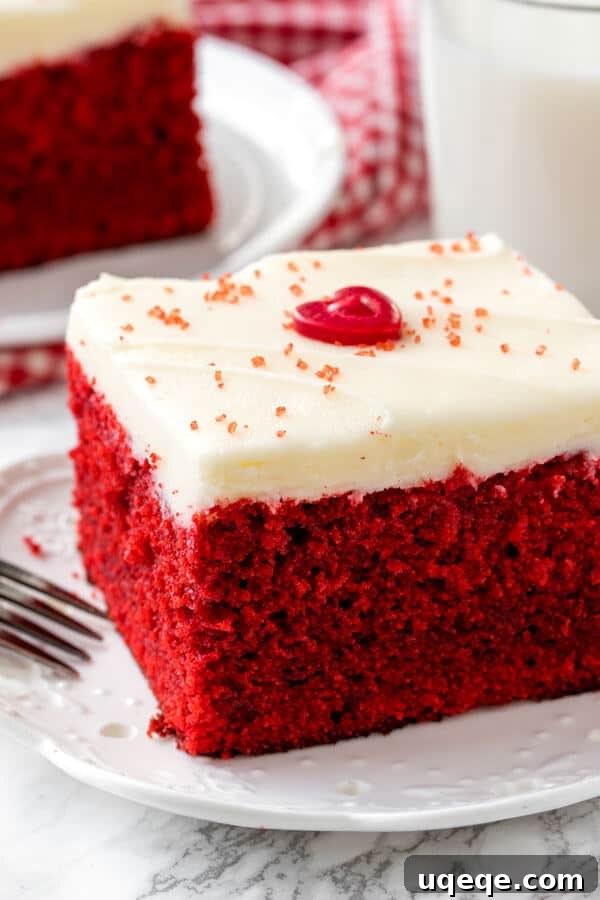
Red velvet cake holds a special place in the hearts of dessert lovers worldwide, and it’s been a long-standing mission of mine to perfect an easy-to-follow recipe that captures its iconic essence. My goal was a red velvet cake that excels in every aspect: an incredibly moist crumb, a perfectly balanced red hue, a subtle yet distinct cocoa flavor, and, of course, the fluffiest, most delectable cream cheese frosting imaginable. It’s a classic for a reason, and achieving that classic perfection without unnecessary fuss became my driving force.
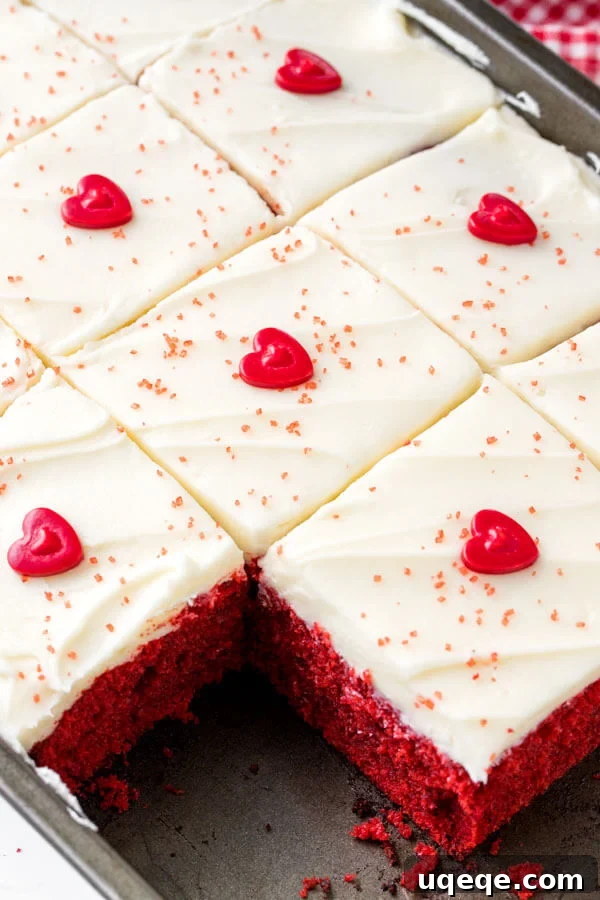
While my love for red velvet runs deep, I often find myself hesitant to tackle the potential complexities of a traditional layer cake. The stress of stacking, leveling, and decorating can sometimes outweigh the joy of baking, especially when you need to serve a hungry crowd without a culinary gymnastics routine. That’s why, for this recipe, we’re embracing the simplicity and generosity of a red velvet sheet cake. All the irresistible flavor and stunning presentation, with significantly less effort – a win-win in any baker’s book.
Now that I’ve confessed my occasional aversion to multi-tiered baking projects, let’s delve into what makes this easy red velvet sheet cake truly exceptional and why it will become your go-to recipe for this beloved dessert.
Unlocking the Perfect Easy Red Velvet Cake Recipe: Key Ingredients and Techniques
Creating a truly outstanding red velvet cake hinges on understanding the role of a few specific ingredients. Each one contributes uniquely to the cake’s texture, flavor, and signature vibrant color:
- **Butter & Oil for Unbeatable Moisture and Flavor:** We use a combination of both butter and oil. Butter is essential for imparting that rich, delicious flavor that only real butter can provide, giving the cake depth and character. Vegetable oil, on the other hand, is key to achieving an incredibly moist and tender crumb. Unlike butter, oil remains liquid at room temperature, contributing to a softer, more decadent texture that stays moist for longer. This duo ensures your cake is both flavorful and perfectly tender.
- **Cake Flour for a Delicate Crumb:** For the lightest, most delicate, and softest cake crumb, cake flour is indispensable. It has a lower protein content than all-purpose flour, which means less gluten development and, consequently, a more tender cake. If cake flour isn’t readily available, don’t despair! You can create a suitable substitute by combining cornstarch with all-purpose flour (refer to our recipe notes for precise measurements). However, for the very best results, cake flour truly makes a difference.
- **Buttermilk: The Heart of Red Velvet’s Tang and Texture:** Buttermilk is a cornerstone ingredient for classic red velvet cake. Its acidity reacts with the baking soda, creating a tender, deliciously moist cake that melts in your mouth. Beyond its tenderizing effect, buttermilk contributes a subtle, characteristic tanginess to the flavor profile, which is absolutely essential for that authentic red velvet taste. Without buttermilk, it simply isn’t red velvet.
- **Vinegar: The Unsung Hero for Rise and Radiance:** Added at the very end, white vinegar plays a crucial dual role. Firstly, it provides additional acidity that reacts vigorously with the baking soda, creating carbon dioxide bubbles that help the cake rise beautifully and evenly. Secondly, and perhaps most famously for red velvet, vinegar helps to activate and enhance the cocoa powder’s natural red pigments, bringing out a deeper, more vibrant red color in the final cake. It also contributes just the right amount of acidity to round out the classic red velvet flavor.
A crucial tip for any baking project, especially for cakes, is to ensure your cold ingredients like butter, eggs, and buttermilk are brought to room temperature before you begin. This seemingly small step makes a significant difference. Room temperature ingredients emulsify more effectively, leading to a smoother, more uniform batter. This, in turn, prevents overmixing, which can otherwise lead to excessive gluten development and a tough, dry cake rather than the moist and tender result we’re aiming for. 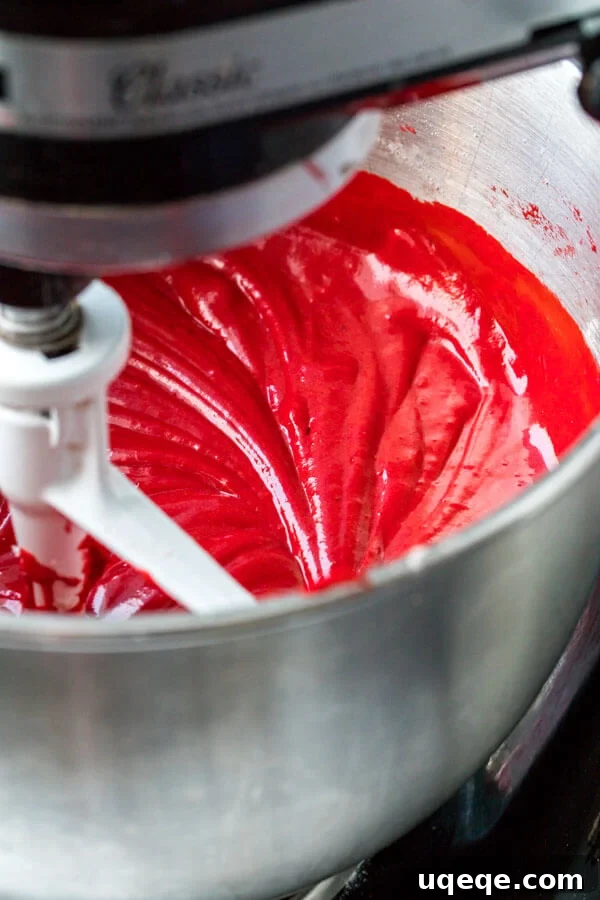
When it comes to the iconic red color, the amount of food coloring is somewhat adjustable to your personal preference. For the photographs showcasing this recipe, I used 2 1/2 tablespoons to achieve that perfect, striking red hue. However, feel free to experiment with slightly less or a bit more, depending on how deep and vibrant you desire your red velvet to be. Both gel and liquid food colorings will work effectively, with gel often providing a more concentrated color with less liquid volume, which can be beneficial for delicate batters.
The Irresistible Cream Cheese Frosting: A Heavenly Match
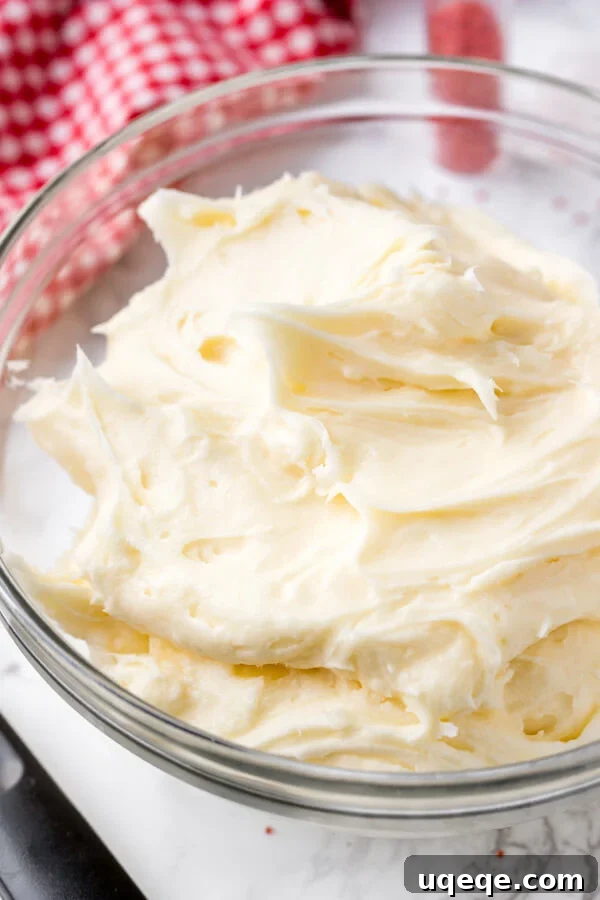
Once your exquisite red velvet cake is out of the oven and perfectly cooled, it’s time to prepare its essential companion: the tangy, sweet, and utterly irresistible cream cheese frosting. Can there truly be a more perfect pairing in the dessert world?
Our classic cream cheese frosting requires just a few simple, high-quality ingredients: softened unsalted butter, full-fat brick cream cheese, pure vanilla extract, a pinch of salt to balance the sweetness, and sifted powdered sugar. Occasionally, a tablespoon or two of heavy whipping cream may be needed to achieve the ideal consistency. A critical note here: always opt for full-fat, block-style cream cheese. Avoid “lite” or spreadable varieties, as their higher water content will result in a runny, unstable frosting that won’t hold its shape or provide the rich texture you desire. The amount of powdered sugar can also be adjusted to suit your taste – add a little less for a tangier frosting, or a bit more for a sweeter finish. For even more detailed tips and tricks on mastering the art of cream cheese frosting, be sure to check out our comprehensive guide here.
Once your cake is completely cool, spread a generous layer of this magnificent frosting over the top. For an extra touch of festivity and visual appeal, consider decorating with a scattering of colorful sprinkles, a dusting of cocoa powder, or even some delicate chocolate shavings.
Make-Ahead Magic: Tips for Preparing Your Red Velvet Cake in Advance
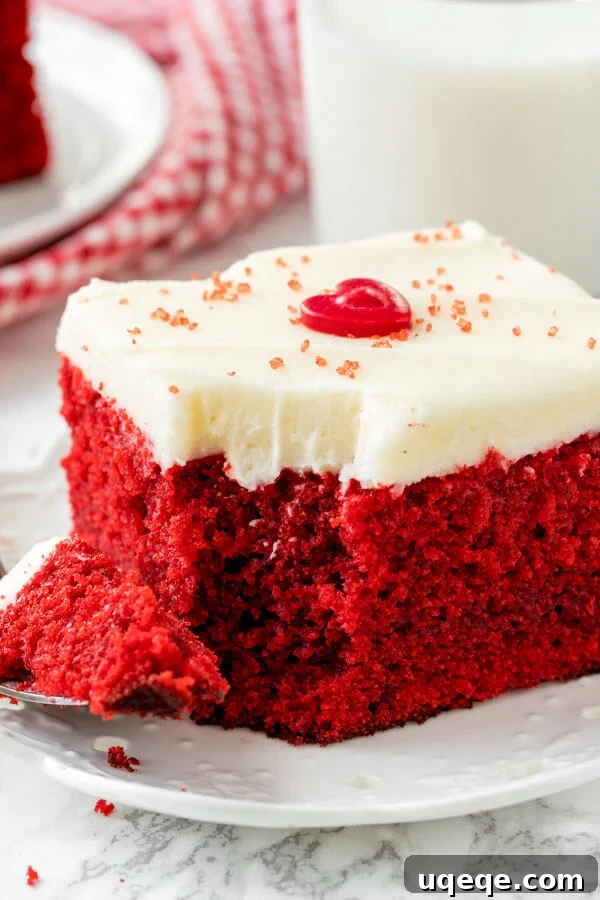
Planning ahead can make entertaining or enjoying a homemade dessert even more stress-free. Thankfully, this easy red velvet cake is quite accommodating:
- **The Cake Itself:** You can bake the red velvet cake up to one day in advance. Once it’s completely cooled, cover it tightly with plastic wrap or foil and store it at room temperature. This allows the flavors to meld beautifully. I always recommend preparing the cream cheese frosting on the day you plan to serve the cake for optimal freshness and texture.
- **Freezing Unfrosted Cake:** If you want to get a head start even further, the unfrosted cake freezes exceptionally well. After baking, ensure the cake is entirely cool. Wrap it thoroughly in multiple layers of plastic wrap, then an additional layer of aluminum foil to prevent freezer burn. It can be frozen for up to 2-3 months. When you’re ready to enjoy it, simply thaw the cake overnight in the refrigerator. Once thawed, bring it to room temperature before frosting and serving.
- **Storing Frosted Cake:** A frosted red velvet cake can be kept covered at room temperature for up to 8 hours. For longer storage, or if your kitchen is particularly warm, it’s best to store the cake in the refrigerator. Before serving a refrigerated cake, remember to take it out about 30 minutes to an hour beforehand, allowing it to warm slightly to room temperature. This brings out the best in both the cake’s texture and the frosting’s creaminess.
This easy red velvet cake recipe truly encompasses everything you could desire in this iconic dessert: an intensely rich and classic red velvet flavor, a wonderfully moist and tender cake crumb that practically melts in your mouth, and a perfectly tangy, fluffy cream cheese frosting that complements every bite. You’ll be amazed by how straightforward and enjoyable this recipe is to make, and it’s destined to become your absolute favorite red velvet go-to. Prepare to impress everyone with this show-stopping, yet incredibly simple, homemade treat!
More Delicious Red Velvet Desserts to Explore:
- Red Velvet Cupcakes
- Cake Mix Red Velvet Cookies
- Red Velvet Cookie Cake
- Red Velvet Doughnuts
Easy Red Velvet Cake
Rate Recipe
Print Recipe
Ingredients
Red Velvet Cake
- 2 2/3 cups cake flour*
- 2 tablespoons cocoa powder
- 1 teaspoon baking soda
- 1/4 teaspoon salt
- 1/2 cup unsalted butter, softened
- 1 cup vegetable oil
- 1 3/4 cups white sugar
- 2 teaspoons vanilla extract
- 3 large eggs, room temperature
- 2 1/2 tablespoons red food coloring
- 1 cup buttermilk, room temperature
- 2 teaspoons white vinegar
Cream Cheese Frosting
- 8 oz cream cheese**, softened
- 1/2 cup unsalted butter, softened
- 1 teaspoon vanilla extract
- 1/4 teaspoon salt
- 3 cups powdered sugar, sifted
- 1-2 tablespoons cream, as needed
Instructions
Red Velvet Cake
-
Preheat the oven to 350°F (175°C).
-
Lightly grease and flour a 9×13 inch baking pan, ensuring all surfaces are covered to prevent sticking.
-
In a medium bowl, sift together the cake flour, cocoa powder, baking soda, and salt. Whisk gently to thoroughly combine these dry ingredients.
-
In a separate large mixing bowl, using an electric mixer, beat the softened butter and white sugar together until the mixture is light, pale, and fluffy (about 3-5 minutes).
-
Gradually beat in the vegetable oil, followed by the eggs (one at a time, ensuring each is fully incorporated before adding the next), vanilla extract, and red food coloring. Mix until well combined and the color is uniform.
-
With the mixer on low speed, alternately add the dry flour mixture (in about three additions) and the buttermilk (in about two additions), beginning and ending with the flour mixture. Mix just until combined, being careful not to overmix. Stop the mixer frequently to scrape down the sides of the bowl with a spatula.
-
Finally, gently beat in the white vinegar until just incorporated.
-
Pour the batter evenly into the prepared 9×13 inch baking pan. Bake for 30-35 minutes, or until a wooden skewer or toothpick inserted into the center of the cake comes out clean.
-
Allow the cake to cool completely in the pan on a wire rack before frosting.
Cream Cheese Frosting
-
In a large bowl, using an electric mixer, beat the softened butter until it is light and fluffy (about 2-3 minutes).
-
Add the softened full-fat cream cheese and beat until smooth and thoroughly combined, scraping down the sides as needed. Be careful not to overmix.
-
Stir in the vanilla extract and salt.
-
Gradually add the sifted powdered sugar, about 1 cup at a time, beating on low speed until fully incorporated and the frosting is smooth. Continue until the desired sweetness and consistency are reached. If the frosting appears too thick, mix in 1-2 tablespoons of heavy cream, one tablespoon at a time, until it reaches a spreadable consistency.
-
Once the cake is completely cooled, generously frost it with the prepared cream cheese frosting. Optionally, decorate with sprinkles or chocolate shavings before serving.
Notes
**Always use full-fat, brick-style cream cheese for the best frosting texture and stability.
***Store frosted cake at room temperature, covered, for up to 8 hours. For longer storage, keep it covered in the refrigerator. To enjoy its best flavor and texture, remove refrigerated cake 30 minutes to 1 hour before serving, allowing it to come to room temperature.
Nutrition
Like this recipe? Rate and comment below!